Articles
How To Put Freon In AC Unit
Modified: November 1, 2024
Learn how to put freon in your AC unit with this helpful guide. Find step-by-step instructions and tips in this informative article.
(Many of the links in this article redirect to a specific reviewed product. Your purchase of these products through affiliate links helps to generate commission for Storables.com, at no extra cost. Learn more)
Introduction
Welcome to our comprehensive guide on how to put Freon in your AC unit. As temperatures rise, having a properly functioning air conditioning system is essential for a comfortable living environment. Freon, or refrigerant, is a crucial component in maintaining the cooling efficiency of your AC unit. Over time, however, the Freon levels can deplete, resulting in reduced cooling performance.
Whether you are a homeowner or a tenant, understanding how to add Freon to your AC unit can save you from sweltering heat and costly repairs. In this article, we will provide you with step-by-step instructions on how to safely add Freon to your AC unit and ensure optimal cooling performance. But before diving into the process, let’s first understand what exactly Freon is.
Key Takeaways:
- Prioritize safety and understand the basics of Freon before adding it to your AC unit. Always turn off the unit, wear protective gear, and choose the correct refrigerant type to ensure a smooth and efficient process.
- After adding Freon, thorough testing and regular maintenance are crucial for optimal AC performance. Monitor airflow, temperature, and pressure readings, and schedule professional maintenance to prolong your unit’s lifespan and ensure a comfortable indoor environment.
Read more: How Much Is Freon For AC Unit
Understanding Freon
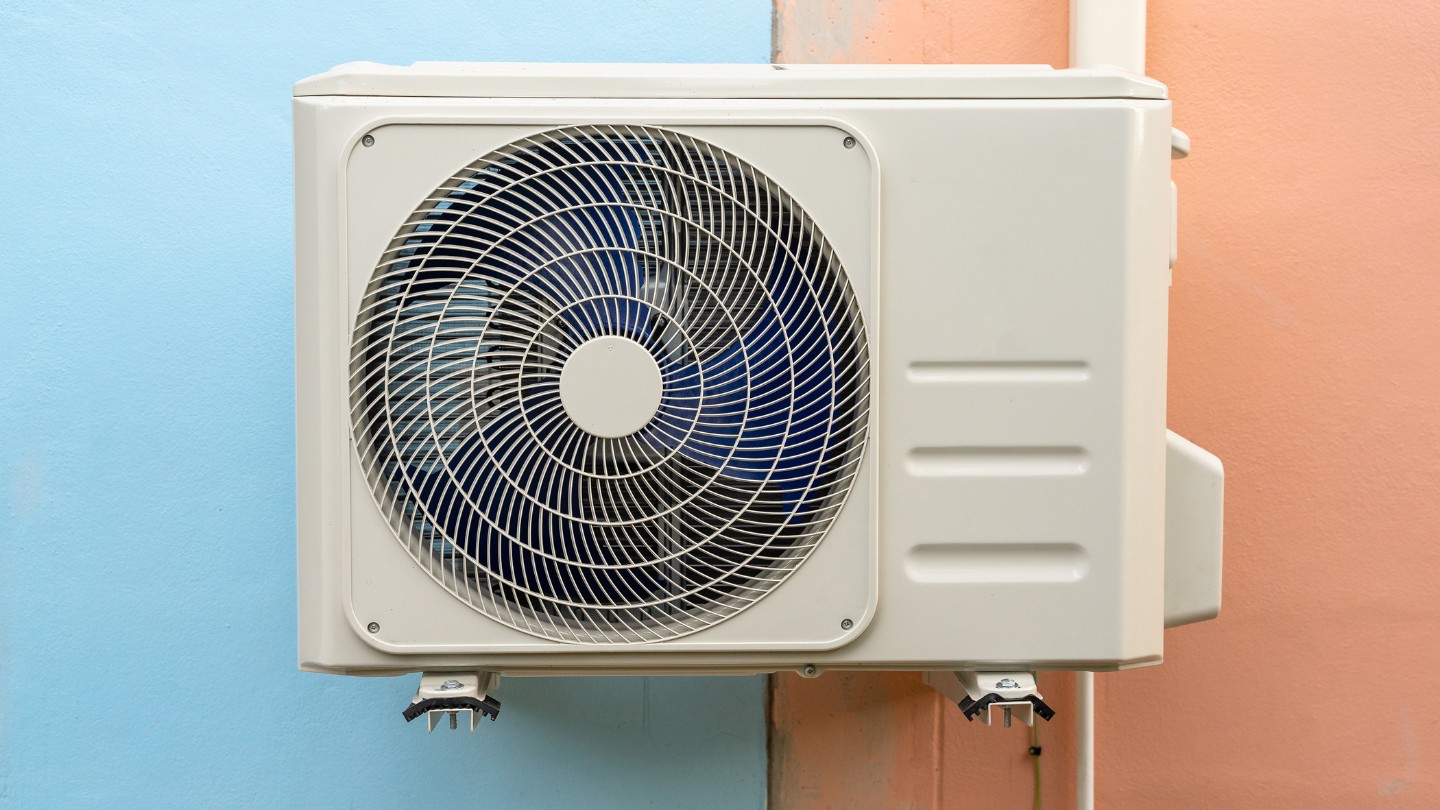
Freon is a trade name for a group of chlorofluorocarbon (CFC) or hydrochlorofluorocarbon (HCFC) refrigerants commonly used in air conditioning systems. Its purpose is to absorb heat from inside your home and release it outside, allowing for the cooling of the indoor air. The most common types of Freon used in AC units are R-22 and R-410A.
However, due to the harmful impact on the environment, the production of R-22, commonly known as Freon, has been phased out. As a result, newer AC units now use R-410A as the standard refrigerant. It’s important to check your AC unit’s specifications to determine the type of Freon it requires.
Safety Precautions
Before proceeding with adding Freon to your AC unit, it’s crucial to prioritize safety. Here are some essential safety precautions to keep in mind:
- Turn off the AC unit and unplug it from the power source before performing any maintenance or repair tasks. This will prevent any accidental electrical shocks.
- Wear protective gloves and safety goggles to protect your hands and eyes from coming into contact with the refrigerant or any other potentially harmful substances.
- Work in a well-ventilated area to avoid inhaling any fumes or gases released during the process.
- If you are uncertain or uncomfortable with any step of the process, it is recommended to seek professional assistance from a licensed HVAC technician.
Now that we’ve covered the safety precautions, let’s gather the necessary tools and materials to add Freon to your AC unit.
Key Takeaways:
- Prioritize safety and understand the basics of Freon before adding it to your AC unit. Always turn off the unit, wear protective gear, and choose the correct refrigerant type to ensure a smooth and efficient process.
- After adding Freon, thorough testing and regular maintenance are crucial for optimal AC performance. Monitor airflow, temperature, and pressure readings, and schedule professional maintenance to prolong your unit’s lifespan and ensure a comfortable indoor environment.
Read more: How Much Is Freon For AC Unit
Understanding Freon
Freon is a crucial component in maintaining the cooling efficiency of your AC unit. It is a trade name for a group of refrigerants that are used in air conditioning systems. The most commonly used types of Freon are R-22 and R-410A.
R-22, also known as Freon, was the standard refrigerant used in AC units for many years. However, due to its ozone-depleting properties, its production has been phased out as part of international efforts to protect the environment. As a result, newer AC units now use R-410A as the standard refrigerant.
It’s important to note that R-22 and R-410A are not interchangeable. Each type of refrigerant operates at a different pressure and requires different equipment and procedures for handling. Therefore, it’s crucial to check your AC unit’s specifications or consult the manufacturer to determine the type of Freon it requires.
Refrigerants like Freon work by absorbing heat from the indoor air and releasing it outside, which allows for the cooling of your home or office. Inside the AC system, the refrigerant circulates between the evaporator coil and the condenser coil.
When the refrigerant enters the evaporator coil, it absorbs heat from the indoor air, turning from a low-pressure gas into a high-pressure liquid. The warm air is blown over the cold evaporator coil, resulting in the cooling of the air that is then circulated back into the room.
The heated refrigerant, in the form of a high-pressure liquid, moves to the condenser coil located outside the building. Here, the heat is released into the outdoor air, and the refrigerant returns to its low-pressure gas state. The process repeats, enabling the continuous cooling of the indoor space.
It’s worth mentioning that Freon does not get consumed or used up during this process. In an ideally functioning AC unit, the refrigerant should remain at a consistent level. However, due to leaks or other issues, the Freon levels can become depleted, leading to a decrease in cooling efficiency.
Now that we’ve covered the basics of understanding Freon, let’s proceed to the safety precautions you need to keep in mind when adding Freon to your AC unit.
Safety Precautions
When it comes to adding Freon to your AC unit, it’s essential to prioritize safety to prevent accidents and ensure personal well-being. Here are some important safety precautions to keep in mind:
- Turn off the AC unit: Before starting any maintenance or repair tasks, make sure to turn off the AC unit and unplug it from the power source. This will help prevent any accidental electrical shocks during the process.
- Wear protective gear: It’s important to wear protective gloves and safety goggles to safeguard your hands and eyes from coming into contact with the refrigerant or any other potentially harmful substances. This protective gear will offer an additional layer of safety during the process.
- Work in a well-ventilated area: Adding Freon to your AC unit may release fumes or gases. To avoid inhaling any potentially dangerous substances, it’s crucial to perform the task in a well-ventilated area. Open windows or doors to ensure proper airflow and ventilation during the process.
- Avoid open flames or sparks: Since Freon is flammable, it’s important to keep open flames, lit cigarettes, or any other potential sources of sparks away from the work area. Doing so will minimize the risk of fire or explosions.
- Follow manufacturer’s instructions: Different AC units may have specific guidelines or requirements for adding Freon. Therefore, it’s recommended to consult the manufacturer’s instructions or user manual to ensure you are following the proper procedures for your particular unit.
- Seek professional assistance if unsure: If you feel unsure or uncomfortable with any step of the process, it’s best to seek professional assistance from a licensed HVAC technician. They have the expertise and experience to safely handle refrigerants and ensure proper maintenance of your AC unit.
By adhering to these safety precautions, you can minimize the risk of accidents and protect yourself during the process of adding Freon to your AC unit. Now, let’s move on to the tools and materials you’ll need for the task.
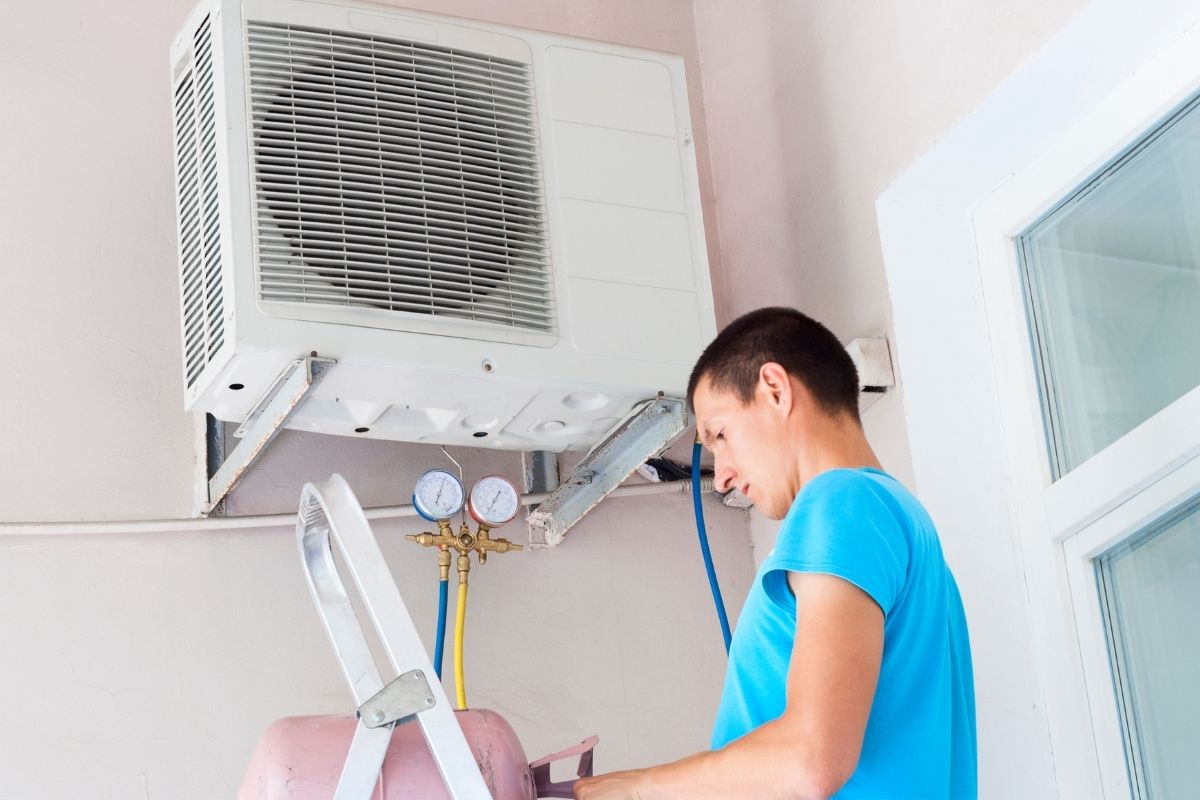
Make sure to turn off the AC unit before adding freon. Locate the service valve on the refrigerant line, connect the hose from the freon canister, and slowly add the freon while monitoring the pressure. Be cautious not to overfill.
Read more: How Do I Know If My AC Needs Freon
Tools and Materials Needed
Before you can begin adding Freon to your AC unit, you’ll need to gather the necessary tools and materials. Having everything ready beforehand will help ensure a smooth and efficient process. Here’s a list of what you’ll need:
- Safety Gloves: Choose a pair of sturdy and chemical-resistant gloves to protect your hands from the refrigerant and other potentially harmful substances you may come into contact with during the process.
- Safety Goggles: Opt for safety goggles that provide adequate eye protection. They will shield your eyes from any splashes or accidental contact with the refrigerant, which can cause irritation or damage.
- Refrigerant Cylinder: You’ll need a cylinder or canister of the appropriate type of refrigerant required for your AC unit. Ensure that the refrigerant you use matches the specifications recommended by your AC unit’s manufacturer.
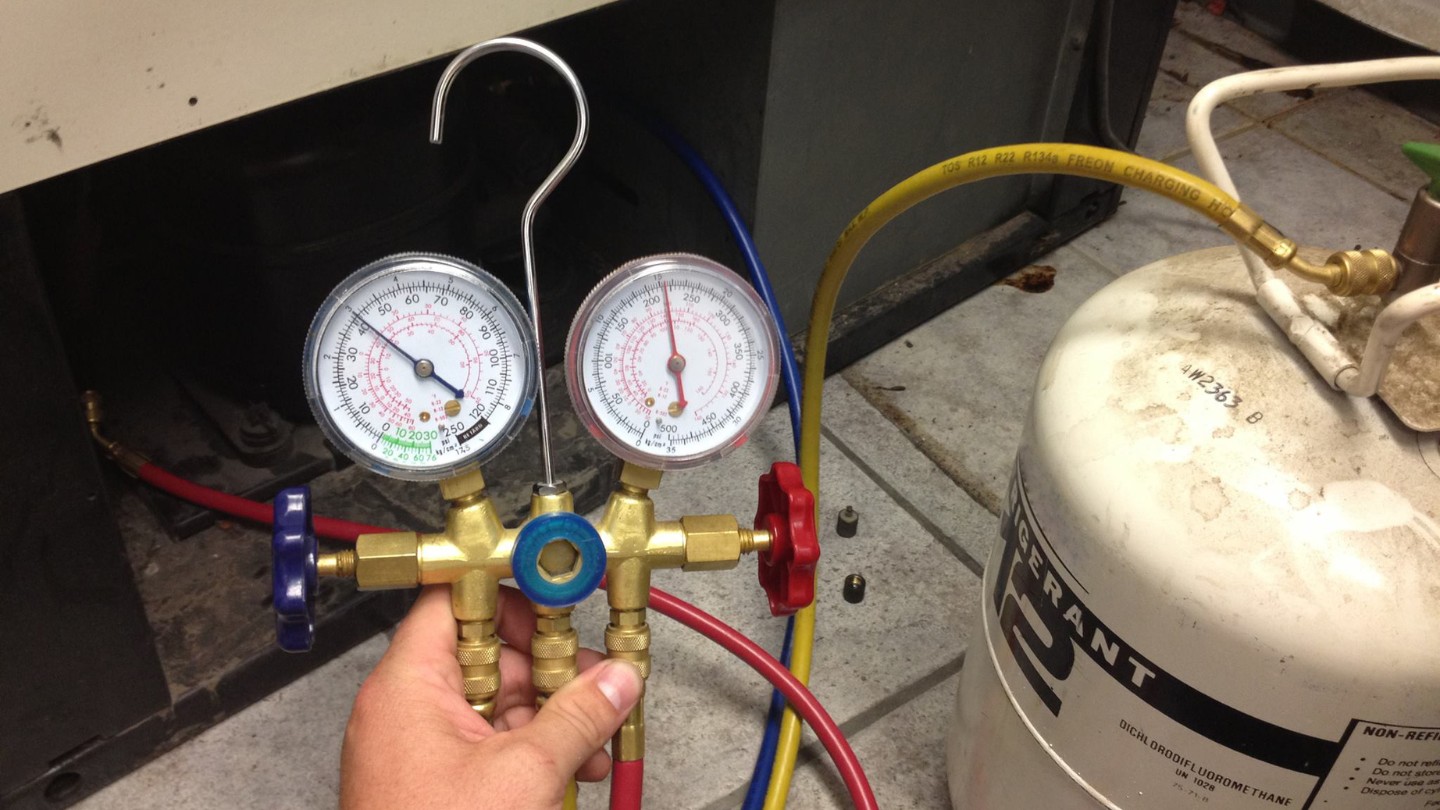
- Pressure Gauge: A pressure gauge is essential for measuring the pressure levels in your AC unit. This will help you determine whether the refrigerant levels are adequate and whether any adjustments are needed.
- Manifold Gauge Set: A manifold gauge set is useful for monitoring both the high and low-pressure sides of the AC system. It allows you to assess the refrigerant levels and pressures accurately during the process.
- Refrigerant Adapter: Depending on the type of refrigerant and AC system you have, you may need a refrigerant adapter to connect the canister to the manifold gauge set. This adapter ensures a secure and proper connection for the refrigerant transfer.
- Leak Detection Kit: A leak detection kit can help you identify any potential leaks in the AC system. It usually includes a fluorescent dye that, when added to the refrigerant, creates a visible glow under UV light, making leak detection easier.
- Appropriate Wrenches: Depending on your AC unit, you may need wrenches or adjustable spanners of various sizes to loosen and tighten connections or access certain components.
- Screwdrivers: Keep a set of Phillips and flathead screwdrivers on hand for removing any screws or fasteners that may need to be accessed during the process.
- Leak Sealant (optional): If you have detected leaks in your AC system, a leak sealant can be used to temporarily seal minor leaks. However, it’s important to note that this is a temporary solution, and professional repair may be necessary.
By gathering these tools and materials, you’ll be well-equipped to add Freon to your AC unit and ensure optimal cooling performance. Remember to always refer to the manufacturer’s instructions or consult with a professional if you have any doubts or concerns. Now, let’s move on to the step-by-step guide on how to add Freon to your AC unit.
Step-by-Step Guide to Adding Freon
Adding Freon to your AC unit requires careful attention to detail and following the proper procedures. Here is a step-by-step guide to help you through the process:
- Turn off the AC unit: Make sure your AC unit is turned off and unplugged from the power source. This will prevent any accidental electrical shocks during the procedure.
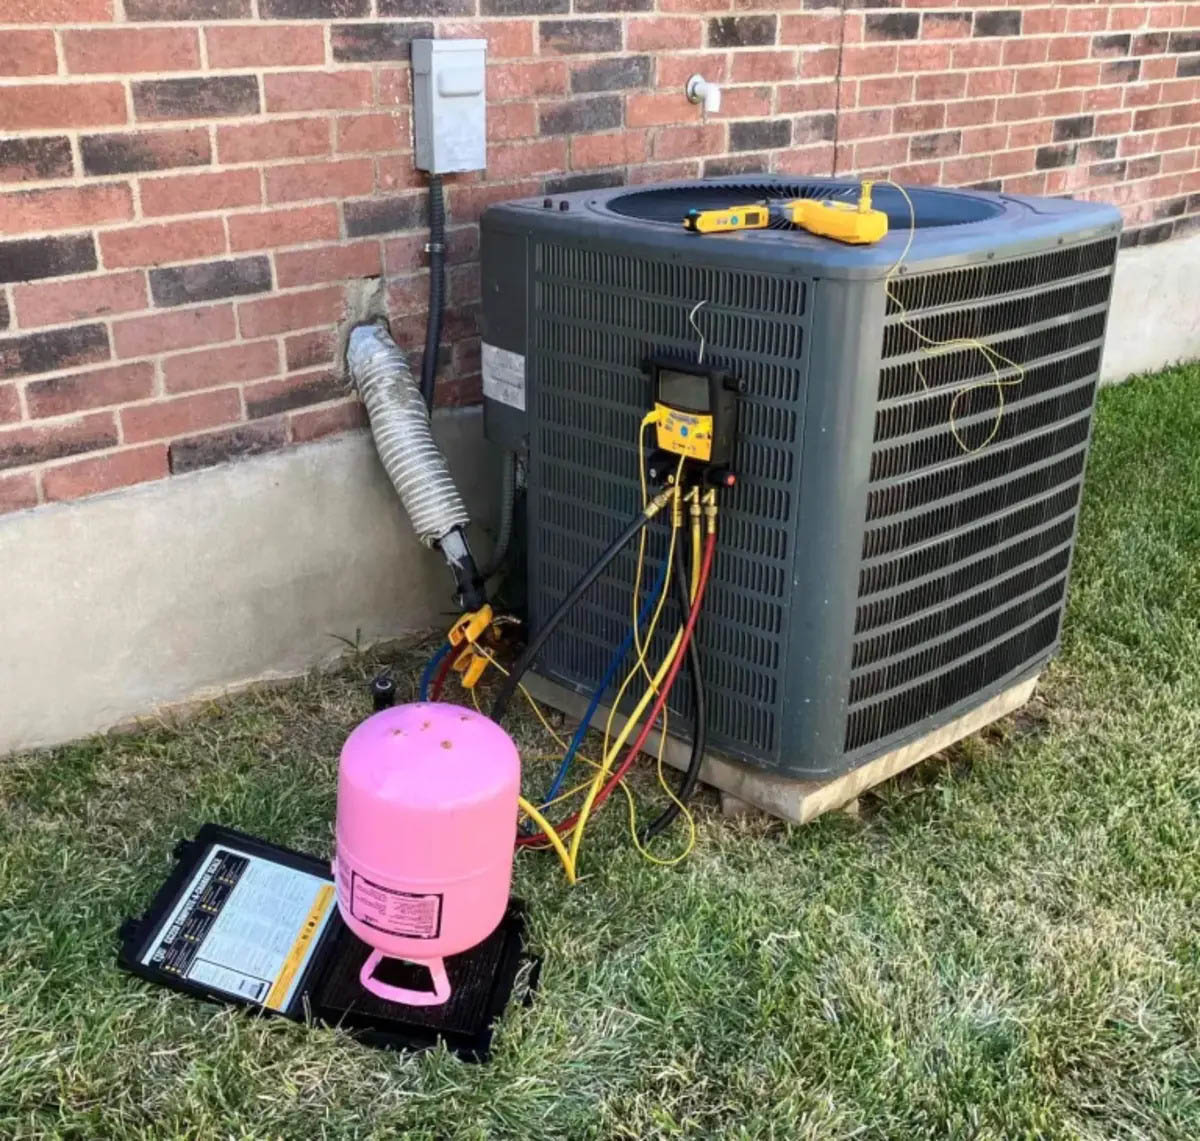
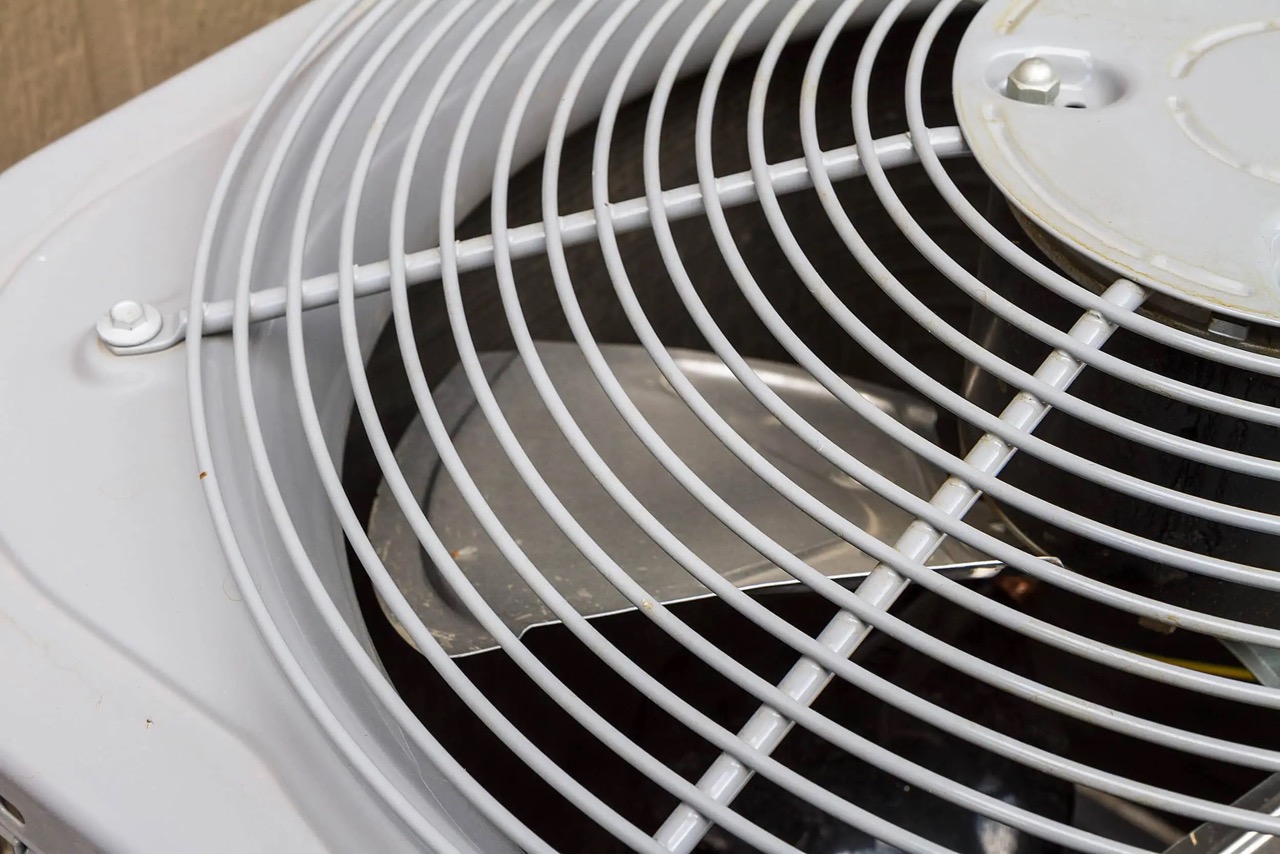
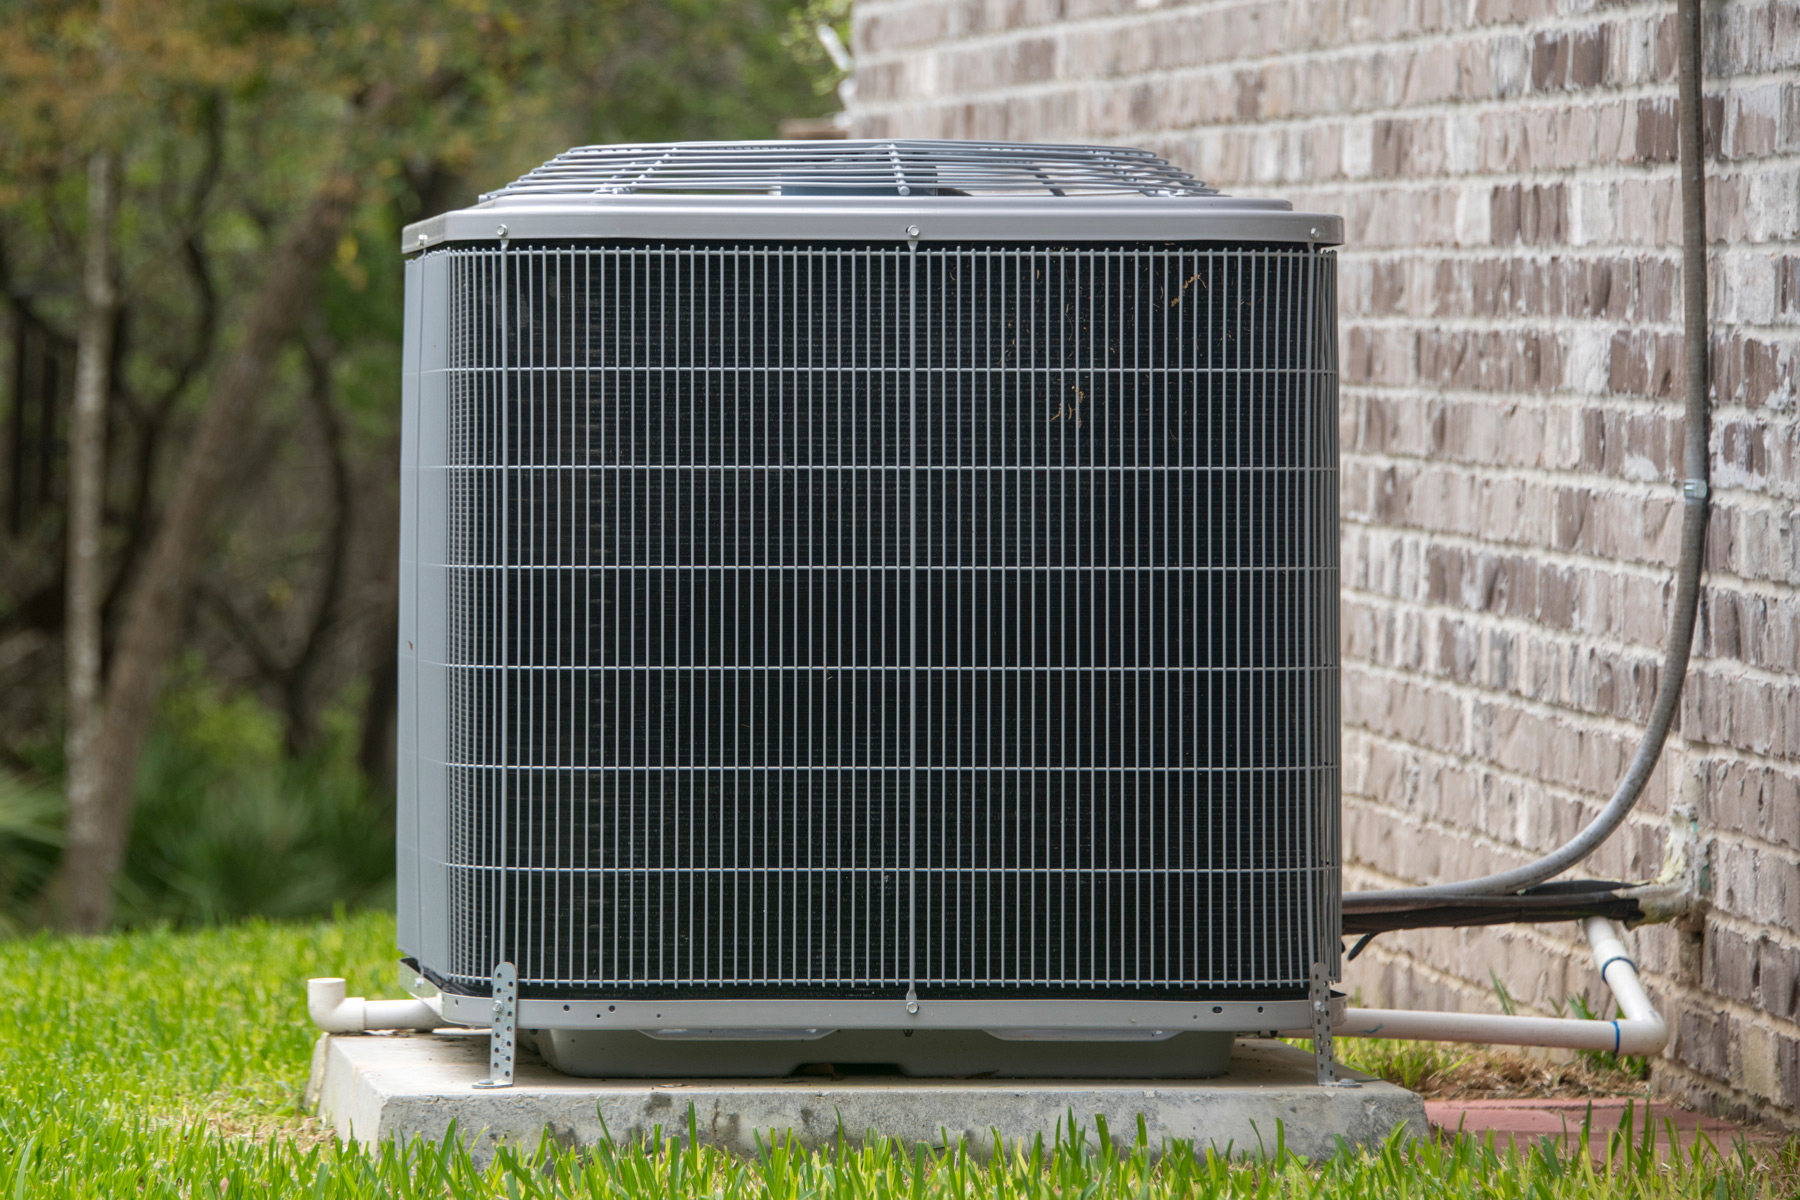
- Locate the service valve access ports: The service valve access ports are typically located on the outdoor condenser unit. One port will be marked as the low-pressure side (suction line) and the other as the high-pressure side (discharge line).
- Connect the manifold gauge set: Attach the manifold gauge set to the service valve access ports. The high-pressure gauge should be connected to the high-pressure side and the low-pressure gauge to the low-pressure side. Follow the manufacturer’s instructions for proper connection and use.
- Check the pressure readings: With the AC unit off, observe the pressure readings on the manifold gauge set. This will give you a baseline for comparison once you start adding Freon.
- Add the refrigerant: Slowly and carefully introduce the refrigerant into the AC system. Follow the manufacturer’s instructions for the specific type and amount of refrigerant needed for your AC unit. It’s recommended to add the refrigerant in small increments to avoid overcharging the system.
- Monitor the pressure: As you add the refrigerant, monitor the pressure readings on the manifold gauge set. Ensure that the pressures fall within the manufacturer’s specified range for your AC unit.
- Check for leaks: Once you have added the appropriate amount of refrigerant, use a leak detection kit to check for any leaks in the AC system. Follow the manufacturer’s instructions for using the kit and identifying leaks. If any leaks are found, they should be addressed and repaired by a professional.
- Remove the manifold gauge set: After completing the process, carefully disconnect the manifold gauge set from the service valve access ports. Ensure that all connections are secure and any valves are closed properly.
- Test the AC unit: Turn on the AC unit and observe its performance. Check for proper cooling and airflow to ensure that the added Freon has improved the system’s efficiency. If you notice any issues or inadequate cooling, it’s advised to seek professional assistance for further inspection and repair.
Remember, if you are unsure or uncomfortable with any step of the process, it’s best to consult with a licensed HVAC technician. They have the expertise and knowledge to handle refrigerants safely and can provide professional assistance if needed.
Now that you have successfully added Freon to your AC unit, it’s important to maintain and care for your system to ensure its longevity and optimal performance. Let’s explore some valuable maintenance tips in the next section.
Testing the AC Unit
Once you have added Freon to your AC unit, it’s crucial to test the system to ensure that the refrigerant levels and overall performance have improved. Testing will help you determine if the added Freon has resolved any cooling issues and if the AC unit is functioning optimally. Here are some key steps to follow when testing your AC unit:
- Turn on the AC unit: Start by turning on the AC unit and setting it to the desired temperature.
- Observe the airflow: Stand near the air vents and assess the airflow. Ensure that the air is blowing forcefully and evenly into the room. Weak or uneven airflow could indicate a potential issue that should be addressed.
- Monitor the temperature: Allow the AC unit to run for a sufficient amount of time to ensure that the temperature inside the room is dropping. Check if the air is cooling down to the desired temperature. If the temperature remains too warm or fluctuates, there may be a problem with the AC system that requires further investigation.
- Check for unusual sounds or odors: While the AC unit is running, listen for any unusual sounds such as rattling, buzzing, or grinding noises. Additionally, pay attention to any strange odors coming from the vents, which could indicate a potential issue with the system.
- Verify the pressure readings: If you have access to a manifold gauge set or have a professional technician on site, verify the pressure readings on the high and low-pressure sides of the AC system. The pressure should be within the manufacturer’s specified range for optimal performance.
- Inspect for leaks: Take a close look at the AC unit and its components to check for any visible signs of refrigerant leaks. Look for oily or wet spots, frost buildup, or disconnected or damaged refrigerant lines. If you suspect a leak, it’s best to contact a licensed HVAC technician to address and repair the issue.
- Monitor energy consumption: Keep an eye on your energy bills over the next few weeks to see if there is any noticeable change. Properly functioning AC units with sufficient levels of Freon should operate more efficiently, resulting in lower energy consumption.
If you encounter any issues or concerns while testing your AC unit, it’s recommended to seek professional assistance from a qualified HVAC technician. They can diagnose and address any underlying problems that may be affecting the system’s performance.
By conducting thorough testing, you can ensure that the added Freon has improved the performance of your AC unit. In the next section, we will provide you with some valuable maintenance tips to help keep your AC system running smoothly.
Maintenance Tips
Proper maintenance is key to ensuring the longevity and efficient operation of your AC unit. By following these maintenance tips, you can help keep your AC system running smoothly:
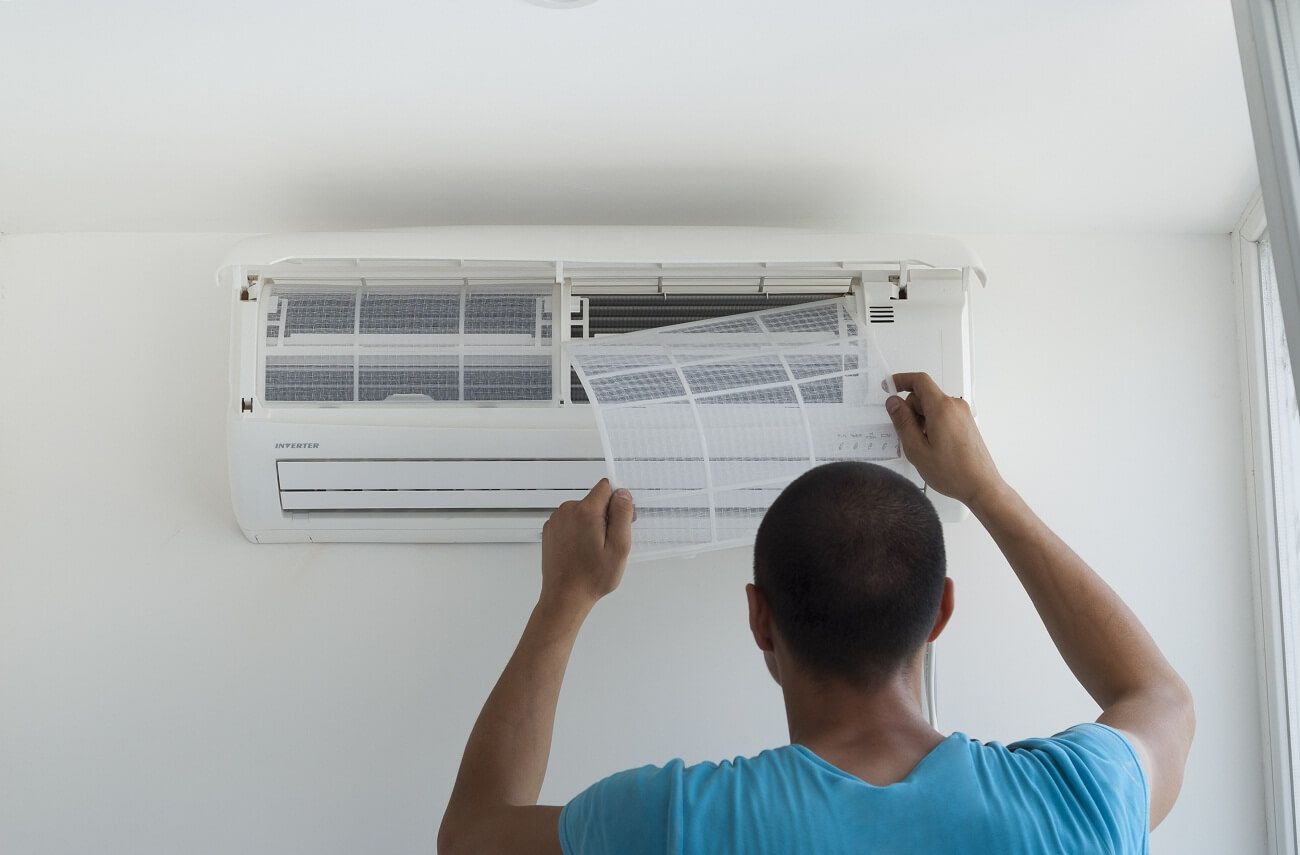
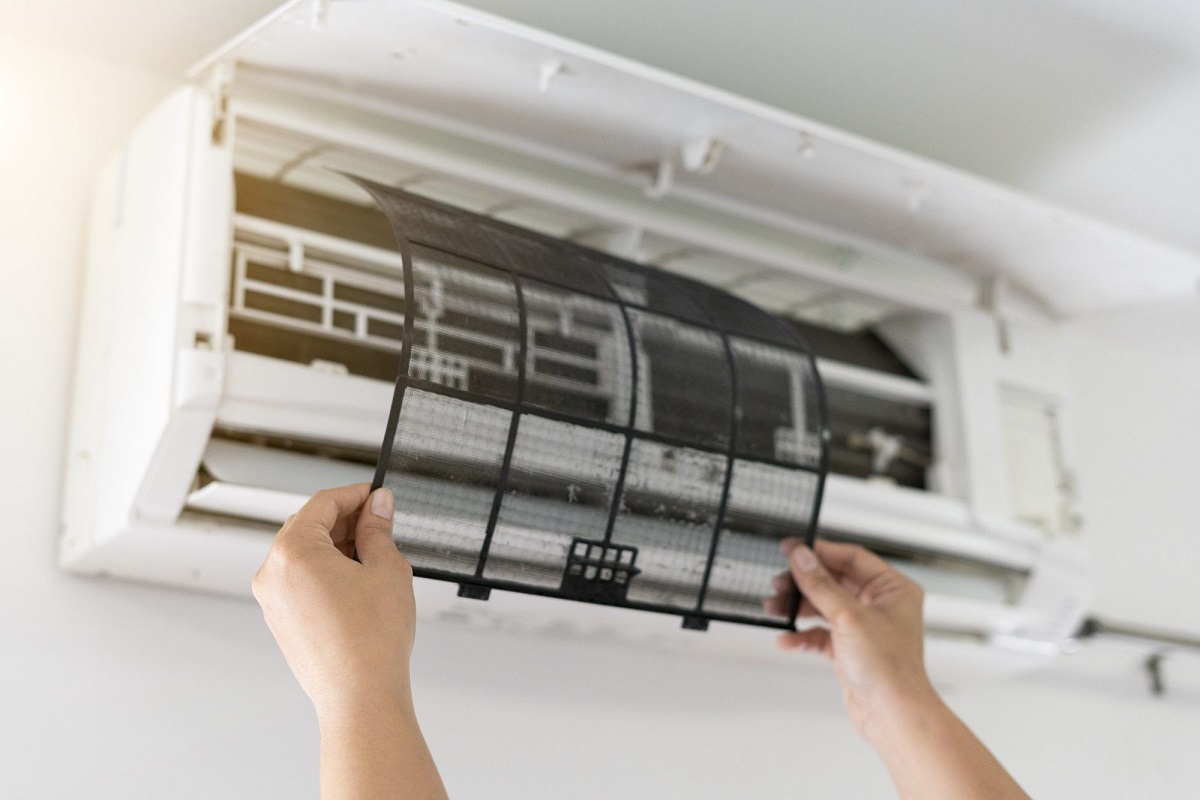
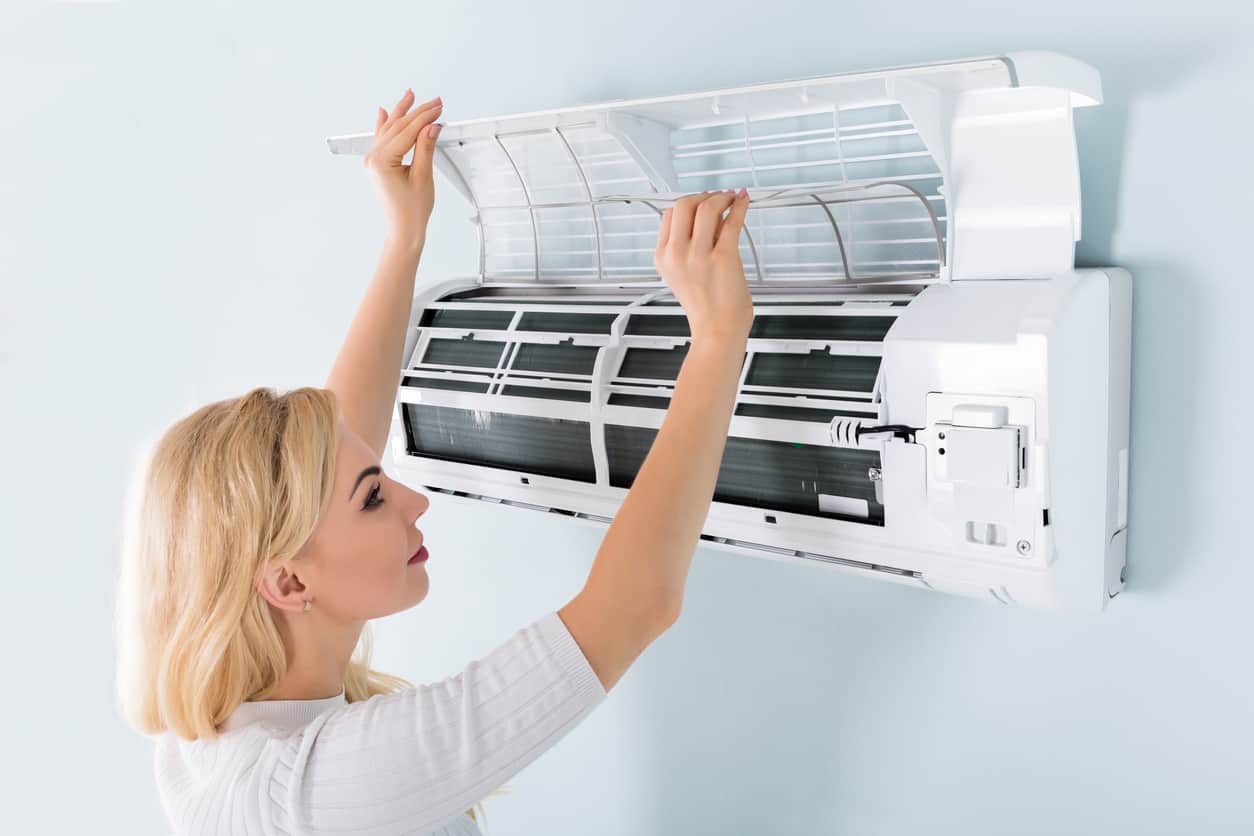
- Regularly clean or replace air filters: Dirty or clogged air filters can hinder airflow and reduce the cooling efficiency of your AC unit. It’s important to clean or replace the air filters every one to three months, or as recommended by the manufacturer.
- Clean the condenser coils: Over time, dirt, dust, and debris can accumulate on the condenser coils located in the outdoor unit. Clean the coils at least once a year to maintain optimal heat transfer and airflow. Use a soft brush or a coil cleaner solution to gently remove the buildup.
- Keep the outdoor unit clear: Ensure that the outdoor unit is free from any obstructions such as plants, leaves, or debris. Maintain a minimum clearance of two feet around the unit to facilitate proper airflow and prevent any potential damage or restriction to the system.
- Check and clean the evaporator coil: The evaporator coil, located in the indoor unit, can also collect dirt and debris. Inspect and clean the coil on a yearly basis using a soft brush or vacuum cleaner to prevent reduced cooling efficiency.
- Inspect and clean the blower fan: The blower fan is responsible for distributing cool air throughout your home. Inspect and clean the fan blades regularly to ensure they are free from dirt and dust, ensuring optimum airflow.
- Check refrigerant levels: Periodically check the refrigerant levels in your AC system to ensure they are within the manufacturer’s specified range. If you notice a significant decrease in cooling performance or suspect a refrigerant leak, contact a professional technician to verify and address the issue.
- Monitor thermostat settings: Verify that your thermostat is set to the desired temperature and functioning correctly. Replace batteries if necessary and consider upgrading to a programmable or smart thermostat for energy-saving features.
- Schedule professional maintenance: It’s recommended to schedule regular professional maintenance for your AC unit. A qualified HVAC technician can perform a thorough inspection, clean the system, and address any potential issues to ensure its optimal performance.
- Keep ductwork clean: If your AC system uses ductwork, ensure that it remains clean and free from obstructions. Periodic duct cleaning can help maintain proper airflow and prevent the buildup of dust, dirt, and allergens.
- Ensure proper insulation: Properly insulate your home to minimize heat transfer and reduce the burden on your AC unit. Insulate windows, doors, and walls to help maintain a comfortable indoor temperature and improve energy efficiency.
By following these maintenance tips, you can prolong the lifespan of your AC unit, improve its efficiency, and prevent costly repairs. Regular maintenance not only ensures a cool and comfortable indoor environment but also saves energy and reduces your environmental impact.
Now that you have learned about maintenance tips, it’s time to wrap up our comprehensive guide on how to put Freon in your AC unit.
Read also: 11 Best AC Freon for 2025
Conclusion
Ensuring that your AC unit has the proper levels of Freon is essential for maintaining optimal cooling performance, especially during hot summer months. By following the step-by-step guide and safety precautions outlined in this article, you can confidently add Freon to your AC unit and enjoy a comfortable living environment.
Understanding the basics of Freon and its role in the cooling process is crucial. Different AC units require specific types of refrigerants, so it’s important to check your unit’s specifications to ensure you choose the correct one.
Prioritizing safety throughout the process is vital. Always turn off the AC unit and wear the necessary protective gear to prevent accidents. If you have any doubts or concerns, it’s best to seek assistance from a licensed HVAC technician.
Gathering the right tools and materials is essential for a smooth process. The right equipment, such as a manifold gauge set and refrigerant adapter, will enable you to add Freon accurately and efficiently.
Once you have added Freon, testing the AC unit is crucial to ensure proper cooling performance. Check the airflow, monitor the temperature, and listen for any unusual sounds or odors. Monitoring pressure readings and inspecting for leaks will help you identify and address any issues.
Maintaining your AC unit is key to its longevity and efficiency. Regularly cleaning or replacing air filters, cleaning coils, and keeping the outdoor unit clear of obstructions are essential maintenance tasks. Additionally, scheduling professional maintenance and keeping ductwork clean will contribute to the optimal performance of your AC system.
By following these guidelines, you can effectively add Freon to your AC unit, ensure its efficient operation, and prolong its lifespan. Remember, if you are unsure or uncomfortable with any aspect of the process, it’s always best to seek assistance from a qualified professional.
Stay cool and enjoy the comfort of a properly functioning AC unit!
Frequently Asked Questions about How To Put Freon In AC Unit
Was this page helpful?
At Storables.com, we guarantee accurate and reliable information. Our content, validated by Expert Board Contributors, is crafted following stringent Editorial Policies. We're committed to providing you with well-researched, expert-backed insights for all your informational needs.


0 thoughts on “How To Put Freon In AC Unit”