Articles
How To Tile Around Range Hood
Modified: October 20, 2024
Discover step-by-step articles on tiling around a range hood and achieve a sleek, professional look in your kitchen. Get expert tips and tricks today!
(Many of the links in this article redirect to a specific reviewed product. Your purchase of these products through affiliate links helps to generate commission for Storables.com, at no extra cost. Learn more)
Introduction
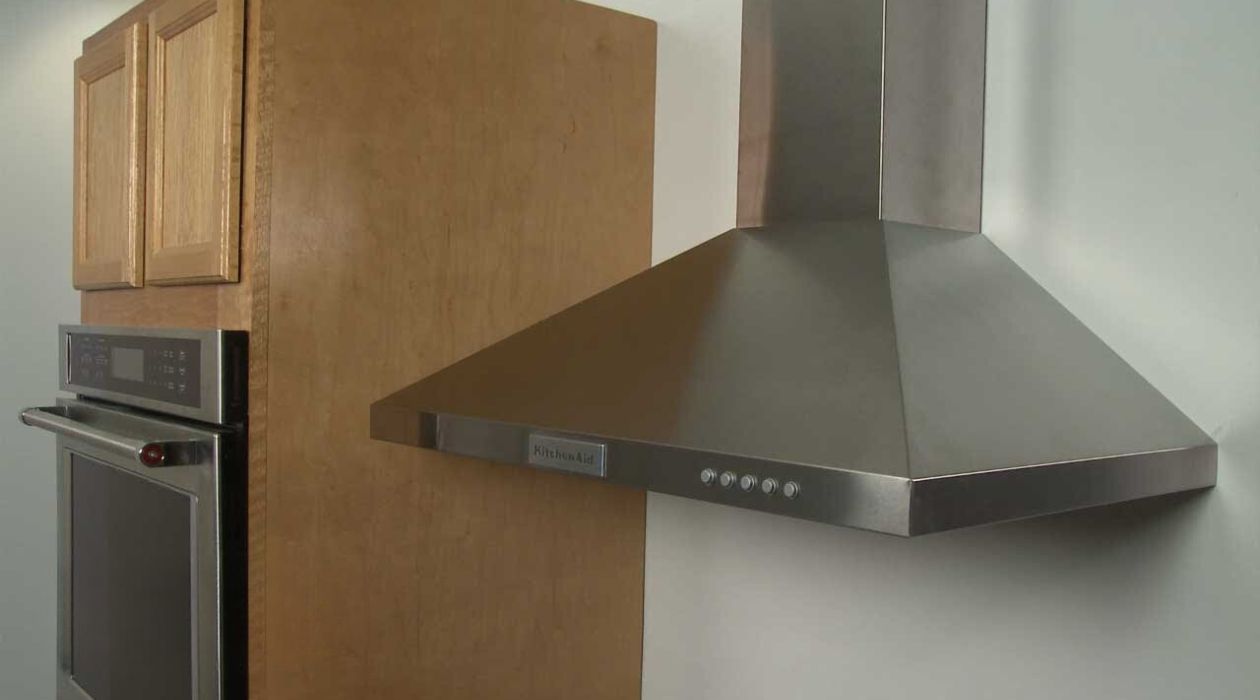
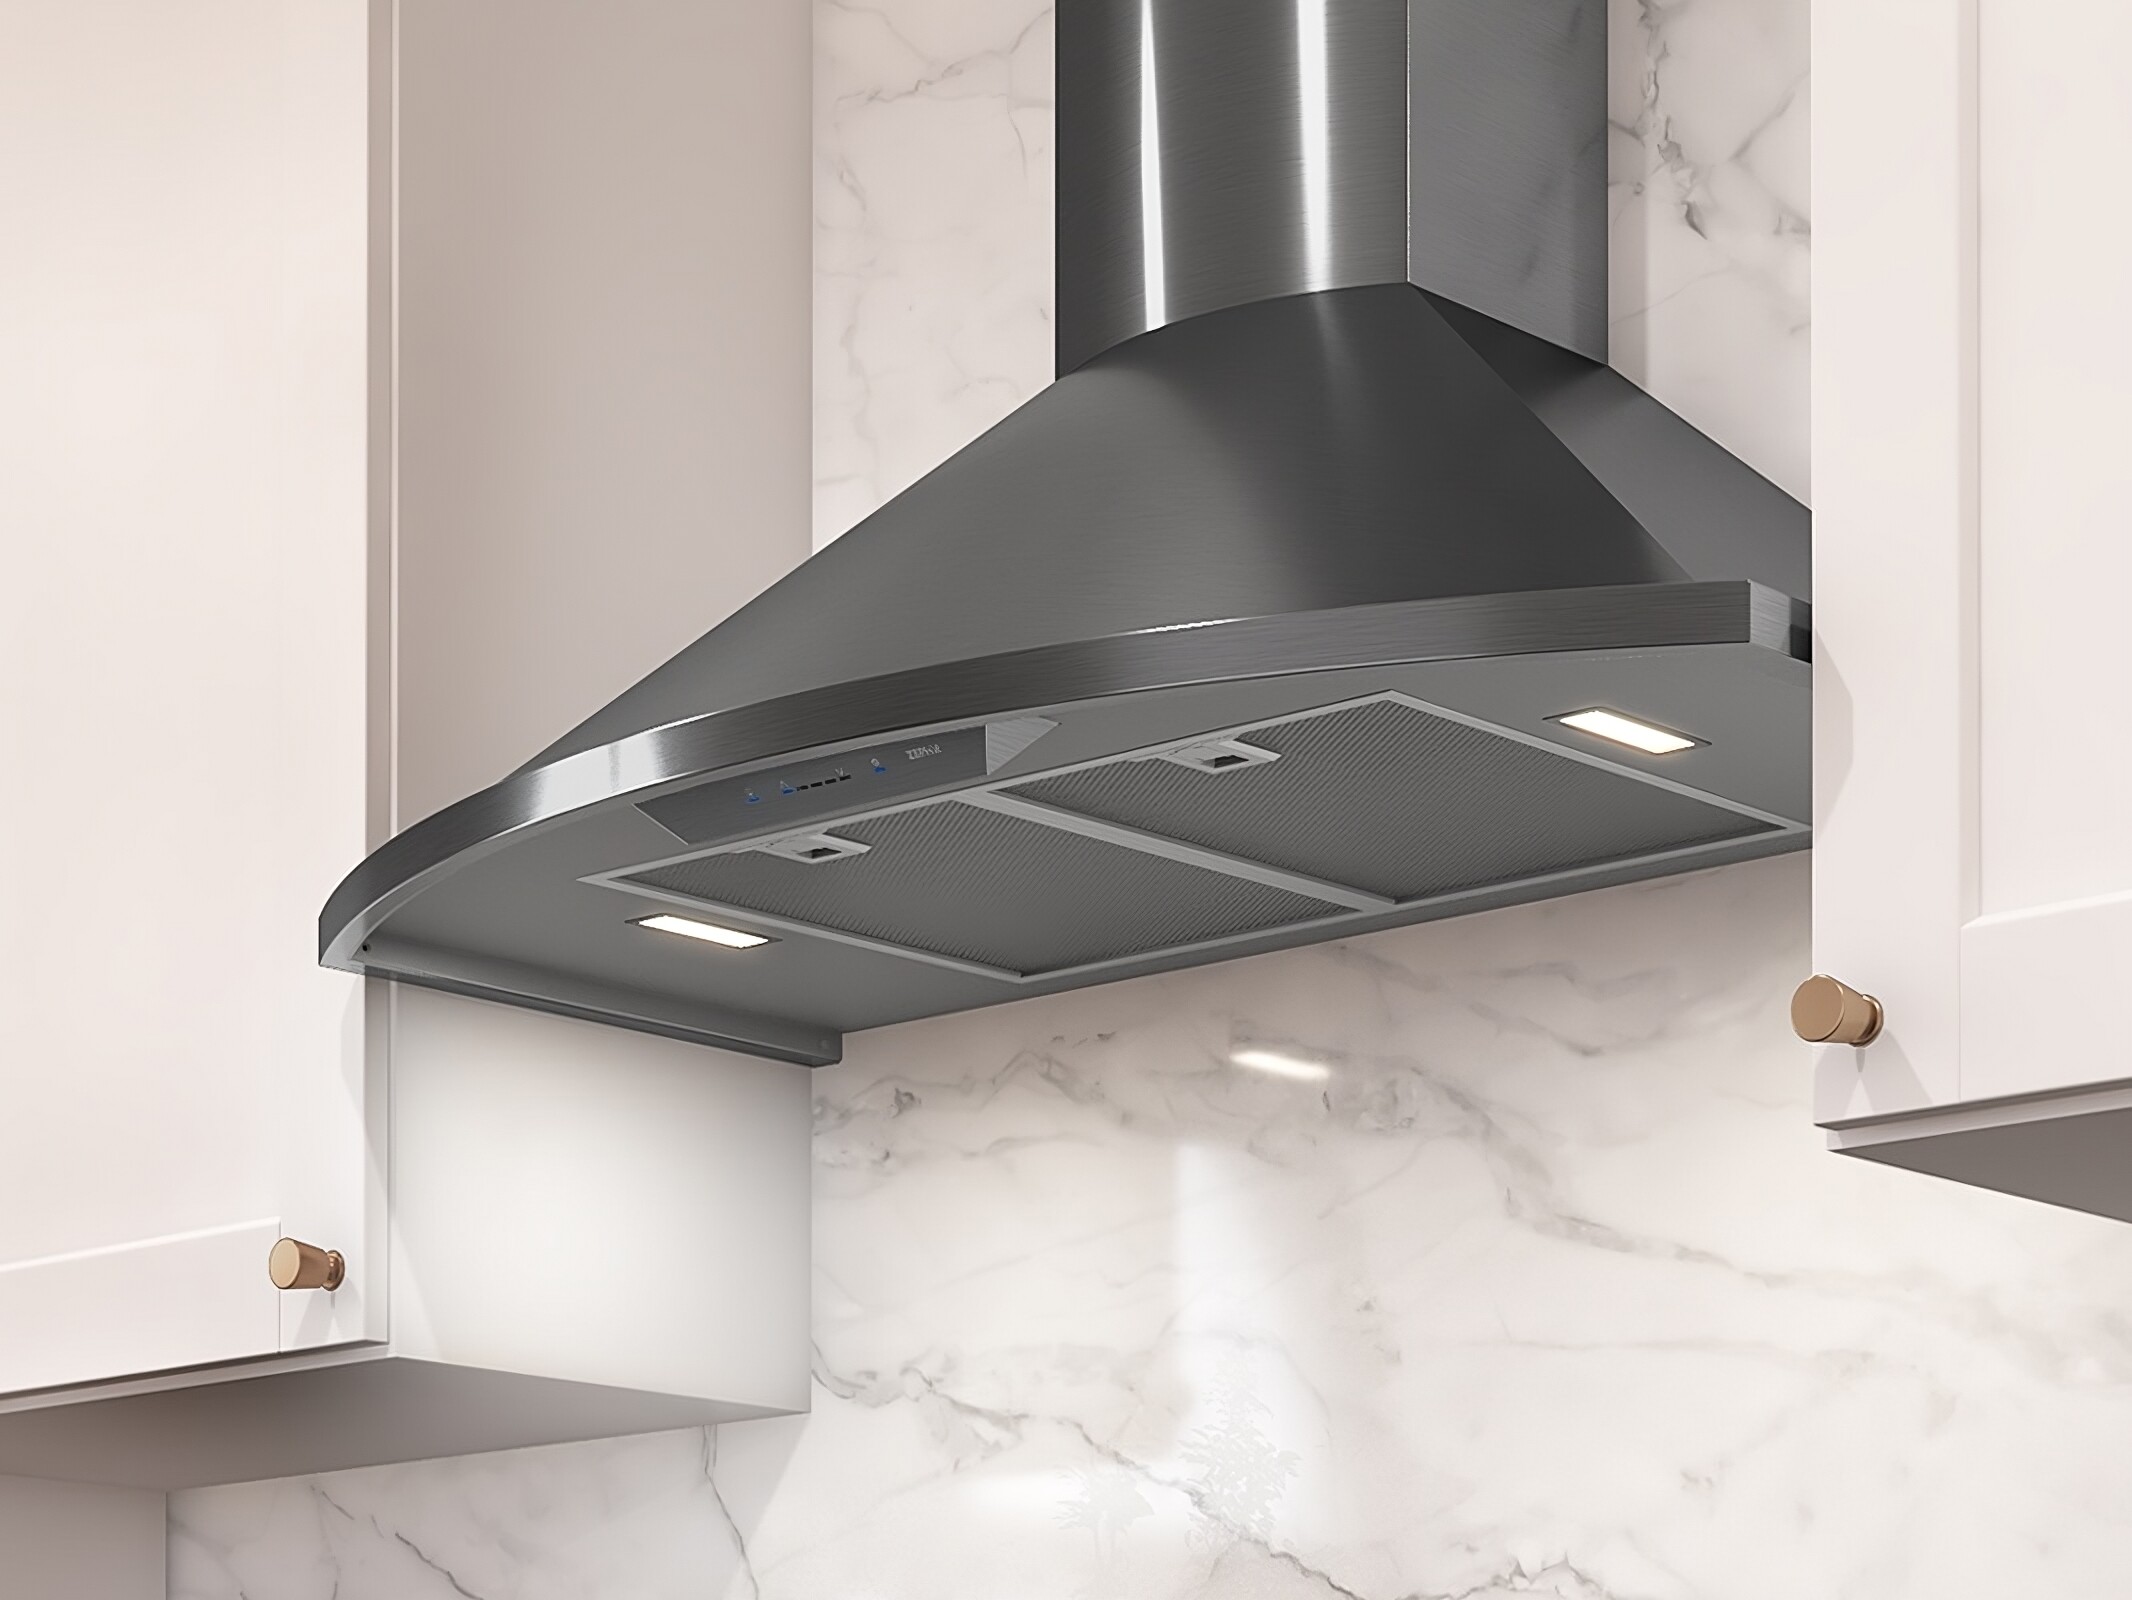
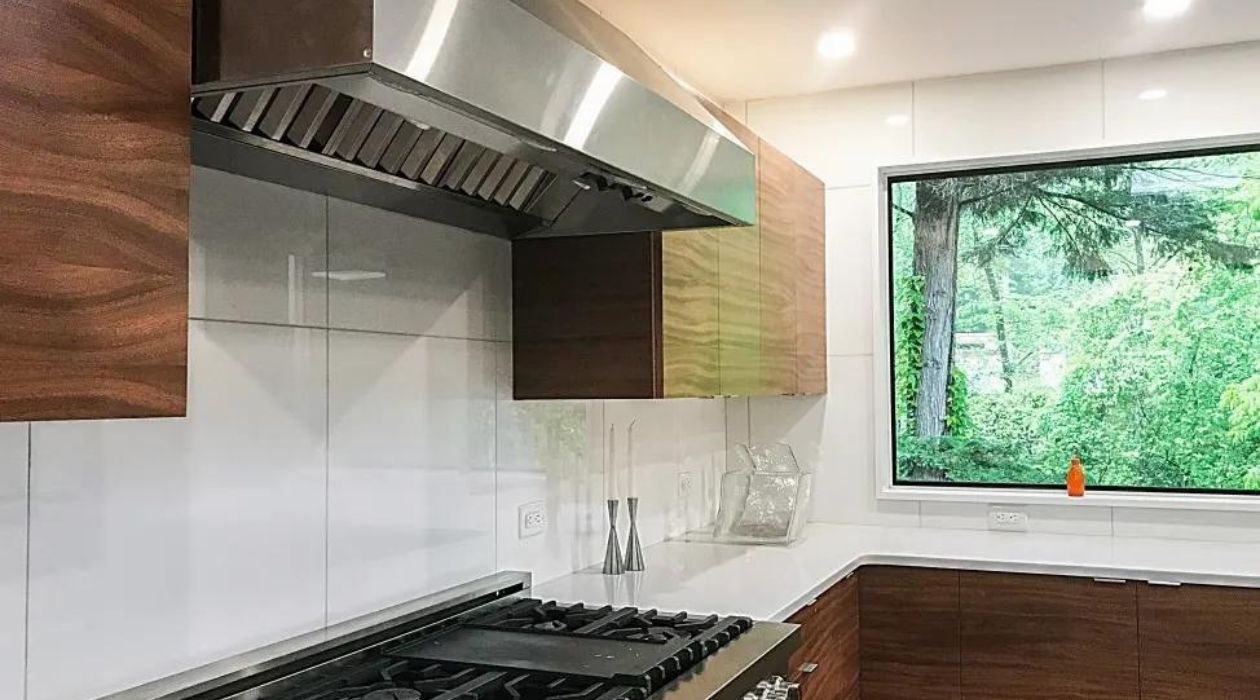
When it comes to kitchen renovations or remodeling projects, one area that often requires attention is the space around the range hood. The range hood, also known as the exhaust hood, is an essential appliance that helps to remove smoke, grease, and odors from the kitchen. However, when it comes to tiling around the range hood, many homeowners may find themselves unsure of how to proceed.
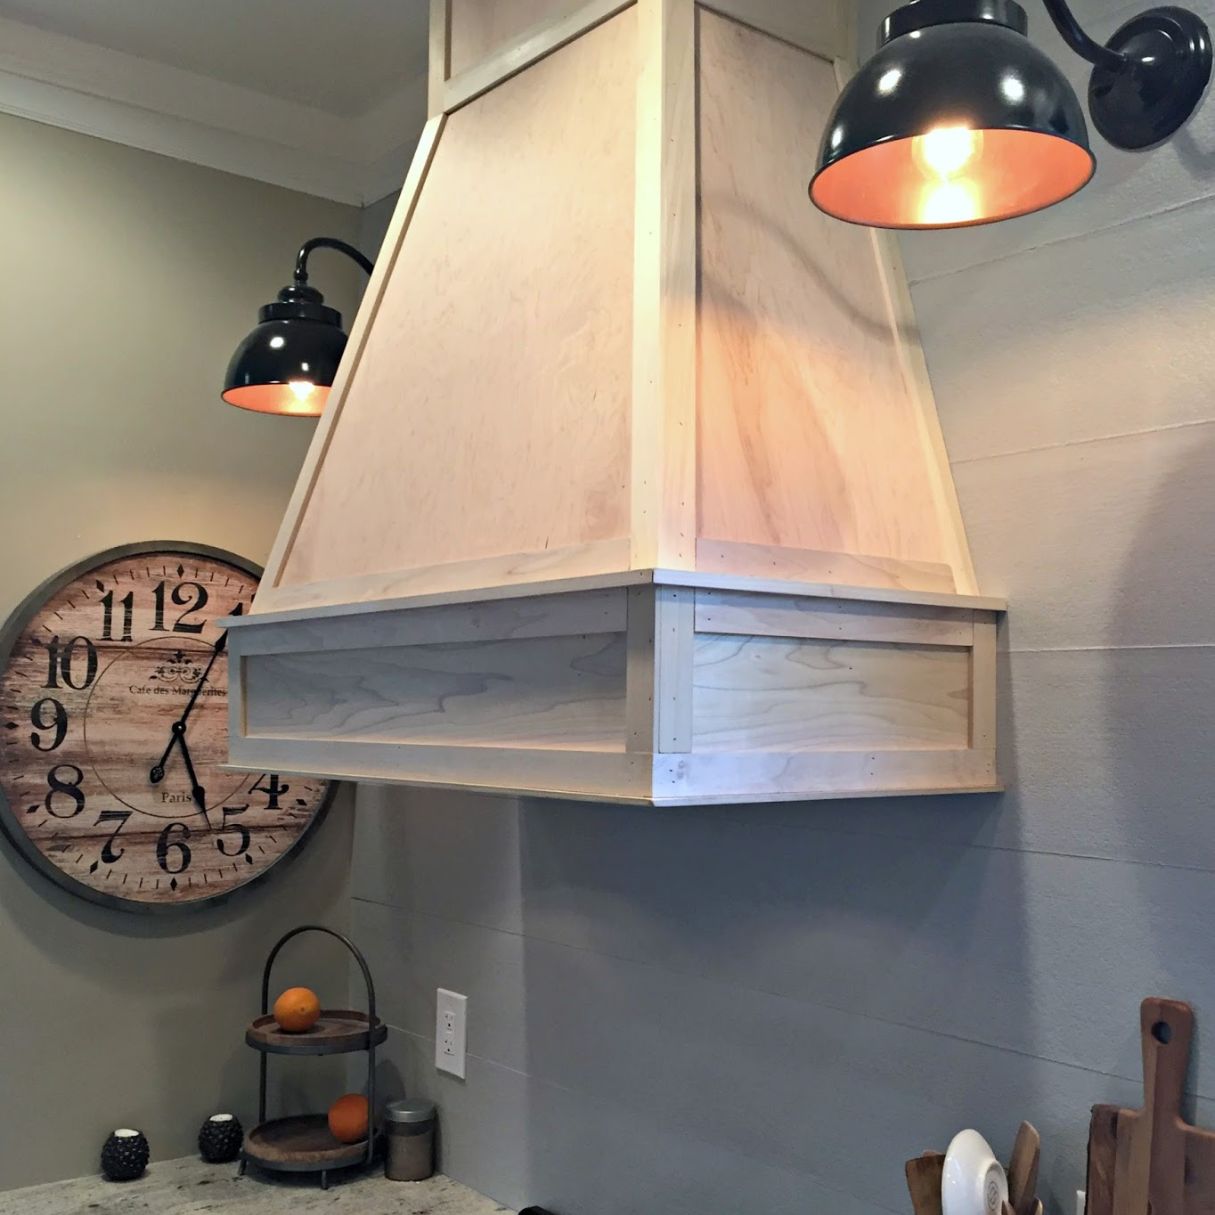
Tiling around the range hood is not only a functional step in kitchen renovation but can also add a stylish and cohesive look to the overall design. Whether you are planning to install a new range hood or looking to update the tiles around your existing one, this article will guide you through the step-by-step process.
In this article, you will learn about the necessary materials and tools, how to prepare the area around the range hood, measuring and cutting tiles, applying adhesive, tiling, grouting, and finishing touches. By following these steps, you will be able to tile around your range hood like a pro and achieve a professional-looking result that enhances the beauty and functionality of your kitchen.
So, if you’re ready to take on this DIY project and give your kitchen a fresh new look, let’s get started!
Key Takeaways:
- Elevate your kitchen with a stunning range hood surround by following our step-by-step guide to achieve a professional and polished tile installation.
- From preparation to finishing touches, learn how to create a functional and elegant tiled space that enhances your kitchen’s aesthetic appeal.
Read more: What Is A Range Hood
Step 1: Gather the necessary materials and tools
Before you begin tiling around your range hood, it is essential to gather all the materials and tools you will need for a successful installation. Having everything prepared beforehand will make the process smoother and more efficient.
Here’s a list of the materials and tools you will need:
- Tile: Choose the type, color, and size of the tile that complements your kitchen’s design. Ensure you have enough tiles to cover the desired area.
- Tile adhesive: Select a high-quality tile adhesive suitable for your chosen tile material and the substrate you’ll be tiling onto.
- Grout: Choose a grout color that matches or complements your tiles. Opt for a grout with a waterproof and stain-resistant formula.
- Tile spacers: These small plastic pieces help maintain a consistent gap between the tiles, ensuring a professional finish.
- Tile cutter: Depending on the tile material, you may need a manual tile cutter or a wet saw for accurate cuts.
- Notched trowel: A notched trowel is used to spread the adhesive evenly on the wall before placing the tiles.
- Grout float: This tool is used to apply and smooth the grout into the gaps between the tiles.
- Sponge and bucket of water: Essential for cleaning excess grout and keeping the tiles clean during installation.
- Measuring tape: Accurate measurements are crucial to ensure the tiles fit properly around the range hood.
- Pencil: Used for marking the tiles and making guidelines on the wall.
- Level: Ensure the tiles are even and straight by using a level to guide your installation.
- Protective gear: Wear gloves and safety glasses to protect your hands and eyes during the tiling process.
By gathering all the necessary materials and tools ahead of time, you can minimize interruptions and complete the project efficiently.
Once you have everything you need, you’re ready to move on to the next step: preparing the area around the range hood.
Step 2: Prepare the area around the range hood
Before you start tiling, it’s important to properly prepare the area around the range hood. This will ensure a smooth and long-lasting tile installation. Follow these steps to prepare the area:
- Start by removing any existing tiles or coverings around the range hood. Use a putty knife or scraper to gently pry the tiles off the wall. Be careful not to damage the wall surface.
- Once the tiles are removed, inspect the wall for any signs of damage or unevenness. Repair any cracks or holes by filling them with spackling compound and smoothing it with a putty knife. Allow the compound to dry completely before proceeding.
- Next, clean the wall surface thoroughly to remove any dirt, grease, or residue. Use a mild detergent and warm water, and scrub the wall gently with a sponge or soft brush. Rinse the wall with clean water and allow it to dry completely.
- Check the surface for any protrusions or uneven areas. Sand down any high spots using sandpaper or a sanding block. This will create a smooth and level surface for tile installation.
- Apply a coat of primer to the wall before tiling. The primer will help the adhesive bond to the wall and prevent moisture from seeping into the substrate. Follow the manufacturer’s instructions for proper application and drying time.
- Once the primer is dry, mark a level line along the bottom of the range hood using a pencil and a level. This will serve as a guideline for the first row of tiles. Make sure the line is straight and level.
- If you are tiling above the range hood, measure and mark the center point of the hood. This will help you position the tiles symmetrically around the hood.
- Finally, protect the range hood from tile adhesive and grout by covering it with plastic or a drop cloth. Secure the covering in place using painter’s tape.
By properly preparing the area around the range hood, you create a solid foundation for your tile installation and ensure a visually appealing and long-lasting result.
With the area prepared, you’re now ready to move on to the next step: measuring and cutting the tiles.
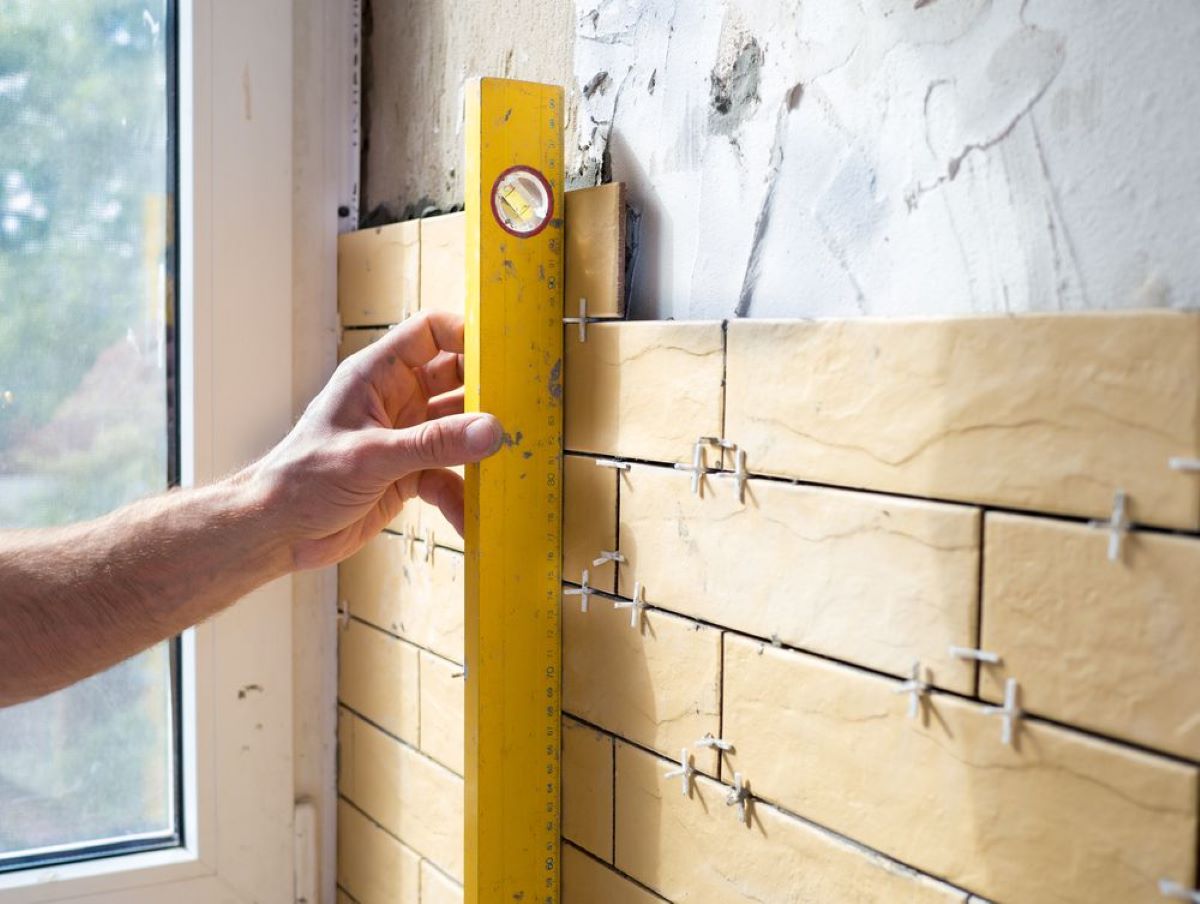
Step 3: Measure and cut the tiles
Properly measuring and cutting the tiles is crucial to ensure a precise and professional-looking tile installation. Follow these steps to measure and cut your tiles:
- Start by measuring the width and height of the space where the tiles will be installed around the range hood. Take accurate measurements using a measuring tape.
- Based on your measurements, calculate the number of tiles needed for the area. Take into account the size of the tiles, as well as the desired grout lines. It’s always a good idea to purchase some extra tiles in case of breakage or future replacements.
- If you need to make any cuts or adjustments to the tiles, mark them with a pencil. Use a straight edge or a square to create precise cutting lines.
- For straight cuts, use a tile cutter or a wet saw. Place the tile on the cutting surface, aligning the cutting line with the blade or the cutting guide. Score the tile along the line, then apply pressure to break it along the scored line.
- If you need to make curved or irregular cuts, use a tile nippers or a hole saw to achieve the desired shape. Make small, controlled cuts to gradually shape the tile according to your needs.
- Always wear safety glasses and gloves when cutting tiles to protect yourself from flying debris and sharp edges.
Once you have measured and cut the tiles, dry-fit them in the planned areas to ensure they fit properly and make any necessary adjustments. It’s important to check the alignment and spacing between the tiles to achieve a cohesive appearance.
Remember, accuracy is essential when measuring and cutting tiles. Taking your time and double-checking your measurements will result in a seamless and professional-looking tile installation.
With your tiles prepared, you’re now ready to move on to the next step: applying adhesive to the wall.
Step 4: Apply adhesive to the wall
Applying adhesive to the wall is a crucial step in the tiling process. The adhesive ensures that the tiles adhere securely to the surface and provide a durable installation. Follow these steps to properly apply adhesive to the wall:
- Start by mixing the tile adhesive according to the manufacturer’s instructions. Use a mixing paddle and a drill to achieve a smooth and uniform consistency.
- Using a notched trowel, spread a layer of adhesive on the wall in small sections. Hold the trowel at a 45-degree angle and apply even pressure to create ridges in the adhesive.
- Work in small areas at a time to prevent the adhesive from drying out before you can place the tiles.
- Start from the bottom of the marked guideline, near the range hood or the center point if applicable. Press the first tile firmly into the adhesive, sliding it slightly to ensure good contact.
- Place tile spacers on all sides of the tile to maintain consistent spacing between the tiles. Adjust the tile as needed to align it properly.
- Continue applying adhesive and placing the tiles, working your way up the wall. Periodically check the tiles with a level to ensure they are straight and even.
- If you need to cut and install tiles around outlets, vents, or other obstacles, use a tile cutter or nippers to make accurate cuts. Ensure the cut tiles fit snugly against the obstacle.
- For larger tiles or heavier materials, consider back buttering the tiles by applying a thin layer of adhesive on the back of each tile before placing it on the wall. This will enhance the bond and stability.
- Remove any excess adhesive from the tile surfaces and grout joints using a damp sponge or cloth.
- Allow the adhesive to set and dry according to the manufacturer’s instructions. This typically takes 24-48 hours.
It’s important to follow the adhesive manufacturer’s instructions regarding drying time and application techniques. This will ensure a strong and durable bond between the tiles and the wall.
With the adhesive applied, you’re now ready to move on to the next step: tiling around the range hood.
Read more: How To Build A Range Hood
Step 5: Start tiling around the range hood
With the adhesive dried, it’s time to start tiling around the range hood. This step will bring your project to life and begin to showcase the beautiful transformation of your kitchen. Follow these steps to ensure a successful tile installation:
- Begin at the bottom of the guideline you marked earlier, near the range hood or the center point if applicable.
- Apply a small amount of adhesive to the back of each tile, known as back buttering, to ensure good contact with the wall.
- Press the tiles firmly onto the wall, aligning them with the marked guideline and the adjacent tiles. Use a slight twisting motion to help set the tiles into place.
- Place tile spacers on all sides of each tile to maintain consistent spacing.
- Continue tiling row by row, working your way up the wall. Check the alignment and spacing regularly to ensure a cohesive and symmetrical appearance.
- If you encounter outlets or other obstacles, use a tile cutter or nippers to make precise cuts and ensure a proper fit around the obstacles.
- Periodically check the tiles with a level to ensure they are straight and even. Adjust as needed.
- As you work, periodically remove any excess adhesive that may squeeze up between the tiles using a damp sponge or cloth.
- Allow the tiles to set in the adhesive for the recommended drying time specified by the manufacturer. This typically takes 24-48 hours.
It’s important to take your time and work carefully during this step to achieve a professional-looking result. Make sure the tiles are properly aligned, the spacing is consistent, and any cuts are precise.
As you complete the tiling process, you will start to see the transformation taking place, enhancing the aesthetic appeal of your kitchen.
With the tiles in place, you’re now ready to move on to the next step: filling in the gaps with grout.
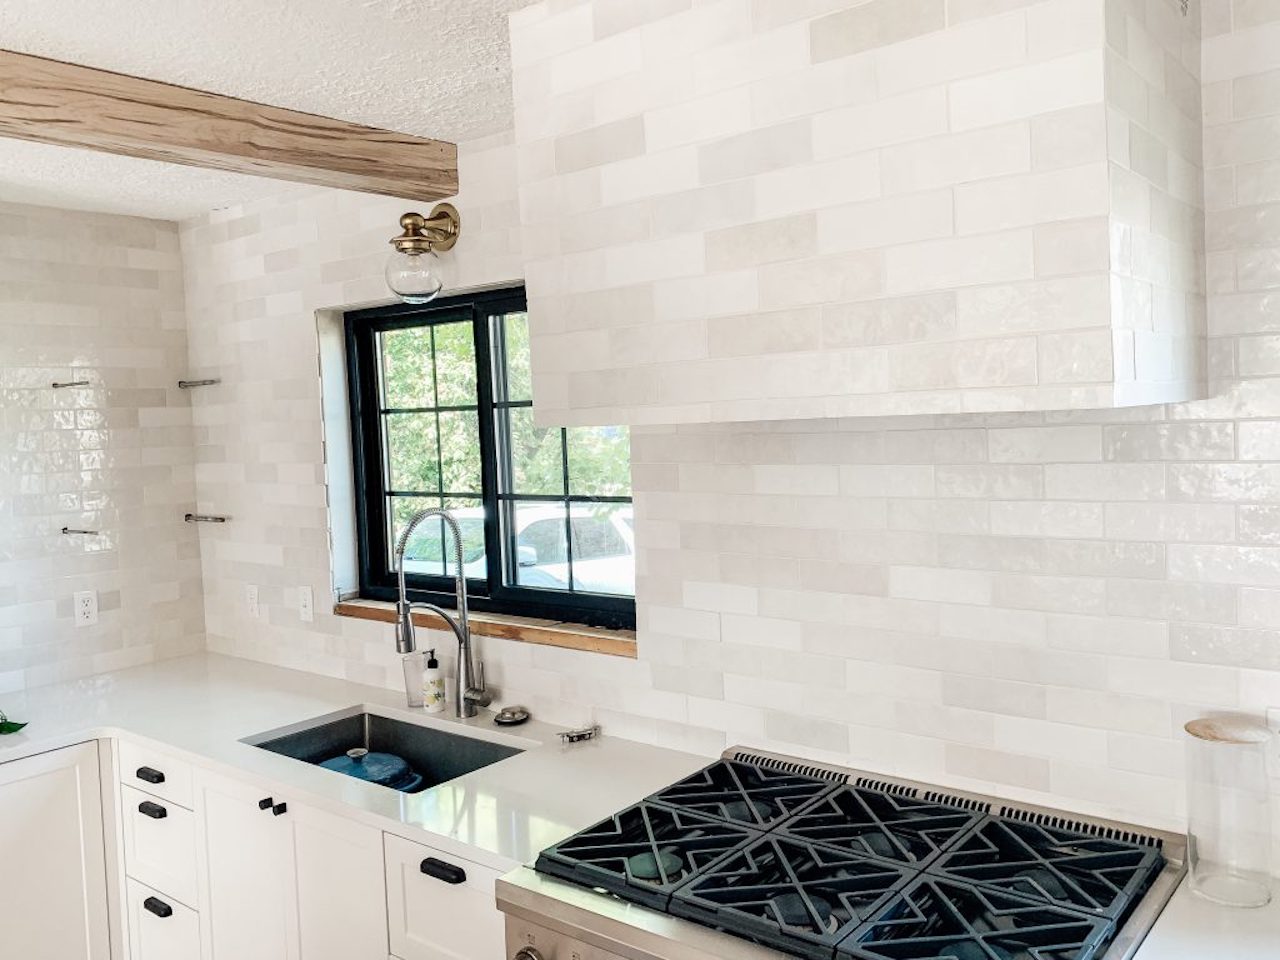
When tiling around a range hood, make sure to measure and plan the layout carefully to ensure a seamless and professional-looking installation. Use a tile saw to make precise cuts for a perfect fit.
Step 6: Fill in the gaps with grout
After the tiles have set in the adhesive, it’s time to fill in the gaps between the tiles with grout. Grout not only provides a finished look to your tiled space but also helps to strengthen and stabilize the installation. Follow these steps to fill in the gaps with grout:
- Start by choosing the appropriate type and color of grout that complements your tiles and desired aesthetic.
- Mix the grout according to the manufacturer’s instructions. Consistency is key, so aim for a smooth and workable paste-like texture.
- Using a grout float, scoop some grout onto the float and apply it diagonally across the tiled surface, pressing it into the gaps between the tiles. Work in small sections at a time.
- Hold the float at a 45-degree angle and move it across the tiles, using a sweeping motion to push the grout into the gaps and ensure even distribution.
- Once the grout is applied, use a grout float or a sponge to remove the excess grout from the tile surfaces. Hold the float or sponge at a 45-degree angle and lightly wipe diagonally across the tiles, being careful not to remove too much grout from the gaps.
- Continue this process, working in small sections and wiping off excess grout until the entire tiled area is grouted.
- Allow the grout to partially set for about 10-15 minutes, then use a damp sponge to lightly clean the tiles and remove any haze or residue. Rinse the sponge frequently and avoid applying excessive pressure to avoid removing the grout from the gaps.
- Allow the grout to fully cure according to the manufacturer’s instructions. This typically takes 24-48 hours.
During the grouting process, it’s important to work efficiently and keep the grout lines as clean and even as possible. Taking the time to properly apply and clean the grout will result in a polished and professional finish.
With the grout applied and cleaned, the tiled area will come together beautifully. The next step is to clean and polish the tiles to reveal their full potential.
Step 7: Clean and polish the tiles
Once the grout has fully cured, it’s time to clean and polish the tiles to reveal their true beauty. This step will help remove any remaining haze or residue and give your tiled area a polished and finished look. Follow these steps to clean and polish the tiles:
- Start by using a damp sponge or cloth to wipe away any excess grout that may have dried on the tiles. Be gentle and avoid applying excessive pressure to prevent damaging the grout lines.
- When the grout residue is removed, fill a bucket with warm water and add a mild tile cleaner or pH-neutral detergent. Mix the solution well.
- Dip a clean sponge or cloth into the cleaning solution and wring out any excess water.
- Gently scrub the tiles in a circular motion, working your way across the entire tiled area. Pay extra attention to any stubborn stains or residue.
- Rinse the sponge or cloth frequently in the clean water to avoid spreading dirt or grime.
- Once you have cleaned the tiles, fill another bucket with clean water and use a fresh sponge or cloth to rinse off any remaining cleaning solution.
- Dry the tiles with a clean, lint-free cloth to remove any water streaks or marks.
- To polish the tiles, use a suitable tile polish or wax according to the manufacturer’s instructions. Apply the polish evenly, using a soft cloth or mop, and allow it to dry completely.
- Once the polish has dried, use a clean cloth to buff the tiles and bring out their natural shine.
Properly cleaning and polishing your tiles will enhance their appearance and ensure they remain in great condition for years to come. Regular maintenance and cleaning will help preserve their beauty and protect them from stains and damage.
With the tiles clean and polished, your tiled area will truly shine. The final step is optional but can provide additional protection to your grout.
Step 8: Apply grout sealer (optional)
Applying a grout sealer is an optional but recommended step to further protect and maintain the appearance of your tiled area. A grout sealer acts as a barrier against stains, moisture, and dirt, helping to extend the life and beauty of your grout. Follow these steps to apply grout sealer:
- Ensure that your grout has fully cured before applying the sealer. This typically takes around 3-4 weeks, but refer to the manufacturer’s instructions for specific drying times.
- Choose a high-quality grout sealer that is suitable for your type of grout. There are different types of sealers available, such as spray-on, brush-on, or applicator tip sealers.
- Read and follow the manufacturer’s instructions on the sealer label carefully.
- Start by cleaning the grout lines using a mild cleaner and a brush. Ensure that the grout lines are dry before proceeding.
- If you’re using a spray-on or brush-on sealer, apply the sealer directly to the grout lines. Work in small sections at a time, ensuring complete coverage. Avoid getting the sealer on the tiles as it may leave residue.
- If you’re using an applicator tip sealer, carefully apply the sealer directly onto the grout lines, following the contours of the lines.
- Allow the sealer to penetrate the grout lines for the recommended time specified by the manufacturer.
- After the recommended time has passed, wipe away any excess sealer from the tiles using a clean cloth or sponge. Be careful not to remove the sealer from the grout lines.
- Allow the grout sealer to dry and cure completely before exposing it to moisture or foot traffic. Refer to the manufacturer’s instructions for the specific drying time.
Applying a grout sealer can help maintain the appearance of your grout and make it easier to clean. It is especially beneficial in areas prone to moisture or heavy use, such as kitchens or bathrooms.
Remember that grout sealer should be reapplied periodically to ensure continued protection. Follow the manufacturer’s recommendations for the frequency of reapplication.
With the optional grout sealer applied, your tiled area is well-protected and ready to be admired for years to come. The final step is to add some finishing touches and complete the cleanup process.
Read more: How To Paint Range Hood
Step 9: Final touches and cleanup
As you near the completion of your tiling project, it’s time to add the final touches and ensure a clean and polished result. These final steps will help you achieve a professional finish and leave your tiled area looking flawless. Follow these steps for the final touches and cleanup:
- Inspect the tiled area carefully for any remaining adhesive, grout, or residue. Use a damp sponge or cloth to clean any spots or marks on the tiles.
- Remove the tile spacers from between the tiles. Gently pull them out or use a pair of pliers to carefully extract them.
- Check for any loose or uneven tiles. If you find any, carefully remove them and reapply adhesive to the back of the tile before firmly pressing it back into place.
- Run a finger along the grout lines to ensure they are smooth and evenly filled. Make any necessary touch-ups or adjustments before the grout fully sets.
- Clean any tools, such as the grout float, sponge, or trowel, that came into contact with the adhesive or grout. Rinse them thoroughly with water to remove any residue.
- Dispose of any leftover adhesive, grout, or packaging materials in accordance with local guidelines.
- Wipe down the surrounding area, including countertops, range hood, and floor, to remove any dust or debris that may have accumulated during the tiling process.
- Take a step back and admire the finished result of your hard work and attention to detail. Your tiled area is now ready to be enjoyed and showcased.
By completing these final touches and ensuring a thorough cleanup, you will achieve a professional and polished appearance for your tiled area. Your kitchen will now boast a beautiful and functional range hood surround that adds a touch of elegance to the space.
Congratulations! You have successfully completed the tiling process around your range hood. Now it’s time to sit back, relax, and enjoy the fruits of your labor.
Keep in mind that regular maintenance and cleaning will help preserve the tiles and grout, ensuring their longevity and continued beauty.
Thank you for following this step-by-step guide. We hope it has been helpful and that your tiling project has been a success!
Conclusion
Tiling around the range hood is a rewarding DIY project that can elevate the appearance and functionality of your kitchen. By following the step-by-step guide outlined in this article, you have learned how to successfully tile around your range hood and create a stunning focal point in your kitchen.
From gathering the necessary materials and tools to applying adhesive, cutting and placing tiles, filling in the gaps with grout, and adding the final touches, each step plays a vital role in achieving a professional and polished finish. By carefully following these steps and taking the time to ensure accuracy and attention to detail, you can achieve a beautifully tiled space that enhances the overall aesthetic of your kitchen.
Throughout the process, it’s important to remember the significance of proper preparation, accurate measuring, and precise cutting. Adhering to recommended drying times, applying grout sealer for added protection (optional), and paying attention to the cleanup process will ensure a long-lasting and stunning result.
Now, step back and admire your handiwork. The tiled area around your range hood will not only add a touch of elegance to your kitchen but will also provide a functional and easy-to-clean surface. With regular maintenance and care, your tiled area will continue to shine for years to come.
Remember, tiling around the range hood is just one of many projects you can accomplish on your own. With the knowledge and skills acquired from this project, you may be inspired to tackle even more DIY endeavors in the future, further enhancing your home.
Congratulations on completing your tiling project! Enjoy your newly transformed kitchen and take pride in the beautiful work you have accomplished.
Frequently Asked Questions about How To Tile Around Range Hood
Was this page helpful?
At Storables.com, we guarantee accurate and reliable information. Our content, validated by Expert Board Contributors, is crafted following stringent Editorial Policies. We're committed to providing you with well-researched, expert-backed insights for all your informational needs.


0 thoughts on “How To Tile Around Range Hood”