
Articles
How To Clean Sink Grid
Modified: August 28, 2024
Discover effective ways to clean your sink grid with our informative articles. Get expert tips and tricks for maintaining a clean and hygienic kitchen.
(Many of the links in this article redirect to a specific reviewed product. Your purchase of these products through affiliate links helps to generate commission for Storables.com, at no extra cost. Learn more)
Introduction
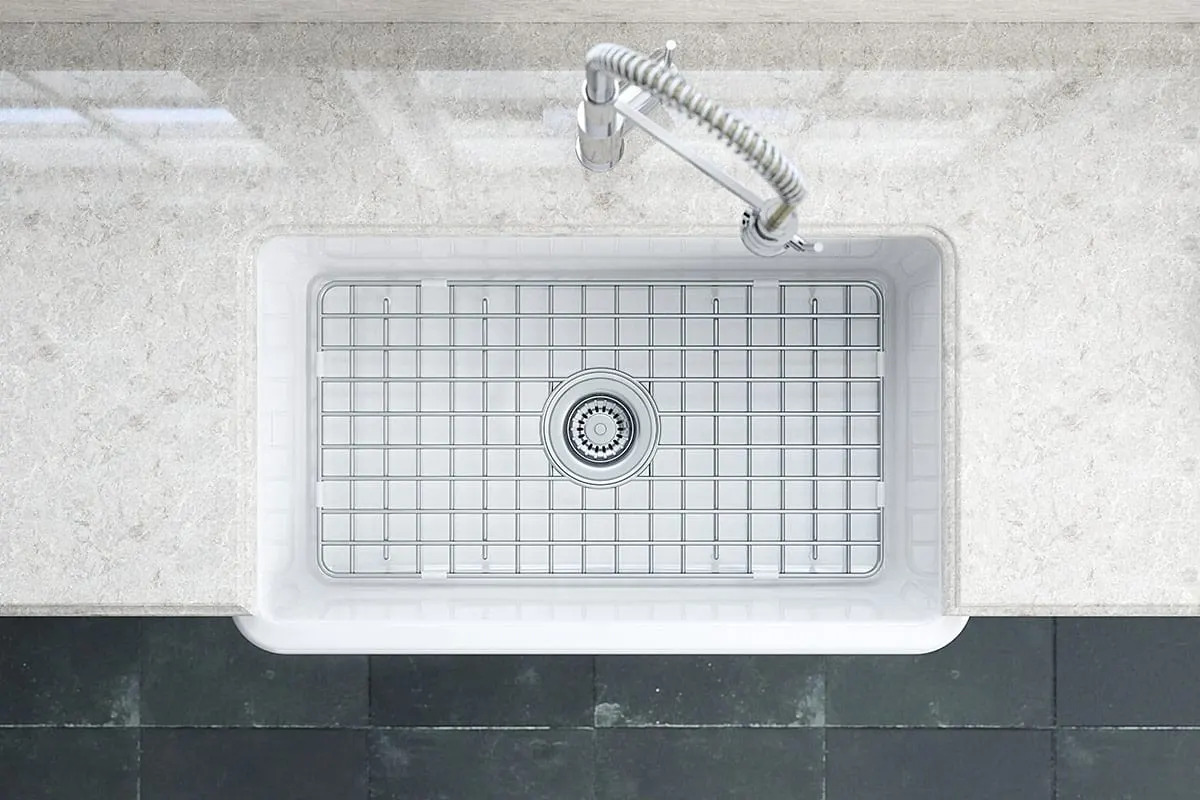
Cleaning sink grids is an important task that should be a part of your regular cleaning routine. Sink grids, also known as sink racks or sink grates, are metal grids that sit at the bottom of your sink, providing a protective barrier between your dishes and the sink surface. They help to prevent scratches, dents, and other damage to your sink while allowing water to flow freely.
Over time, sink grids can accumulate dirt, food particles, and residue, which not only makes them look unsightly but can also lead to unpleasant odors and even clogged drains. Regularly cleaning your sink grid will not only keep it looking clean and appealing but also ensure its longevity and proper functionality.
In this article, we will walk you through a step-by-step process on how to effectively clean sink grids. We will also provide you with some preventive maintenance tips to keep your sink grid in top shape. So, roll up your sleeves, gather your cleaning supplies, and let’s get started on making your sink grid sparkle once again.
Before we dive into the cleaning process, let’s take a quick look at the tools and materials you will need. This will ensure that you have everything on hand and are prepared to tackle the cleaning task efficiently.
Key Takeaways:
- Keep your sink grid clean and odor-free by regularly removing debris, soaking, scrubbing, and thorough rinsing. Implement preventive maintenance to ensure its longevity and functionality.
- Use gentle cleaning agents and tools, such as soft-bristle brushes and mild dish soap, to avoid damaging the sink grid’s surface. Wipe down after each use and inspect for rust or damage regularly.
Read more: How To Clean A Brass Sink
Tools and Materials Needed
To clean your sink grid effectively, you will need the following tools and materials:
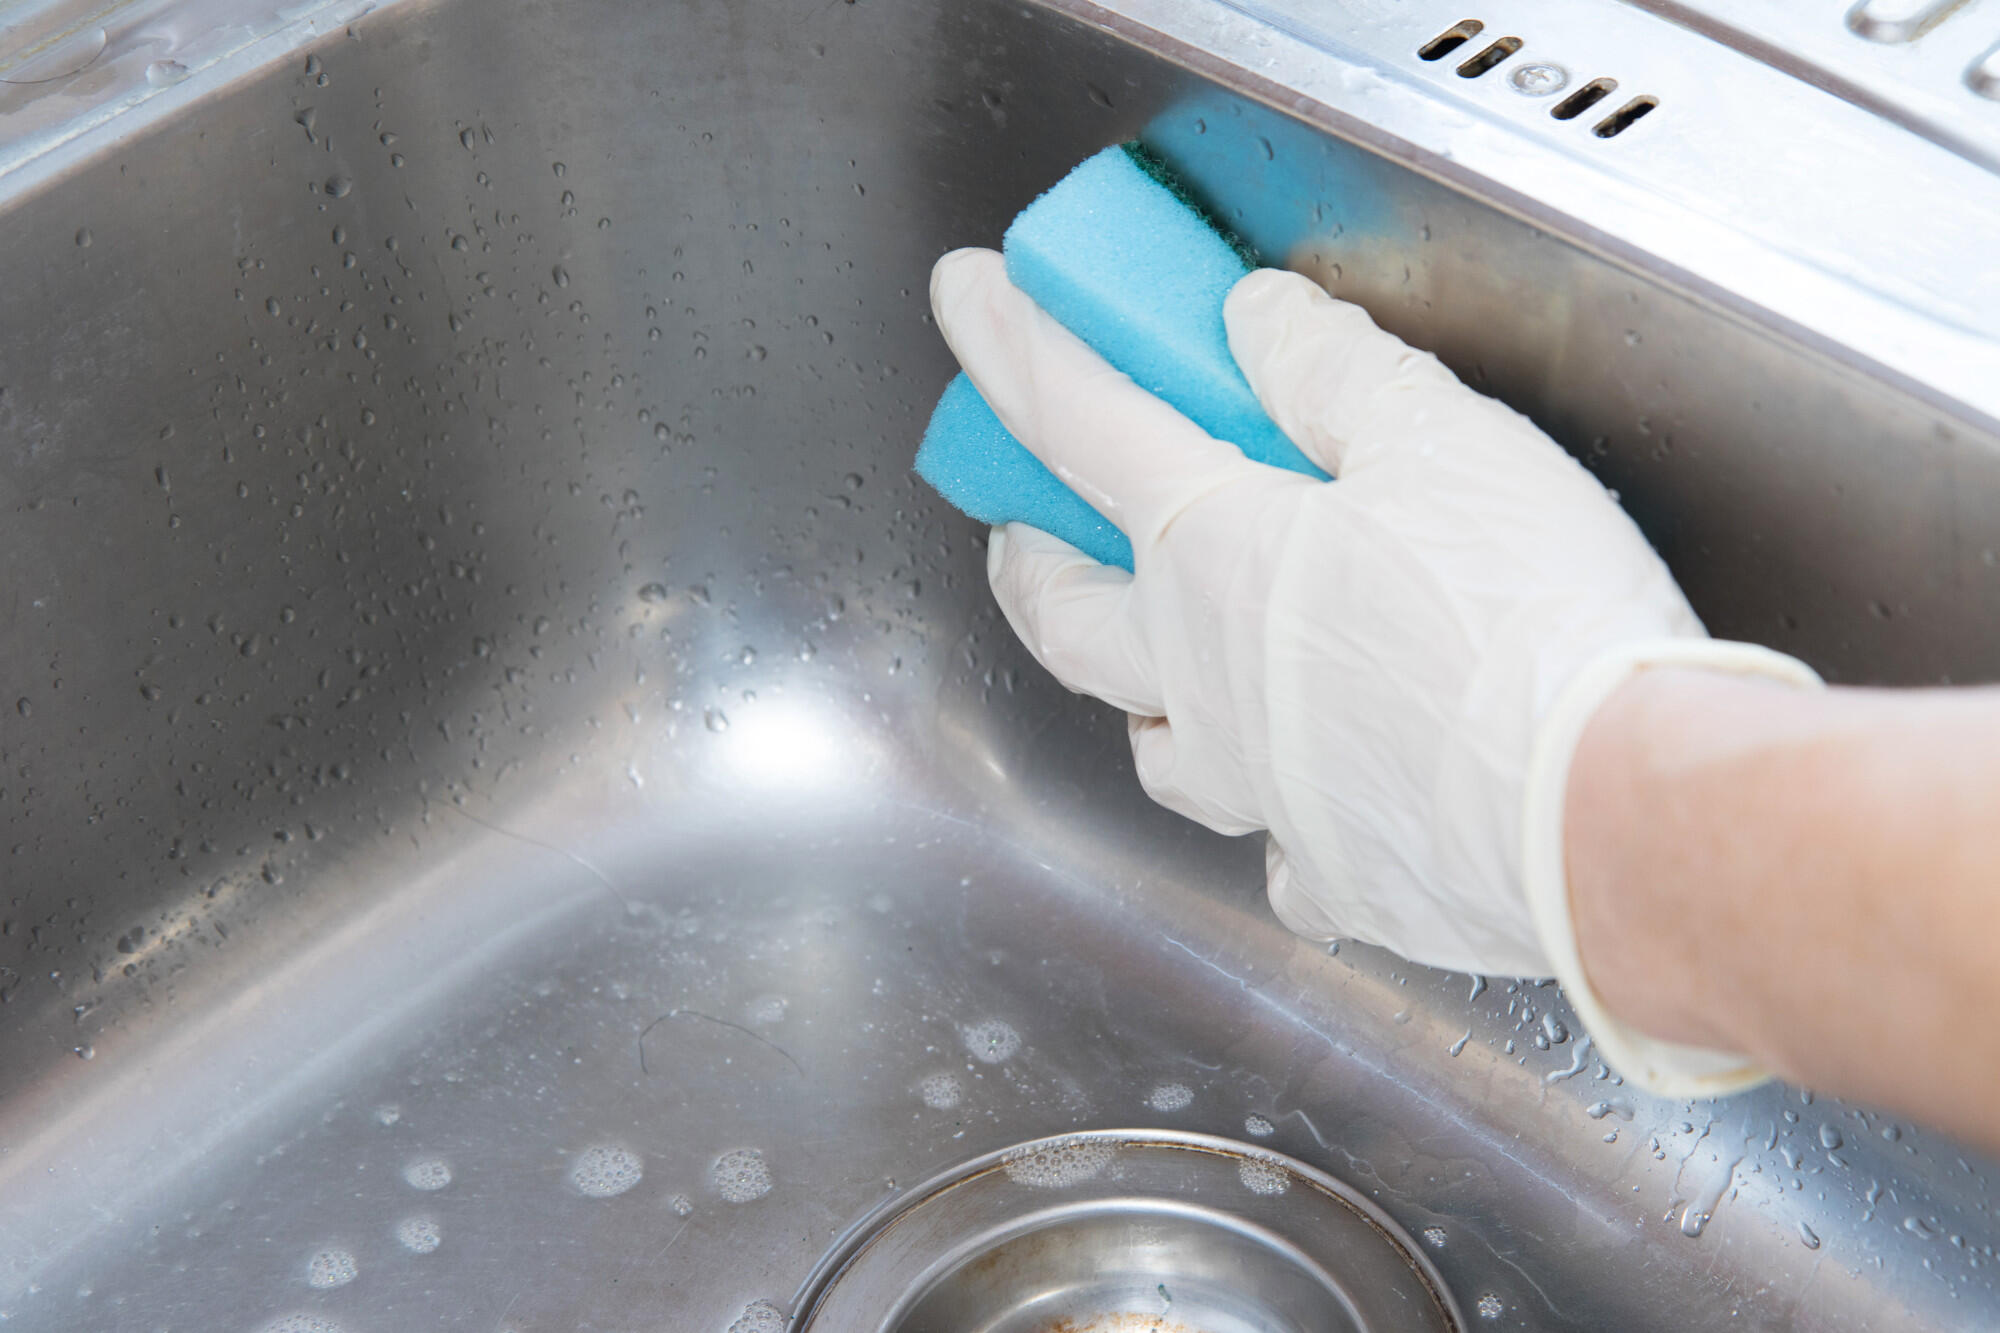
1. Soft-bristle brush or sponge: You will need a brush or sponge with soft bristles to scrub away dirt and grime from the sink grid without scratching its surface.
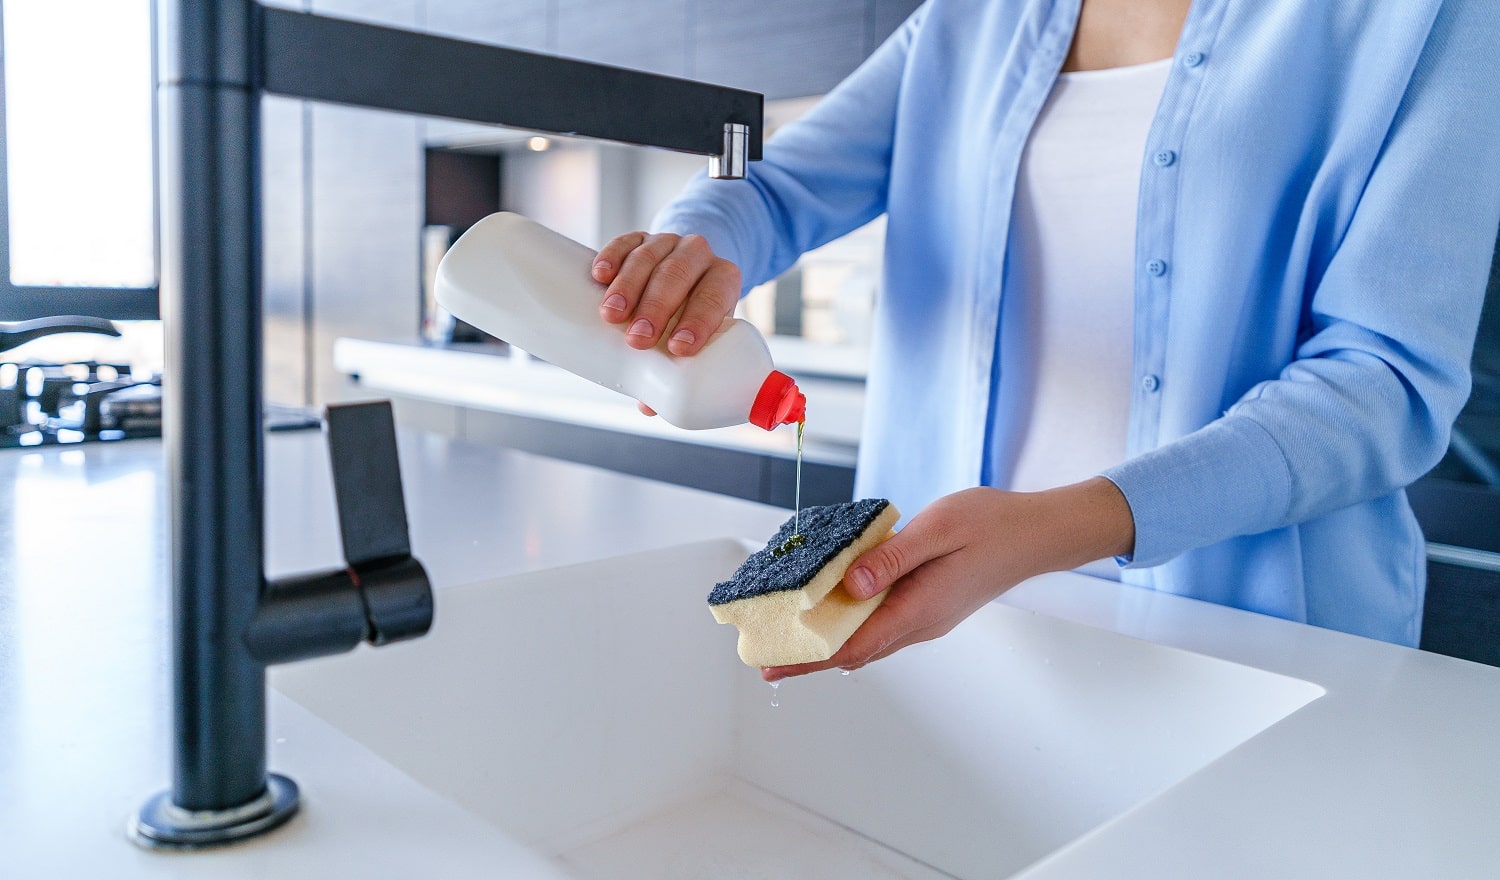
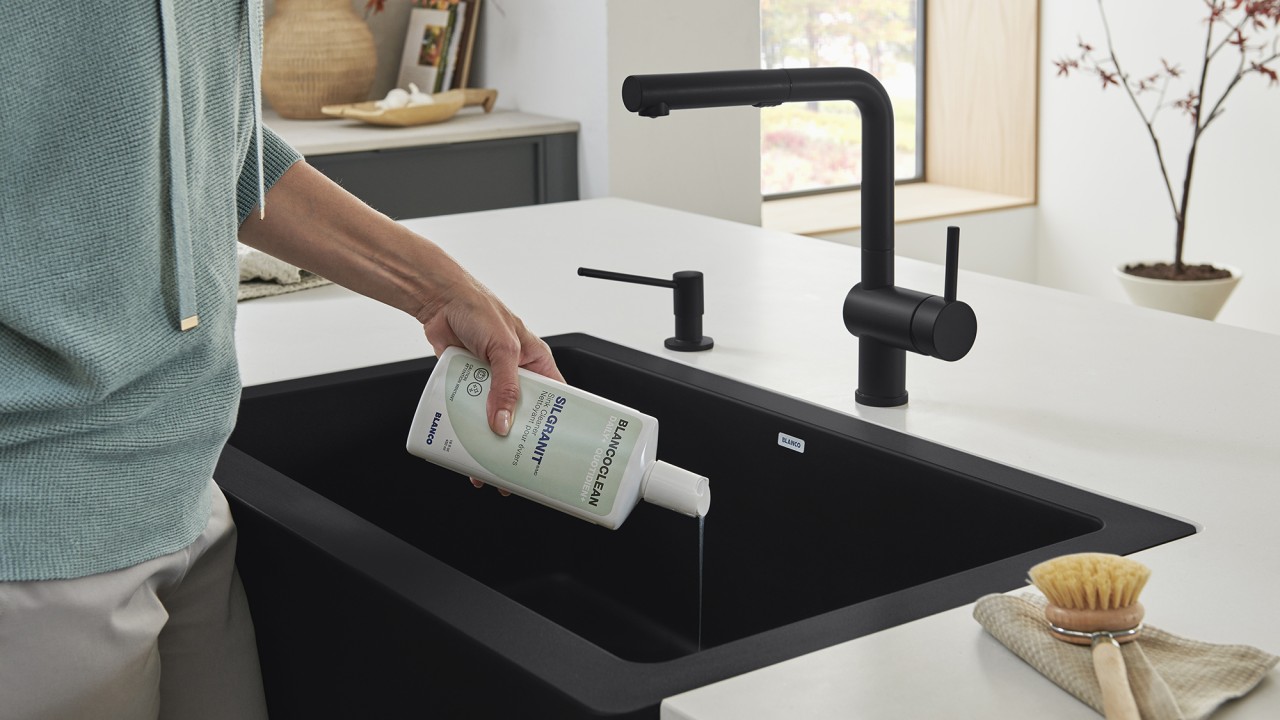
2. Dish soap: Choose a mild dish soap that is gentle on your hands and won’t damage the metal of the sink grid. Avoid using harsh or abrasive cleaners as they can cause damage.
3. White vinegar: Vinegar is a natural cleaner that helps to remove grease, stains, and odors. It is an excellent choice for cleaning sink grids.
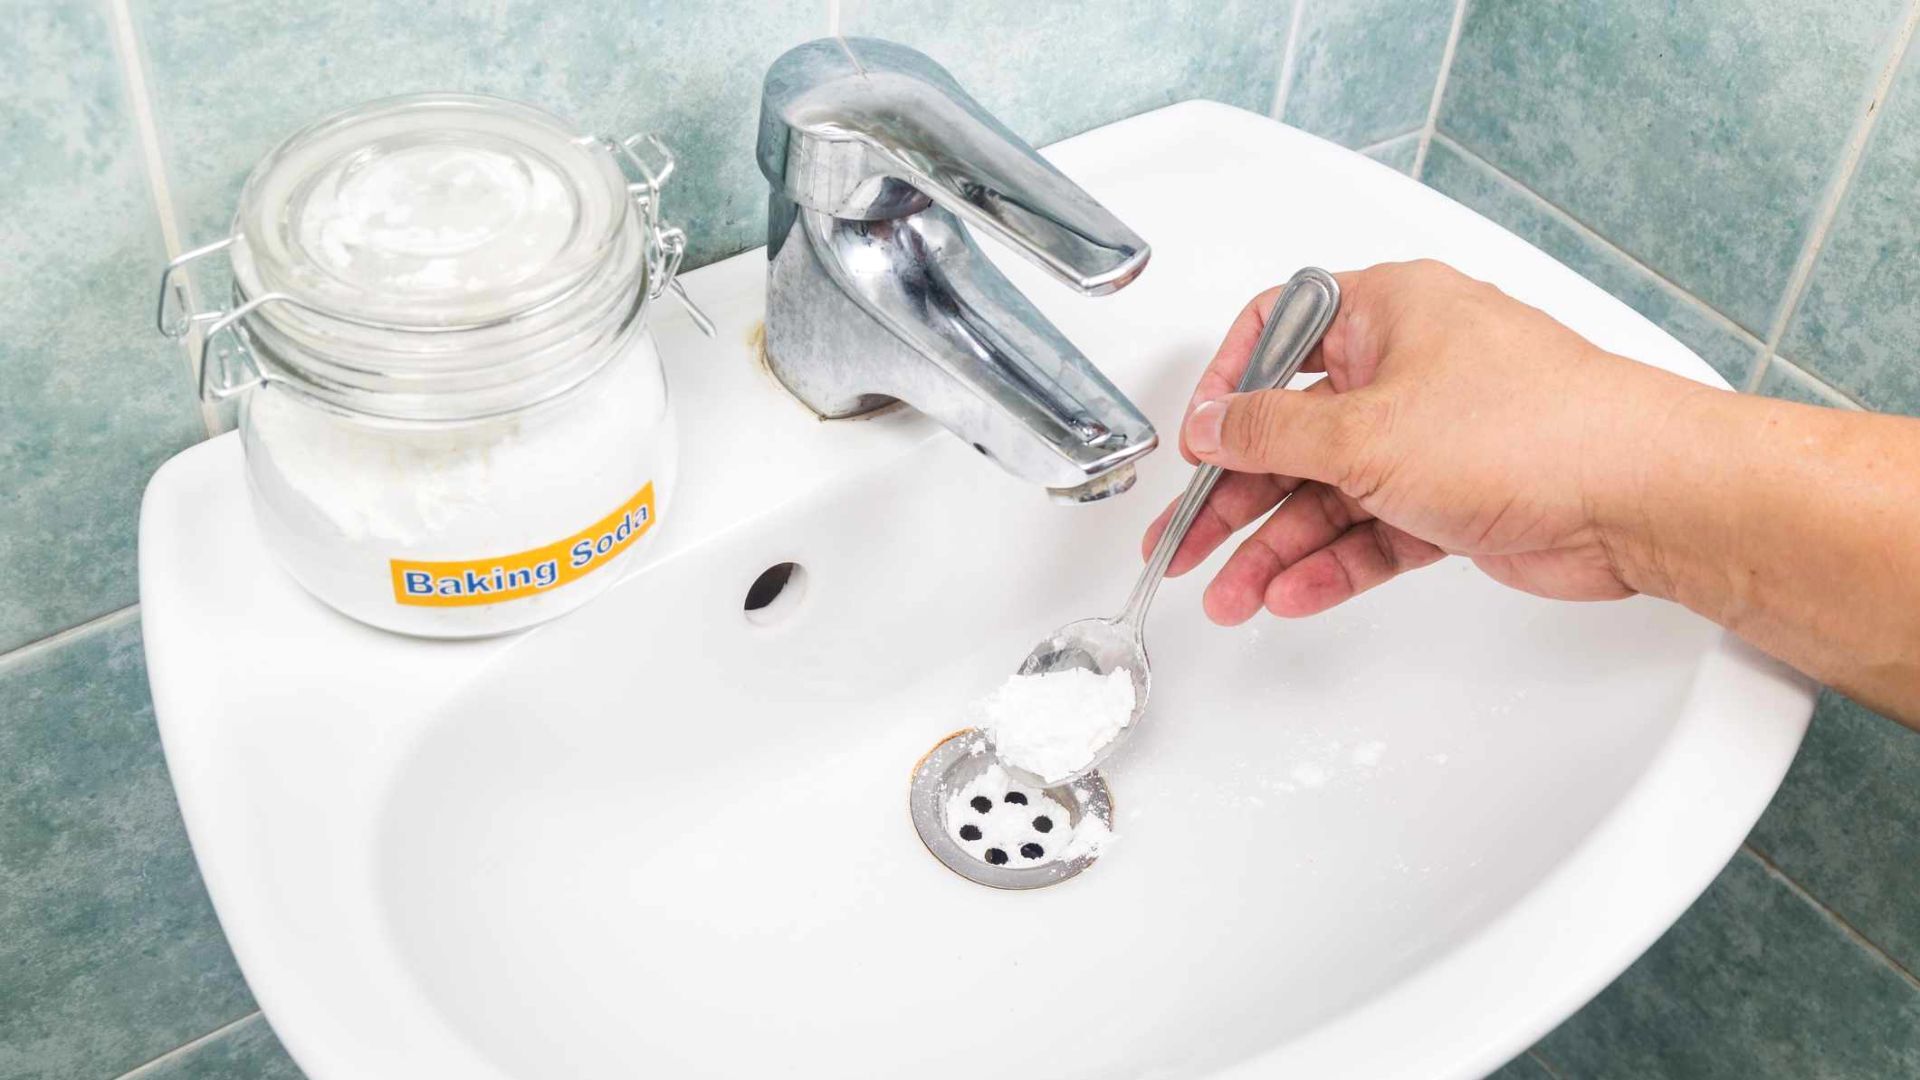
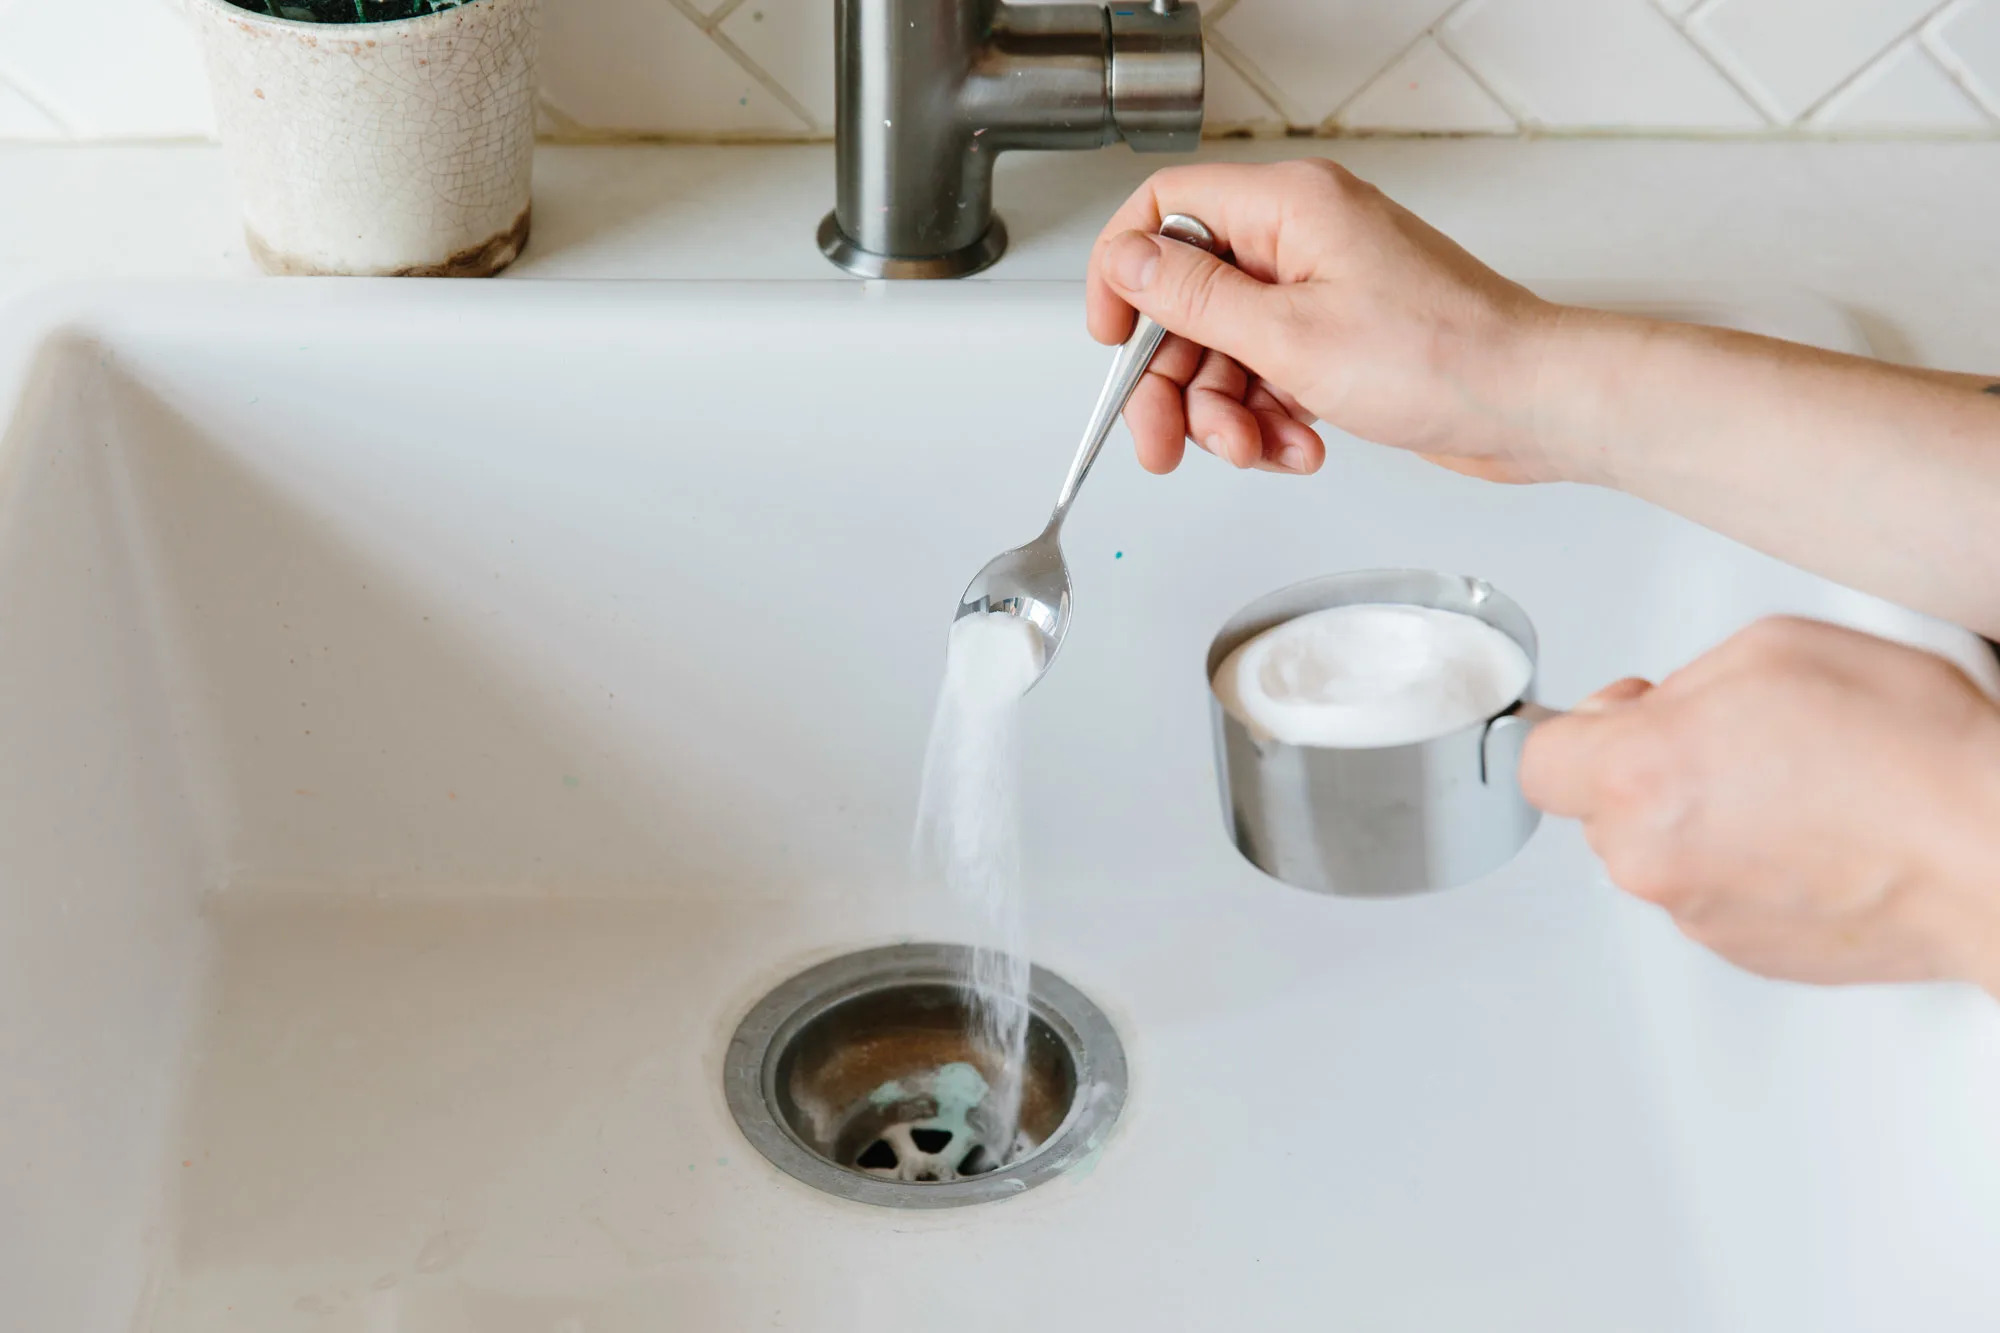
4. Baking soda: Baking soda is another versatile and safe cleaning agent that can help eliminate stubborn stains and odors.
5. Warm water: You will need warm water to rinse off the cleaning solution and debris from the sink grid.
6. Microfiber cloth: A microfiber cloth is great for drying and buffing the sink grid after cleaning. It is gentle and leaves no lint or streaks.
7. Rubber gloves: Rubber gloves are optional but recommended, especially if you have sensitive skin. They will protect your hands from direct contact with cleaning agents and hot water.
Make sure you have all these tools and materials readily available before you start cleaning your sink grid. It will save you time and hassle, allowing you to focus on getting your sink grid sparkling clean. Once you have everything ready, we can move on to the step-by-step cleaning process.
Step 1: Removing Debris and Food Particles
Before you start cleaning your sink grid, it is important to remove any debris and food particles that may have accumulated on its surface. Here’s how you can do it:
1. Take off the sink grid: Carefully lift the sink grid out of the sink and place it on a clean surface. Make sure to handle it with care to avoid any damage or injury.
2. Shake off loose debris: Give the sink grid a gentle shake to remove any loose debris and food particles. You can do this over a trash can or in the sink to catch any falling debris.
3. Use a soft brush or sponge: Take a soft-bristle brush or sponge and gently scrub the sink grid to loosen any stuck-on food particles. Pay attention to the corners and crevices where dirt tends to accumulate.
4. Rinse the sink grid: Once you have scrubbed away the debris, rinse the sink grid thoroughly with warm water to remove any remaining residue. Make sure to remove all traces of soap or cleaning agent.
5. Inspect for stubborn stains: Take a closer look at the sink grid to identify any stubborn stains or discoloration. If you notice any, you can proceed to the next step to tackle them specifically.
By removing debris and food particles from your sink grid, you ensure a clean foundation for the rest of the cleaning process. It also helps prevent any further buildup, keeping your sink grid in pristine condition. Now that you’ve successfully completed the first step, let’s move on to soaking the sink grid to remove stubborn stains and odors.
Step 2: Soaking the Sink Grid
Soaking the sink grid is an effective method to loosen stubborn stains, residue, and odors. Here’s how you can do it:
1. Prepare a cleaning solution: Fill your sink or a large basin with warm water. Add a generous amount of dish soap or a mixture of equal parts water and white vinegar. The dish soap helps to break down grease and stains, while the vinegar acts as a natural deodorizer.
2. Submerge the sink grid: Carefully place the sink grid into the cleaning solution, making sure it is fully submerged. Gently press it down if needed to ensure thorough soaking. Leave the sink grid in the solution for about 15-30 minutes to allow the cleaning agents to work their magic.
3. Agitate the sink grid: After soaking, use a soft brush or sponge to agitate the sink grid in the cleaning solution. Gently scrub the surface, paying attention to any stubborn stains or areas of buildup. The agitation helps to further loosen dirt and grime.
4. Focus on problem areas: If there are specific areas with tough stains or residue, apply a paste of baking soda and water to those areas. Let it sit for a few minutes, then scrub gently with the brush or sponge. Baking soda’s mild abrasive properties will aid in removing the stubborn buildup.
5. Rinse thoroughly: Once you have scrubbed the sink grid, remove it from the cleaning solution and give it a thorough rinse with warm water. Ensure that all soap, vinegar, and baking soda residues are completely washed away.
By soaking the sink grid, you allow the cleaning solution to penetrate deeply into the surface, making it easier to remove stubborn stains and odors. After completing this step, move on to scrubbing the sink grid to ensure a thorough cleaning.
To clean a sink grid, remove it from the sink and scrub with a non-abrasive sponge and mild dish soap. For tough stains, soak the grid in a mixture of water and vinegar before scrubbing. Rinse thoroughly and dry before placing it back in the sink.
Step 3: Scrubbing the Grid
Once you have soaked the sink grid to loosen dirt and grime, it’s time to give it a thorough scrub. Follow these steps to effectively clean the grid:
1. Use a soft-bristle brush or sponge: Dip a soft-bristle brush or sponge into warm, soapy water. Ensure that the bristles or sponge are damp but not dripping wet. This will help prevent excessive water from getting into the sink grid’s mechanism or damaging the surface.
2. Scrub the grid: Starting from one corner, gently scrub the surface of the sink grid with the brush or sponge. Use small, circular motions to remove any remaining stains, residue, and food particles. Pay extra attention to areas that tend to accumulate dirt, such as the corners and edges of the grid.
3. Focus on stubborn stains: If you encounter any stubborn stains that were not fully removed during the soaking process, apply a small amount of baking soda onto the brush or sponge. Scrub the affected areas gently and continue until the stains are no longer visible.
4. Rinse frequently: As you scrub, rinse the brush or sponge frequently with warm water to remove any buildup. This ensures that you are not redistributing dirt or residue onto the sink grid.
5. Inspect and touch up: After scrubbing the entire grid, take a closer look to ensure that all stains and residue have been removed. If you notice any remaining spots, go over them again with the brush or sponge until the grid is clean and spotless.
6. Rinse the grid: Once you are satisfied with the cleanliness of the sink grid, give it a final rinse with warm water. This will remove any lingering soap or cleaning solution.
By thoroughly scrubbing the sink grid, you ensure that all dirt, grime, and stains are effectively removed. Now it’s time to move on to the next step: rinsing and drying the grid.
Read more: How To Clean Soapstone Sink
Step 4: Rinse and Dry the Grid
After scrubbing the sink grid to remove all dirt, stains, and residue, it is essential to give it a thorough rinse and drying to complete the cleaning process. Here’s how you can effectively rinse and dry the sink grid:
1. Rinse with warm water: Place the cleaned sink grid under a stream of warm water. Use your hands or a gentle spray attachment to ensure that all soap, cleaning solution, and debris are thoroughly rinsed away. Pay attention to hard-to-reach areas to make sure no residue remains.
2. Inspect for remaining residue: While rinsing the sink grid, visually inspect the surface to ensure that there are no signs of remaining residue or soap suds. Gently run your fingers along the grid to check for any lingering dirt or particles.
3. Shake off excess water: Once the sink grid has been thoroughly rinsed, give it a gentle shake to remove excess water. This will make the drying process more efficient and prevent water spots from forming.
4. Dry with a microfiber cloth: Take a clean, dry microfiber cloth and carefully pat down the sink grid to absorb any remaining moisture. Make sure to dry both the top and bottom surfaces as well as the sides and edges of the grid. This step helps to prevent water stains and keeps your sink grid looking pristine.
5. Air drying (optional): If you have the time and space, you can also allow the sink grid to air dry completely before placing it back in the sink. Simply find a clean, dry area where you can place the grid with adequate airflow. This ensures that there is no moisture trapped, reducing the risk of mold or mildew growth.
Once the sink grid is thoroughly rinsed and dried, it is now ready to be placed back in your sink, providing a clean and protective barrier for your dishes and sink surface. However, don’t forget about preventive maintenance to keep your sink grid in excellent condition. Let’s explore some tips for that in the next step.
Step 5: Preventive Maintenance Tips
Taking preventive measures can help prolong the cleanliness and functionality of your sink grid. Here are some tips to keep your sink grid in excellent condition:
1. Wipe it down after each use: After washing dishes or cleaning your sink, take a moment to wipe down the sink grid with a damp cloth or sponge. This will help remove any leftover food particles or residue before they have a chance to dry and become harder to clean later.
2. Avoid abrasive materials: When cleaning the sink grid, refrain from using abrasive materials such as steel wool or harsh scrub brushes. These can scratch the surface of the grid, damaging its appearance and potentially weakening the metal.
3. Regularly soak and scrub: Include regular soaking and scrubbing of your sink grid in your cleaning routine. This will help prevent the buildup of dirt, stains, and odors. Aim to clean your sink grid at least once a week or as needed, depending on usage.
4. Use baking soda and vinegar: To maintain the freshness of your sink grid, periodically sprinkle baking soda onto the grid’s surface and spray it with white vinegar. Let the mixture foam for a few minutes, then rinse thoroughly with warm water. This will help eliminate any lingering odors and keep the grid smelling fresh.
5. Avoid leaving standing water: After washing dishes or cleaning your sink, make sure to drain any standing water from the sink grid. Leaving water to sit in the grid for extended periods can lead to the formation of mold or mildew, which can be difficult to remove.
6. Inspect for rust or damage: Regularly inspect your sink grid for any signs of rust or damage. If you notice any spots of rust, gently scrub them with a rust remover or a mixture of lemon juice and salt. If the grid is severely damaged, consider replacing it to maintain proper functionality and aesthetics.
Following these preventive maintenance tips will help keep your sink grid clean, hygienic, and in optimal condition for years to come. Remember, a well-maintained sink grid not only enhances the appearance of your sink but also ensures the longevity of your kitchen fixtures.
Now that you have learned the step-by-step process and preventive maintenance tips, you are well-equipped to clean and maintain your sink grid effectively. Happy cleaning!
Conclusion
Cleaning your sink grid is a simple yet essential task that should be included in your regular cleaning routine. By following the step-by-step process outlined in this article and implementing preventive maintenance tips, you can ensure that your sink grid remains clean, functional, and in excellent condition for years to come.
Removing debris and food particles, soaking the sink grid, scrubbing away stains and residue, and thoroughly rinsing and drying are the key steps to achieving a sparkling clean sink grid. Regularly performing these cleaning tasks will not only maintain the appearance of your sink grid but also prevent odors and clogged drains.
Additionally, implementing preventive maintenance measures such as wiping down after each use, avoiding abrasive materials, regularly soaking and scrubbing, using baking soda and vinegar, draining standing water, and inspecting for rust or damage will help prolong the lifespan and overall cleanliness of your sink grid.
Remember to always use gentle cleaning agents and tools to avoid scratching or damaging the surface of the sink grid. Maintaining a proper cleaning routine and taking proactive steps to prevent buildup and damage will ensure that your sink grid continues to provide a protective barrier for your sink and dishes.
So, the next time you embark on your cleaning endeavors, don’t forget to give your sink grid some attention. It’s a small task that can make a big difference in the overall cleanliness and longevity of your kitchen. Happy cleaning!
Now that you're equipped with the know-how to keep your sink grid spotless, why stop there? Dive into our next guide which offers clever cleaning hacks, ensuring every corner of your kitchen sparkles. From tackling greasy ovens to making surfaces shine, these tips will simplify your cleaning routine and save you time. Don't miss out on mastering the art of a pristine kitchen environment.
Frequently Asked Questions about How To Clean Sink Grid
Was this page helpful?
At Storables.com, we guarantee accurate and reliable information. Our content, validated by Expert Board Contributors, is crafted following stringent Editorial Policies. We're committed to providing you with well-researched, expert-backed insights for all your informational needs.



0 thoughts on “How To Clean Sink Grid”