Articles
How To Install Chimney Cleanout Door
Modified: October 18, 2024
Learn how to install a chimney cleanout door with this step-by-step guide. Read our informative articles to ensure a clean and efficient chimney.
(Many of the links in this article redirect to a specific reviewed product. Your purchase of these products through affiliate links helps to generate commission for Storables.com, at no extra cost. Learn more)
Introduction
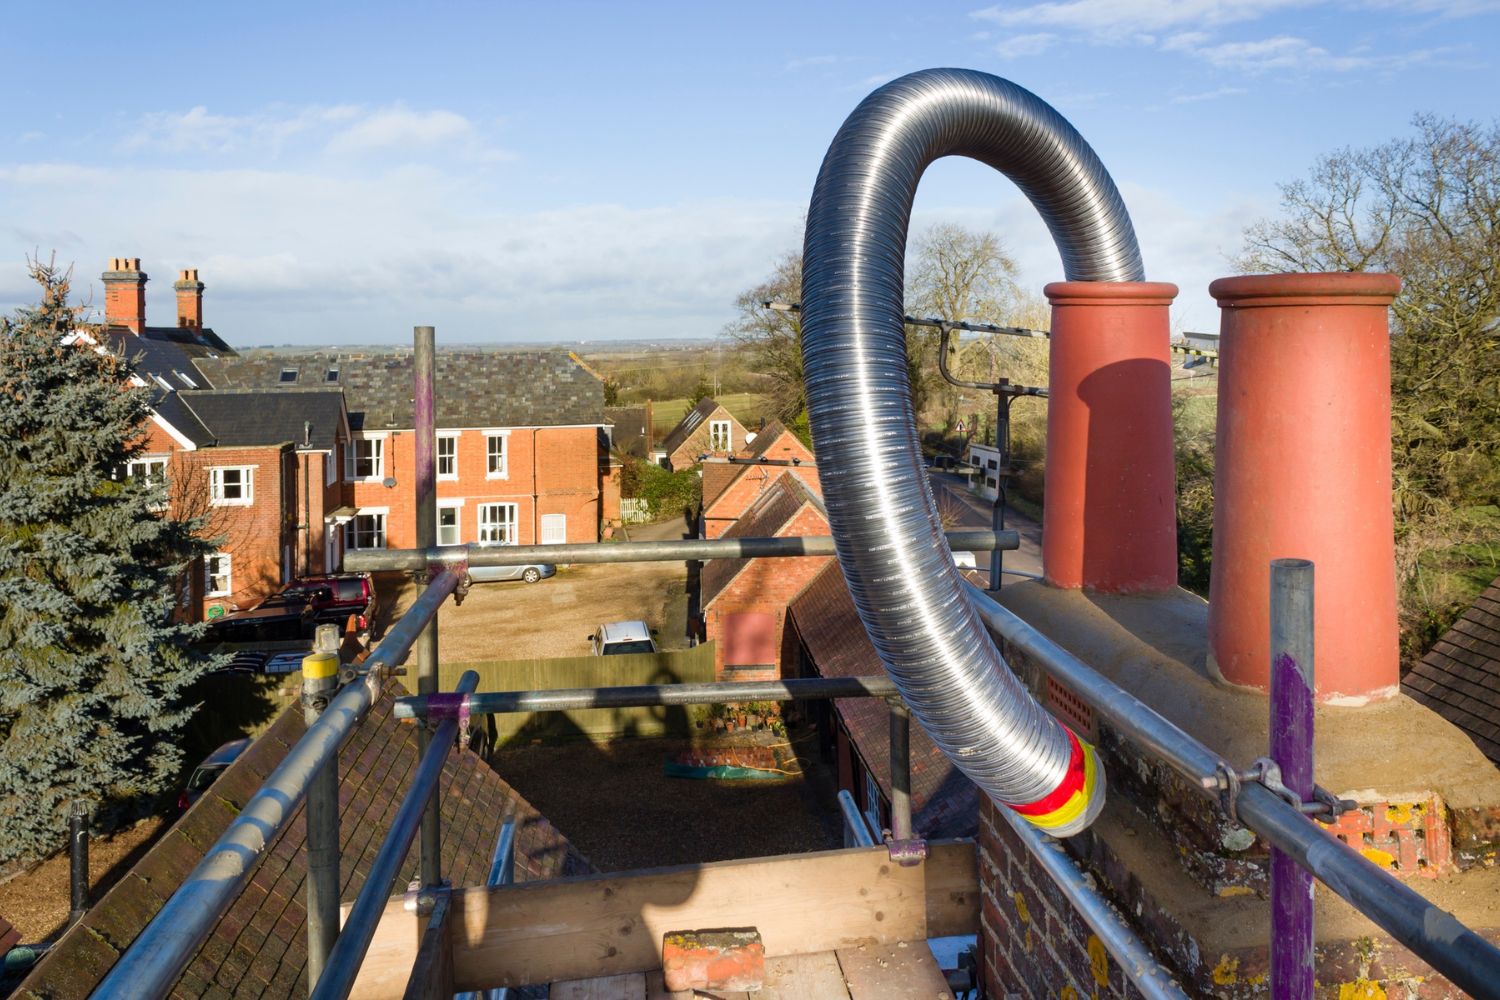
Welcome to our comprehensive guide on how to install a chimney cleanout door. If you have a fireplace or wood-burning stove, you know how important it is to keep your chimney clean and well-maintained. Regular chimney inspections and cleanings are essential to ensure the safe and efficient operation of your heating appliance.
One crucial component of a chimney maintenance routine is having a chimney cleanout door installed. A chimney cleanout door provides easy access to remove debris, soot, and creosote buildup from your chimney. It allows for thorough cleaning, which helps prevent chimney fires and ensures optimal chimney performance.
In this article, we will walk you through the step-by-step process of installing a chimney cleanout door. We will cover all the necessary materials needed, as well as provide detailed instructions to help you successfully complete the installation.
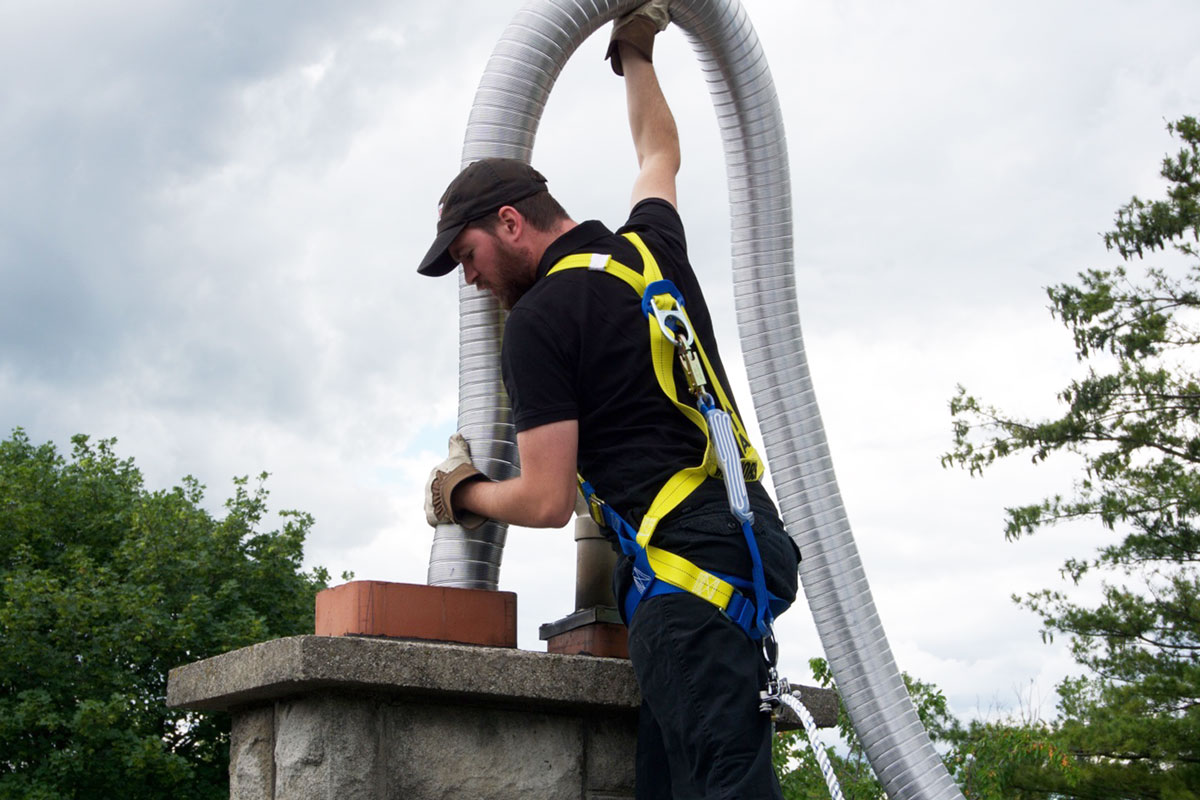
Installing a chimney cleanout door is a relatively simple task that can be done by most homeowners. However, if you are uncomfortable working at heights or working with masonry materials, it is always best to consult a professional chimney sweep or contractor for assistance.
By installing a chimney cleanout door, you will have peace of mind knowing that your chimney is easily accessible for cleaning and maintenance. So let’s dive in and learn how to install a chimney cleanout door to ensure the longevity and safety of your chimney system.
Key Takeaways:
- Installing a chimney cleanout door is essential for easy maintenance, improved chimney performance, enhanced safety, cost savings, and peace of mind. It provides convenient access for regular cleaning and maintenance, ensuring optimal chimney operation.
- Proper installation of a chimney cleanout door involves accurate measurement, surface preparation, secure attachment, and functional testing. By following the step-by-step process, homeowners can ensure a successful and long-lasting installation, contributing to a well-maintained chimney system.
Read also: 9 Superior Chimney Cleanout Door For 2025
What is a Chimney Cleanout Door?
A chimney cleanout door is a small access panel that is installed near the base of your chimney. It provides an opening for cleaning and inspecting the chimney flue from inside your home. The door is designed to be easily removable so that you can access the chimney’s interior and remove any debris or buildup that may be blocking the flue.
Chimney cleanout doors come in various sizes and styles, but they generally consist of a metal frame and a removable door panel. The frame is attached to the chimney using masonry anchors, and the door panel is typically hinged or held in place with screws for easy removal.
The primary purpose of a chimney cleanout door is to simplify chimney maintenance. Over time, soot, debris, and creosote can accumulate inside the chimney flue. Without proper cleaning and maintenance, this buildup can restrict airflow, increase the risk of chimney fires, and affect the efficiency of your heating appliance.
With a cleanout door, you can easily access the chimney’s interior and remove any obstructions or buildup. Regular cleaning not only improves the safety of your chimney system but also enhances its performance. It allows for proper ventilation, reduces the risk of dangerous gases backing up into your home, and helps maintain a clean and efficient burning environment.
Installing a chimney cleanout door is especially beneficial if you have a wood-burning fireplace or stove. These appliances tend to produce more creosote, a highly flammable substance that can accumulate in the flue lining. With a cleanout door, you can regularly inspect and clean the chimney, minimizing the risk of a chimney fire.
It is worth noting that a chimney cleanout door should not be confused with a chimney cap. A chimney cap is installed at the top of the chimney to prevent rain, snow, animals, and debris from entering the flue. While a chimney cap serves a different purpose, both the chimney cap and the cleanout door are essential components of a well-maintained chimney system.
Now that we have a clear understanding of what a chimney cleanout door is, let’s explore why it is essential to have one installed in your chimney.
Why Install a Chimney Cleanout Door?
Installing a chimney cleanout door offers several important benefits for homeowners. Let’s take a look at why it is essential to have a chimney cleanout door installed in your chimney:
- Easy maintenance: A chimney cleanout door provides convenient access to your chimney’s interior, making it easier to clean and maintain. Regular cleaning helps remove soot, debris, and creosote buildup, reducing the risk of chimney fires and ensuring proper airflow.
- Improved chimney performance: A clean and efficient chimney ensures optimal performance of your heating appliance. By installing a cleanout door, you can easily remove any obstructions or buildup that may hinder proper ventilation, thus enhancing the efficiency of your fireplace or wood-burning stove.
- Enhanced safety: Creosote buildup in the chimney flue is a leading cause of chimney fires. With a cleanout door, you can regularly inspect and clean the flue, minimizing the risk of a dangerous and potentially catastrophic chimney fire. Additionally, a clean chimney helps prevent the buildup of harmful gases, reducing the risk of carbon monoxide poisoning.
- Cost savings: Regular chimney cleanings and maintenance can prolong the lifespan of your chimney and heating appliance. By installing a cleanout door, you can easily perform routine maintenance tasks yourself, saving money on professional chimney sweep services. Additionally, a well-maintained chimney operates more efficiently, resulting in potential energy savings.
- Peace of mind: Knowing that you have easy access to your chimney for cleaning and maintenance brings peace of mind. You can rest assured that your chimney is in good working condition, providing safe and efficient heating for your home.
It is important to note that installing a chimney cleanout door is not a DIY project for everyone. If you are uncomfortable working at heights or have limited experience with masonry work, it is recommended to consult a professional chimney sweep or contractor for installation assistance.
In the next section, we will cover the materials you will need to install a chimney cleanout door successfully.
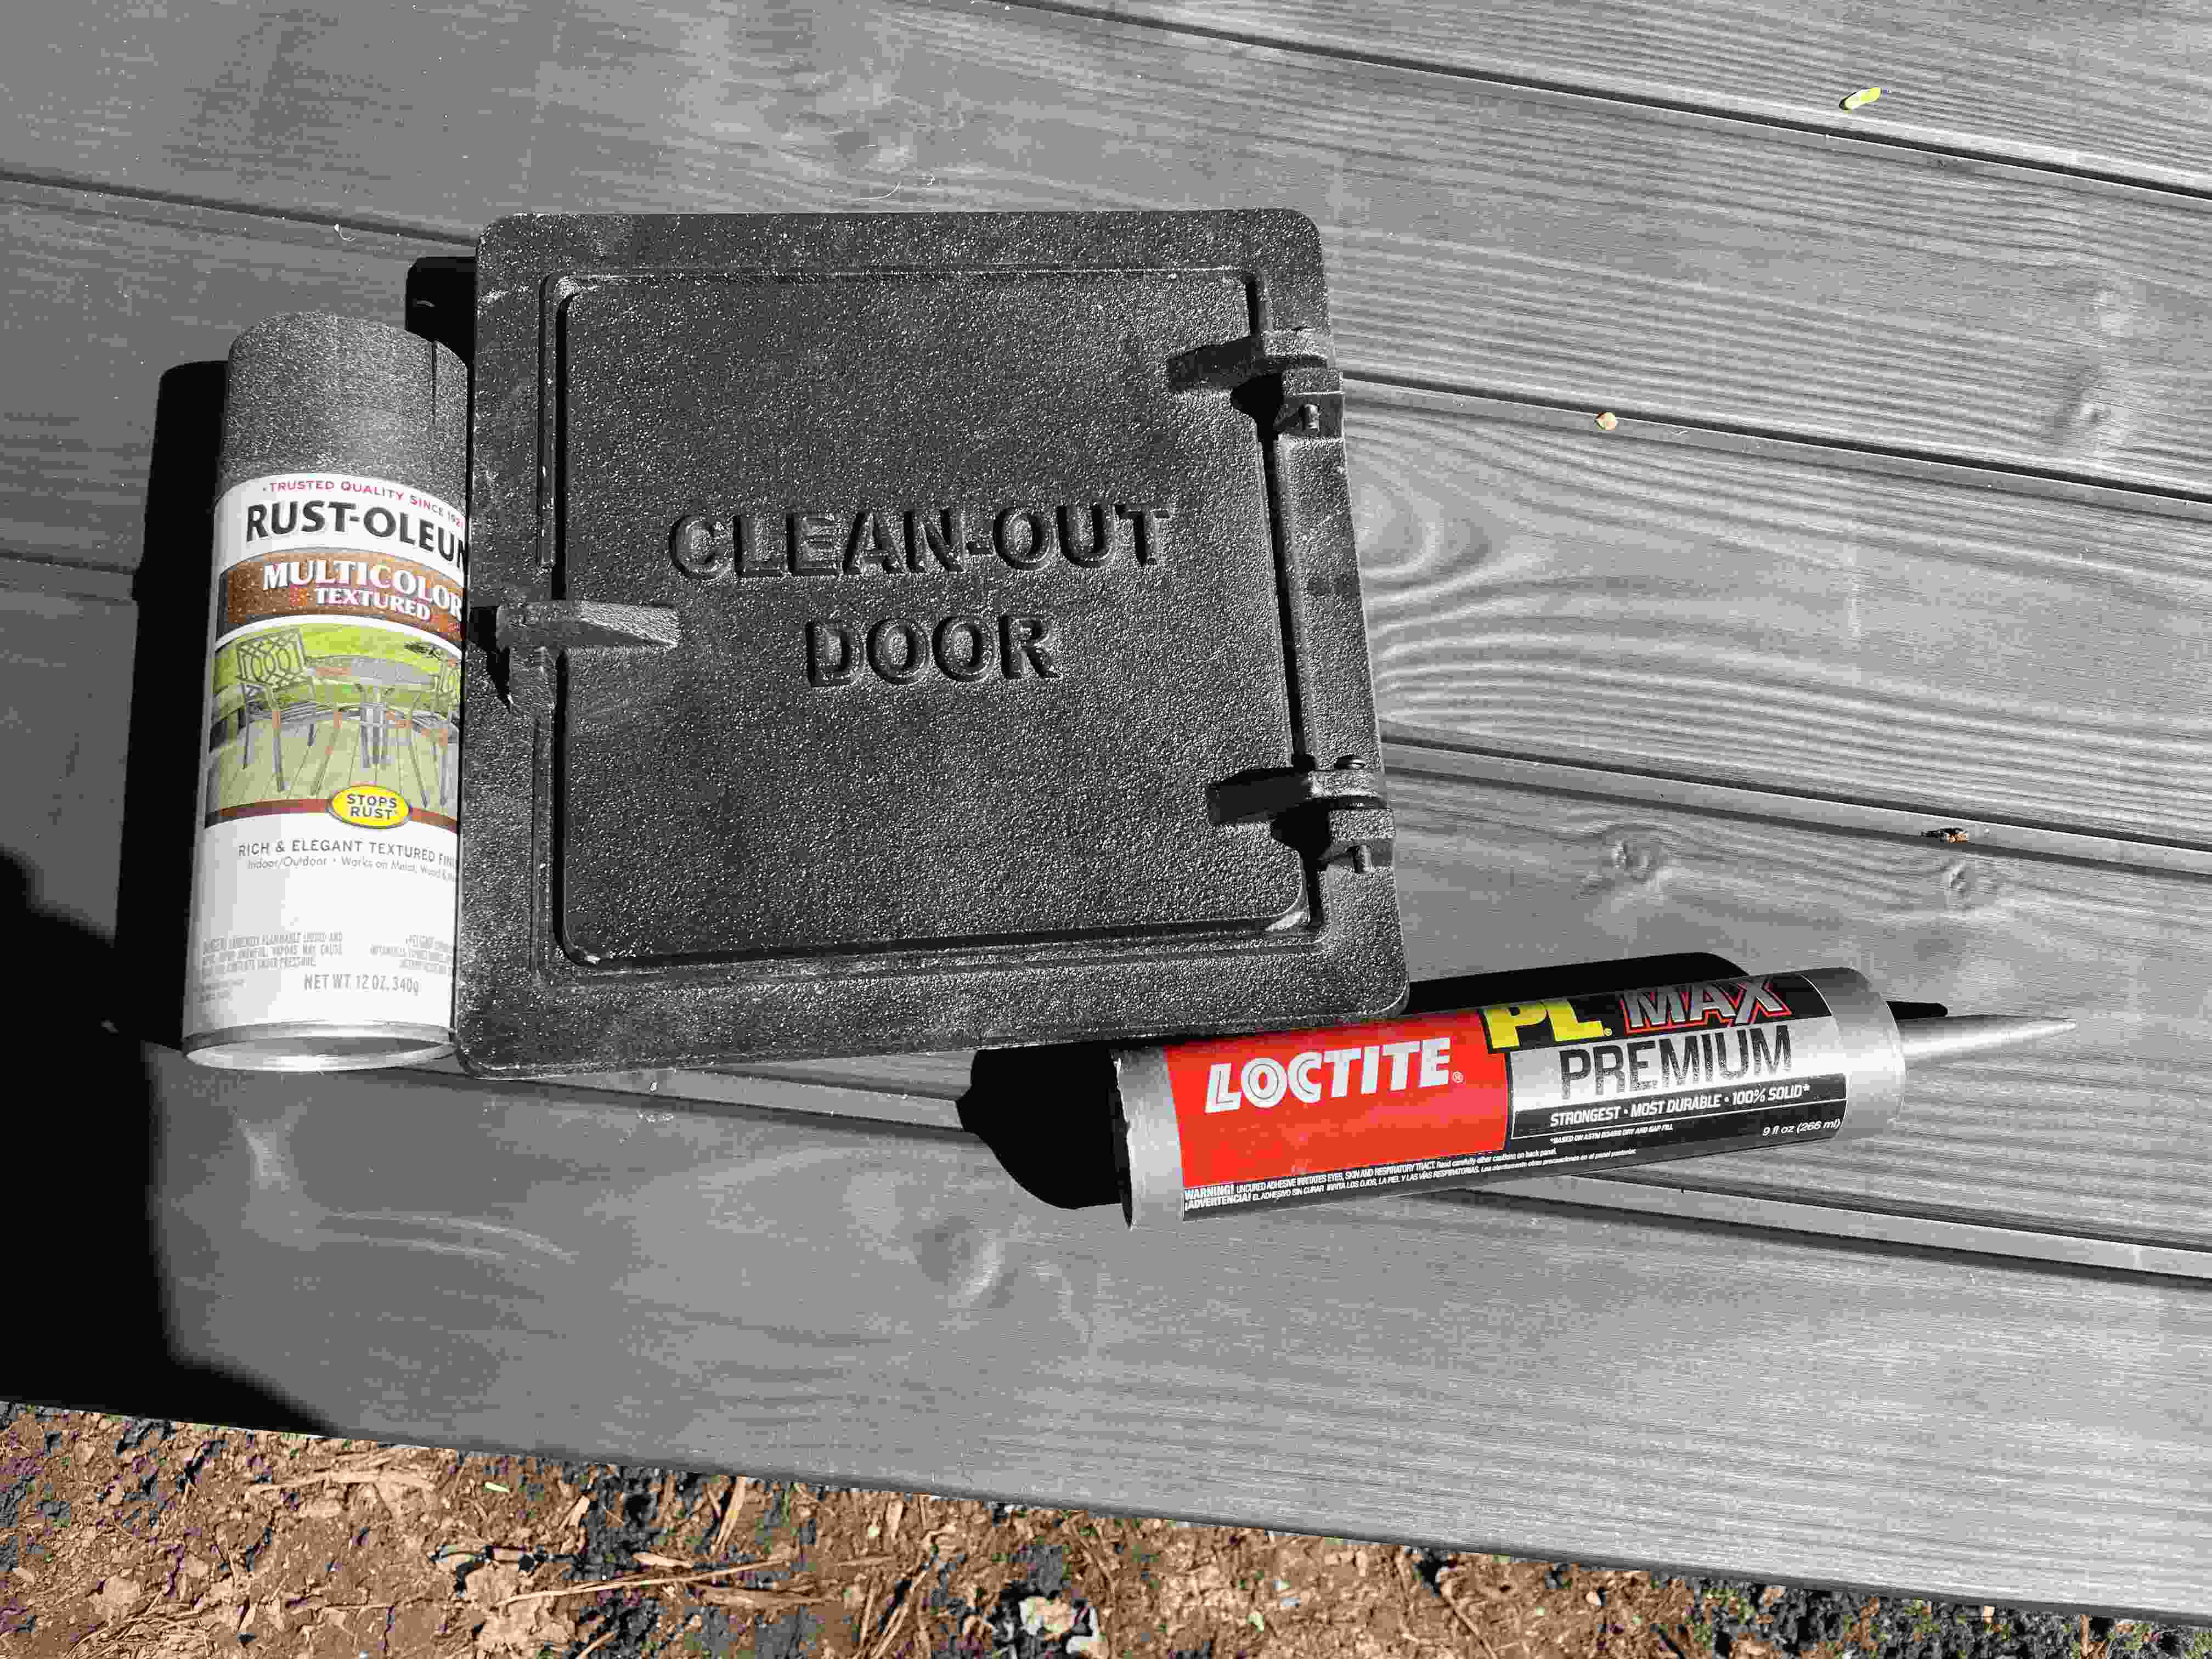
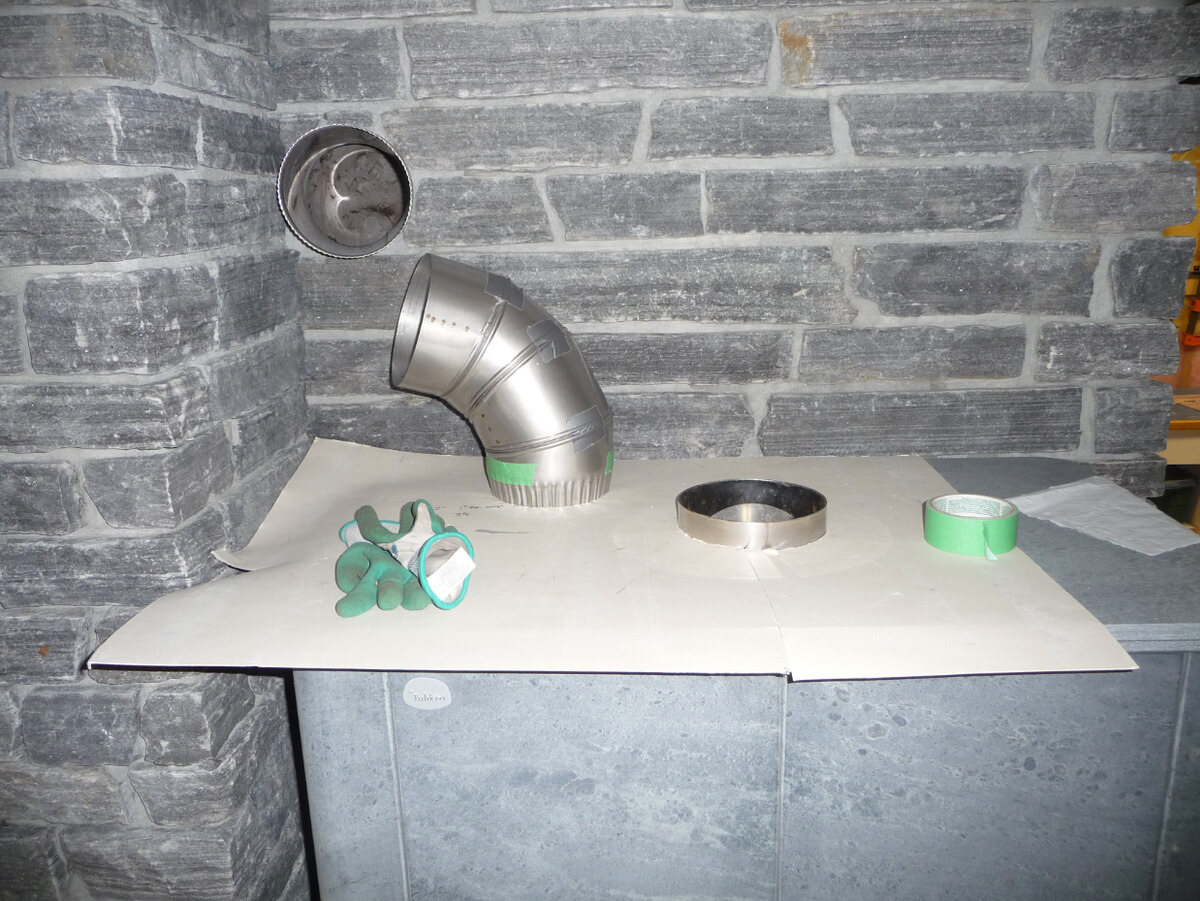
Materials Needed
Before starting the installation process, gather the necessary materials to ensure a smooth and successful chimney cleanout door installation. Here is a list of commonly required materials:
- Chimney Cleanout Door: Purchase a chimney cleanout door that is appropriate for your chimney size and style. These doors can be found at home improvement stores or through online retailers. Make sure to choose a sturdy and durable door made of quality materials.
- Masonry Anchors: You will need masonry anchors, such as screws or bolts, to secure the cleanout door frame to the chimney. The type and size of anchors will depend on your chimney’s construction and the specifications provided with the cleanout door.
- Masonry Drill Bit: A masonry drill bit is necessary if you need to drill holes into the chimney to install the masonry anchors. Ensure that the drill bit matches the size of the anchors you are using.
- Hammer Drill or Impact Driver: A hammer drill or impact driver will be required to drill into the masonry surface of your chimney. Choose a tool that is powerful enough to handle the job effectively.
- Level: A level is essential for ensuring that the cleanout door frame is installed straight and level on the chimney. This will help maintain a proper seal and ensure the smooth operation of the door.
- Screwdriver or Wrench: Depending on the type of fasteners used, you may need a screwdriver or wrench to attach the cleanout door frame and secure the door panel.
- Caulk or Sealant: To create an airtight seal and prevent water infiltration, you may need caulk or sealant suitable for masonry applications. Be sure to choose a product that is designed for high-temperature environments.
- Protective Equipment: When working with masonry materials and tools, it is important to protect yourself. Wear safety goggles, gloves, and a mask to safeguard against dust and debris.
Having all the necessary materials on hand will streamline the installation process and help you complete the project efficiently. If you are unsure about any of the materials needed, consult the manufacturer’s instructions or seek guidance from a professional chimney sweep or contractor.
Now that you have gathered the materials, it’s time to proceed with the step-by-step installation process. We will guide you through each stage to ensure a successful chimney cleanout door installation.
Step 1: Measure and Mark the Location
The first step in installing a chimney cleanout door is to accurately measure and mark the location where the door will be installed. Follow these steps to ensure the cleanout door is positioned correctly:
- Choose the Location: Select a suitable location for the cleanout door near the base of your chimney. It should be easily accessible and preferably on an exterior wall for convenient maintenance.
- Measure the Opening Size: Using a tape measure, determine the size of the opening required for the cleanout door. Refer to the manufacturer’s instructions to ensure you are measuring accurately and obtaining the correct dimensions.
- Mark the Opening’s Outline: Use a pencil or chalk to mark the outline of the cleanout door’s opening on the masonry surface. Make sure it is aligned with the measurements taken earlier.
- Double-Check the Position: Before proceeding, double-check the marked outline’s position to ensure it is level and centered according to your chimney’s architecture.
Accurate measurements and proper marking are crucial for a successful installation. Take your time to ensure the cleanout door’s location is well-planned and aligns with your chimney’s structure.
Once you have completed Step 1, you are ready to move on to Step 2: preparing the masonry surface for installation.
Read more: How Much To Install A Chimney
Step 2: Prepare the Masonry Surface
In Step 2 of installing a chimney cleanout door, you will prepare the masonry surface where the cleanout door frame will be attached. Follow these steps to ensure the surface is ready for installation:
- Clear the Area: Remove any obstructions or debris from the marked outline on the masonry surface. This includes removing loose bricks, mortar, or any other material that may interfere with the installation process.
- Inspect the Surface: Check the condition of the masonry surface and ensure it is structurally sound. Look for any cracks or damage that may require repair before proceeding with the installation.
- Clean the Surface: Use a wire brush or a stiff bristle brush to clean the area within the marked outline. Remove dust, dirt, and loose particles from the surface to ensure a secure bond between the cleanout door frame and the chimney.
- Apply Masonry Sealant (Optional): If desired, you can apply a layer of masonry sealant to the cleaned surface within the marked outline. This will provide extra adhesion and help create a watertight seal around the cleanout door frame.
Preparing the masonry surface is essential to ensure a strong and long-lasting installation. By clearing the area of debris and cleaning the surface, you create an optimal environment for attaching the cleanout door frame securely.
Once you have prepared the masonry surface, you are ready to move on to Step 3: installing the wall anchor for the cleanout door frame.
When installing a chimney cleanout door, make sure to measure the opening accurately and choose a door that is made of durable materials such as stainless steel or cast iron to ensure longevity and proper function.
Step 3: Install the Wall Anchor
In Step 3 of installing a chimney cleanout door, you will install the wall anchor to secure the cleanout door frame to the masonry surface. Follow these steps to successfully install the wall anchor:
- Drill Pilot Holes: Using a masonry drill bit, carefully drill pilot holes into the masonry surface within the marked outline. The size of the pilot holes should match the diameter of the wall anchors provided with the cleanout door.
- Insert Wall Anchors: Insert the wall anchors into the pilot holes. Make sure they are aligned properly and fully inserted into the masonry surface. The wall anchors will provide the necessary support for the cleanout door frame.
- Tighten the Wall Anchors: Using a screwdriver or appropriate tool, tighten the wall anchors until they are securely fastened to the masonry surface. Ensure they are snug and provide a firm grip.
- Double-Check the Stability: Test the stability of the wall anchors to ensure they are firmly attached to the masonry surface. Gently apply pressure to the anchors to confirm they are secure and will adequately support the cleanout door frame.
Properly installing the wall anchor is crucial for the stability and longevity of the cleanout door installation. Take your time to ensure the pilot holes are drilled accurately, the anchors are inserted correctly, and they are tightly fastened to the masonry surface.
With the wall anchor installed, you are ready to move on to Step 4: attaching the cleanout door frame.
Step 4: Attach the Cleanout Door Frame
In Step 4 of installing a chimney cleanout door, you will attach the cleanout door frame to the masonry surface. Follow these steps to ensure a secure attachment:
- Position the Cleanout Door Frame: Align the cleanout door frame over the wall anchors, ensuring that it fits within the marked outline on the masonry surface. Make sure the frame is level and centered before proceeding.
- Secure the Frame to the Wall Anchors: Using the screws or bolts provided with the cleanout door, begin fastening the cleanout door frame to the wall anchors. Start with one corner and gradually work your way around, tightening the fasteners evenly.
- Double-Check the Alignment: Ensure that the cleanout door frame remains level and centered during the attachment process. Use a level to confirm that it is properly aligned both horizontally and vertically.
- Tighten the Fasteners: Once all the screws or bolts are in place, use a screwdriver or wrench to fully tighten them. Ensure that the cleanout door frame is securely attached to the wall anchors and the masonry surface.
- Inspect the Attachment: Take a moment to inspect the attachment of the cleanout door frame, ensuring that it is stable and there are no visible gaps or loose connections. If necessary, make any adjustments or re-tighten the fasteners as needed.
Attaching the cleanout door frame securely is essential to ensure its proper functioning and longevity. By following these steps, you can ensure that the frame is aligned correctly, securely attached, and ready for the final installation of the cleanout door.
With the cleanout door frame securely in place, you are ready to move on to Step 5: installing the cleanout door itself.
Step 5: Install the Cleanout Door
In Step 5 of installing a chimney cleanout door, you will install the cleanout door itself into the frame. Follow these steps to complete the installation:
- Position the Cleanout Door: Align the cleanout door with the frame and ensure that it fits snugly. The door should cover the opening completely, creating a tight seal.
- Align the Hinges: If your cleanout door has hinges, make sure they are properly aligned with the corresponding hinge receivers on the frame. The hinges should be positioned to allow the door to swing freely and smoothly.
- Secure the Door to the Frame: Depending on the type of cleanout door, you may need to attach it to the frame using screws or other fastening mechanisms included with the door. Follow the manufacturer’s instructions to securely fasten the door in place.
- Ensure Proper Operation: Test the functionality of the cleanout door by opening and closing it a few times. Make sure it operates smoothly and without any obstructions or resistance.
- Inspect the Door Seal: Close the cleanout door and inspect the seal between the door and the frame. Ensure there are no visible gaps or openings that may compromise the seal. If necessary, adjust the door or add weatherstripping to improve the seal.
Installing the cleanout door completes the installation process, providing you with easy access to the chimney interior for maintenance and cleaning purposes. Take your time to ensure the door is correctly aligned and securely attached to the frame.
With the cleanout door installed, you are ready to proceed to Step 6: securing the cleanout door frame to the chimney.
Read more: How To Install Chimney Damper
Step 6: Secure the Cleanout Door Frame
In Step 6 of installing a chimney cleanout door, you will secure the cleanout door frame to the chimney to ensure its stability and proper functioning. Follow these steps to secure the frame:
- Inspect the Frame Attachment: Check the screws or bolts that secure the cleanout door frame to the masonry surface. Ensure they are tightened securely and that the frame is firmly in place.
- Apply Masonry Sealant (Optional): If desired, apply a bead of masonry sealant around the perimeter of the cleanout door frame where it meets the masonry surface. This will create an additional seal and prevent water infiltration.
- Smooth the Sealant: Use a caulk smoothing tool or your finger to smooth the sealant, ensuring it forms a neat and even seal along the frame. This will enhance its effectiveness and appearance.
- Allow the Sealant to Cure: Follow the manufacturer’s instructions for the sealant to allow it to cure properly. This will ensure maximum adhesion and durability.
- Inspect the Sealant Seal: After the sealant has cured, visually inspect the seal to ensure there are no gaps or openings. The sealant should create a watertight barrier between the cleanout door frame and the masonry surface.
Securing the cleanout door frame is important for its stability and longevity. Double-check the screws or bolts, and consider applying masonry sealant to provide an additional layer of protection.
With the cleanout door frame securely attached and sealed, you are ready to move on to the final step: testing the functionality of the cleanout door.
Step 7: Test the Door Functionality
In Step 7 of installing a chimney cleanout door, you will test the functionality of the door to ensure it operates smoothly and effectively. Follow these steps to test the door:
- Open the Cleanout Door: Carefully open the cleanout door to its full extent. Check for any obstructions or resistance that may hinder its movement. The door should open and close freely without any difficulties.
- Check the Door Alignment: As you open and close the cleanout door, observe its alignment with the frame. It should remain centered and properly aligned throughout the operation.
- Ensure a Proper Seal: Close the cleanout door and inspect the seal between the door and the frame. Look for any gaps or openings that could compromise the seal. The door should create a tight and secure seal when in the closed position.
- Test the Locking Mechanism (if applicable): If your cleanout door has a locking mechanism, engage and disengage it to ensure it functions properly. The lock should securely hold the door in place when locked and easily release when unlocked.
- Confirm Accessibility: Lastly, check the accessibility of the cleanout door. Ensure its location allows for easy access and that there are no obstructions blocking its path.
Testing the functionality of the cleanout door is essential to ensure it operates as intended. By following these steps, you can verify that the door operates smoothly, creates a proper seal, and remains accessible for maintenance purposes.
Congratulations! You have successfully installed a chimney cleanout door. By regularly maintaining and cleaning your chimney using this access point, you can ensure its safe and efficient operation for years to come.
If you have any concerns or questions about the installation process or the functionality of the cleanout door, it is always recommended to consult a professional chimney sweep or contractor for assistance.
Now sit back, relax, and enjoy the peace of mind that comes with a well-maintained chimney system!
Conclusion
Installing a chimney cleanout door is a crucial step in maintaining the safety and efficiency of your chimney system. With easy access to the chimney’s interior, you can regularly clean and inspect for any build-up, ensuring proper airflow and reducing the risk of chimney fires.
In this comprehensive guide, we have walked you through each step of the chimney cleanout door installation process. From measuring and marking the location to securing the cleanout door frame and testing its functionality, you now have the knowledge and confidence to install a chimney cleanout door yourself.
Remember, safety should always be a top priority. If you are uncomfortable working at heights or with masonry materials, it is best to consult a professional chimney sweep or contractor for assistance.
By installing a chimney cleanout door, you are taking proactive steps in maintaining your chimney’s health and extending its lifespan. It provides a convenient access point for regular cleaning and maintenance, ensuring optimal performance and reducing the risk of chimney-related hazards.
Take the time to gather all the necessary materials, carefully follow each step, and pay attention to detail during the installation process. This will ensure a successful and long-lasting chimney cleanout door installation.
Regular chimney maintenance, including cleaning and inspections, should be incorporated into your home maintenance routine. By doing so, you can enjoy safe and efficient operation of your heating appliance, improved air quality, and potential energy savings.
We hope this guide has been helpful in guiding you through the installation process of a chimney cleanout door. Now, go ahead and take the necessary steps to install a cleanout door on your chimney, and enjoy the peace of mind that comes with a well-maintained chimney system.
Frequently Asked Questions about How To Install Chimney Cleanout Door
Was this page helpful?
At Storables.com, we guarantee accurate and reliable information. Our content, validated by Expert Board Contributors, is crafted following stringent Editorial Policies. We're committed to providing you with well-researched, expert-backed insights for all your informational needs.


0 thoughts on “How To Install Chimney Cleanout Door”