
Articles
How To Install A Utility Sink In The Garage
Modified: February 24, 2024
Learn how to easily install a utility sink in your garage with step-by-step instructions. Our articles provide expert guidance for this practical home improvement project.
(Many of the links in this article redirect to a specific reviewed product. Your purchase of these products through affiliate links helps to generate commission for Storables.com, at no extra cost. Learn more)
Introduction
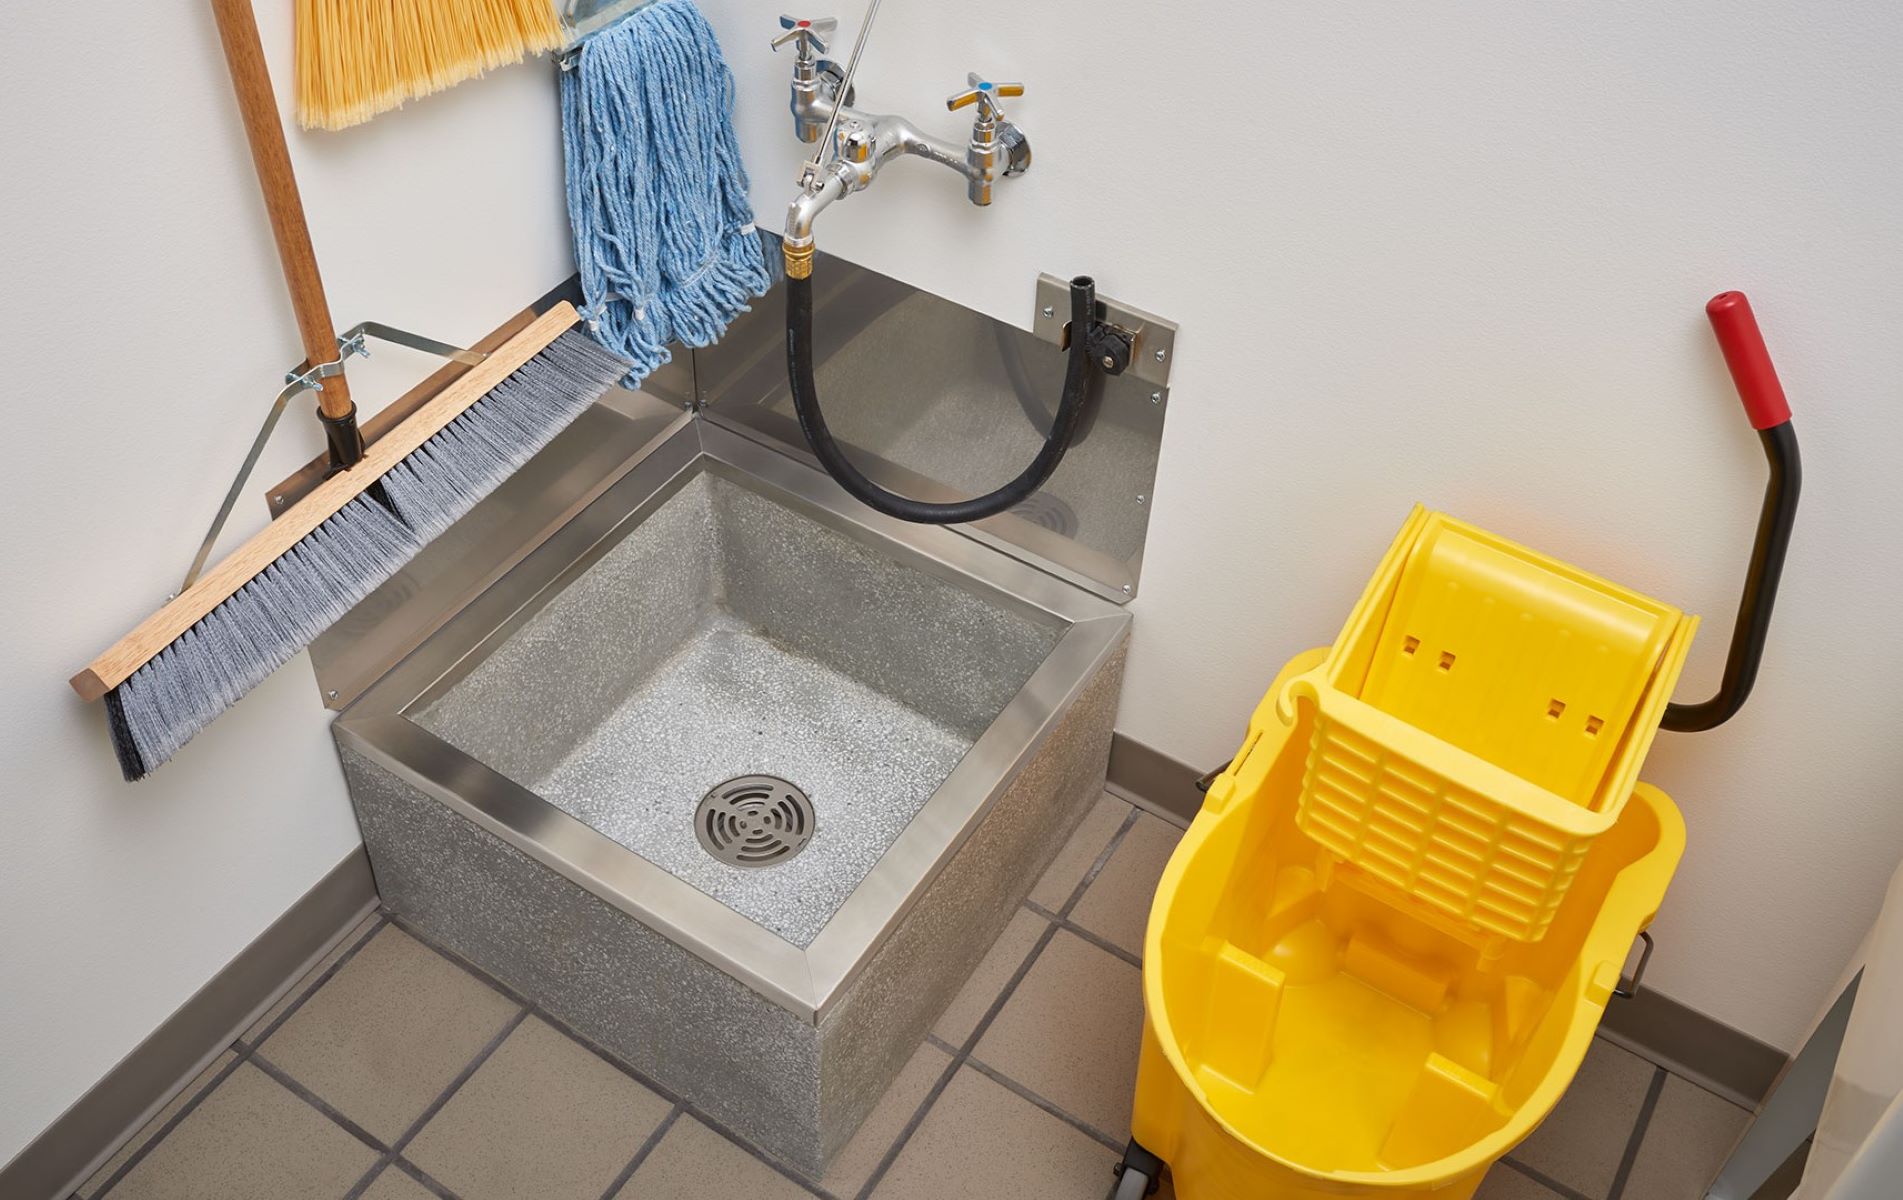
Welcome to our guide on how to install a utility sink in your garage. A utility sink, also known as a laundry sink or mop sink, is a versatile addition to any garage. It provides a convenient place for you to wash your hands, clean dirty tools, or even tackle small household tasks.
Installing a utility sink in your garage may seem like a daunting task, but with the right tools and a little bit of know-how, you can easily complete this project on your own. In this article, we will walk you through each step of the installation process, ensuring that you have everything you need to complete the job.
Before we get started, it is important to note that every garage is unique, and the specific steps and requirements may vary depending on your space. We recommend consulting your local plumbing codes and regulations to ensure compliance before beginning the installation process.
Now, let’s gather our materials and get started on installing your utility sink in the garage!
Key Takeaways:
- Installing a utility sink in your garage is a manageable DIY project that provides a convenient space for cleaning tools and tackling household tasks. Follow the step-by-step guide to ensure a successful installation.
- Before starting the installation, gather all necessary materials and choose a suitable location for the sink. Adhere to local plumbing codes and regulations, and test the sink for leaks before use.
Read more: How To Install Utility Sink In Basement
Step 1: Gather the necessary materials
Before you begin the installation process, it is important to gather all the necessary materials and tools. Having everything on hand will make the installation process smoother and more efficient. Here is a list of the materials you will need:
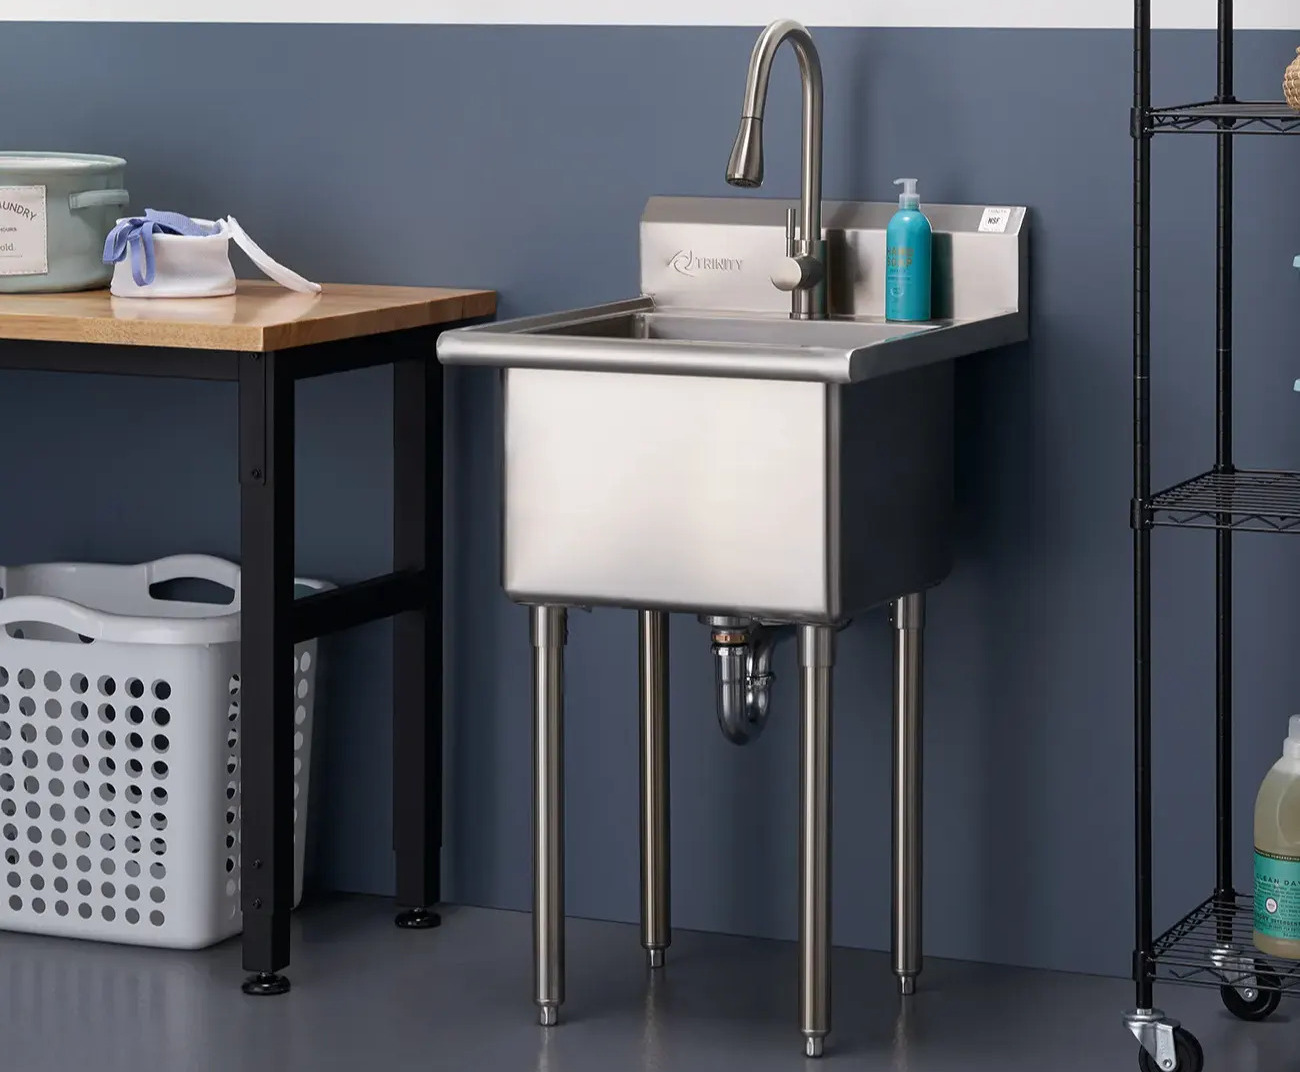
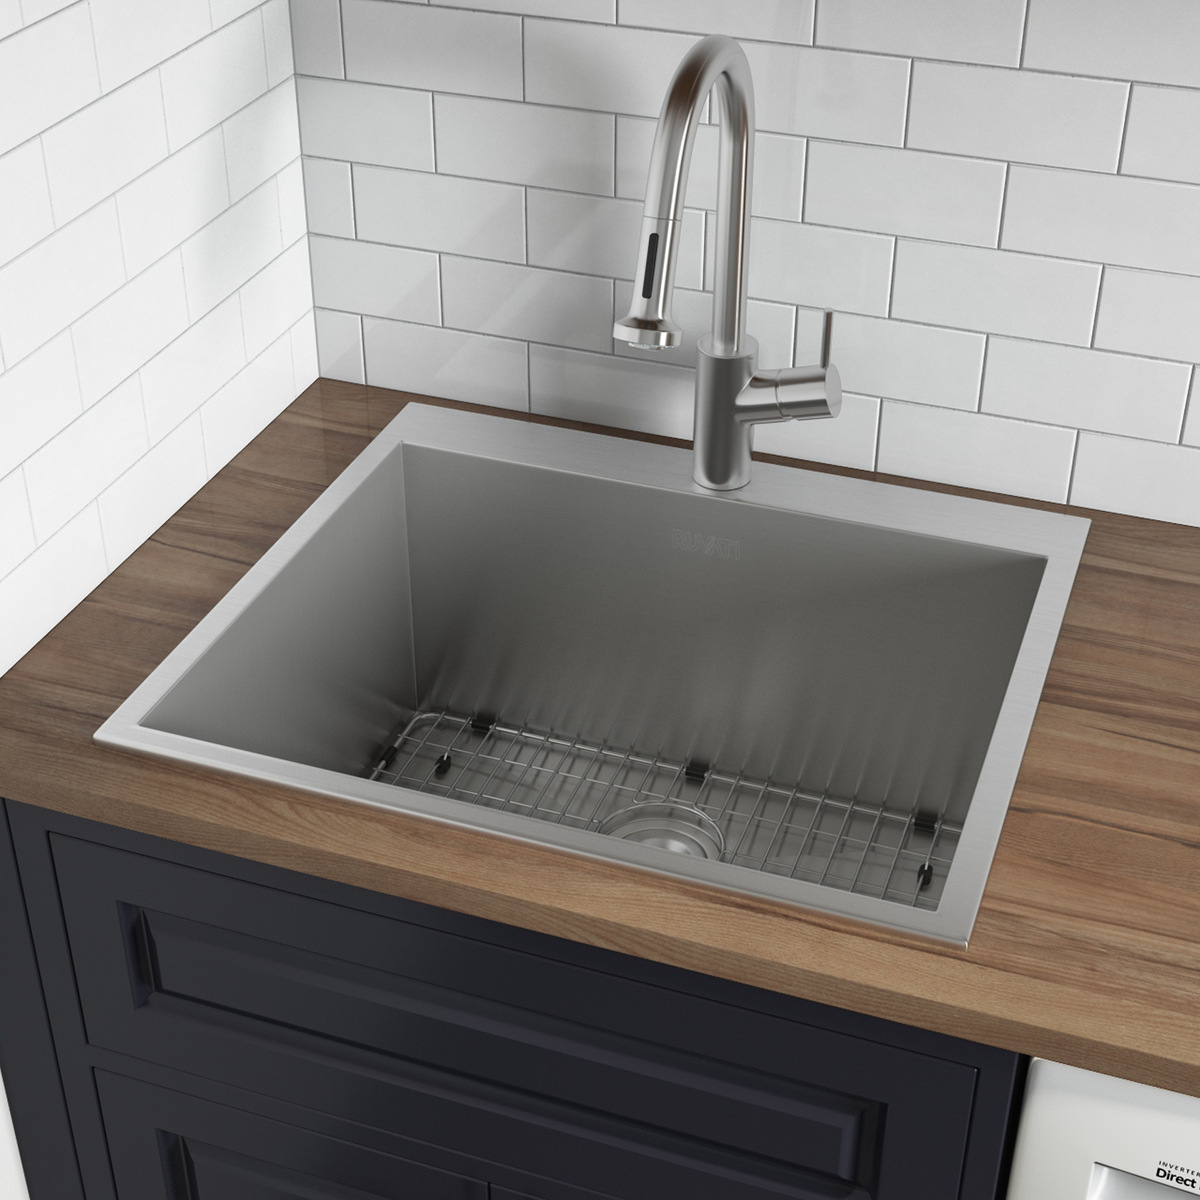
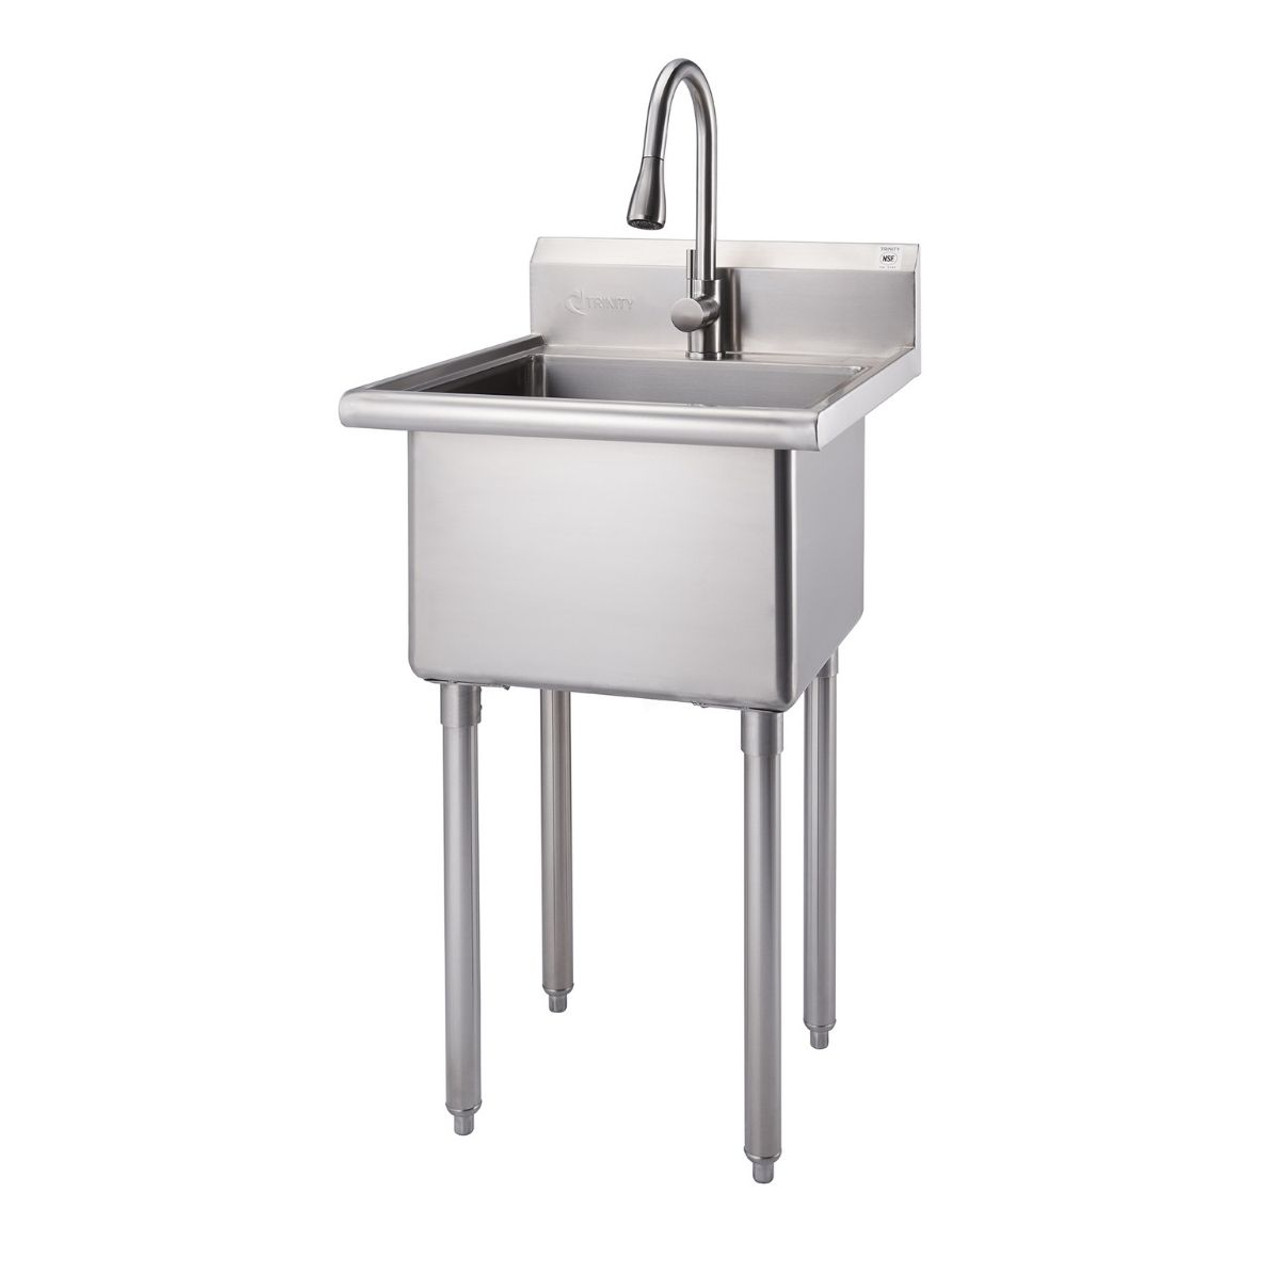
- A utility sink: Choose a sink that fits your needs and matches the style of your garage. Look for a sink with a durable material such as stainless steel or composite.
- A sink support bracket: This bracket will provide stability and support for the sink. Make sure it is designed to fit your specific sink.
- Water supply lines: You will need flexible braided supply lines to connect the sink to the water source. Measure the distance between the water source and the sink to ensure you purchase the correct length.
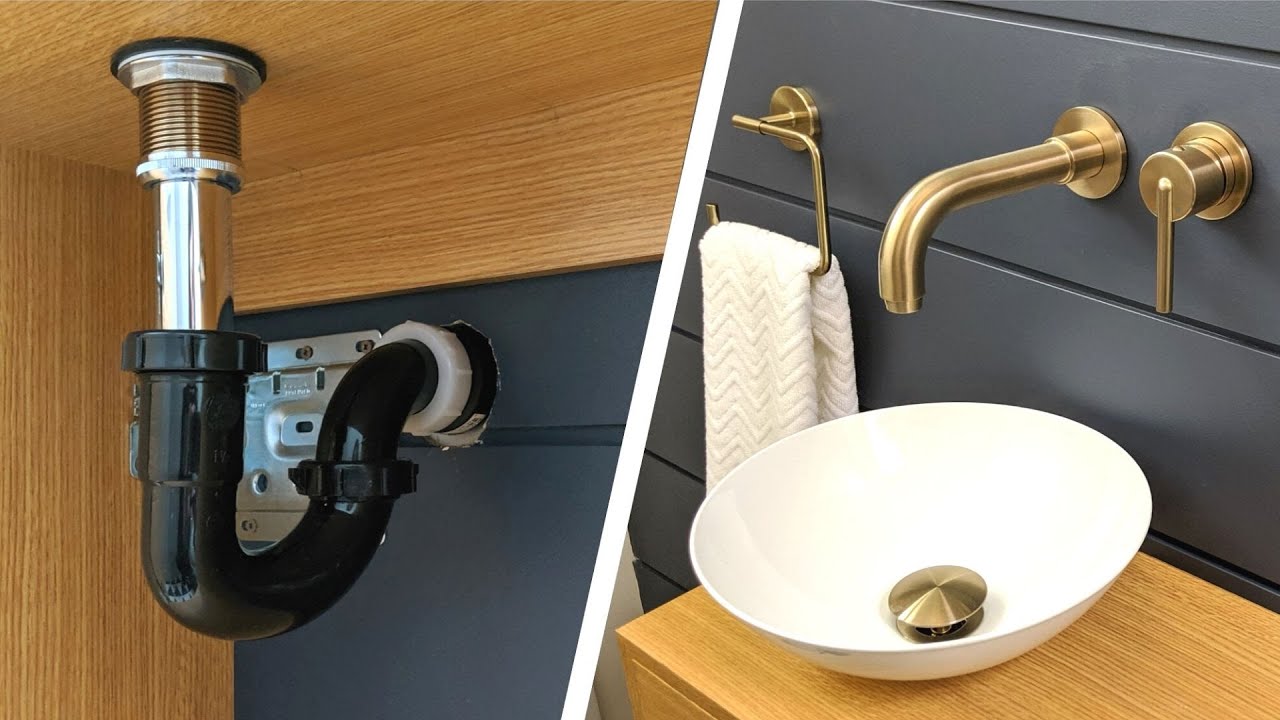
- A P-trap and PVC pipes: These components are necessary for the drain system. Make sure the P-trap matches the size of the sink drain and check the local plumbing codes for any specific requirements.
- Plumber’s tape: Also known as Teflon tape, this tape helps create a watertight seal when connecting pipes and fittings.
- A wrench and pliers: These tools will be used to tighten and secure the different connections.
- A screwdriver or drill: Depending on the type of sink support bracket you choose, you may need a screwdriver or drill to install it.
- A level: Using a level will ensure that your utility sink is installed correctly and doesn’t have any uneven surfaces.
- A bucket and towels: These will come in handy during the installation process to catch any water and clean up spills.
Once you have gathered all the necessary materials and tools, you are ready to move on to the next step: choosing a suitable location for your utility sink.
Step 2: Choose a suitable location for the utility sink
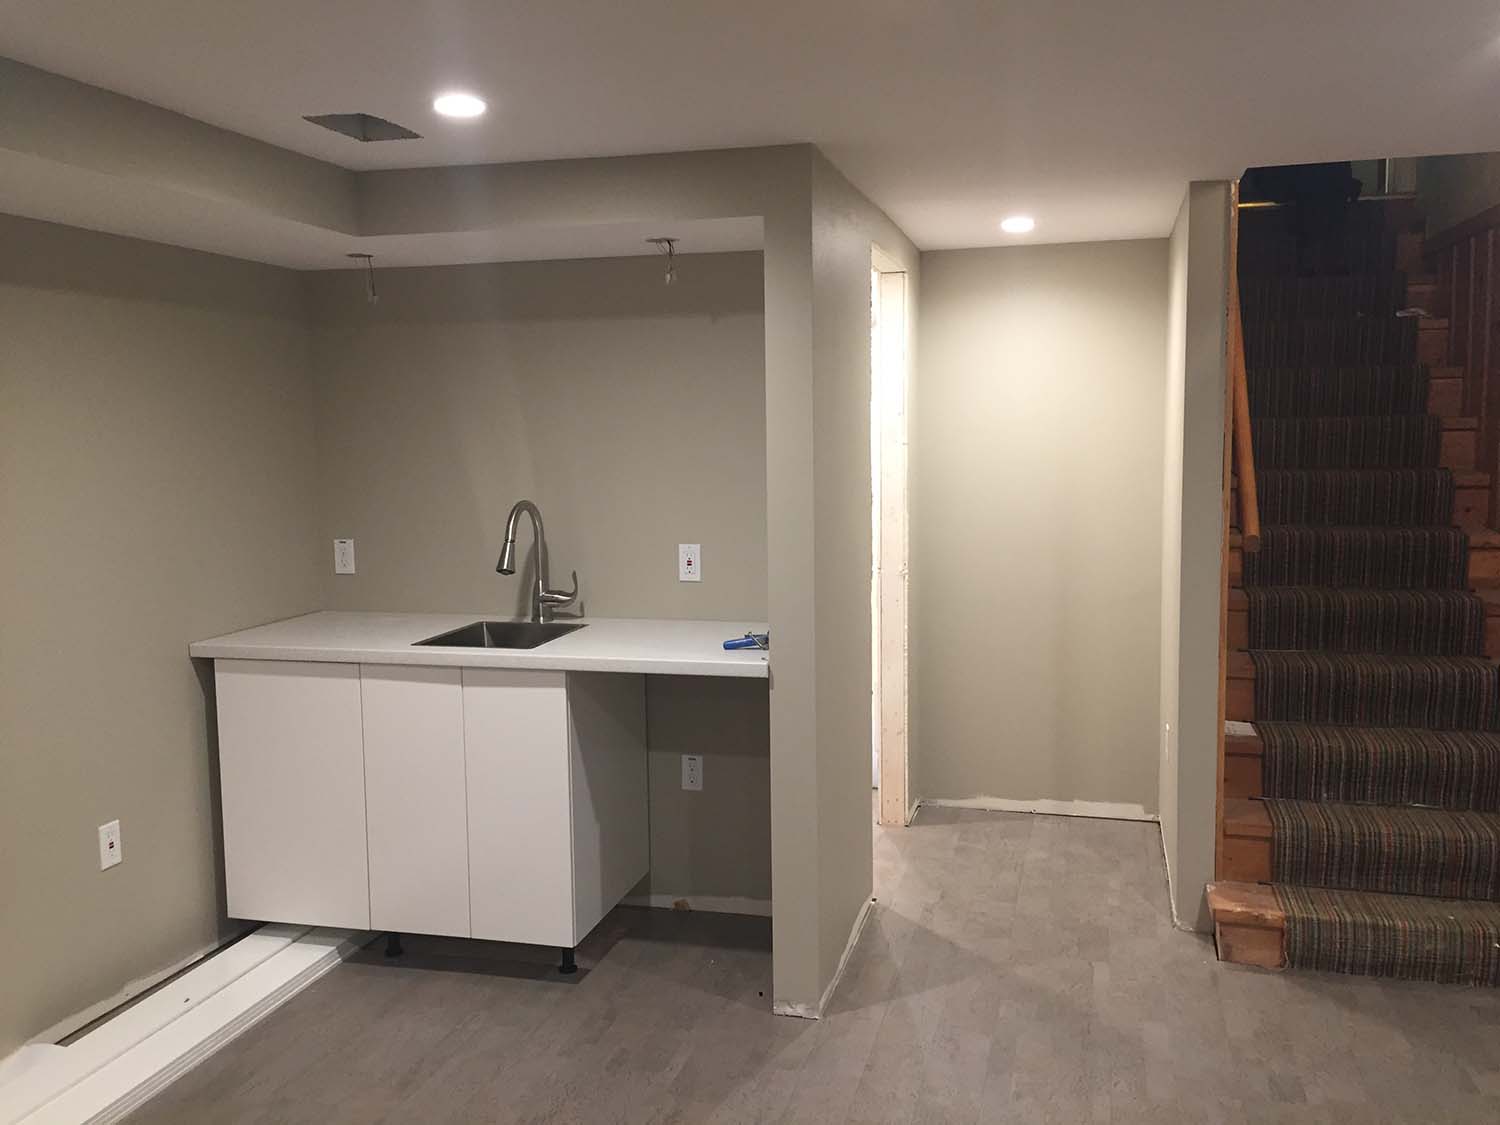
Choosing the right location for your utility sink is crucial to ensure its functionality and convenience. Here are a few factors to consider when selecting a suitable spot:
- Accessibility: Place the sink in an area that is easily accessible. Ideally, it should be near a water source and not obstructed by other objects or furniture in the garage.
- Plumbing considerations: Check the existing plumbing system in your garage to determine the most practical location for the sink. Ensure that the water supply lines and drain pipes can be easily connected to the sink without extensive modifications.
- Space availability: Evaluate the available space in your garage and choose a location that allows for sufficient clearance and maneuverability around the sink. Consider any future expansions or additions to the garage that might affect the sink’s placement.
- Ventilation: If possible, position the sink near a window or install a ventilation system to prevent moisture buildup. This will help maintain a clean and fresh environment in your garage.
- Utility requirements: Consider the specific purposes for which you will be using the sink. If you plan to use it for heavy-duty tasks such as cleaning tools or gardening, ensure there is ample space around the sink to accommodate such activities.
Once you have taken these factors into account, mark the chosen location on the wall or floor where you plan to install the sink. This will serve as a reference point throughout the installation process.
With the location chosen, you are now ready to move on to preparing the installation area. This involves clearing the space, ensuring proper support, and making any necessary adjustments to the plumbing system.
Step 3: Prepare the installation area
Before installing the utility sink, it is essential to properly prepare the installation area in your garage. This step will ensure a secure and stable foundation for the sink. Follow these guidelines to prepare the installation area:
- Clear the space: Remove any existing obstacles or items that may hinder the installation process. This includes cleaning out the area and ensuring there is sufficient space for the sink and its associated components.
- Inspect the wall and floor: Check the condition of the wall and floor where the sink will be installed. Look for any cracks, damage, or uneven surfaces. It’s crucial to fix any issues beforehand to ensure a stable installation.
- Secure the studs: If your garage walls have exposed studs, identify the studs in the area where you plan to install the sink. Mark their locations and reinforce them as necessary to provide additional support for the sink and its mounting bracket.
- Prepare the rough plumbing: Examine the existing plumbing system in your garage. Ensure that the water supply lines and drain pipes are in the right position and height for the sink installation. Make any necessary adjustments or modifications to align them with the sink requirements.
- Shut off the water supply: Before making any plumbing connections, turn off the main water supply to your garage. This will prevent any water flow or leaks during the installation process and ensure a safer working environment.
Once you have prepared the installation area, double-check that everything is in order and meets the necessary requirements. Take this opportunity to clean the area thoroughly and remove any debris or dust that may interfere with the installation process.
With the installation area prepared, you can now proceed to the next step: installing the sink support bracket.
Step 4: Install the sink support bracket
Installing the sink support bracket is an important step in ensuring the stability and durability of your utility sink. The bracket will provide the necessary support to hold the weight of the sink and prevent any sagging or movement. Follow these steps to install the sink support bracket:
- Measure and mark the bracket placement: Position the sink support bracket against the wall at the desired height. Use a level to ensure it is perfectly straight. Mark the locations for the bracket screws on the wall.
- Drill pilot holes: Using a drill bit slightly smaller than the size of the screws, carefully drill pilot holes into the marked locations on the wall. These pilot holes will make it easier to insert the screws.
- Attach the bracket to the wall: Align the sink support bracket with the pilot holes and secure it to the wall using screws. Make sure it is tightly fastened and level with the marked line.
- Check for stability: Once the bracket is installed, give it a gentle shake to ensure it is securely attached to the wall. If there is any wobbling or instability, adjust the bracket or tighten the screws as necessary.
It is important to follow the manufacturer’s instructions provided with the sink support bracket for specific installation guidelines. Some brackets may have additional steps or requirements that are unique to their design.
With the sink support bracket securely installed, you are now ready to move on to the next step: connecting the water supply lines.
When installing a utility sink in your garage, make sure to properly secure the sink to the wall or floor to prevent any movement or instability during use. This will ensure the sink remains functional and safe for long-term use.
Read more: What Is A Utility Sink
Step 5: Connect the water supply lines
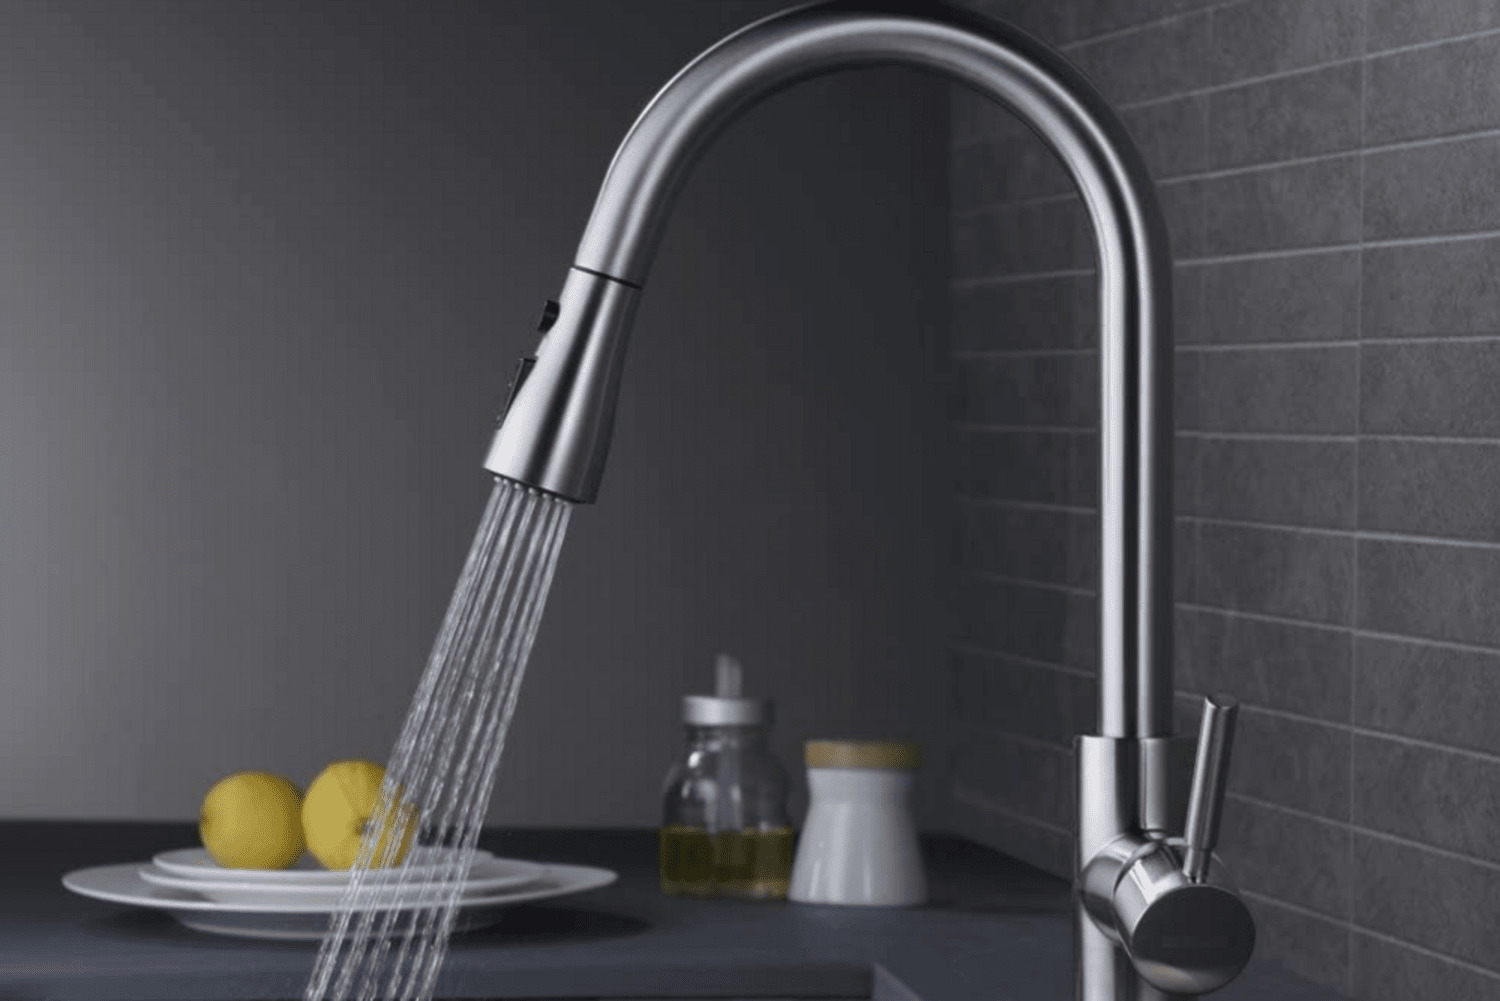
Connecting the water supply lines is a crucial step in the installation process of your utility sink. This ensures that you have a reliable source of water for all your cleaning and washing needs. Follow these steps to connect the water supply lines:
- Turn off the main water supply: Before proceeding with any plumbing work, shut off the main water supply to your garage. This will prevent any water flow and ensure a safer working environment.
- Locate the hot and cold water supply lines: Identify the hot and cold water supply lines in your garage. These may be located under the sink or in a nearby plumbing access panel.
- Measure and cut the supply lines: Measure the distance between the water supply lines and the sink connections. Use a pipe cutter to cut the supply lines to the appropriate length. Make sure the cuts are clean and straight.
- Attach the supply lines: Take the flexible braided supply lines and attach them to the hot and cold water supply lines. Use an adjustable wrench to tighten the connections securely.
- Connect the supply lines to the sink: On the underside of the utility sink, locate the hot and cold water connections. Attach the other ends of the supply lines to these connections, ensuring a tight and secure fit.
- Use plumber’s tape: Wrap plumber’s tape around the threaded ends of the supply line connections to create a watertight seal. This will help prevent any leaks.
- Turn on the water supply: Once all the connections are in place, turn on the main water supply to your garage. Check for any leaks around the supply line connections. If you notice any leaks, tighten the connections further.
It is essential to follow the manufacturer’s instructions and local plumbing codes when connecting the water supply lines. This will ensure that the connections are made correctly and meet the necessary standards.
With the water supply lines connected, you can now move on to installing the drain system for your utility sink.
Step 6: Install the drain system
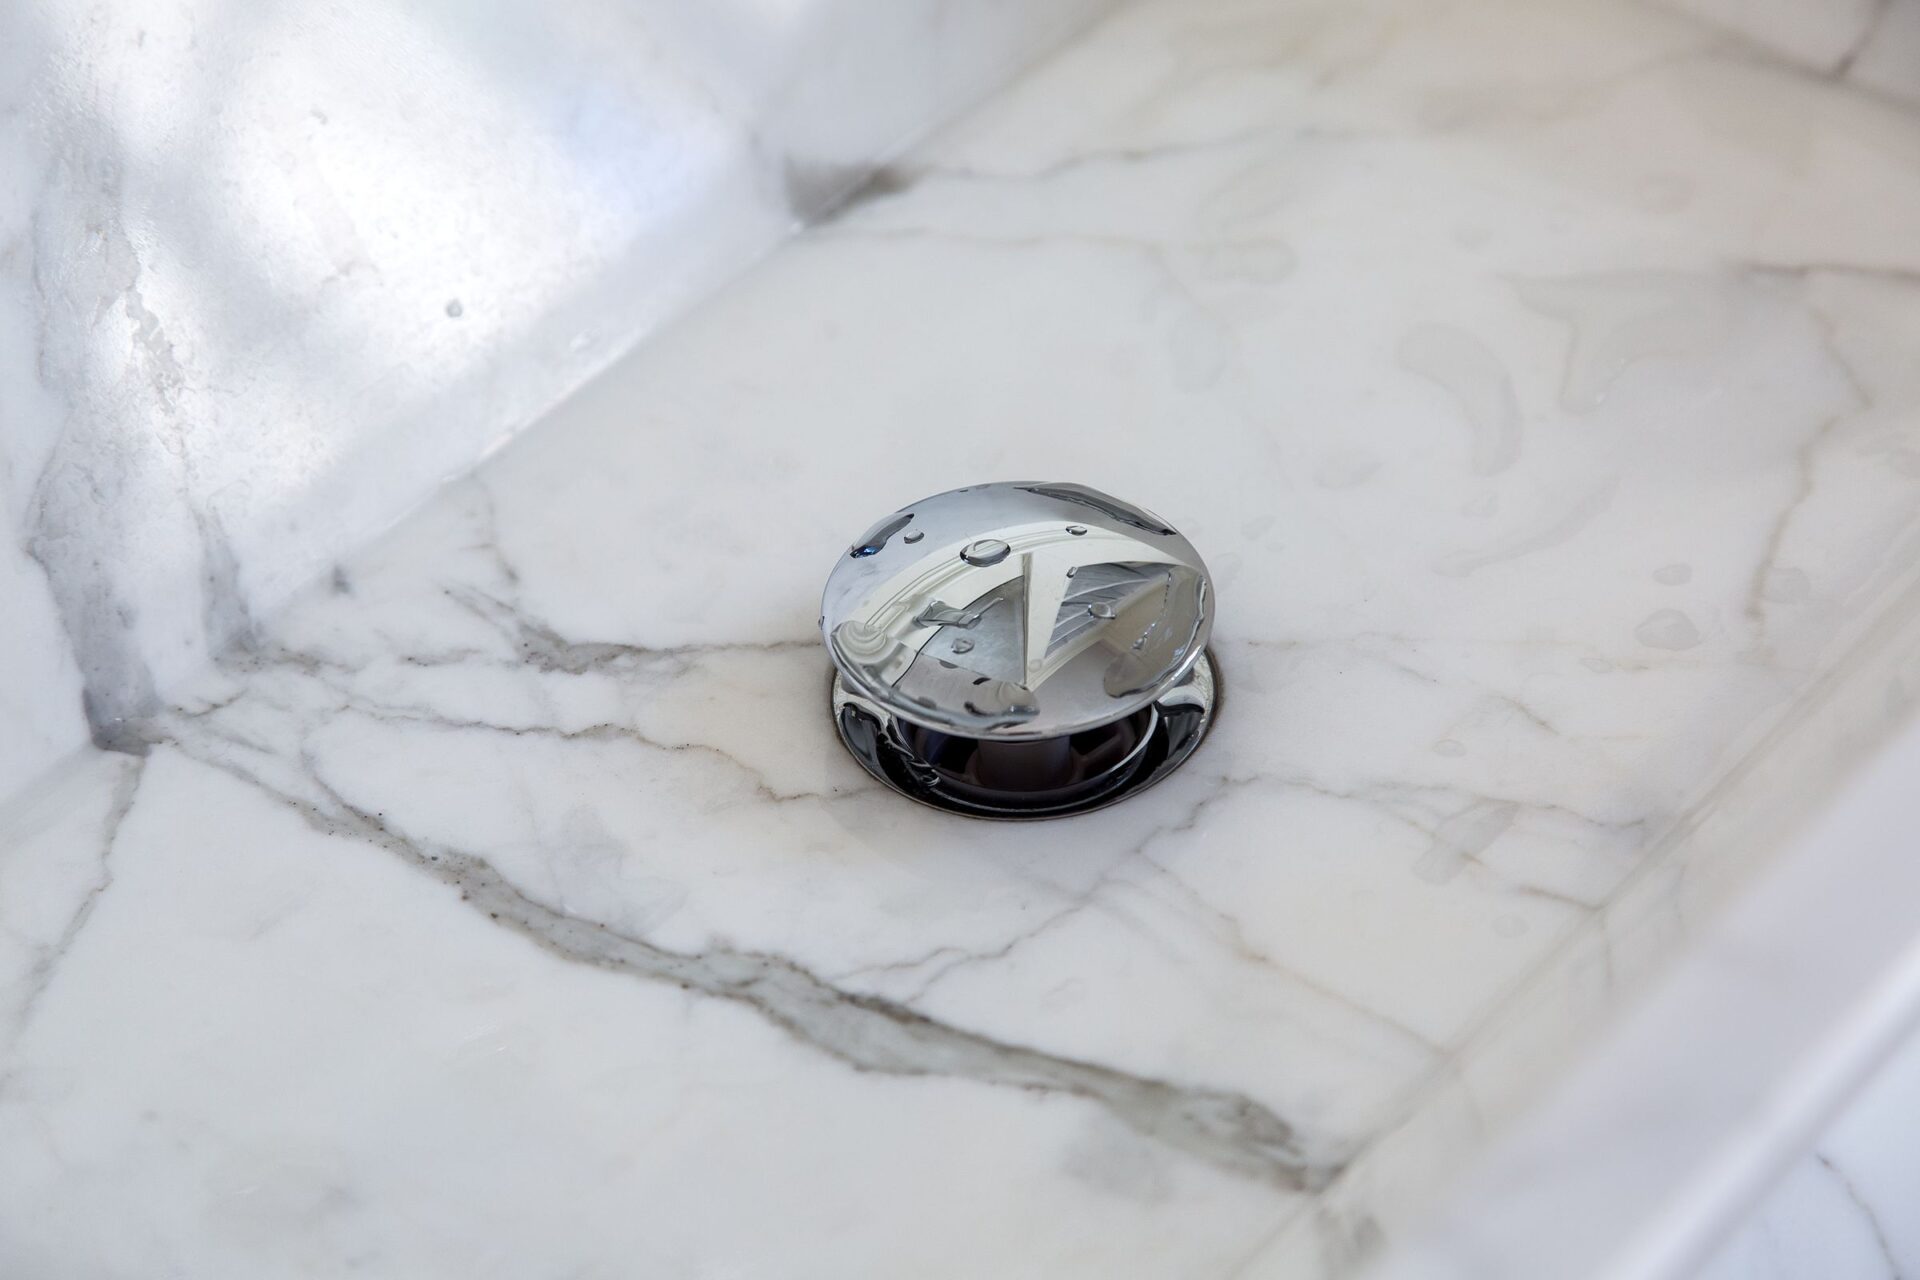
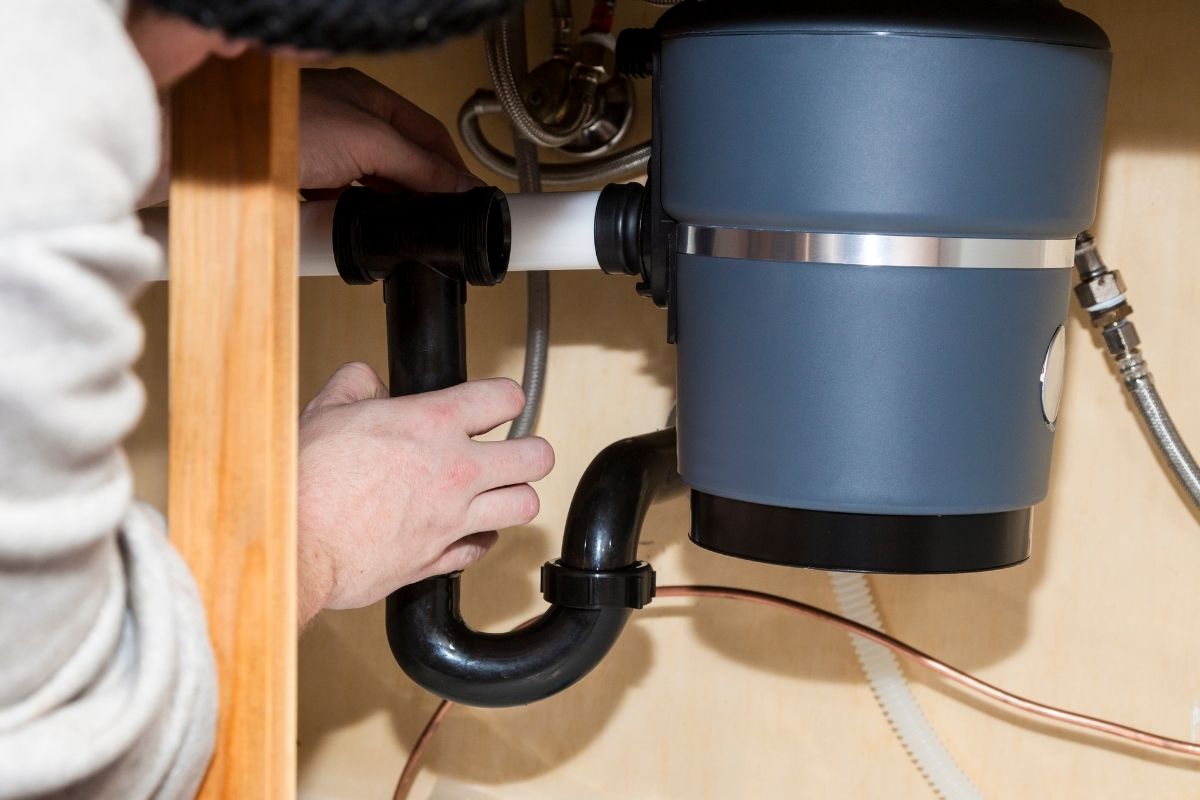
Installing the drain system for your utility sink is an essential part of the installation process. This system ensures that the wastewater from the sink is safely directed away from your garage. Follow these steps to install the drain system:
- Measure and cut the PVC pipes: Measure the distance between the sink drain and the main drain pipe in your garage. Use a pipe cutter to cut the PVC pipes to the appropriate length, ensuring they fit snugly without any gaps.
- Assemble the P-trap: Connect the PVC pipes using the appropriate fittings to create the P-trap shape. Make sure the P-trap is aligned correctly and the connections are secure.
- Install the P-trap: Position the P-trap assembly under the sink drain. Connect one end of the P-trap to the sink drain using a slip nut and washer assembly. Tighten the connections by hand, ensuring they are snug but not over-tightened.
- Connect the other end of the P-trap: Attach the other end of the P-trap to the main drain pipe in your garage. Use the appropriate fittings and connections to secure the P-trap. Again, ensure the connections are snug but not overly tightened.
- Check for leaks: Turn on the water supply to the sink and let water flow through the drain system. Check for any leaks around the connections and joints. If you notice any leaks, tighten the connections or add plumber’s tape to create a watertight seal.
It is crucial to adhere to local plumbing codes and regulations when installing the drain system. This ensures that the system is installed correctly and compliant with the necessary standards.
With the drain system properly installed, you are now ready to move on to the next step: securing the sink to the support bracket.
Step 7: Secure the sink to the support bracket
Securing the sink to the support bracket is the final step in the installation process of your utility sink. This step ensures that the sink is stable and held in place, preventing any movement or potential damage. Follow these steps to secure the sink to the support bracket:
- Position the sink on the support bracket: Carefully lift the utility sink and position it on the installed support bracket. Ensure that the sink is aligned properly and sits evenly on the bracket.
- Adjust the sink position: If necessary, make any adjustments to center the sink or align it with the marked location on the wall. Use a level to ensure the sink is horizontal and not tilted.
- Secure the sink to the bracket: Depending on the design of the support bracket, follow the manufacturer’s instructions to securely fasten the sink to the bracket. This may involve tightening screws or using additional hardware.
- Check for stability: Once the sink is secured, give it a gentle shake to ensure it is stable and doesn’t move. If there is any wobbling or instability, reposition the sink or tighten the bracket screws accordingly.
It is important to follow the manufacturer’s instructions provided with the support bracket for specific installation guidelines. Different sinks may require different methods of securing to the bracket.
With the sink securely fastened to the support bracket, you have successfully installed your utility sink in the garage. The final step is to test the sink for any leaks or issues before you can start using it.
Step 8: Test the utility sink for leaks
Testing the utility sink for leaks is the final step before you can start using it. This step ensures that all the connections and plumbing work have been properly installed and are watertight. Follow these steps to test the utility sink for leaks:
- Check the drain connections: Inspect the connections between the sink drain and the P-trap. Ensure that the slip nuts are tightened securely but not over-tightened. Look for any signs of water leakage or drips.
- Inspect the water supply connections: Examine the connections between the supply lines and the sink. Confirm that the connections are tight and there are no visible signs of water leakage.
- Turn on the water supply: Slowly turn on the water supply to the sink. Monitor the drain and supply connections closely for any signs of leaks. Pay attention to both the hot and cold water supply lines.
- Run water through the sink: Allow water to flow through the sink for a few minutes. Test both the hot and cold water to ensure that the faucet and supply lines are functioning properly without any leaks.
- Inspect the drain flow: Observe the flow of water down the drain. Ensure that it is draining properly and that there are no backups, gurgling sounds, or pooling water. This indicates that the drain system is working as intended.
- Check for any additional leaks: After running the water and observing the drain flow, thoroughly inspect the area around the sink, the supply lines, and the drain system for any signs of water leakage. Look for wet spots, drips, or water accumulation.
If you notice any leaks during the testing process, immediately shut off the water supply and inspect the connections. Check for loose or improperly tightened fittings and connections. Make any necessary adjustments or repairs to fix the leaks before using the sink.
Once you have tested the utility sink and confirmed that there are no leaks or issues, you are ready to start using your newly installed sink in the garage!
Read more: How To Clean Utility Sink
Conclusion
Congratulations! You have successfully completed the installation of your utility sink in the garage. By following the steps outlined in this guide, you have not only added a convenient and functional fixture to your workspace but also gained valuable knowledge about plumbing and home improvement.
Installing a utility sink in your garage provides numerous benefits, including a dedicated space for cleaning tools, washing hands, and tackling various household tasks. The sink will prove to be an essential asset, especially for those who enjoy DIY projects or work regularly in the garage.
Throughout the installation process, we covered essential steps, including gathering the necessary materials, choosing a suitable location, preparing the installation area, installing the sink support bracket, connecting the water supply lines, installing the drain system, securing the sink to the support bracket, and testing for leaks.
Remember to always adhere to local plumbing codes and regulations to ensure a safe and compliant installation. It is also a good practice to consult professional plumbers or seek assistance if you encounter any challenges or are unsure about any aspect of the installation process.
With your utility sink now installed, take some time to enjoy the convenience it provides. Keep it well-maintained, clean, and free from any blockages to ensure its longevity and efficient operation.
Thank you for choosing our guide on how to install a utility sink in your garage. We hope this article has been informative and helpful in completing your project successfully. Happy cleaning and working in your newly equipped garage space!
Frequently Asked Questions about How To Install A Utility Sink In The Garage
Was this page helpful?
At Storables.com, we guarantee accurate and reliable information. Our content, validated by Expert Board Contributors, is crafted following stringent Editorial Policies. We're committed to providing you with well-researched, expert-backed insights for all your informational needs.


0 thoughts on “How To Install A Utility Sink In The Garage”