Articles
How To Replace Attic Ladder Hinge Arms
Modified: October 18, 2024
Learn how to easily replace attic ladder hinge arms with our helpful articles. Upgrade your ladder for safer access to your attic.
(Many of the links in this article redirect to a specific reviewed product. Your purchase of these products through affiliate links helps to generate commission for Storables.com, at no extra cost. Learn more)
Introduction
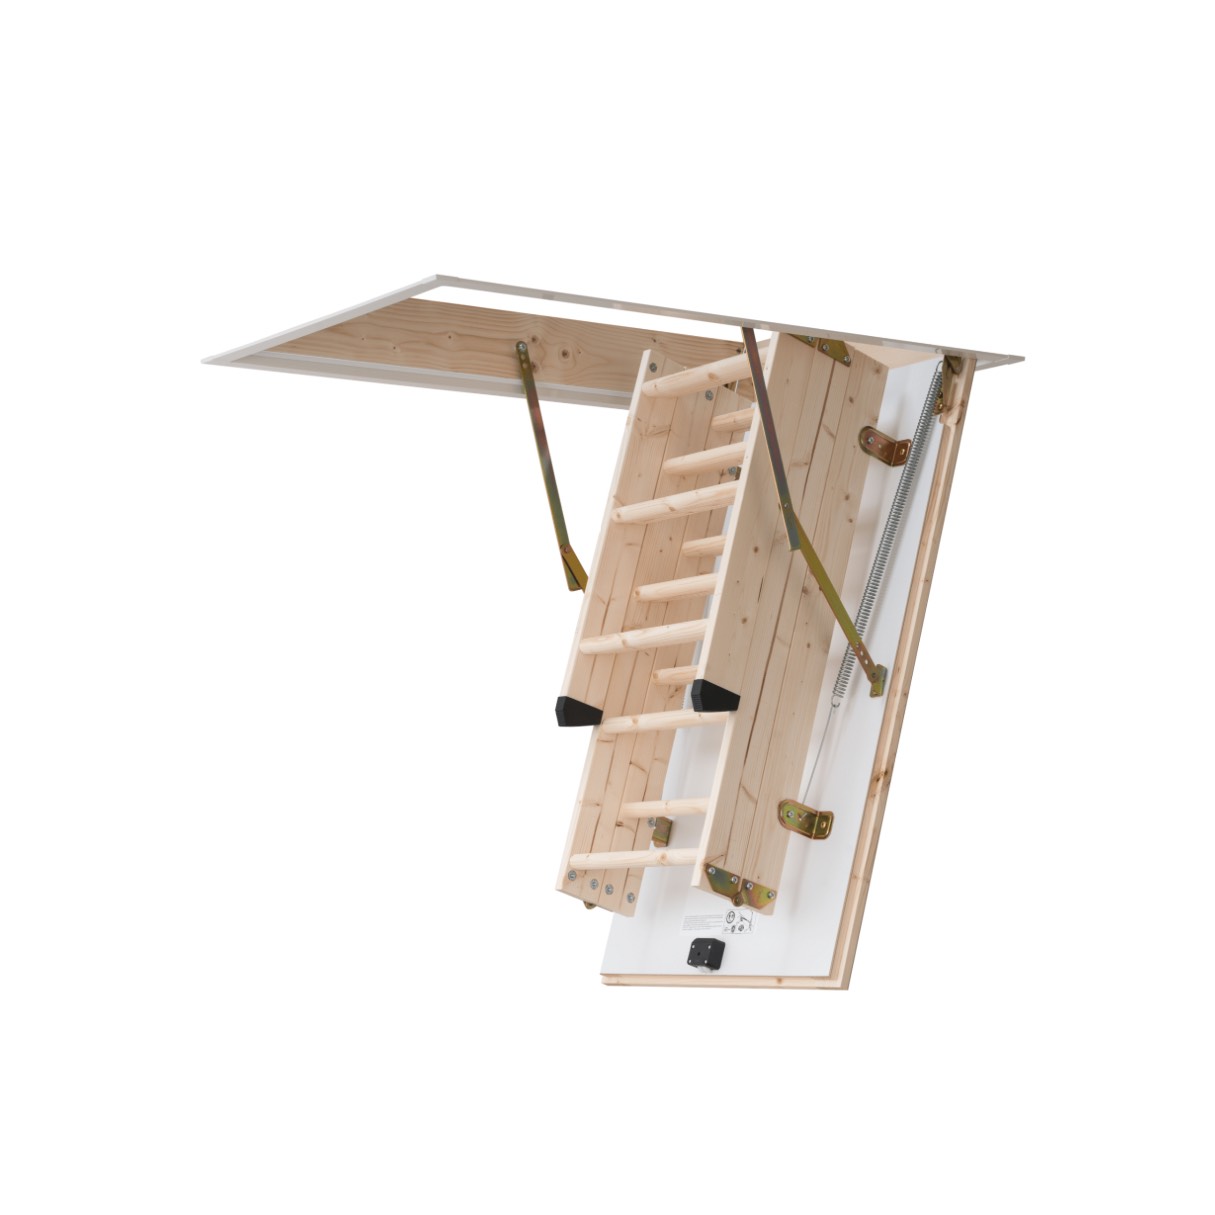
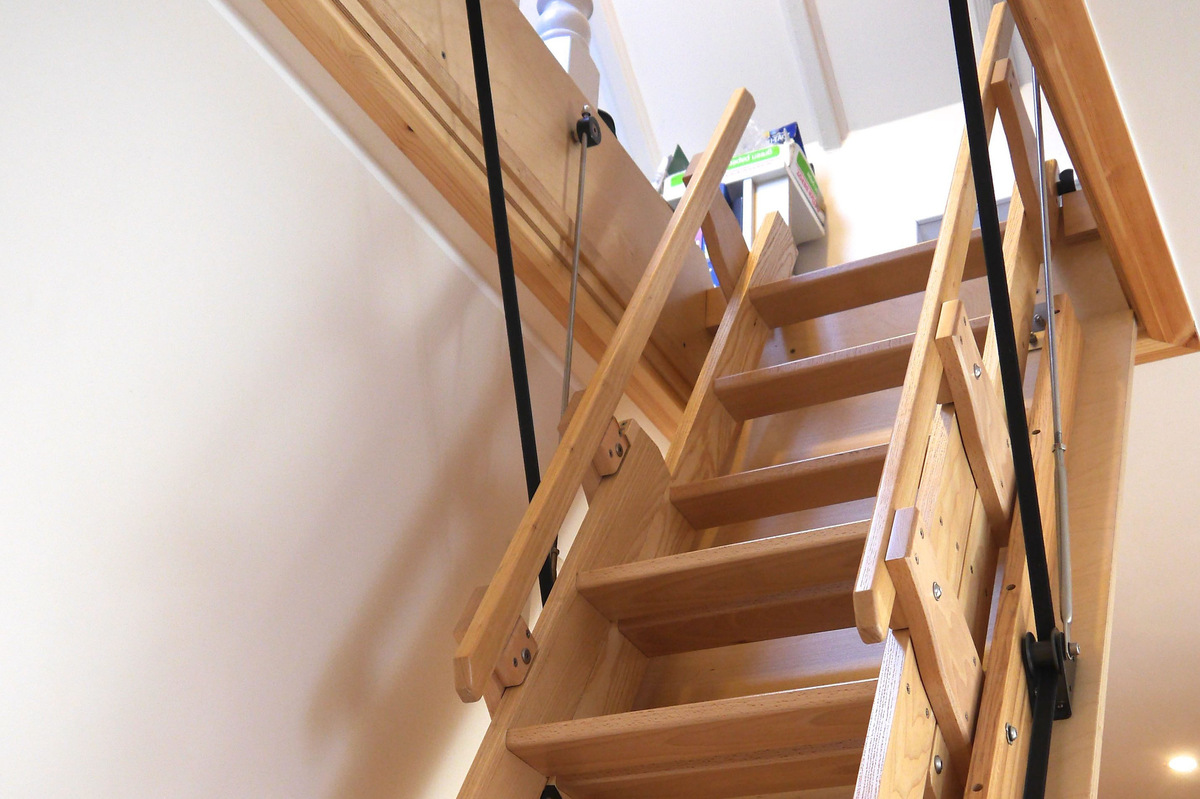
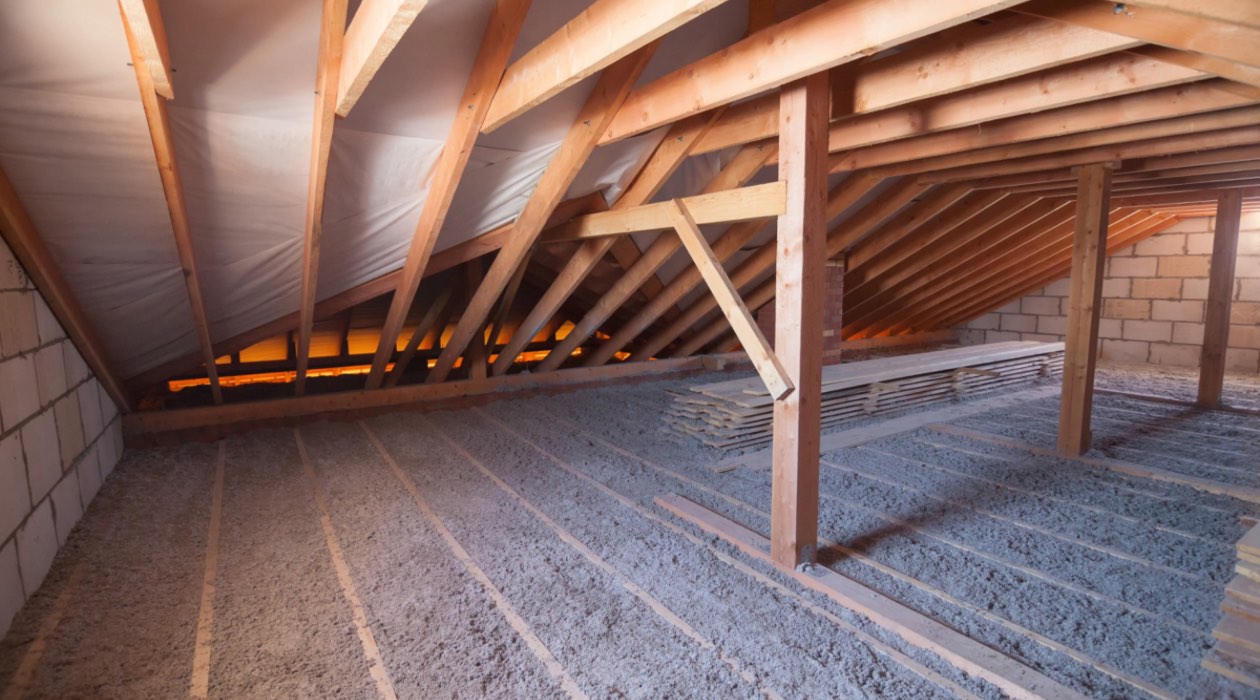
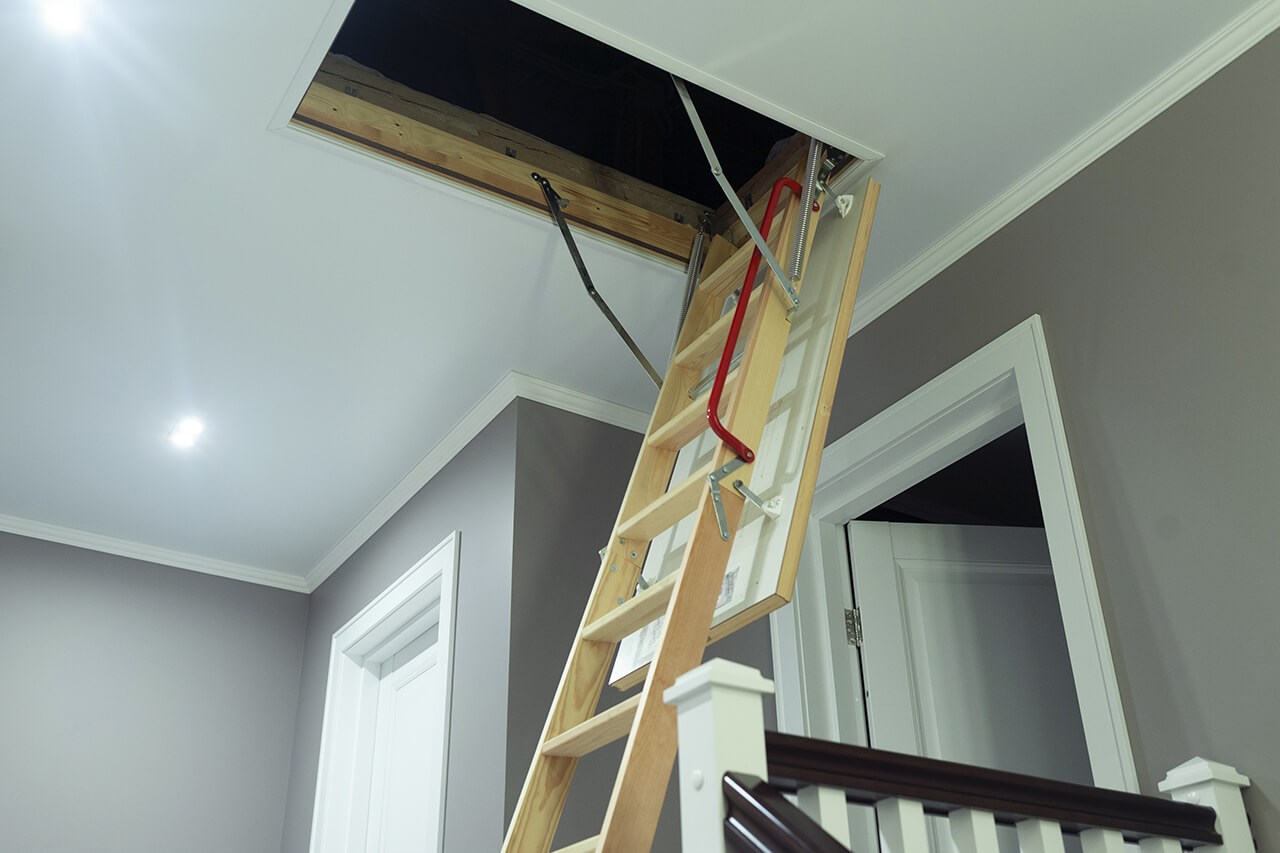
Welcome to our step-by-step guide on how to replace attic ladder hinge arms. Attic ladders are an essential feature in many homes, providing convenient access to the often under-utilized space above. Over time, the hinge arms that support the ladder can wear out or become damaged, compromising the ladder’s stability and safety.
Replacing the hinge arms is a relatively simple and cost-effective solution that can restore your attic ladder to its full functionality. By following this guide and gathering the necessary tools and materials, you can confidently tackle this DIY project and have your attic ladder working like new again.
Before we begin, it’s important to note that safety should always be your top priority when working with any type of ladder. Make sure to wear appropriate safety gear, such as gloves and goggles, and use a sturdy ladder or scaffold to access the attic. If at any point you feel unsure or uncomfortable with the process, it’s best to consult a professional.
Now that we have covered the basics, let’s dive into the step-by-step process of replacing your attic ladder hinge arms.
Key Takeaways:
- Replacing attic ladder hinge arms is a simple DIY project that restores stability and safety. Follow the step-by-step guide, gather tools, remove old arms, measure and cut new ones, and test for proper functioning.
- Prioritize safety, gather tools, and follow the step-by-step process to replace attic ladder hinge arms. Enjoy safe and easy access to your attic space by completing this rewarding DIY project.
Read more: How To Close Attic Ladder
Step 1: Gather the necessary tools and materials
Before you begin the process of replacing your attic ladder hinge arms, it’s important to gather all the tools and materials you’ll need. This will ensure a smooth and efficient repair process. Here are the items you’ll need:
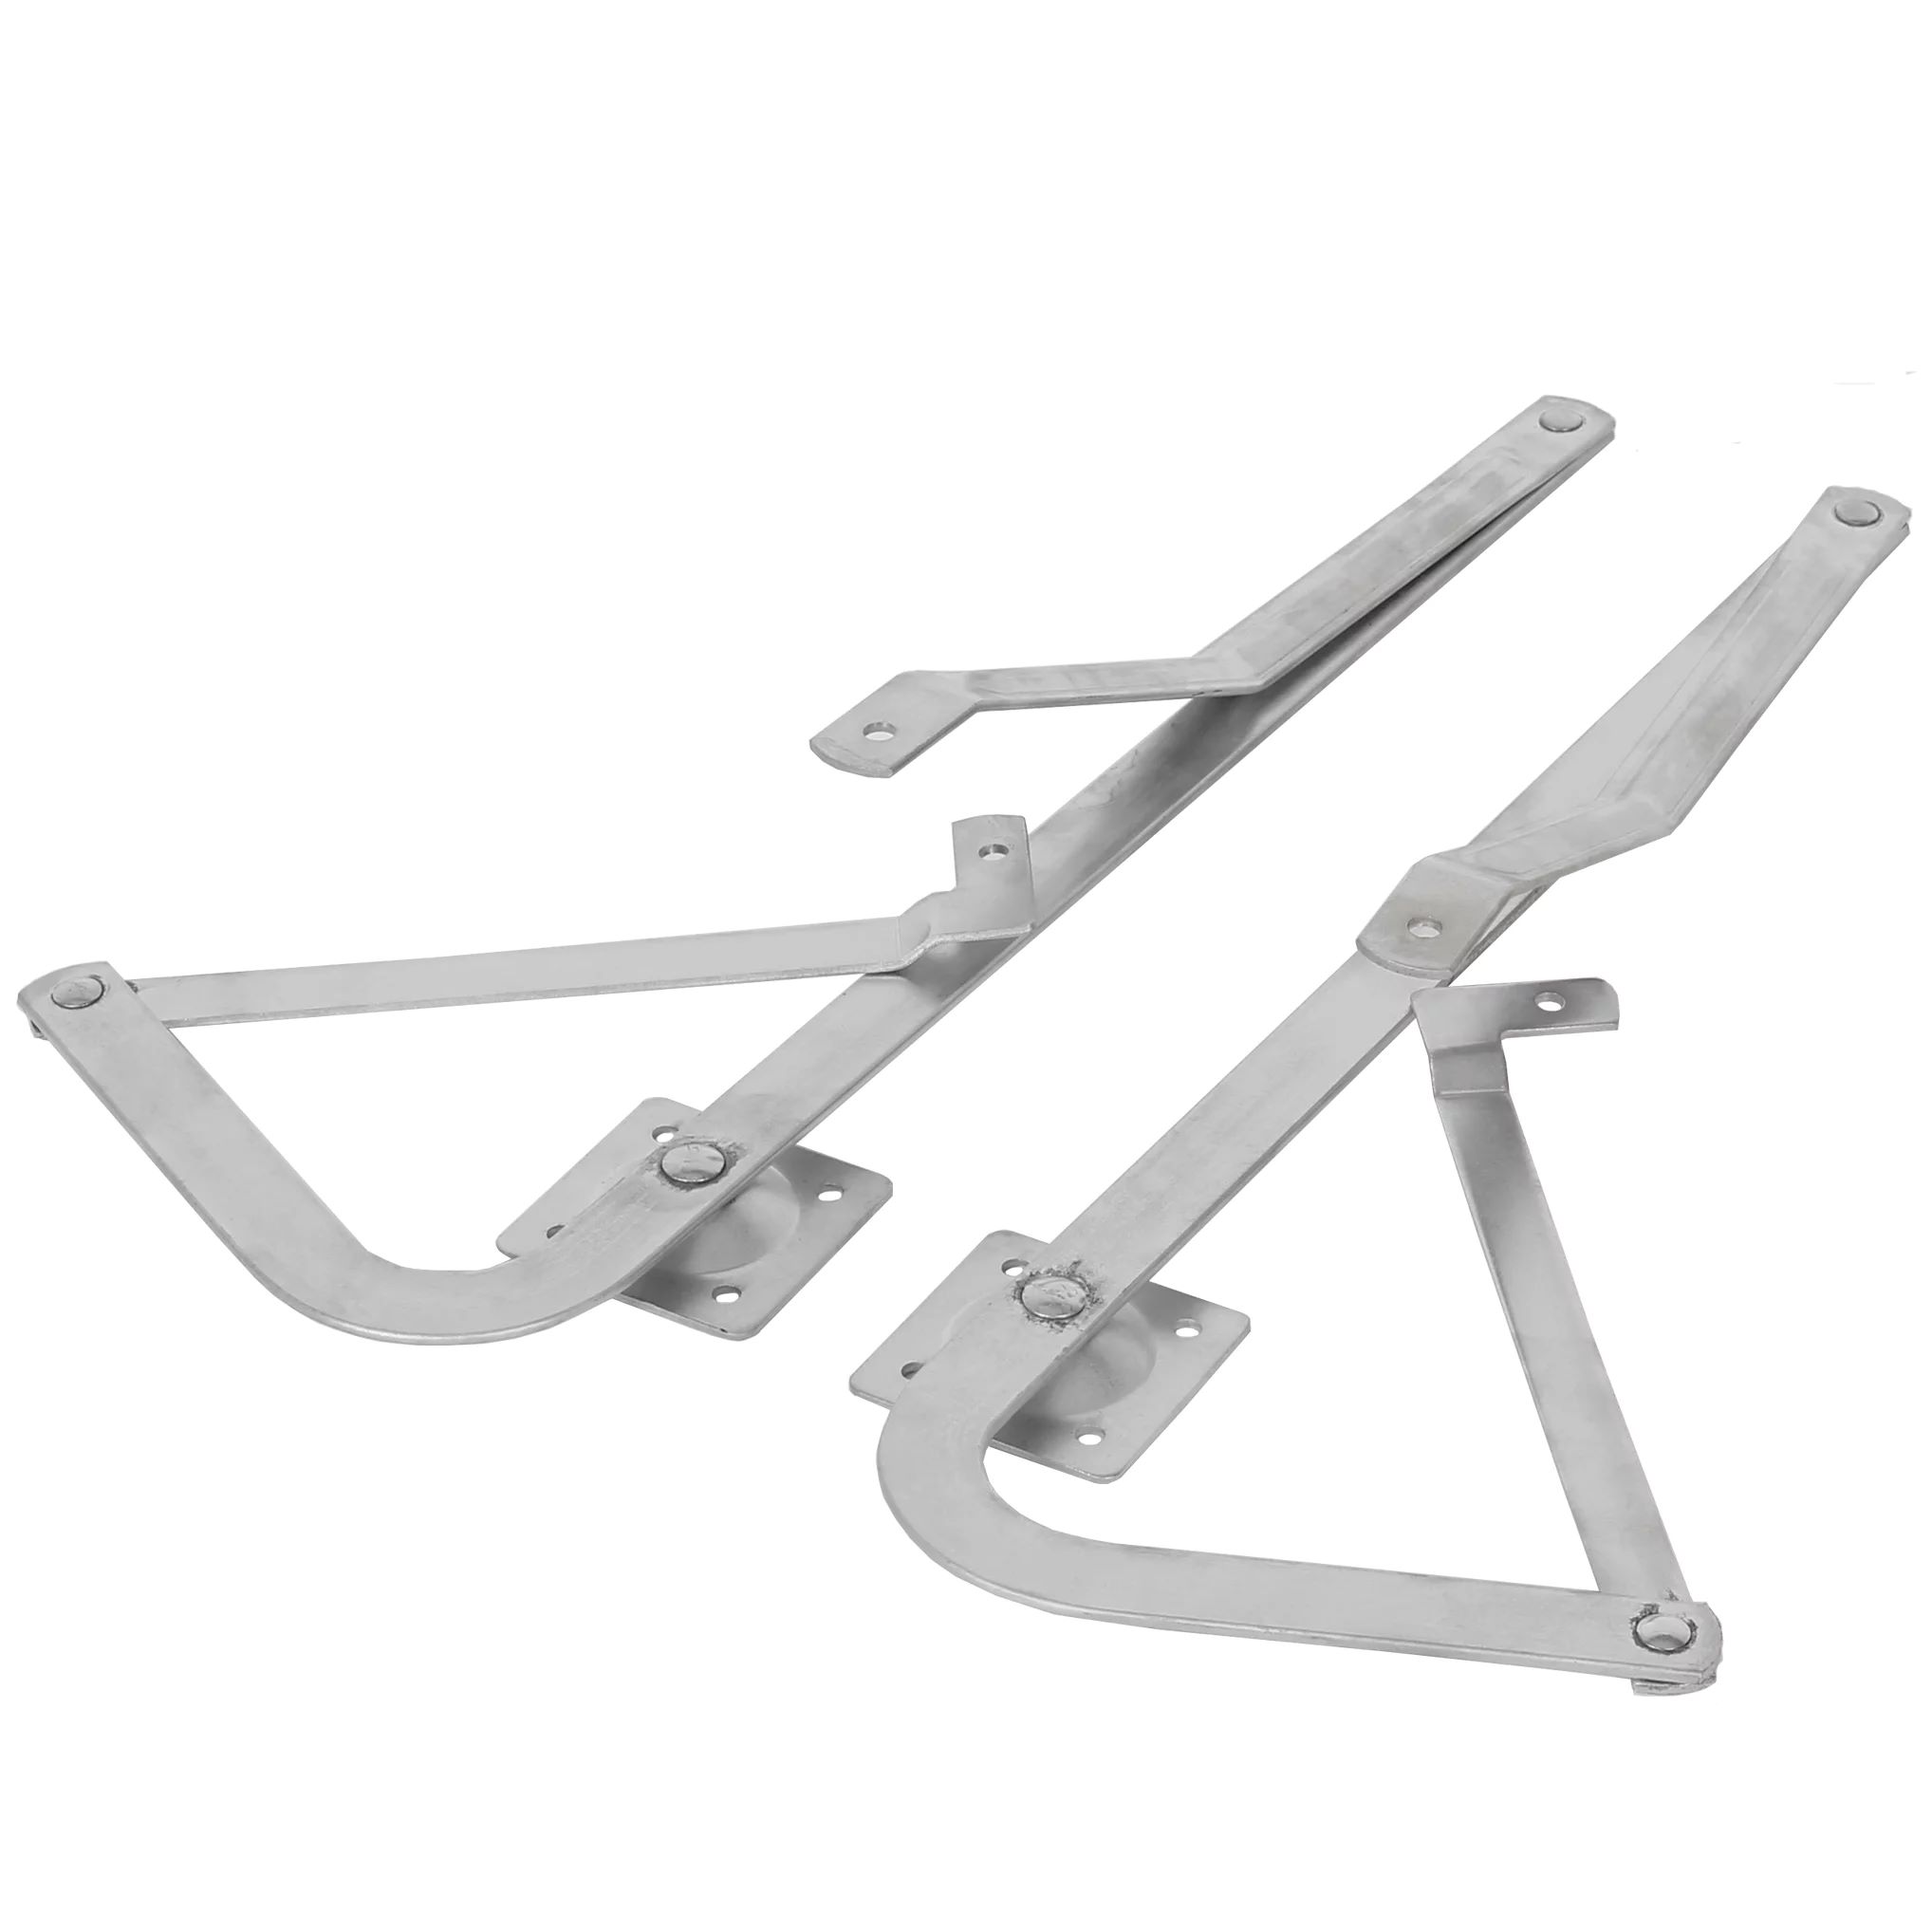
- Replacement hinge arms: Measure the length and width of your existing hinge arms to ensure you purchase the correct size.
- Drill with assorted drill bits
- Screwdriver (both Phillips and flathead)
- Tape measure
- Safety goggles
- Work gloves
Having all these tools and materials ready beforehand will save you time and prevent any disruptions during the repair process. Additionally, it’s a good idea to have a clear and well-lit workspace in the attic to ensure safe and efficient maneuvering.
Once you have all the necessary tools and materials gathered, you’re ready to move on to the next step in the process – removing the old hinge arms.
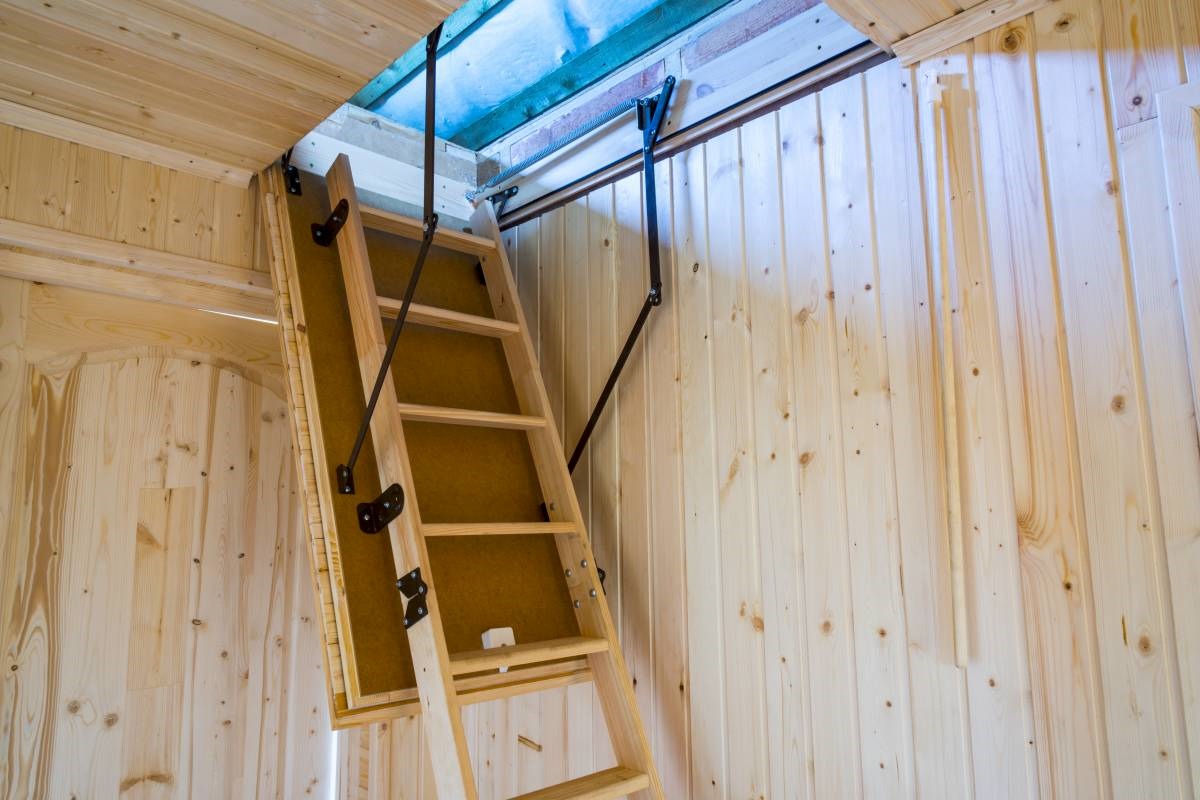
Step 2: Remove the old hinge arms
Now that you have gathered all the necessary tools and materials, it’s time to remove the old hinge arms from your attic ladder. Follow these steps:
- Start by ensuring that your attic ladder is fully extended and securely in place. This will make it easier to access the hinge arms.
- Using a screwdriver or drill with the appropriate bit, remove the screws or bolts that secure the hinge arms to the ladder.
- Once the screws or bolts are removed, gently pull the old hinge arms away from the ladder. Be careful to support the ladder to prevent it from falling.
- Inspect the hinge arm brackets that are attached to the ladder. If they are damaged or worn out, it’s a good idea to replace them as well.
- Repeat the removal process for all the hinge arms on your ladder.
After you have successfully removed the old hinge arms, take a moment to clean any dust or debris from the ladder and the attachment points. This will provide a clean surface for the installation of your new hinge arms.
With the old hinge arms removed and the ladder cleaned, you’re now ready to move on to the next step – measuring and cutting the new hinge arms.
Step 3: Measure and cut new hinge arms
With the old hinge arms removed and the ladder cleaned, it’s time to measure and cut the new hinge arms to ensure a perfect fit. Follow these steps:
- Take accurate measurements of the length and width of one of the old hinge arms. These measurements will serve as a guide when cutting the new hinge arms.
- Using a tape measure, measure the length and width of the new hinge arms and mark the measurements with a pencil or marker.
- Using a saw or a suitable cutting tool, carefully cut the new hinge arms to match the marked measurements. Ensure that the cuts are straight and precise for proper installation.
- Once the new hinge arms are cut, double-check their measurements to ensure they match the dimensions of the old hinge arms.
- If necessary, smooth any rough edges or burrs on the new hinge arms using sandpaper or a file.
It’s important to note that some replacement hinge arms may come pre-cut to standard sizes. In this case, you may only need to verify that the dimensions of the new hinge arms match those of the old ones.
With the new hinge arms properly measured and cut, you’re now ready to move on to the installation process in the next step.
When replacing attic ladder hinge arms, make sure to measure the existing arms to ensure you purchase the correct size replacements. It’s also important to follow the manufacturer’s instructions for installation to ensure safety and proper function.
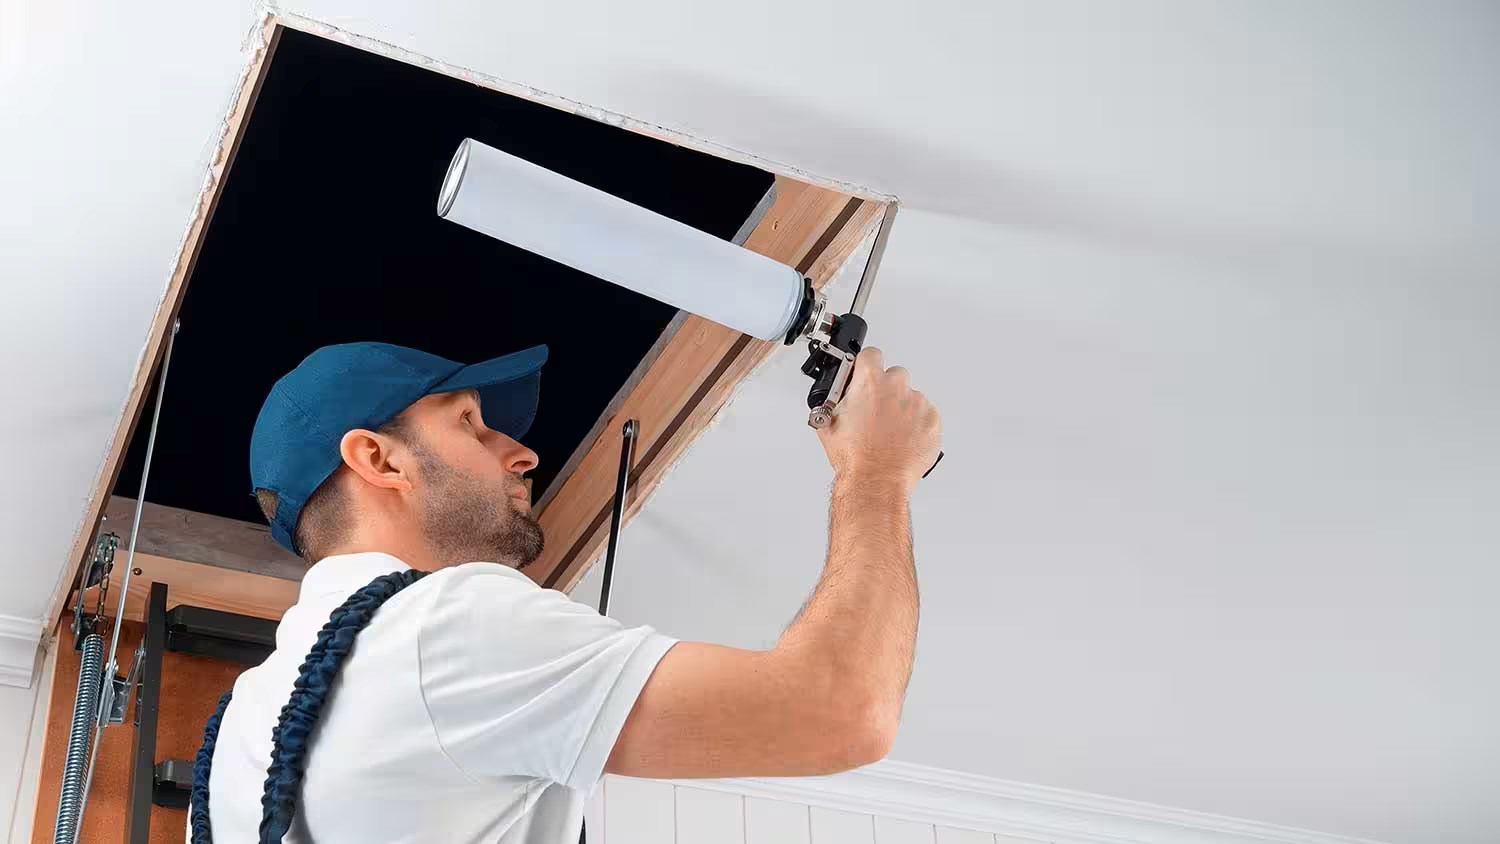
Step 4: Install new hinge arms
Now that you have measured and cut the new hinge arms to the correct size, it’s time to install them onto your attic ladder. Follow these steps:
- Start by positioning the ladder in its fully extended position and ensure that it is securely supported.
- Take one of the new hinge arms and align it with the hinge arm brackets on the ladder. Make sure that the screw holes on the hinge arm align with the holes on the brackets.
- Using a drill with the appropriate drill bit, secure the hinge arm to the ladder by inserting and tightening the screws or bolts. Make sure that the hinge arm is snug and firmly attached to the ladder.
- Repeat the previous steps to install the remaining new hinge arms onto the ladder, aligning them with their corresponding hinge arm brackets and securing them with screws or bolts.
- Once all the new hinge arms are securely installed, give the ladder a gentle test by extending and retracting it to ensure the hinge arms are functioning properly.
It’s important to note that for certain attic ladder models, there may be additional steps or specific instructions provided by the manufacturer. Consult the ladder’s instruction manual or contact the manufacturer if you encounter any difficulties or have any specific concerns during the installation process.
With the new hinge arms securely installed, it’s time to move on to the final step – testing the attic ladder for proper functioning.
Read more: How To Measure An Attic Ladder
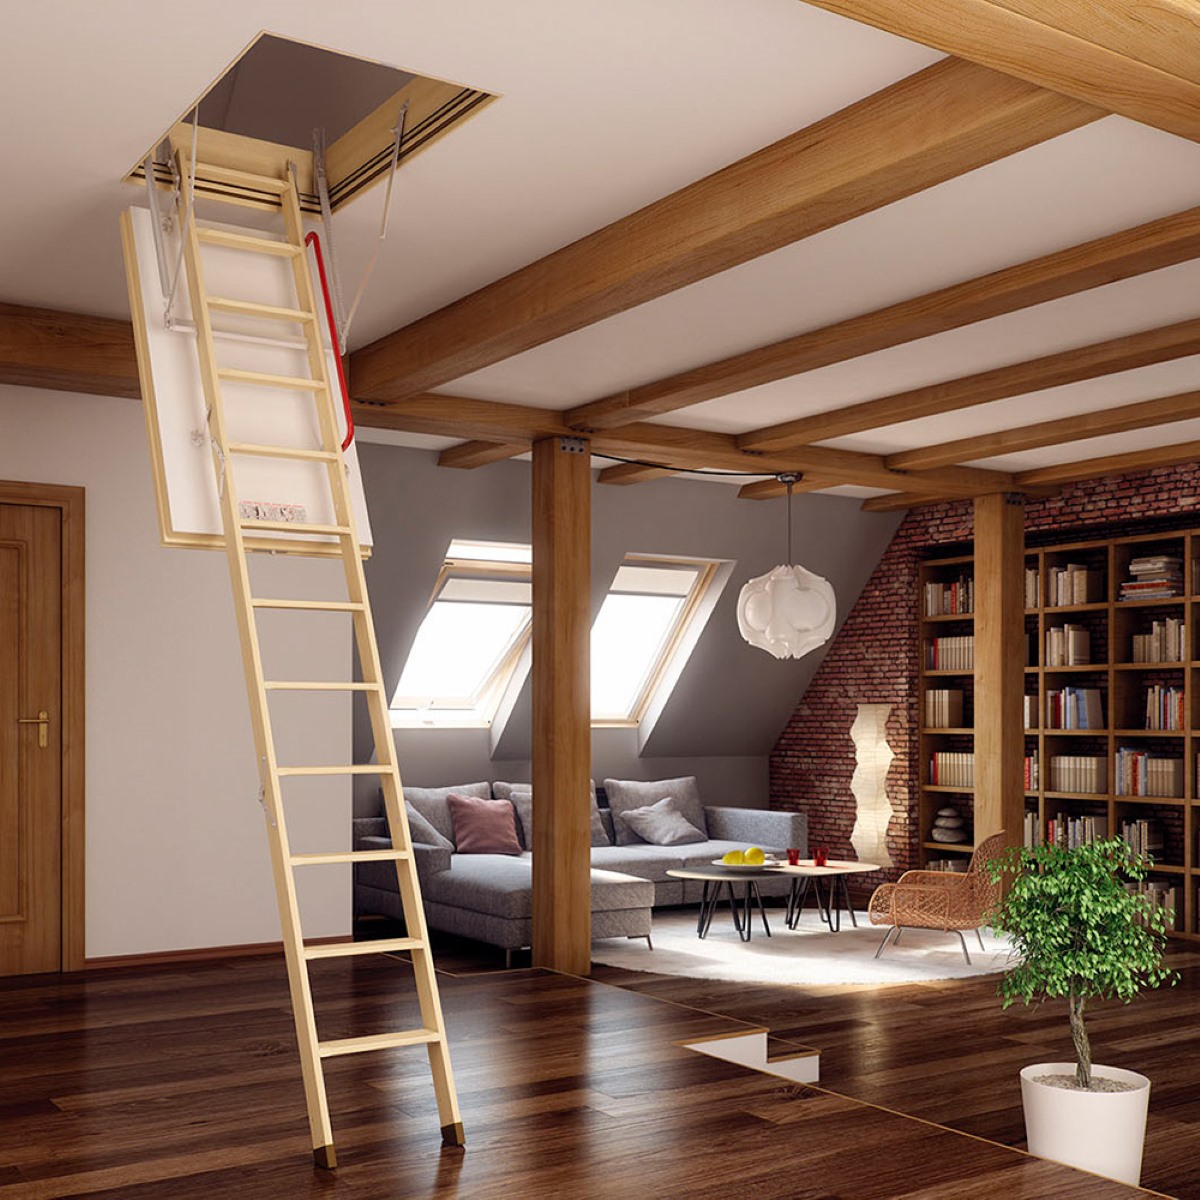
Step 5: Test the attic ladder for proper functioning
After installing the new hinge arms, it’s crucial to test the attic ladder to ensure that it is functioning properly and safely. Follow these steps:
- Gently extend the ladder to its fully open position, making sure that it locks securely in place.
- Carefully climb up and down the ladder, ensuring that each step is stable and secure. Pay attention to any unusual noises or movements that could indicate an issue with the hinge arms.
- If you notice any instability or wobbling, double-check the hinge arms to ensure they are properly installed and tightened. If necessary, re-tighten any screws or bolts that may have loosened during use.
- Test the ladder’s ability to retract smoothly and securely without any obstructions or resistance. Make sure that it folds up neatly and easily.
- Once you are satisfied with the ladder’s performance, it is ready for regular use. However, it is recommended to periodically inspect the hinge arms to ensure they remain in good condition.
If at any point during the testing process, you notice any significant issues or concerns with the attic ladder’s functionality, it is essential to address them promptly. Consider seeking professional assistance to assess and resolve any underlying problems.
Congratulations! By following these steps, you have successfully replaced the attic ladder hinge arms and restored its functionality. Enjoy easy and safe access to your attic space!
Conclusion
Replacing the hinge arms of your attic ladder is a relatively simple and rewarding DIY project that can restore the ladder’s stability and ensure safe and easy access to the attic space. By following the step-by-step guide outlined above, you can confidently tackle this project and enjoy the benefits of a fully functional attic ladder.
Remember, safety should always be your top priority when working with ladders. Take the necessary precautions, use appropriate safety gear, and ensure the ladder is securely supported to prevent accidents or injuries.
Before getting started, gather all the necessary tools and materials to ensure a smooth repair process. This includes replacement hinge arms, a drill, screwdrivers, a tape measure, safety goggles, and work gloves.
Begin by removing the old hinge arms, taking care to support the ladder and inspecting the hinge arm brackets for any damage. Next, measure and cut the new hinge arms to the correct size, paying attention to the dimensions of the old hinge arms.
Once the new hinge arms are cut and prepared, install them onto the attic ladder, making sure to align them with the hinge arm brackets and secure them firmly. Finally, test the ladder for proper functioning, ensuring that it extends, retracts, and locks securely, allowing you to climb up and down safely and smoothly.
Remember, if you encounter any difficulties during the process or have specific concerns about your attic ladder model, consult the ladder’s manual or contact the manufacturer for guidance.
With the new hinge arms installed and the attic ladder tested for proper functioning, you can now enjoy easy and safe access to your attic space. Regularly inspect and maintain the hinge arms to ensure they remain in good condition, promoting the longevity and performance of your attic ladder.
Thank you for following this guide and taking the initiative to replace the attic ladder hinge arms. Happy renovating!
Now that you've mastered replacing attic ladder hinge arms, why not tackle more projects around your house? Our guide on DIY home improvement offers simple, effective steps to enhance your living space. Whether fixing a leaky faucet or painting a room, find practical advice to make each task a breeze. Additionally, keeping your home in tip-top shape is crucial; our home maintenance article provides seasonal checklists and tips to ensure everything runs smoothly. Start improving your home today!
Frequently Asked Questions about How To Replace Attic Ladder Hinge Arms
Was this page helpful?
At Storables.com, we guarantee accurate and reliable information. Our content, validated by Expert Board Contributors, is crafted following stringent Editorial Policies. We're committed to providing you with well-researched, expert-backed insights for all your informational needs.


0 thoughts on “How To Replace Attic Ladder Hinge Arms”