
Articles
How To Install An Attic Ladder
Modified: February 22, 2024
Learn how to install an attic ladder with our comprehensive step-by-step articles. Upgrade your home and gain easy access to your attic today!
(Many of the links in this article redirect to a specific reviewed product. Your purchase of these products through affiliate links helps to generate commission for Storables.com, at no extra cost. Learn more)
Introduction
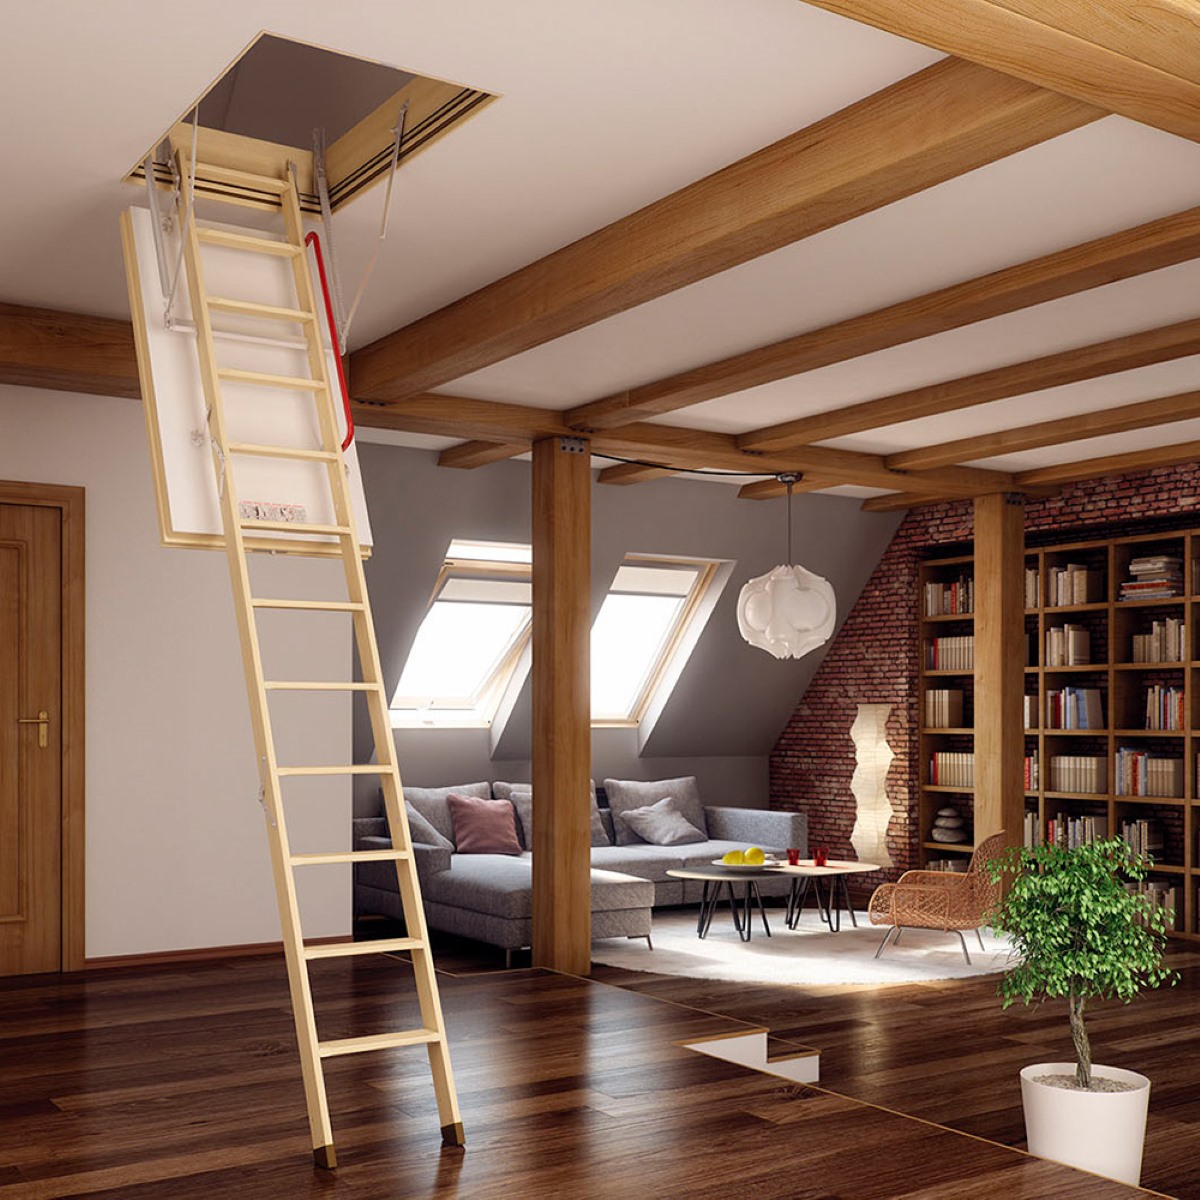
Welcome to our comprehensive guide on how to install an attic ladder. If you’ve been struggling with accessing your attic or want to make it more convenient to use, installing an attic ladder is the perfect solution. An attic ladder not only provides easy access to your attic but also maximizes the available storage space.
Installing an attic ladder may seem like a daunting task, but with the right tools, materials, and a step-by-step approach, you can do it yourself. In this guide, we will walk you through each stage of the installation process, from gathering the necessary tools to adding insulation and ensuring safety.
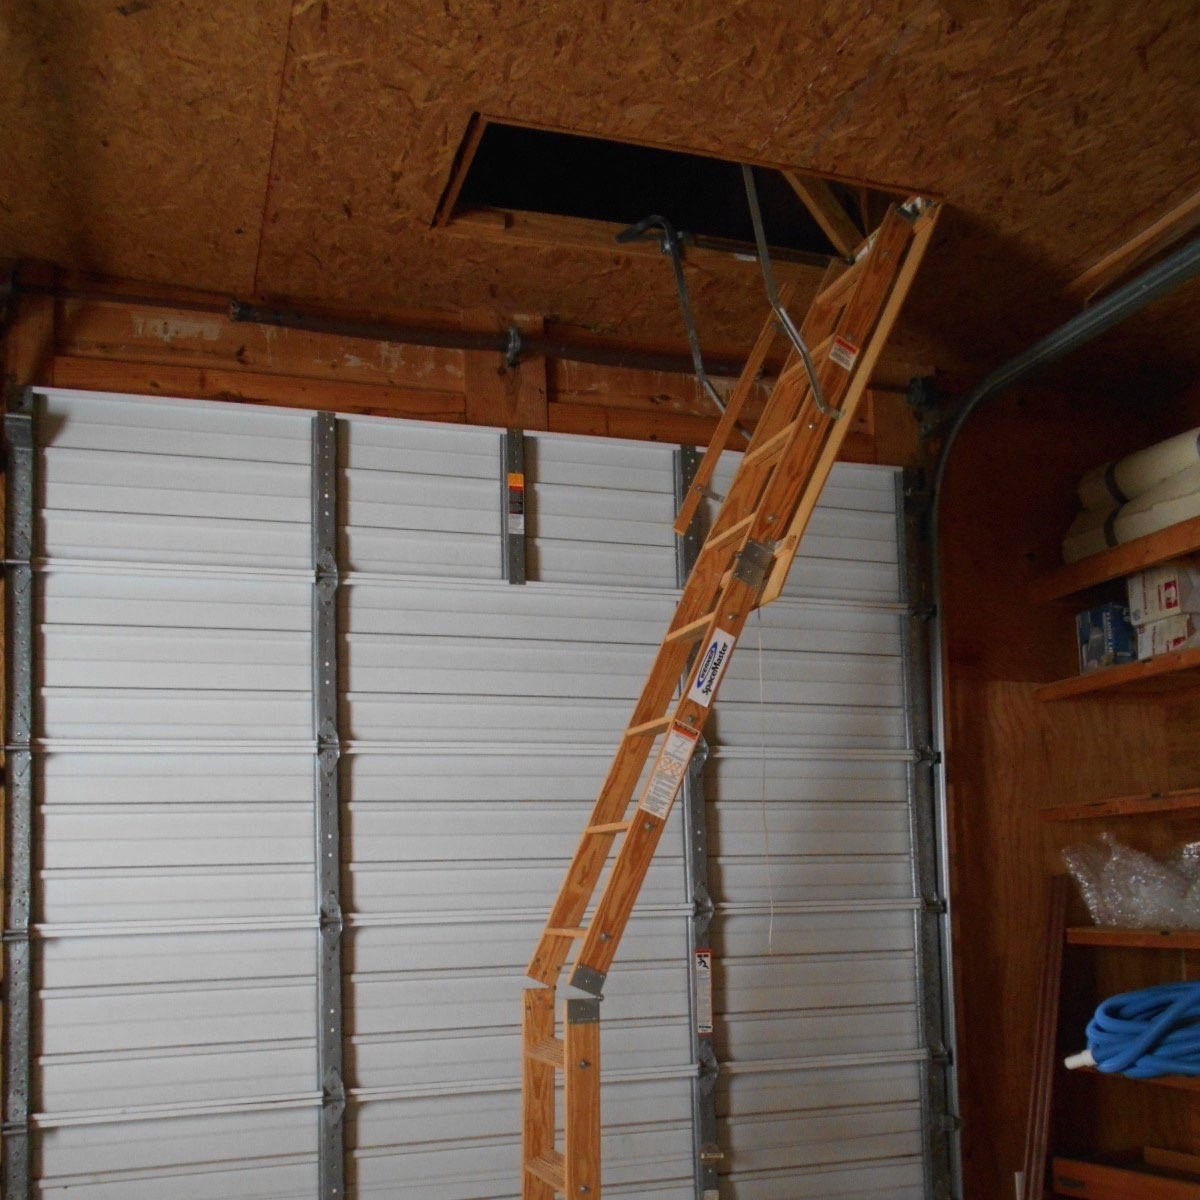
Before you start the installation, it’s important to note that the process can differ depending on the type of attic ladder you choose. The two main types are folding (also known as pull-down) and telescoping (also known as concertina) attic ladders. Make sure you have the appropriate ladder for your specific needs and follow the manufacturer’s instructions.
Now, let’s dive into the details of how to install an attic ladder and transform your attic into a more accessible and functional space.
Key Takeaways:
- Installing an attic ladder is a DIY project that can transform your attic into a functional space. Prioritize safety, gather the right tools, and follow the step-by-step process for a successful installation.
- Proper insulation, regular maintenance, and safety precautions are essential for ensuring the long-term usability and safety of your newly installed attic ladder. Enjoy easy attic access and maximize your attic space!
Read more: How To Install An Attic Ladder
Step 1: Gather necessary tools and materials
Before you begin the installation process, it’s important to gather all the necessary tools and materials. Having everything you need on hand will make the process more efficient and prevent any delays. Here is a list of the essential tools and materials you’ll need:
- Attic ladder kit: This includes the ladder itself, hinges, screws, and any additional components specific to your chosen attic ladder type.
- Measuring tape: You’ll need to measure the dimensions of your attic opening to ensure the ladder fits properly.
- Safety glasses and gloves: It’s important to protect your eyes and hands during the installation process.
- Drill and drill bits: You’ll need a drill to create pilot holes and secure the ladder.
- Screwdriver: A screwdriver will be necessary for tightening screws.
- Level: You’ll need a level to ensure the ladder is installed straight and properly aligned.
- Saw: If your attic opening needs to be modified, a saw will be required to make necessary cuts.
- Insulation materials: To properly insulate the attic ladder opening, you’ll need insulation batts or foam strips.
- Sealant: Choose a sealant suitable for the type of attic ladder you’re installing to ensure a tight seal and prevent air leakage.
Once you have gathered all the necessary tools and materials, double-check that you have everything before proceeding to the next step. It’s also a good idea to read through the manufacturer’s instructions provided with your attic ladder kit to familiarize yourself with the specific requirements and steps for installation.
Step 2: Measure and prepare the opening space
Before installing the attic ladder, it’s crucial to accurately measure the opening space to ensure a proper fit. This step will also help you determine if any modifications or adjustments need to be made to the opening. Here’s a detailed guide on how to measure and prepare the opening space:
- Measure the dimensions: Using a measuring tape, carefully measure the width and length of the attic opening. Make note of these measurements as you’ll need them while choosing the appropriate size ladder.
- Clear the area: Before you begin any modifications or adjustments, clear the area around the attic opening. Remove any debris, insulation, or other obstructions that may hinder the installation process. This will also make it easier to work and ensure safety.
- Modify the opening (if necessary): If your existing attic opening does not match the size requirements of the attic ladder, you may need to make adjustments. Use a saw to carefully trim excess material, ensuring that the opening matches the required size specified by the manufacturer.
- Reinforce the opening: If the existing opening is weak or unstable, it’s a good idea to reinforce it. Install additional framing or braces around the opening to provide extra support for the ladder and to ensure safety.
- Inspect for any electrical or plumbing: Before proceeding further, inspect the surrounding area for any electrical wiring, plumbing, or other potential obstructions. Make sure the installation of the attic ladder does not interfere with any existing systems or pose any risks.
By carefully measuring and preparing the opening space, you’ll ensure that the installation process goes smoothly and that the attic ladder fits securely. Take your time during this step to ensure accuracy and make any necessary modifications before moving on to the next step.
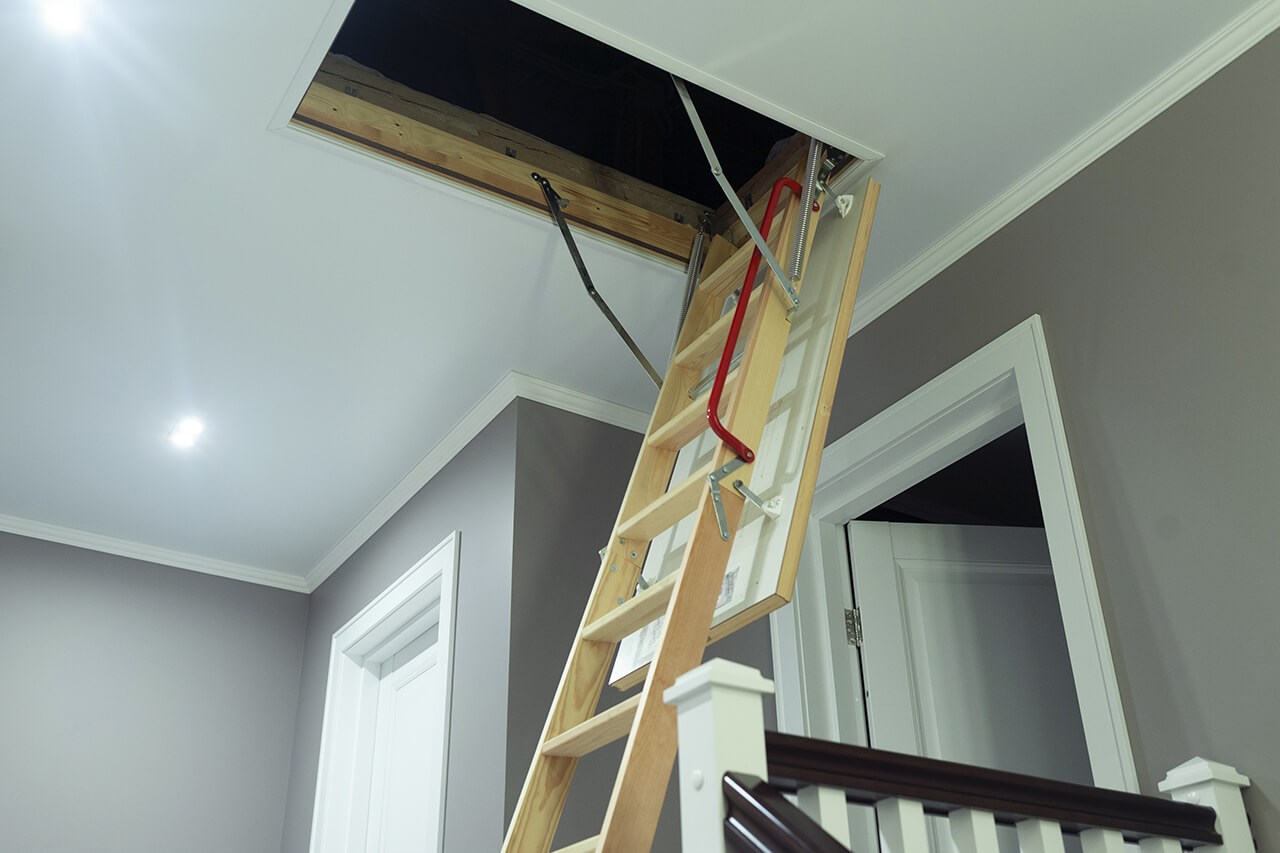
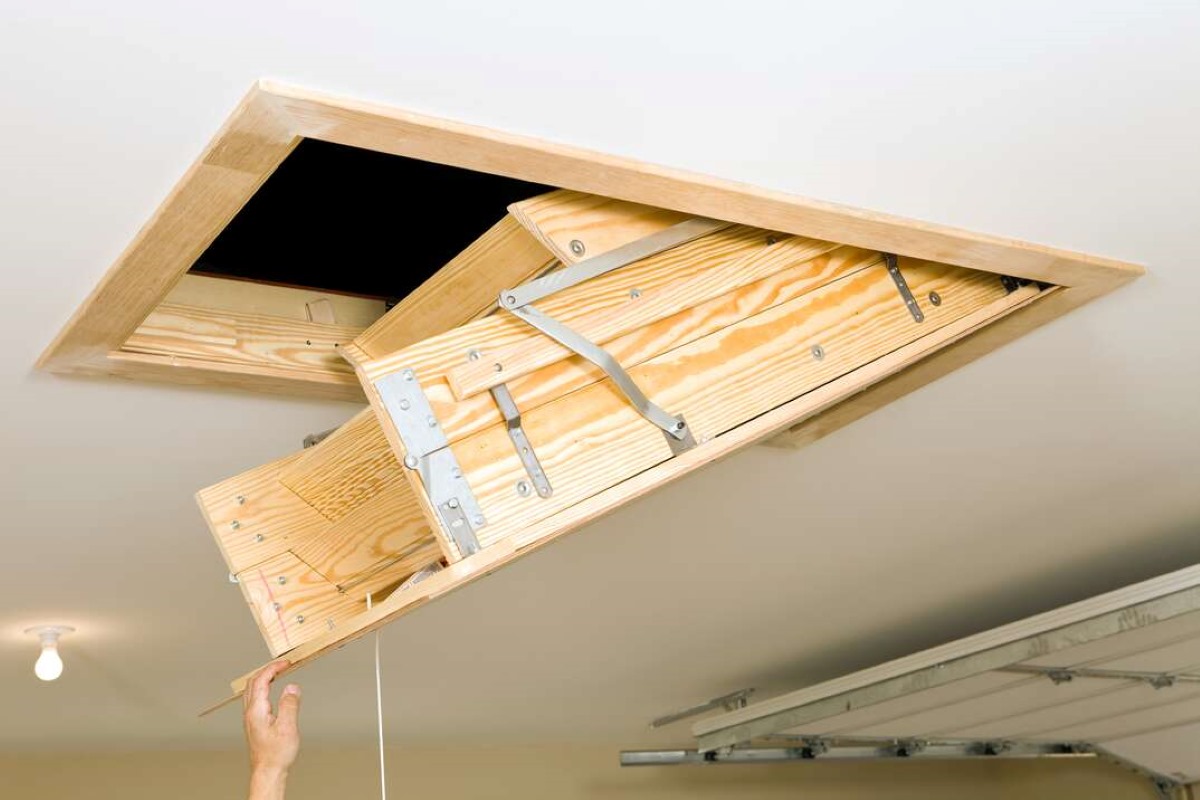
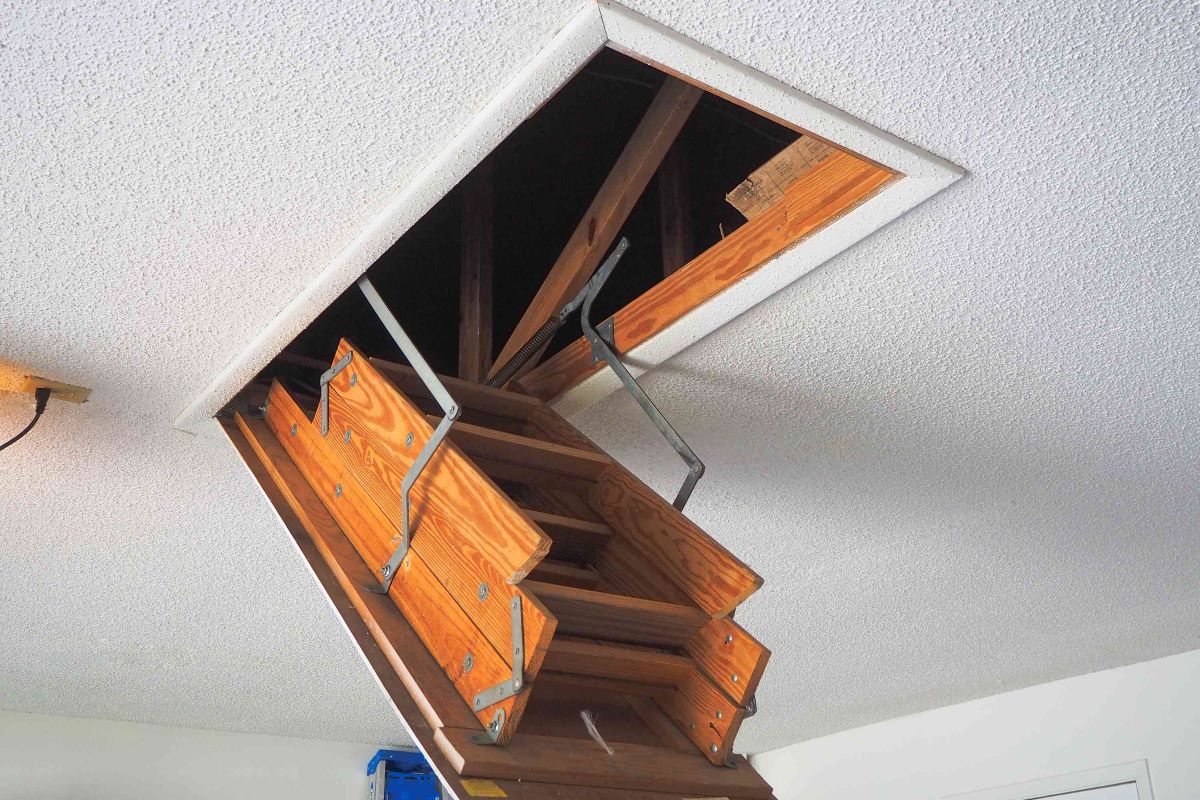
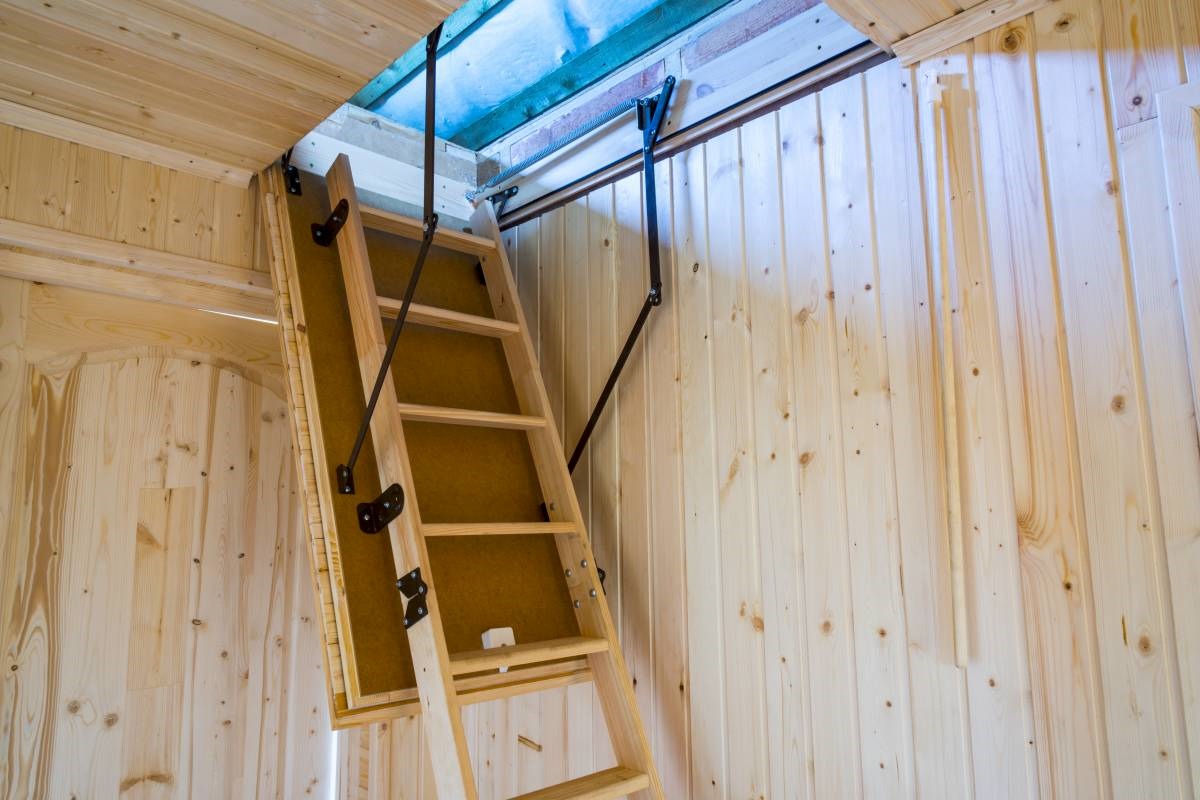
Step 3: Assemble and install the attic ladder
Now that you have measured and prepared the opening space, it’s time to assemble and install the attic ladder. Follow these steps to successfully complete this stage of the installation:
- Read the instructions: Before you start assembling and installing the attic ladder, carefully read the manufacturer’s instructions. Each type and model of attic ladder may have specific requirements and steps, so it’s essential to familiarize yourself with the instructions before proceeding.
- Assemble the ladder: Begin by assembling the ladder components as per the provided instructions. This typically involves attaching the ladder sections and securing them with hinges and screws. Follow the manufacturer’s guidelines to ensure correct assembly.
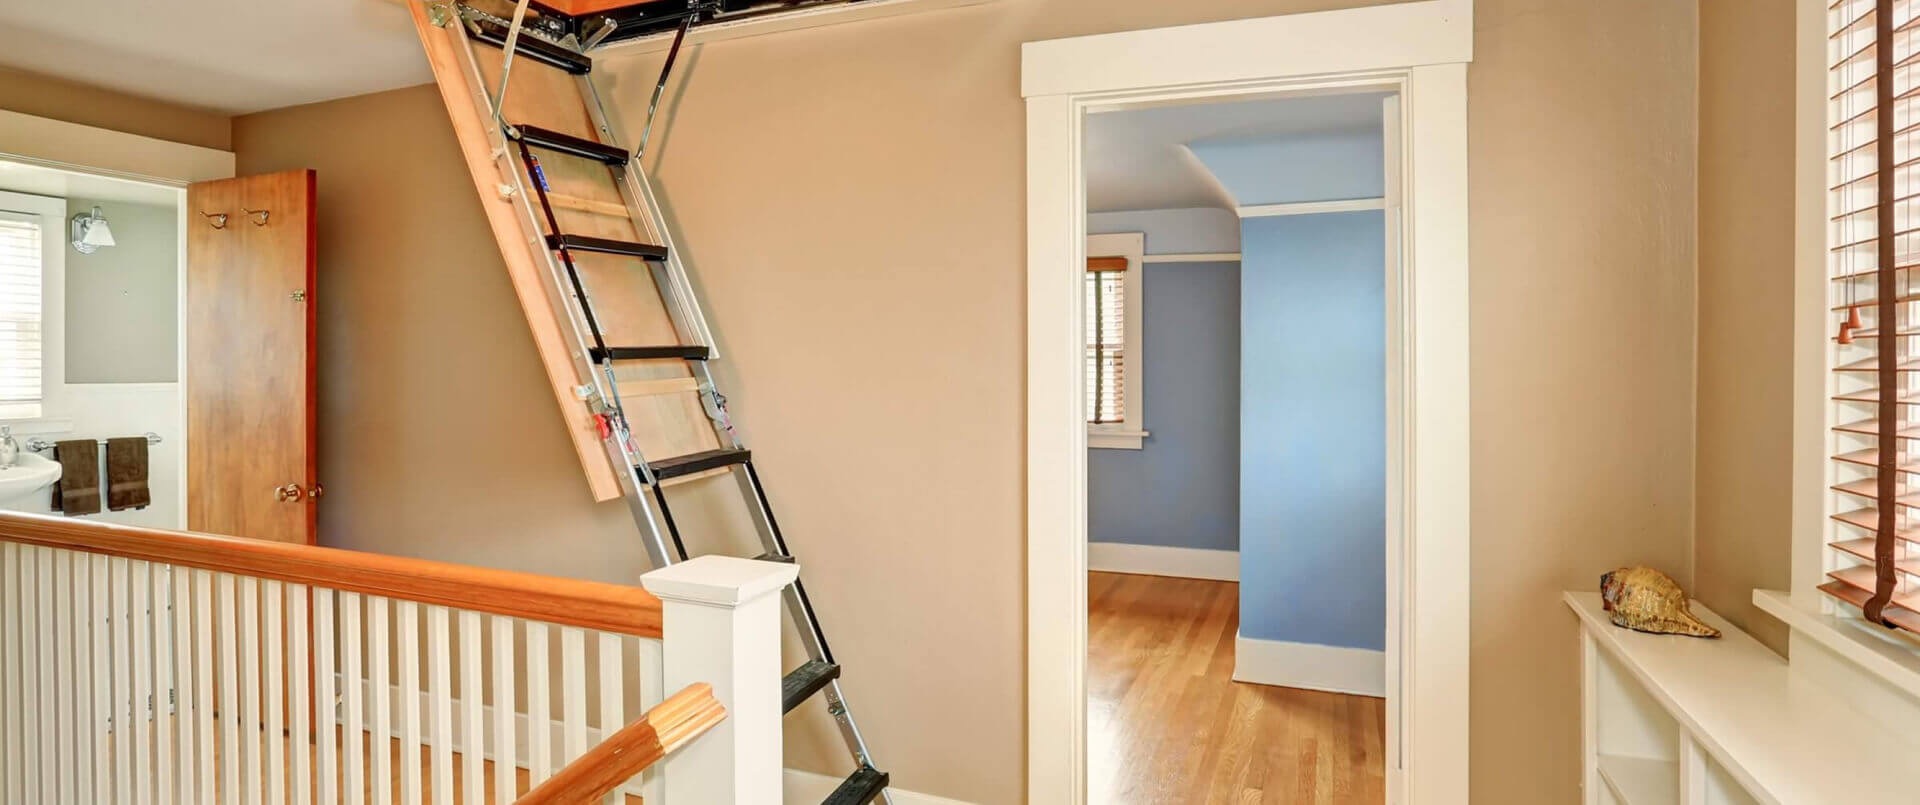
- Position the ladder: Place the assembled ladder inside the attic opening, making sure it is centered and aligned. Use a level to ensure the ladder is straight and adjust as needed.
- Mark the installation points: Once the ladder is positioned correctly, mark the points where the ladder will be attached to the frame or ceiling. This will serve as a guide during the installation process.
- Attach the ladder: With the help of a drill and appropriate drill bits, create pilot holes at the marked points. Then, secure the ladder to the frame or ceiling using screws provided with the attic ladder kit. Be careful not to over-tighten the screws.
- Check the ladder’s movement: After securing the ladder, test its movement to ensure it opens and closes smoothly. Make any necessary adjustments to the hinges or screws to achieve proper functionality.
Remember to follow the manufacturer’s instructions carefully during the assembly and installation process. Take your time to ensure that the ladder is securely attached and functions correctly. Once the ladder is installed, you can move on to the next step of the installation process.
When installing an attic ladder, make sure to measure the ceiling height accurately to ensure the ladder will fit properly. It’s important to follow the manufacturer’s instructions carefully to ensure a safe and secure installation.
Step 4: Secure the ladder and test its functionality
Now that the attic ladder is installed, the next step is to secure it and test its functionality. Follow these steps to ensure that your ladder is safe and operates smoothly:
- Tighten all screws: Carefully inspect all the screws that secure the ladder to the frame or ceiling. Use a screwdriver to tighten any loose screws, ensuring that the ladder is securely attached.
- Check for stability: Give the ladder a gentle shake to test its stability. If you notice any wobbling or instability, tighten the screws or make any necessary adjustments to ensure a firm and secure ladder.
- Test the ladder’s opening and closing: Fully extend the ladder to its fully open position and check that it locks into place securely. Then, close the ladder and make sure it folds back properly without any obstructions. Repeat this process a few times to ensure smooth functionality.
- Inspect the ladder hinges: Examine the hinges that allow the ladder to fold and unfold. Lubricate them if necessary to ensure easy movement and prevent sticking or squeaking.
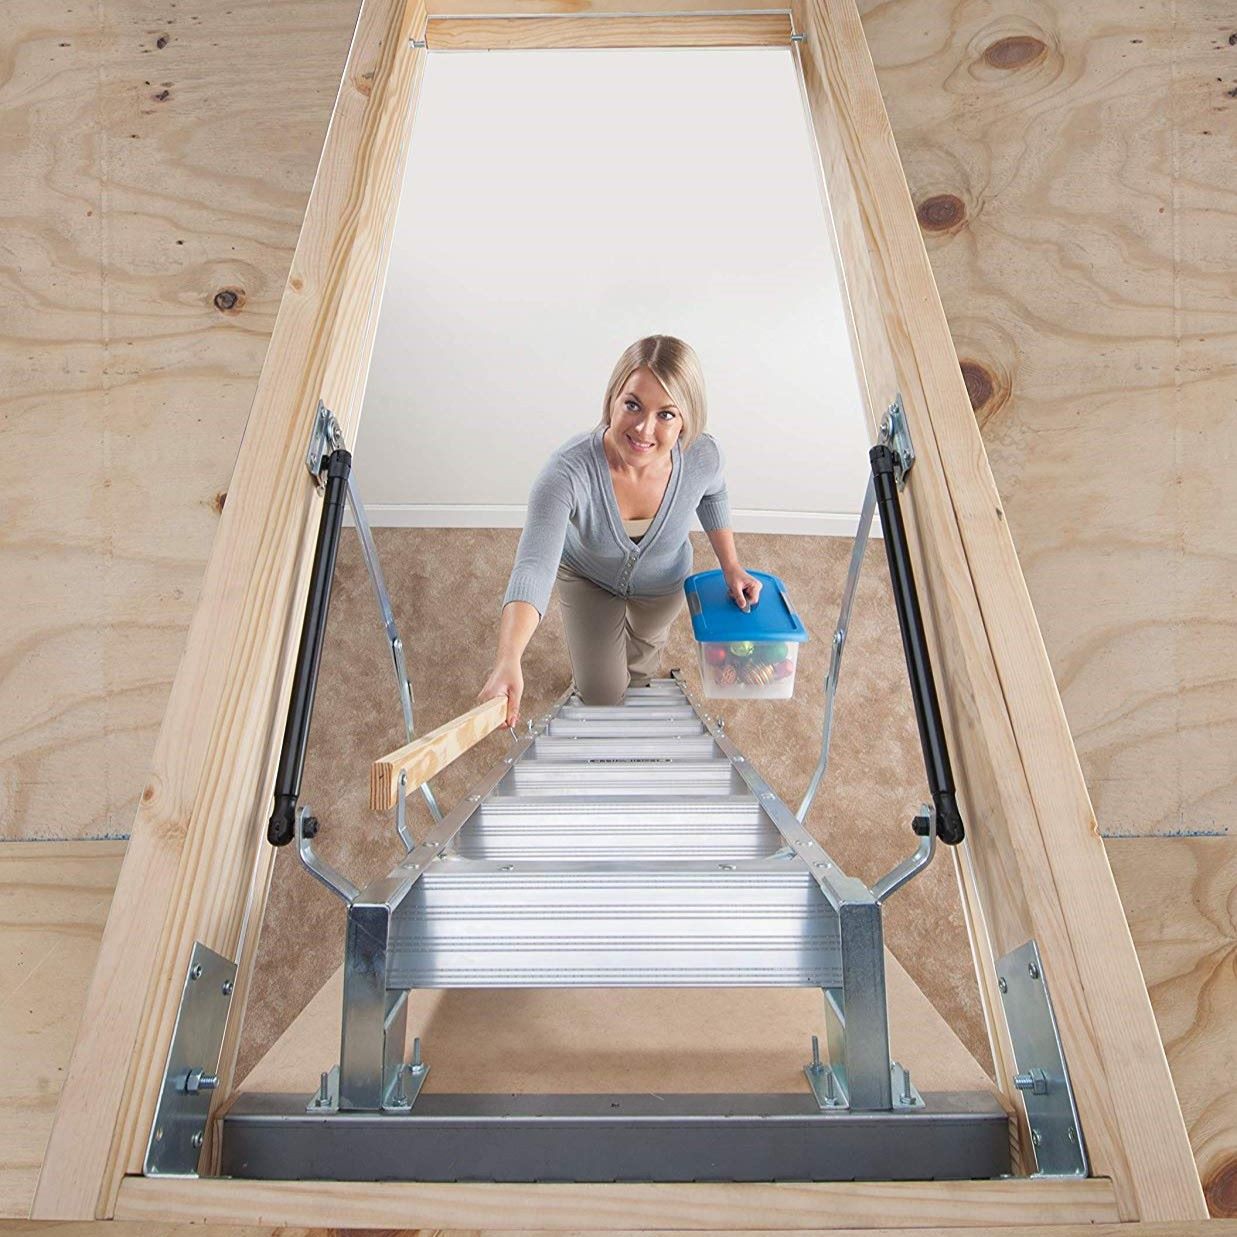
- Test the weight capacity: Before using the ladder, check the manufacturer’s weight capacity specifications. Test the ladder by placing a load close to the maximum weight limit to ensure that it can support the expected load without any issues.
- Verify safety mechanisms: If your attic ladder has safety features such as a handrail or automatic closing mechanism, make sure they are functioning properly. Test these mechanisms to ensure they provide the necessary safety and convenience.
By securing the ladder and thoroughly testing its functionality, you can ensure a safe and reliable attic access point. Take the time to address any issues or adjustments necessary before proceeding to the next step of the installation process.
Read more: How To Install Attic Ladder By Yourself
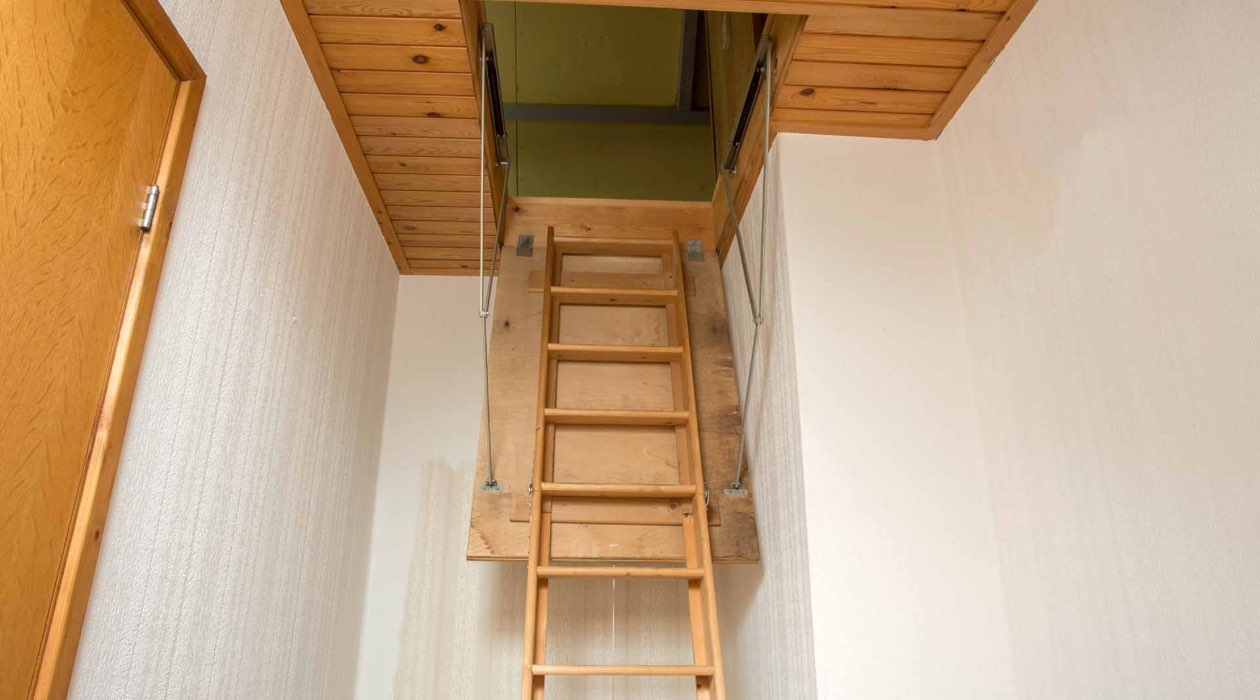
Step 5: Insulate and seal the attic ladder opening
Insulating and sealing the attic ladder opening is an important step to prevent energy loss and maintain proper temperature control in your home. It also helps to minimize drafts and keep unwanted pests or insects out of the attic. Here’s how to effectively insulate and seal the attic ladder opening:
- Measure and cut the insulation: Measure the dimensions of the attic ladder opening and cut insulation batts or foam strips to fit. Make sure the insulation is snugly fitted and covers all sides of the opening.
- Apply insulation: Install the insulation batts or attach the foam strips around the edges of the attic ladder opening. Ensure a tight seal by pressing the insulation firmly against the surrounding walls or framing.
- Seal gaps and cracks: Inspect the area around the attic ladder opening for any gaps or cracks. Use caulk or weatherstripping material to seal these areas, preventing air leakage and improving energy efficiency.
- Install a door cover: Consider installing a door cover or insulated panel over the attic ladder opening. This provides an extra layer of insulation and helps to further seal the access point.
- Test the seal: Close the attic ladder and inspect the area for any signs of air leakage or drafts. If you feel any air movement, identify and address the source of the issue by adding additional insulation or sealant as needed.
Properly insulating and sealing the attic ladder opening will help maintain a more comfortable indoor environment and reduce energy costs. This step is vital to maximize the benefits of installing an attic ladder in your home.
Step 6: Safety precautions and maintenance tips
Ensuring your attic ladder is safe and well-maintained is crucial for your continued use and peace of mind. Here are some important safety precautions and maintenance tips to follow:
- Read and follow safety guidelines: Familiarize yourself with the safety guidelines provided by the manufacturer. Pay special attention to weight limits, proper ladder usage, and any specific precautions for your attic ladder type.
- Use the ladder properly: When using the attic ladder, always follow proper ladder usage techniques to prevent accidents. This includes facing the ladder, using three points of contact, and avoiding overreaching or leaning to one side.
- Regularly inspect the ladder: Periodically inspect the ladder for any signs of damage, such as loose screws, cracked steps, or bent hinges. Repair or replace any damaged components immediately to maintain the ladder’s integrity.
- Keep the area around the ladder clear: Ensure that the area around the attic ladder is clear from obstructions such as furniture, boxes, or debris. This will prevent tripping hazards and allow for easy and safe ladder access.
- Secure the ladder when not in use: If you have children in the house or want to restrict access to the attic, consider installing a lock or securing mechanism to prevent unauthorized use of the ladder.
- Maintain the insulation and sealant: Regularly check the insulation and sealant around the attic ladder opening for any wear or damage. Replace or repair as necessary to maintain proper insulation and prevent air leakage.
- Keep the ladder clean: Clean the ladder regularly to remove any dust, debris, or dirt that may accumulate over time. This will help maintain its functionality and extend its lifespan.
- Consider professional inspections: If you’re unsure about the condition of your attic ladder or concerned about its safety, consider hiring a professional for a thorough inspection. They can identify any potential issues and provide recommendations for repairs or replacements.
By following these safety precautions and maintenance tips, you can ensure the long-term usability and safety of your attic ladder. Regular upkeep and attention to detail will help you get the most out of your investment and provide peace of mind whenever you use your attic space.
Conclusion
Congratulations! You have successfully learned how to install an attic ladder. By following the step-by-step instructions in this guide, you have transformed your inaccessible attic into a space that is easily accessible and functional. Installing an attic ladder not only provides convenience for storage or accessing the attic but also helps improve energy efficiency and maintain a comfortable home environment.
Throughout the installation process, remember to prioritize safety by following the manufacturer’s instructions, using the appropriate tools and materials, and taking necessary precautions. Taking the time to properly measure and prepare the opening space, assemble and install the ladder, and secure and test its functionality will ensure a strong and reliable attic access point.
After the ladder is installed, don’t forget to insulate and seal the attic ladder opening to prevent energy loss and minimize drafts. Regular maintenance and inspections will help keep your attic ladder in great condition, ensuring its safety and longevity for years to come.
Enjoy the convenience of easy attic access and maximize the use of your attic space. Whether it’s for additional storage, a hobby room, or any other purpose, your newly installed attic ladder opens up a world of possibilities.
Remember, if you’re ever unsure about any aspect of the installation process or encounter any difficulties, it’s always a good idea to seek professional assistance. They can provide expert guidance and ensure a safe and successful installation.
We hope this guide has been helpful in your journey to install an attic ladder. Enjoy your newfound access to your attic, and may it bring you convenience, organization, and endless possibilities!
Frequently Asked Questions about How To Install An Attic Ladder
Was this page helpful?
At Storables.com, we guarantee accurate and reliable information. Our content, validated by Expert Board Contributors, is crafted following stringent Editorial Policies. We're committed to providing you with well-researched, expert-backed insights for all your informational needs.


0 thoughts on “How To Install An Attic Ladder”