Articles
How To Close Chimney Flue
Modified: October 23, 2024
Learn how to properly close your chimney flue with these helpful articles. Find step-by-step instructions and tips to ensure a secure seal.
(Many of the links in this article redirect to a specific reviewed product. Your purchase of these products through affiliate links helps to generate commission for Storables.com, at no extra cost. Learn more)
Introduction
Welcome to our guide on how to close a chimney flue. Chimney flues are an essential part of any fireplace or wood-burning stove, allowing smoke and gases to safely exit your home. However, there may be times when you need to temporarily or permanently close the flue to prevent drafts, heat loss, or to perform maintenance. In this article, we will walk you through the process of closing a chimney flue step by step.
Before we begin, it’s important to note that working with chimneys and flues can be potentially dangerous. If you are uncomfortable or unsure about any part of the process, it is always recommended to seek professional assistance. Additionally, always follow proper safety measures and ensure that the fireplace or stove is completely cooled before attempting any work.
Now, let’s dive into the details of how to effectively close a chimney flue.
Key Takeaways:
- Safely and effectively close your chimney flue using temporary or permanent methods, ensuring energy efficiency and home comfort while prioritizing safety and proper maintenance.
- Prioritize safety, understand your chimney flue, and follow step-by-step procedures to close it, whether temporarily with a flue stopper or permanently with a heat-resistant sealant, for optimal fireplace and stove functionality.
Understanding Chimney Flue
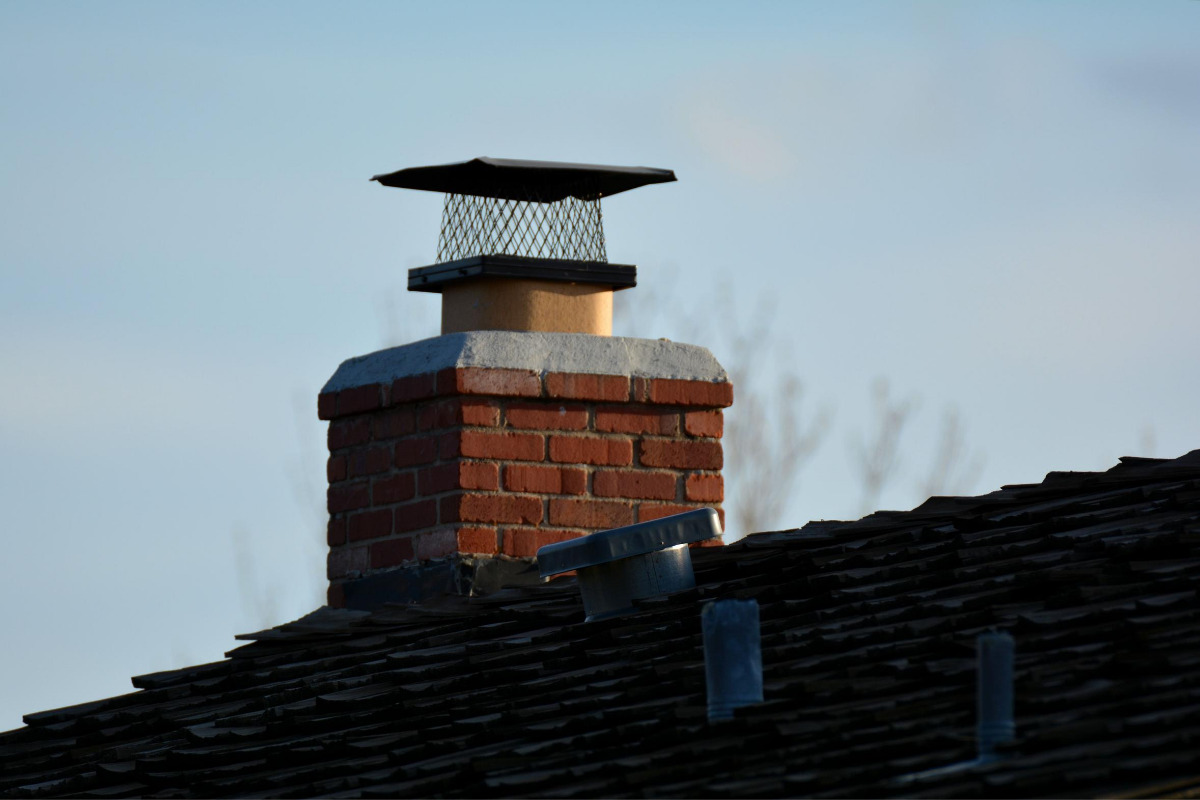
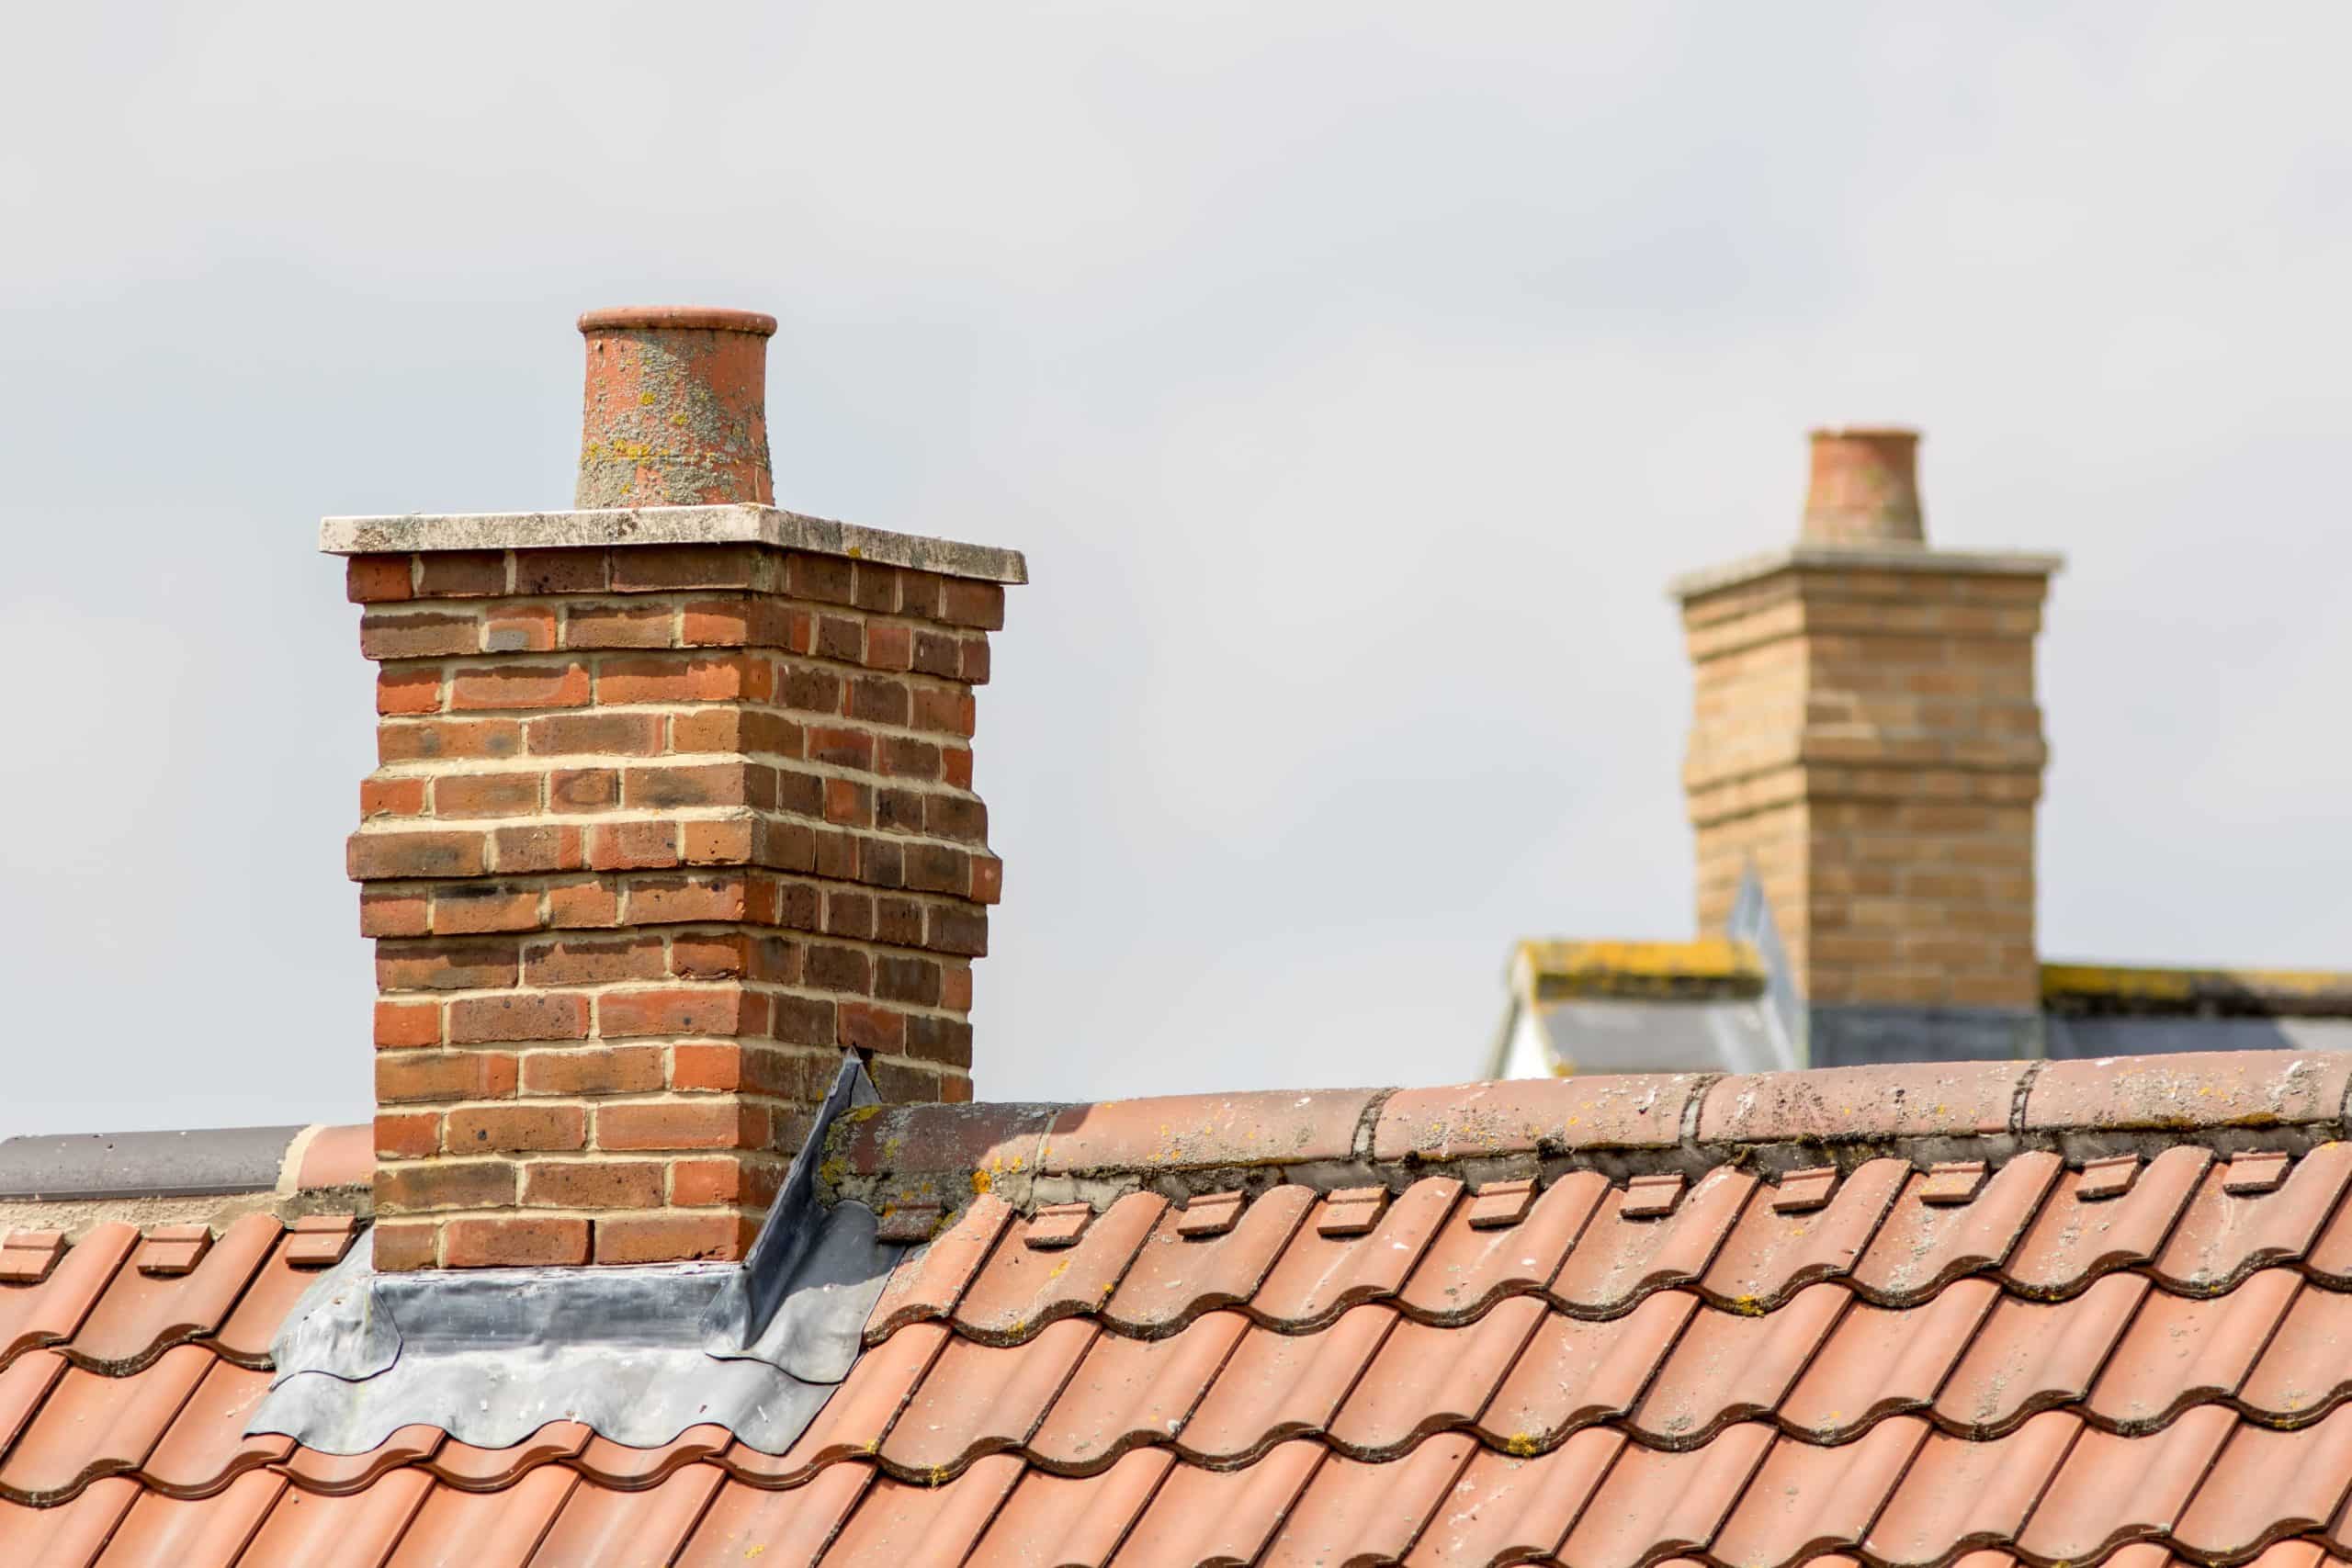
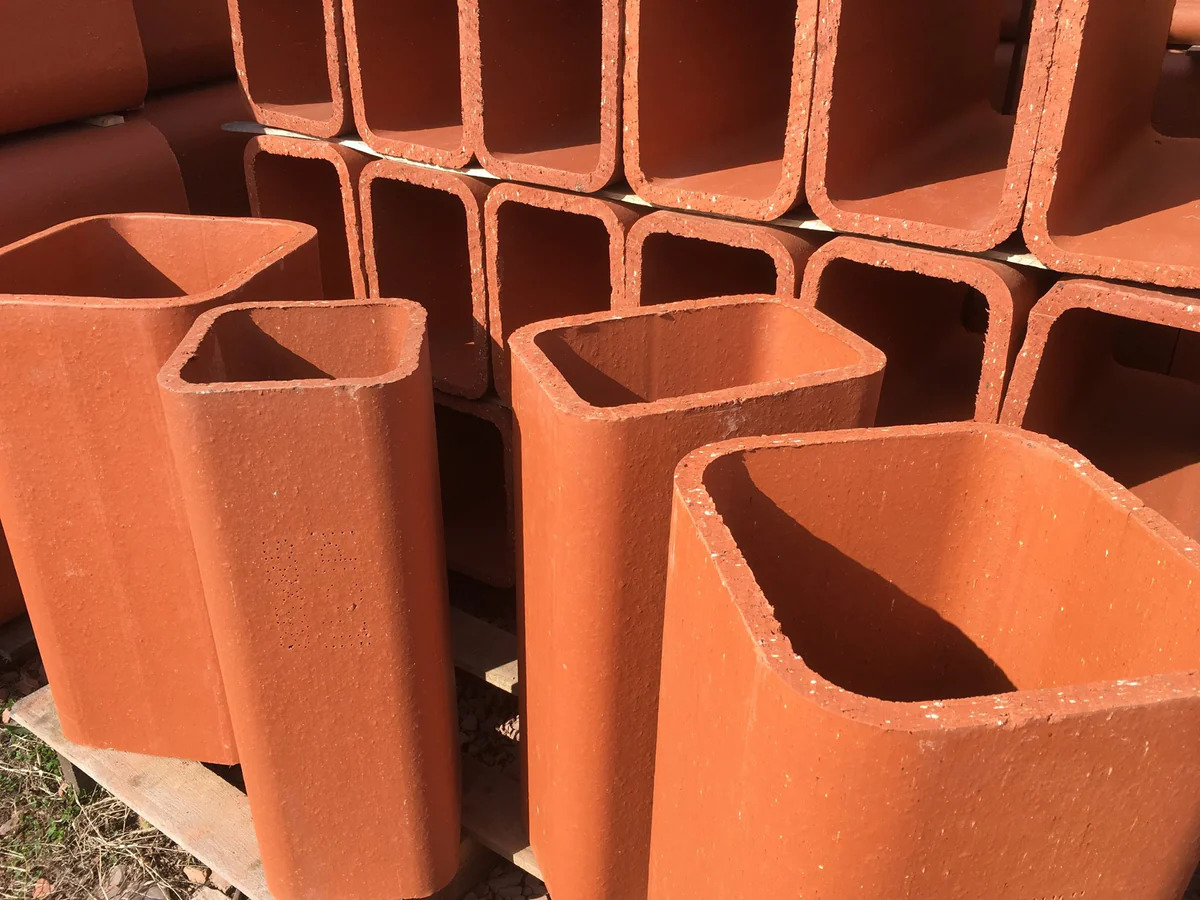
Before we get into the process of closing a chimney flue, it’s important to have a clear understanding of what a chimney flue is and how it functions. A chimney flue is typically a vertical channel or pipe that allows the combustion gases and smoke from your fireplace or wood-burning stove to safely exit your home.
The chimney flue serves a crucial role in maintaining proper ventilation and preventing the accumulation of harmful gases inside your living space. It also helps to eliminate excessive heat generated by the fire and prevents drafts or cold air from entering your home through the chimney.
Chimney flues are usually made of brick, concrete, or metal, and they come in different sizes and shapes to accommodate various types of fireplaces. Most flues have a damper, which is a movable metal plate that can be opened or closed to control the airflow and draft.
Understanding the type and condition of your chimney flue is essential before attempting to close it. Different types of flues may require specific methods or materials for closure, and it’s important to ensure that the flue is clean and free from any debris or obstructions.
It’s also important to note that chimney flues should never be completely closed off permanently, as this can lead to dangerous situations such as backdrafts or the trapping of harmful gases inside your home. Temporary closure is common for maintenance purposes or when the fireplace or stove is not in use for an extended period.
Now that we have a better understanding of what a chimney flue is and its importance, let’s move on to the tools and materials you’ll need to effectively close a chimney flue.
Tools and Materials Required
Before you begin closing a chimney flue, it’s essential to gather the necessary tools and materials to ensure a smooth and successful process. Here are the tools and materials you’ll need:
- Safety goggles and gloves: Protect your eyes and hands from any debris or soot.
- Ladder or step stool: Depending on the height of your chimney, you may need a secure platform to access the flue.
- Flashlight: To provide additional visibility inside the flue.
- Chimney brush: Used to clean the flue and remove any buildup or obstructions.
- Vacuum cleaner: For cleaning the surrounding area and removing loose debris.
- Flue stopper: This temporary closure device is used to seal off the flue while still allowing for ventilation.
- Heat-resistant sealant: If you plan on permanently closing the flue, a heat-resistant sealant is necessary for a secure and airtight seal.
Make sure you have all these tools and materials readily available before you start working on closing your chimney flue. It’s also crucial to follow the manufacturer’s instructions for any specific tools or materials you’re using to ensure proper usage and safety.
Now that you have all the necessary tools and materials, let’s move on to the step-by-step process of closing a chimney flue.
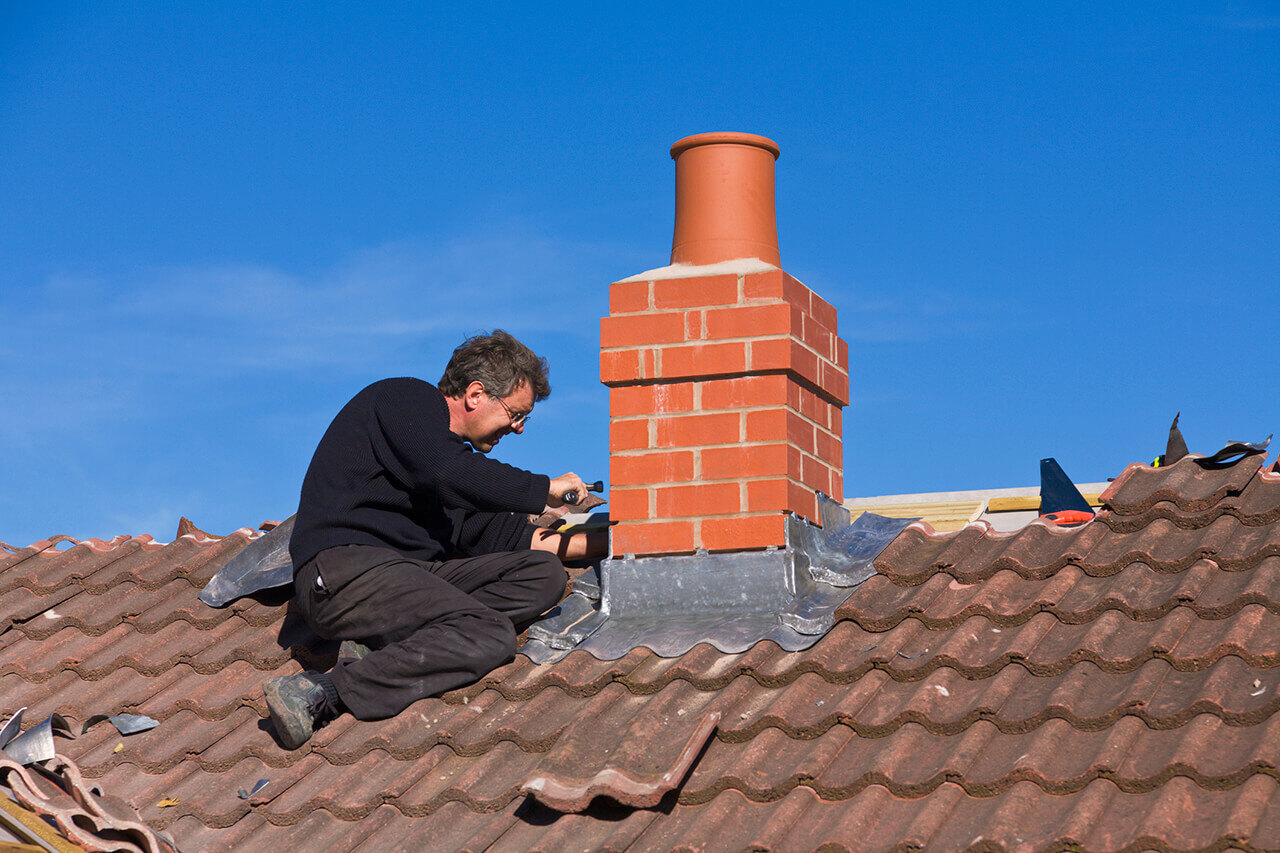
Step 1: Ensure Safety Precautions
Before you begin the process of closing a chimney flue, it’s important to prioritize safety. Chimneys can be hazardous environments, so taking the necessary precautions is crucial to avoid accidents or injuries. Here are some safety measures to keep in mind:
- Wear protective gear: Put on safety goggles and gloves to protect your eyes and hands from debris, soot, and any potential sharp edges.
- Work in a well-ventilated area: Ensure that there is proper airflow in the room where you’re working to prevent the accumulation of harmful gases.
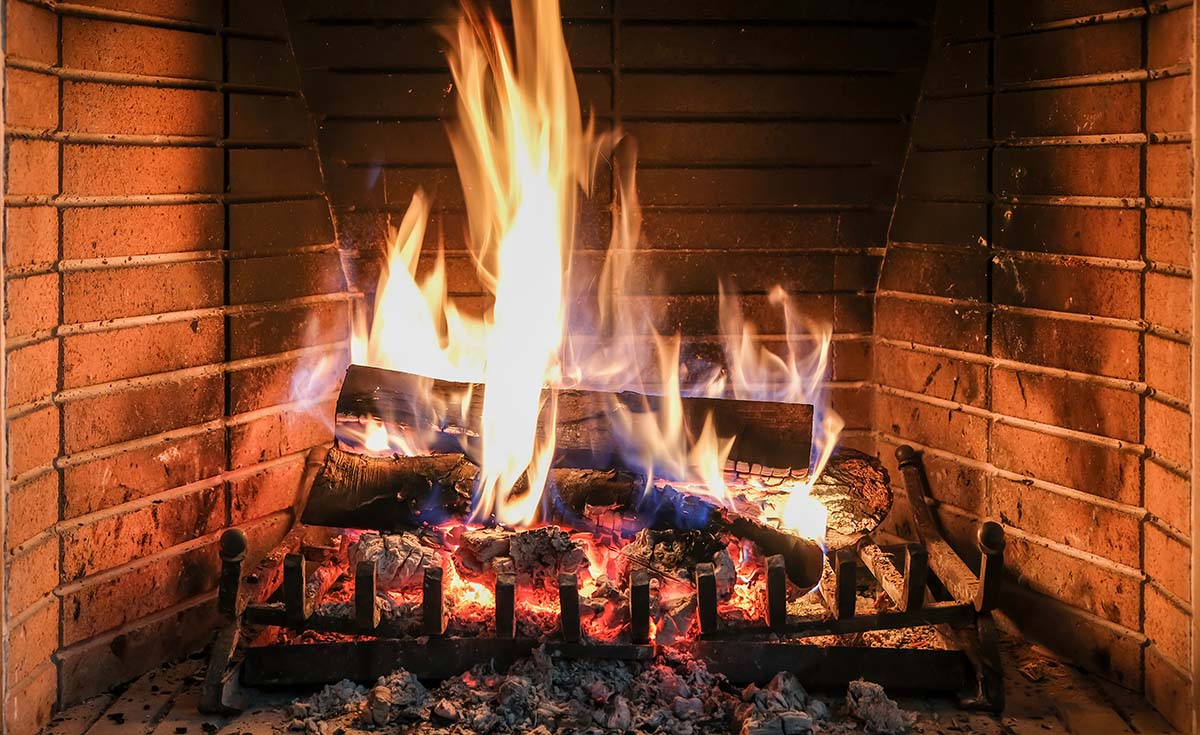
- Turn off the fireplace or stove: Make sure that the fireplace or stove is completely cool and extinguished before starting any work. This will prevent the risk of burns or accidental fires.
- Secure the area: Clear the surrounding area of any flammable objects, furniture, or decorations that could potentially catch fire or obstruct your workspace.
- Use a sturdy ladder or step stool: If you need to access the flue from the roof or a higher level, make sure you have a stable ladder or step stool to safely reach the desired area.
By following these safety precautions, you can minimize the risk of accidents and ensure a safe working environment while closing your chimney flue.
Once you’ve taken the necessary safety measures, you can proceed to the next step: inspecting the flue to assess its condition and cleanliness.
Step 2: Inspect the Flue
Before closing a chimney flue, it’s important to thoroughly inspect it to assess its condition and ensure that it’s safe to close. Here’s how you can inspect the flue:
- Put on your safety goggles and gloves for protection.
- Using a ladder or step stool, access the flue opening either from the roof or inside your home. Be cautious and ensure that you have a secure footing.
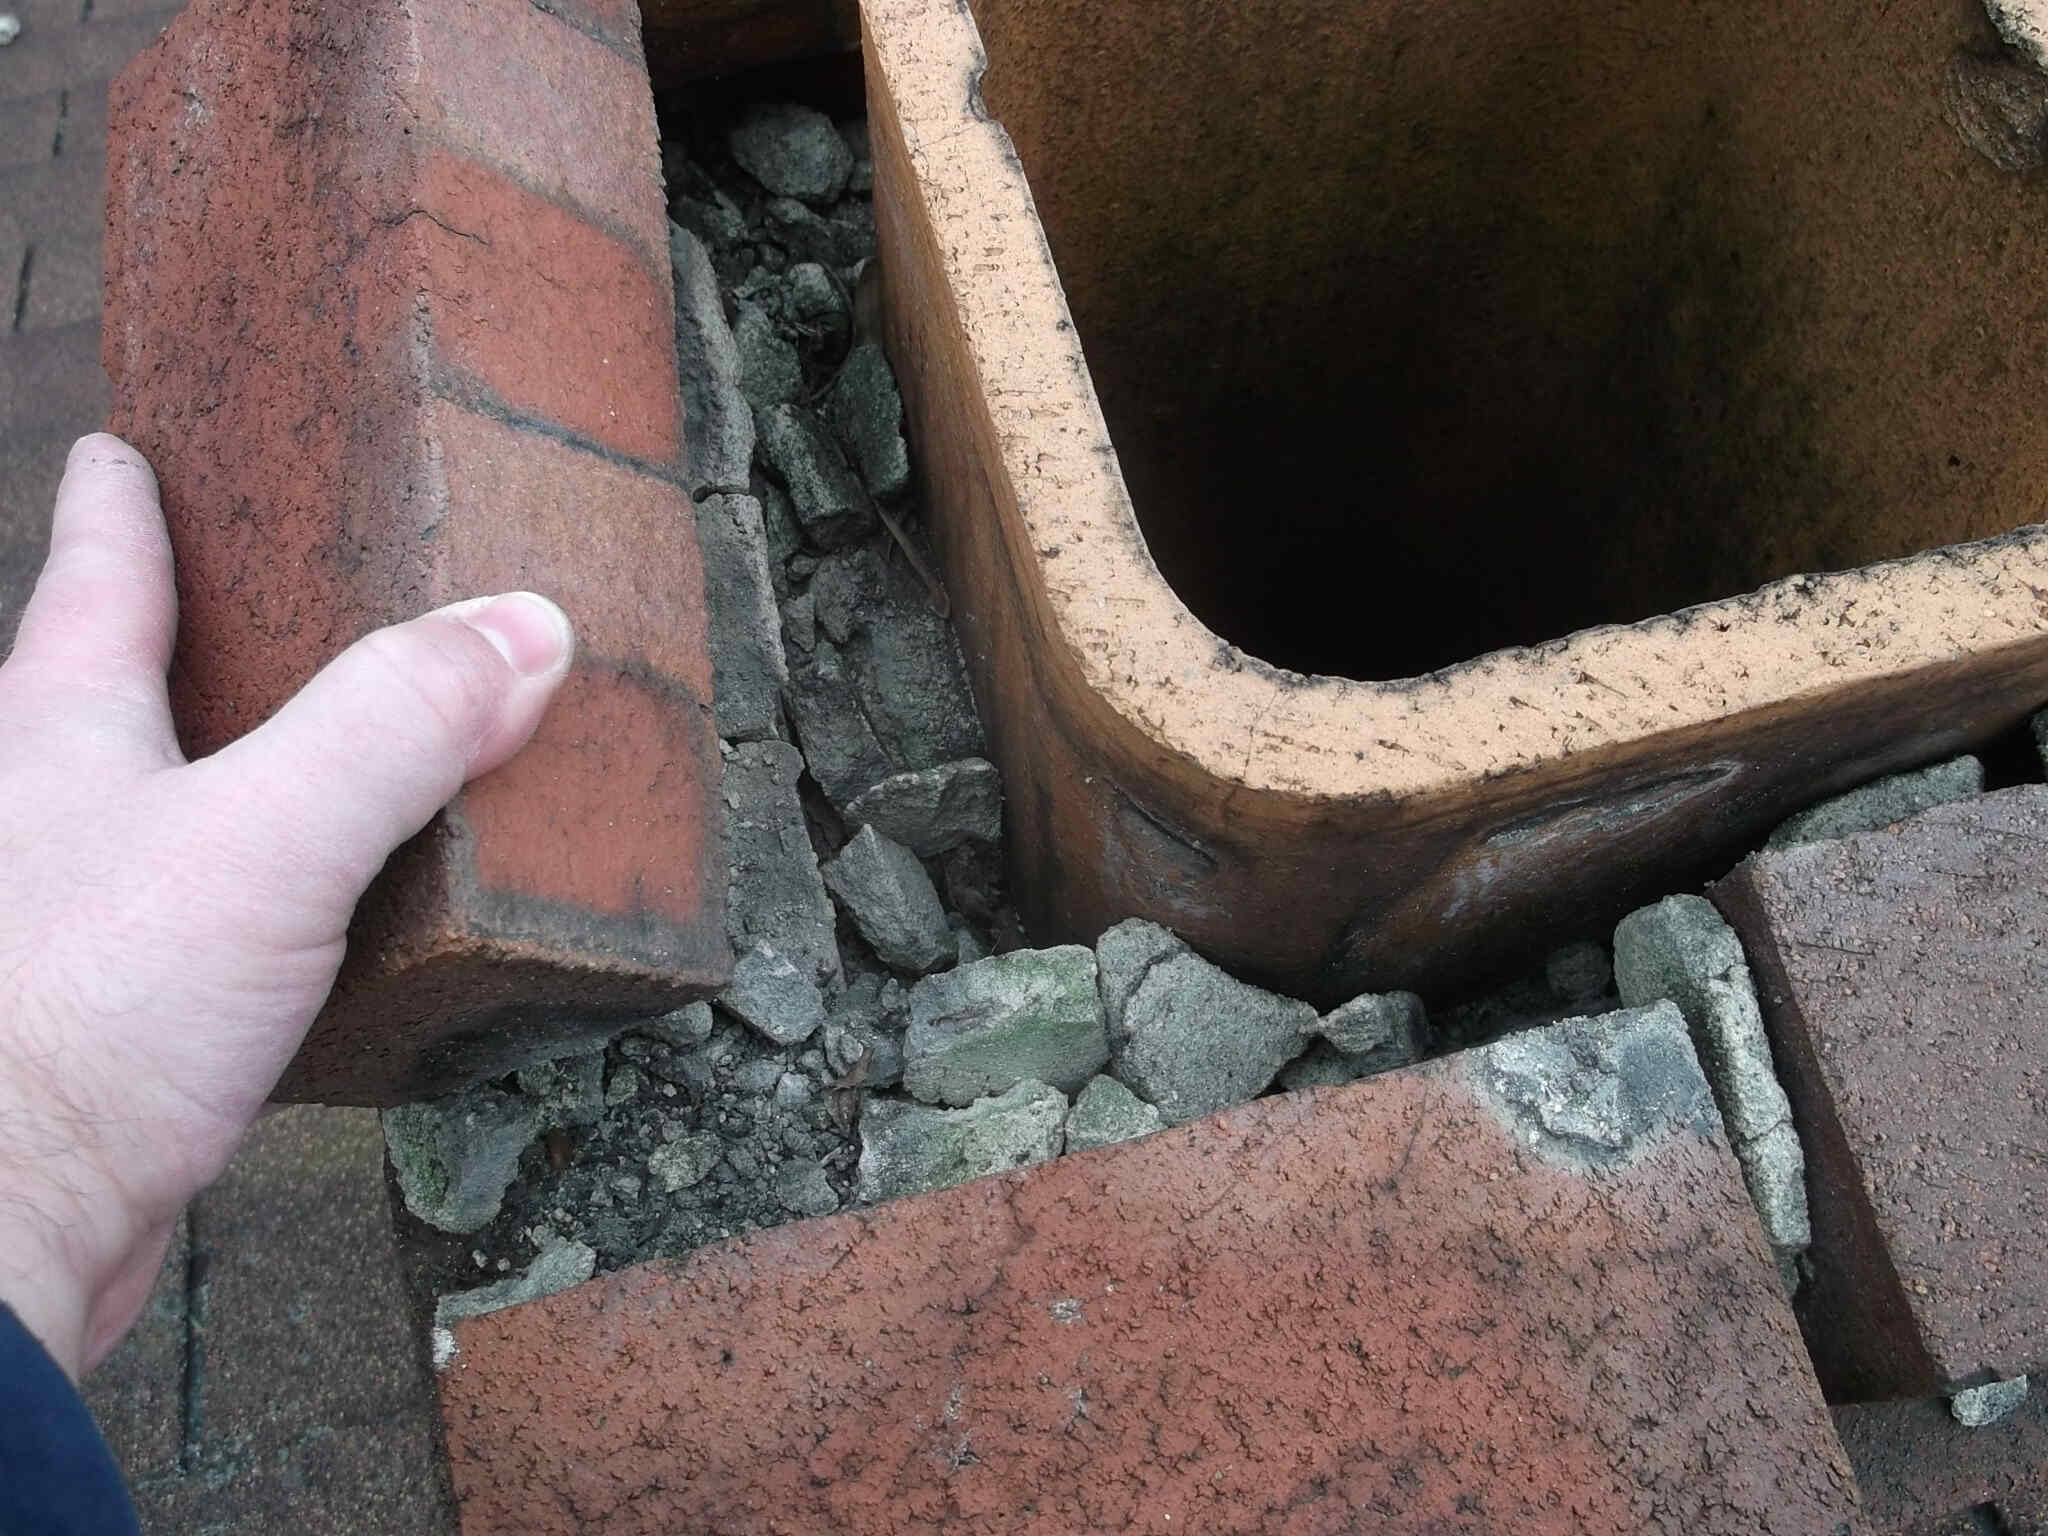
- Inspect the interior of the flue using a flashlight. Look for any signs of damage, such as cracks, loose bricks, or excessive buildup of soot or creosote. It’s important to address any structural issues or maintenance needs before closing the flue.
- Check for any obstructions or blockages in the flue, such as debris, bird nests, or other foreign objects. These obstructions can hinder proper airflow and pose a risk of chimney fires or poor ventilation.
- If you notice any significant damage or obstructions that require professional attention, it’s best to contact a chimney sweep or a qualified technician to address the issue before proceeding.
By carefully inspecting the flue before closing it, you can identify any potential problems or hazards and take appropriate action to ensure a safe and effective closure.
Once you’ve inspected the flue and confirmed its condition, you can move on to the next step: cleaning the flue to remove any buildup or debris.
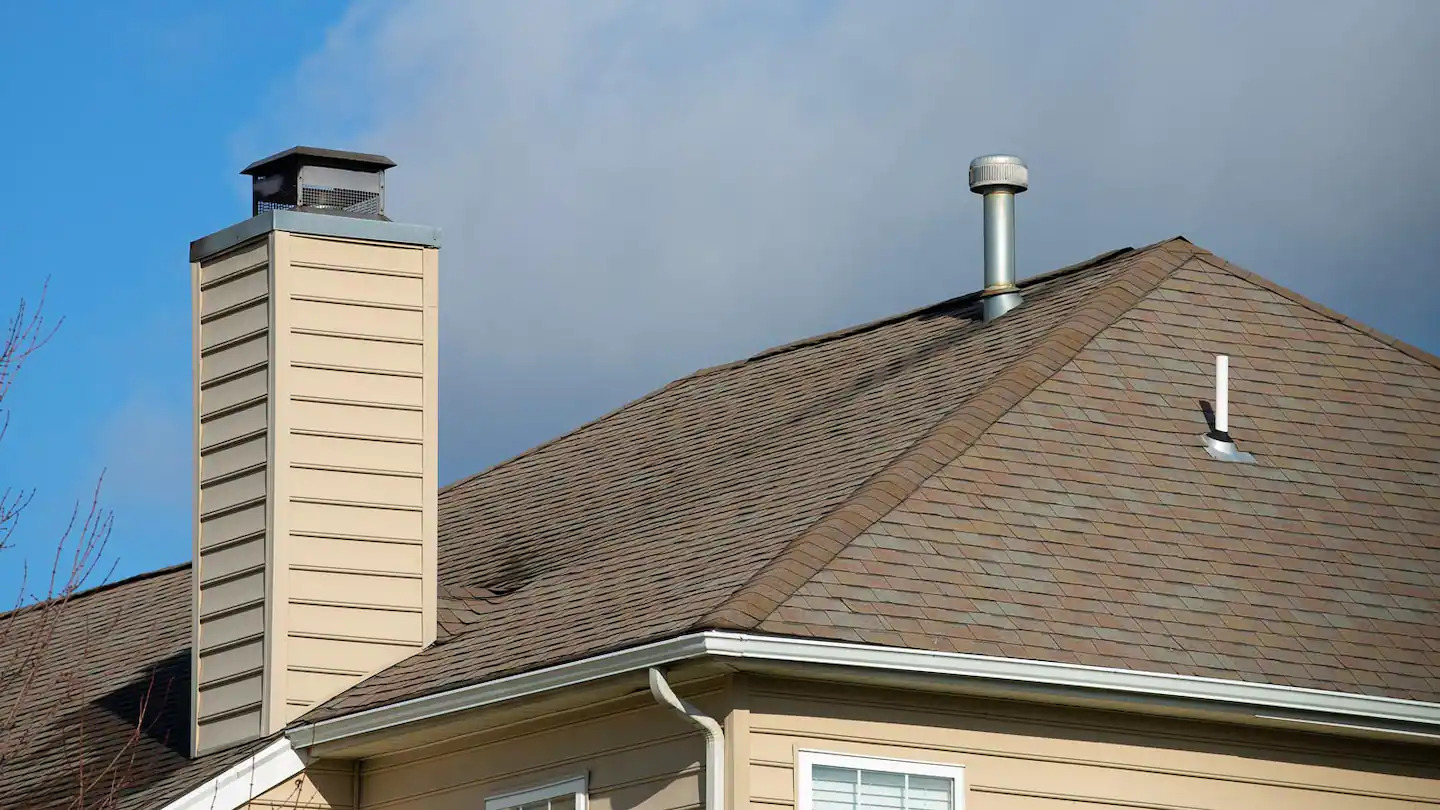
Before closing the chimney flue, make sure the fire is completely out and the chimney is cool. Use a chimney cap or damper to prevent drafts and debris from entering. Always follow manufacturer’s instructions.
Read more: What Is A Chimney Flue
Step 3: Clean the Flue
Cleaning the chimney flue is an essential step before closing it. This helps to remove any accumulated soot, creosote, or debris that may obstruct the airflow or present a fire hazard. Here’s how you can clean the flue:
- Put on your safety goggles and gloves to protect yourself from debris and soot.
- Using a chimney brush, gently scrub the interior walls of the flue. Start from the top and work your way down to ensure a thorough cleaning. Make sure to reach all corners and crevices.
- Slowly push the chimney brush up and down while rotating it to dislodge any stuck-on soot or creosote. Be gentle to avoid damaging the flue’s lining.
- Periodically check the brush to remove any accumulated debris. You can use a vacuum cleaner to suck up the loosened debris from the bottom of the flue.
- Continue this process until the brush comes out clean and all visible debris has been removed.
- Once the flue is clean, use the vacuum cleaner to clean the hearth area and surrounding space to remove any loose debris.
Regular cleaning of the flue promotes better airflow, reduces the risk of chimney fires, and ensures efficient operation of your fireplace or wood-burning stove. Remember to dispose of the collected debris safely and according to local regulations.
With a clean flue, you can now proceed to the next step: using a flue stopper to temporarily close off the flue.
Step 4: Use a Flue Stopper
Using a flue stopper is a temporary method to close off the chimney flue when you don’t want any air or drafts coming through. This step is especially useful if you want to prevent heat loss during the colder months or if you need to do maintenance work. Here’s how you can use a flue stopper:
- Choose a properly sized flue stopper that fits securely in your chimney flue. Flue stoppers come in various sizes, so ensure you select the correct one to achieve a snug fit.
- Ensure the chimney flue is clean and free from any debris or obstructions.
- Put on your safety goggles and gloves to protect yourself.
- Carefully insert the flue stopper into the chimney flue. Follow the manufacturer’s instructions for proper installation.
- Push the flue stopper into place until it fits tightly and securely, effectively closing off the flue.
- Double-check for any gaps or areas where air can still pass through. The flue stopper should create an airtight seal.
Using a flue stopper is a temporary solution and should only be used for short periods. It’s important to note that when using a flue stopper, you should monitor the area closely for any signs of poor ventilation or the accumulation of harmful gases. If you experience any issues or discomfort due to poor airflow, remove the flue stopper immediately and improve ventilation.
If you wish to permanently close the chimney flue, proceed to the next step: sealing the flue with a heat-resistant sealant.
Step 5: Seal the Flue
If you wish to permanently close the chimney flue, sealing it with a heat-resistant sealant is the next step. This method ensures a secure and airtight closure. Before proceeding, keep in mind that permanently closing a chimney flue should only be done when you no longer plan to use the fireplace or wood-burning stove. Here’s how you can seal the flue:
- Ensure the flue is clean and free from any debris or obstructions. Use a chimney brush to remove any soot or creosote buildup.
- Put on your safety goggles and gloves to protect yourself from the sealant.
- Choose a heat-resistant sealant that is suitable for use in chimney flues. Some common options include silicone sealant or fire-resistant cement.
- Apply the sealant around the edges of the flue opening, creating a tight seal. Make sure to cover all gaps and openings to prevent any air from entering or escaping.
- Smooth out the sealant with a putty knife or your gloved fingers to ensure an even and secure seal.
- Allow the sealant to dry and cure according to the manufacturer’s instructions before using the fireplace or wood-burning stove.
Sealing the flue permanently prevents any drafts, heat loss, or unwanted pests from entering your home through the chimney. Keep in mind that once the flue is sealed, you will not be able to use the fireplace or wood-burning stove unless the sealant is removed.
After sealing the flue, it is essential to periodically inspect the sealant for any signs of wear or cracks. If necessary, reapply the sealant to ensure a continuous and effective closure.
Now that the flue is sealed, let’s move on to the final step: testing the closure to ensure it is functioning properly.
Step 6: Test the Closure
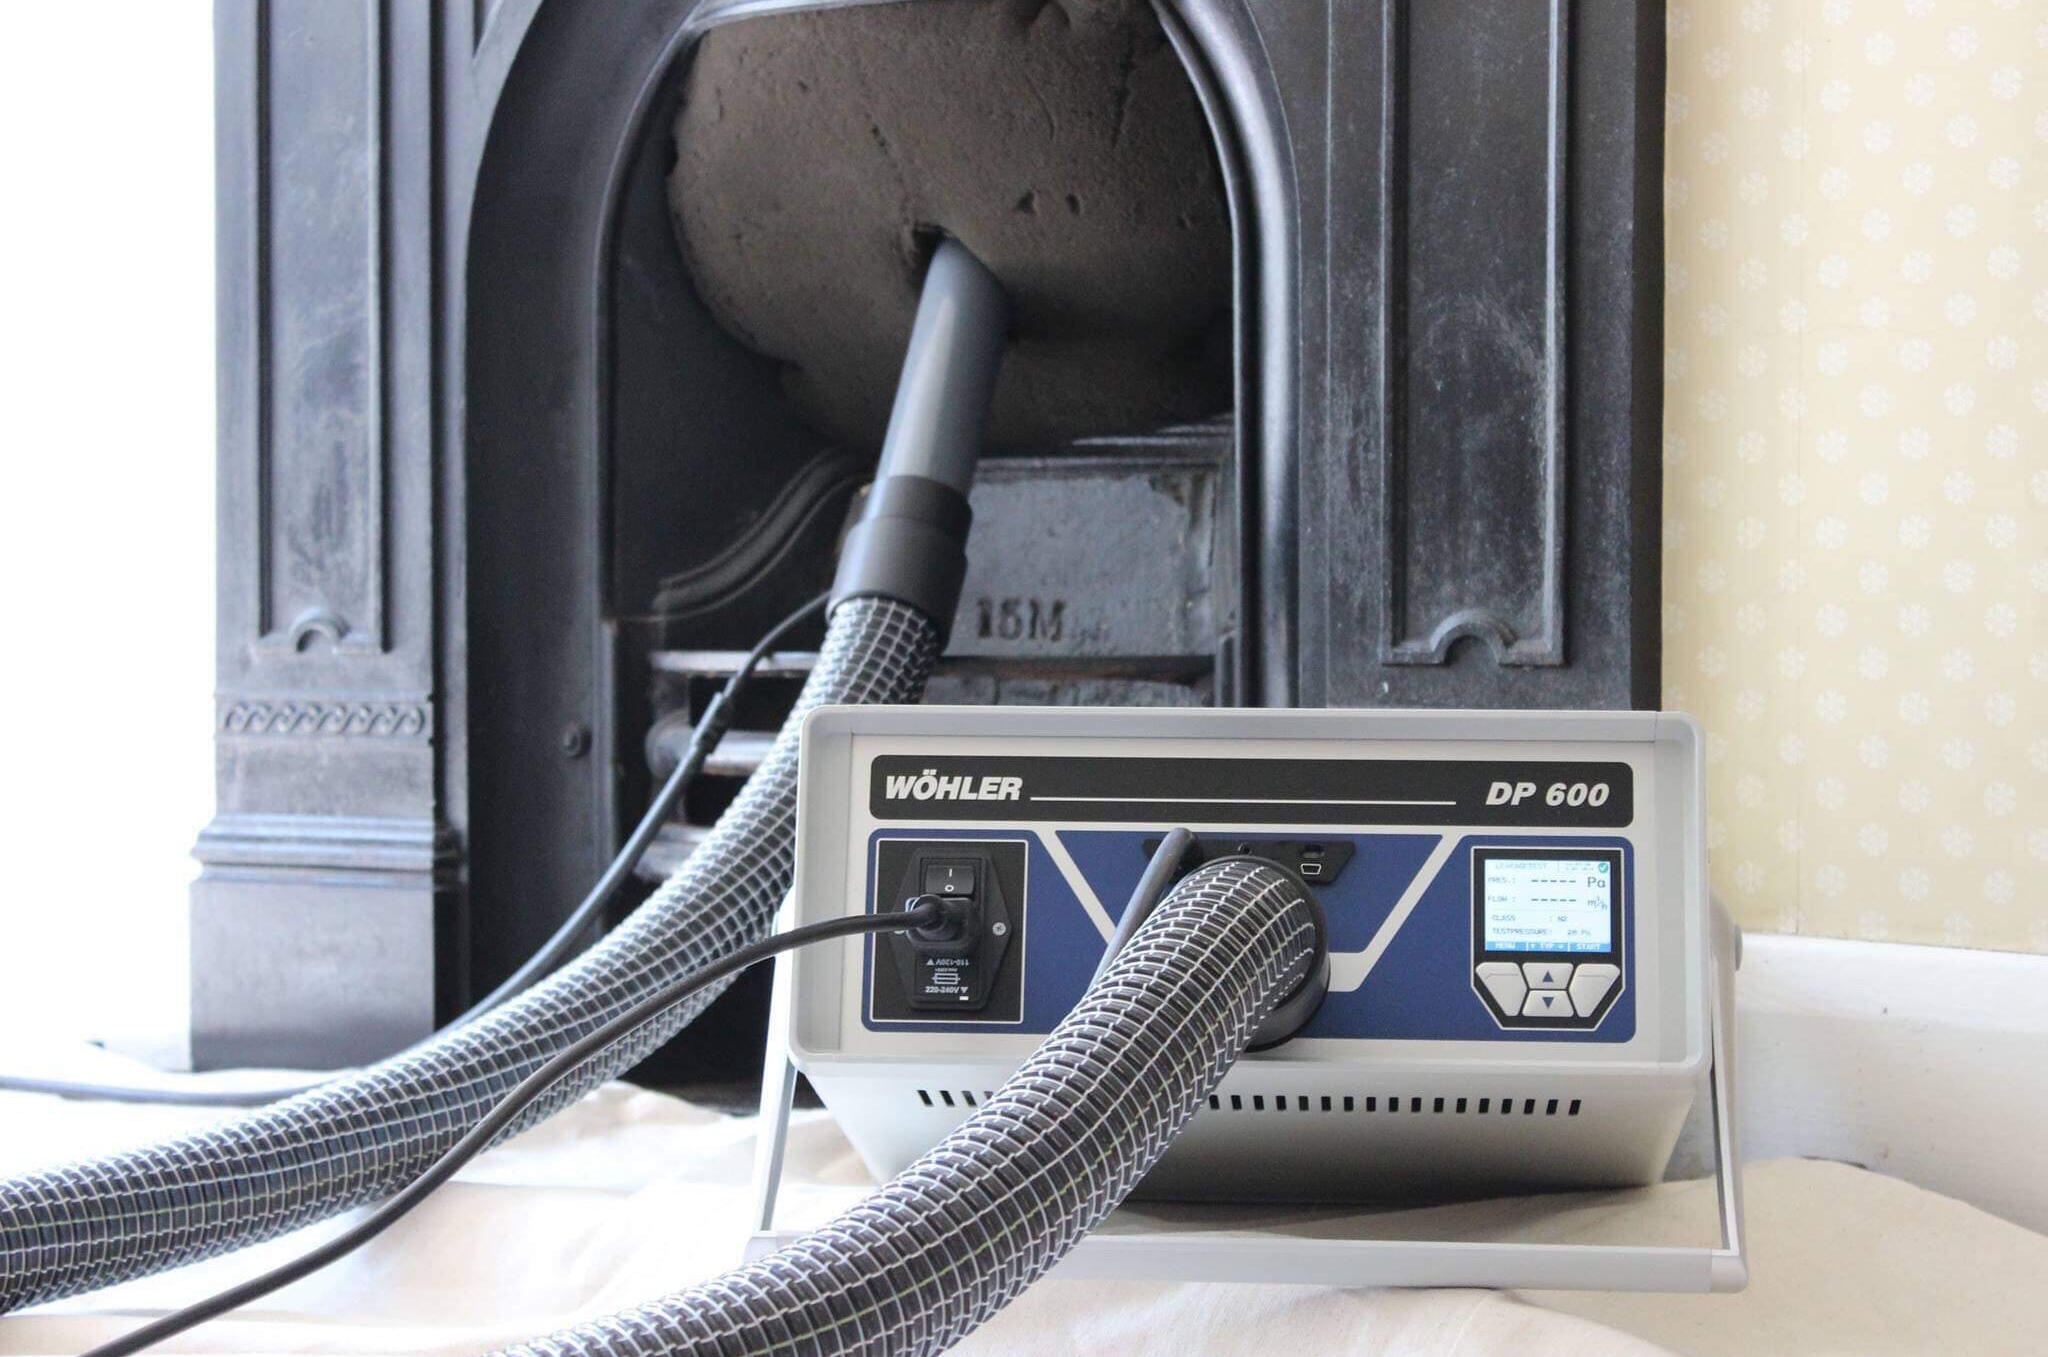
After closing or sealing the chimney flue, it’s important to test the closure to ensure it is functioning properly. This step ensures that the flue is effectively closed off and that there are no issues with airflow or ventilation. Here’s how you can test the closure:
- Make sure the fireplace or wood-burning stove is not in use and is cool to the touch.
- Stand in front of the fireplace or stove and carefully observe the flue opening.
- Using a tissue or piece of lightweight paper, hold it up to the opening of the flue.
- If the paper is being drawn towards the flue, it may indicate that there is still air passing through. This might suggest a poor seal or an issue with the closure.
- Inspect the flue closure for any gaps or areas where air may be escaping. If you notice any problems, such as gaps or a loose flue stopper, address them accordingly.
- If the closure appears secure and the paper does not move significantly, it indicates that the closure is functioning as intended.
Testing the closure ensures that your chimney flue is successfully closed off, preventing drafts and the escape of heated or cooled air from your home. It is important to monitor the closure periodically and make any necessary adjustments or repairs to maintain its effectiveness.
By following these steps, you can successfully close a chimney flue, either temporarily or permanently, depending on your needs. Remember to prioritize safety throughout the process and seek professional assistance if needed. Keeping your chimney flue well-maintained and properly closed contributes to energy efficiency, home comfort, and the overall safety of your fireplace or wood-burning stove.
Now that you have completed all the steps and tested the closure, you can confidently enjoy your fireplace or stove while ensuring the flue is closed off when needed.
Stay warm and safe!
Read more: How To Use A Chimney Flue
Conclusion
Closing a chimney flue is a task that can be done temporarily or permanently, depending on your specific needs. Whether you want to prevent drafts, conserve energy, or perform maintenance, following the proper steps ensures an effective closure. Throughout the process, it’s crucial to prioritize safety, wear protective gear, and take the necessary precautions to avoid accidents or injuries.
Understanding the function and condition of your chimney flue is the first step. Inspecting and cleaning the flue help identify any potential issues and ensure proper airflow. The use of a flue stopper offers a temporary closure option, allowing you to control ventilation. If you decide to permanently close the flue, sealing it with a heat-resistant sealant provides a secure and airtight seal.
Once the closure is in place, it’s important to test it to ensure its functionality. Monitoring the closure periodically and making any necessary adjustments or repairs helps maintain its effectiveness over time.
Remember, if you’re uncertain or uncomfortable with any part of the process, it’s always recommended to seek professional assistance. Chimneys and flues can be complex systems, and a professional chimney sweep or technician can provide expert guidance and ensure optimal safety.
By following these steps and guidelines, you can successfully close a chimney flue and enjoy a more energy-efficient, comfortable, and well-maintained home. Regular maintenance and proper closure of the chimney flue contribute to the longevity of your fireplace or wood-burning stove while keeping your home safe from potential hazards.
We hope this guide has been helpful in assisting you with closing your chimney flue. Stay warm and enjoy the benefits of a well-controlled and efficiently functioning fireplace or wood-burning stove!
Frequently Asked Questions about How To Close Chimney Flue
Was this page helpful?
At Storables.com, we guarantee accurate and reliable information. Our content, validated by Expert Board Contributors, is crafted following stringent Editorial Policies. We're committed to providing you with well-researched, expert-backed insights for all your informational needs.


0 thoughts on “How To Close Chimney Flue”