Home>Home Appliances>Laundry Appliances>How To Close An Ironing Board
Laundry Appliances
How To Close An Ironing Board
Modified: February 18, 2024
Learn the best techniques for closing an ironing board efficiently and safely. Follow these simple steps to avoid any accidents and keep your ironing board in top condition.
(Many of the links in this article redirect to a specific reviewed product. Your purchase of these products through affiliate links helps to generate commission for Storables.com, at no extra cost. Learn more)
Introduction
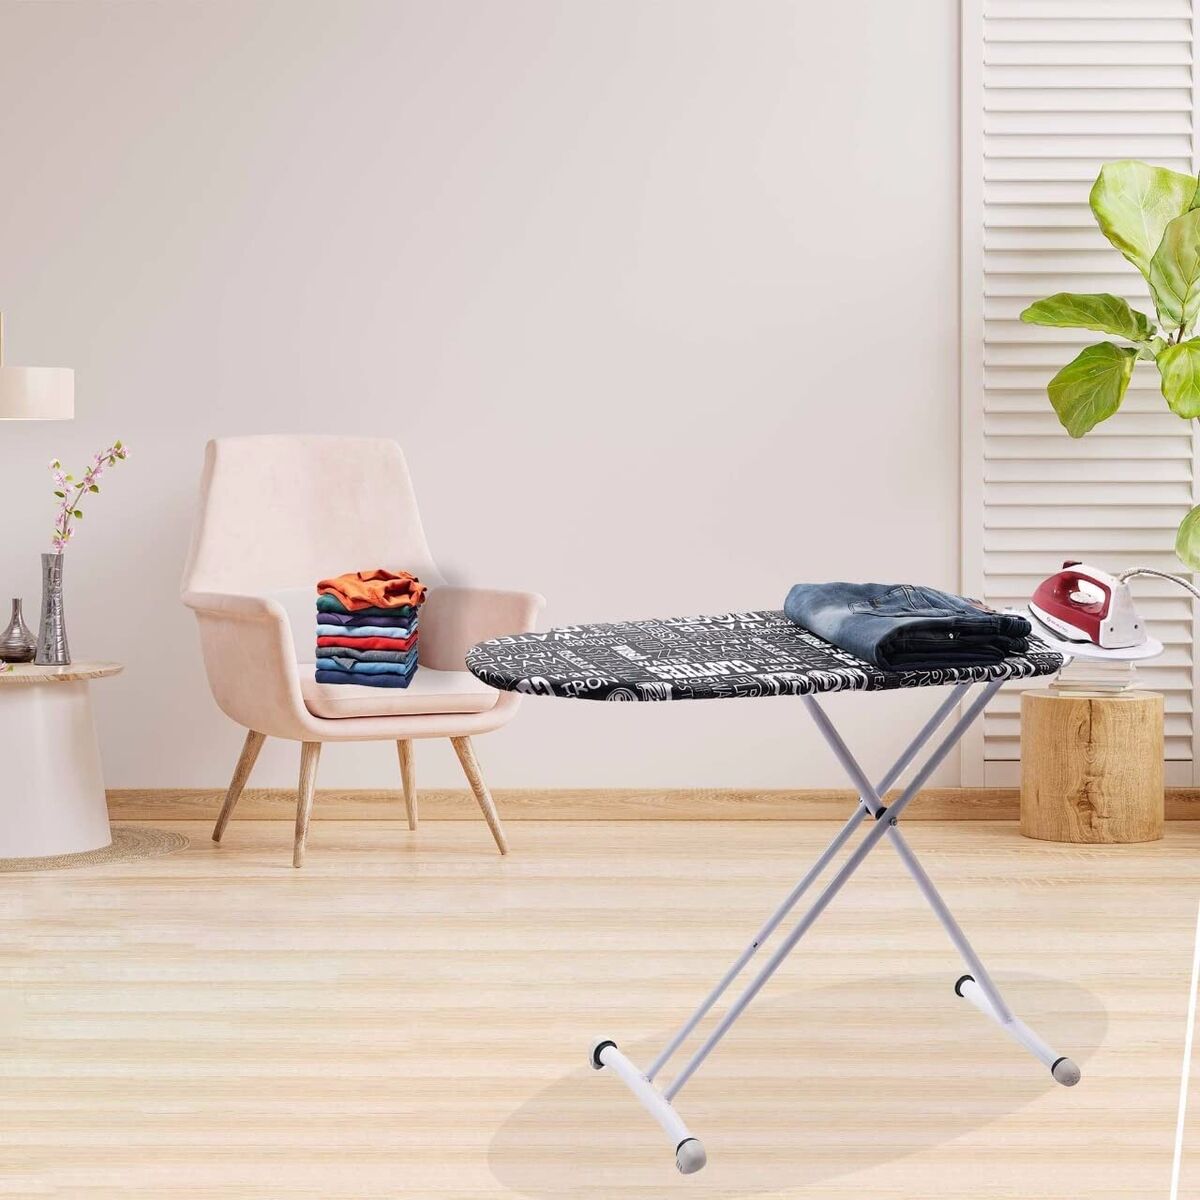
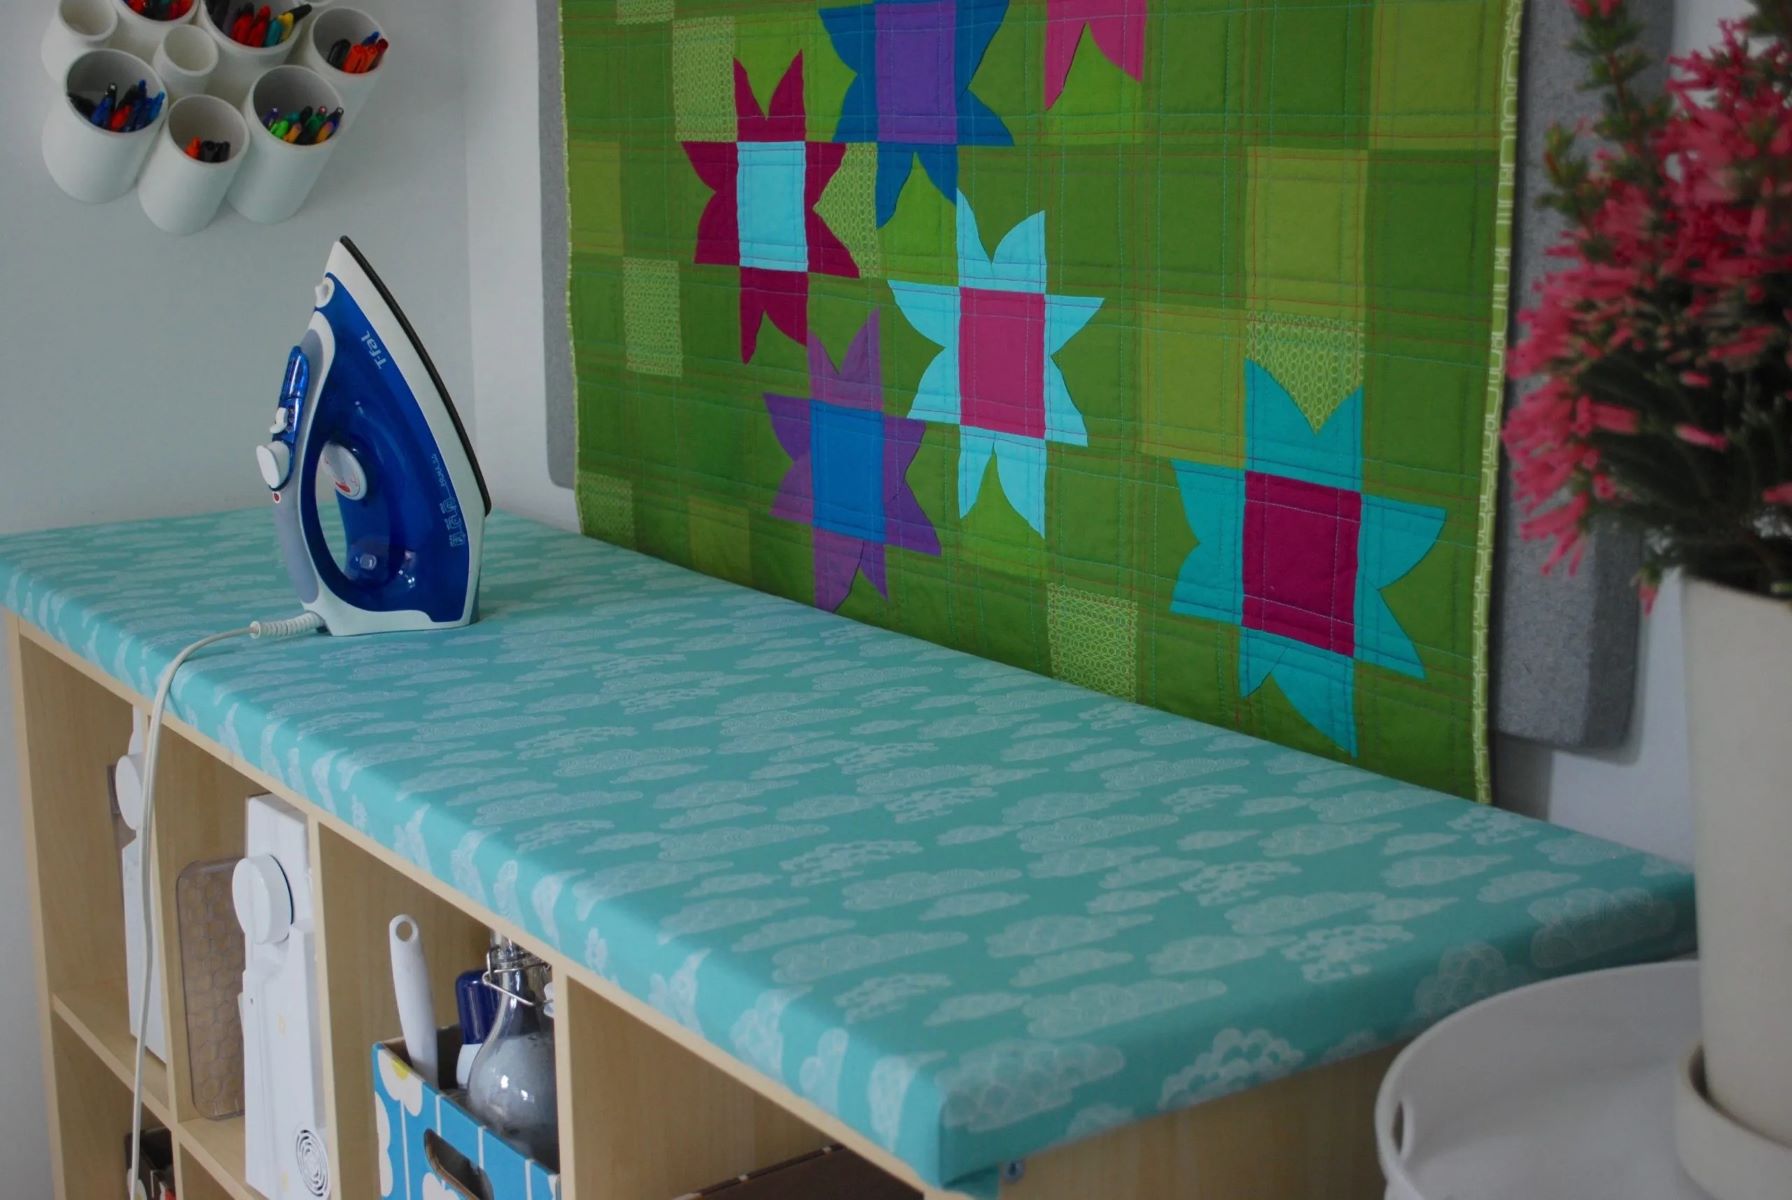
Closing an ironing board may seem like a simple task, but it's essential to do it properly to ensure safety and convenience. Whether you're tidying up after a laundry session or preparing to store the ironing board, knowing the correct steps for closing it will make the process effortless. In this guide, we will walk through the steps to effectively close an ironing board, providing you with the knowledge and confidence to complete this task with ease.
Closing an ironing board involves a series of steps that, when followed correctly, result in a neatly folded and secured board ready for storage. By understanding and mastering these steps, you can streamline your ironing routine and maintain a clutter-free living space. Let's delve into the process of closing an ironing board, ensuring that you can effortlessly complete this task whenever necessary.
Now, let's move on to the first step: unlocking the ironing board.
Key Takeaways:
- Mastering the art of closing an ironing board ensures a clutter-free space and a longer-lasting board. Follow the simple steps to unlock, fold, and secure for effortless storage.
- Closing an ironing board involves unlocking, folding, and securing it for storage. By following these steps, you can streamline your ironing routine and maintain a tidy living space.
Read more: How To Close An Ironing Board Without Lever
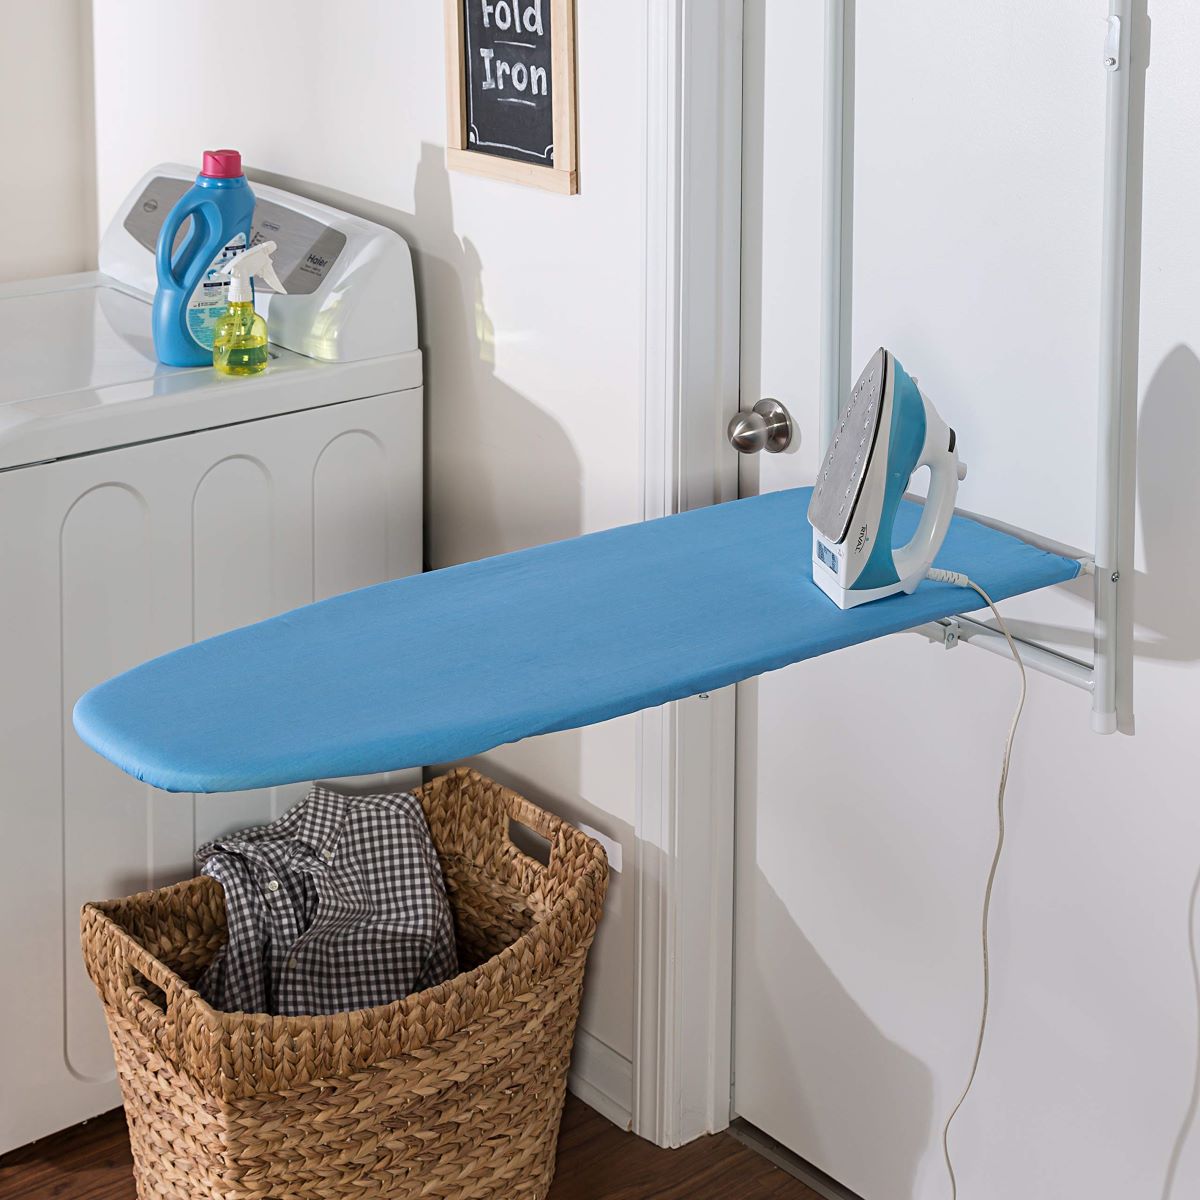
Step 1: Unlocking the ironing board
Unlocking an ironing board is the initial step in the process of closing it for storage. This step is crucial as it sets the stage for the subsequent actions required to neatly fold and secure the ironing board. To unlock the ironing board, follow these simple yet essential steps:
-
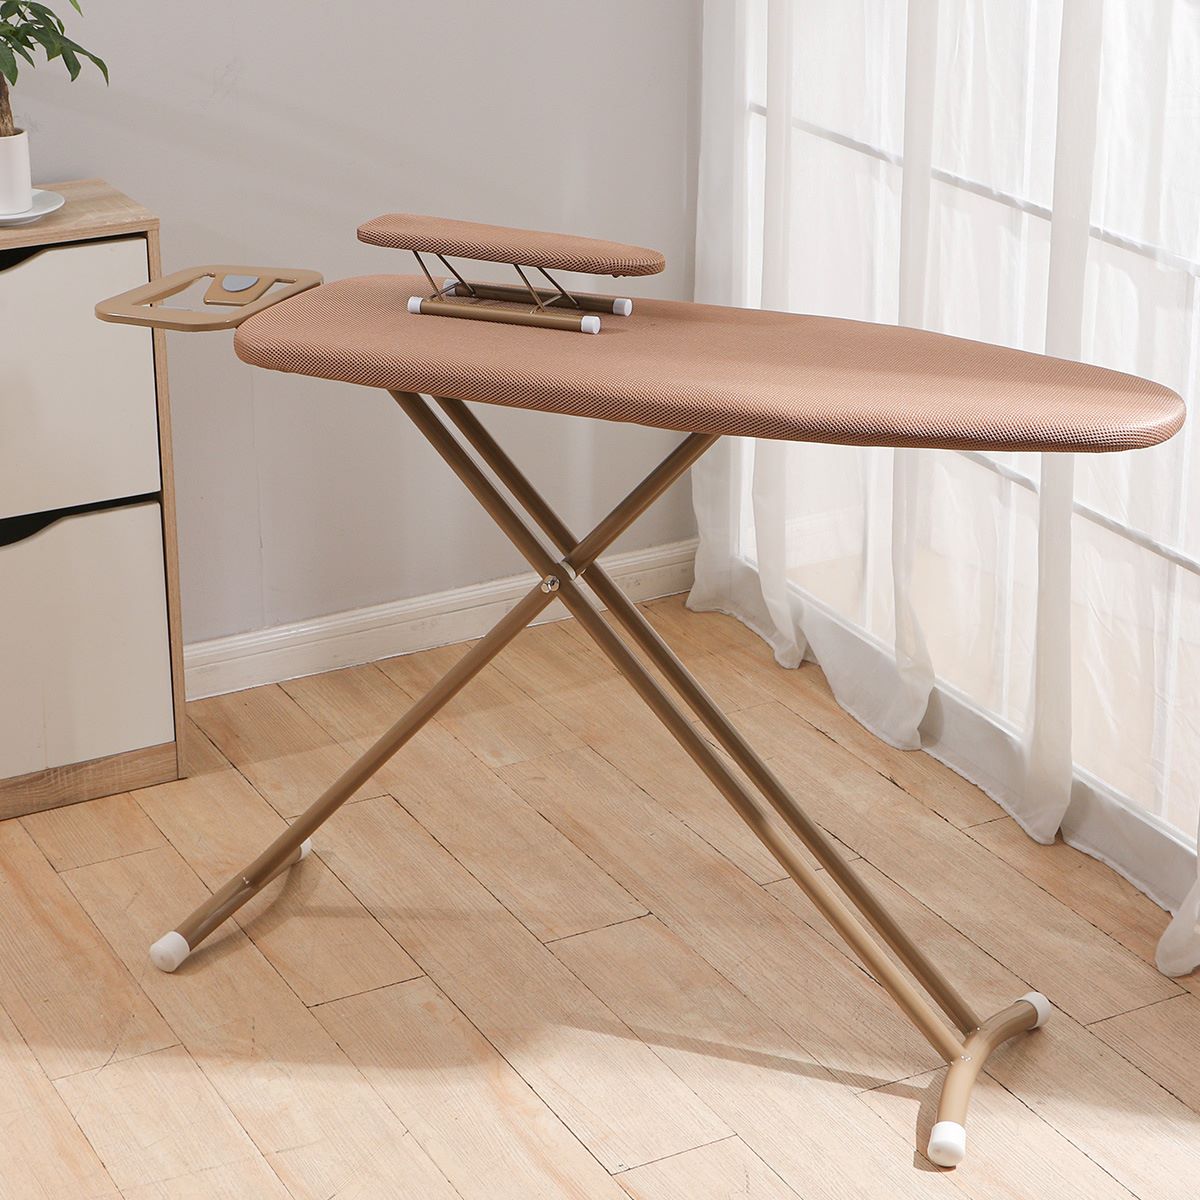
Locate the Locking Mechanism: The locking mechanism of an ironing board is typically situated near the bottom of the board, close to the legs. It may be a lever, button, or latch that holds the board in its upright position during use.
-
Release the Locking Mechanism: Once you've located the locking mechanism, carefully release it by pressing the lever, button, or releasing the latch. This action allows the ironing board to move from its upright position to a flat or folded position.
-
Ensure Stability: As you unlock the ironing board, it's important to ensure that it remains stable and secure. Hold onto the board to prevent it from collapsing too quickly or unexpectedly, which could pose a safety hazard.
-
Check for Smooth Movement: After releasing the locking mechanism, gently test the movement of the ironing board to ensure that it unfolds smoothly and without any obstructions. This step is crucial for preventing any potential damage to the board or its components.
By following these steps, you can effectively unlock the ironing board, setting the stage for the subsequent actions required to neatly fold and secure it for storage. With the board now unlocked, you are ready to proceed to the next step in the process of closing the ironing board.
Next, we will explore the second step: folding the ironing board.
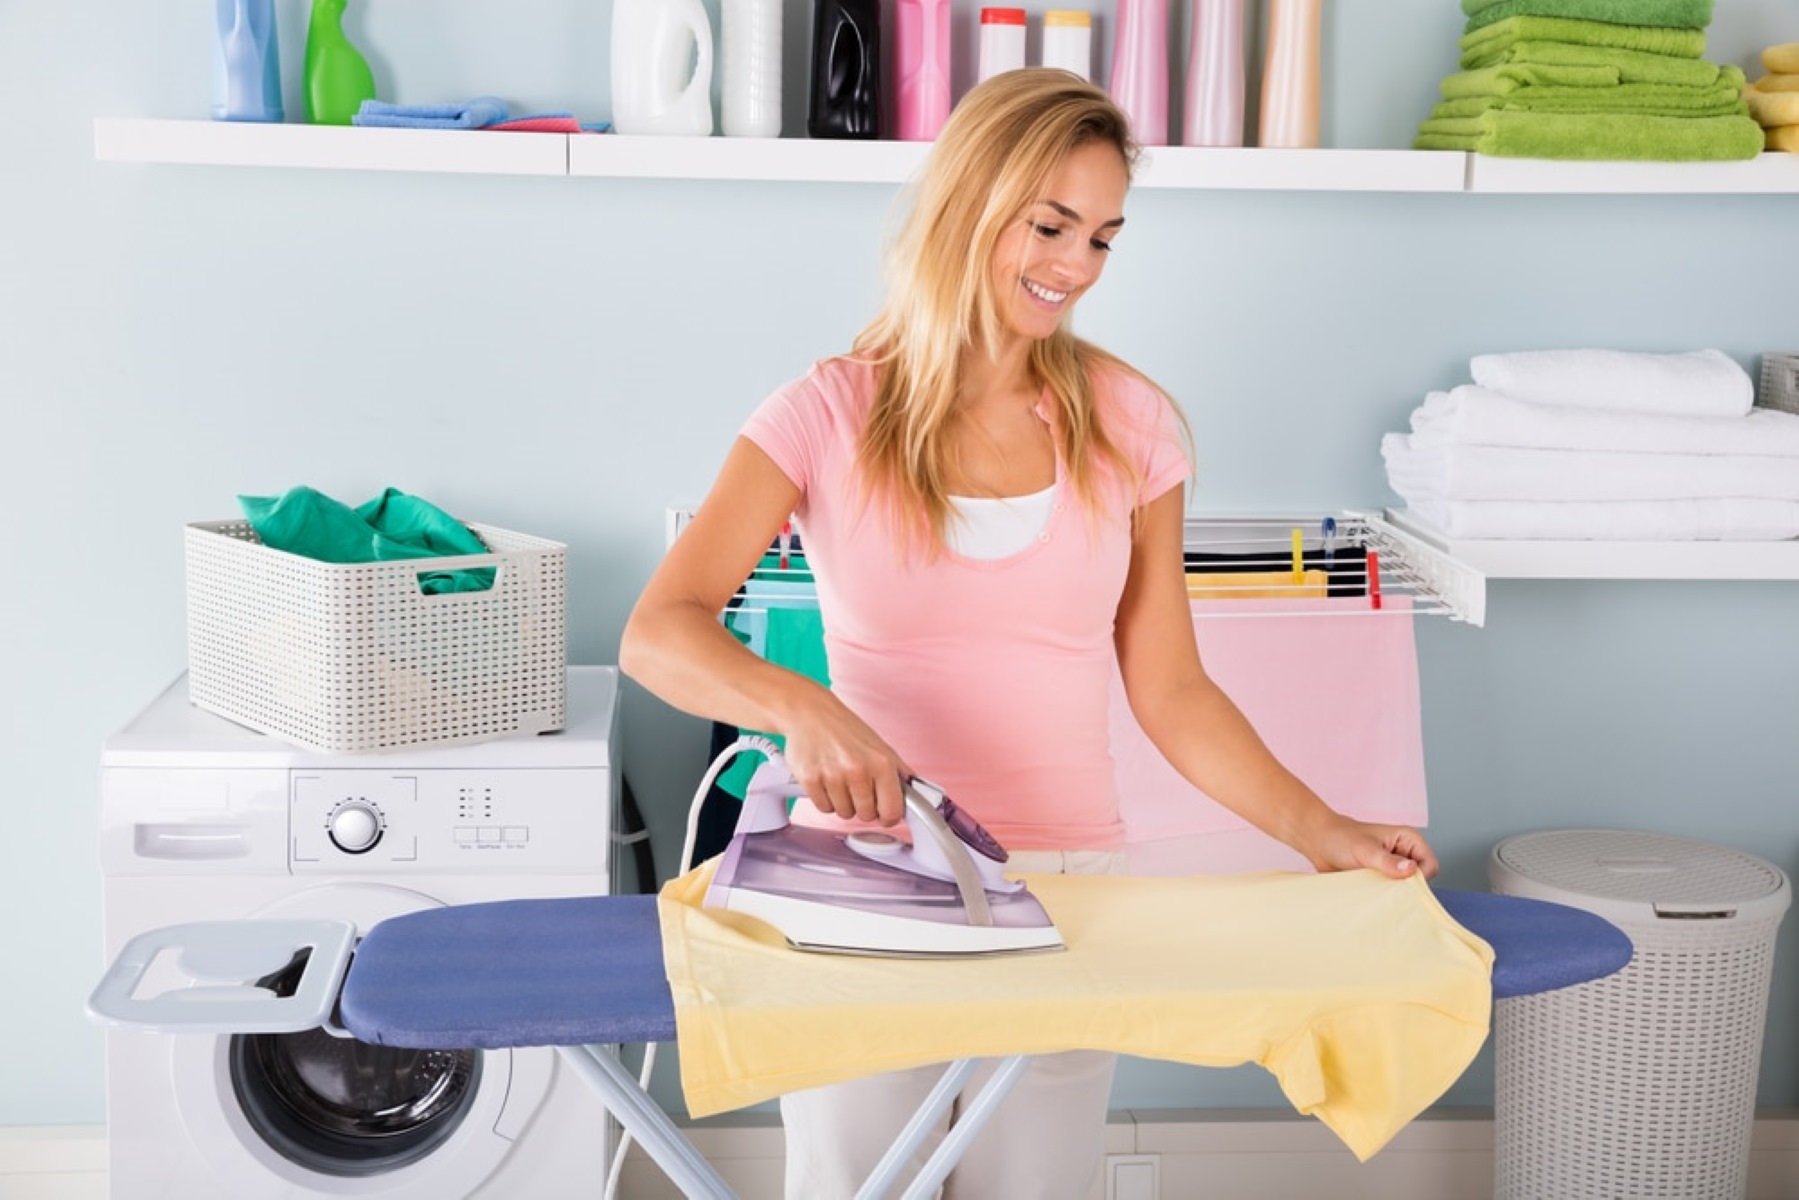
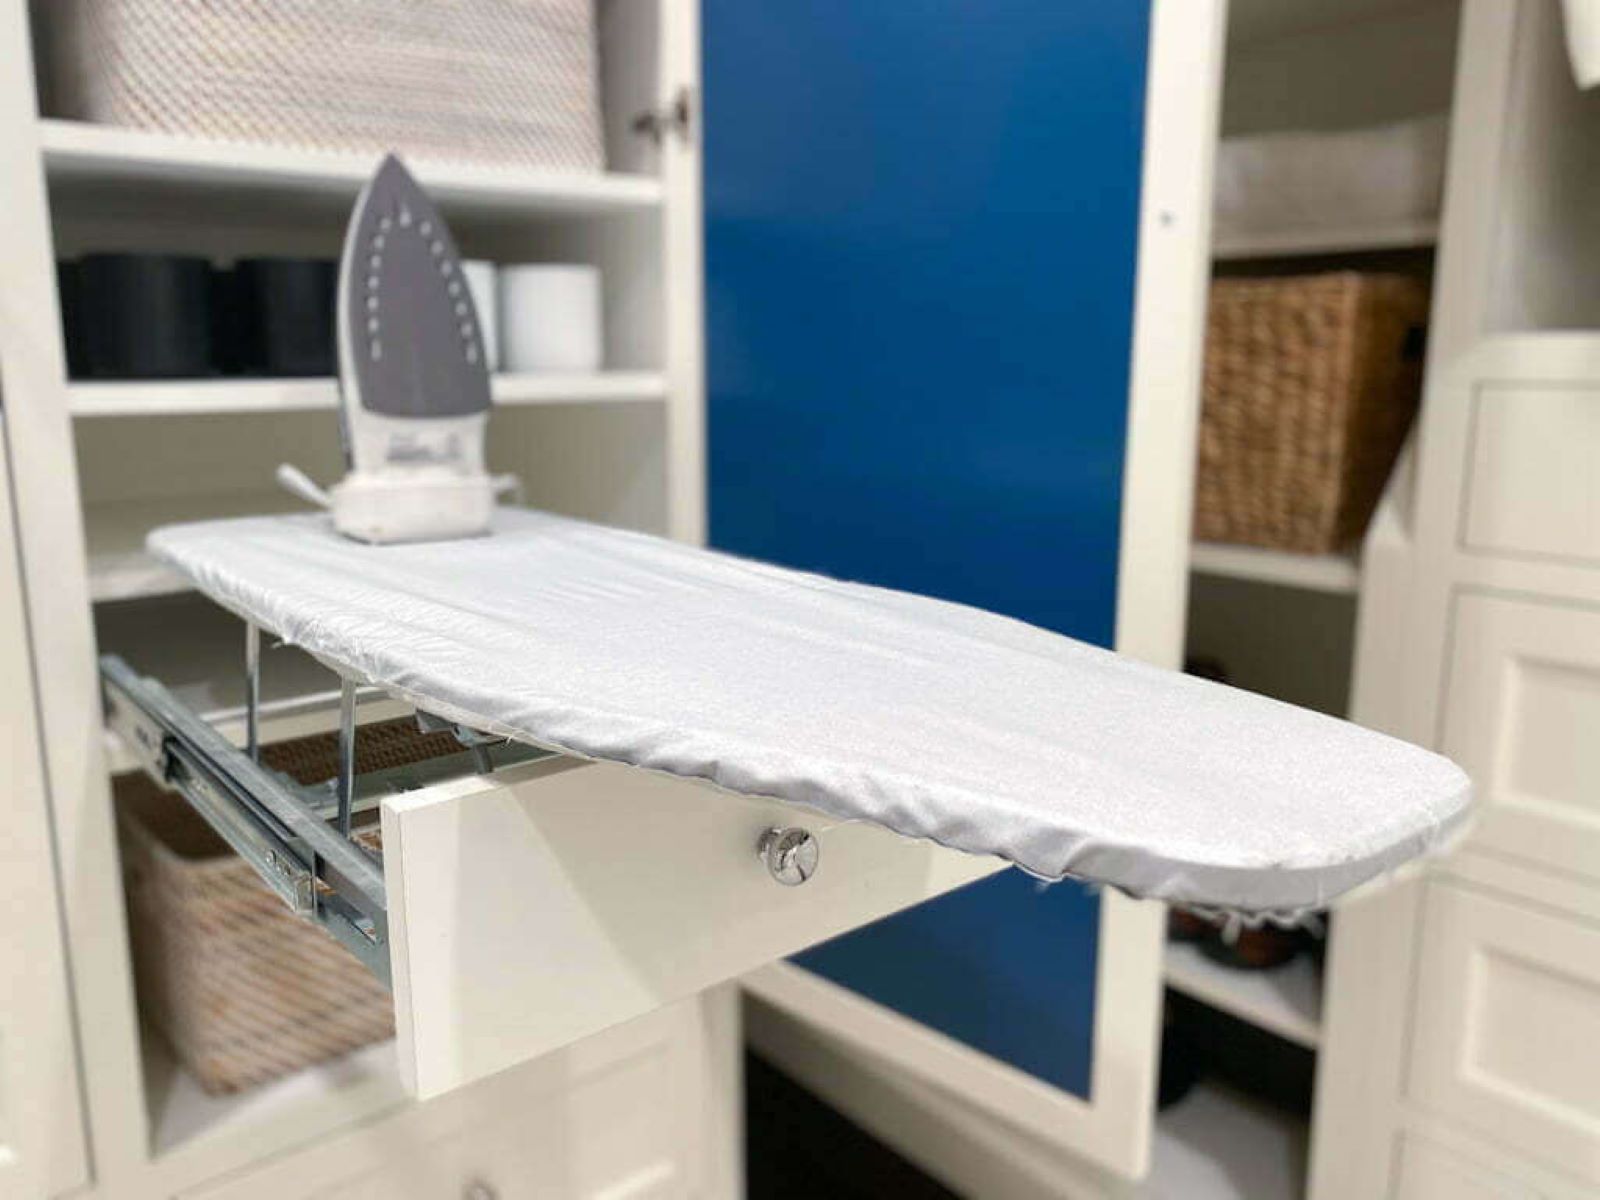
Step 2: Folding the ironing board
Folding an ironing board is a fundamental skill that ensures efficient storage and maximizes space in your home. Properly folding the ironing board not only facilitates convenient storage but also helps maintain its longevity. Follow these steps to effectively fold the ironing board:
-
Clear the Surface: Before folding the ironing board, remove any items such as the iron, spray bottle, or fabric from the board's surface. Clearing the board ensures a smooth folding process and prevents any items from falling or getting damaged.
-
Adjust the Height: If your ironing board has adjustable height settings, consider lowering it to a comfortable level for folding. This adjustment can make the folding process more manageable and prevent strain on your back or arms.
-
Collapse the Legs: Start by collapsing the legs of the ironing board. Many ironing boards have a release lever or button that allows the legs to fold inward. Gently press the lever or button and guide the legs to fold towards the board's underside.
-
Fold the Board: Once the legs are collapsed, proceed to fold the ironing board in half. Some boards have a hinge or locking mechanism near the center, facilitating the folding process. Carefully bring the two halves of the board together, ensuring that they align evenly.
-
Secure the Board: After folding the board, check for any securing mechanisms such as a latch or hook designed to keep the board in its folded position. Engage the securing mechanism to prevent the board from unfolding during storage.
-
Check for Stability: Before moving the folded ironing board, ensure that it is stable and securely locked in its folded position. This step is crucial for preventing any accidental unfolding or potential damage to the board.
By following these steps, you can effectively fold the ironing board, preparing it for seamless storage. Mastering this process will enable you to efficiently manage your ironing space and maintain a clutter-free environment. With the ironing board now neatly folded, you are ready to proceed to the final step: securing the ironing board for storage.
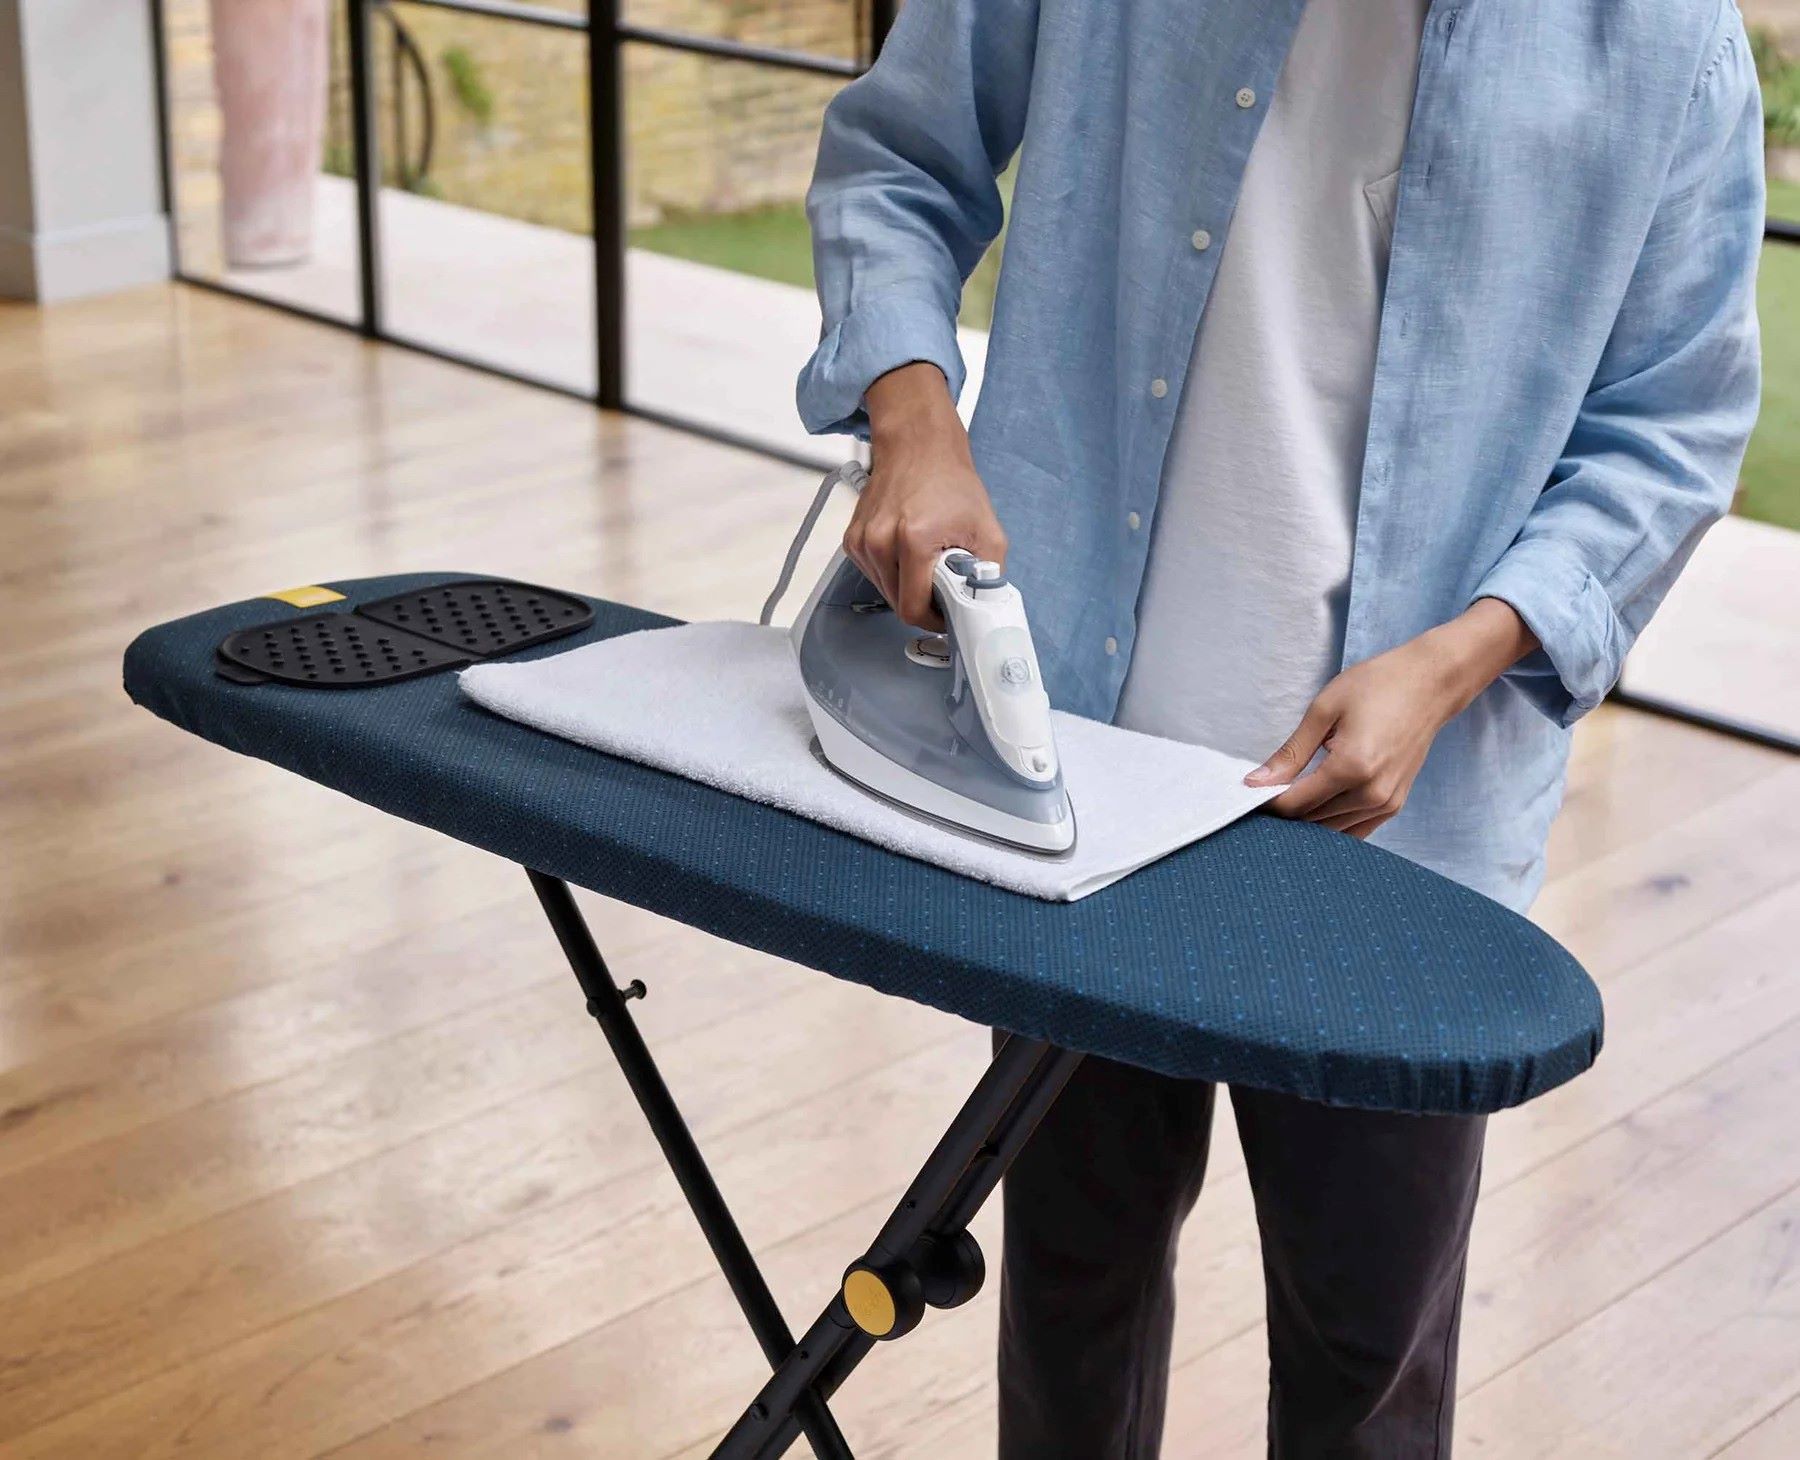
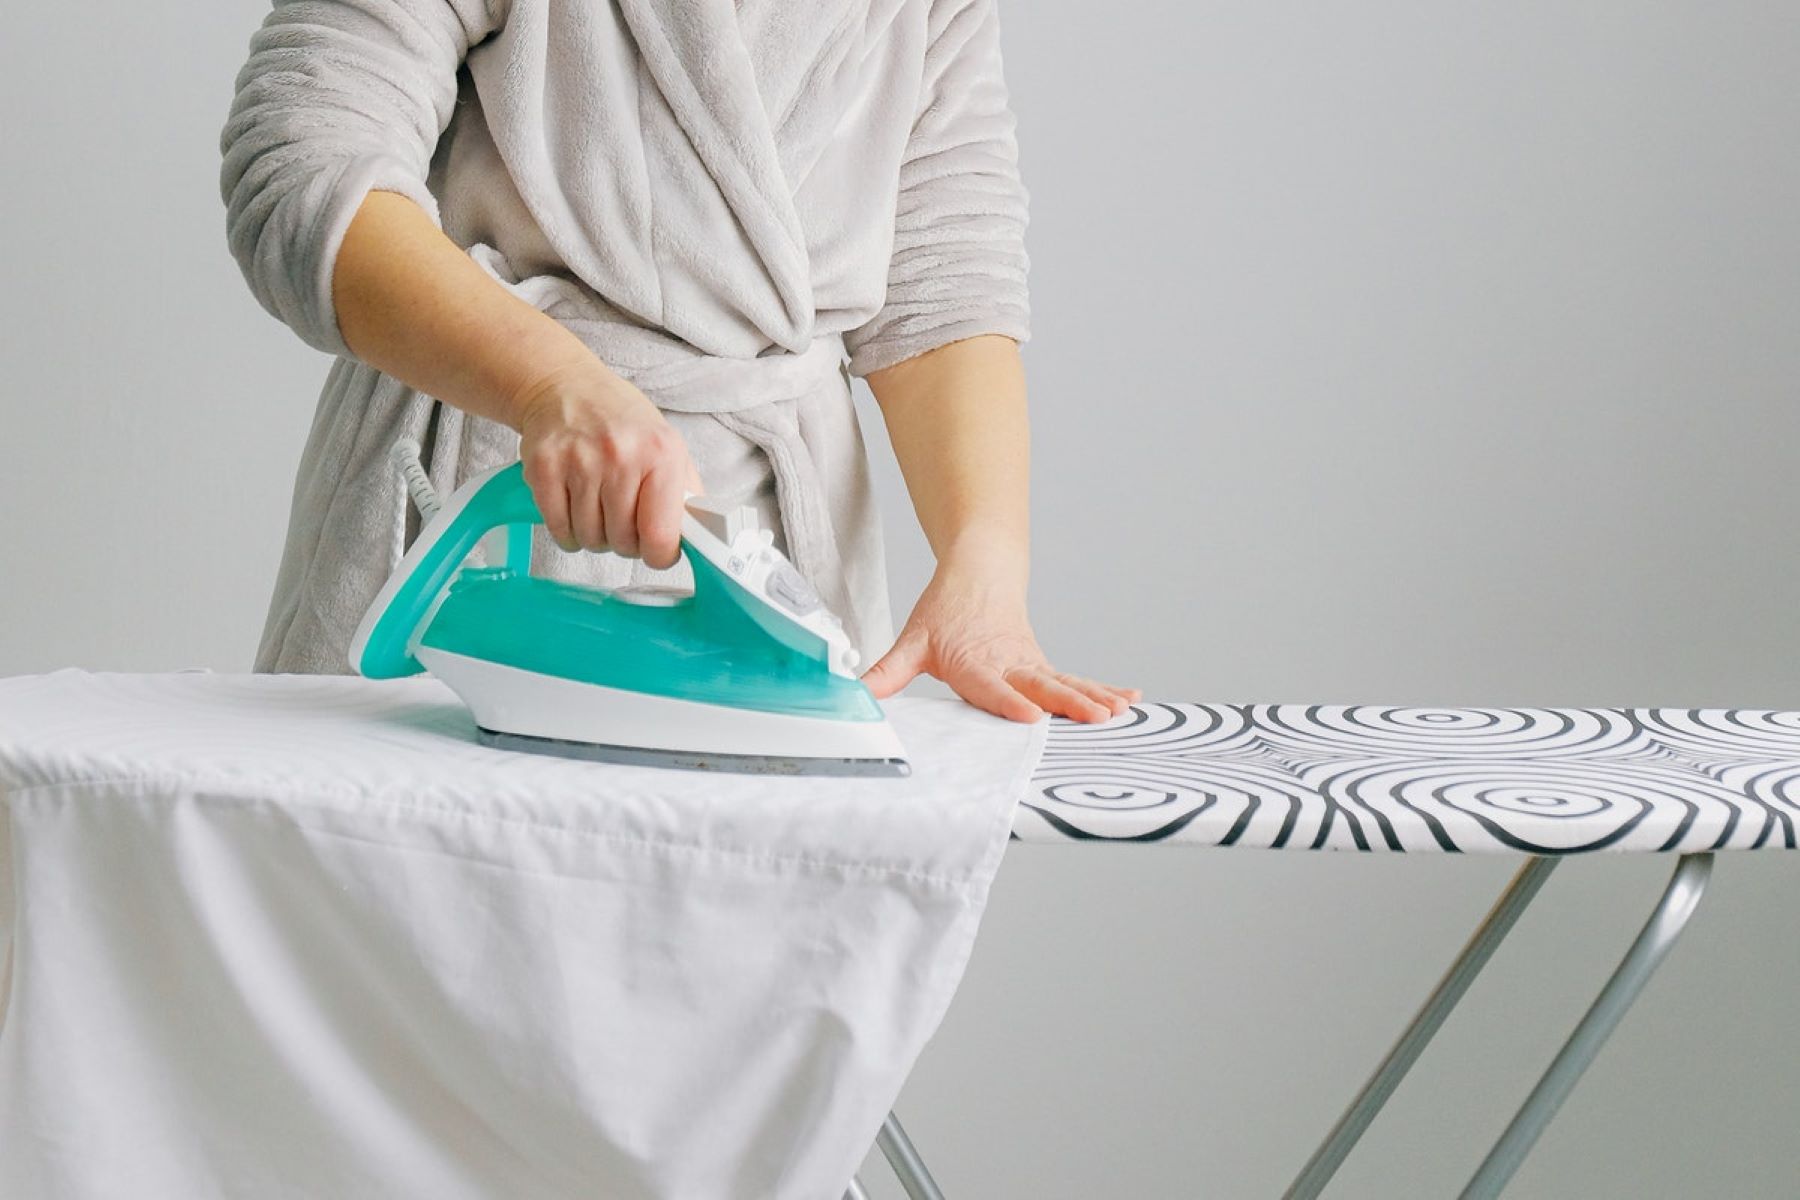
When closing an ironing board, make sure the iron is cool and unplugged. Then, release the lever or button to collapse the legs and fold the board down. Store it in a safe place.
Step 3: Securing the ironing board for storage
Securing the ironing board for storage is the final crucial step in the process of closing it. Properly securing the board ensures that it remains compact and stable during storage, preventing any accidental unfolding or damage. Follow these essential steps to effectively secure the ironing board for storage:
-
Engage the Locking Mechanism: If your ironing board features a locking mechanism designed specifically for storage, such as a hook or latch, engage it to secure the folded board in place. This mechanism prevents the board from unexpectedly unfolding and maintains its compact form during storage.
-
Check for Stability: Once the locking mechanism is engaged, perform a quick stability check to ensure that the folded ironing board remains secure. Gently press on the board to confirm that it doesn't easily unfold or shift position. This step is crucial for preventing any mishaps when moving or storing the board.
-
Utilize Straps or Fasteners (If Available): Some modern ironing boards come equipped with built-in straps or fasteners designed to further secure the folded board. If your ironing board includes these features, utilize them to reinforce the stability of the folded board. By using the provided straps or fasteners, you can add an extra layer of security, especially when transporting the board for storage.
-
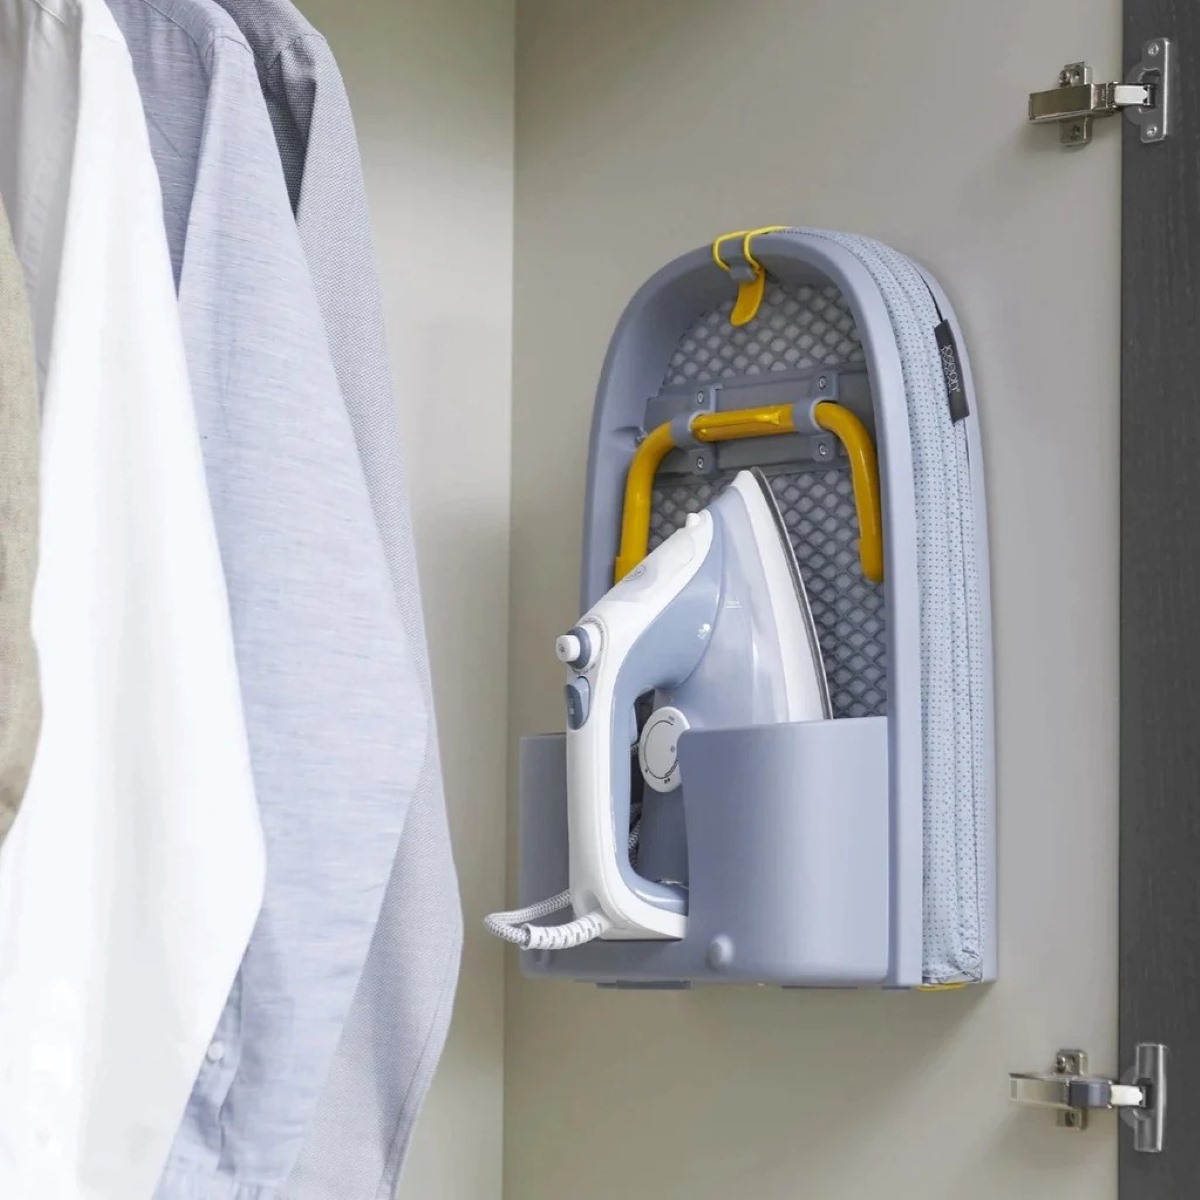
Choose a Suitable Storage Location: Once the ironing board is securely folded and locked in place, consider selecting an appropriate storage location. Ideally, choose a spot that is free from excessive moisture, direct sunlight, or potential damage from other items. A designated storage area for the ironing board helps maintain its condition and accessibility for future use.
-
Avoid Overcrowding: When storing the ironing board, ensure that it is not overcrowded by other items or heavy objects. Placing excessive weight on the folded board can lead to damage or deformation over time. By keeping the storage area organized and free from clutter, you can preserve the integrity of the ironing board.
By following these steps, you can effectively secure the ironing board for storage, ensuring that it remains in optimal condition and readily accessible for future use. Mastering the process of securing the ironing board enhances the overall efficiency of your ironing routine and contributes to a well-organized living space. With the ironing board now securely prepared for storage, you have successfully completed the essential steps for closing it.
Conclusion
Mastering the art of closing an ironing board is a valuable skill that contributes to a seamless and organized household routine. By following the outlined steps, you can effortlessly unlock, fold, and secure the ironing board for storage, ensuring its longevity and maintaining a clutter-free living space.
Closing an ironing board begins with unlocking the board, a process that involves releasing the locking mechanism and ensuring smooth movement. This initial step sets the stage for the subsequent actions, allowing for a seamless transition to the folding process.
Folding the ironing board is a fundamental aspect of the closing process, enabling efficient storage and space optimization. By clearing the board's surface, adjusting its height, collapsing the legs, and securing the board, you can ensure a neatly folded and stable configuration, ready for storage.
The final step of securing the ironing board for storage is essential for maintaining its compact form and preventing any accidental unfolding. Engaging the locking mechanism, checking for stability, utilizing built-in straps or fasteners, and selecting a suitable storage location are crucial elements of this step, contributing to the overall preservation of the ironing board.
By mastering the process of closing an ironing board, you can streamline your ironing routine, maximize space in your home, and contribute to a well-organized living environment. The knowledge and proficiency gained from effectively closing an ironing board not only enhance your household management skills but also ensure the safety and longevity of the ironing board.
In conclusion, the ability to efficiently close an ironing board is a valuable asset that simplifies household chores and contributes to a well-maintained living space. By incorporating the outlined steps into your ironing routine, you can effortlessly manage the process of closing the ironing board, ultimately enhancing the overall efficiency and organization of your home.
Frequently Asked Questions about How To Close An Ironing Board
Was this page helpful?
At Storables.com, we guarantee accurate and reliable information. Our content, validated by Expert Board Contributors, is crafted following stringent Editorial Policies. We're committed to providing you with well-researched, expert-backed insights for all your informational needs.

0 thoughts on “How To Close An Ironing Board”