Home>Articles>How To Connect A Female Plug To Electrical Cord
Articles
How To Connect A Female Plug To Electrical Cord
Modified: March 1, 2024
Learn how to connect a female plug to an electrical cord with this informative article. Discover step-by-step instructions for a secure and safe connection.
(Many of the links in this article redirect to a specific reviewed product. Your purchase of these products through affiliate links helps to generate commission for Storables.com, at no extra cost. Learn more)
Introduction
Electrical cords are an essential component in our everyday lives, powering our appliances and devices. Sometimes, however, we may find ourselves needing to connect a female plug to an electrical cord. This task may seem daunting for those unfamiliar with electrical work, but with the right tools and guidance, it can be relatively simple and straightforward.
In this article, we will guide you through the step-by-step process of connecting a female plug to an electrical cord. We will discuss the materials and tools you will need, explain how to prepare the electrical cord, demonstrate how to strip the insulation, provide instructions for preparing the female plug, guide you through connecting the wires to the plug terminals, explain how to secure the connections, and finally, test the connection to ensure everything is working correctly.
Whether you are a DIY enthusiast or simply want to tackle a small electrical project, learning how to connect a female plug to an electrical cord can be a valuable skill. Not only can it save you money by allowing you to repair damaged cords, but it can also give you a greater understanding and confidence when working with electrical components.
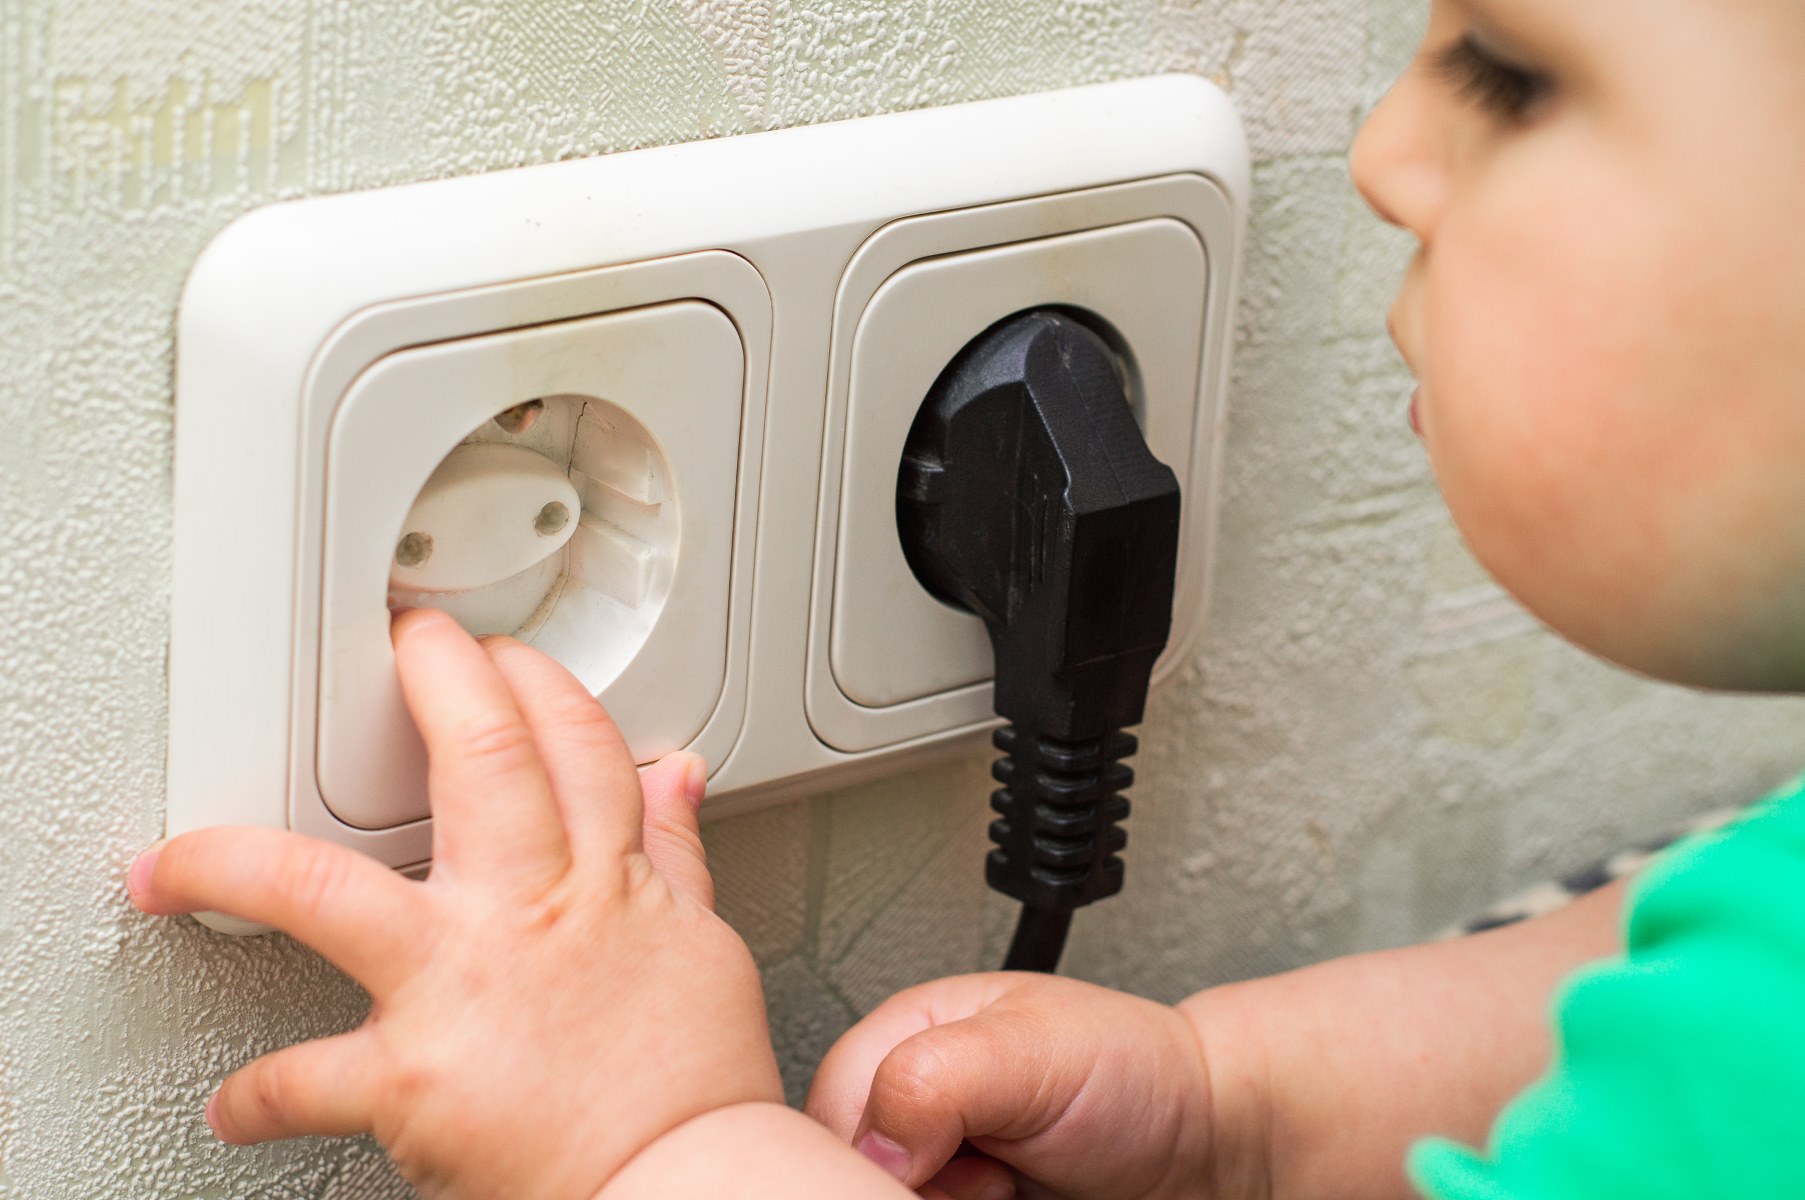
Before we dive into the step-by-step instructions, it is important to remember that working with electricity can be dangerous. If you are unsure or uncomfortable with any part of the process, it is always best to consult a professional electrician. Safety should always be your top priority.
Now, let’s gather the materials and tools we will need for this project.
Key Takeaways:
- Connecting a female plug to an electrical cord is a manageable task with the right tools and guidance. By following the step-by-step process and prioritizing safety, DIY enthusiasts can gain confidence in handling basic electrical connections.
- Proper preparation, wire color identification, and secure connections are essential for successfully connecting a female plug to an electrical cord. Testing the connection ensures safety and functionality, empowering individuals to tackle small electrical projects with confidence.
Read more: How To Replace Electrical Cord Plug
Step 1: Gather the necessary materials and tools
Before you begin connecting a female plug to an electrical cord, you will need to gather a few essential materials and tools. Having everything prepared in advance will ensure a smooth and efficient process. Here is a list of the items you will need:
- Electrical cord: Select an appropriate length of electrical cord suitable for your project. Ensure that it is a reliable and high-quality cord that can handle the electrical load required.
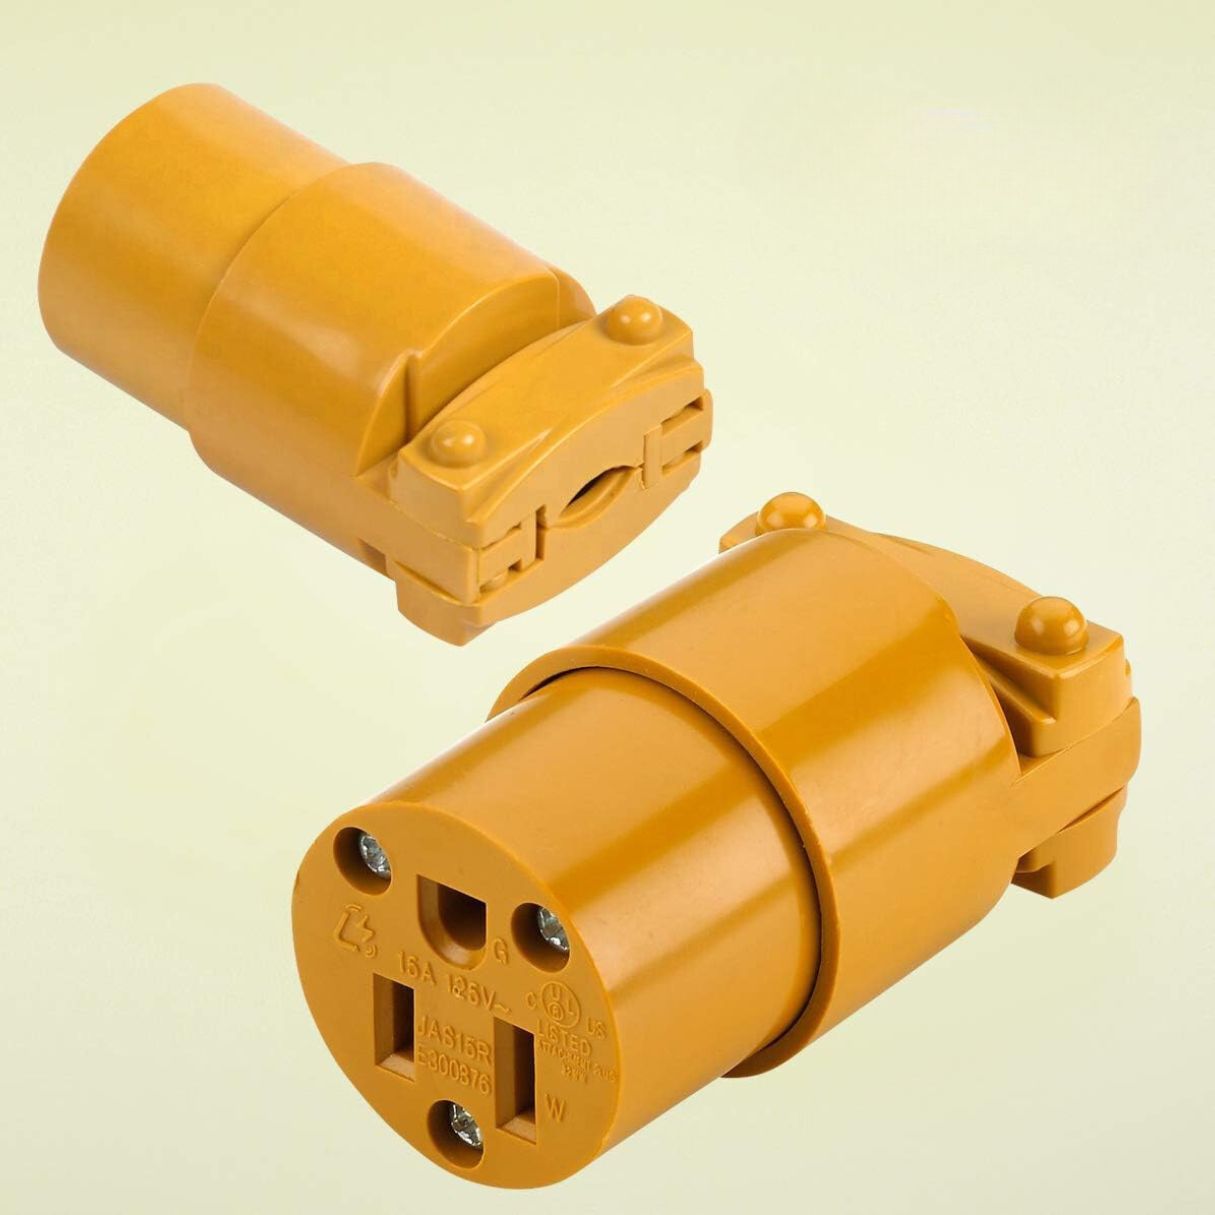
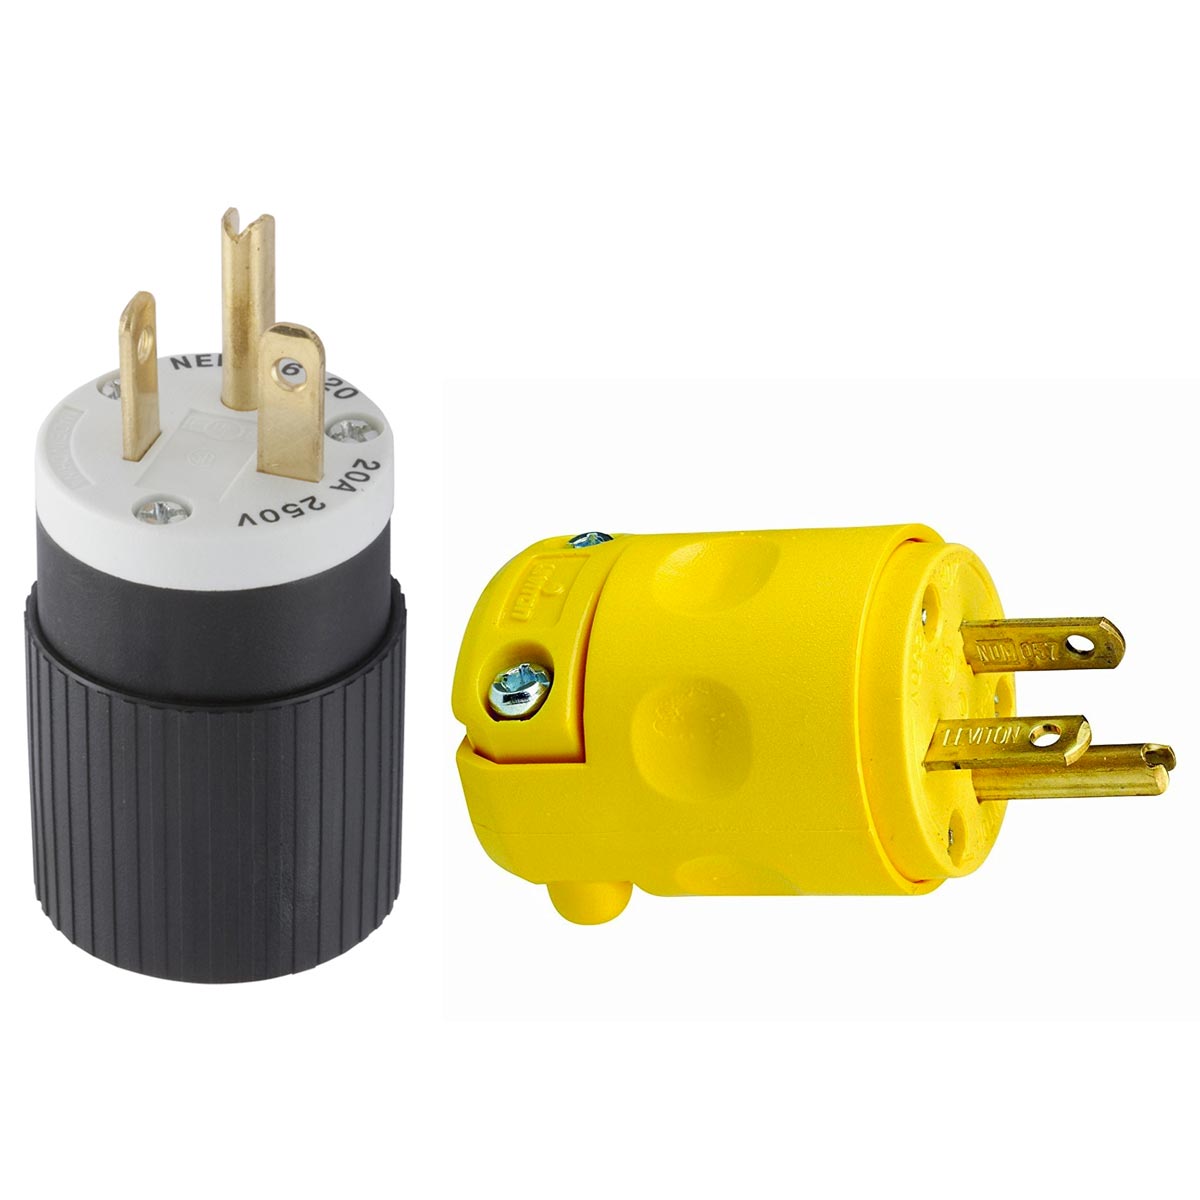
- Female plug: Choose a female plug that matches the type and size of your electrical cord. There are different types available, such as two-prong or three-prong, so select the appropriate one for your needs.
- Wire cutters/strippers: These tools are necessary for cutting and stripping the insulation from the electrical cord.
- Screwdriver: Depending on the type of female plug you have, you may need a screwdriver to secure the wires onto the plug terminals.
- Electrical tape: Electrical tape is used to insulate and secure the connections, providing an added layer of protection.
Once you have gathered these materials and tools, you are ready to move on to the next step: preparing the electrical cord. This involves inspecting the cord for any damage, ensuring it is clean and free from debris, and checking for any specific instructions or markings provided by the manufacturer.
Now that we have everything we need, let’s proceed to the next step and prepare the electrical cord.
Step 2: Prepare the electrical cord
Before connecting the female plug, it is important to properly prepare the electrical cord. This step ensures that the cord is in good condition and ready for the connection process. Follow these steps to prepare the electrical cord:
- Inspect the cord: Carefully examine the entire length of the electrical cord. Look for any signs of damage, such as cuts, frayed wires, or exposed insulation. If you notice any issues, it is crucial to replace the cord to avoid potential hazards.
- Clean the cord: Remove any dirt or debris from the cord by wiping it down gently with a clean, dry cloth or paper towel. This step ensures a clean surface for making the connections.
- Check for manufacturer instructions: Some electrical cords come with specific instructions or markings that indicate the proper method of connecting a plug. Look for any labeling or information provided by the cord manufacturer to ensure you follow their guidelines.
By carefully inspecting and cleaning the electrical cord, you are ensuring that it is safe to use and free from any potential issues that could affect the connection. Once you have completed these steps, you can move on to the next phase: stripping the cord insulation.
Continuing on, let’s learn how to strip the insulation from the cord in the next step.
Step 3: Strip the cord insulation
Now that you have prepared the electrical cord, it’s time to strip the insulation from the ends of the cord. This process will expose the wires, allowing you to connect them to the terminals of the female plug. Follow these steps to strip the cord insulation:
- Measure the length: Determine the length of the insulation you need to remove. This will depend on the specific instructions or guidelines provided by the female plug manufacturer.
- Mark the insulation: Using a pencil or marker, place a mark on each end of the cord where the insulation will be stripped. Make sure the marks are clear and easily visible.
- Secure the cord: Hold the electrical cord firmly with one hand, ensuring it does not slip or move during the stripping process.
- Use wire cutters/strippers: With the other hand, carefully position the wire cutters/strippers around the marked area. Apply gentle pressure and rotate the tool around the cord, cutting through the insulation without damaging the wires.
- Remove the insulation: Once the insulation is cut, grip it firmly with your fingers or use pliers to pull it away from the wires. Slowly and steadily remove the stripped insulation from the cord, ensuring not to pull too hard to avoid damaging the wires.
- Repeat the process: Repeat the stripping process for the other end of the electrical cord, following the same steps.
By successfully stripping the cord insulation, you have exposed the wires needed for connecting to the female plug. Now, it’s time to prepare the female plug itself.
In the next step, we will guide you through the process of preparing the female plug for the connection.
Step 4: Prepare the female plug
With the cord insulation stripped, it’s time to prepare the female plug for the connection. This involves ensuring the plug is clean, identifying the terminals, and positioning it correctly for the wiring process. Follow these steps to prepare the female plug:
- Inspect the female plug: Examine the female plug to ensure there are no visible damages or defects. Check for any loose parts or broken components. If you notice any issues, it is best to replace the plug with a new one.
- Clean the female plug: If there is any dirt or debris on the plug, gently clean it with a dry cloth or compressed air. A clean plug ensures a secure connection.
- Identify the terminals: Take a close look at the female plug and identify the terminals. They are typically labeled or color-coded for easy identification. Common labels might include “Hot” (black), “Neutral” (white), and “Ground” (green).
- Position the female plug: Hold the female plug with the terminals facing up and the prongs facing away from you. This is the correct positioning for wiring the cord.
Once you have inspected, cleaned, and positioned the female plug, you are ready to move on to the next step: connecting the wires to the plug terminals.
In the following step, we will guide you through the process of connecting the wires to the plug terminals, bringing you one step closer to completing your female plug connection.
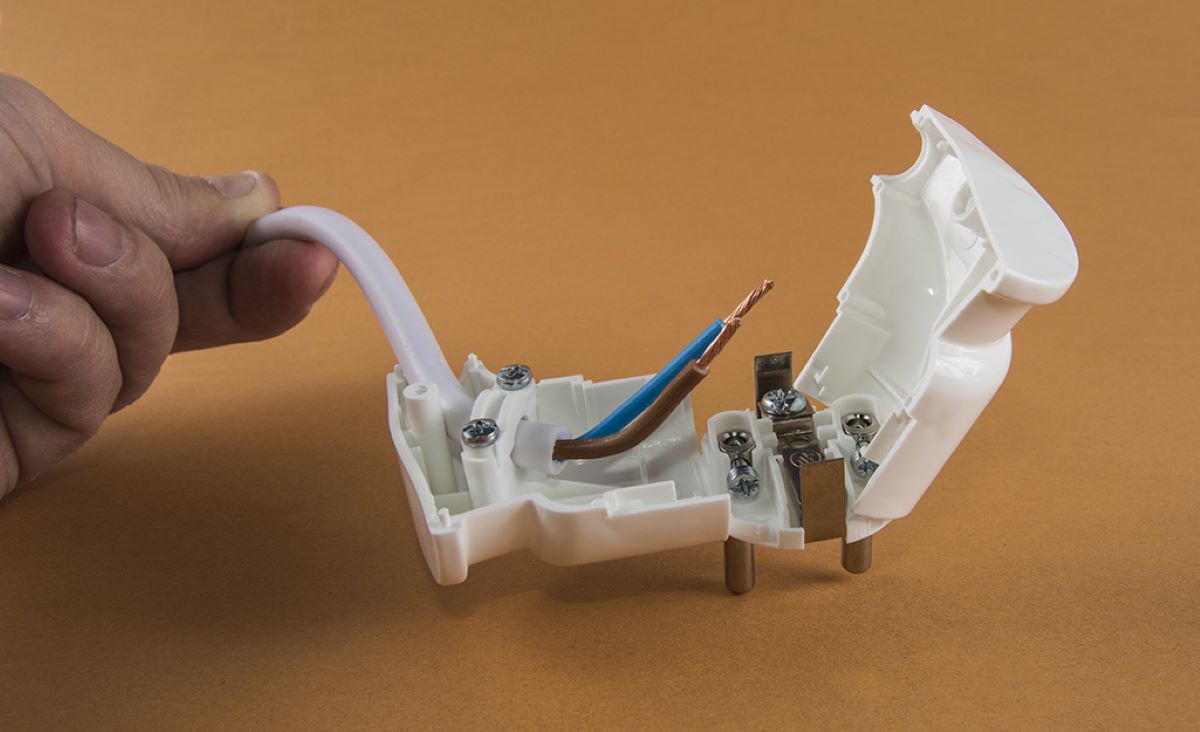
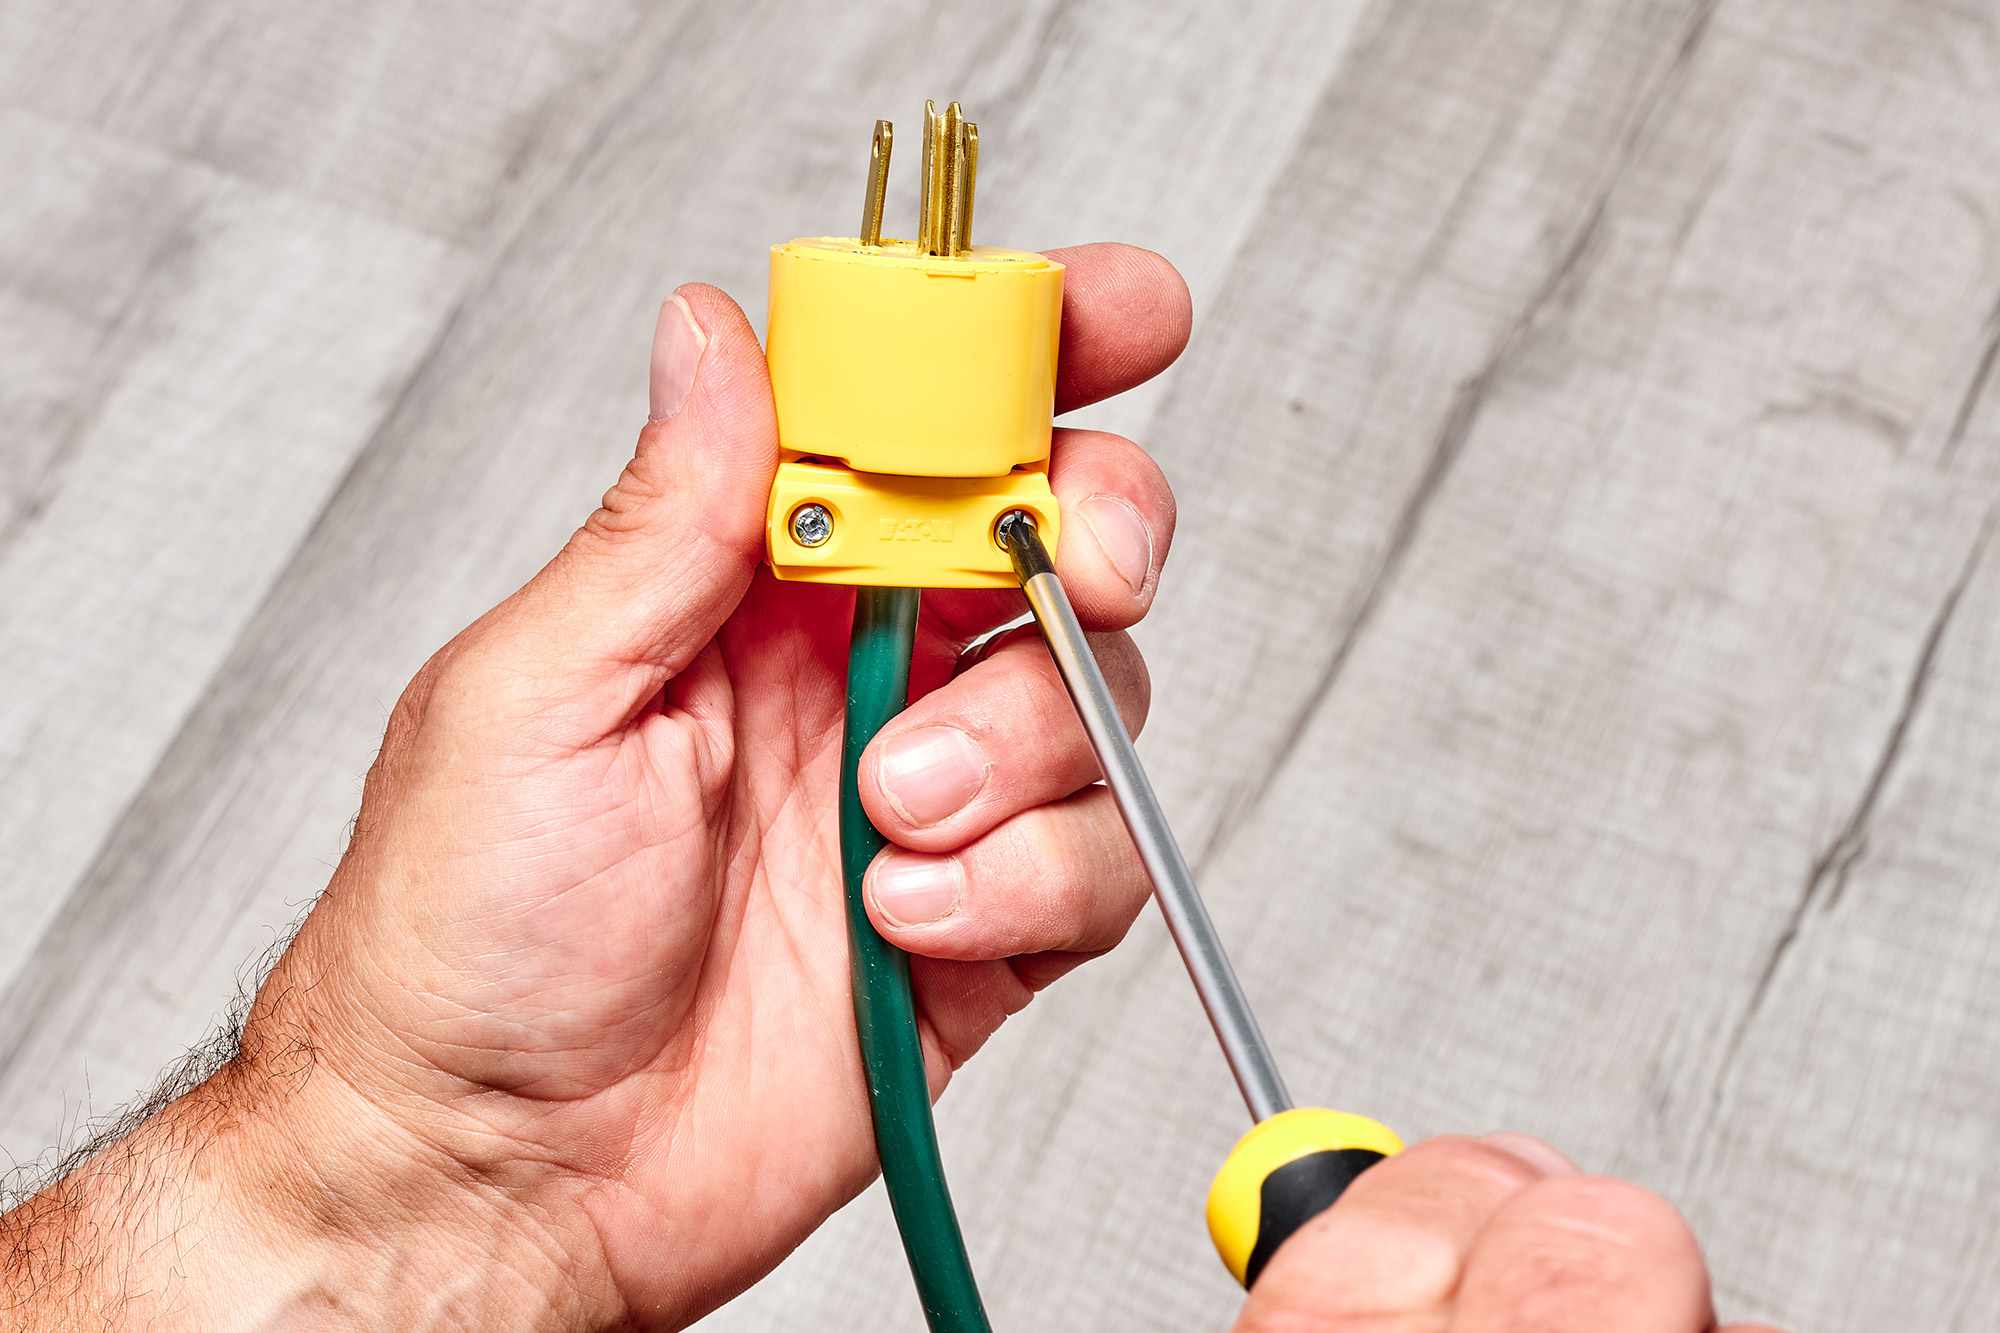
When connecting a female plug to an electrical cord, make sure to strip the outer insulation of the cord to expose the inner wires. Then, connect the wires to the appropriate terminals inside the plug, following the manufacturer’s instructions carefully. Use a screwdriver to secure the connections, and always double-check your work before using the plug.
Read more: Why Are There Holes In Electrical Cord Plugs
Step 5: Connect the wires to the plug terminals
Now comes the crucial step of connecting the wires to the plug terminals. This process will ensure that the electrical connection is secure and properly aligned with the female plug. Follow these steps to connect the wires to the plug terminals:
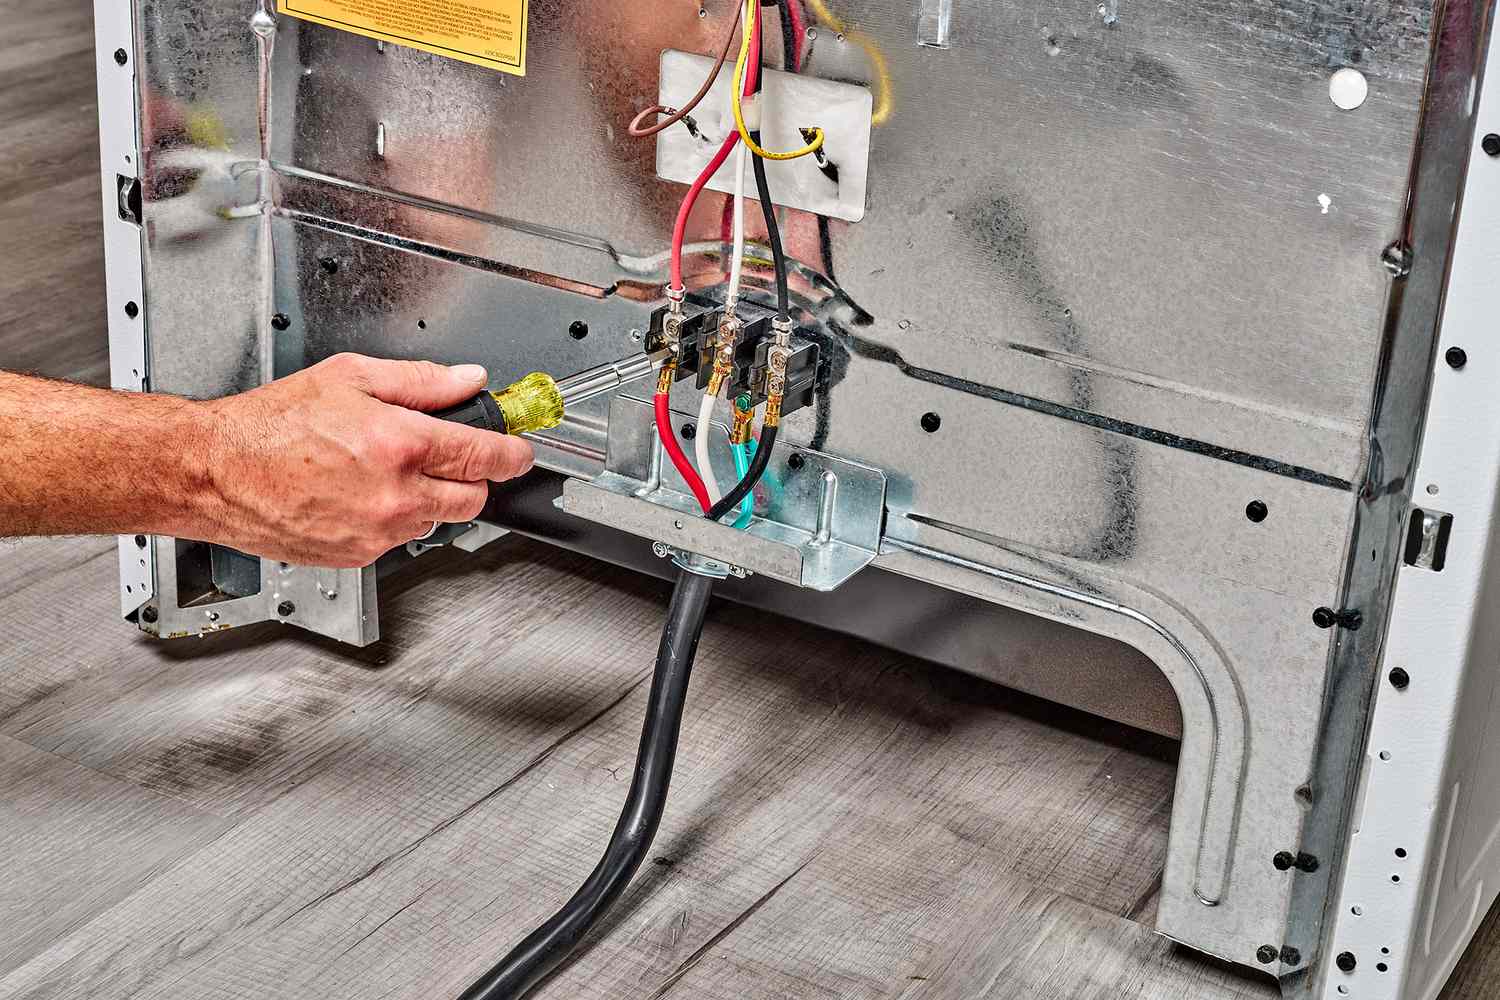
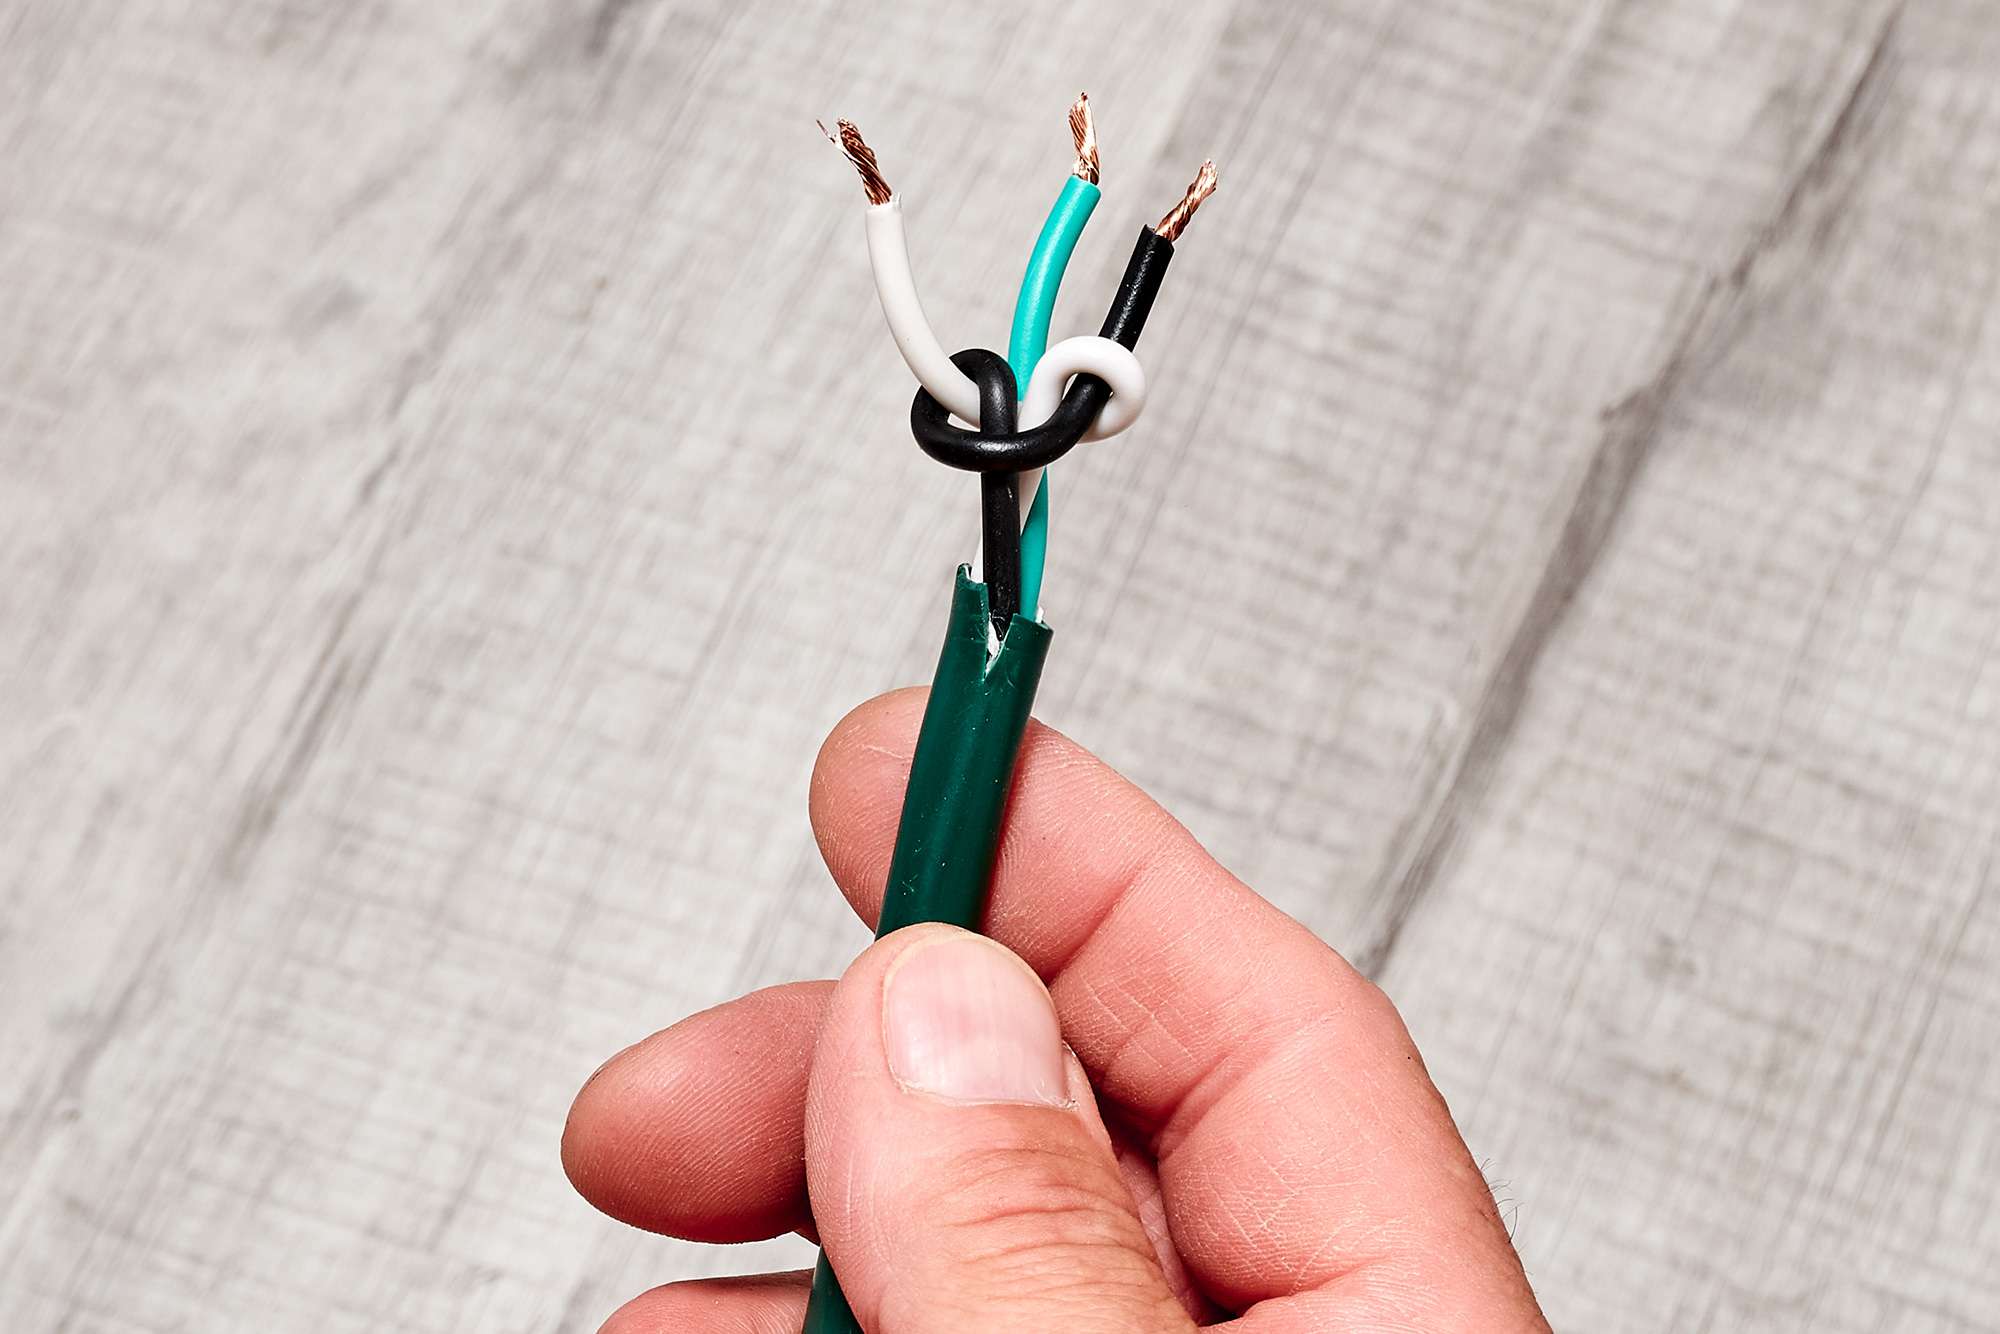
- Identify the wire colors: Take a close look at the wires exposed from the electrical cord. Typically, there will be three wires: “Hot” (usually black), “Neutral” (usually white), and “Ground” (usually green or bare copper). Identify the colors for each wire.
- Match the wire colors: Align the wire colors with the corresponding terminals on the female plug. The “Hot” wire connects to the terminal labeled “Hot” (typically brass-colored), the “Neutral” wire connects to the terminal labeled “Neutral” (typically silver-colored), and the “Ground” wire connects to the terminal labeled “Ground” (typically green-colored or with a grounding symbol).
- Strip the wire tips: If the wire ends are not already stripped, use wire cutters/strippers to remove a small portion of the insulation from each wire end. Be careful not to strip too much, as it may result in exposed wires.
- Insert the wires into the plug terminals: Insert each stripped wire end into the corresponding terminal on the female plug. Use the screwdriver (if required) to securely tighten the terminal screws, ensuring a firm connection.
While connecting the wires to the plug terminals, it is essential to follow the proper color coding and ensure a tight connection. This will guarantee a reliable electrical connection and reduce the risk of any potential complications.
In the next step, we will discuss how to secure the connections to provide additional protection and stability.
Step 6: Secure the connections
Once the wires are connected to the plug terminals, it is important to secure the connections to prevent them from coming loose or causing any electrical hazards. Follow these steps to secure the connections:
- Check the tightness: Before proceeding, double-check that all terminal screws are tightened securely. This ensures a solid connection and prevents any accidental disconnection.
- Wrap with electrical tape: To provide additional insulation and protection, wrap each individual wire connection with electrical tape. Start a few inches above the plug terminals and wrap downwards, stretching the tape tightly as you go. Continue until the exposed wire and a portion of the insulation are covered.
- Wrap the cord: In addition to wrapping the individual wire connections, it is also recommended to wrap the entire cord near the plug with electrical tape. This adds another layer of protection and stability to the connection point.
Securing the connections with electrical tape is crucial for maintaining the integrity of the electrical connection and preventing any accidental exposure or damage. It provides insulation and keeps the wires firmly in place.
With the connections now secured, we are almost ready to test the connection in the next step.
But before we move on, remember to use caution and ensure the connections are properly tightened and insulated. This will ensure a safe and reliable connection for your electrical cord.
Step 7: Test the connection
Now that you have completed the process of connecting the female plug to the electrical cord, it is crucial to test the connection to ensure everything is working properly. Testing the connection will verify that the wires are properly secured and that the electrical flow is consistent. Follow these steps to test the connection:
- Ensure the power is off: Before testing the connection, make sure that the power source is turned off. This will prevent any potential electrical shocks or accidents.
- Plug it in: Insert the female plug into a compatible electrical outlet. Make sure it fits securely and is fully inserted.
- Turn on the power: Switch on the power source to supply electricity to the cord and plug. Observe if any indicator lights or devices connected to the cord receive power.
- Check functionality: If there are any devices or appliances connected to the cord, check if they are receiving power and functioning as expected. You can test this by turning on the device or appliance and ensuring it operates correctly.
- Inspect for any issues: During the testing process, visually inspect the connections, cord, and plug for any signs of heat, sparking, or loose wires. If you notice any abnormalities, immediately turn off the power and address the issue before using the cord.
Testing the connection is vital to ensure the safety and functionality of the electrical cord. If everything appears to be working correctly without any issues, you can have confidence that the connection was successful.
Congratulations! You have successfully connected a female plug to an electrical cord. By following these steps and taking the necessary precautions, you have gained the knowledge and skills to handle basic electrical connections.
Remember, if you ever feel unsure or uncomfortable with any part of the process, it is always recommended to seek assistance from a professional electrician.
Now that you know how to connect a female plug to an electrical cord, you can confidently tackle small electrical projects or repair damaged cords when needed.
Stay safe, and enjoy your newly connected electrical cord!
Conclusion
Connecting a female plug to an electrical cord may initially seem daunting, but with the proper materials, tools, and guidance, it can be a relatively simple and straightforward process. By following the step-by-step instructions outlined in this article, you can safely and confidently complete this task.
We began by emphasizing the importance of gathering the necessary materials and tools. Ensuring you have the correct electrical cord, female plug, wire cutters/strippers, screwdriver, and electrical tape is crucial for a successful connection.
We then discussed the importance of preparing the electrical cord by inspecting it for damage and cleaning it properly. This not only ensures a safe connection but also guarantees the longevity and efficiency of the cord.
Stripping the cord insulation was the next step, which involved measuring, marking, and carefully removing the appropriate length of insulation from each end of the cord. This step exposes the necessary wires for the connection process.
Afterwards, we moved on to preparing the female plug by inspecting it for any damages, cleaning it, and identifying the terminals. Proper positioning of the female plug is essential to align the wiring correctly.
The crucial step of connecting the wires to the plug terminals was covered extensively. We discussed the importance of identifying and matching wire colors with the corresponding terminals. Properly stripping the wire ends and securely tightening the terminal screws ensures a solid connection.
Securing the connections with electrical tape was emphasized to provide insulation and protection. Wrapping both the individual wire connections and the entire cord near the plug helps to prevent any accidental exposure or damage.
Lastly, we stressed the significance of testing the connection. By plugging the cord into a compatible electrical outlet and observing the power supply to devices or appliances connected to the cord, you can verify that the connection is successful.
By following these steps and taking appropriate safety precautions, such as ensuring the power is off during the connection process, you can confidently connect a female plug to an electrical cord.
Remember, the steps outlined in this article are meant to serve as a general guide. Always refer to the specific instructions and guidelines provided by the manufacturer of the electrical cord and female plug you are working with.
By gaining this knowledge and skill, you can save money by repairing damaged cords, customize cord lengths for specific projects, and gain a deeper understanding of electrical connections.
Now, armed with this newfound knowledge, you can confidently tackle small electrical projects or repairs, always prioritizing your safety and the integrity of the electrical connections.
Good luck, and happy connecting!
Frequently Asked Questions about How To Connect A Female Plug To Electrical Cord
Was this page helpful?
At Storables.com, we guarantee accurate and reliable information. Our content, validated by Expert Board Contributors, is crafted following stringent Editorial Policies. We're committed to providing you with well-researched, expert-backed insights for all your informational needs.


0 thoughts on “How To Connect A Female Plug To Electrical Cord”