Articles
How To Replace A Faucet Handle
Modified: October 19, 2024
Learn how to easily replace a faucet handle with our step-by-step guide. Find helpful articles and tips for fixing your faucet at home.
(Many of the links in this article redirect to a specific reviewed product. Your purchase of these products through affiliate links helps to generate commission for Storables.com, at no extra cost. Learn more)
Introduction
Replacing a faucet handle may seem like a daunting task, but with the right tools and a little bit of know-how, you can easily tackle this home improvement project on your own. Whether you’re looking to update the look of your bathroom or fix a faulty handle, understanding the steps to replace a faucet handle will come in handy.
In this article, we will guide you through the process of replacing a faucet handle, from gathering the necessary tools and materials to testing the new handle. You don’t need to be a professional plumber to successfully complete this task – just follow our step-by-step instructions and you’ll have a functional and stylish faucet handle in no time.
Before we dive into the details, it’s important to note that different types of faucets may require slightly different methods. It’s always a good idea to consult the manufacturer’s instructions specific to your faucet model, as they may provide additional guidance or tips. But for a general understanding of the process, keep reading.
Key Takeaways:
- Easily replace a faucet handle at home with the right tools and step-by-step guidance, improving functionality and aesthetics without the need for professional plumbing services.
- Prioritize safety by turning off the water supply, cleaning the area, and testing the new handle for leaks, ensuring a successful DIY faucet handle replacement.
Read more: How To Replace An Outdoor Faucet Handle
Step 1: Gather the Required Tools and Materials
Before you begin replacing your faucet handle, it’s essential to gather all the necessary tools and materials. Having everything ready and easily accessible will streamline the process and prevent unnecessary delays. Here’s a list of what you’ll need:
- Adjustable wrench
- Monkey wrench or pliers
- Screwdriver (Flathead or Phillips, depending on your faucet)
- New faucet handle
- Replacement parts (if needed)
- Tape measure
- Cloth or towel
- Plumber’s tape
Once you have gathered all the tools and materials, you’re ready to move on to the next step. Remember that safety should always come first. If you’re not comfortable using certain tools or aren’t sure about any step in the process, it’s best to consult a professional plumber.
Step 2: Turn off the Water Supply
Before you begin removing the old faucet handle, it is crucial to turn off the water supply. This step will prevent any potential leaks or water damage during the replacement process. Here’s how you can turn off the water:
- Locate the shut-off valves: Look under the sink or near the water source to find the shut-off valves. There should be separate valves for hot and cold water.
- Turn off the water supply: Rotate the valves clockwise until they are fully closed. This action will shut off the water supply to the faucet.
- Test the water supply: To double-check that the water supply is turned off, turn on the faucet to see if any water comes out. If no water flows, you’ve successfully shut off the water supply.
Make sure to follow these steps carefully to avoid any mishaps. If you’re unable to locate the shut-off valves or if they are not functioning properly, you may need to shut off the main water supply to your home. This typically requires turning off a valve near the water meter.
Remember, safety is paramount. By turning off the water supply, you’re not only protecting yourself but also preventing any potential water damage or accidents during the replacement process.
Step 3: Remove the Old Faucet Handle
With the water supply turned off, you can now move on to removing the old faucet handle. This step requires careful attention to avoid damaging the surrounding area or the faucet itself. Follow these steps to ensure a smooth removal process:
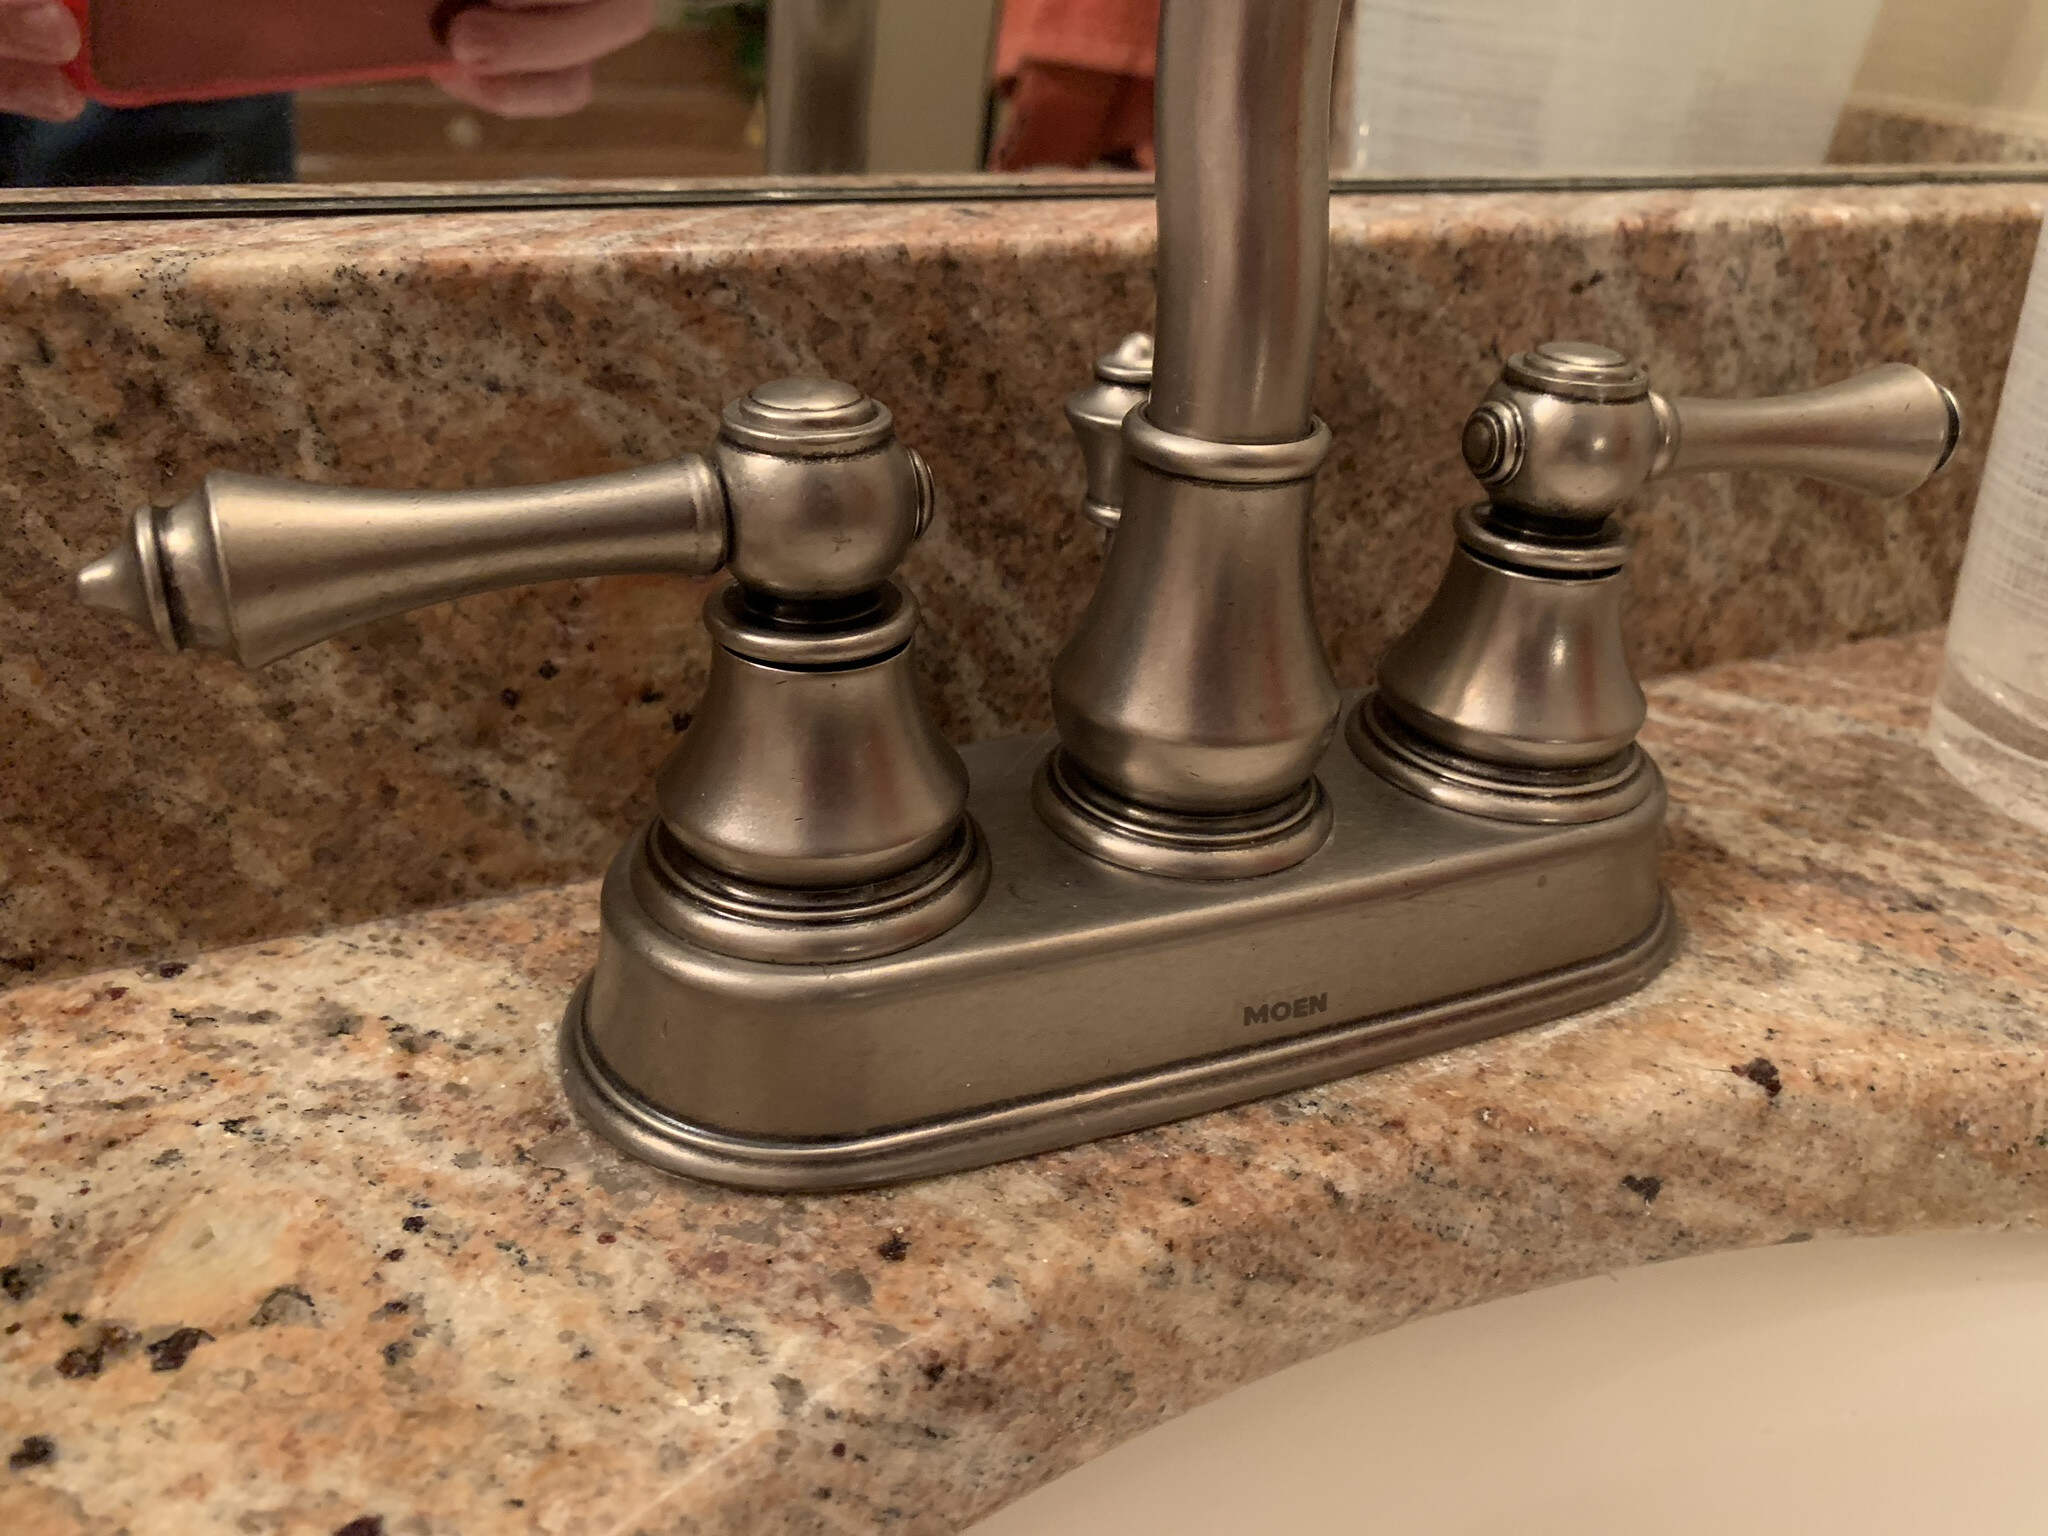
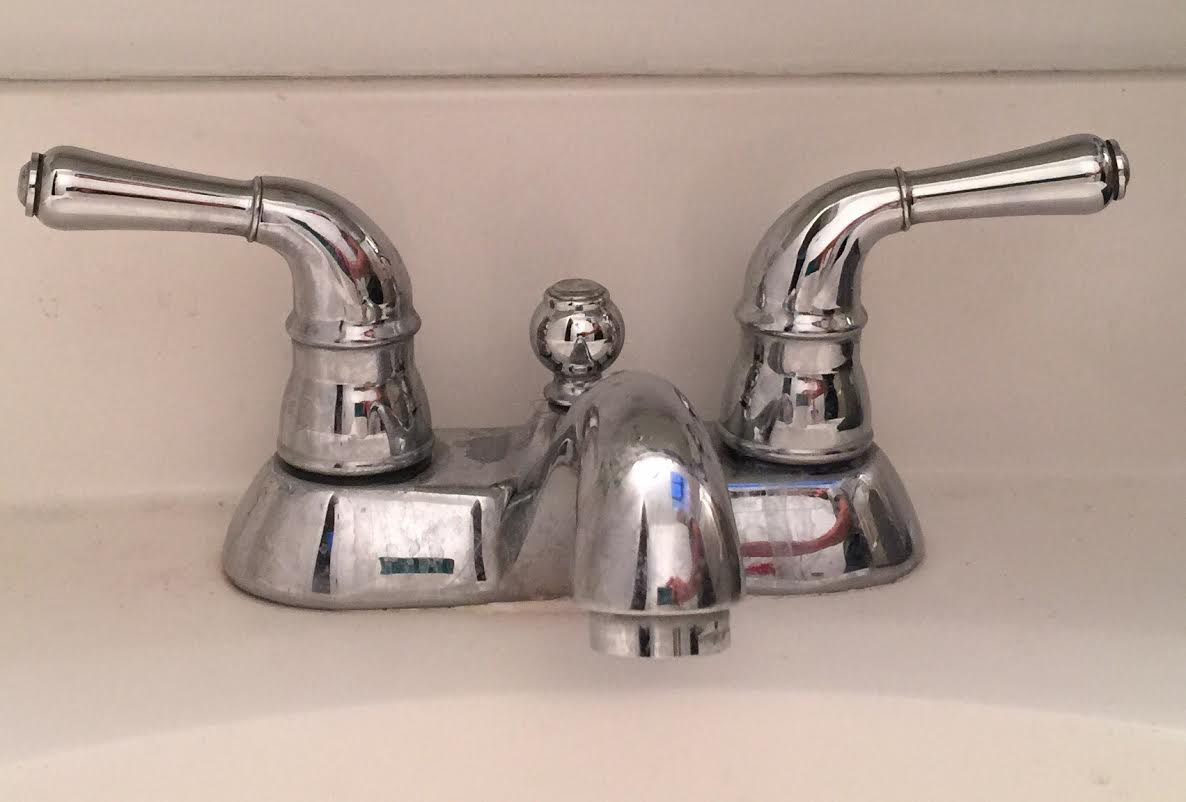
- Examine the handle: Take a close look at the old faucet handle to identify any screws or caps covering them. These screws or caps are typically located underneath the handle or on the side.
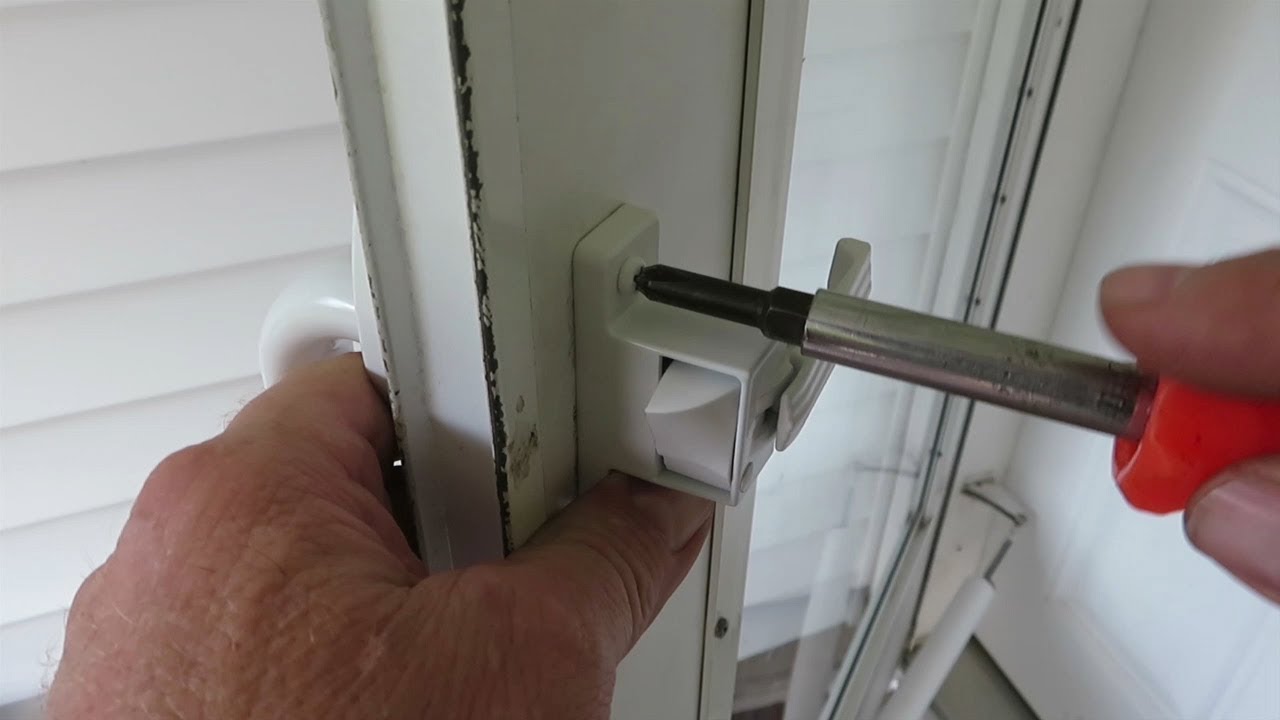
- Remove the screws or caps: Use a screwdriver, depending on the type of screw head, to remove any screws holding the handle in place. Alternatively, use a small flathead screwdriver to gently pry off any caps covering the screws. Set the screws or caps aside in a safe place.
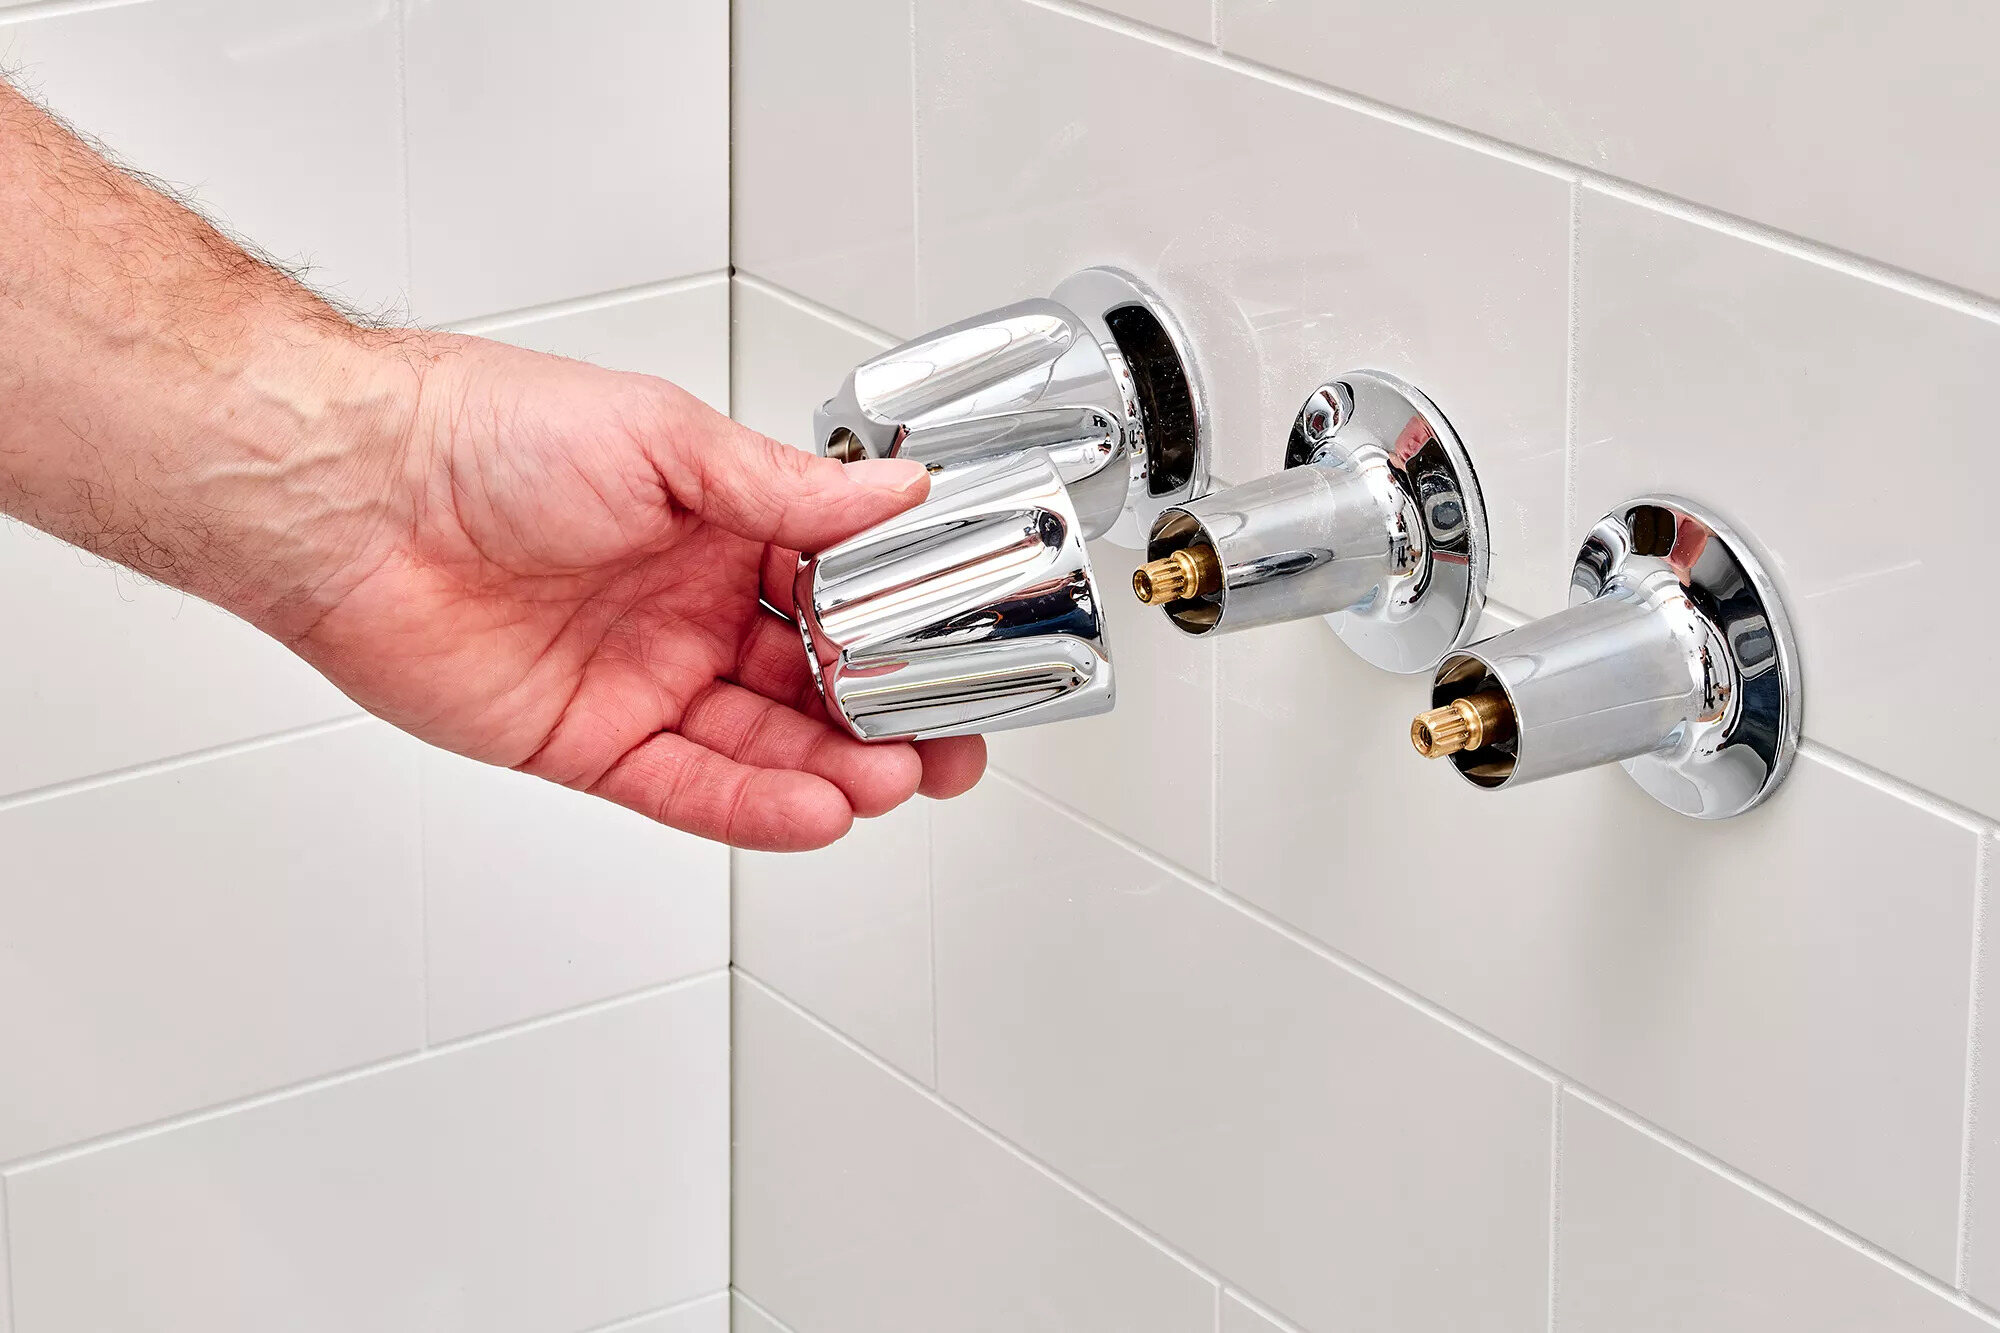
- Detach the handle: Once the screws or caps are removed, gently pull or twist the handle to detach it from the faucet stem. It may require some effort or wiggle, but avoid using excessive force that could cause damage.
- Inspect for additional components: With the handle removed, inspect the exposed area for any additional components that might need to be removed or replaced, such as a cartridge or valve stem.
- Remove the additional components (if necessary): If you find any additional components that are worn out or damaged, use the appropriate tools, such as pliers or a wrench, to carefully remove them. Take note of their position and orientation to aid with the installation of the new faucet handle.
By following these steps, you’ll be able to safely remove the old faucet handle without causing any damage. Remember to keep track of any screws, caps, or additional components for later use or replacement.
When replacing a faucet handle, make sure to turn off the water supply before starting. Use a wrench to carefully remove the old handle and then install the new one according to the manufacturer’s instructions.
Step 4: Clean the Area and Inspect for Any Damages
After removing the old faucet handle, it’s essential to clean the area and inspect it for any damages. This step ensures a smooth installation of the new faucet handle and helps identify any underlying issues that may need to be addressed. Here’s what you should do:
- Clean the area: Use a cloth or towel to clean the exposed area where the old faucet handle was attached. Remove any dirt, grime, or residue that may have accumulated over time. This step will provide a clean and smooth surface for the new handle.
- Inspect for damages: Take a close look at the exposed area, including the faucet stem and surrounding components, to check for any damages or signs of wear and tear. Look for any cracks, leaks, or corrosion that may require repair or replacement.
- Measure the stem length (if needed): If you are replacing the handle with a different model or brand, you may need to measure the length of the faucet stem. Use a tape measure to determine the stem’s length accurately. This measurement will help ensure compatibility with the new faucet handle.
- Check for leaks: Before proceeding with the installation of the new handle, turn on the water supply momentarily to check for any leaks or drips. If you notice any leaks, it may indicate a faulty valve or seal that needs to be addressed before continuing.
By cleaning the area and inspecting for damages, you’re taking proactive steps to ensure a successful installation of the new faucet handle. If you encounter any significant damages or issues, it may be advisable to consult a professional plumber for further assessment and repair.
Read more: How To Fix A Stripped Faucet Handle
Step 5: Install the New Faucet Handle
Now that you have cleaned the area and inspected for any damages, it’s time to install the new faucet handle. Follow these steps to ensure a proper and secure installation:
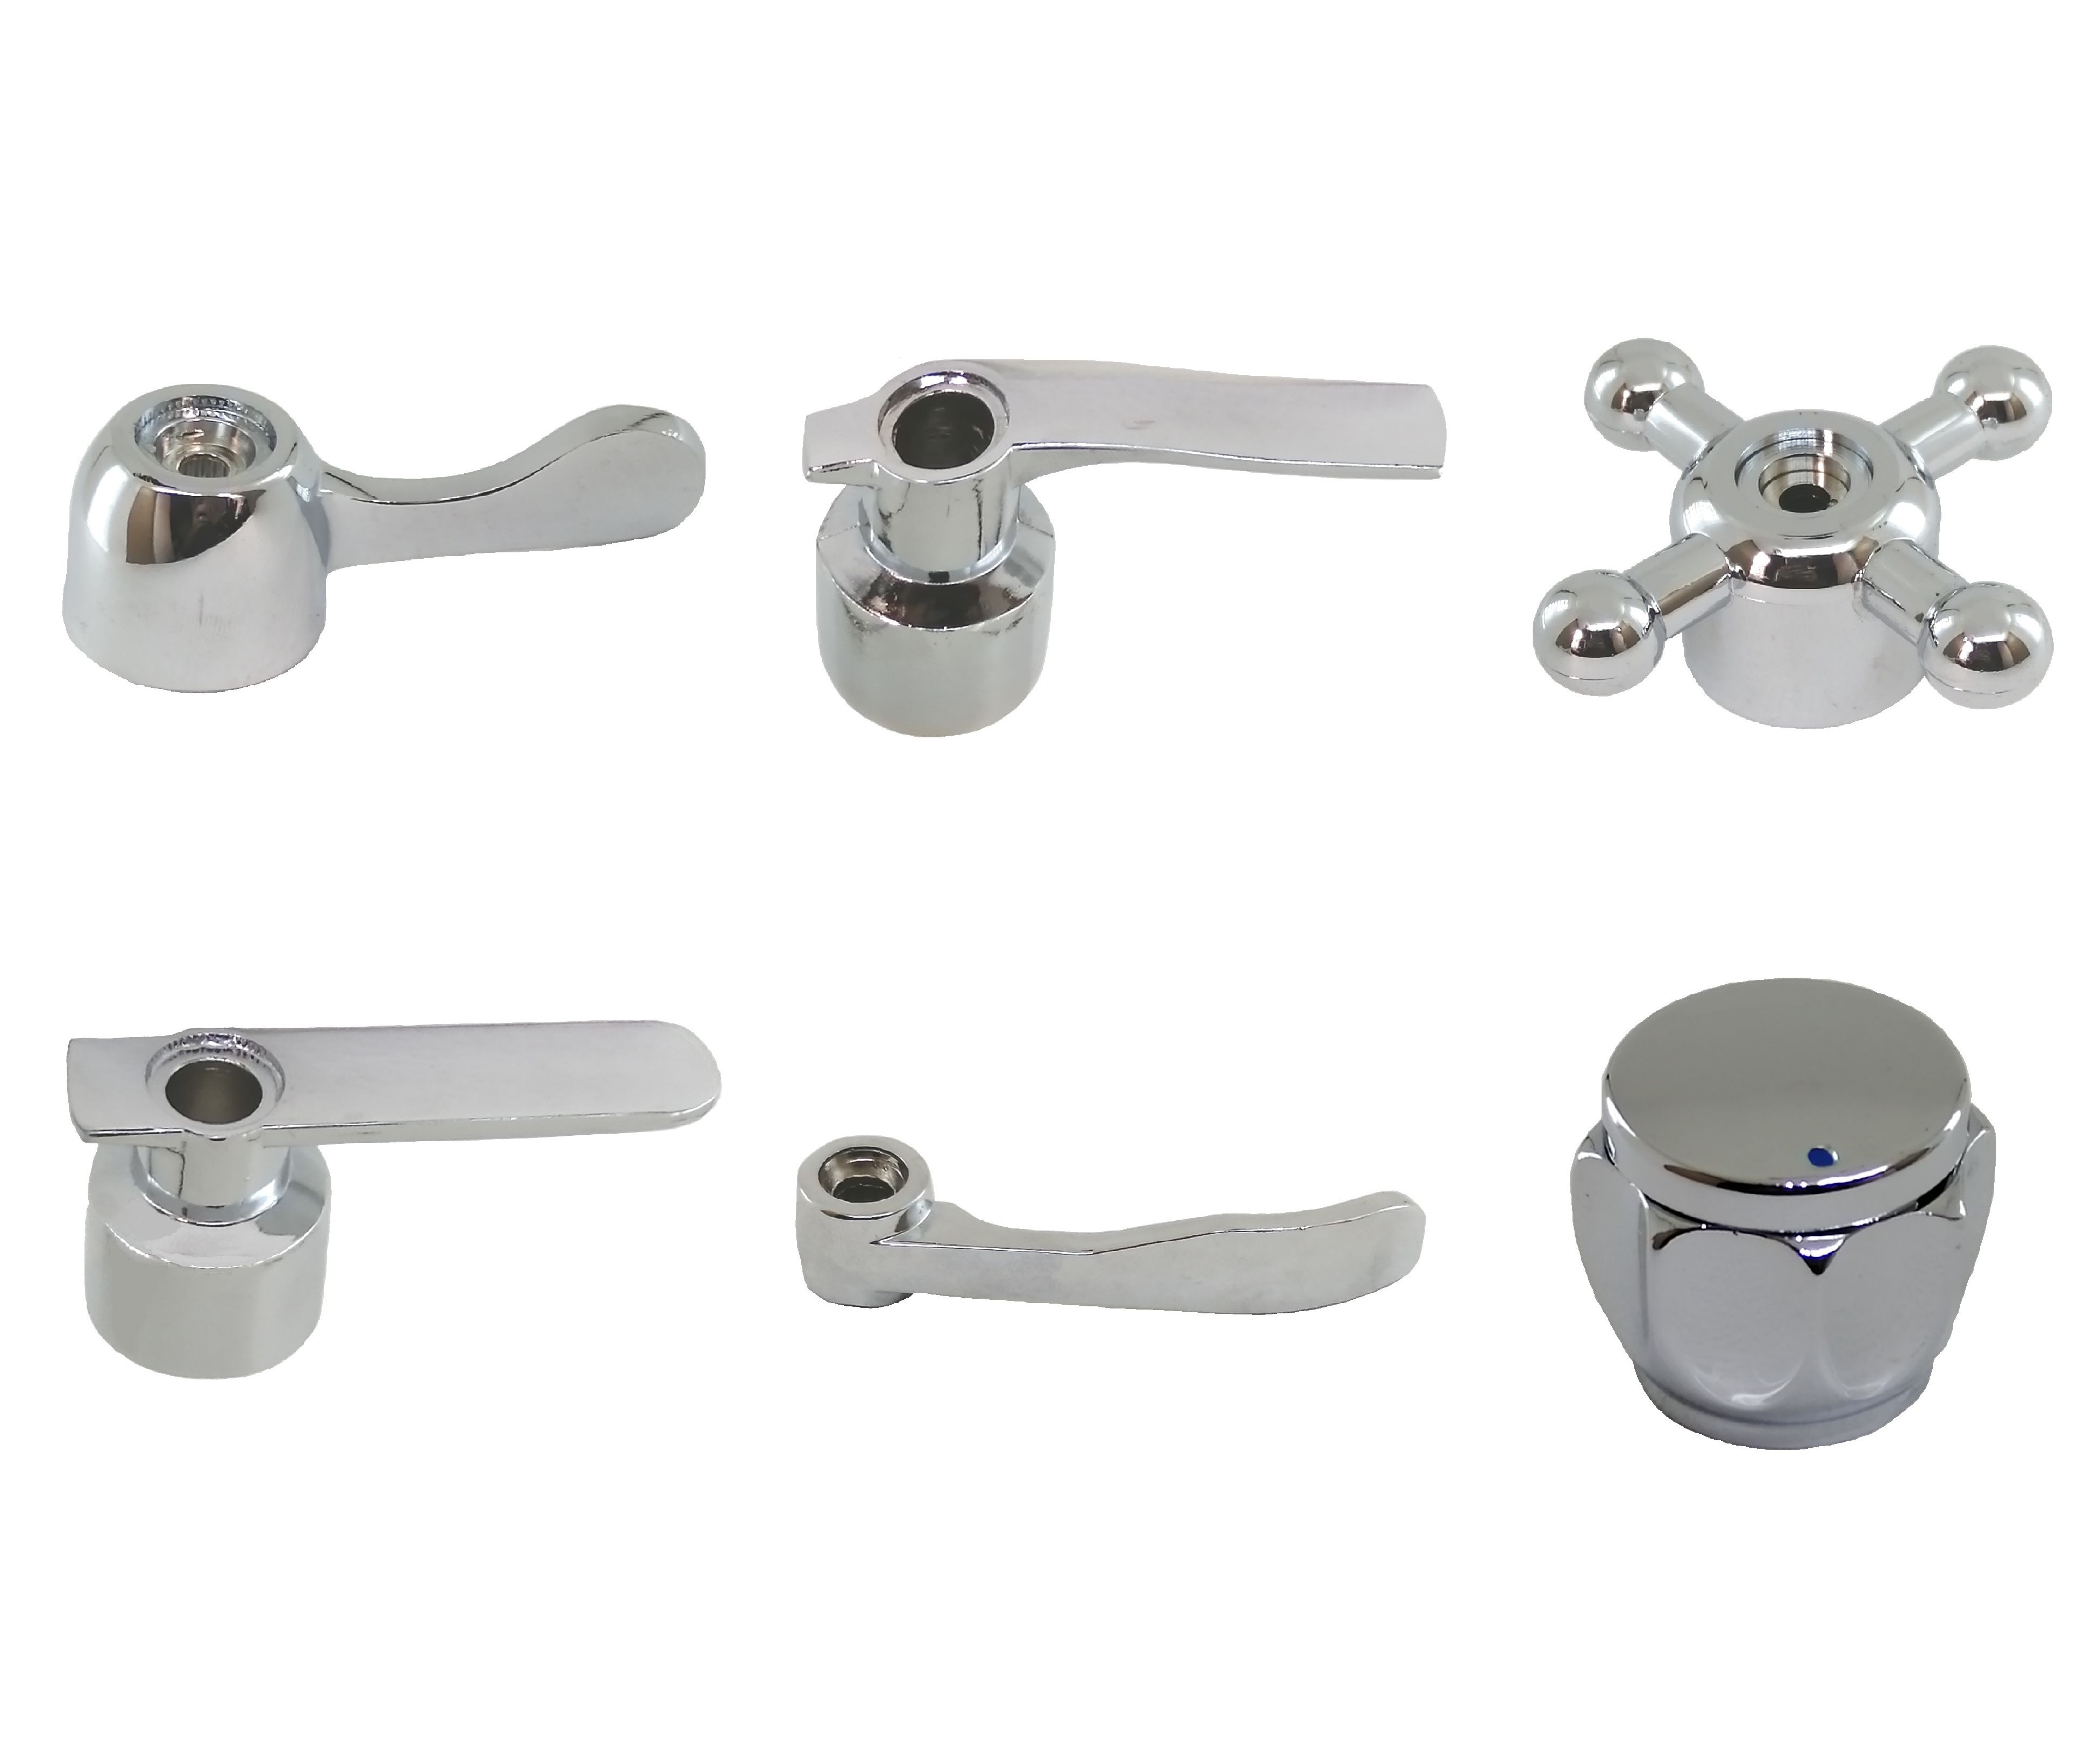
- Position the new handle: Align the new faucet handle with the faucet stem, ensuring that it fits securely and snugly. Take note of any grooves, notches, or alignment markers that indicate the correct orientation of the handle.
- Attach the handle: If your new faucet handle comes with screws, insert them into the designated holes and use a screwdriver to tighten them. If your handle uses a different attachment method, follow the manufacturer’s instructions for installation.
- Tighten the handle: Use an adjustable wrench or pliers to ensure the handle is securely fastened to the faucet stem. Be careful not to overtighten, as it can damage the handle or the faucet.
- Replace any additional components (if necessary): If you removed any additional components in Step 3, such as a cartridge or valve stem, now is the time to replace them. Use the appropriate tools to install them correctly, following the manufacturer’s instructions if available.
- Test the handle: Turn on the water supply and test the new faucet handle to ensure it is functioning properly. Check for any leaks, drips, or unusual noises. If everything looks and sounds good, you’ve successfully installed the new handle.
It’s important to note that different faucet models may have unique installation requirements. Always refer to the manufacturer’s instructions specific to your faucet model for the most accurate and detailed installation steps.
By following these steps, you’ll be able to install the new faucet handle securely and smoothly. Take your time and double-check everything to ensure a proper fit and functioning handle.
Step 6: Turn on the Water Supply and Test the New Handle
With the new faucet handle securely installed, it’s time to turn on the water supply and test its functionality. This final step ensures that the handle is working correctly and that there are no leaks or issues. Follow these steps to complete the process:
- Open the shut-off valves: Locate the shut-off valves underneath the sink or near the water source. Rotate them counterclockwise to open the valves and allow water to flow to the faucet.
- Check for leaks: Carefully observe the faucet and the surrounding area for any signs of leaks or drips. Pay close attention to the base of the handle, the connections, and any exposed plumbing pipes. If you notice any leaks, tighten the connections or consult a professional plumber if needed.
- Test the handle: Turn on the faucet and test the new handle by adjusting the water flow and temperature. Verify that the handle operates smoothly and securely, allowing you to control the water effectively. Listen for any unusual sounds or vibrations that may indicate a problem.
- Inspect for any additional issues: While the water is running, inspect the area for any unexpected issues or problems. Check for water pressure fluctuations, unusual noises, or signs of water damage. If you notice anything out of the ordinary, it may require further investigation or professional assistance.
By turning on the water supply and testing the new faucet handle, you can ensure that everything is functioning as it should. This final step gives you the opportunity to detect any potential issues early on and address them before they become larger problems.
If you are satisfied with the performance of the new faucet handle and everything is functioning properly without any leaks or concerns, congratulations! You have successfully replaced your faucet handle and improved the functionality and appearance of your sink.
Conclusion
Replacing a faucet handle may seem intimidating at first, but with the right tools and guidance, it’s a manageable DIY project that can greatly enhance the functionality and aesthetics of your sink. By following the step-by-step instructions outlined in this article, you can successfully replace your faucet handle and enjoy a smooth and reliable operation.
Remember, safety is crucial throughout the process, so always turn off the water supply before starting any work. Take your time to gather the necessary tools and materials, and be sure to clean the area and inspect for any damages before installing the new handle.
During the installation, make sure to align the new handle correctly and securely fasten it to the faucet stem. Test the handle by turning on the water supply, checking for any leaks, and ensuring smooth operation. In case you encounter any issues or face difficulties, don’t hesitate to consult a professional plumber for assistance.
By successfully replacing your faucet handle, you not only improve the functionality of your sink but also add a fresh, updated look to your kitchen or bathroom. It’s a small yet rewarding home improvement project that can make a big difference.
We hope this article has provided you with the knowledge and confidence to tackle the task of replacing a faucet handle on your own. So go ahead, gather your tools, follow the steps, and enjoy the satisfaction of a job well-done!
Frequently Asked Questions about How To Replace A Faucet Handle
Was this page helpful?
At Storables.com, we guarantee accurate and reliable information. Our content, validated by Expert Board Contributors, is crafted following stringent Editorial Policies. We're committed to providing you with well-researched, expert-backed insights for all your informational needs.


0 thoughts on “How To Replace A Faucet Handle”