Home>Interior Design>How To Tile Countertops: With Top Tips From The Experts

Interior Design
How To Tile Countertops: With Top Tips From The Experts
Modified: February 23, 2024
Learn the art of tiling countertops with this expert guide! Discover top tips from interior design professionals to transform your space seamlessly.
(Many of the links in this article redirect to a specific reviewed product. Your purchase of these products through affiliate links helps to generate commission for Storables.com, at no extra cost. Learn more)
Introduction
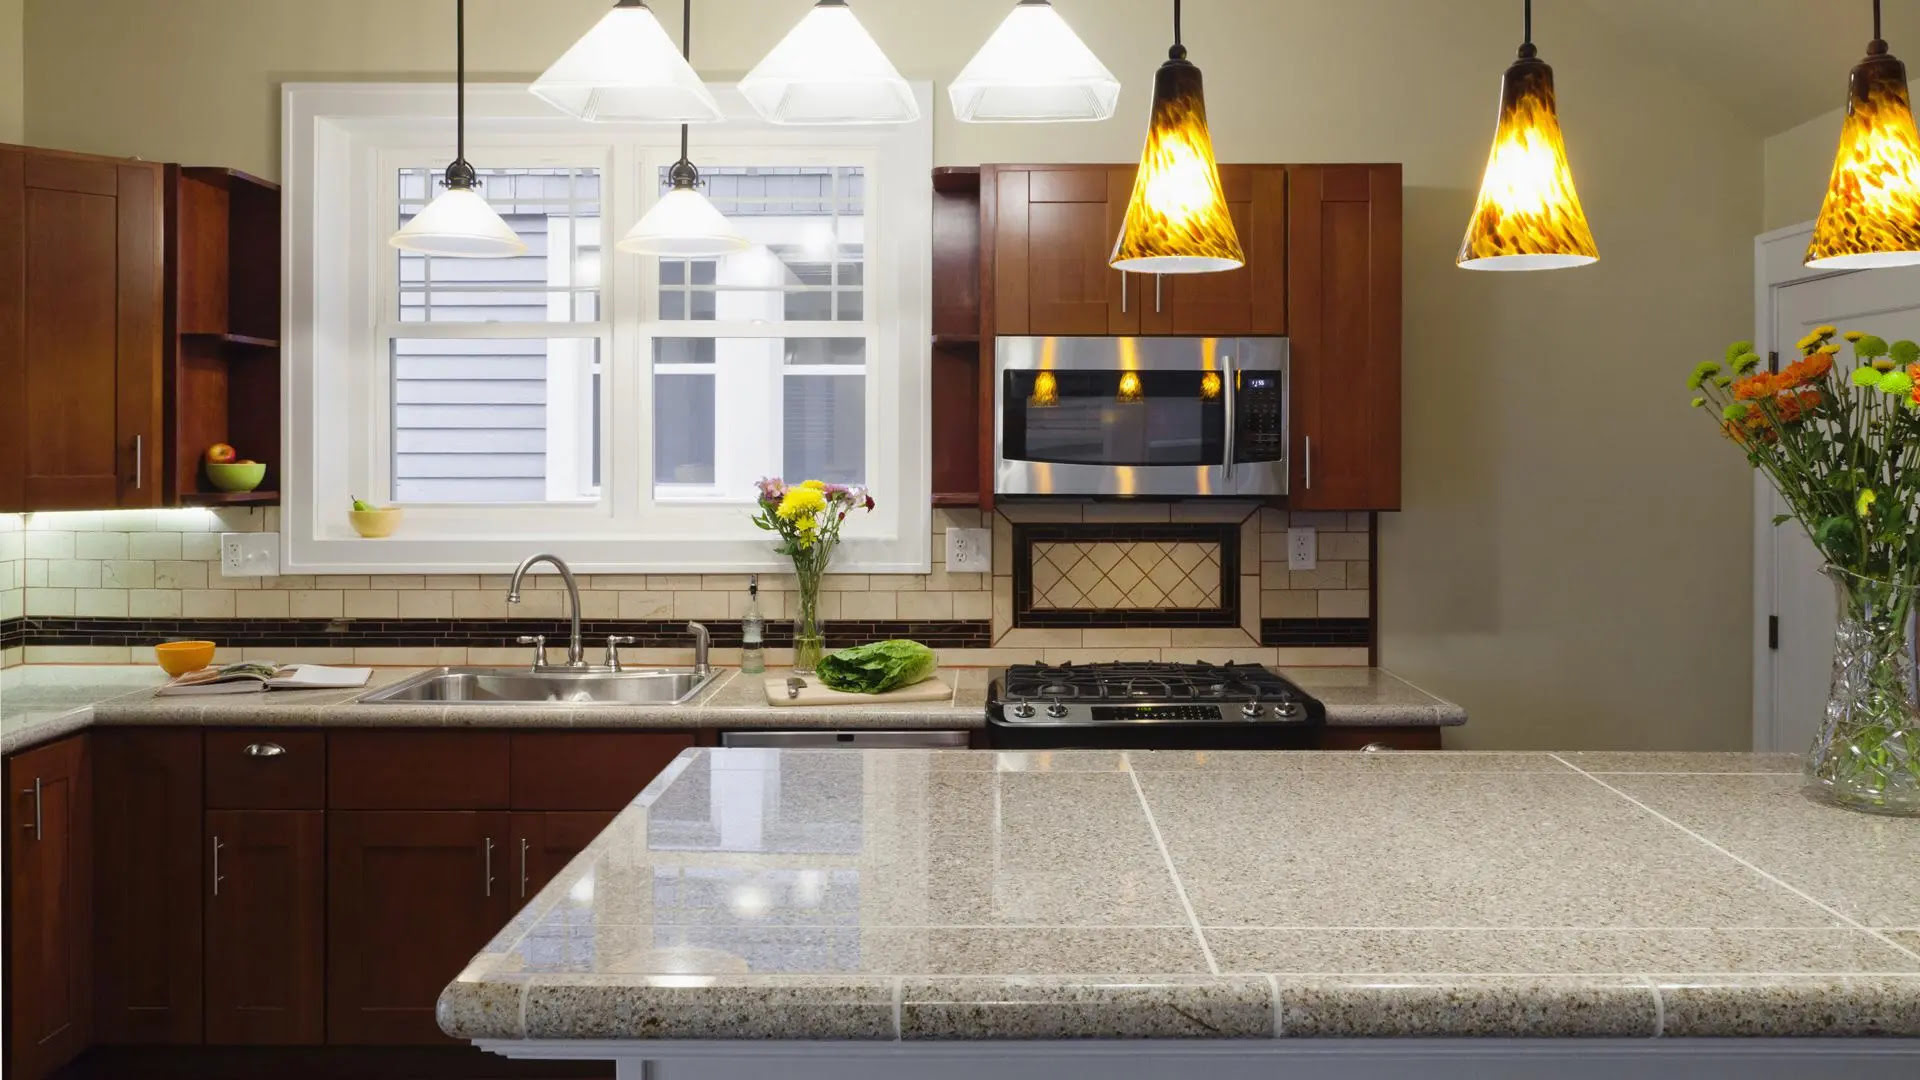
Welcome to the world of stylish and functional countertops! If you’re considering a countertop makeover or simply looking to add a touch of elegance to your space, tiling your countertops is a fantastic option. Not only does it provide a durable and long-lasting surface, but it also opens up a world of design possibilities.
In this article, we will guide you through the step-by-step process of how to tile countertops, ensuring that your project is a success. Whether you’re a seasoned DIY enthusiast or a first-time tiler, our expert tips and tricks will help you achieve a professional-looking finish.
Before we delve into the specifics, it’s essential to understand the importance of choosing the right tiles for your countertop. From porcelain and ceramic to natural stone and glass, there is an array of options to suit your budget and aesthetic preferences. Consider factors such as durability, maintenance requirements, and design compatibility when making your selection.
Once you have chosen your tiles, it’s time to prepare the countertop surface. The key to a successful tiling project lies in proper surface preparation. This involves thoroughly cleaning the countertop, removing any existing tile or laminate, and ensuring a level and smooth surface. A smooth and clean surface will provide a solid base for the adhesive and tiles, preventing any future issues with adhesion or cracks.
Now that your surface is prepped and ready, it’s time to plan the tile layout. Carefully consider the size and shape of the tiles, along with the desired pattern or design. Taking accurate measurements and creating a detailed layout plan will save you time and frustration during the installation process.
With your tiles and layout plan in hand, it’s time to cut the tiles to fit the edges and corners of your countertop. This step requires precision and attention to detail, as each tile must be cut to the specific dimensions required. Utilize a wet saw or tile cutter to ensure clean and accurate cuts.
Once your tiles are cut, the next step is to apply the tile adhesive. Make sure to select a high-quality adhesive that is appropriate for the type of tiles you’re using. Apply the adhesive evenly across the countertop surface using a notched trowel, ensuring complete coverage.
Now comes the fun part – setting the tiles! Carefully place each tile onto the adhesive, following your layout plan. Press firmly to ensure proper adhesion, and use tile spacers to maintain consistent spacing between the tiles. Continuously check for level and adjust as needed.
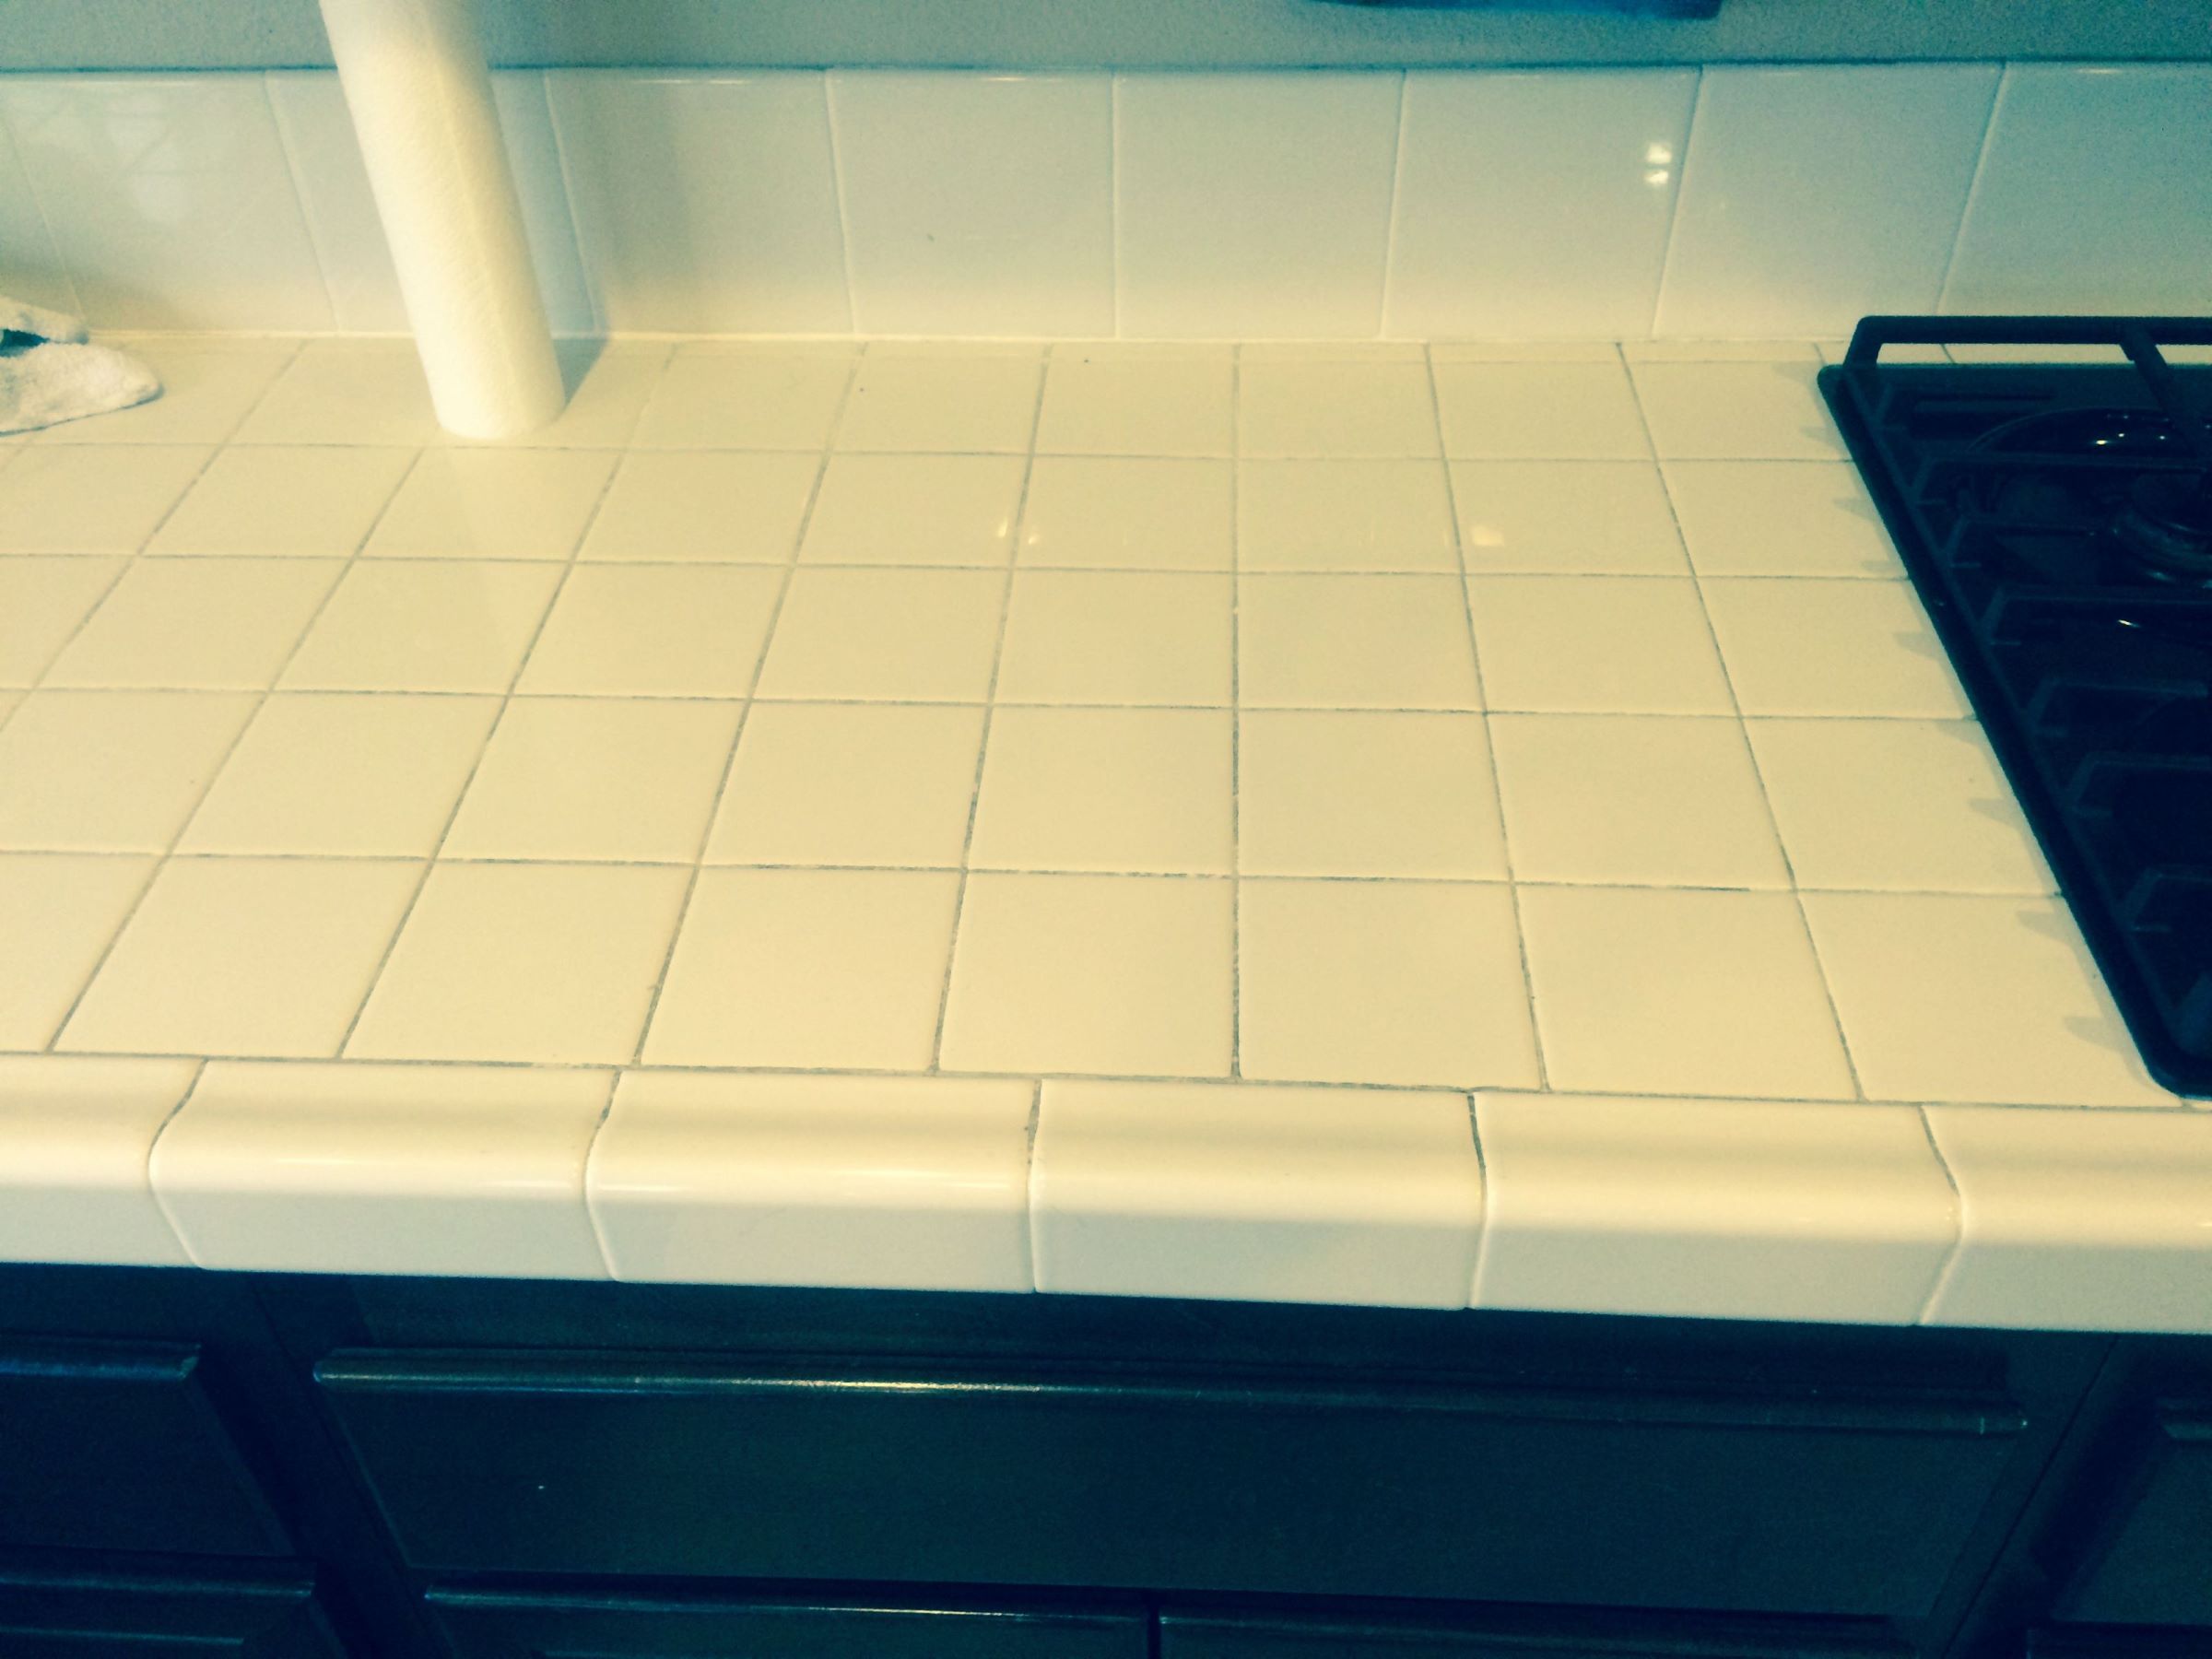
After allowing the adhesive to dry and set for the recommended time, it’s time to grout the tiles. Grout not only fills the gaps between the tiles but also adds stability and strength to the overall countertop surface. Be sure to select a grout color that complements your tiles and desired aesthetic.
Once the grout has been applied, it’s crucial to seal it to protect against stains and moisture. A quality grout sealer will help extend the lifespan of your tiled countertop and maintain its beauty for years to come.
Finally, once the installation is complete, it’s essential to clean and maintain your newly tiled countertop. Regular cleaning with a mild cleanser and avoiding abrasive materials will help preserve the tiles’ appearance and prevent damage.
With this comprehensive guide, you are now well-equipped to tackle your countertop tiling project with confidence. Remember to always prioritize safety, precision, and attention to detail. So, go ahead and transform your countertops into stunning focal points that reflect your unique style and enhance the functionality of your space. Happy tiling!
Key Takeaways:
- Transform your space with a stunning and functional tiled countertop using expert tips. From choosing the right tiles to sealing the grout, this comprehensive guide empowers you to create a personalized and durable surface.
- Embrace the art of interior design and elevate your space with a beautifully tiled countertop. Learn how to plan the layout, set the tiles, and maintain your creation for long-lasting elegance and style.
Choosing the Right Tiles
When it comes to tiling your countertops, choosing the right tiles is a crucial step in the process. The tiles you select will not only determine the overall look and feel of your countertop but also impact its durability and maintenance requirements. Here are some factors to consider when choosing the perfect tiles:
- Material: There are various materials to choose from, including porcelain, ceramic, natural stone, and glass. Each material has its own unique characteristics and advantages. Porcelain and ceramic tiles are popular choices due to their durability, affordability, and wide range of designs. Natural stone tiles, such as granite or marble, offer a luxurious and timeless look but require more maintenance.
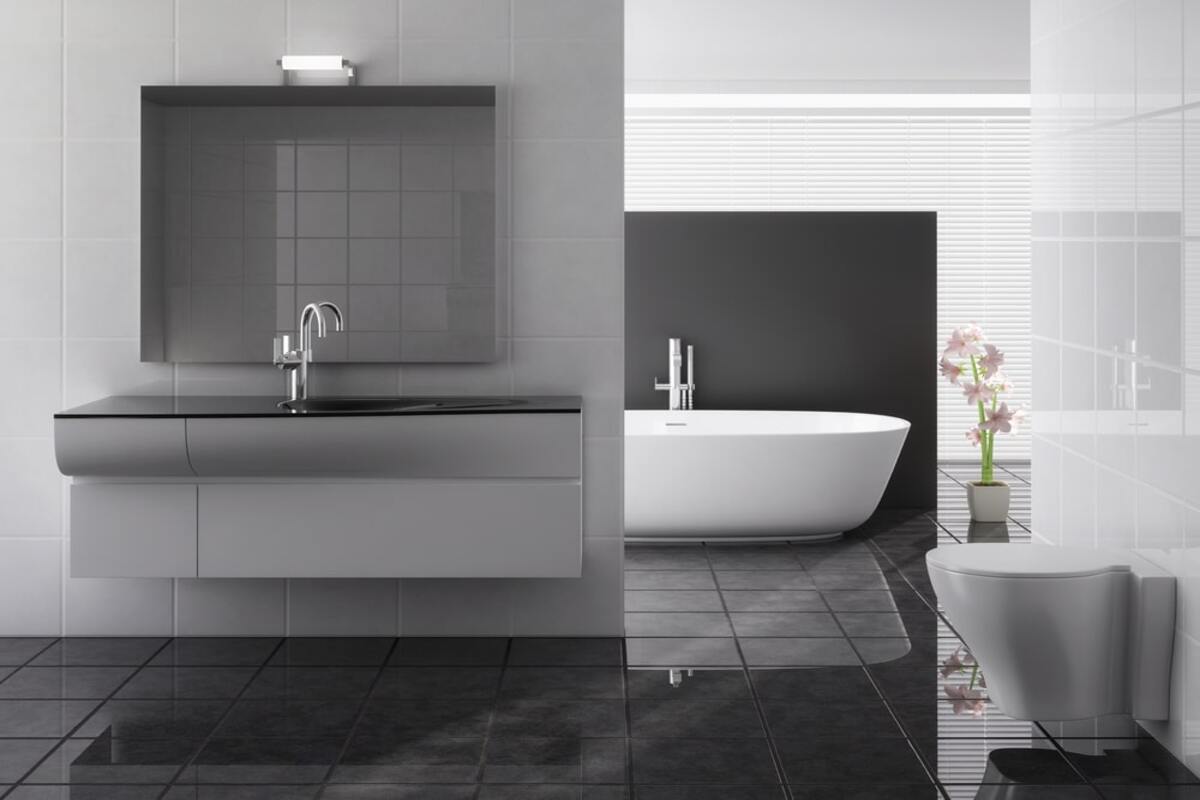
- Style and Design: Consider the overall style and aesthetic of your space when selecting tiles. Think about whether you want a sleek and modern look or a more traditional and rustic appeal. Take into account the colors, patterns, and texture of the tiles, and how they will complement the rest of your kitchen or bathroom.
- Size and Shape: Tile size can greatly impact the visual appeal of your countertops. Larger tiles can create a more seamless and uniform look, while smaller tiles allow for intricate patterns and designs. Additionally, consider the shape of your tiles – square, rectangular, or even mosaic – and how they will fit together to form your desired countertop layout.
- Durability: Assess the durability of the tiles, especially if your countertop will be subjected to heavy use. Porcelain tiles are known for their strength and resistance to stains, scratches, and heat. Natural stone tiles, on the other hand, may require more care and maintenance to prevent damage.
- Maintenance: Different tiles have varying maintenance requirements. Consider how much time and effort you are willing to invest in cleaning and maintaining your countertops. Porcelain and ceramic tiles are generally low-maintenance, while natural stone tiles may require regular sealing and special cleaning products to preserve their appearance.
- Budget: Set a budget for your countertop tiling project and choose tiles that align with it. Remember, there are options available at various price points, so you can find tiles that suit your style and budget.
Take your time in researching and exploring different tile options to ensure you select the perfect tiles for your countertop. Visit tile showrooms, browse online catalogs, and seek inspiration from interior design magazines or websites. Consider consulting with a professional if you’re unsure about which tiles will best suit your needs and preferences.
By choosing the right tiles, you can create a stunning and functional countertop that will withstand the test of time and bring beauty to your space. So, take the time to explore your options and make an informed decision before moving on to the next steps of the tiling process.
Preparing the Countertop Surface
Before diving into the exciting world of countertop tiling, it’s essential to properly prepare the surface. Adequate surface preparation is key to ensuring a successful and long-lasting tile installation. Here are the steps to follow when preparing your countertop surface:
- Clean the Surface: Start by thoroughly cleaning the existing countertop surface. Remove any dirt, grease, or debris using a mild cleaner and a soft cloth. Ensure that the surface is completely free from any residue that could interfere with proper adhesion.
- Remove Existing Materials: If your countertop has any existing tiles, laminate, or other materials, you’ll need to remove them before proceeding. Use a hammer and chisel or a utility knife to carefully pry off the old tiles. Take extra care not to damage the underlying countertop surface.
- Repair and Level: Inspect the countertop for any cracks, dents, or uneven areas. Use a filler appropriate for your countertop material to repair any imperfections. Once the repairs have dried, use a sander or sandpaper to smooth out the surface and create a level base for the tiles.
- Seal the Countertop (if necessary): Depending on the material of your countertop, you may need to apply a sealer to protect against moisture and stains. Follow the manufacturer’s instructions for the specific sealer you are using. Allow the sealer to dry completely before moving on to the next step.
- Measure and Plan: Take accurate measurements of your countertop surface to determine the quantity of tiles needed. Create a detailed layout plan, keeping in mind the size and shape of your tiles, as well as any patterns or designs you wish to incorporate.
Keep in mind that proper surface preparation is crucial for the longevity and stability of your tiled countertop. Taking the time to clean, repair, and level the surface will ensure a solid foundation for your tiles and aid in the overall success of your project.
Additionally, consult any specific guidelines or recommendations provided by the tile manufacturer to ensure that your countertop surface is prepared correctly. Different materials may require different preparation techniques, so it’s essential to follow the appropriate instructions.
Now that your countertop surface is clean, repaired, and leveled, you’re ready to move on to the next exciting step – planning the tile layout. By investing effort and time into the preparation process, you’ll be well on your way to a beautiful and professionally installed tiled countertop.
Planning the Tile Layout
Once your countertop surface is clean, repaired, and ready to go, it’s time to plan the tile layout. The layout determines how the tiles will be arranged on the countertop, ensuring a visually appealing and balanced design. Here are some tips to help you plan your tile layout:
- Consider Tile Size and Shape: Take the size and shape of your tiles into account when planning the layout. Larger tiles can create a more seamless and uniform look, while smaller tiles allow for intricate patterns and designs. Decide whether you want the tiles to be laid in a straight pattern, diagonal pattern, or herringbone pattern, among others.
- Measure and Mark: Take accurate measurements of your countertop and use them to mark reference lines on the surface. This will help guide you during the installation process and ensure that the tiles are aligned correctly. Use a measuring tape, ruler, or straight edge to create straight and level lines.
- Dry Fit the Tiles: Before applying any adhesive, dry fit the tiles to get a sense of how they will look on the countertop. Arrange the tiles according to your planned layout, ensuring that they fit properly and the spacing between them is as desired. This step allows you to make any adjustments or modifications before committing to the adhesive.
- Consider Tile Spacers: Use tile spacers between each tile to maintain consistent spacing. Spacers come in various sizes, allowing you to achieve your desired spacing, whether it’s tight or more generous. These spacers ensure that your grout lines are even and provide a professional finish to the tiled countertop.
- Plan for Edge and Corner Tiles: Take special consideration when planning for edge and corner tiles. These tiles may require cutting and careful placement to ensure a seamless transition from the countertop surface to the edges. Measure and mark the tiles accordingly, keeping in mind any specific cuts that need to be made.
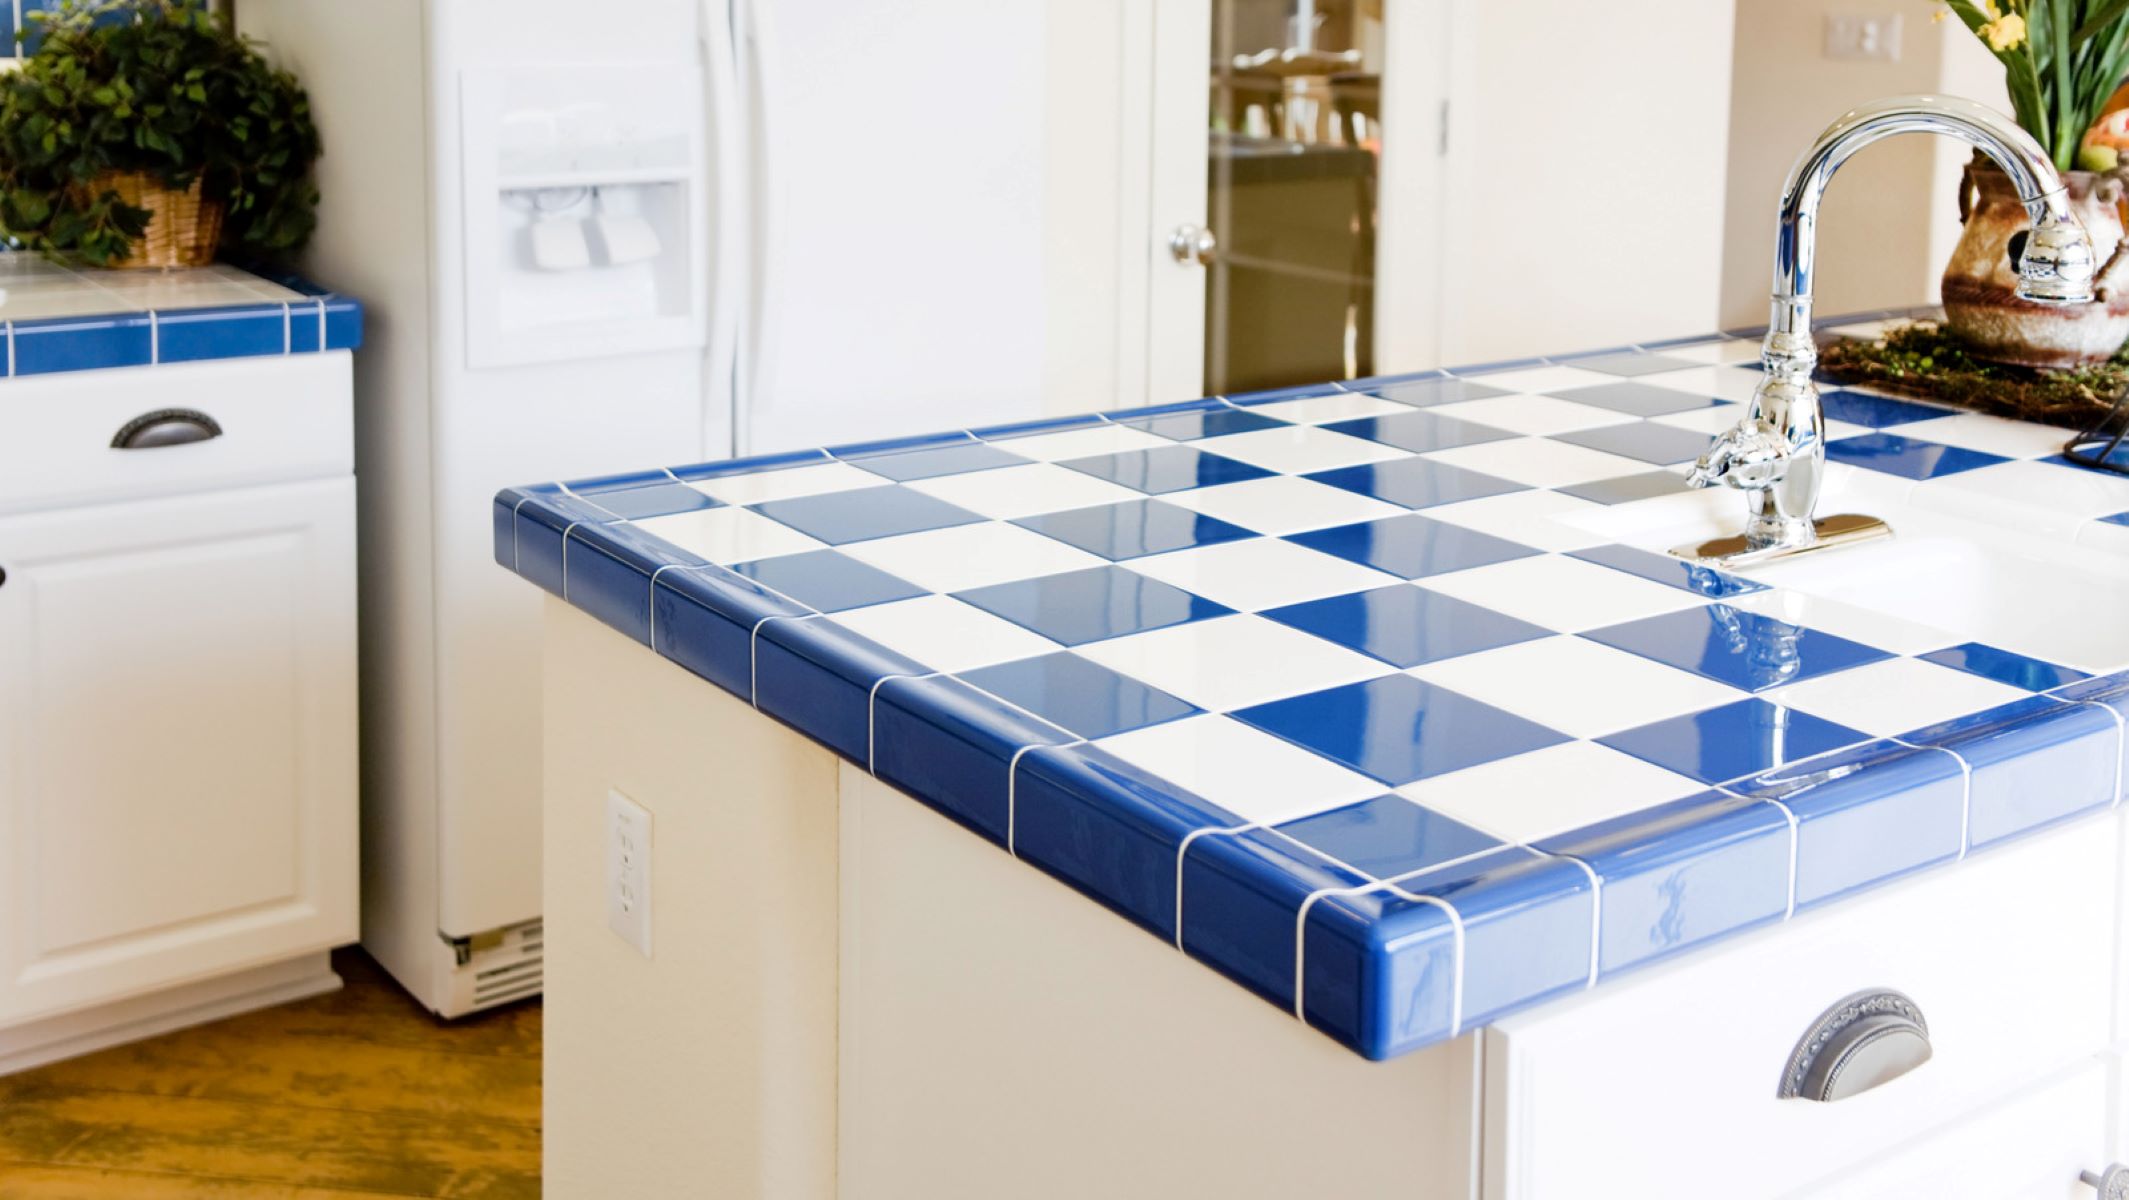
- Experiment with Patterns: Don’t be afraid to get creative with patterns and designs. Consider incorporating different colored tiles or creating a focal point with an eye-catching pattern. You can use accent tiles, borders, or mosaic designs to add visual interest to your countertop.
As you plan your tile layout, take into account both the aesthetic appeal and the functionality of the design. Take the time to experiment and visualize different options to ensure that you’re satisfied with the end result.
Remember, proper planning and layout can significantly impact the overall appearance of your tiled countertop. Take accurate measurements, create reference lines, and dry fit the tiles before applying adhesive. This attention to detail will save you time and frustration during the installation process and result in a beautifully tiled countertop.
Now that you have a well-thought-out tile layout plan, you’re ready to move on to the next step – cutting the tiles to fit. Stay tuned for our next section, where we’ll provide you with valuable tips and techniques for cutting tiles with precision.
Cutting Tiles to Fit
Once you have planned the layout for your tiled countertop, it’s time to cut the tiles to fit around edges, corners, and obstacles. Cutting tiles can be intimidating, but with the right tools and techniques, you can achieve clean and precise cuts. Here are some tips to help you cut tiles to fit:
- Gather the Right Tools: To cut tiles, you’ll need the appropriate tools. A wet saw is a popular choice for cutting most types of tiles, as it provides clean and accurate cuts. Alternatively, you can use a tile cutter for smaller straight cuts or a tile nipper for more intricate cuts. Make sure to wear safety goggles when operating any cutting tools.
- Measure Twice, Cut Once: Before making any cuts, double-check your measurements to ensure accuracy. Use a pencil or marker to mark the areas where the tiles need to be cut. Remember to account for any necessary spacing or grout lines when measuring and marking.
- Cut Straight Lines: For straight cuts, such as those along the edges of the countertop or between tiles, a wet saw or tile cutter can be used. Measure the desired length, align the tile with the cutting guide, and slowly and steadily cut along the marked line. Apply gentle pressure to avoid cracking or damaging the tile.
- Make Curved and Intricate Cuts: For curved or irregular cuts, such as those around pipes or obstacles, a tile nipper or wet saw can be used. Start by making small, incremental cuts, and carefully nibble away at the tile to achieve the desired shape. Take your time and make small adjustments as needed until the tile fits perfectly.
- Smooth the Edges: After cutting the tiles, the edges may be rough or jagged. Use a tile file or sandpaper to smooth and refine the edges. This will ensure a seamless transition and a professional-looking finish when the tiles are installed.
- Test the Fit: Before applying adhesive, test the fit of the cut tiles in their respective positions. Make any necessary adjustments or corrections before proceeding to the next step. This will save you time and frustration later on.
When cutting tiles, it’s essential to take your time and work with caution. Practice on scrap tiles before making cuts on your chosen tiles to familiarize yourself with the tools and techniques. Remember to wear protective gear, such as safety goggles and gloves, to ensure your safety while cutting tiles.
By following these tips and techniques, you can confidently cut tiles to fit your countertop and achieve professional-looking results. The precision and attention to detail during the cutting process will contribute to the overall success and aesthetics of your tiled countertop.
Now that you have successfully cut the tiles to fit, the next step is to apply the tile adhesive and set the tiles in place. In the upcoming section, we’ll guide you through the process, providing you with expert tips to ensure a seamless and secure tile installation.
Applying the Tile Adhesive
With your tiles cut to fit and ready for installation, it’s time to apply the tile adhesive. The adhesive is crucial for securing the tiles to the countertop surface and ensuring their long-term stability. Here are some steps to follow when applying the tile adhesive:
- Select the Right Adhesive: Choose a high-quality tile adhesive that is suitable for the type of tiles you are using and the countertop material. Consult the manufacturer’s guidelines to ensure that the adhesive is compatible with your specific tiles and countertop surface.
- Prepare the Adhesive: Follow the manufacturer’s instructions to prepare the adhesive. Typically, this involves mixing the adhesive powder with water to create a smooth and workable consistency. Use a mixing paddle or a similar tool to achieve the desired texture.
- Apply the Adhesive: Using a notched trowel, spread the adhesive evenly across the countertop surface. Start in a small section and work your way outwards. The adhesive should be applied in a thin layer, ensuring complete coverage. Make sure the adhesive is evenly distributed and the ridges from the notched trowel are consistent.
- Work in Sections: It’s important to work in manageable sections to ensure that the adhesive does not dry out before laying the tiles. This will prevent the adhesive from losing its effectiveness and compromising the bond between the tiles and the surface. Avoid applying adhesive to an area larger than you can tile within 15-20 minutes.
- Follow the Layout Plan: As you apply the adhesive, refer to your tile layout plan to ensure that you are covering the correct area. When working on larger countertops, it may be helpful to divide the surface into smaller sections and apply the adhesive one section at a time.
- Back Butter the Tiles: To ensure proper adhesion, it’s recommended to back butter the tiles before placing them on the adhesive. Apply a thin layer of adhesive to the back of each tile, using the flat side of the trowel. This will create a stronger bond between the tile and the adhesive on the countertop.
- Press and Level: Once the adhesive is applied, gently press each tile into place using a slight twisting motion. Ensure that the tile adheres to the adhesive and is level with the surrounding tiles. Use a level or straightedge to check for any unevenness. If needed, make adjustments by adding or removing adhesive before it dries.
- Continue with the Rest of the Tiles: Repeat the process of applying adhesive, back buttering the tiles, and setting them in place until all the tiles are installed. Work methodically, ensuring that the tiles are aligned according to your layout plan and that the spacing between them is consistent.
Following these steps will help you achieve a strong and secure bond between the tiles and the countertop surface. Take your time during this process, as proper adhesive application is crucial for the success and longevity of your tiled countertop.
Once all the tiles are set in place, allow the adhesive to dry and cure according to the manufacturer’s instructions. This can take anywhere from 24 to 48 hours, depending on the type of adhesive used. Avoid placing any heavy objects or applying pressure on the tiles during this time to ensure a strong bond.
In the next section, we will discuss the process of grouting the tiles, which will give your countertop a finished and polished look. Stay tuned for expert tips on achieving clean and seamless grout lines.
When tiling countertops, make sure to use a waterproof adhesive and grout to prevent water damage and staining. It’s also important to properly seal the grout to keep the countertops looking great for years to come.
Setting the Tiles
Now that you have applied the adhesive and placed the tiles on your countertop, it’s time to set them in place. The setting process involves ensuring that the tiles are properly aligned, leveled, and securely adhered to the adhesive. Here are the steps to follow when setting the tiles:
- Check Alignment: As you set each tile, check the alignment with neighboring tiles. Use a level or straightedge to ensure that the surface is even and the tiles are aligned correctly. Make any necessary adjustments by gently tapping the tiles with a rubber mallet to achieve a seamless look.
- Ensure Leveling: It’s important to ensure that the tiles are level with each other. Use the level or straightedge to check for any unevenness or variations in height. If a tile seems too high or too low, gently lift it and adjust the adhesive thickness to achieve a level surface.
- Apply Even Pressure: As you set the tiles, apply even pressure to ensure maximum adhesion. Use your hands or a grout float to press down on each tile firmly. This will help the tile bond securely with the adhesive and prevent any air pockets or weak spots.
- Use Tile Spacers: If you’re using tile spacers to maintain consistent spacing between tiles, make sure they are positioned properly. Avoid pushing the spacers too deep into the adhesive, as this can make it difficult to remove them later. Pay attention to the spacers to ensure that the grout lines will be even and uniform.
- Clean Excess Adhesive: While setting the tiles, be mindful of any excess adhesive that may squeeze out from the joints. Use a damp sponge or cloth to clean any adhesive that appears on the tile surfaces. It’s easier to remove the excess adhesive while it is still fresh, rather than waiting until it dries and becomes more difficult to remove.
- Work in Sections: If you’re tiling a larger countertop, it’s advisable to work in small sections. Complete one section at a time, ensuring that the tiles are set, aligned, and leveled properly before moving on to the next section. This allows you to maintain control and accuracy throughout the setting process.
- Take Breaks: Setting tiles can be a time-consuming task, particularly for larger countertops. Take periodic breaks to rest and refresh yourself. This will help you maintain focus and ensure that you’re setting the tiles accurately and with precision.
By following these steps and paying attention to detail, you can ensure that your tiles are set properly and securely. The setting process is crucial for achieving a professional-looking and durable tiled countertop.
Once all the tiles are set, allow them to dry and bond with the adhesive according to the manufacturer’s instructions. This curing process typically takes 24 to 48 hours. Avoid placing any heavy objects or applying pressure on the tiles during this time to ensure a strong and secure bond.
Now that your tiles are set in place, it’s time to move on to the next step – grouting the tiles. In the upcoming section, we will guide you through the grouting process, providing expert tips to help you achieve clean, even, and long-lasting grout lines.
Grouting the Tiles
With the tiles set in place on your countertop, it’s time to move on to the next exciting step – grouting. Grouting not only fills the gaps between the tiles but also adds stability and strength to the overall countertop surface. Here are the steps to follow when grouting the tiles:
- Select the Right Grout: Choose a grout color that complements your tiles and desired aesthetic. Consider the type of grout as well, such as sanded or unsanded, depending on the width of your grout lines. Consult the manufacturer’s instructions for the recommended grout type for your specific tiles and project.
- Mix the Grout: Follow the manufacturer’s instructions to mix the grout to the desired consistency. Typically, this involves adding water to the grout powder and stirring until a smooth and paste-like texture is achieved. Use a grout float or a mixing tool to thoroughly mix the grout.
- Apply the Grout: Use a grout float to apply the grout to the tiled surface. Hold the float at a 45-degree angle and spread the grout diagonally across the tiles, ensuring complete coverage of the grout lines. Work in small sections to prevent the grout from drying out before you’re able to clean it off the tiles.
- Work the Grout: After applying the grout, use the edge of the grout float to remove excess grout from the surface of the tiles. Hold the float at a steeper angle and use diagonal strokes to scrape off the excess grout. This process helps to avoid leaving excess grout on the tiles, which can be difficult to remove once it dries.
- Clean the Tiles: Once you have removed the excess grout, use a damp sponge or cloth to gently wipe away any grout haze or residue from the tile surfaces. Rinse the sponge or cloth frequently to ensure that you’re not spreading the grout residue on the tiles. Be careful not to remove grout from the grout lines during this process.
- Shape the Grout Joints: Use a grout shaping tool or your finger to shape the grout joints. Gently press the tool or your finger along the joints to create a smooth and uniform appearance. This will further enhance the aesthetics of your tiled countertop.
- Let the Grout Cure: Allow the grout to cure according to the manufacturer’s instructions. This typically takes 24 to 48 hours. Avoid placing any heavy objects or applying pressure on the grouted surface during this time to ensure a strong and durable grout bond.
- Seal the Grout: Once the grout has fully cured, consider applying a grout sealer to protect against stains and moisture. The sealer will help prolong the life of your grout and maintain its appearance. Follow the manufacturer’s instructions for the best sealing results.
Grouting the tiles is an exciting and rewarding step in the countertop tiling process. It brings the tiles together and adds a finished and polished look to your countertop. By following these steps and paying attention to detail, you can achieve clean and durable grout lines that will enhance the overall beauty of your tiled countertop.
In the next section, we will discuss the importance of sealing the grout and provide tips on how to properly clean and maintain your newly grouted countertop. Stay tuned for valuable information on keeping your tiled surface looking its best for years to come.
Sealing the Grout
Sealing the grout is an important step in ensuring the longevity and beauty of your tiled countertop. Grout is porous by nature, meaning it can absorb stains, moisture, and dirt over time. Sealing the grout helps to protect it from these elements, making it easier to clean and maintain. Here are the steps to follow when sealing the grout:
- Allow the Grout to Cure: Before sealing the grout, ensure that it has fully cured according to the manufacturer’s instructions. This can take anywhere from 2 to 4 weeks, depending on the type of grout used. Allow enough time for the grout to dry and harden before moving on to the sealing process.
- Clean the Grout: Thoroughly clean the grout lines to remove any dust, dirt, or debris. Use a mild grout cleaner and a soft brush to scrub the grout lines gently. Rinse with clean water and allow the grout to dry completely before proceeding with the sealing.
- Choose a Grout Sealer: There are various types of grout sealers available, including penetrating sealers and surface sealers. Penetrating sealers are absorbed by the grout, providing protection from within, while surface sealers create a protective barrier on top of the grout. Consider the type of grout you have and the level of protection you desire when selecting a grout sealer.
- Read and Follow the Instructions: It’s essential to carefully read and follow the manufacturer’s instructions for the chosen grout sealer. Each sealer may have specific guidelines regarding application, drying time, and reapplication. Adhere to these instructions to ensure the sealant’s effectiveness and longevity.
- Apply the Sealer: Using a small brush or applicator, apply the grout sealer to the grout lines. Work in small sections, ensuring even coverage. Avoid getting the sealer on the tile surfaces, as it may leave a residue. If any sealer does get on the tiles, wipe it off immediately with a clean cloth.
- Allow the Sealer to Dwell: Let the sealer sit on the grout lines for the recommended time, allowing it to absorb into the grout. This time may vary depending on the sealer, so refer to the manufacturer’s instructions. Avoid moisture exposure during this time to allow the sealer to properly bond with the grout.
- Remove Excess Sealer: After the recommended dwell time, use a clean, dry cloth to remove any excess sealer from the tile surfaces. Gently buff the tiles to ensure a clean and polished appearance. Be cautious not to disturb or remove the sealer from the grout lines.
- Reapply Regularly: Grout sealers require periodic reapplication to maintain their effectiveness. The frequency of reapplication depends on the type of sealer and the level of traffic or usage in your kitchen or bathroom. Refer to the manufacturer’s instructions for recommended resealing intervals.
Sealing the grout is an important step that enhances the overall cleanliness and durability of your tiled countertop. It helps to prevent stains, moisture penetration, and the growth of mold or mildew. Regular resealing will keep your grout lines looking fresh and well-protected for years to come.
Now that your grout is properly sealed, it’s time to learn how to clean and maintain your tiled countertop to preserve its beauty and longevity. We will cover these essential topics in the next section, so stay tuned for valuable tips and advice!
Cleaning and Maintaining the Tiled Countertop
Proper cleaning and maintenance are essential for keeping your tiled countertop looking its best and maintaining its longevity. With regular care and attention, you can preserve the beauty and functionality of your tiled surface. Here are some tips for cleaning and maintaining your tiled countertop:
- Regular Cleaning: Clean your tiled countertop regularly to prevent dirt, stains, and grime buildup. Use a mild, non-abrasive cleanser and a soft sponge or cloth to gently scrub the tiles and grout lines. Avoid using harsh chemicals or abrasive materials that could damage the tiles or grout.
- Wipe Spills Immediately: Accidental spills can happen, and it’s important to wipe them up immediately to prevent staining or damage to the grout. Use a damp cloth or paper towel to blot the spill, rather than rubbing it, as rubbing can spread the spill and make it harder to clean.
- Avoid Abrasive Cleaners: Steering clear of abrasive cleaners or scouring pads is crucial for maintaining the integrity of the tiles and grout. These abrasive materials can scratch and dull the tile surfaces, as well as erode the grout. Stick to mild cleansers or specialized tile and grout cleaners recommended by the manufacturer.
- Use Gentle Brushing: When scrubbing the grout lines, use a soft-bristle brush or an old toothbrush to gently remove any dirt or stains. Be careful not to scrub too vigorously, as this may cause damage to the grout. Gentle brushing will help maintain the cleanliness and appearance of the grout without causing harm.
- Preventive Measures: Implement preventive measures to protect your tiled countertop. Use coasters, trivets, or heat-resistant mats for hot items and cutting boards for chopping to avoid direct contact between sharp objects and the tiles. This will help prevent scratches, chips, or dents in the tile surface and protect the grout from unnecessary wear and tear.
- Regular Grout Maintenance: Monitor the condition of the grout and perform regular maintenance as needed. Inspect for any cracks, gaps, or signs of deterioration in the grout lines. If necessary, repair or regrout any damaged areas promptly to prevent further issues.
- Reapply Grout Sealer: Grout sealers require periodic reapplication to maintain their protective properties. Follow the manufacturer’s recommendations for how frequently to reseal your grout. By resealing regularly, you can extend the life of your grout and protect it from stains and moisture.
- Avoid Heavy Impact: Avoid placing heavy objects or applying excessive force on your tiled countertop. Heavy impacts can cause tiles to crack or chip, and may also loosen the grout. Use caution when handling heavy items or when performing any activities that could potentially damage the tiled surface.
- Address Mold or Mildew: If you notice any mold or mildew growth on the tiles or in the grout lines, address it promptly. Use a mildew cleaner or a mixture of vinegar and water to remove the mold or mildew. Ensure proper ventilation in your kitchen or bathroom to discourage the growth of mold and mildew in the future.
By following these cleaning and maintenance tips, you can keep your tiled countertop in excellent condition for years to come. Regular care and attention will preserve the beauty of the tiles, ensure the integrity of the grout, and maintain the functionality of your countertop.
Remember, each tile and grout material may have specific care instructions, so refer to the manufacturer’s guidelines for any additional recommendations. By incorporating regular cleaning and maintenance into your routine, you will enjoy a beautiful and long-lasting tiled countertop in your kitchen or bathroom.
Congratulations on completing your countertop tiling journey! Now it’s time to step back and enjoy the stunning and functional transformation you have achieved. With proper care and maintenance, your tiled countertop will continue to be a standout feature in your space for many years to come.
Conclusion
Congratulations on successfully completing your countertop tiling project! You have transformed your space into a beautiful and functional area, filled with elegance and style. By following the step-by-step process outlined in this guide, you have learned how to choose the right tiles, prepare the countertop surface, plan the tile layout, cut tiles to fit, apply the adhesive, set the tiles, grout, seal the grout, and clean and maintain your tiled countertop.
Throughout this journey, you have embraced the art of interior design and learned valuable tips and techniques from the experts. You have created a unique and personalized space, infused with your own style and flair. Your tiled countertop not only enhances the aesthetics of your kitchen or bathroom but also adds durability and longevity to the surface.
As you enjoy the beauty and functionality of your newly tiled countertop, remember to continue practicing proper care and maintenance. Regular cleaning and maintenance will help preserve the appearance of the tiles and the integrity of the grout. Implement preventive measures and address any issues promptly to ensure the longevity of your tiled countertop.
So, sit back, relax, and admire your stunning achievement. Your tiled countertop is sure to be a focal point of your space, creating a welcoming and stylish atmosphere. Whether you’re preparing a meal, sharing a conversation, or simply enjoying a moment of solitude, your tiled countertop will be there, providing both beauty and functionality.
Thank you for taking this journey with us, and we hope that this guide has empowered you with the knowledge and confidence to tackle future tiling projects. Happy designing and enjoy the splendor of your newly tiled countertop!
Frequently Asked Questions about How To Tile Countertops: With Top Tips From The Experts
Was this page helpful?
At Storables.com, we guarantee accurate and reliable information. Our content, validated by Expert Board Contributors, is crafted following stringent Editorial Policies. We're committed to providing you with well-researched, expert-backed insights for all your informational needs.




0 thoughts on “How To Tile Countertops: With Top Tips From The Experts”