Home>Articles>How To Crochet A Baby Blanket With Bernat Yarn

Articles
How To Crochet A Baby Blanket With Bernat Yarn
Modified: February 23, 2024
Looking to learn the art of crocheting? Our articles will guide you through creating a beautiful baby blanket using Bernat yarn.
(Many of the links in this article redirect to a specific reviewed product. Your purchase of these products through affiliate links helps to generate commission for Storables.com, at no extra cost. Learn more)
Introduction
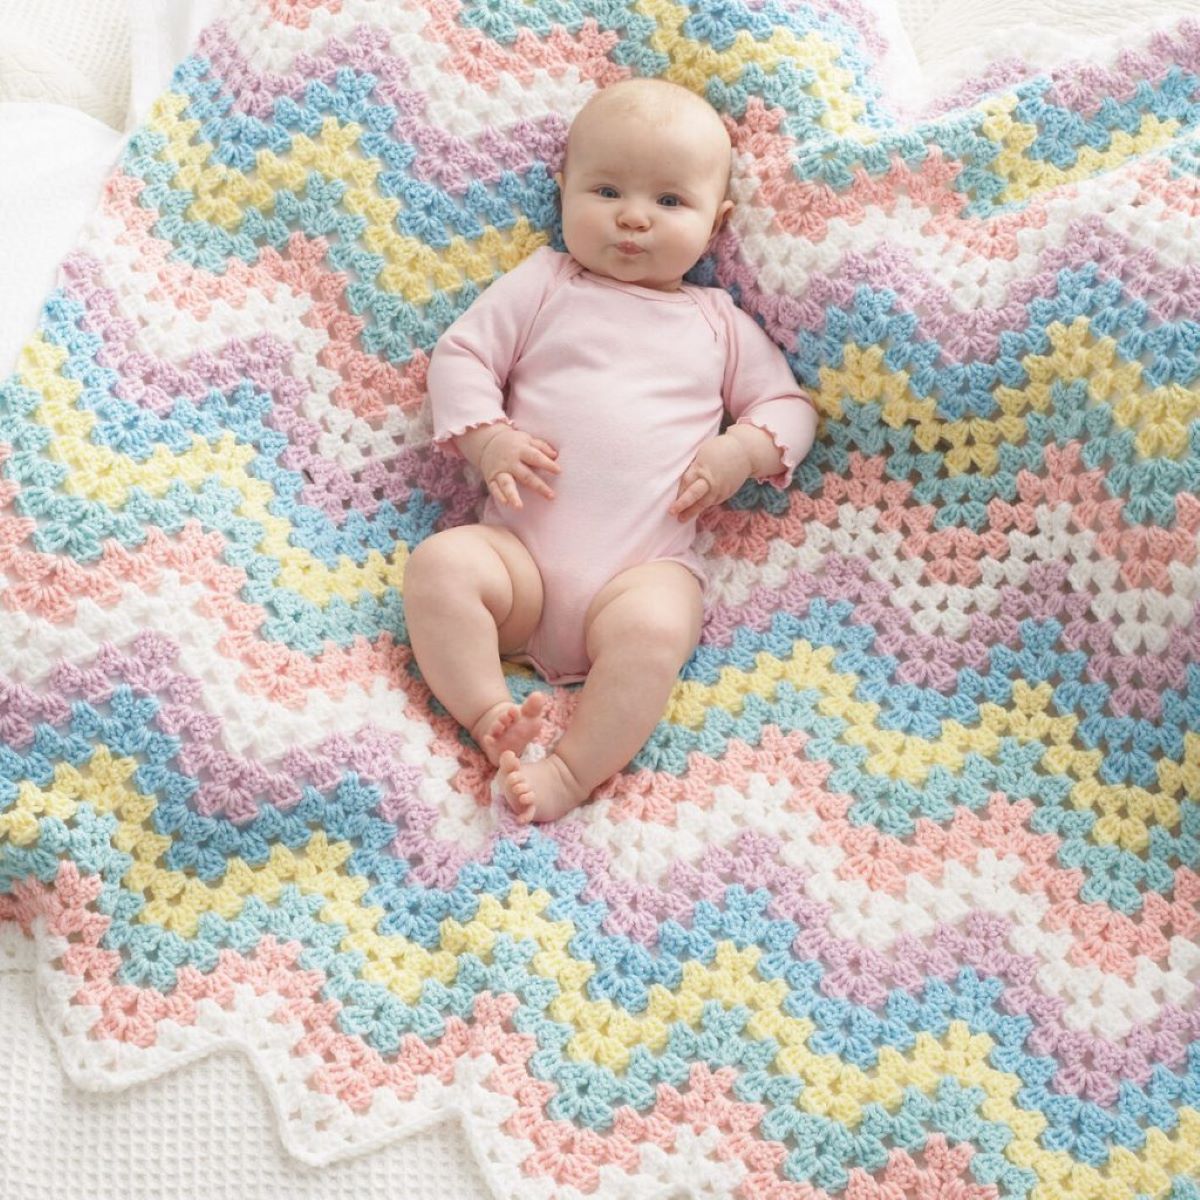
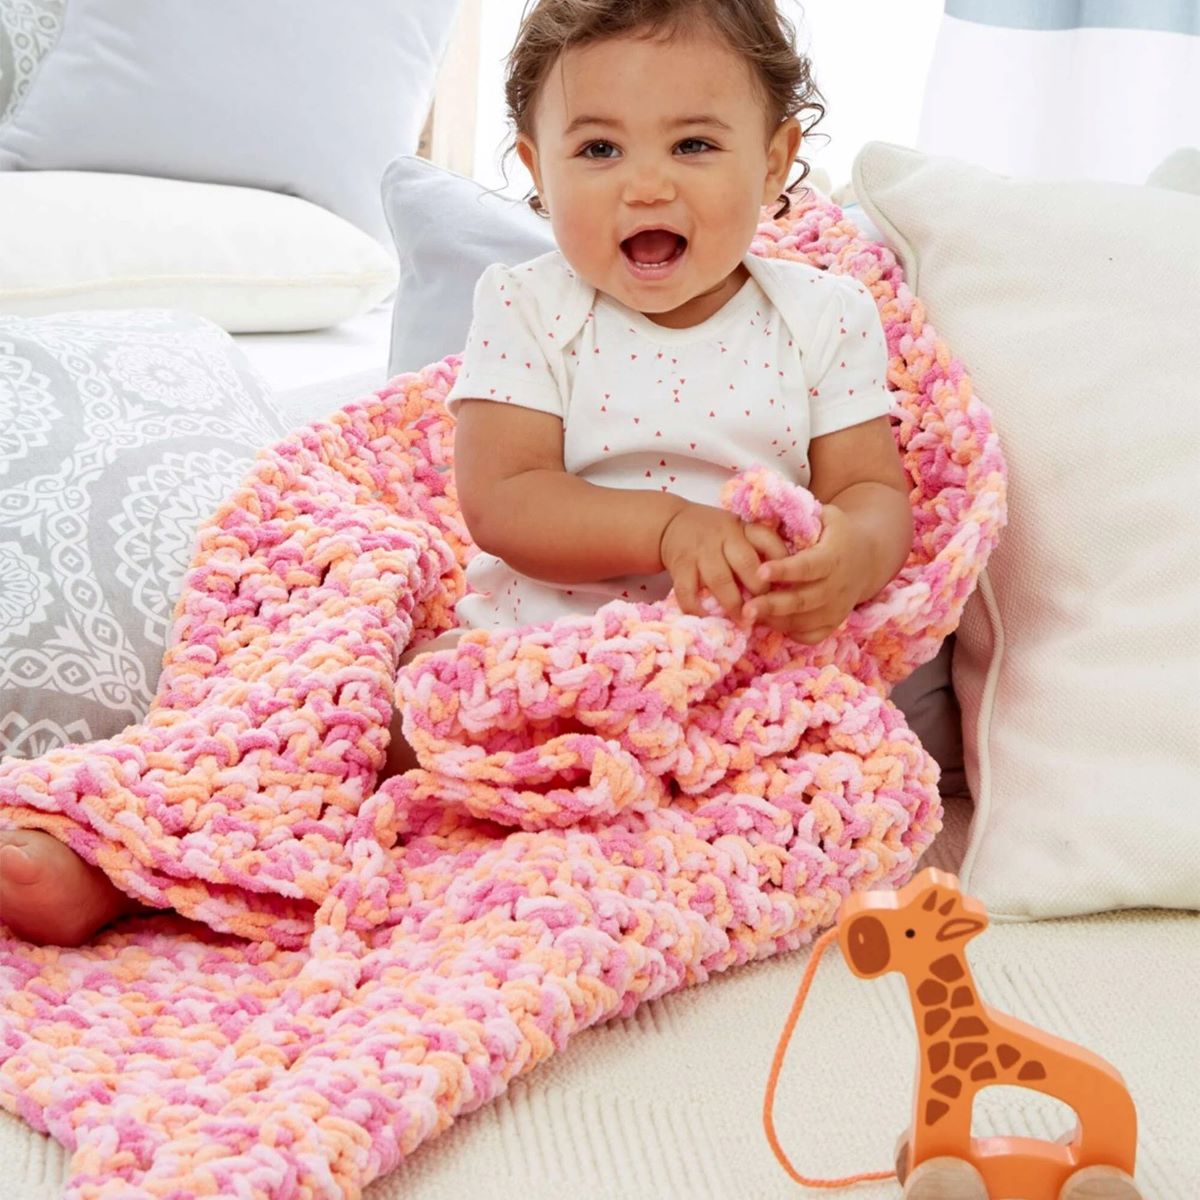
Welcome to the wonderful world of crocheting! One of the most exciting and rewarding projects you can undertake as a crochet enthusiast is creating a baby blanket. Not only are baby blankets meaningful and practical gifts, but they also allow you to showcase your creativity and craftsmanship. In this article, we will guide you through the process of crocheting a beautiful baby blanket using Bernat yarn.
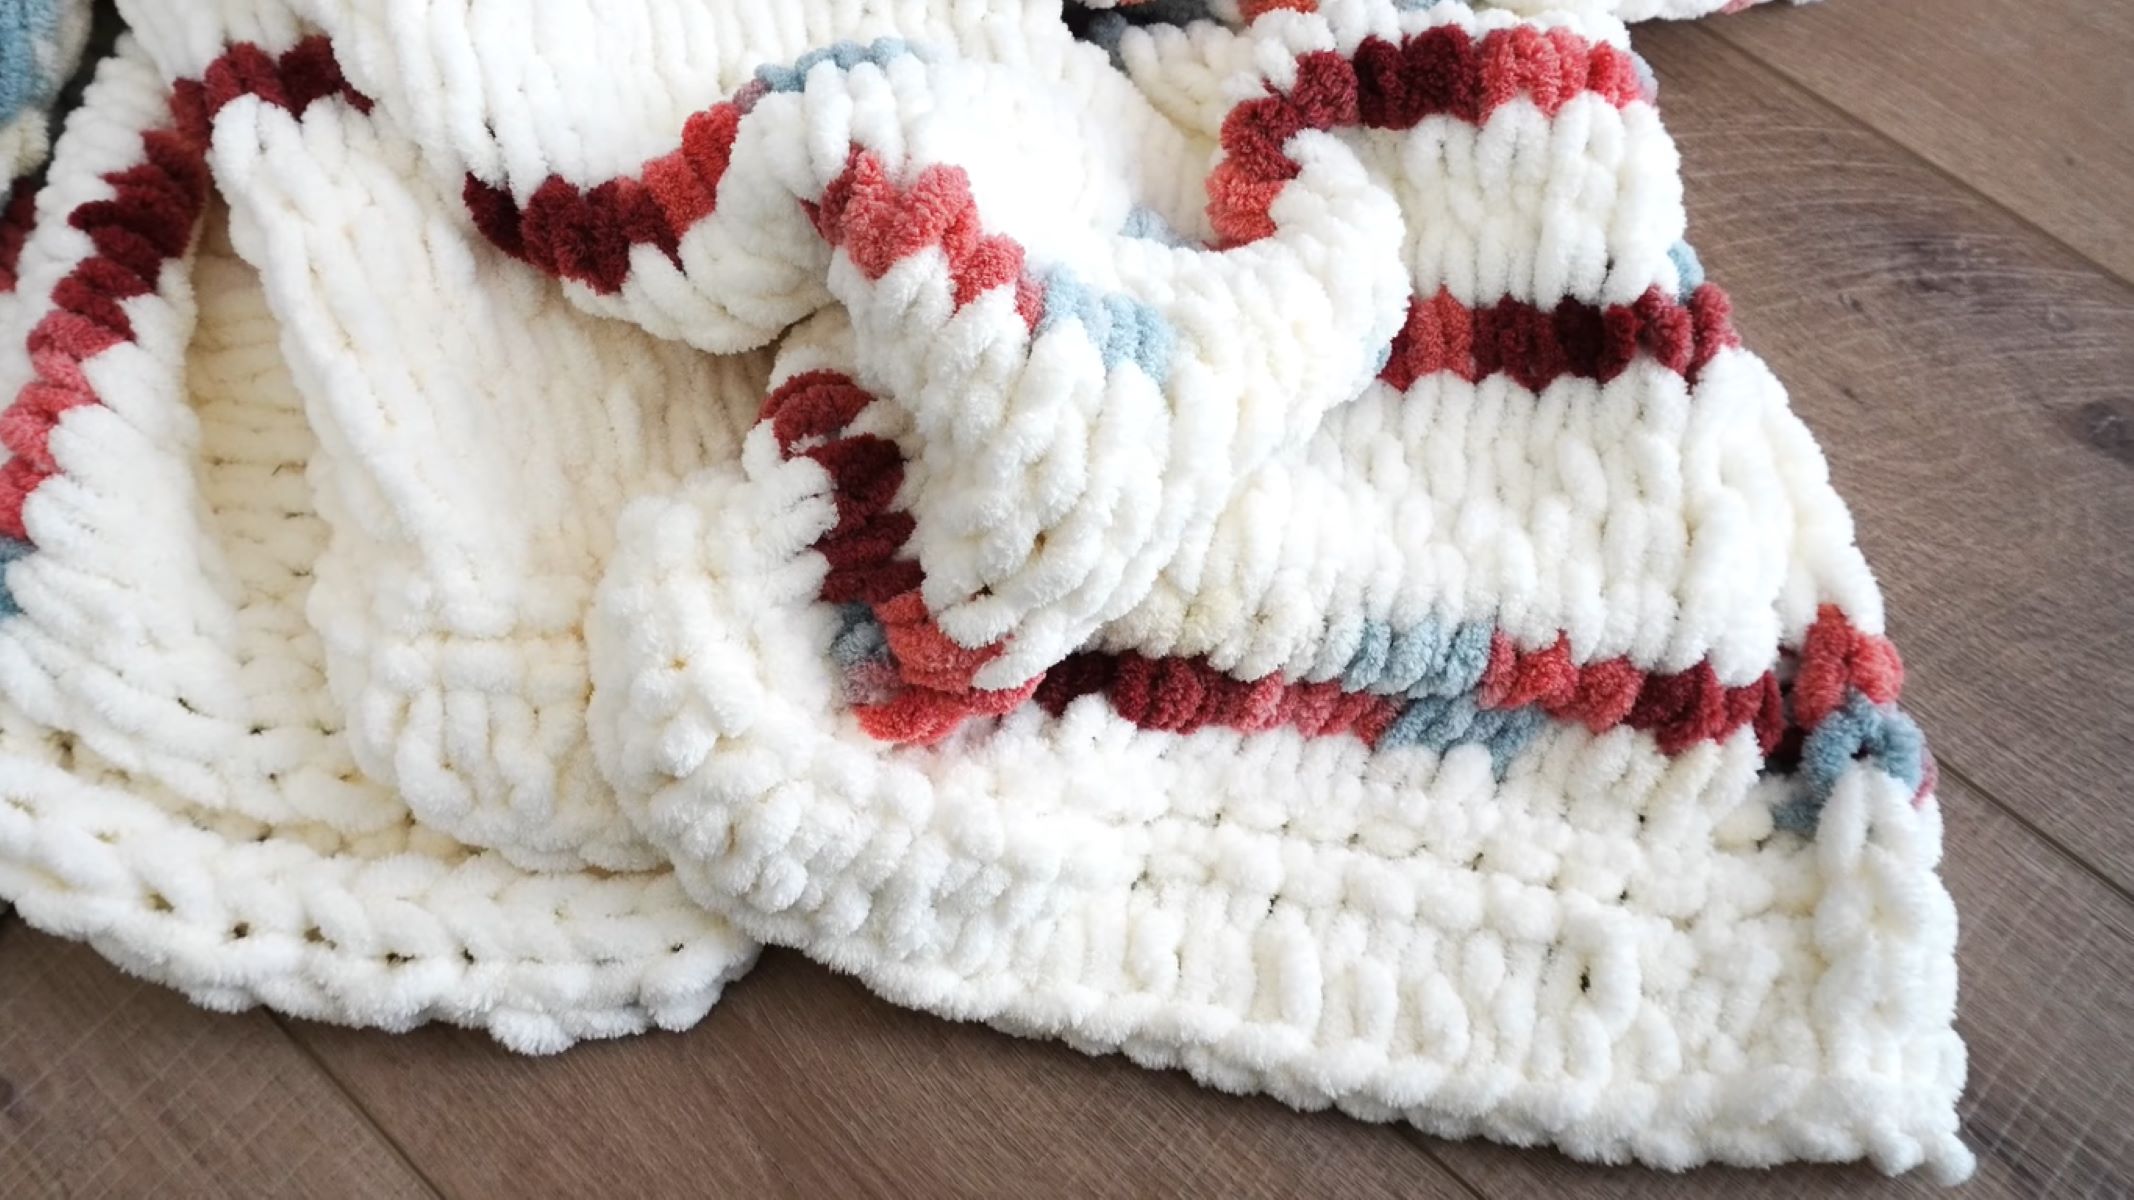
Bernat yarn is known for its exceptional quality and wide range of colors and textures. Whether you prefer a soft and cozy blanket made with Bernat Baby Blanket yarn or a more lightweight and versatile option with Bernat Softee Baby yarn, you can find the perfect yarn to bring your project to life.
Before we dive into the crocheting process, let’s gather all the materials you’ll need:
Key Takeaways:
- Crocheting a baby blanket with Bernat yarn offers a rewarding and creative experience, allowing you to personalize a cherished gift with soft, high-quality yarn and unique design elements.
- From selecting the perfect yarn and hook size to adding a polished border and finishing touches, crocheting a baby blanket with Bernat yarn is a meaningful and enjoyable journey that results in a cozy and professional-looking keepsake.
Read more: How To Crochet A Blanket With Thick Yarn
Materials Needed
To begin crocheting your baby blanket, you’ll need to gather the following materials:
- Bernat yarn of your choice (e.g., Bernat Baby Blanket or Bernat Softee Baby)
- Crochet hook suitable for your chosen yarn (check the yarn label for the recommended hook size)
- Scissors
- Tape measure or ruler
- Yarn needle
- Stitch markers (optional, but helpful for tracking your progress)
Once you have these materials ready, you’re all set to embark on your crocheting adventure!
Choosing the Right Bernat Yarn
When it comes to crocheting a baby blanket, selecting the right yarn is crucial. Bernat offers a wide variety of yarns, each with its own unique characteristics. Here are a few factors to consider when choosing the perfect Bernat yarn for your baby blanket:
- Softness: Babies have sensitive skin, so it’s important to choose a soft and gentle yarn. Bernat Baby Blanket yarn is incredibly soft and perfect for creating cozy blankets that will keep babies warm and comfortable.
- Weight: Consider the weight of the yarn you want to work with. Bernat Baby Blanket yarn is classified as super bulky, making it quick to work up and ideal for providing warmth. If you prefer a lighter weight blanket, you may opt for Bernat Softee Baby yarn, which is classified as DK weight.
- Color: Bernat yarns come in a wide range of beautiful colors, allowing you to choose the perfect shade for your baby blanket. Pick colors that are soothing, cheerful, or match the nursery decor.
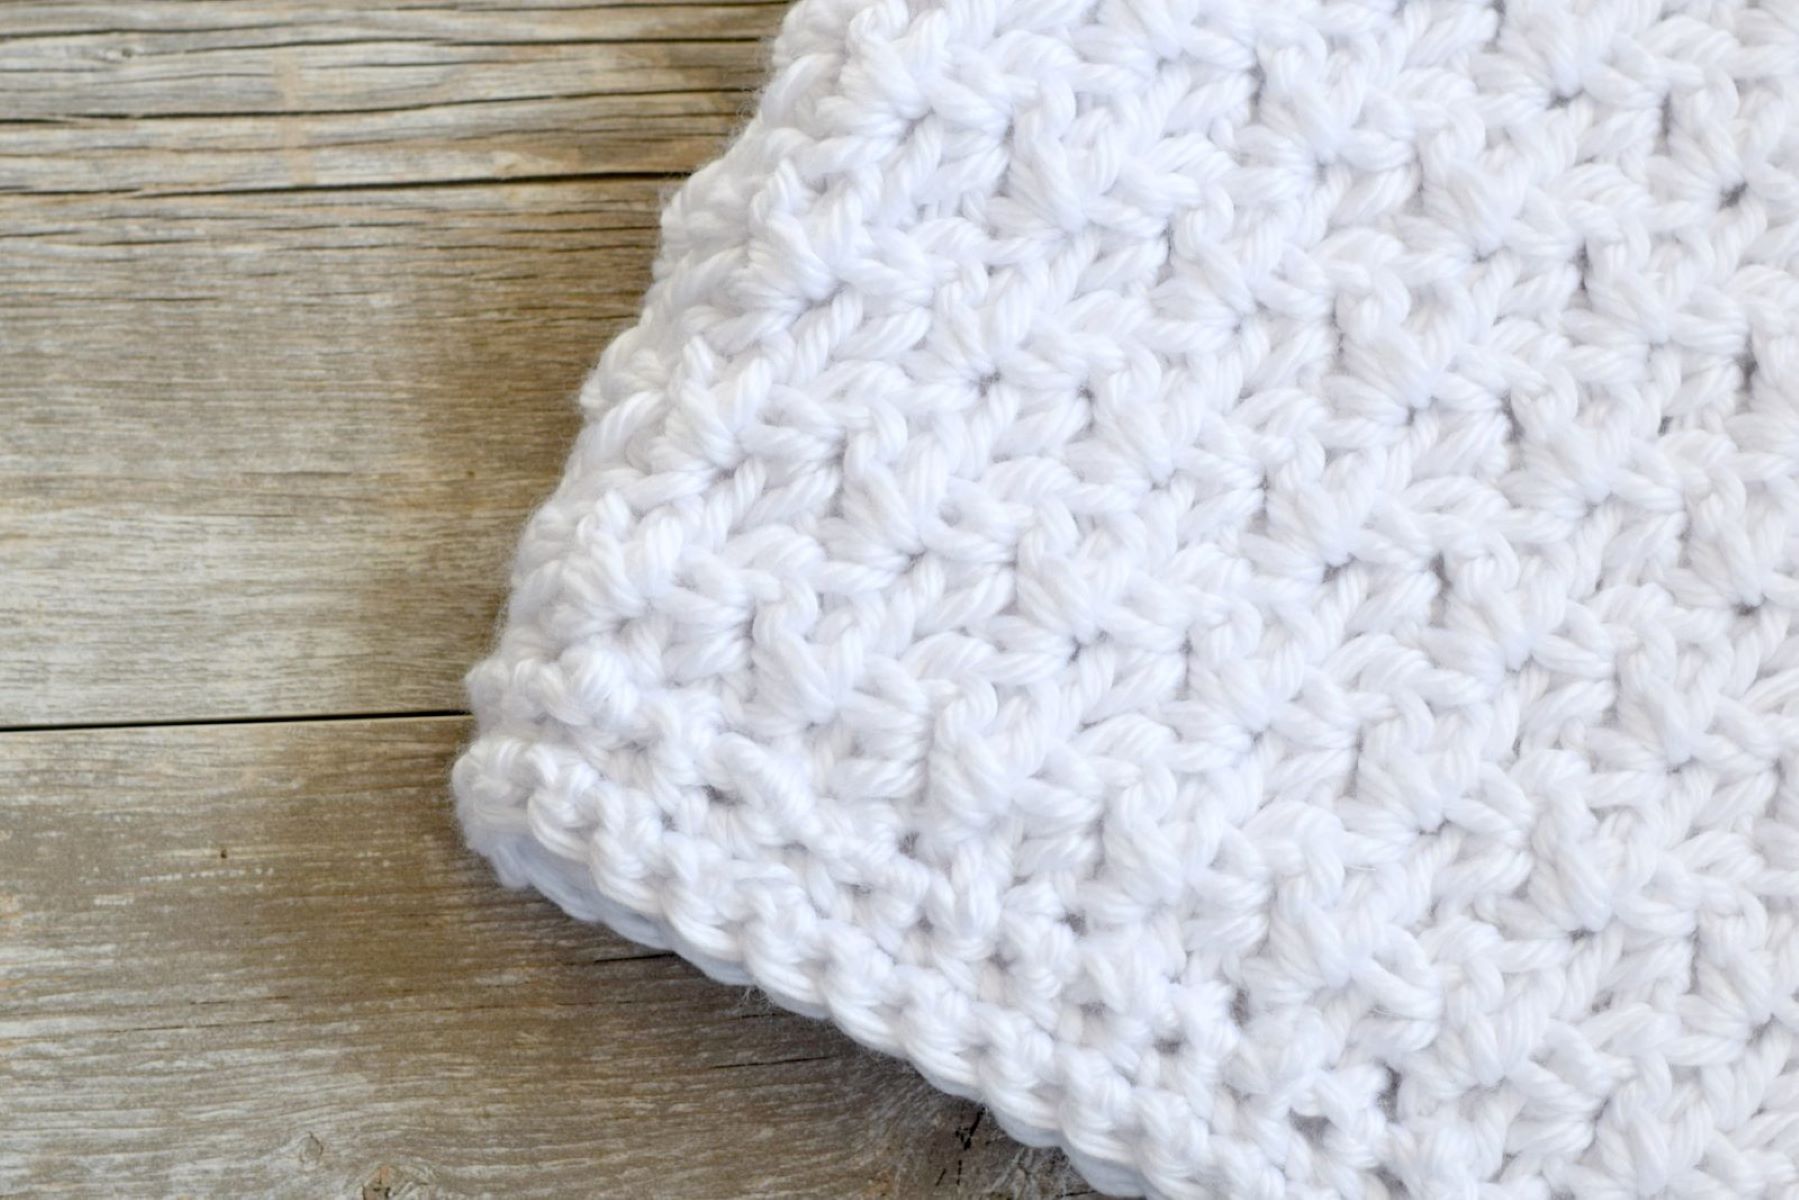
- Texture: Some Bernat yarns have textured variations, such as Bernat Pipsqueak or Bernat Blanket Twist. These yarns can add dimension and interest to your baby blanket, creating a unique and visually appealing design.
- Washability: Babies can be messy, so it’s important to choose a yarn that is easy to care for. Bernat yarns are often machine washable and durable, ensuring that your baby blanket can withstand frequent washes.
Consider your preferences and the specific needs of the recipient when selecting your Bernat yarn. Take the time to feel the yarn in person, if possible, to ensure it meets your expectations in terms of softness and texture.
Once you have chosen the perfect Bernat yarn, it’s time to select the appropriate crochet hook size for your project. Let’s move on to the next step in our baby blanket crocheting journey.
Selecting the Crochet Hook Size
Choosing the right crochet hook size is essential for achieving the correct tension and ensuring that your stitches are neither too loose nor too tight. The recommended hook size can usually be found on the label of the Bernat yarn you’ve chosen. However, it’s always a good idea to perform a gauge swatch to confirm that you’re using the correct hook size for your desired tension.
To make a gauge swatch, begin by chaining a few stitches (around 10-15) using the recommended hook size. Then, work a few rows of your chosen stitch pattern. This will give you an idea of how the yarn behaves with the specified hook size.
After completing the gauge swatch, measure the width and height of your sample stitches. If the number of stitches per inch matches the gauge mentioned on the yarn label, then you’re good to go. If not, you may need to adjust your hook size accordingly. Increasing the hook size will result in looser stitches, while decreasing it will create tighter stitches.
Keep in mind that the same yarn may produce different results with different hook sizes, so it’s important to perform a gauge swatch each time you work with a new yarn or stitch pattern.
Once you have determined the correct hook size for your project, you’re ready to move on to the next step: creating the foundation chain.
Getting Started with the Foundation Chain
The foundation chain is the base for your baby blanket. This is where you will create the initial row of stitches to start building your blanket. To begin, follow these steps:
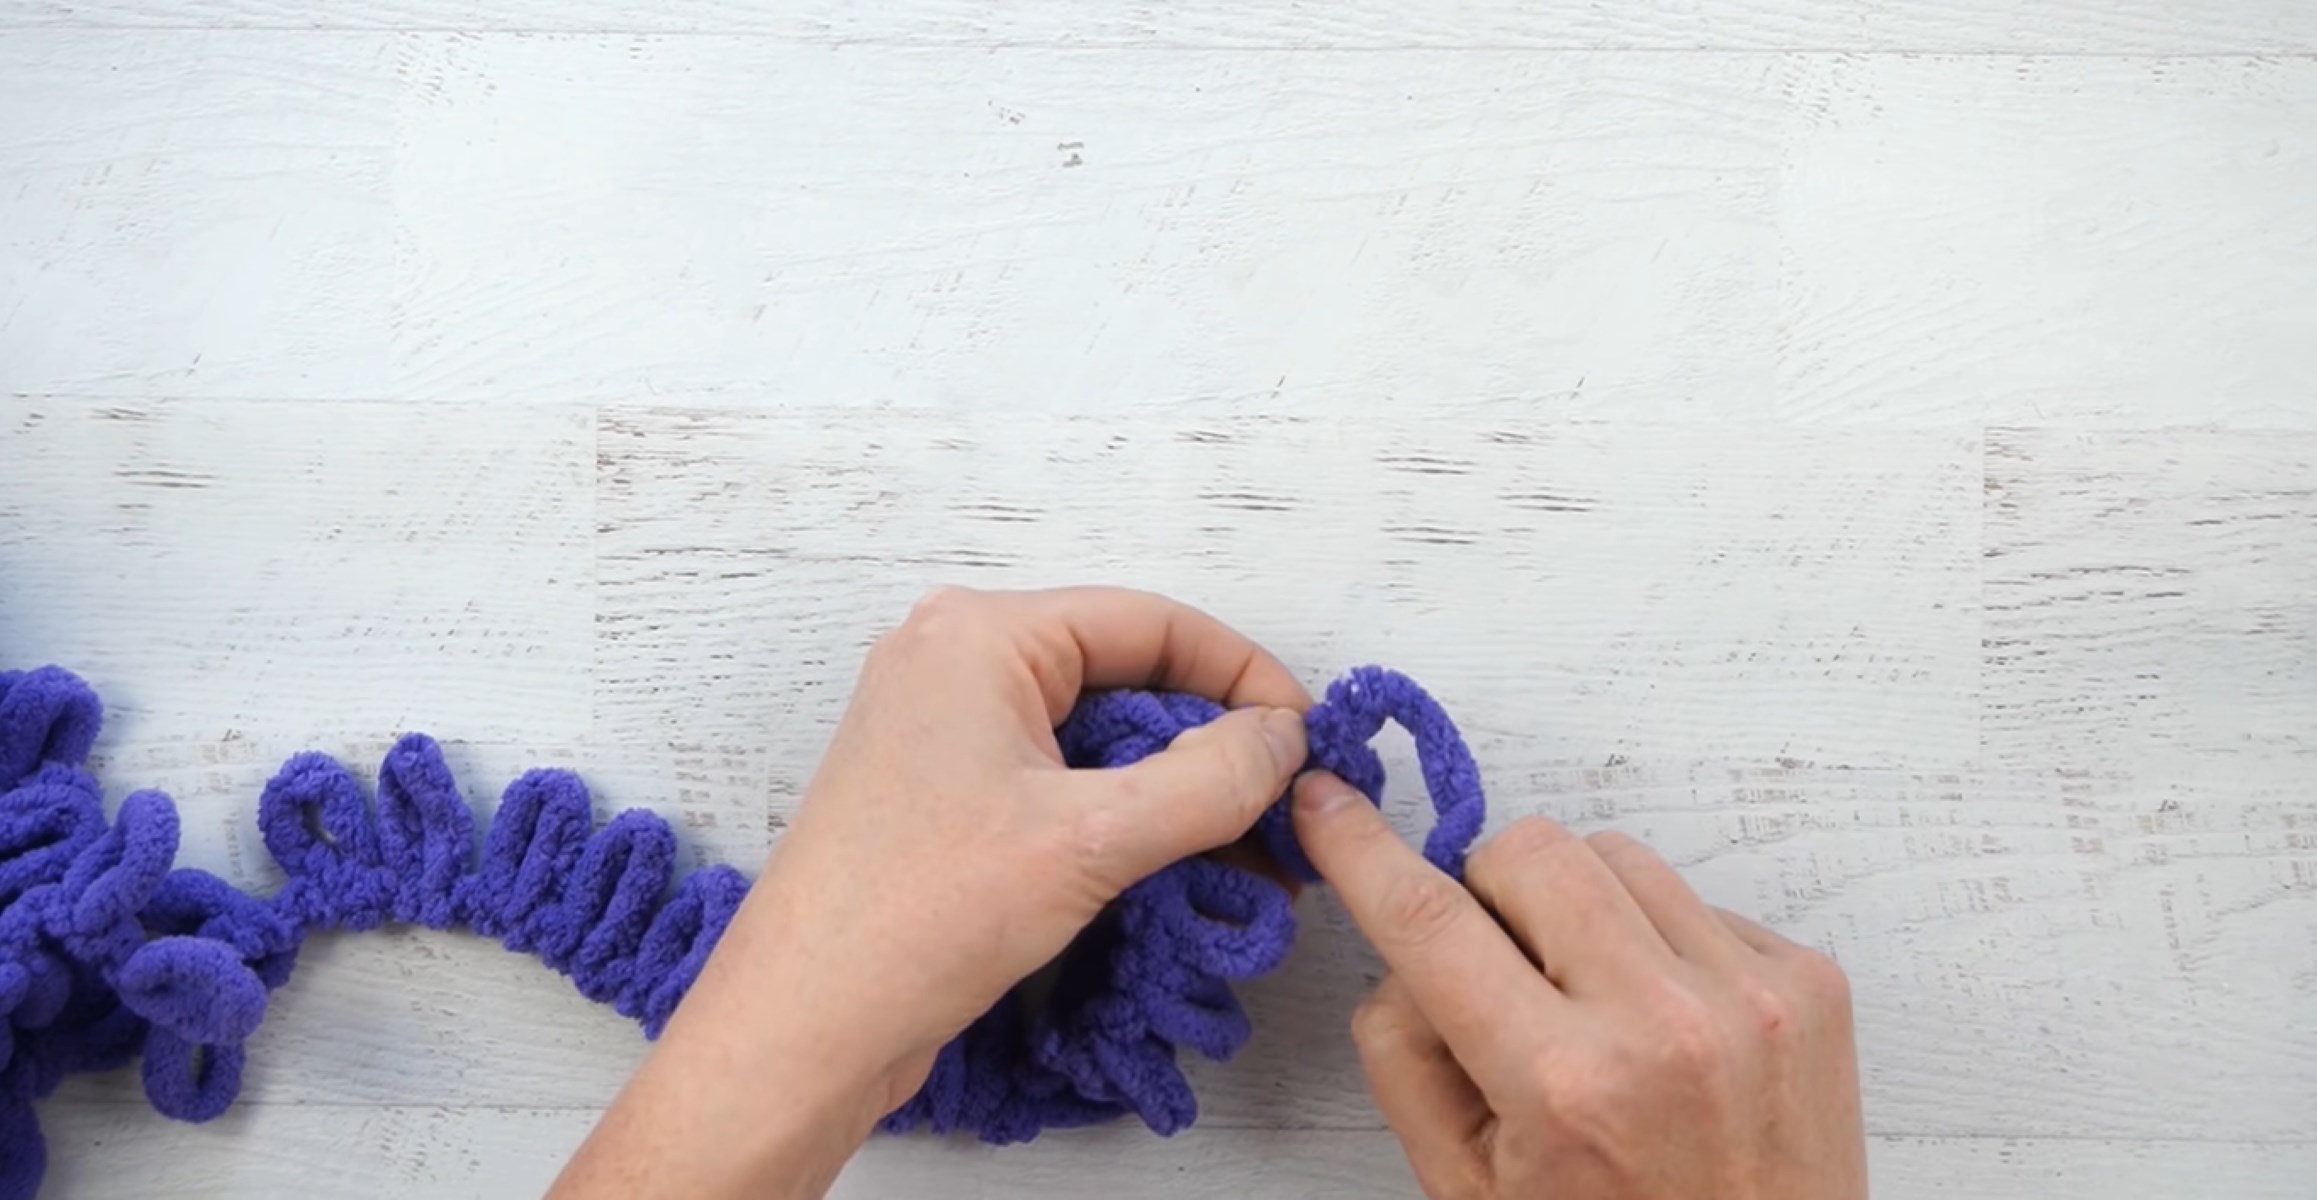
- Make a slip knot: Hold the tail end of your Bernat yarn in one hand, then loop the yarn over your fingers to form a pretzel shape. Pull the working end of the yarn through the loop and tighten to create a slip knot.
- Hold the crochet hook: Insert the crochet hook through the slip knot, with the hook facing upward. Hold the hook with your dominant hand, using a comfortable grip.
- Start the foundation chain: Yarn over (YO) by wrapping the working end of the yarn around the hook from back to front. Using the hook, pull the yarn through the slip knot loop to create the first chain stitch.
- Continue the foundation chain: Yarn over again, and pull the yarn through the loop on the hook to create the next chain stitch. Repeat this step until you have reached the desired number of stitches for your blanket. Count your stitches periodically to ensure you remain consistent.
It’s important to maintain an even tension while creating the foundation chain. Avoid pulling the yarn too tightly or leaving it too loose, as this can affect the overall appearance of your blanket.
Once you’ve completed the foundation chain, you’re ready to move on to the next step: creating the first row of single crochet stitches. Stay tuned for the next section, where we’ll guide you through the process step by step.
Read also: 12 Best Bernat Blanket Yarn for 2024
Creating the First Row: Single Crochet Stitches
Now that you have your foundation chain ready, it’s time to start building your baby blanket. The first row of stitches will consist of single crochet stitches, which are a basic yet versatile stitch in crochet. Follow these steps to create the first row:
- Insert the hook: Insert the crochet hook into the second chain from the hook, skipping the first chain stitch. This is done to maintain an even stitch count.
- Yarn over and pull through: Yarn over (YO) by wrapping the yarn around the hook from back to front. Using the hook, pull the yarn through the chain stitch, creating two loops on your hook.
- Yarn over and pull through again: Yarn over (YO) once more, and pull the yarn through both loops on the hook. This completes one single crochet stitch. Note: In this first row, you’ll be working into the back “bump” of the chains to create a straight edge.
- Continue the row: Repeat steps 1 to 3 for each chain stitch across the foundation chain. Insert the hook into the back bump of the next chain, yarn over and pull through, then yarn over and pull through again to create a single crochet stitch.
- Reach the end of the row: When you reach the last chain stitch, make sure to work a single crochet stitch into it as well. This will ensure that you have the same number of stitches across the row.
Take your time as you work through the first row, ensuring that each single crochet stitch is neat and even. It’s crucial to maintain a consistent tension for a polished and professional finish.
Once you’ve completed the first row, you’re ready to continue working on subsequent rows to create the pattern for your baby blanket. We’ll cover this in the next section, so stay tuned!
When crocheting a baby blanket with Bernat yarn, be sure to choose a soft and machine-washable yarn to ensure easy care for the blanket.
Continuation Rows: Working the Pattern
Now that you’ve successfully completed the first row of single crochet stitches, it’s time to continue working on subsequent rows to build the pattern for your baby blanket. Follow these steps to create the continuation rows:
- Chain one (turning chain): After completing the first row, chain one to serve as the turning chain. This will act as the first stitch in the new row. The turning chain helps to maintain the height and tension of the subsequent rows.
- Turn the work: Flip your project to the other side, so the completed row is now facing down, and you’re ready to start working from right to left (if you are right-handed) or left to right (if you are left-handed).
- Insert the hook: Insert the crochet hook into the first stitch of the row, which is the stitch right below the turning chain. Be sure to insert the hook under both loops of the stitch to create a strong and secure hold.
- Yarn over and pull through: Yarn over (YO) by wrapping the yarn around the hook from back to front. Use the hook to pull the yarn through the stitch, creating two loops on your hook.
- Yarn over and pull through again: Yarn over (YO) once more, and pull the yarn through both loops on the hook. This completes one single crochet stitch.
- Continue the row: Repeat steps 3 to 5 for each stitch across the row. Insert the hook into the next stitch, yarn over and pull through, then yarn over and pull through again to create a single crochet stitch. Repeat this process until you reach the end of the row.
- Repeat the pattern: To create subsequent rows, repeat steps 1 to 6. Chain one as the turning chain, turn the work, and continue working single crochet stitches across the row.
By following this pattern of chaining one, turning the work, and working single crochet stitches across each row, you’ll gradually build the body of your baby blanket. Remember to maintain an even tension and check your stitch count from time to time to ensure consistency.
In the next section, we’ll learn about changing yarn colors to add visual interest and personalization to your baby blanket.
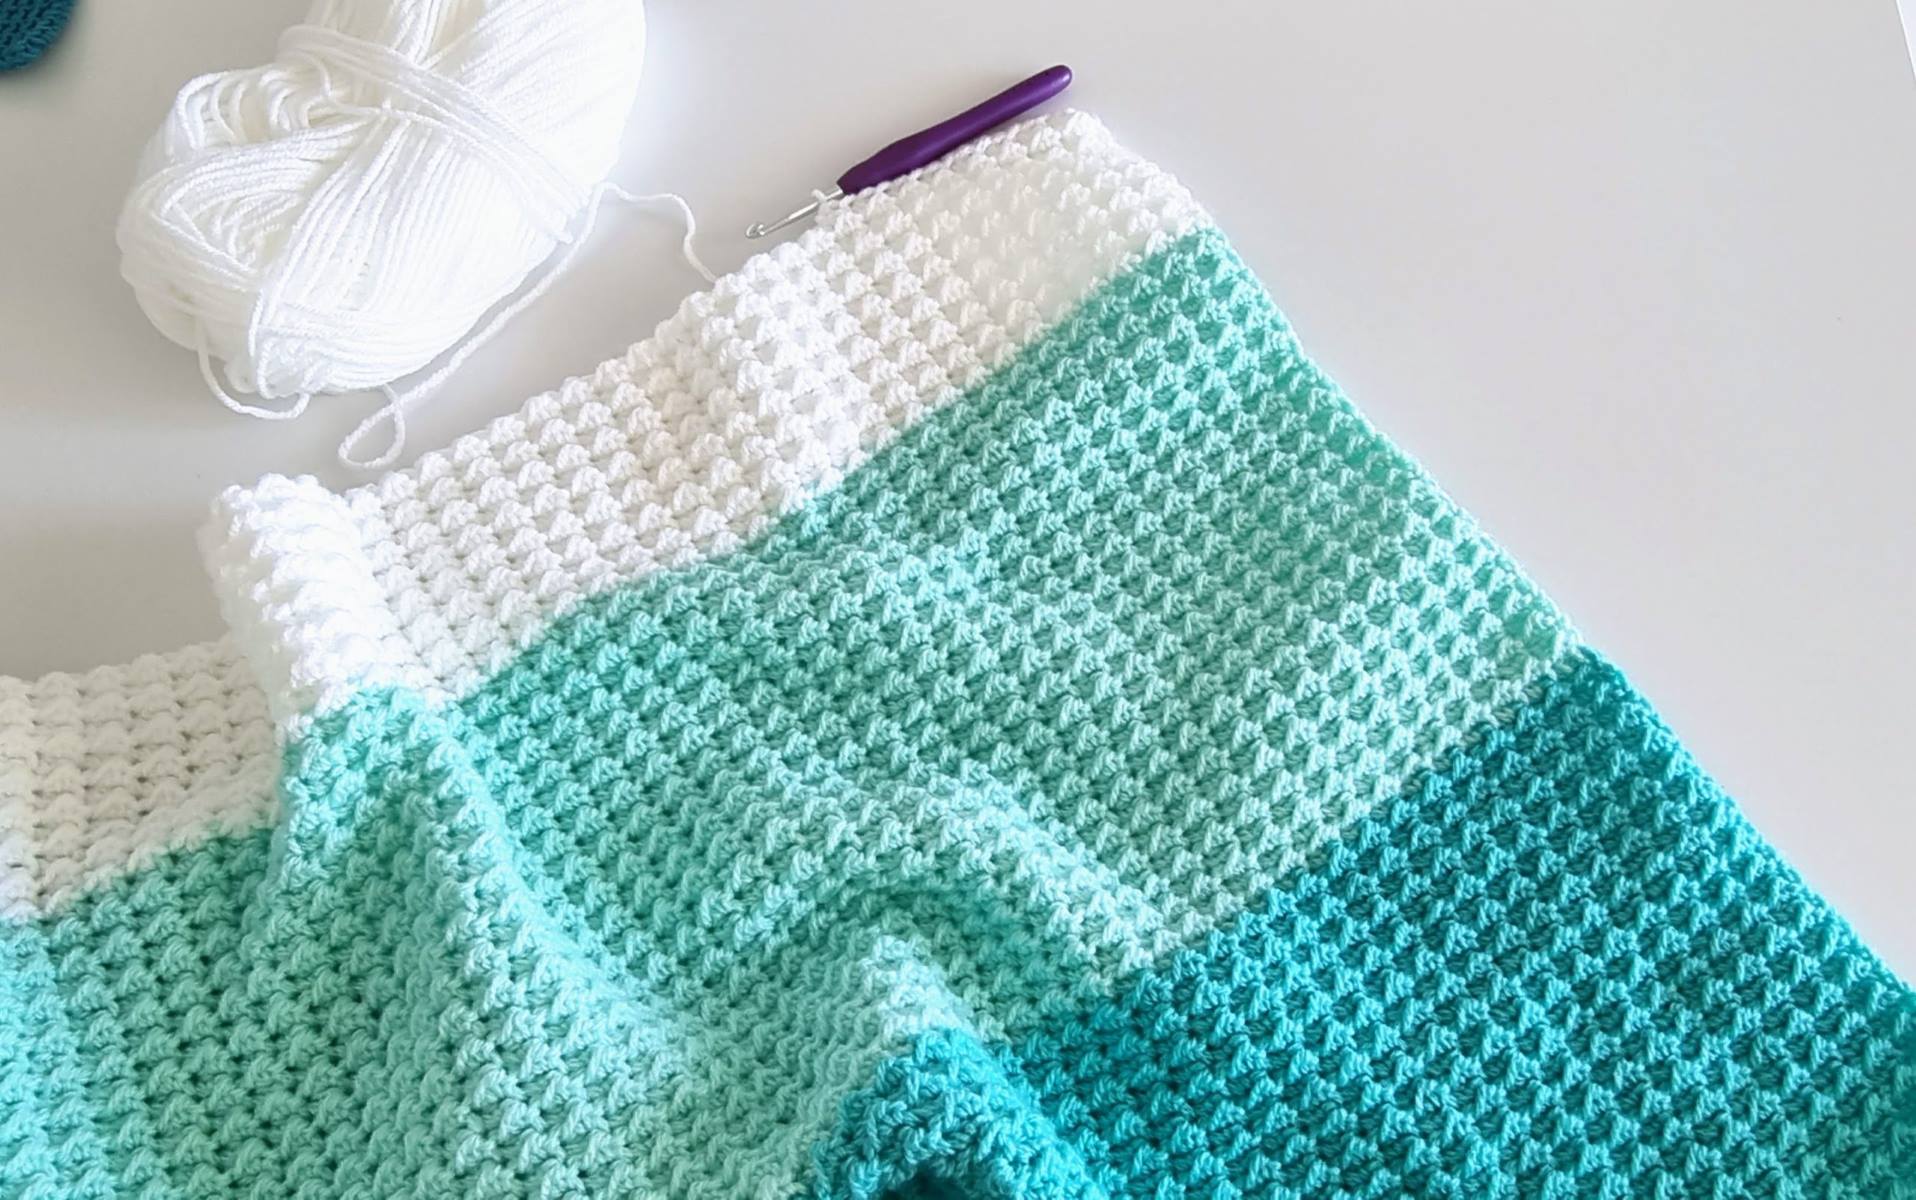
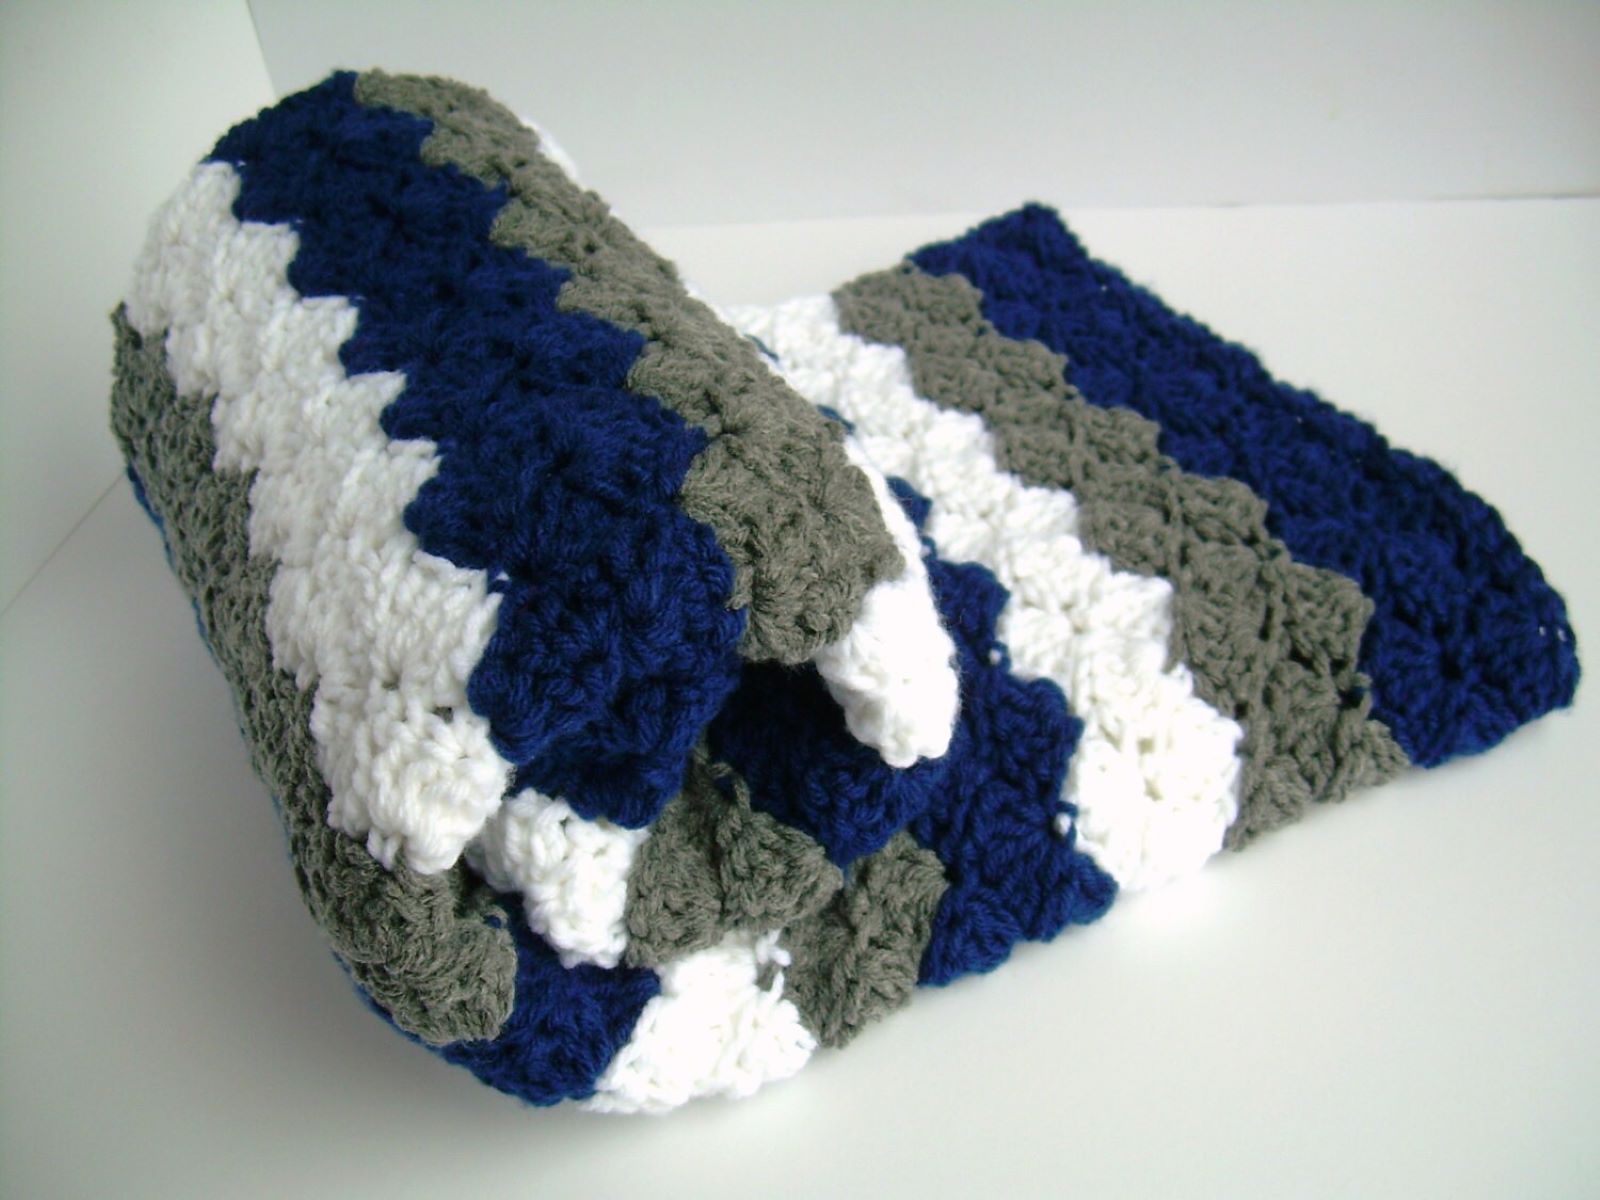
Changing Yarn Colors
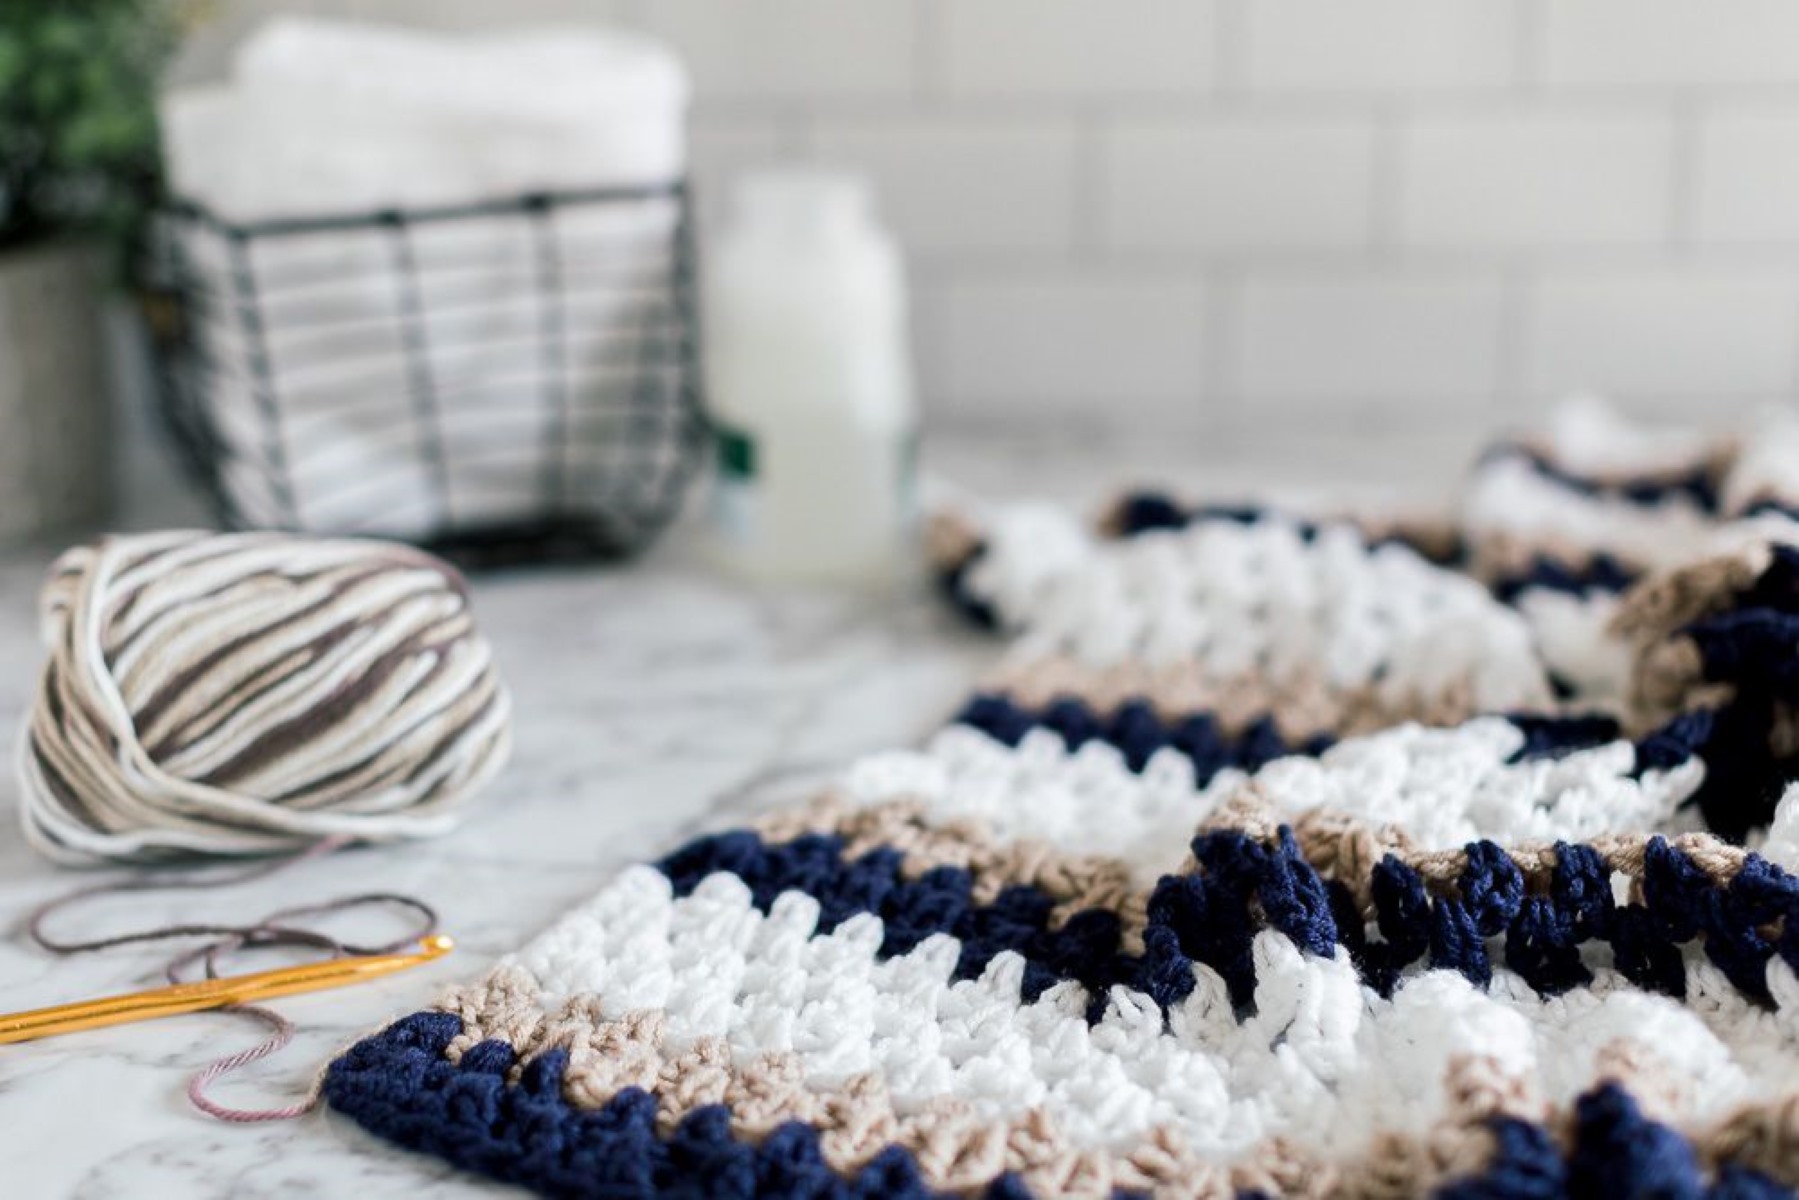
Changing yarn colors can be a fun and creative way to add visual interest and personalization to your baby blanket. Here’s how you can smoothly transition between colors:
- Prepare for the color change: When you’re approaching the last stitch of the row before the color change, complete the stitch until you have two loops remaining on the hook.
- Switch yarn colors: Drop the current yarn color and pick up the new color. Leave a tail of the new color yarn, ensuring it’s long enough to weave in later for a secure finish.
- Yarn over with the new color: With the new color yarn, yarn over (YO) by wrapping the yarn around the hook from back to front.
- Complete the stitch with the new color: Use the hook to pull the new color yarn through the two loops on the hook, completing the stitch with the new color.
- Continue working with the new color: From this point on, continue following the pattern instructions, working with the new color yarn as if there was no color change. Carry the tail of the old color yarn along the edge of the blanket as you work your stitches, to be later woven in for a neat finish.
- Changing colors in subsequent rows: For subsequent rows, continue working with the new color until you reach the desired point for another color change. Repeat steps 2 to 5 as needed to introduce additional yarn colors.
When weaving in the yarn tails, make sure to secure them tightly to avoid unraveling. Additionally, weaving the tails along the edge of the blanket will keep them hidden and maintain a clean and seamless appearance.
Changing yarn colors adds a pop of personality and allows you to create unique patterns and designs. Have fun experimenting with different color combinations to make your baby blanket truly one-of-a-kind!
In the next section, we’ll explore adding a border to your baby blanket for a polished and finished look.
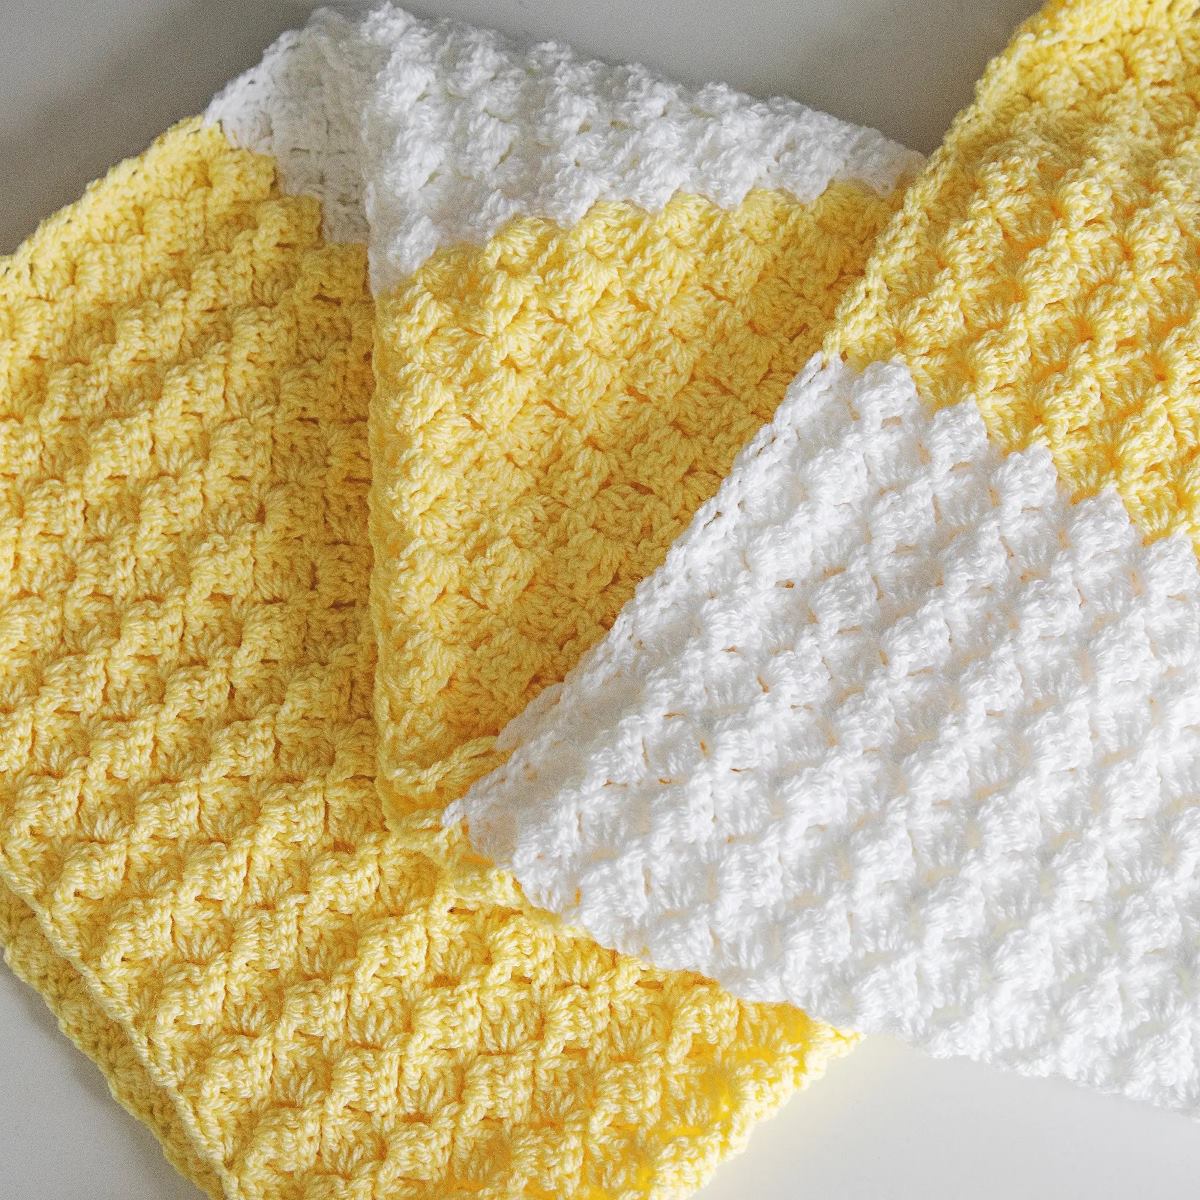
Adding a Border to the Blanket
Adding a border to your baby blanket not only gives it a finished and polished look, but it also adds structural stability and helps to prevent the edges from curling. Here’s how you can create a simple border:
- Choose a border stitch: There are various border stitch options you can choose from, such as single crochet, double crochet, or a combination of stitches. Select a stitch that complements the overall design of your blanket and matches your personal preference.
- Start at a corner: Begin at one corner of your blanket. If you want a more defined corner, you can create additional stitches in the same corner stitch.
- Work along the edge: Proceed to work along the edge of your blanket, making sure to evenly space your stitches. You can either work directly into the existing stitches or create additional stitches to maintain a consistent border width.
- Continue around the entire blanket: Work your way around the entire blanket, following the same stitch pattern and maintaining a consistent border width. If you reach a corner, you can create additional stitches to maintain the shape and provide a smooth transition.
- Join the last stitch: When you’ve completed the final stitch of your border, join it to the first stitch of the border by slip stitching or using a technique called the slip stitch join. This will create a seamless and neat finish.
Feel free to get creative with your border by incorporating different stitches or color changes. You can also experiment with textured stitches or add decorative elements such as picots or shells to enhance the appearance of the border.
Once you’ve finished adding the border, take a moment to admire your completed baby blanket. It’s now time for the finishing touches and blocking.
In the next section, we’ll discuss the importance of finishing touches and touch on the blocking process to ensure your blanket looks its absolute best.
Finishing Touches and Blocking
As you near the completion of your baby blanket, it’s important to give it some finishing touches to ensure it looks its absolute best. Here are a few steps you can take:
- Secure loose ends: Take the time to weave in any loose ends of yarn from color changes or joining new yarn. This will prevent them from unraveling and create a clean and professional finish.
- Block your blanket: Blocking is the process of gently shaping and straightening the stitches of your blanket to improve its overall appearance. To block your blanket, dampen it with water, then lay it flat on a clean towel or blocking mat. Use rust-proof pins to pin the edges and corners of the blanket to the desired dimensions. Allow it to dry completely before unpinning.
- Inspect for any mistakes: Carefully examine your blanket for any mistakes or inconsistencies. If you notice any errors, consider whether they are minor enough to leave or if they need to be corrected. Be mindful of the overall aesthetic and use your judgment to determine if adjustments are necessary.
- Add embellishments (optional): If desired, you can add additional embellishments to your baby blanket, such as appliques, embroidery, or decorative buttons. These personal touches can make the blanket even more special and unique.
By giving your baby blanket these finishing touches, you can ensure that it looks professionally crafted and ready to be cherished for years to come.
Finally, remember to care for your completed baby blanket according to the yarn’s washing instructions. This will help to maintain its quality and durability, ensuring that it can be enjoyed by the recipient for a long time.
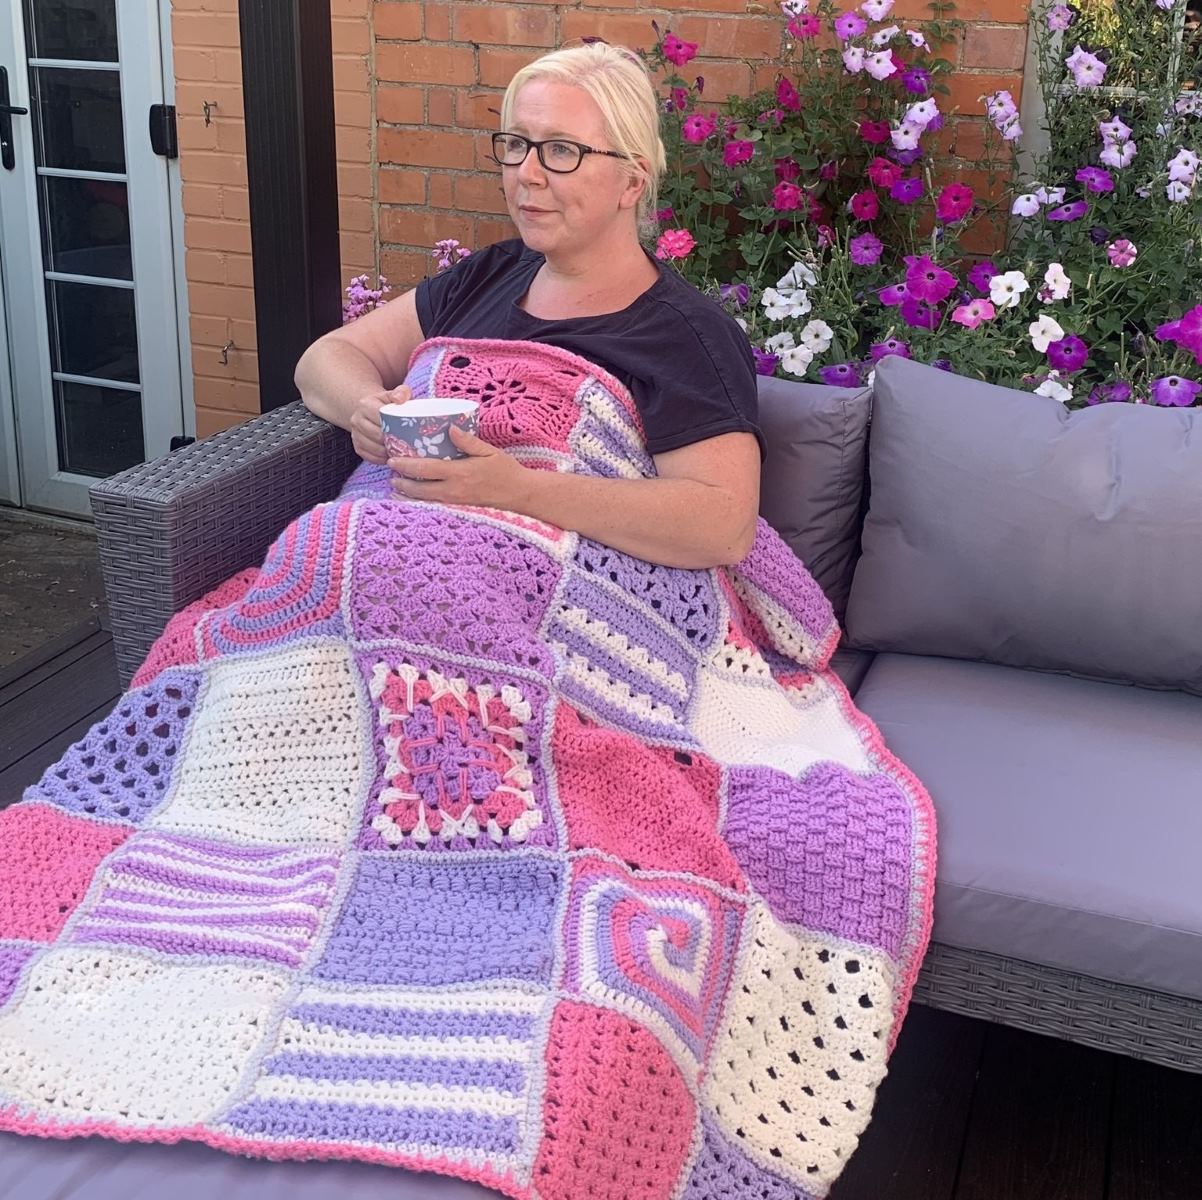
Congratulations on completing your beautiful baby blanket! It’s now ready to be gifted or cherished for your own little one. Crocheting a baby blanket with Bernat yarn is a rewarding experience, allowing you to showcase your creativity and craftmanship while creating a cozy and cherished item.
Thank you for joining us on this crocheting journey. We hope you enjoyed the process and have gained valuable skills to embark on more crochet projects in the future!
Happy crocheting!
Conclusion
Crocheting a baby blanket with Bernat yarn is not only a fulfilling craft project but also a way to create a cherished and personalized gift. Throughout this article, we’ve explored the essential steps and considerations involved in crocheting a baby blanket with Bernat yarn. From choosing the right yarn and hook size to creating the foundation chain, working the pattern, changing yarn colors, adding a border, and finishing touches, each step contributes to the creation of a beautiful and functional baby blanket.
By selecting soft and high-quality Bernat yarn, you ensure that the blanket will be gentle against a baby’s delicate skin. The choice of yarn weight, color, and texture allows you to personalize your blanket and create a unique design that matches your style and the nursery decor.
Through careful attention to tension, even stitches, and well-executed color changes, you can create a visually pleasing and professional-looking baby blanket. Adding a border provides structural stability and a finished touch, while securing loose ends ensures durability and longevity.
Remember to take the extra step of blocking your blanket to enhance its overall appearance and straighten the stitches. This step, along with inspecting for any mistakes or inconsistencies, will help you create a high-quality and well-crafted baby blanket.
Whether you’re making the blanket as a gift or for your own little one, the love and care poured into its creation will be cherished. Crocheting a baby blanket with Bernat yarn is a meaningful and creative endeavor that results in a beautiful and cozy keepsake.
So, gather your materials, choose your favorite Bernat yarn, and embark on this delightful crocheting journey. Enjoy the process, embrace your creativity, and craft a baby blanket that will bring warmth, comfort, and joy to its recipient.
Happy crocheting!
Frequently Asked Questions about How To Crochet A Baby Blanket With Bernat Yarn
Was this page helpful?
At Storables.com, we guarantee accurate and reliable information. Our content, validated by Expert Board Contributors, is crafted following stringent Editorial Policies. We're committed to providing you with well-researched, expert-backed insights for all your informational needs.
