
Articles
How To Finish A Crochet Blanket
Modified: January 6, 2024
Learn the best techniques and tips for finishing a crochet blanket in this comprehensive guide. Find step-by-step articles and expert advice to complete your perfect blanket.
(Many of the links in this article redirect to a specific reviewed product. Your purchase of these products through affiliate links helps to generate commission for Storables.com, at no extra cost. Learn more)
Introduction
Welcome to the world of crochet! If you’ve recently taken up this beautiful craft and have successfully created a crocheted blanket, congratulations! Now, you’re probably wondering how to finish it off with a touch of professionalism and finesse. In this article, we’ll walk you through the step-by-step process of finishing a crochet blanket, ensuring that it looks stunning and ready to be cherished for years to come.
Finishing a crochet blanket involves a few key steps, from choosing the right yarn to adding a border and weaving in ends. While it may seem like a daunting task at first, don’t worry! We’ll guide you through the process, giving you all the tips and tricks you need to create a finished blanket that will make you proud.
So, gather your materials and let’s get started, shall we?
Key Takeaways:
- Choosing the right yarn, hook size, and stitch pattern is crucial for achieving a professional and polished finish for your crochet blanket. Attention to detail in these areas will ensure a cohesive and visually stunning result.
- Incorporating decorative elements such as color changes, stitch patterns, and unique borders can elevate your crochet blanket, adding personality and charm. Embrace creativity and experimentation to make your blanket truly one-of-a-kind.
Materials Needed
Before you begin finishing your crochet blanket, make sure you have all the necessary materials on hand. Here’s a list of what you’ll need:
- Crochet blanket (already completed)
- Yarn – Choose a yarn that complements the colors and style of your blanket. Opt for a soft and durable yarn, preferably in worsted weight or a weight that matches your original blanket.
- Crochet hook – Select a hook size that is appropriate for your yarn and achieves the desired tension. Refer to the yarn label or your crochet pattern for hook size recommendations.
- Tapestry needle – This will be used to weave in the loose ends of yarn.
- Scissors – A sharp pair of scissors is essential for cutting yarn and trimming any excess threads.
- Measuring tape or ruler – You’ll need this to measure the size of your blanket and determine the dimensions for creating a border.
- Blocking materials (optional) – If you want to improve the drape and even out the stitches of your blanket, you may want to consider using blocking mats, T-pins, and a spray bottle for blocking.
Once you’ve gathered all the necessary materials, you’re ready to embark on the journey of finishing your crochet blanket. So, let’s move on to the next step!
Step 1: Choosing the Yarn
Choosing the right yarn is crucial when it comes to finishing your crochet blanket. You want a yarn that not only complements the colors and style of your blanket but also provides the desired level of softness and durability.
When selecting yarn for finishing, it’s best to opt for a yarn that is similar to the one you used to create the main body of the blanket. This will ensure consistency in texture and thickness. Consider factors such as fiber content, weight, and color.
If you have leftover yarn from your crochet project, using the same yarn for finishing is the most straightforward option. However, if you need to purchase additional yarn, try to match the color and weight as closely as possible. Keep in mind that dye lots can vary, so it’s wise to purchase all the yarn you need at once or check for any visible differences when buying more.
Consider the fiber content of the yarn as well. For blankets that will be used frequently or washed often, a durable and easy-care yarn such as acrylic or a blend with acrylic is a good choice. Natural fibers like cotton or wool can be great for blankets that require more breathability or warmth.
Finally, remember to consider the desired thickness or weight of the yarn. If your original blanket was made with worsted weight yarn, it’s best to use a similar weight for finishing. You want your finished blanket to have a consistent look and feel throughout.
By carefully considering these factors and making an informed decision, you’ll be well on your way to choosing the perfect yarn for finishing your crochet blanket.
Step 2: Selecting the Hook Size
Once you have chosen the yarn for finishing your crochet blanket, the next step is to select the appropriate hook size. The right hook size is essential for achieving the desired tension and ensuring that the stitches are consistent with the rest of the blanket.
To determine the ideal hook size, refer to the label of your yarn or your original crochet pattern. These sources often provide recommendations for the suggested hook size. Following these recommendations will help you achieve the intended gauge and ensure that your finished blanket retains its intended dimensions.
However, keep in mind that your personal crochet tension can differ slightly from the recommended gauge. If you find that your stitches are too loose or too tight, you can adjust the hook size accordingly. If your stitches are too loose, go down a hook size to create tighter stitches. Conversely, if your stitches are too tight, go up a hook size to create looser stitches.
Remember that the goal is to match the tension and stitch size of the rest of the crochet blanket. Carefully observe your work-in-progress and compare it to the main body of the blanket. Adjusting the hook size can help you achieve a cohesive and uniform look throughout.
It’s worth noting that if you used a different hook size for the main body of the blanket, you should use the same hook size for finishing. Consistency in stitch size is crucial for a harmonious final result.
Take the time to experiment with different hook sizes and gauge swatches before committing to a specific hook size for finishing your crochet blanket. Don’t be afraid to make adjustments until you achieve the desired tension and a consistent look.
Once you’ve selected the appropriate hook size, you’re ready to move on to the next step—creating a gauge swatch to ensure your stitches are on point!
Step 3: Gauge Swatch
Creating a gauge swatch is an essential step in finishing your crochet blanket. It allows you to check your tension with the chosen yarn and hook size, ensuring that your stitches are consistent and match the rest of the blanket.
To begin, take a small amount of your chosen yarn and use the recommended hook size to crochet a square swatch. The size of the swatch can vary, but it’s generally recommended to make it at least 4×4 inches (10×10 cm).
Follow the same stitch pattern and number of stitches as the main body of your blanket. It’s crucial to replicate the same tension and stitch size to ensure a seamless transition from the body of the blanket to the finished edges.
Once you’ve completed the swatch, measure it with a ruler or measuring tape. Count the number of stitches and rows within the designated measurement area to determine if it matches the gauge indicated in your pattern or yarn label.
If the gauge matches, congratulations! You can proceed confidently knowing that your stitches are consistent with the rest of the blanket.
If the gauge does not match, don’t worry. This is the opportunity to make any necessary adjustments to achieve the desired tension. If your swatch has too many stitches and rows within the given measurement, your tension is too tight. In this case, try using a larger hook size to create looser stitches.
If your swatch has too few stitches and rows, your tension is too loose. You can rectify this by using a smaller hook size to create tighter stitches.
Continue adjusting your hook size and crocheting gauge swatches until you achieve the desired stitch count and tension. Remember, the goal is to match the tension of the main body of the blanket for a cohesive finish.
Once you have successfully matched your gauge, you’re now ready to move on to the next step—starting the actual finishing process!
Read more: How To Crochet A Blanket For Beginners
Step 4: Starting the Blanket
Now that you have your yarn, hook size, and gauge sorted out, it’s time to start the finishing process of your crochet blanket. This step involves attaching your yarn and beginning the final rows to complete the edges.
First, locate a corner or edge of your crochet blanket where you want to start the finishing. Insert your crochet hook into a stitch or space, ensuring that it aligns with the desired starting point.
Next, make a slipknot with your yarn and place it on your hook. Pull the loop through the stitch or space, creating the first stitch of your finishing row. This will secure your yarn and allow you to begin working.
Depending on your preference or pattern, you can choose to work a simple single crochet stitch or a more decorative stitch for the finishing row. The key is to maintain a consistent stitch pattern that complements the existing stitches of your blanket.
Continue working your chosen stitch across the edge or around the perimeter of the blanket. Keep your tension consistent, ensuring that your stitches match the rest of the blanket. Take breaks to periodically measure your blanket to ensure that you are maintaining the desired dimensions.
If you are working a border with corners, make sure to adequately adjust your stitches to create clean and angled corners. You may need to add additional stitches or work decreases depending on the stitch pattern you choose.
Continue crocheting the finishing rows until you complete the entire perimeter or edge of your blanket. Once the finishing rows are done, you can fasten off your yarn by cutting it, leaving a tail of a few inches. Thread the tail onto your tapestry needle and weave it in, securing it within the stitches to prevent unraveling.
Starting the blanket is an exciting moment as it signifies the beginning of the final phase. With the first stitches in place, you’re now ready to progress further and add those delightful finishing touches to your crochet masterpiece!
Step 5: Crocheting the Rows
With the starting row complete, it’s time to focus on crocheting the remaining rows of your finishing process. This step involves working row by row to create a clean and polished edge for your crochet blanket.
When crocheting the rows, it’s important to maintain consistency in your chosen stitch pattern. You can continue with the same stitch used in the starting row or select a different stitch to add variation and interest. Popular choices include single crochet, double crochet, or a combination of different stitches.
Start each row by chaining the appropriate number of stitches as determined by your stitch pattern. Then, work your way across the row, following the instructions for the selected stitch. Pay close attention to your tension, ensuring that your stitches match the rest of the blanket.
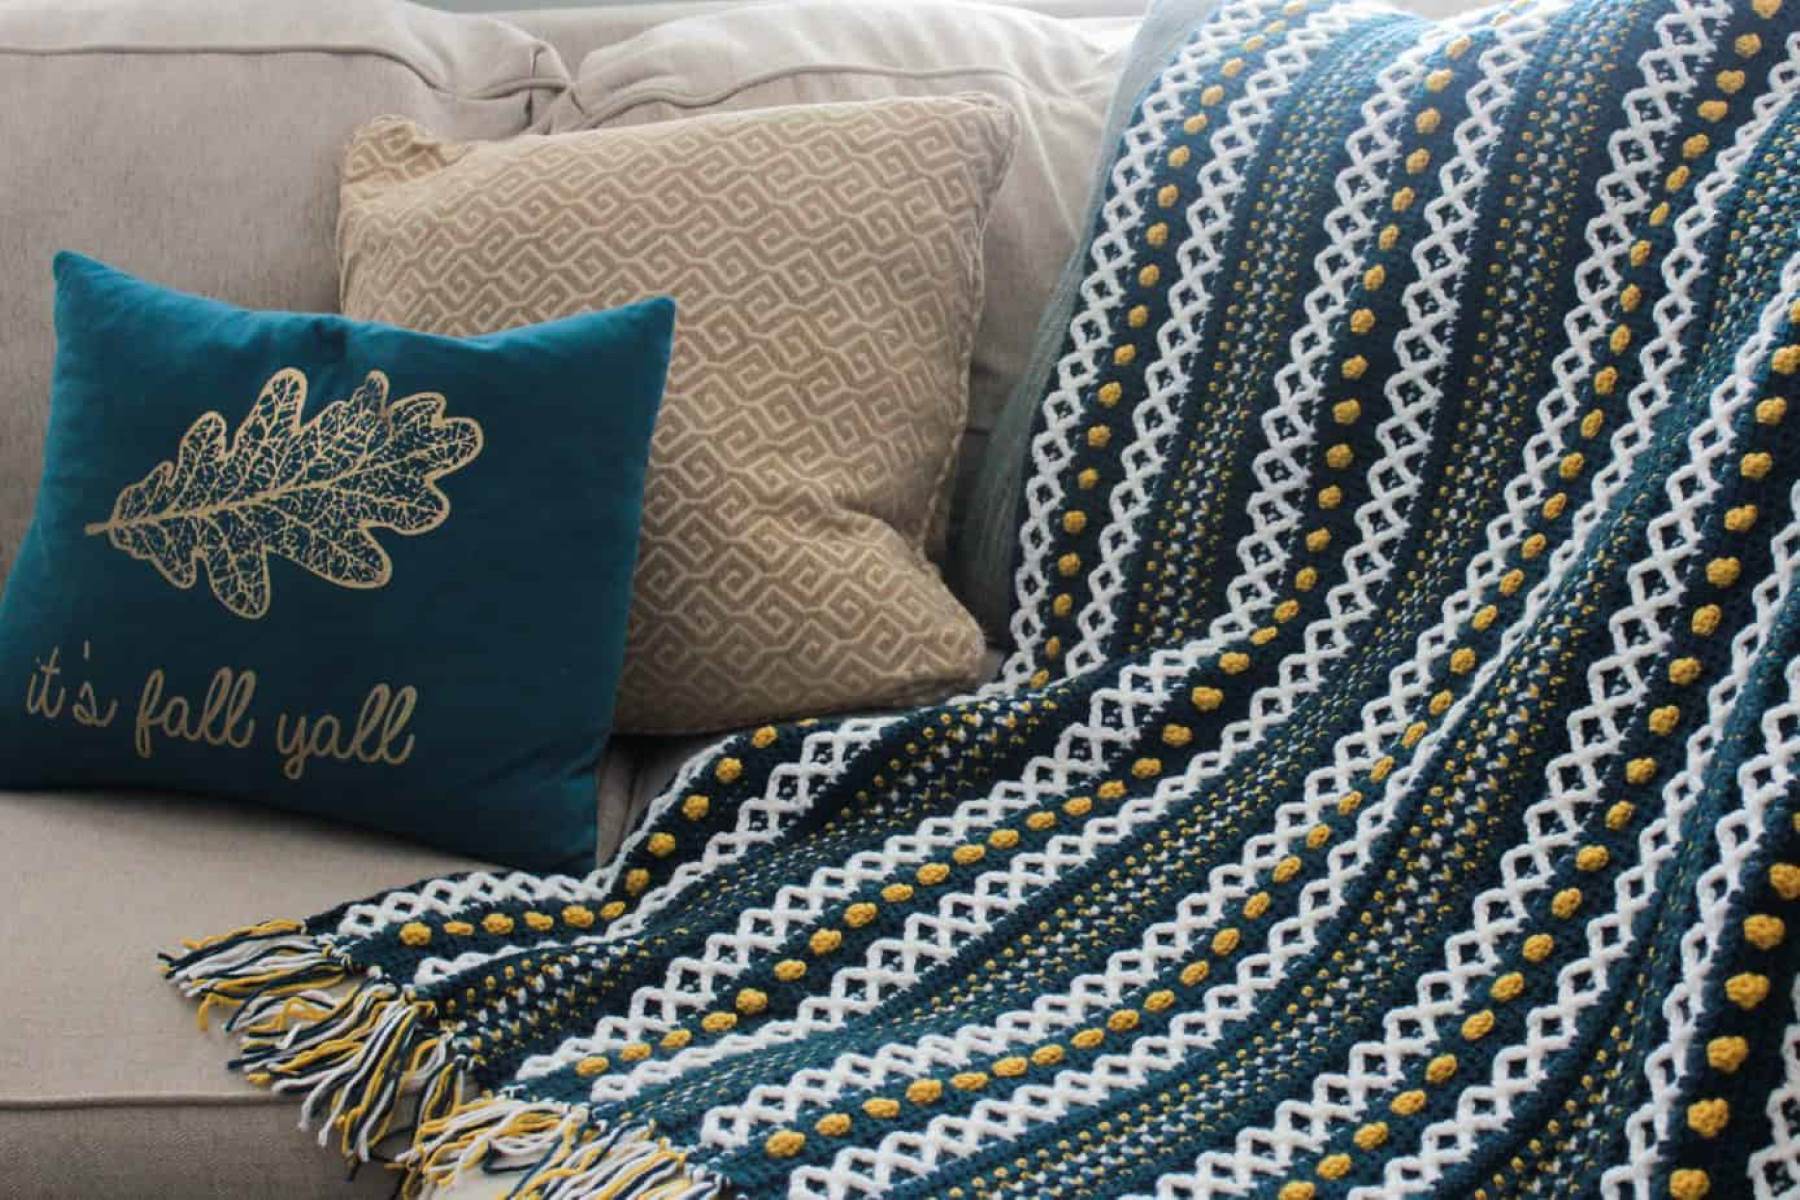
If you want to create a decorative edge, consider incorporating stitch patterns like shells, waves, or bobbles. These can give your crochet blanket a beautiful and unique finish. Be sure to refer to crochet stitch guides or patterns for specific instructions on incorporating these decorative elements.
As you progress through each row, periodically measure your blanket to ensure that you are maintaining the desired dimensions. This will help you avoid any uneven or distorted edges. Adjust your stitch count or tension as needed to maintain consistency throughout.
Continue crocheting the rows until you have achieved the desired depth for your finished edge. This can vary depending on personal preference and the size of your blanket. Typically, adding a few rows can provide a more substantial and visually appealing finish.
Once you have finished crocheting the rows, it’s time to secure your yarn and move on to the next step. Fasten off your yarn by cutting it, leaving a tail of a few inches. Thread the tail onto your tapestry needle and weave it into the stitches, securing it neatly to prevent unraveling.
Crocheting the rows is a satisfying and rewarding part of the finishing process. With each row completed, you’ll see your crochet blanket transform into a beautifully finished piece. Now, it’s time to add some additional design elements and make your blanket truly unique.
When finishing a crochet blanket, weave in the ends securely and evenly to prevent unraveling. Consider adding a border to give the blanket a polished look and to hide any imperfections in the edges. Blocking the blanket can also help to even out the stitches and give it a professional finish.
Step 6: Changing Colors
If you want to add visual interest and create unique design elements in your crochet blanket, you might consider changing colors during the finishing process. Changing colors can create stunning effects, accentuate stitch patterns, and add personality to your blanket.
To change colors seamlessly, follow these steps:
- Complete the last stitch of the row in the current color, leaving two loops on your hook.
- Drop the current color and pick up the new color you want to introduce.
- With the new color, pull it through the last two loops on your hook to complete the stitch. This will secure the new color for the next row.
- Continue working the next row or rounds with the new color, following your stitch pattern.
When changing colors, it’s essential to secure the loose ends of the yarn to prevent unraveling. To do this, simply crochet over the loose ends as you work the stitches. This will help conceal the ends within the fabric and create a clean finish.
Changing colors in specific sections of your blanket can create unique designs and motifs. For example, you can create stripes by changing colors at the start of each row or alternate colors at specific intervals. Experiment with different color combinations to achieve the desired effect.
Remember to consider the overall color scheme of your blanket and choose colors that harmonize well together. You can select colors that complement the existing colors in your blanket or opt for contrasting shades to make the new sections stand out.
Changing colors during the finishing process adds a creative touch to your crochet blanket. It allows you to express your personality and make your creation truly one-of-a-kind. So, don’t be afraid to experiment and have fun with color!
Step 7: Adding Stitch Patterns
At this stage of the finishing process, you have the opportunity to incorporate additional stitch patterns into your crochet blanket. Adding stitch patterns can elevate the overall look and texture of your blanket, making it even more visually appealing and unique.
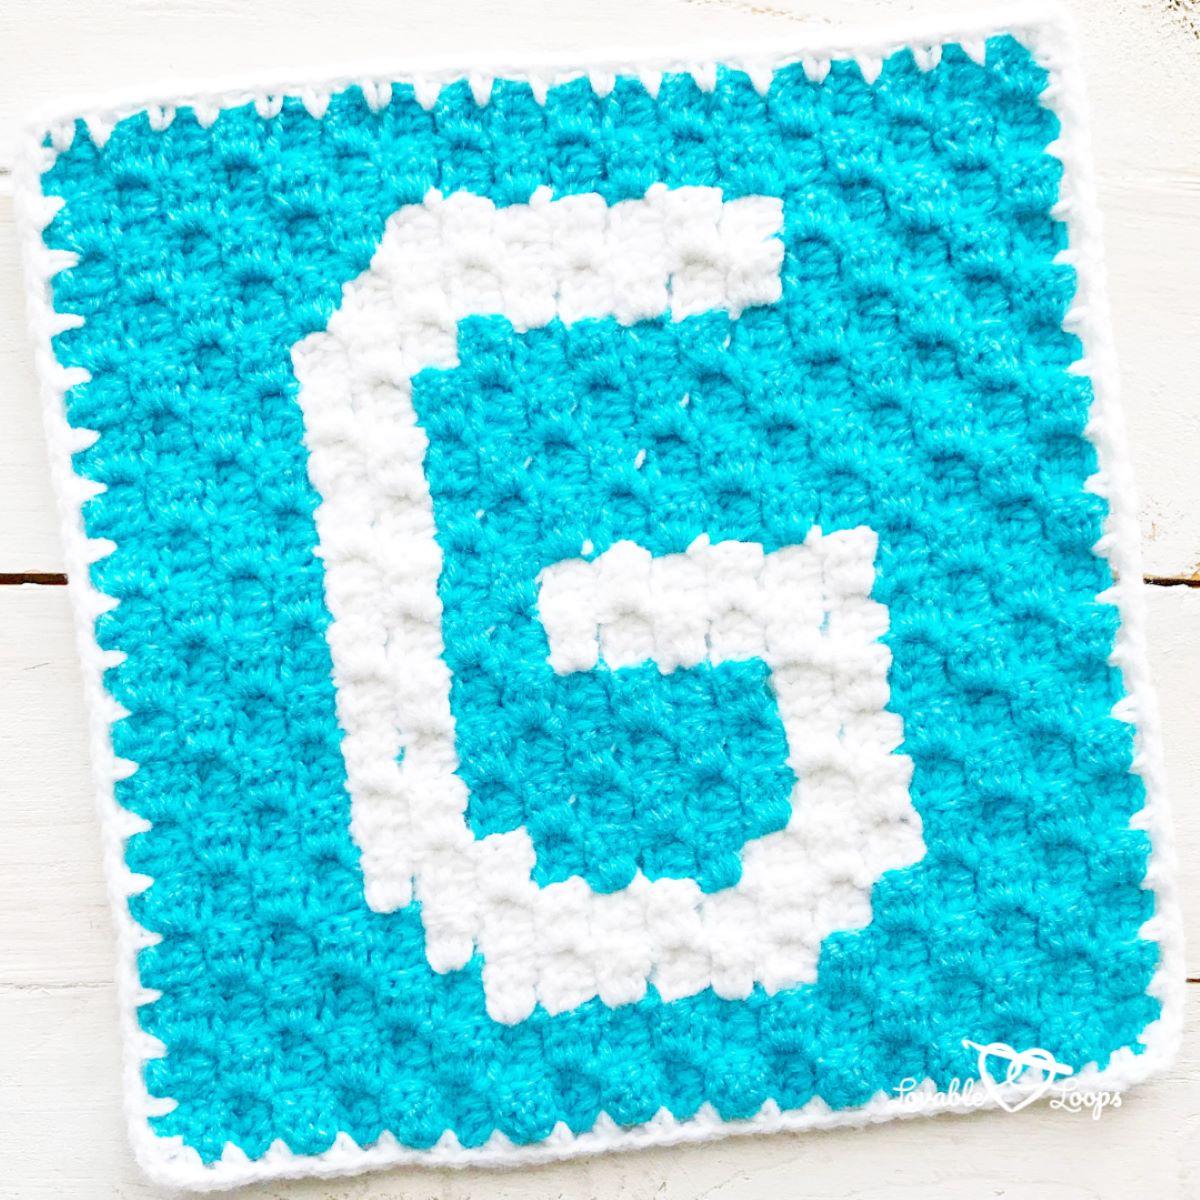
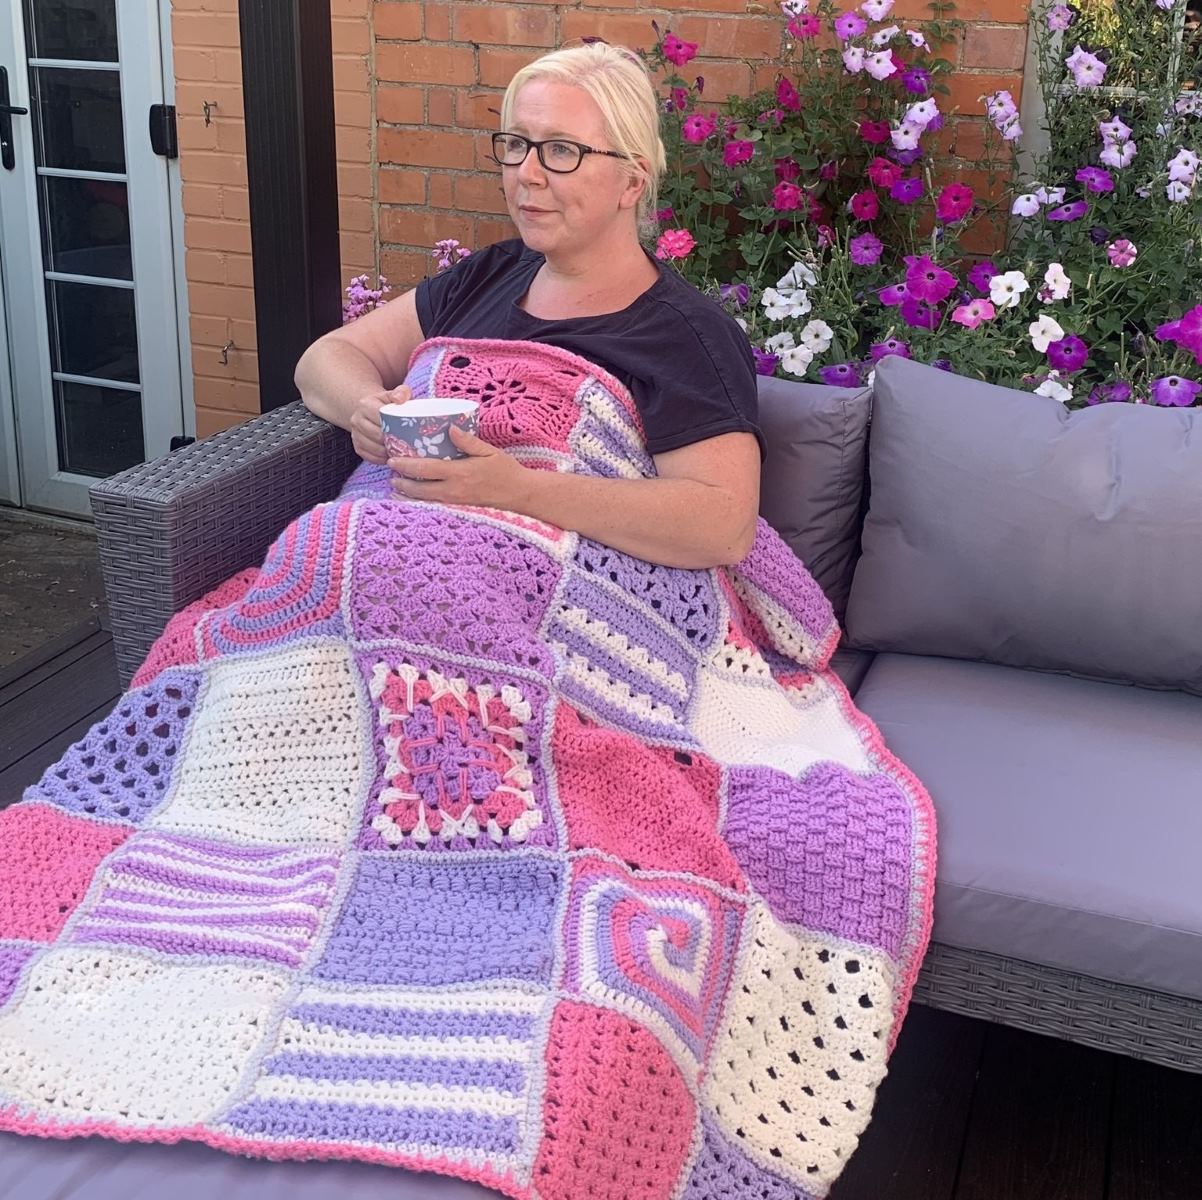
When selecting stitch patterns, consider the overall style and theme of your crochet blanket. Opt for stitch patterns that complement the existing stitches or add a touch of contrast and texture. Popular stitch patterns include granny squares, cables, bobbles, chevron, or even intricate lacework.
Here’s how you can add stitch patterns to your blanket:
- Choose the stitch pattern you want to incorporate and familiarize yourself with the instructions. You can find stitch pattern guides online, in crochet books, or through reputable crochet resources.
- Select the appropriate hook size and yarn that work well with the stitch pattern. Keep in mind that the stitch pattern may require a specific hook size or yarn weight to achieve the desired effect.
- Identify the section of your blanket where you want to incorporate the stitch pattern. This can be a specific section within the blanket, the border, or even a focal point in the middle.
- Follow the stitch pattern instructions row by row, integrating the new stitches into your existing crochet work. Pay close attention to stitch counts, repeats, and any special techniques required.
- Continue working the stitch pattern until you complete the designated section. Be mindful of maintaining tension and consistency with the rest of the blanket.
Adding stitch patterns can be a wonderful way to showcase your crochet skills and create a visually stunning blanket. The added texture and visual interest will make your finished product stand out.
Remember to always practice the stitch pattern on a swatch first to ensure you understand the instructions and achieve the desired result. Additionally, you can incorporate multiple stitch patterns throughout your blanket to create a cohesive and captivating design.
As you add stitch patterns, take time to admire the intricate details and craftsmanship that goes into each stitch. It’s an opportunity to let your creativity shine and make your crochet blanket a true work of art.
Read more: How To Start Crocheting A Blanket
Step 8: Creating a Border
Creating a border is the final touch that brings your crochet blanket to completion. It not only gives your blanket a polished and finished look but also helps to reinforce the edges and provide structural stability.
When creating a border, you have various options to consider. Here are a few popular border styles to inspire you:
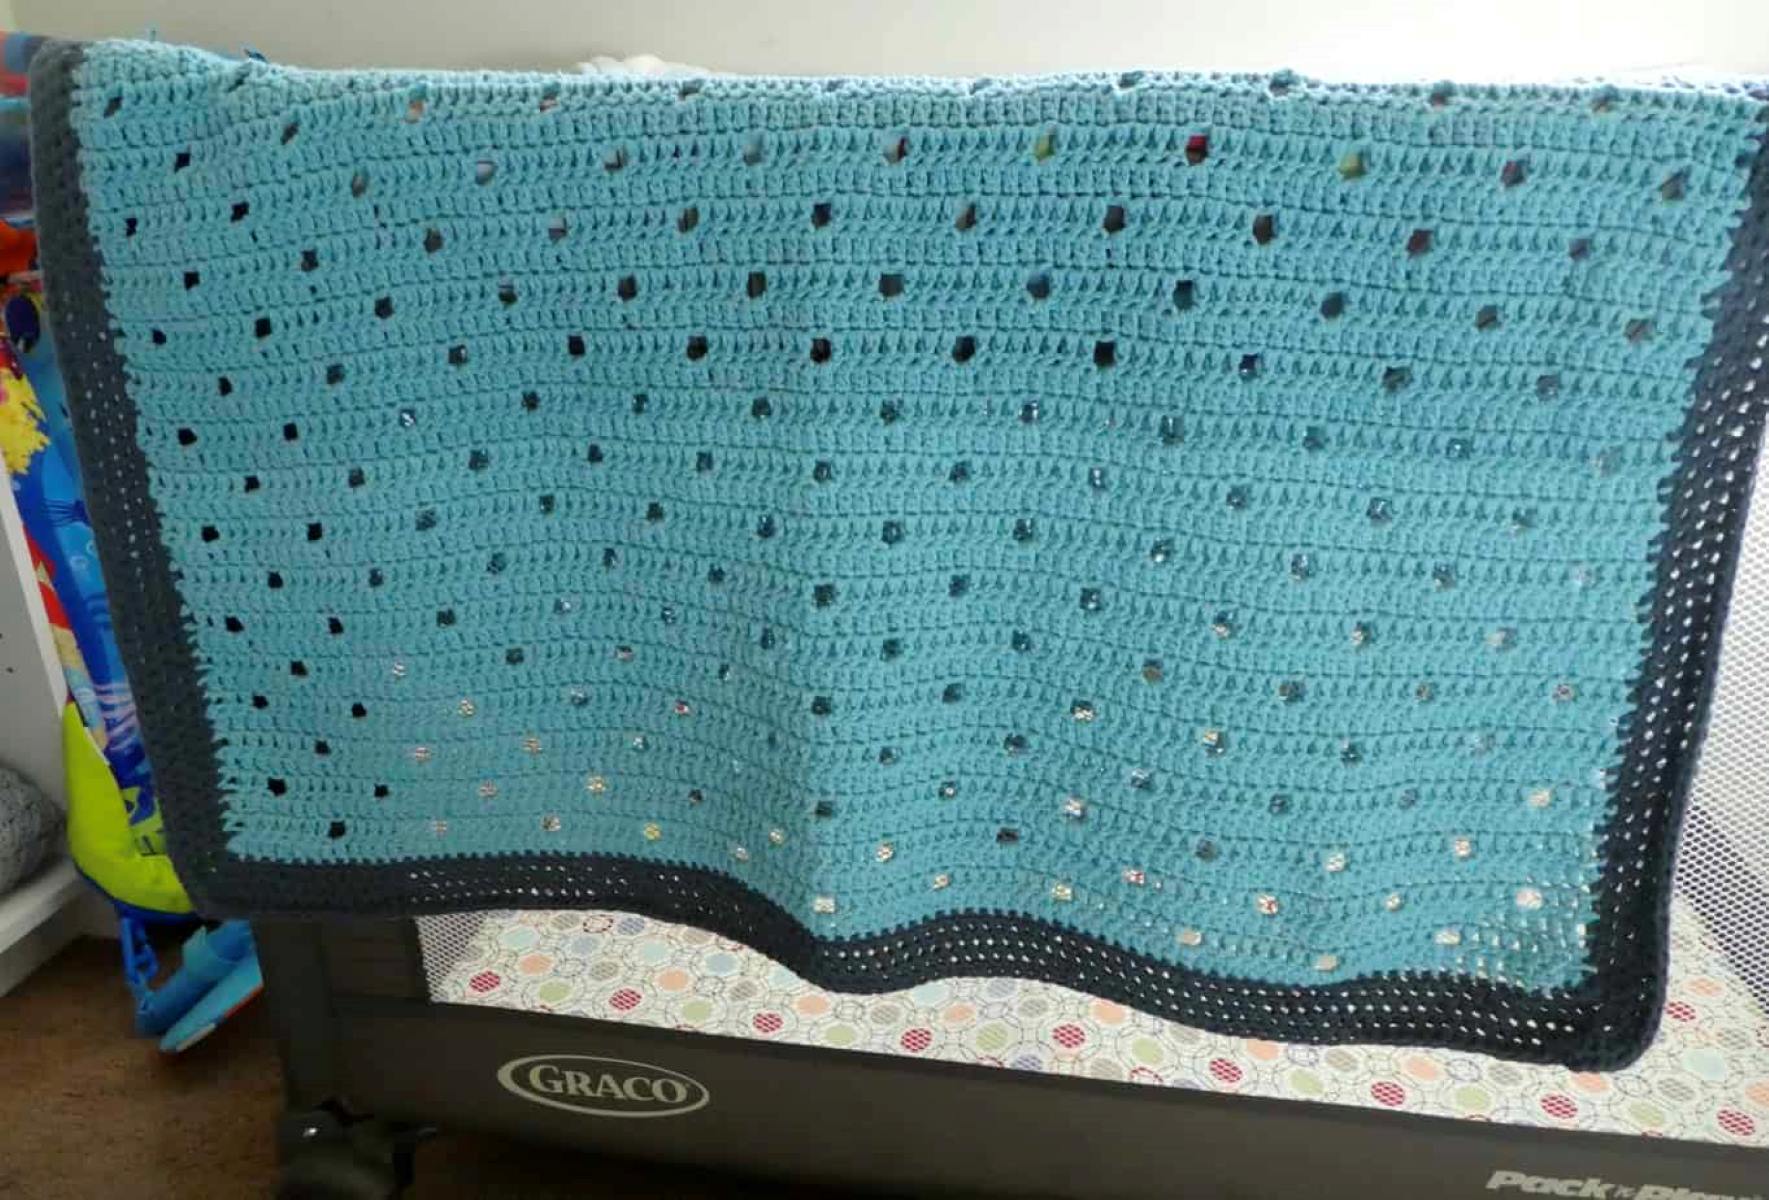
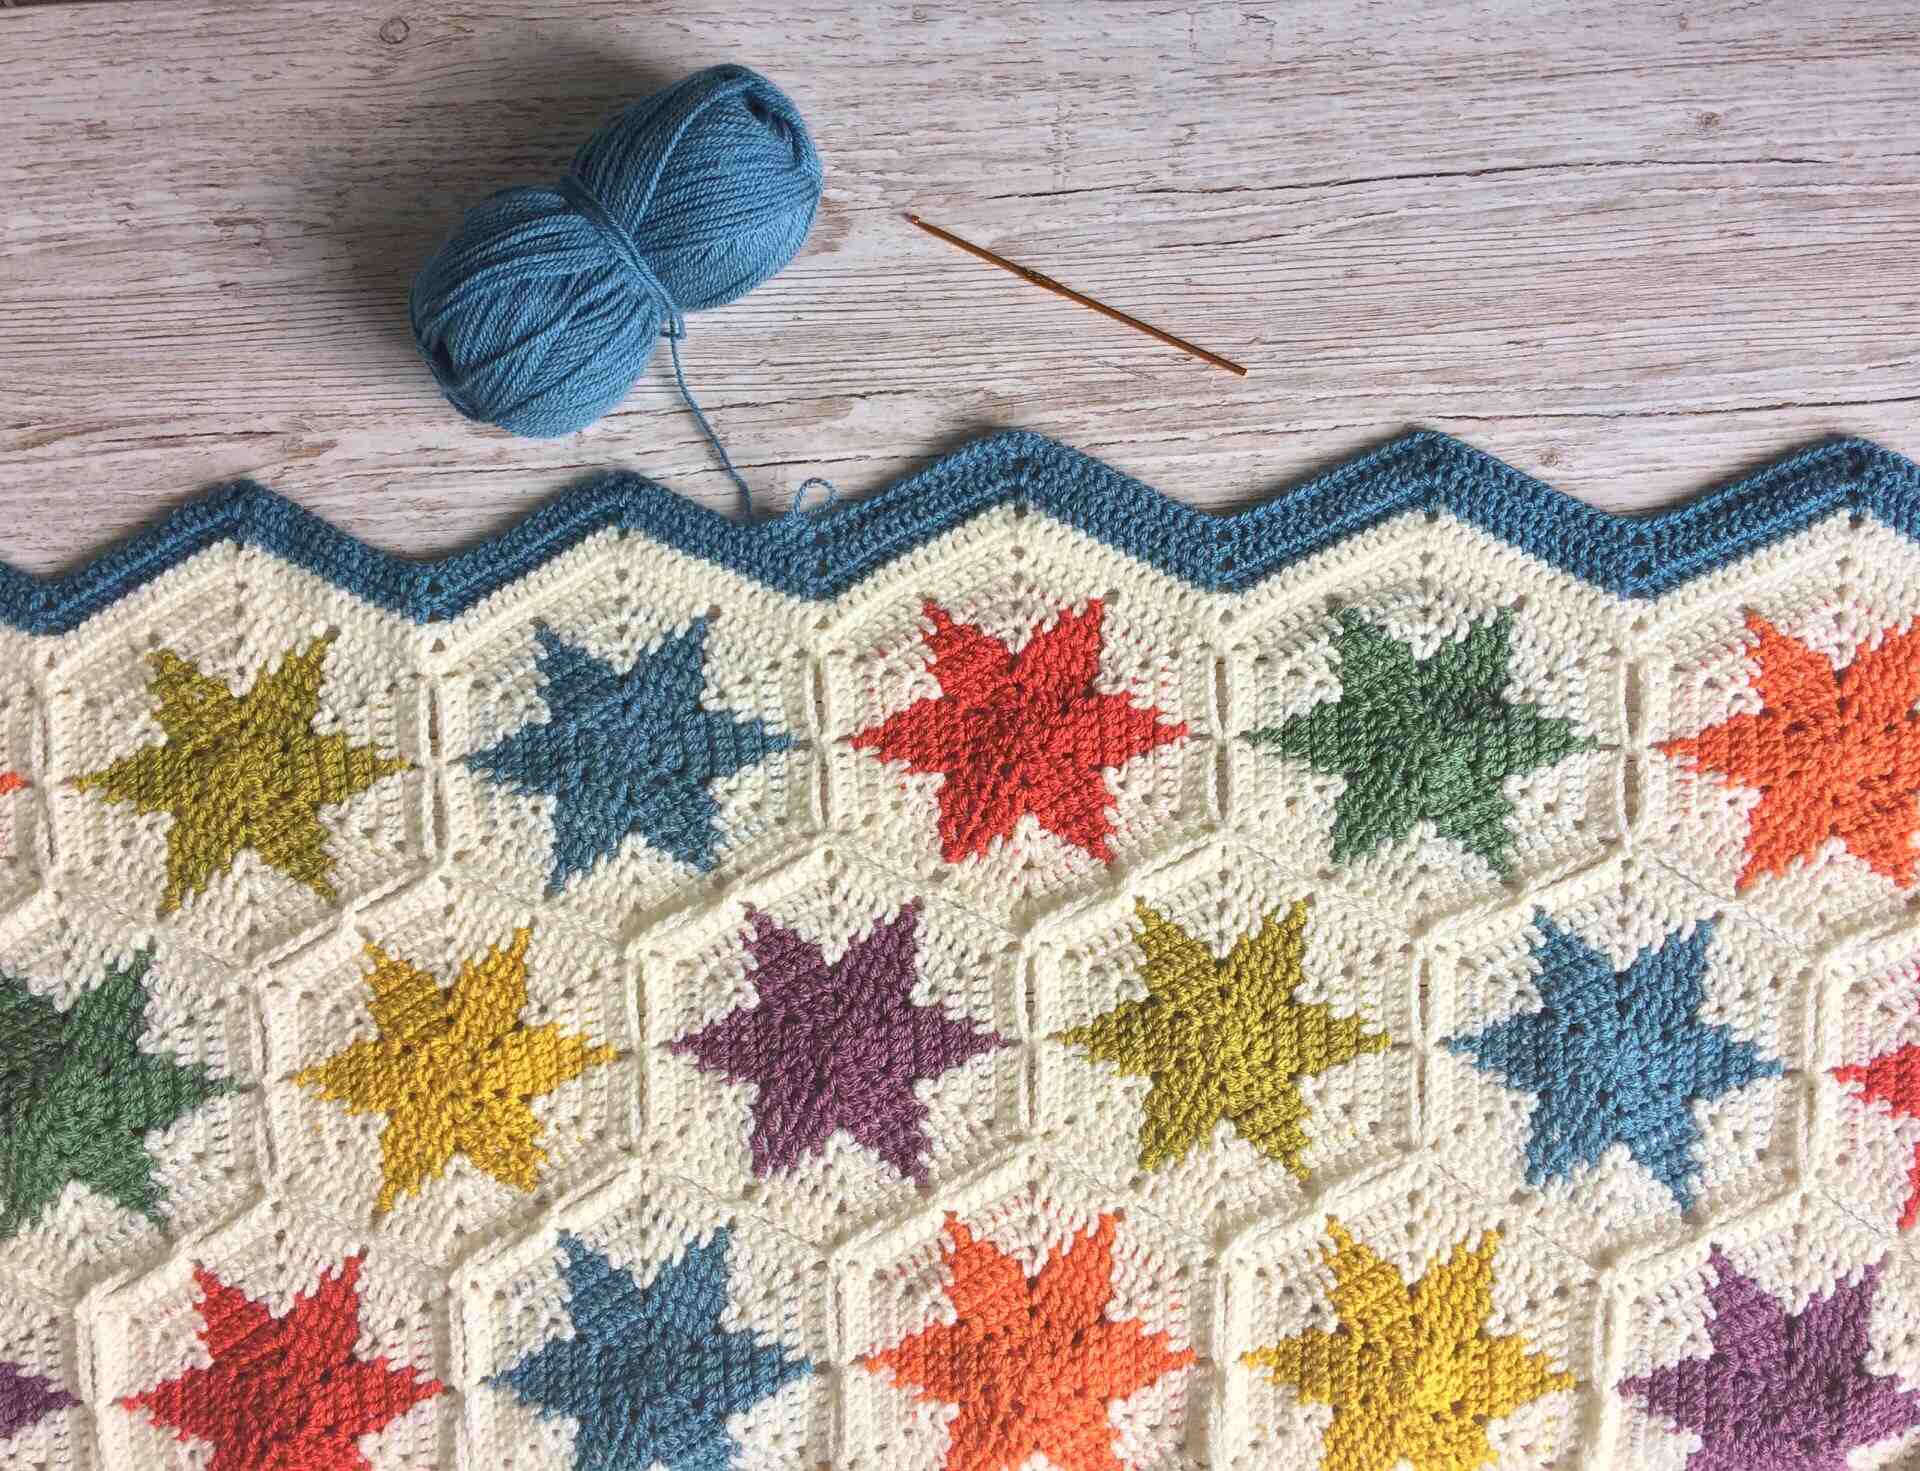
- Simple Single Crochet Border: This is a basic yet effective option that adds a clean and neat edge to your blanket. Simply work single crochet stitches all around the perimeter. You can use the same color as your finishing rows or choose a contrasting color for a pop of visual interest.
- Scallop or Shell Border: This border creates a decorative and scalloped edge. You can achieve this by working multiple stitches (such as double crochet, treble crochet, or clusters) into a single stitch or space to create a scallop or shell-like shape.
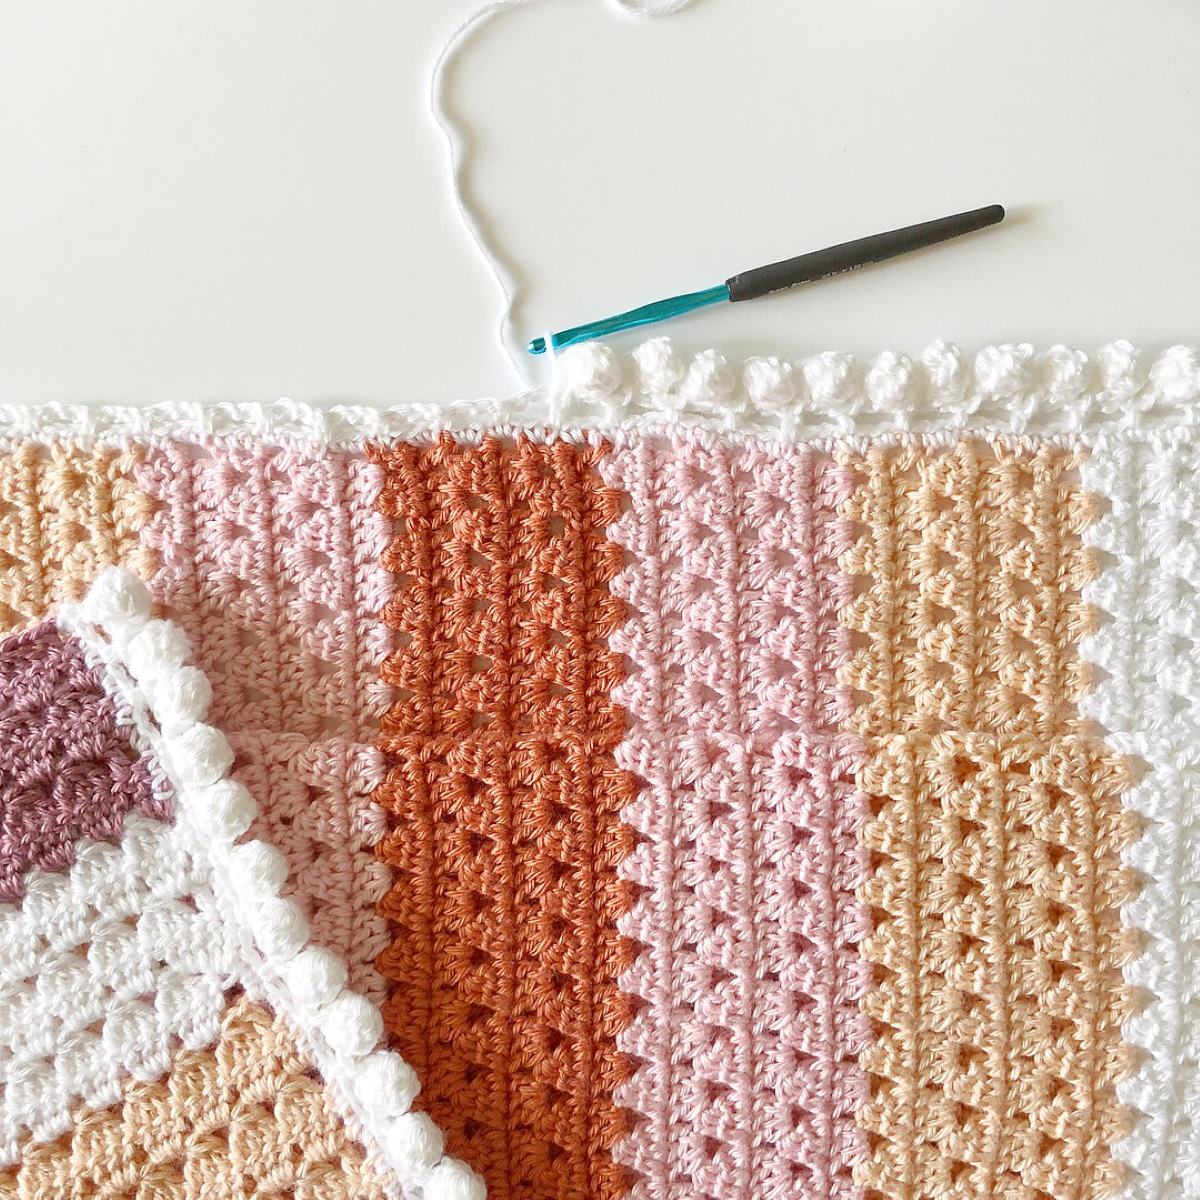
- Picot Border: A picot border adds a delicate and decorative touch to your blanket. To create picots, simply chain a set number of stitches and slip stitch or single crochet back into the base to form a loop. Repeat this process around the blanket’s edge.
- Reverse Single Crochet (Crab Stitch) Border: This border is worked in the opposite direction of typical crochet stitches, resulting in a distinctive and textured edge. The reverse single crochet stitch, also known as the crab stitch, is worked from left to right instead of right to left.
Choose a border style that complements the overall design of your blanket and reflects your personal taste. Consider the desired width of the border, the stitch count needed to maintain a flat edge, and the yarn and hook size required.
To create the border, start at any corner of your blanket and work your way around, following the chosen border pattern. Pay attention to the stitch count and any corner adjustments required to maintain a square or even border.
Once you reach the starting point, slip stitch or join your last stitch to the beginning stitch to complete the border. Fasten off the yarn and weave in any loose ends to secure them neatly.
Adding a border not only enhances the overall appearance of your crochet blanket but also gives it a professional finish. Take your time with this step to ensure that the border is clean, even, and complements the rest of your blanket.
Now that your border is complete, you’re almost ready to enjoy your finished crochet blanket. The final steps involve tidying up any loose ends and blocking your blanket to bring out its full beauty.
Step 9: Weaving in Ends
As you near the completion of your crochet blanket, it’s important to attend to any loose ends of yarn that may be hanging from your work. Weaving in these ends ensures a clean and professional finish, preventing them from unraveling over time.
Here’s how to weave in ends effectively:
- Gather your tapestry needle and the yarn tail you need to weave in.
- Thread the yarn tail onto the needle. Make sure to leave a tail long enough to work with.
- Insert the needle under and through several stitches or loops on the wrong side of your crochet work. This helps secure the yarn and hide the loose end within the stitches.
- Move the needle in different directions, weaving the yarn in a zigzag or diagonal motion. This helps distribute the tension and makes the end more secure.
- Repeat this weaving process for a few inches, depending on the recommended length or until you feel confident that the end is secure.
- Gently tug the yarn tail to ensure it is tightly woven in and stays in place.
- Trim any excess yarn, leaving a small tail that blends seamlessly with the surrounding stitches.
Take the time to weave in each loose end as you progress through your blanket. This eliminates the need for tedious and time-consuming end-weaving once the entire blanket is complete.
Remember to be diligent in weaving in all the ends, including those from color changes or stitch pattern variations. This attention to detail will result in a beautifully finished blanket that looks neat and professional.
Now that you have taken care of the loose ends, it’s time to move on to the final step—blocking your crochet blanket to enhance its appearance and drape.
Step 10: Blocking the Blanket
The last step in finishing your crochet blanket is blocking. Blocking is a process that involves shaping and setting your blanket to improve its overall appearance, even out stitches, and enhance the drape.
Here’s a guide to blocking your crochet blanket:
- Fill a basin, sink, or large container with lukewarm water. Add a mild detergent suitable for hand washing knitted or crocheted items.
- Submerge your crochet blanket fully into the water. Gently swirl it around for a few minutes to allow the fibers to absorb the water and the detergent to penetrate.
- Let the blanket soak for about 15-20 minutes to loosen up any tension and relax the fibers.
- Drain the water from the basin and gently squeeze out excess water from the blanket. Be careful not to wring or twist it too vigorously, as this can lead to stretching or misshaping.
- Spread a clean towel or blocking mats on a flat surface and lay the wet blanket on top. Gently reshape it to its desired dimensions, smoothing out any wrinkles or bumps.
- Pin the edges of the blanket to hold them in place. You can use T-pins or rust-resistant blocking pins specifically designed for this purpose. Make sure to pin evenly along the edges to create a straight and straightened appearance.
- Allow the blanket to air dry completely. This may take several hours or even overnight, depending on the humidity and thickness of the blanket.
- Once the blanket is dry, carefully remove the pins, taking care not to pull or snag the yarn.
Blocking helps to relax the fibers and evens out any inconsistencies in tension or stitch size, resulting in a more professional and polished look. It also allows the stitches to settle into place and the blanket to obtain its intended dimensions.
Keep in mind that not all blankets require blocking, especially if you used a sturdy yarn or achieved the desired finish during the crocheting process. However, for delicate or intricate stitch patterns, blocking can make a significant difference in the overall appearance of your crochet blanket.
Once your blanket has been blocked and dried, you’re ready to showcase your beautiful, finished crochet masterpiece. Whether it’s for personal use or a thoughtful gift, your completed blanket is sure to bring warmth and joy for years to come.
Congratulations on reaching the end of the finishing process! Take a step back and admire the fruits of your labor. Your hard work and attention to detail have resulted in a stunning crochet blanket that you can be proud of!
Conclusion
Congratulations on completing the finishing process for your crochet blanket! From choosing the yarn and hook size to adding stitch patterns and creating a beautiful border, you have taken your crochet project from a simple concept to a stunning finished piece. Your hard work and dedication have paid off, and now you have a crochet blanket that exudes craftsmanship and beauty.
By following the steps outlined in this article, you have learned how to strategically select materials, weave in ends, create borders, and even block your blanket to achieve a polished and professional look. Each step has contributed to the overall quality and longevity of your crochet creation.
Remember that the finishing process is the final touch that truly completes a crochet blanket. It’s the attention to detail in choosing the right yarn, executing the stitches with care, and adding those special finishing touches that take your blanket to the next level.
Whether you made the crochet blanket for yourself or as a thoughtful gift, it’s sure to bring warmth, comfort, and joy to its intended recipient. The time and effort you put into creating this handmade masterpiece are a testament to your love for the craft and your dedication to creating something beautiful with your own hands.
Now, it’s time to snuggle up in your crochet blanket, wrap it around yourself, and bask in the satisfaction of your completed project. Take a moment to appreciate the journey you’ve undertaken, the skills you’ve honed, and the artistry you’ve displayed.
Don’t stop here! Use the knowledge and skills you’ve gained to embark on new crochet projects, explore different stitch patterns, and continue to create beautiful and meaningful items. The possibilities are endless, and with each project, you’ll grow as a crocheter and embrace the joy of this incredible craft.
So, gather your yarn, pick up your hook, and let your creativity flow. Keep on crocheting, and may each stitch bring you happiness and fulfillment.
Frequently Asked Questions about How To Finish A Crochet Blanket
Was this page helpful?
At Storables.com, we guarantee accurate and reliable information. Our content, validated by Expert Board Contributors, is crafted following stringent Editorial Policies. We're committed to providing you with well-researched, expert-backed insights for all your informational needs.
