
Articles
How To Crochet A Quilt Square
Modified: January 19, 2024
Learn how to crochet a quilt square with these informative articles. Find step-by-step tutorials, tips, and tricks to create beautiful crochet quilt squares.
(Many of the links in this article redirect to a specific reviewed product. Your purchase of these products through affiliate links helps to generate commission for Storables.com, at no extra cost. Learn more)
Introduction
Welcome to this beginner’s guide on how to crochet a quilt square. Crocheting is a timeless craft that allows you to create beautiful and intricate designs using just a hook and some yarn. Quilt squares are a popular choice for crocheters looking to create stunning blankets, pillows, or even wall hangings. They can be made in various sizes and patterns, and the possibilities are endless.
In this article, we will walk you through the step-by-step process of crocheting a quilt square. Whether you are new to crocheting or have some experience, this guide will provide you with the knowledge and skills needed to create your own quilt square masterpiece.
Before we dive into the crochet techniques, let’s take a look at the materials you will need for this project.
Key Takeaways:
- Master the art of crocheting quilt squares with this step-by-step guide. From gathering supplies to finishing off the square, you’ll create beautiful, personalized pieces for blankets, pillows, and more.
- Embrace the endless possibilities of crocheting and let your creativity flow. With practice, you’ll be able to experiment with intricate designs and techniques, creating unique quilt squares that reflect your style and personality.
Materials Needed
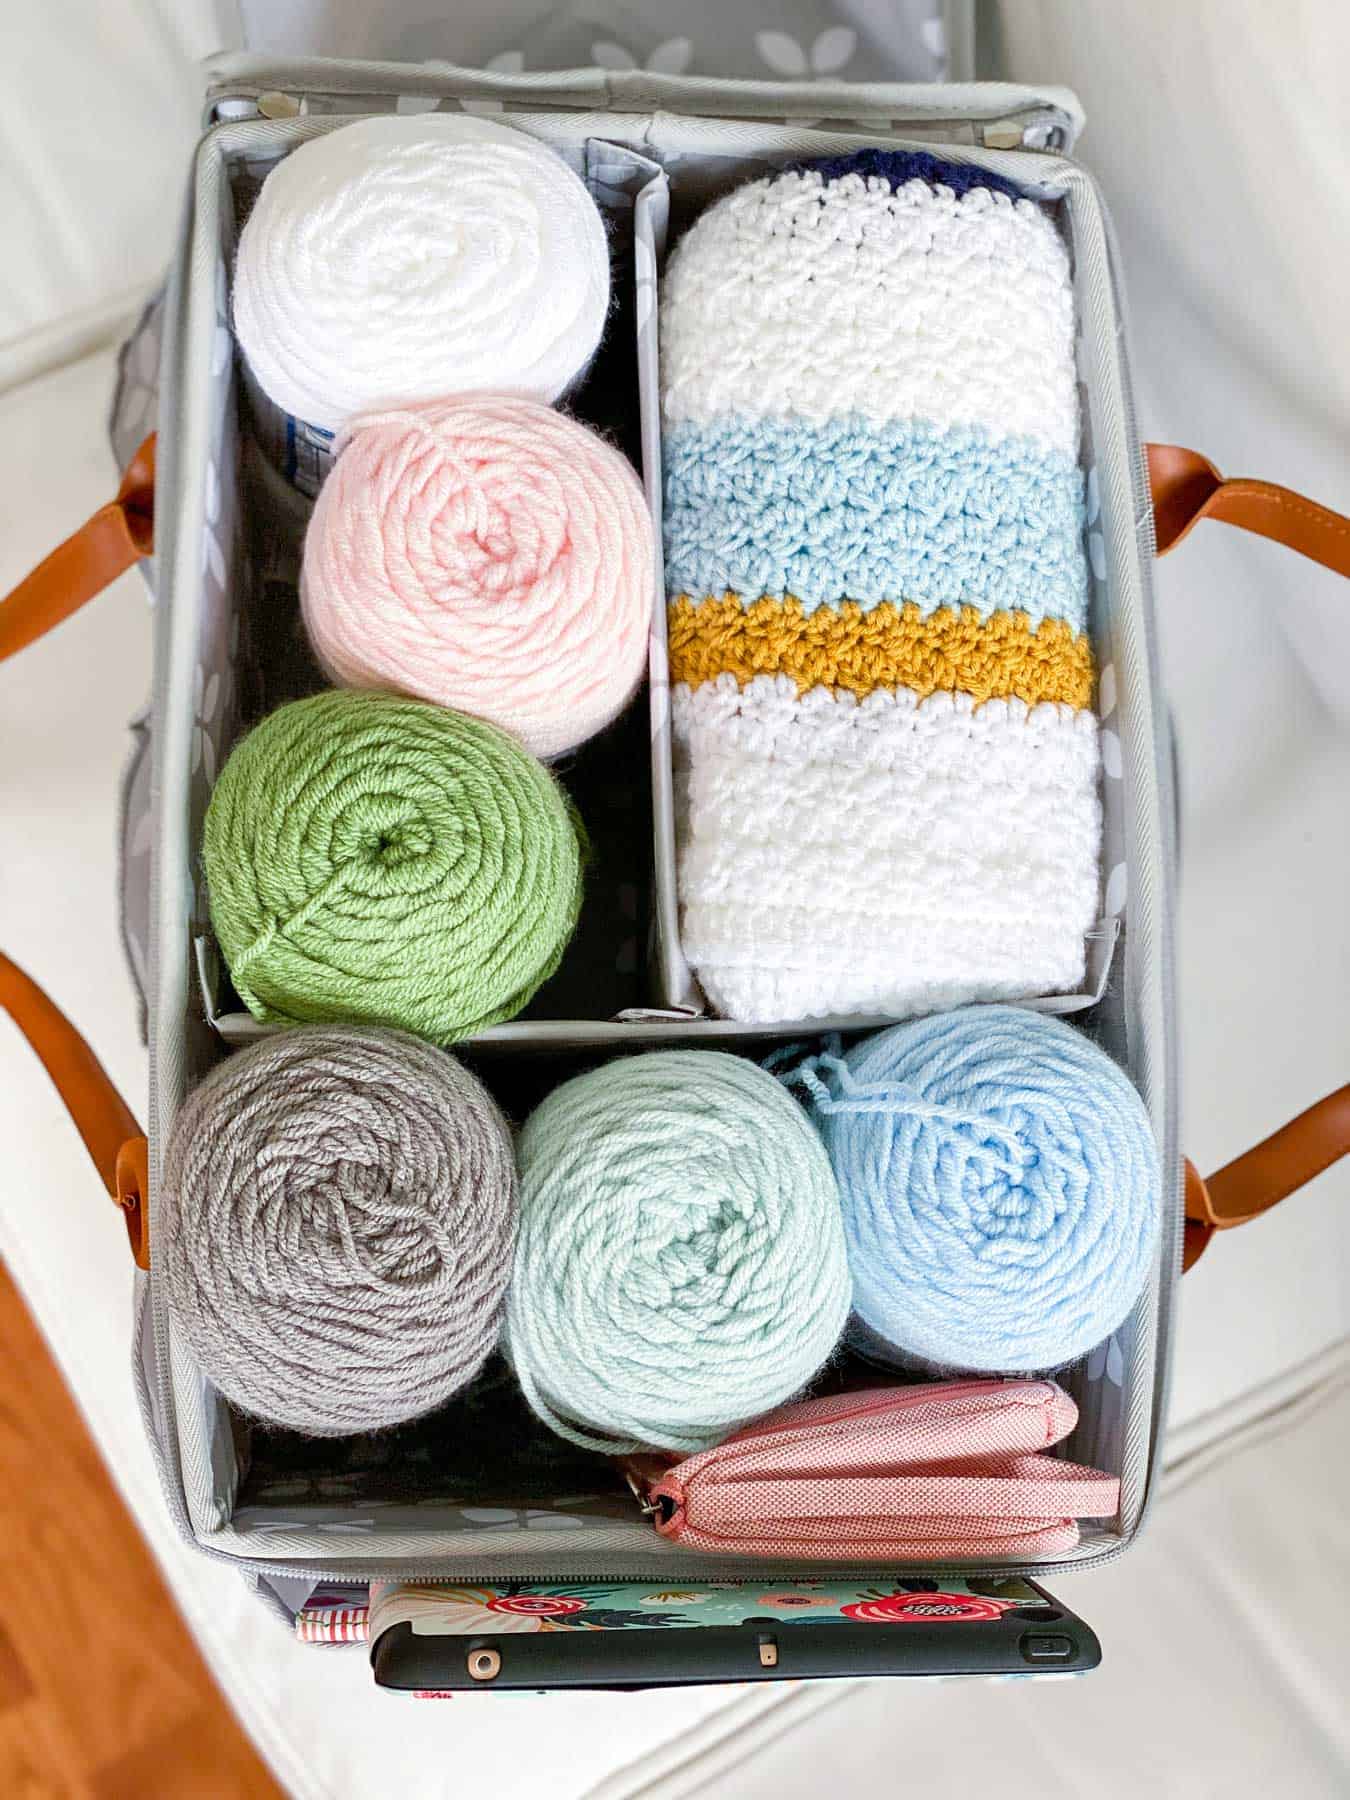
Before you start crocheting your quilt square, gather the following materials:
- Yarn: Choose your preferred yarn in the colors of your choice. Opt for a medium-weight yarn that is suitable for the size of crochet hook you will be using.
- Crochet Hook: Select a hook size that complements your chosen yarn. The size will depend on the desired tension and the pattern you plan to use.
- Tapestry Needle: This needle will be used for weaving in the ends of the yarn and joining your quilt squares.
- Scissors: A pair of sharp scissors will be essential for cutting the yarn as needed.
- Measuring Tape: This will help you ensure that your quilt squares are the correct size.
Once you have gathered all the necessary materials, you are ready to begin crocheting your quilt square. Follow the step-by-step instructions below to create your masterpiece.
Step 1: Gathering Supplies
Before you start crocheting your quilt square, it’s important to gather all the necessary supplies. This will ensure that you have everything you need within arm’s reach as you work on your project. Here’s what you’ll need:
- Yarn: Choose your preferred yarn in the colors of your choice. It’s best to select a medium-weight yarn that is suitable for the size of crochet hook you will be using. The yarn can be acrylic, cotton, wool, or a blend, depending on your personal preference.
- Crochet Hook: Select a crochet hook size that complements your chosen yarn. The size of the hook will depend on various factors, such as the desired tension and the pattern you plan to use. Most quilt squares can be crocheted using a 4mm (G) or 5mm (H) hook.
- Tapestry Needle: The tapestry needle is used for weaving in the ends of the yarn and joining your quilt squares. Make sure to choose a needle with a large eye that allows the yarn to pass through easily.
- Scissors: A pair of sharp scissors will be essential for cutting the yarn as needed. Make sure they are within reach so you can trim any excess yarn or snip off any mistakes as you go along.
- Measuring Tape: It’s important to have a measuring tape on hand to ensure that your quilt squares are the correct size. This will help you maintain consistency and ensure that all your squares align properly when you assemble them into a quilt.
Once you have gathered all the necessary supplies, you are ready to move on to the next step: creating the foundation chain.
Step 2: Creating the Foundation Chain
Now that you have gathered all your supplies, it’s time to start crocheting your quilt square. The first step is to create the foundation chain, which serves as the base for your crochet stitches.
- Select your yarn and crochet hook: Choose the yarn color you want for your quilt square and select a crochet hook that matches the recommended size for your yarn. This information can usually be found on the yarn label or in your chosen pattern.
- Make a slipknot: To start your foundation chain, begin by making a slipknot. Hold the tail end of the yarn in your non-dominant hand and create a loop. Insert your hook through the loop from front to back, then catch the working yarn and pull it through the loop. Pull the tail end to tighten the knot on the hook.
- Create the first chain stitch: With the slipknot on your hook, make the first chain stitch. Yarn over (wrap the yarn around the hook from back to front) and pull the yarn through the slipknot loop on your hook. This creates one chain stitch.
- Continue making chain stitches: Repeat the process of yarn over and pull through for each additional chain stitch. The number of chain stitches you make will depend on the desired size of your quilt square. To count your stitches, simply count the loops on your hook.
Remember to keep your tension relaxed but even throughout the process. Avoid pulling the yarn too tightly, as this can make it difficult to work with in later steps.
Once you have completed your foundation chain, you are ready to move on to the next step: working the first row of stitches. Stay tuned for Step 3!
Step 3: Working the First Row
Now that you have created the foundation chain, it’s time to move on to working the first row of stitches in your quilt square. This is where the design starts to take shape.
- Create a turning chain: Before you begin the row, you’ll need to create a turning chain. The turning chain acts as a placeholder for the height of the stitch you will be working in the next row. The number of turning chains you make will depend on the stitch pattern you are using. For a single crochet stitch, you will typically create one turning chain.
- Insert your hook into the second chain: Skip the first chain from the hook (this counts as your turning chain) and insert your hook into the second chain. This is where you will begin working your stitches.
- Perform the designated stitch: Depending on the stitch pattern you are following, perform the designated stitch into the chain. For example, if you are working a single crochet stitch, insert your hook into the chain, yarn over, and pull up a loop. Yarn over again and pull through both loops on your hook to complete the stitch.
- Continue working stitches: Repeat the process of inserting your hook into the next chain and performing the designated stitch until you reach the end of the row. Make sure to count your stitches to ensure accuracy.
Keep in mind that different stitch patterns may require variations in the number of chains and stitches. It’s important to follow the instructions closely to create the desired effect for your quilt square.
Once you have completed the first row, you can move on to the next step: continuing with the pattern. Stay tuned for Step 4!
When crocheting a quilt square, make sure to use the same type of yarn and hook size for each square to ensure they all come out the same size and shape. This will make it easier to assemble the quilt later on.
Read more: How To Crochet A Granny Square Blanket
Step 4: Continuing with the Pattern
Now that you have completed the first row of stitches, it’s time to continue working the pattern in your quilt square. This step will vary depending on the specific stitch pattern you are following.
- Refer to your pattern: Whether you are using a written pattern or creating your own design, it’s important to reference the instructions for the next row of stitches. The pattern will guide you on which stitches to use and how to create the desired design.
- Repeat the stitch sequence: Follow the pattern instructions to repeat the stitch sequence across the row. This may involve working a specific number of stitches, skipping stitches, or creating additional stitches. Pay close attention to any increases or decreases that are required to maintain the shape and size of your quilt square.
- Ensure consistency: As you work through each row, it’s important to maintain consistent tension and stitch size. This will help ensure that your quilt square has a uniform appearance and all the stitches align properly.
- Count your stitches: Periodically counting your stitches can help you double-check your work and ensure that you haven’t accidentally added or missed any stitches. This is especially important when working with intricate stitch patterns.
Continue following the pattern instructions and repeating the stitch sequence until you have reached the desired size for your quilt square or until you have completed all the required rows. Make sure to weave in any loose ends as you go along.
Once you have finished working through the pattern, it’s time to move on to the next step: changing colors (if desired). Stay tuned for Step 5!
Step 5: Changing Colors
If you want to add some visual interest to your quilt square, you can change colors at certain points in the pattern. This step allows you to incorporate different hues and create unique designs within your crochet project.
- Prepare the new color: Select the new color of yarn you want to introduce into your quilt square. Cut the working yarn of the current color, leaving a tail of a few inches. Take the end of the new color of yarn and create a slipknot. Insert your hook into the last stitch of the previous row, and use the new color slipknot to begin the new row.
- Joining the new color: To join the new color, simply pull the loop of the new color through the stitch and continue working the pattern as instructed. This will securely anchor the new color and blend it seamlessly with the previous color.
- Weaving in loose ends: Once you have changed colors, make sure to weave in the loose ends of the previous color and the new color as you continue crocheting. This will prevent the ends from unraveling and give your quilt square a neat appearance.
Depending on the design of your quilt square and the pattern you are following, you can change colors as frequently as you like. Experiment with different color combinations to create a beautiful and vibrant quilt square.
After you have made the desired color changes, you can proceed to the final step: finishing off the square. Stay tuned for Step 6!
Step 6: Finishing Off the Square
Congratulations! You’re in the final stage of completing your quilt square. In this step, you will learn how to finish off the square and secure your stitches, giving your project a polished and professional look.
- Complete the last row: Follow the pattern instructions to complete the final row of stitches in your quilt square. Make sure to double-check your work, counting your stitches, and maintaining consistency in tension and stitch size. This ensures that your final row matches the size and shape of the previous rows.
- Cut the yarn: Once you have finished the last row, it’s time to cut the yarn. Leave a tail of a few inches before cutting the yarn from the ball or skein.
- Weave in loose ends: Use a tapestry needle to weave in the loose ends of yarn on the backside of the quilt square. Thread the tail of the yarn through the needle, then insert the needle under the stitches of the same color to secure it. Repeat this process for all loose ends, ensuring that they are secure and hidden within the stitches.
By weaving in the loose ends, you prevent them from unraveling or becoming visible on the front side of your quilt square. It also gives your project a professional and neat finish.
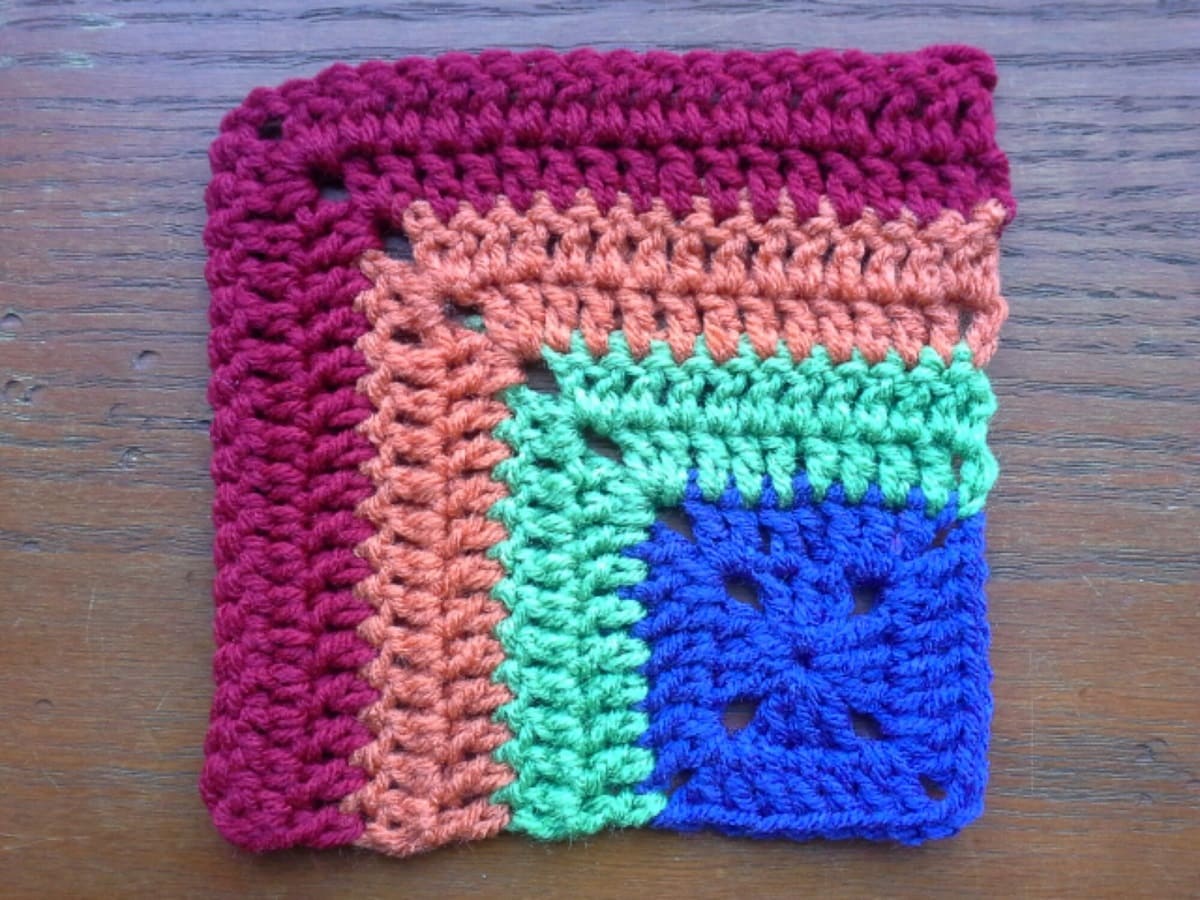
Once you have completed these steps, take a moment to admire your finished quilt square. You’ve successfully crocheted a beautiful piece of artwork that can be used in various creative projects such as blankets, pillows, or wall hangings.
Now that you have mastered the process of crocheting a quilt square, you can continue creating more squares in different patterns and colors to expand your collection or start assembling them into a stunning quilt.
Enjoy the process of crocheting and let your creativity flow. With practice, your crochet skills will continue to grow, and you’ll be able to experiment with more intricate designs and techniques in the future.
Remember, the possibilities are endless when it comes to crocheting, so have fun and embrace the joy of creating your own unique pieces.
Happy crocheting!
Conclusion
Congratulations on completing your journey of crocheting a quilt square! By following the steps outlined in this guide, you have gained the skills and knowledge necessary to create beautiful and intricate quilt squares to incorporate into your crochet projects. Crocheting quilt squares not only allows you to express your creativity but also provides you with the opportunity to make personalized and unique items.
Through this process, you have learned the importance of gathering the necessary supplies, creating a foundation chain, working the first row, continuing with the pattern, changing colors, and finishing off the square. Each step builds upon the previous one, resulting in a well-crafted and visually appealing quilt square.
As you continue on your crochet journey, you will likely discover new stitch patterns, color combinations, and techniques to further enhance your skills. Remember to take your time, practice, and enjoy the process. Crocheting is a versatile and rewarding craft that allows you to create one-of-a-kind pieces of art.
Whether you choose to use your quilt squares to make blankets, pillows, or wall hangings, you can take pride in knowing that you have handcrafted something meaningful and special. Your quilt squares can be treasured heirlooms, cherished gifts, or beautiful additions to your home decor.
Don’t forget to share your creations with others! Show off your quilt squares on social media platforms, join online crochet communities, or even participate in local craft fairs. The crochet community is full of supportive and passionate individuals who will appreciate and celebrate your work.
So, gather your supplies, pick your favorite yarn colors, and embark on your next crochet project. Let your imagination soar as you create stunning quilt squares that reflect your unique style and personality. With each stitch, you are weaving a piece of yourself into your creations.
Happy crocheting!
Frequently Asked Questions about How To Crochet A Quilt Square
Was this page helpful?
At Storables.com, we guarantee accurate and reliable information. Our content, validated by Expert Board Contributors, is crafted following stringent Editorial Policies. We're committed to providing you with well-researched, expert-backed insights for all your informational needs.

0 thoughts on “How To Crochet A Quilt Square”