
Articles
How To Crochet Squares Together For A Blanket
Modified: August 17, 2024
Learn how to crochet squares together to create a beautiful blanket. Our articles provide step-by-step instructions and helpful tips for a seamless finish.
(Many of the links in this article redirect to a specific reviewed product. Your purchase of these products through affiliate links helps to generate commission for Storables.com, at no extra cost. Learn more)
Introduction
Crocheting is a beautiful and versatile craft that allows you to create stunning pieces of art. One of the most popular crochet projects is making blankets, and often this involves crocheting individual squares and then joining them together to form the final blanket. However, figuring out the best method to join these squares can sometimes be a bit overwhelming for beginners.
In this article, we will explore various methods for how to crochet squares together for a blanket. We will discuss different crochet stitches that can be used, such as slip stitch, single crochet, and granny square join. Additionally, we will cover techniques like whip stitch join and joining as you go. By the end of this article, you will have a clear understanding of these methods and be able to choose the one that works best for your project.
Before we dive into the actual joining methods, it’s important to choose the right crochet stitch for your blanket. The choice of stitch will impact the overall look and feel of the finished piece. You can opt for simple stitches like single crochet or double crochet, or you can experiment with more complex stitches to add texture and depth to your blanket. It’s a good idea to make a swatch with different stitch patterns to see which one you prefer before starting your project.
Key Takeaways:
- Choose the right crochet stitch for joining squares based on appearance, yarn weight, ease of joining, and durability. Properly prepare squares through blocking, trimming, and weaving in ends for a polished finish.
- Explore various methods for joining crochet squares, such as slip stitch, single crochet, granny square join, whip stitch, and joining as you go. Each method offers unique decorative elements and joining techniques to suit your project.
Read more: How To Crochet A Granny Square Blanket
Choosing the Right Crochet Stitch
The crochet stitch you choose for joining your squares together can greatly influence the final look of your blanket. Here are a few factors to consider when selecting the right stitch:
- Stitch Appearance: Different crochet stitches have distinct appearances, ranging from simple and smooth to textured and intricate. Consider the overall aesthetic you wish to achieve and choose a stitch that complements your desired look.
- Yarn Weight: The weight of your yarn can also impact how your stitches look when joined. Bulkier yarns may benefit from simpler stitches to prevent the joining seams from becoming too thick or overwhelming.
- Ease of Joining: Some stitches are easier to work with when it comes to joining squares. Stitches with good visibility and defined loops, such as single crochet and slip stitch, make it easier to identify the proper placement for joining.
- Stability and Durability: If you expect your blanket to receive regular use and frequent washing, it’s important to choose a stitch that provides stability and durability. Stitches like slip stitch or whip stitch are known for their strength and longevity.
Now that you have considered these factors, let’s take a closer look at a few commonly used crochet stitches for joining squares:
Slip Stitch Join
The slip stitch join is a simple and quick method to join squares. It involves inserting your hook into the corresponding stitch of both squares and pulling the yarn through all the loops. This creates a nearly invisible seam, making it ideal for projects where you want the squares to seamlessly blend together.
Single Crochet Join
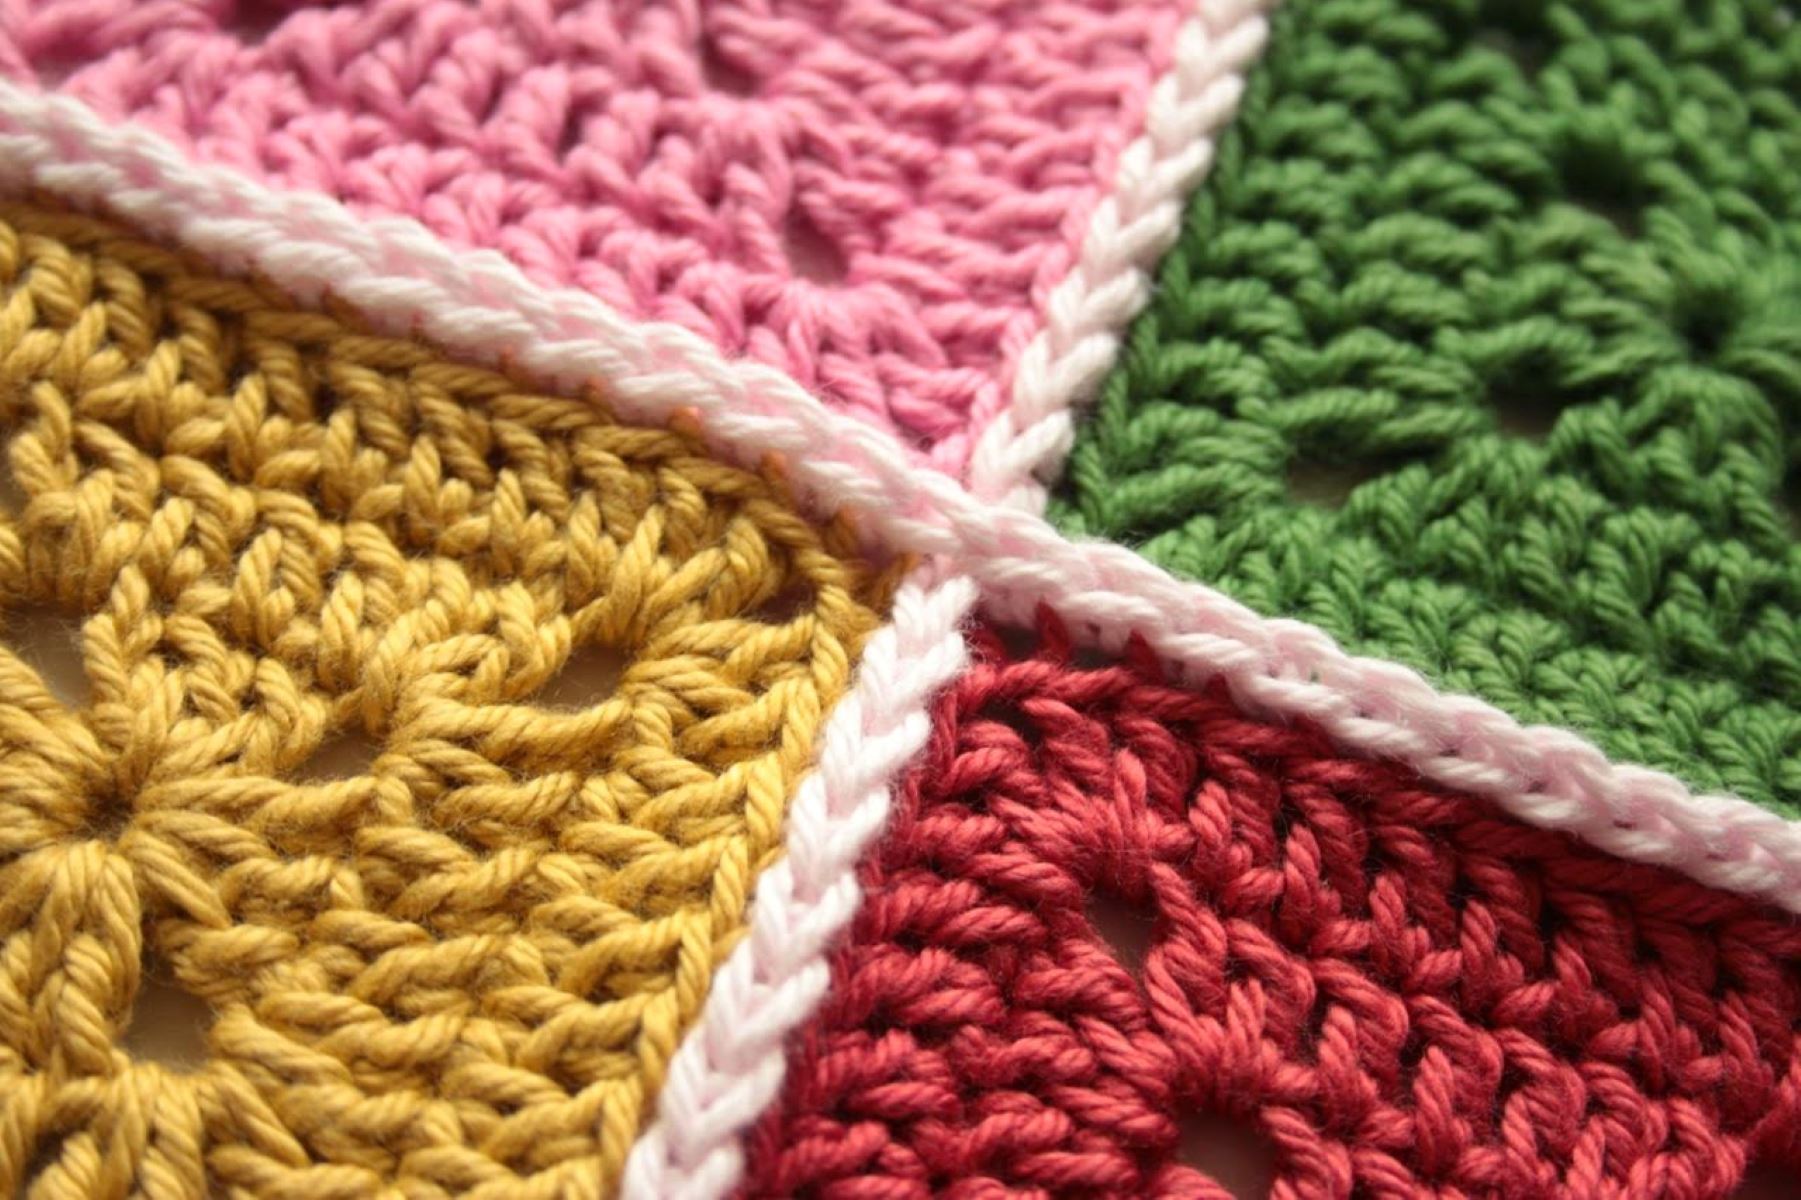
The single crochet join is widely used and creates a more pronounced seam. It involves working single crochet stitches through the corresponding stitches of both squares. This method adds a decorative element and can be especially effective when working with contrasting colors.
Granny Square Join
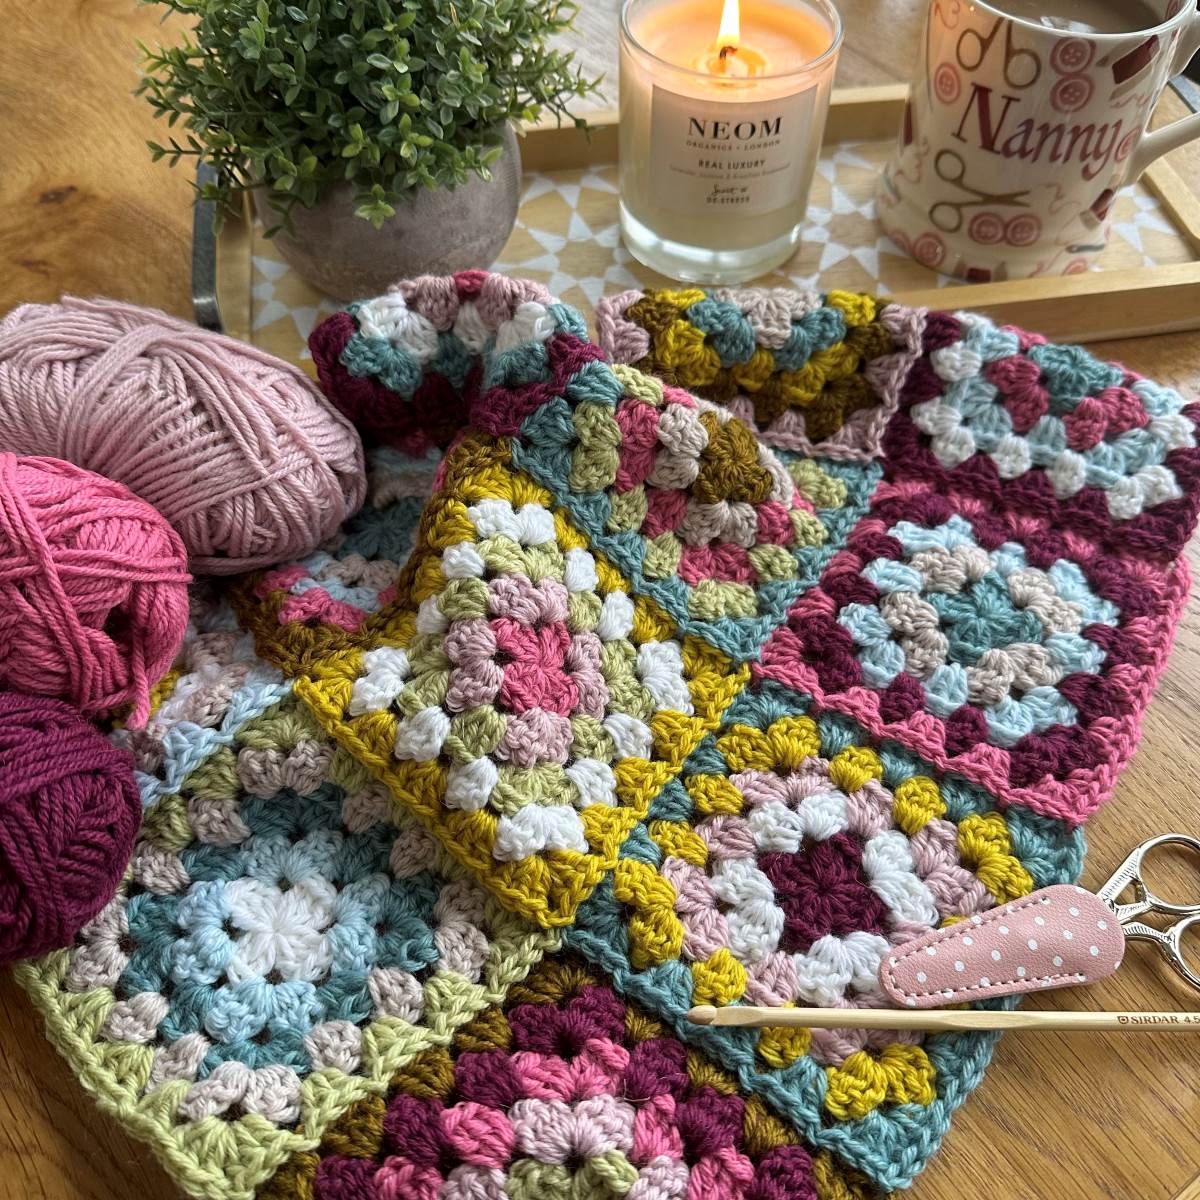
If you are joining traditional granny squares, you can use the granny square join technique. It involves working a slip stitch into the corner of one square, then chaining a few stitches and working another slip stitch into the corner of the adjacent square. This method creates a beautiful, lacy effect that accentuates the individual squares in your blanket.
Read more: How To Start Crocheting A Blanket
Whip Stitch Join
The whip stitch join is a classic sewing technique that can also be used in crochet. It involves using a needle and thread to sew the squares together by stitching through the edges. Although it may take more time and effort than some of the other methods, the whip stitch join provides a strong and secure bond between the squares.
Joining as You Go
Joining as you go allows you to connect the squares as you are crocheting them, eliminating the need for individual joining later. This technique is particularly helpful for large projects with numerous squares. It requires following a specific pattern and understanding how to attach the squares as you progress.
Now that you have an understanding of the different crochet stitches commonly used for joining squares, you can select the one that best suits your project. Remember to consider the appearance, yarn weight, ease of joining, and durability when making your decision. The chosen stitch will not only hold your blanket together but also add a decorative touch to the finished piece.
Preparing Your Squares
Before you start joining your crochet squares together, it’s important to ensure that they are all properly prepared. Here are a few steps to follow to make sure your squares are ready for joining:
- Blocking: Blocking is the process of shaping and sizing your squares to create a uniform appearance. To block your squares, dampen them with water and pin them to a blocking board or a flat surface. Stretch and shape them to the desired dimensions and let them dry completely.
- Trimming: After blocking, you may find that some squares have uneven edges. Trim any excess yarn and even out the edges so that they match up neatly when joining.
- Weaving in Ends: It’s essential to weave in any loose ends from your squares before joining. Using a yarn needle, thread the loose end through the stitches of the square to secure it. Trim any excess yarn, leaving a small tail.
- Arranging Squares: Lay out your squares in the desired pattern for your blanket. This will give you an idea of how they will fit together and allow you to plan the joining process accordingly.
By taking the time to properly prepare your squares, you’ll ensure that they are ready for joining. This will result in a more polished, professional-looking blanket.
Method 1: Slip Stitch Join
The slip stitch join is a simple and popular method for joining crochet squares. It creates a nearly invisible seam and gives your blanket a seamless look. Follow these steps to join your squares using the slip stitch method:
- Lay out your squares in the desired pattern, ensuring that the edges you want to join are touching each other.
- Insert your hook into the corner stitch of the first square and then into the corresponding stitch on the second square.
- Yarn over and pull the yarn through both loops on the hook. This completes one slip stitch join.
- Continue working slip stitches along the edges, inserting your hook into the next corresponding stitches on both squares.
- Repeat this process until you have joined all the desired edges of your squares.
- At the end of the row, fasten off the yarn and weave in any loose ends.
By working slip stitches along the edges of your squares, you create a secure and discreet seam. The slip stitch join method is particularly useful for projects where you want the squares to blend seamlessly together, creating a visually cohesive blanket.
Read more: How To Crochet A Quilt Square
Method 2: Single Crochet Join
The single crochet join is another popular method for joining crochet squares. It creates a more pronounced seam compared to the slip stitch join, adding a decorative element to your blanket. Follow these steps to join your squares using the single crochet method:
- Lay out your squares in the desired pattern, ensuring that the edges you want to join are touching each other.
- Insert your hook into the corner stitch of the first square and then into the corresponding stitch on the second square.
- Yarn over and pull the yarn through both loops on the hook, creating a single crochet stitch.
- Continue working single crochet stitches along the edges, inserting your hook into the next corresponding stitches on both squares.
- Repeat this process until you have joined all the desired edges of your squares.
- At the end of the row, fasten off the yarn and weave in any loose ends.
The single crochet join method creates a decorative seam that adds texture and visual interest to your blanket. It is particularly effective when working with contrasting colors, as the stitches stand out and create a unique design element.
Method 3: Granny Square Join
If you are working with traditional granny squares, the granny square join method is a great way to connect them. This technique creates a beautiful, lacy effect that accentuates the individual squares in your blanket. Follow these steps to join your granny squares using this method:
- Lay out your granny squares in the desired pattern, ensuring that the edges you want to join are touching each other.
- Insert your hook into the corner stitch of the first granny square.
- Chain a few stitches, usually 3 or 4, depending on the size of the squares and the desired spacing.
- Insert your hook into the corner stitch of the second granny square.
- Yarn over and pull the yarn through both loops on the hook, creating a slip stitch.
- Continue chaining and slip stitching along the edges, inserting your hook into the corner stitches of each granny square.
- Repeat this process until you have joined all the desired edges of your squares.
- At the end of the row, fasten off the yarn and weave in any loose ends.
The granny square join method creates a lacy, openwork effect between squares. It highlights the individual motifs and adds a touch of vintage charm to your blanket. This technique is especially popular for projects that feature colorful and intricately designed granny squares.
Method 4: Whip Stitch Join
The whip stitch join is a classic sewing technique that can be adapted for joining crochet squares. This method involves using a needle and thread to sew the squares together by stitching through the edges. Although it may take more time and effort than some of the other methods, the whip stitch join provides a strong and secure bond between the squares. Follow these steps to join your squares using the whip stitch method:
- Lay out your squares in the desired pattern, ensuring that the edges you want to join are touching each other.
- Thread a needle with a matching yarn or thread.
- Insert the needle through the first stitch of the first square and then through the corresponding stitch on the second square, aligning the edges.
- Bring the needle back through the next stitch on the first square and then through the corresponding stitch on the second square.
- Continue stitching in this manner, going back and forth between the two squares, until you have joined all the desired edges.
- At the end of the row, fasten off the yarn and weave in any loose ends.
The whip stitch join creates a visible seam that adds a touch of handmade charm to your blanket. It is a versatile method that works well for joining squares of any size or crochet pattern. The whip stitch join is particularly useful when you want a durable and secure connection between your squares.
Method 5: Joining as You Go
Joining as you go is a convenient method that allows you to connect squares as you crochet them. This technique eliminates the need for individual joining later and is especially helpful for projects with numerous squares. Here’s how to join your squares using the joining as you go method:
- Crochet the first square until you reach the corner where you want to join the next square.
- Instead of completing the last stitch of the current square, insert your hook through the corner stitch of the next square.
- Yarn over and pull the yarn through both loops on the hook, completing the last stitch of the current square and attaching it to the next square.
- Continue crocheting the next square, following the pattern or stitch sequence.
- When you reach the next corner, repeat the process of joining the squares together before completing the last stitch of the current square.
- Continue this joining as you go method for each square in your project, connecting them at the corners.
- At the end of the row, fasten off the yarn and weave in any loose ends.
Joining as you go is an efficient way to work on larger projects with many squares. It ensures that your squares are connected seamlessly as you progress, resulting in a neat and well-constructed blanket. This method is particularly useful when you want to create a visually appealing design that incorporates different colors or patterns.
When crocheting squares together for a blanket, use a slip stitch to join them for a neat and seamless finish. This will create a sturdy and professional-looking blanket.
Read more: How To Crochet A Star Into A Blanket
Finishing Touches and Blocking
Once you have completed joining your squares together, it’s time to add the finishing touches to your blanket. This includes finalizing the edges, adding a border, and blocking the blanket for a polished look. Here are the steps to follow for finishing touches and blocking:
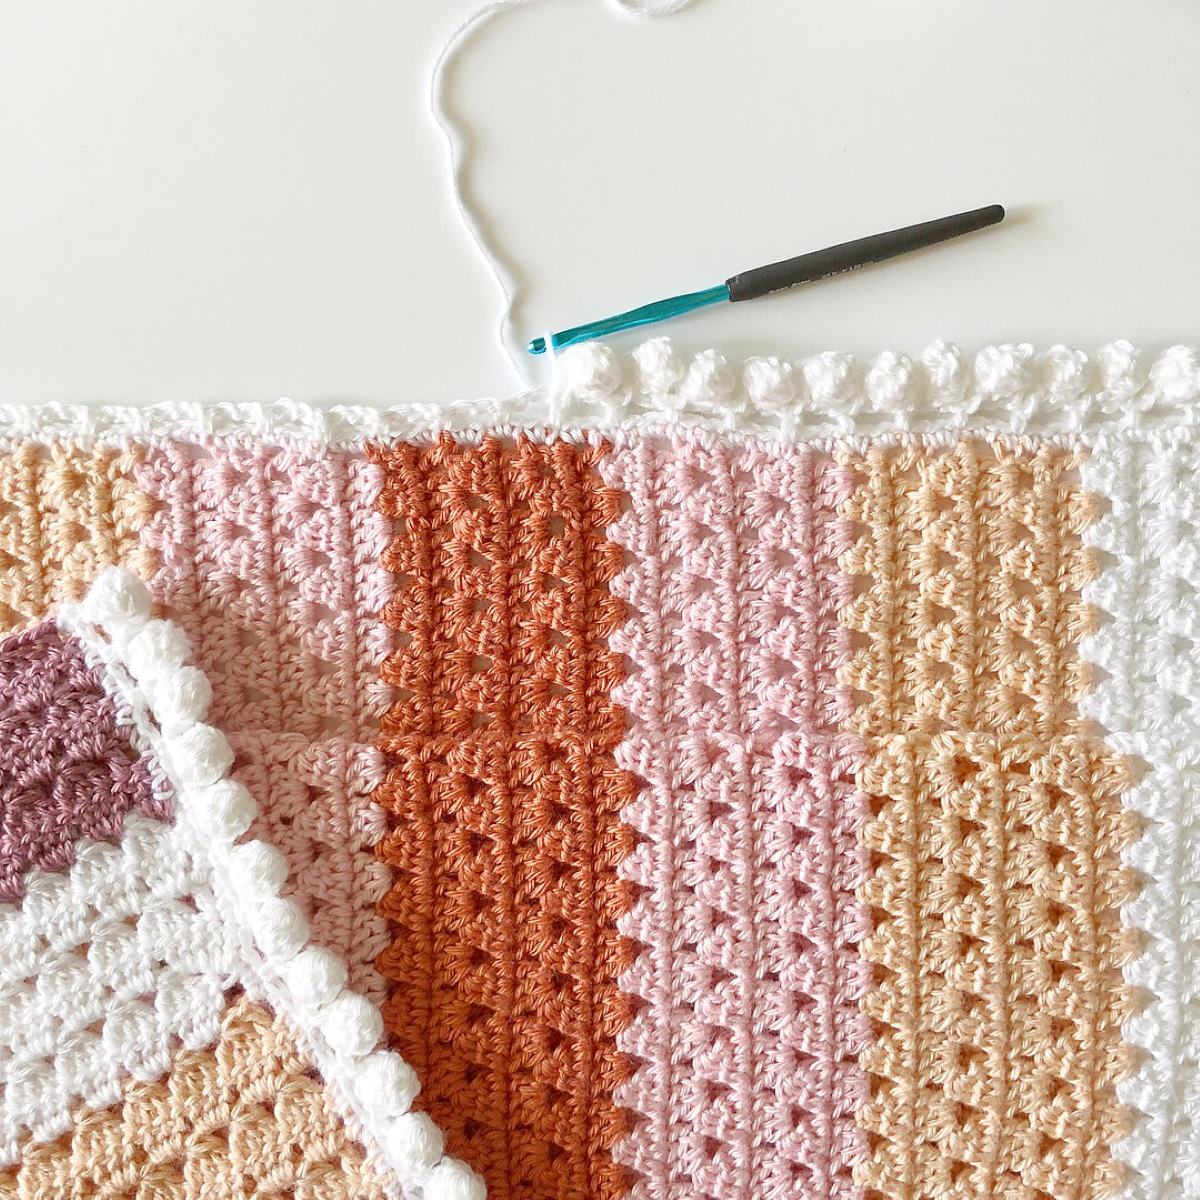
- Edging: To give your blanket a clean and polished look, consider adding an edging or border. You can use a simple single crochet or double crochet border, or get creative with more intricate stitch patterns. Choose a color that complements your blanket and work evenly around the entire perimeter, making sure to maintain consistent tension.
- Weave in Ends: As you complete the edging or border, make sure to weave in any loose ends. Use a yarn needle to thread the loose ends through the stitches on the wrong side of the blanket. This will secure them and prevent them from unraveling.
- Blocking: Blocking is the process of shaping and sizing your blanket to give it a more professional finish. Depending on the fiber content of your yarn, you can wet block or steam block your blanket. Wet blocking involves soaking the blanket in water, gently squeezing out the excess moisture, and then pinning it to a blocking mat or flat surface to dry. Steam blocking requires hovering a steam iron over the blanket without direct contact, allowing the steam to relax and shape the fibers. Blocking will help even out the stitches, control the dimensions, and improve the drape of your blanket.
- Drying and Storing: Once your blanket is blocked, allow it to dry thoroughly before storing or using it. Lay it flat on a clean surface and avoid folding or hanging it until it is completely dry.
Adding the finishing touches and blocking your blanket will elevate its overall appearance and give it a more professional and polished look. These steps may take some additional time and effort, but they are well worth it to achieve a beautiful and well-finished crochet blanket.
Conclusion
Joining crochet squares together to create a beautiful blanket is a rewarding and enjoyable process. In this article, we explored five different methods for joining squares: slip stitch join, single crochet join, granny square join, whip stitch join, and joining as you go.
The slip stitch join creates an invisible seam, perfect for a seamless blend of squares. The single crochet join adds a decorative touch with a more pronounced seam. The granny square join creates a lacy effect, highlighting the individual motifs in your blanket. The whip stitch join provides a strong and secure bond between the squares using a classic sewing technique. Finally, joining as you go allows you to connect squares as you crochet them, eliminating the need for separate joining later.
It’s important to choose the right crochet stitch for your joining method, considering factors such as stitch appearance, yarn weight, ease of joining, and durability. Properly preparing your squares through blocking, trimming, and weaving in ends ensures a uniform and professional finish.
When finishing your blanket, consider adding an edging or border for a polished look and weave in any loose ends. Block your finished blanket to even out stitches, control dimensions, and improve the overall appearance. Allow the blanket to dry thoroughly before storing or using it.
By following these methods and techniques, you can create a stunning crocheted blanket that showcases your creativity and crochet skills. Whether you prefer a seamless look, decorative seams, lacy effects, or secure bonds, there’s a joining method that will suit your project.
So gather your crochet squares, choose your favorite joining method, and embark on the journey of creating a gorgeous crochet blanket that will bring warmth and comfort for years to come.
Frequently Asked Questions about How To Crochet Squares Together For A Blanket
Was this page helpful?
At Storables.com, we guarantee accurate and reliable information. Our content, validated by Expert Board Contributors, is crafted following stringent Editorial Policies. We're committed to providing you with well-researched, expert-backed insights for all your informational needs.
