Articles
How To Finish Garage Ceiling
Modified: October 20, 2024
Learn how to finish your garage ceiling with our informative articles. Find expert tips and step-by-step guides for a professional-looking finish.
(Many of the links in this article redirect to a specific reviewed product. Your purchase of these products through affiliate links helps to generate commission for Storables.com, at no extra cost. Learn more)
Introduction
Welcome to our comprehensive guide on how to finish your garage ceiling! If you’re looking to transform your garage into a functional and aesthetically pleasing space, finishing the ceiling is a crucial step. A finished garage ceiling not only improves the overall appearance but also helps with insulation and noise reduction.
Finishing a garage ceiling may seem like a daunting task, but with the right materials, tools, and techniques, it can be a rewarding DIY project. In this article, we will walk you through the step-by-step process of finishing your garage ceiling, ensuring that you achieve professional results.
Before we dive into the details, it’s important to note that every garage is unique, and certain steps may vary depending on the condition and layout of your ceiling. However, this guide will provide you with a solid foundation for the general process of finishing a garage ceiling.
So, if you’re ready to elevate your garage to the next level, let’s get started with step one: preparing the garage ceiling.
Key Takeaways:
- Transform your garage into a functional and visually appealing space by following our step-by-step guide to finishing the ceiling. Enjoy improved insulation, noise reduction, and a polished look for your garage.
- Prioritize safety, attention to detail, and the right materials to achieve professional results in finishing your garage ceiling. Create a more attractive and functional space with insulation, drywall, and finishing touches.
Read more: How To Finish A Garage Floor
Step 1: Prepare the Garage Ceiling
Before you can begin the process of finishing your garage ceiling, you need to prepare the space to ensure a smooth and successful installation. Follow these steps to properly prepare your garage ceiling:
- Clean the ceiling: Start by removing any debris, dust, or cobwebs from the ceiling. Use a broom or vacuum cleaner to thoroughly clean the surface. This will provide a clean and even base for the subsequent steps.
- Repair any damage: Inspect the ceiling for any cracks, holes, or damage. Use a patching compound or drywall tape and joint compound to repair any imperfections. Allow the compound to dry completely before moving on to the next step.
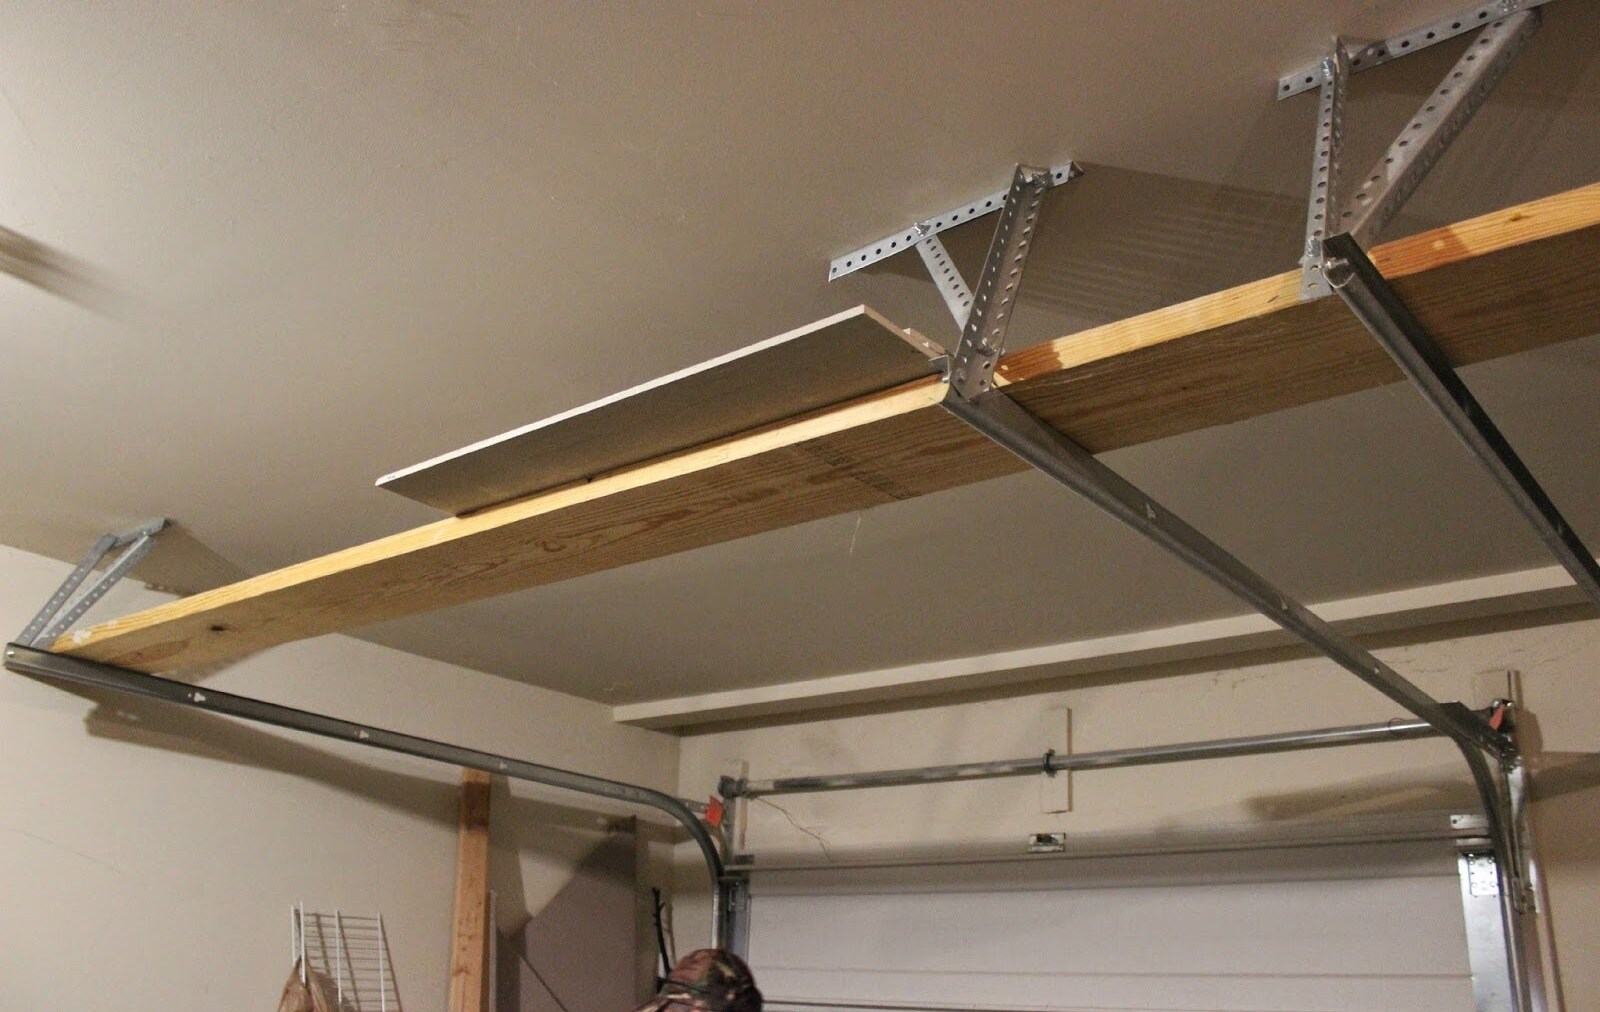
- Remove fixtures and obstacles: If there are any light fixtures, storage shelves, or other obstacles attached to the ceiling, remove them carefully. This will give you easier access to the ceiling and prevent any damage during the installation process.
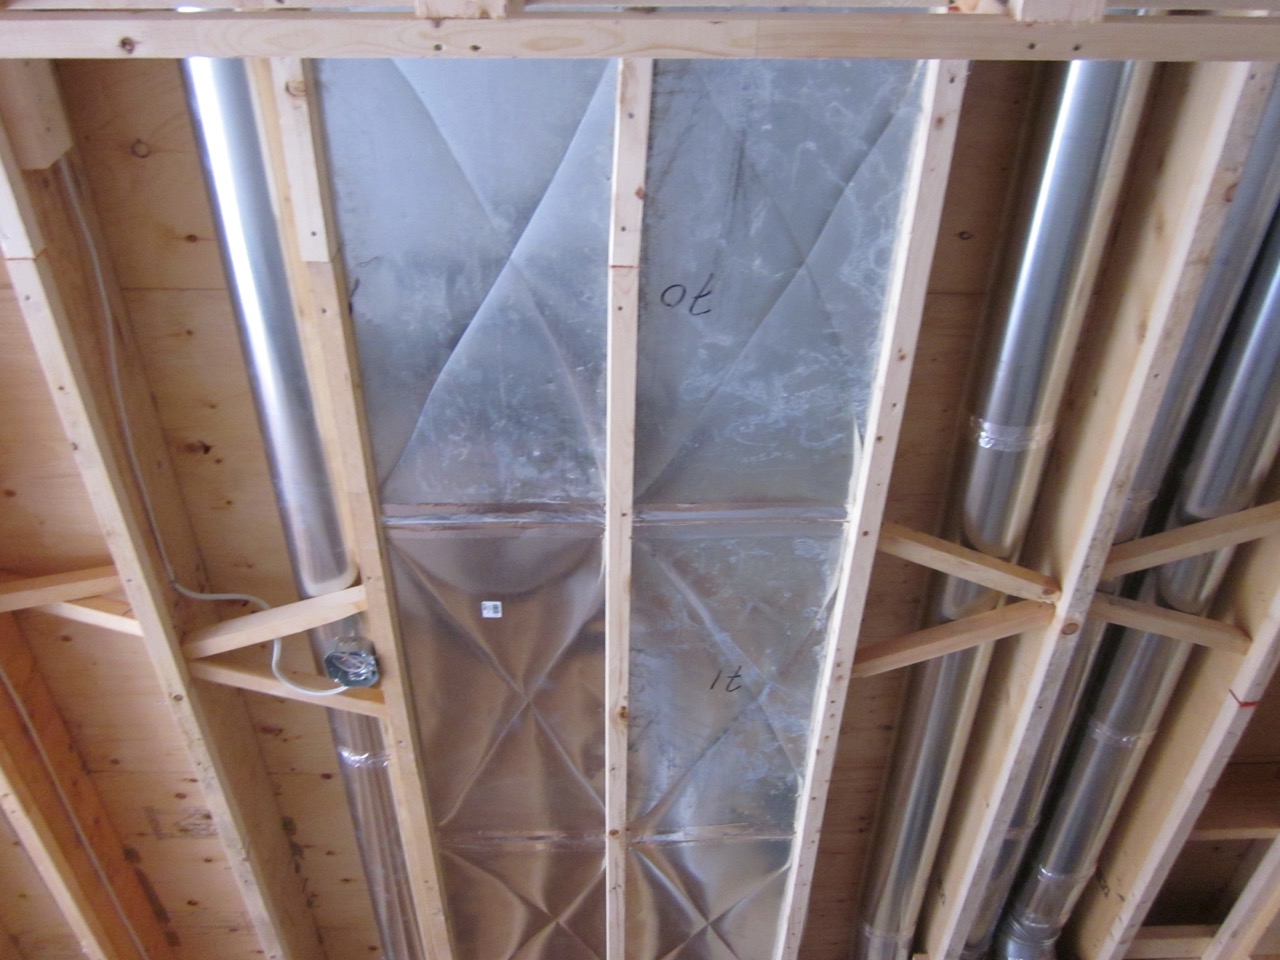
- Check for electrical wiring: Before proceeding, double-check for any electrical wiring or cables running through the ceiling. Ensure that you know the location of all wiring to avoid accidentally damaging it during the installation process.
- Consider insulation: If your garage is not already insulated, now is a great time to consider adding insulation to the ceiling. Insulation helps regulate the temperature inside the garage and can improve energy efficiency. We will cover the insulation process in more detail in step three.
By properly preparing the garage ceiling, you are setting yourself up for a successful finishing project. Take the time to clean, repair, and assess the condition of the ceiling before moving on to the next step. Once you have completed these preparations, you are ready to move on to step two: choosing the right materials for your garage ceiling finish.
Step 2: Choose the Right Materials
Choosing the right materials for your garage ceiling finish is essential for achieving a durable and visually appealing result. Here are the key considerations when selecting materials:
- Drywall: Drywall is a popular choice for garage ceilings due to its affordability and ease of installation. Choose moisture-resistant drywall to protect it from potential moisture and humidity in the garage. Measure the dimensions of your ceiling to determine the amount of drywall you need.
- Insulation: If you decided to add insulation to your garage ceiling, select the appropriate insulation material. Common options include fiberglass batt insulation or foam board insulation. Choose insulation with a high R-value to ensure optimal temperature control in your garage.
- Fasteners: You will need screws or nails to secure the drywall sheets to the ceiling and insulation. Opt for galvanized or coated fasteners that are resistant to corrosion, especially if your garage is prone to moisture.
- Joint compound and tape: These materials are necessary for sealing the seams between the drywall sheets and creating a smooth surface. Choose a joint compound that is easy to work with and dries quickly.
- Primer and paint: Once the drywall is installed and finished, you will need primer and paint to give your garage ceiling a polished look. Select a high-quality paint that is durable and easy to clean.
When choosing materials, consider the specific needs and conditions of your garage. For example, if you live in an area with high humidity, prioritize moisture-resistant options. Additionally, consider the overall aesthetic you want to achieve and select materials that complement your garage design.
Take your time to research and compare different brands and products to ensure you select materials that meet your requirements. With the right materials in hand, you’re ready to move on to step three: installing ceiling insulation.
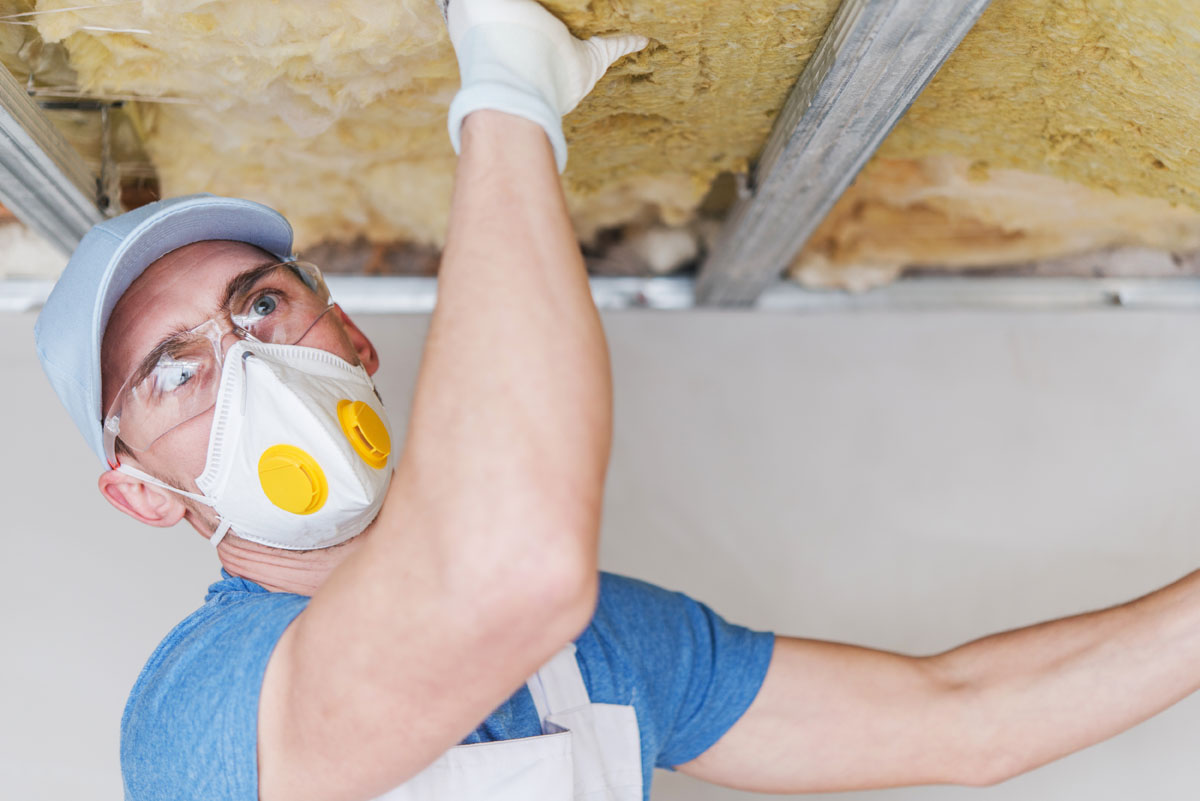
Step 3: Install Ceiling Insulation
Installing insulation in your garage ceiling is an excellent way to improve energy efficiency and create a more comfortable environment. Follow these steps to install ceiling insulation:
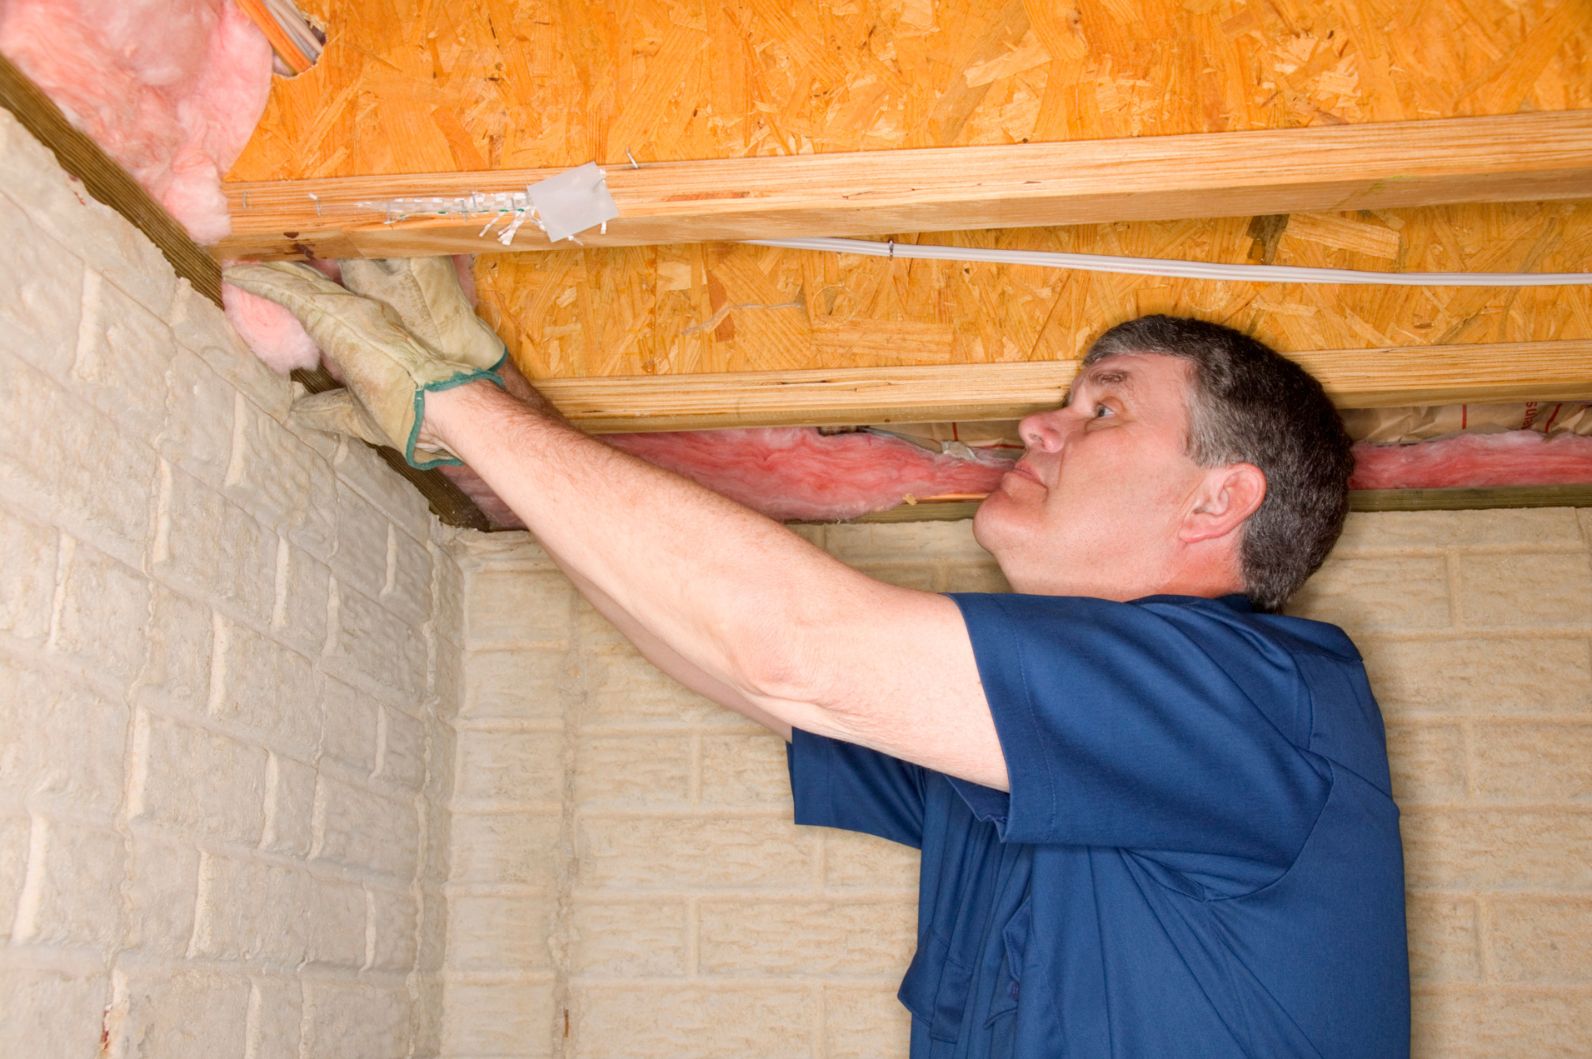
- Measure and cut insulation: Start by measuring the dimensions of your ceiling and cut the insulation material accordingly. Use a utility knife or insulation cutter to make precise cuts.
- Secure insulation: Place the insulation between the ceiling joists, ensuring a snug fit. Use insulation supports or staples to secure the insulation in place. Make sure to leave a gap around any electrical fixtures or vents for safety.
- Seal gaps: Use caulking or foam sealant to seal any gaps or cracks in the garage ceiling. This will help prevent air leakage and improve the insulation’s effectiveness.
- Install a vapor barrier (optional): If your garage experiences high humidity or you live in a region with excessive moisture, consider installing a vapor barrier over the insulation. This acts as an additional layer of protection against moisture penetration.
Insulating your garage ceiling not only helps regulate temperature but also reduces noise transmission from outside. The insulation will provide a sound barrier, making your garage a quieter and more peaceful space.
Remember to prioritize safety during the insulation installation process. Wear protective gloves, goggles, and a mask to avoid direct contact with insulation materials and to protect yourself from potential allergens.
Once you have successfully installed the insulation, you’re ready to move on to step four: installing the drywall on your garage ceiling. Let’s dive into the next phase of the process!
Consider using a paint sprayer to finish your garage ceiling for a smooth and even coat. This will save time and effort compared to using a roller or brush.
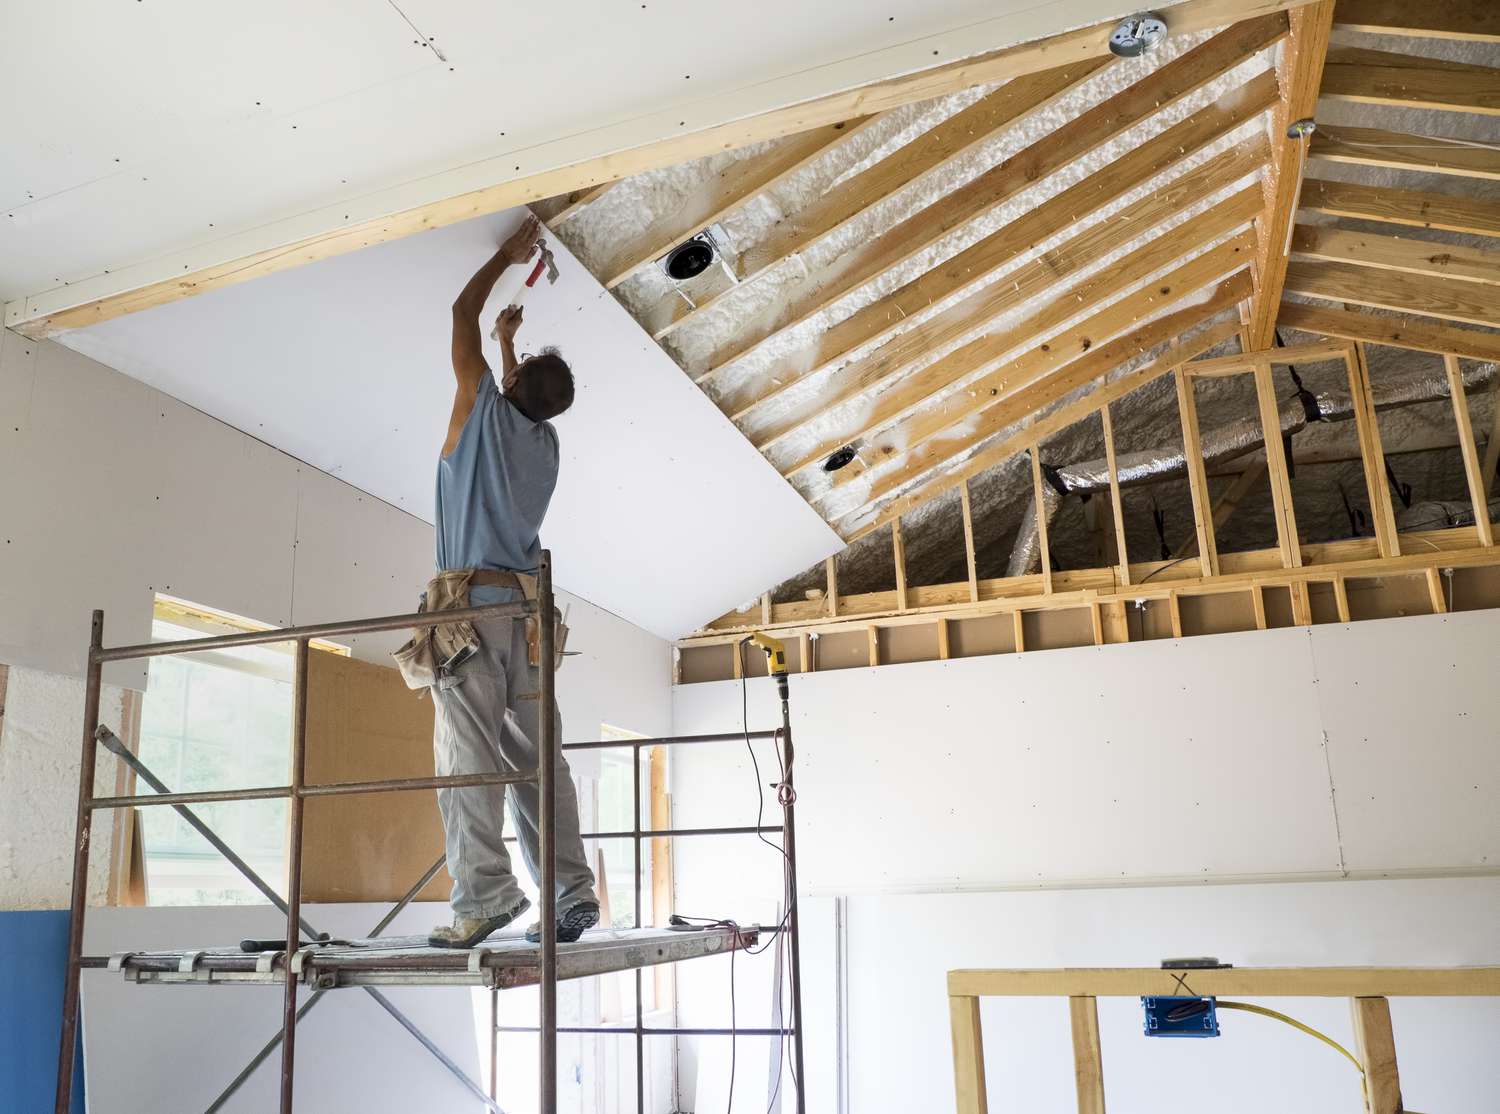
Step 4: Install Ceiling Drywall
Now that you have prepared the garage ceiling and installed insulation, it’s time to move on to installing the drywall. Follow these steps to install the ceiling drywall:
- Measure and cut the drywall: Measure the dimensions of your garage ceiling and cut the drywall sheets accordingly. Use a utility knife or a drywall saw to make precise cuts.
- Start from one corner: Begin installation from one corner of the ceiling. Have a helper hold the drywall sheet against the ceiling while you secure it in place.
- Use screws or nails: Use screws or nails designed for drywall installation to secure the drywall sheet to the ceiling joists. Place the screws or nails evenly along the edges and every 16 inches on the joists. Be careful not to overdrive or break the drywall.
- Repeat for the remaining sheets: Continue installing drywall sheets in the same manner, ensuring a tight fit between each sheet. Stagger the seams to create a stronger and more visually appealing finished ceiling.
- Apply joint compound and tape: Once all the drywall sheets are installed, it’s time to apply joint compound and tape to the seams. Cover the seams with joint tape and then apply a thin layer of joint compound using a trowel or putty knife. Smooth out the compound and let it dry according to the manufacturer’s instructions.
- Sand and apply secondary coats: After the joint compound is completely dry, use sandpaper to smooth out any rough patches or bumps. Apply additional coats of joint compound as needed to achieve a seamless finish. Sand between each coat for a smooth and even surface.
Remember to work carefully and take your time during the drywall installation process. It’s essential to ensure that the drywall is securely attached to the ceiling and that the joints are properly sealed for a professional finish.
Once the drywall is installed and finished, you’re ready to move on to the final step: applying the finishing touches to your garage ceiling. Let’s explore the last phase of the process!
Read more: How To Finish Garage Stairs
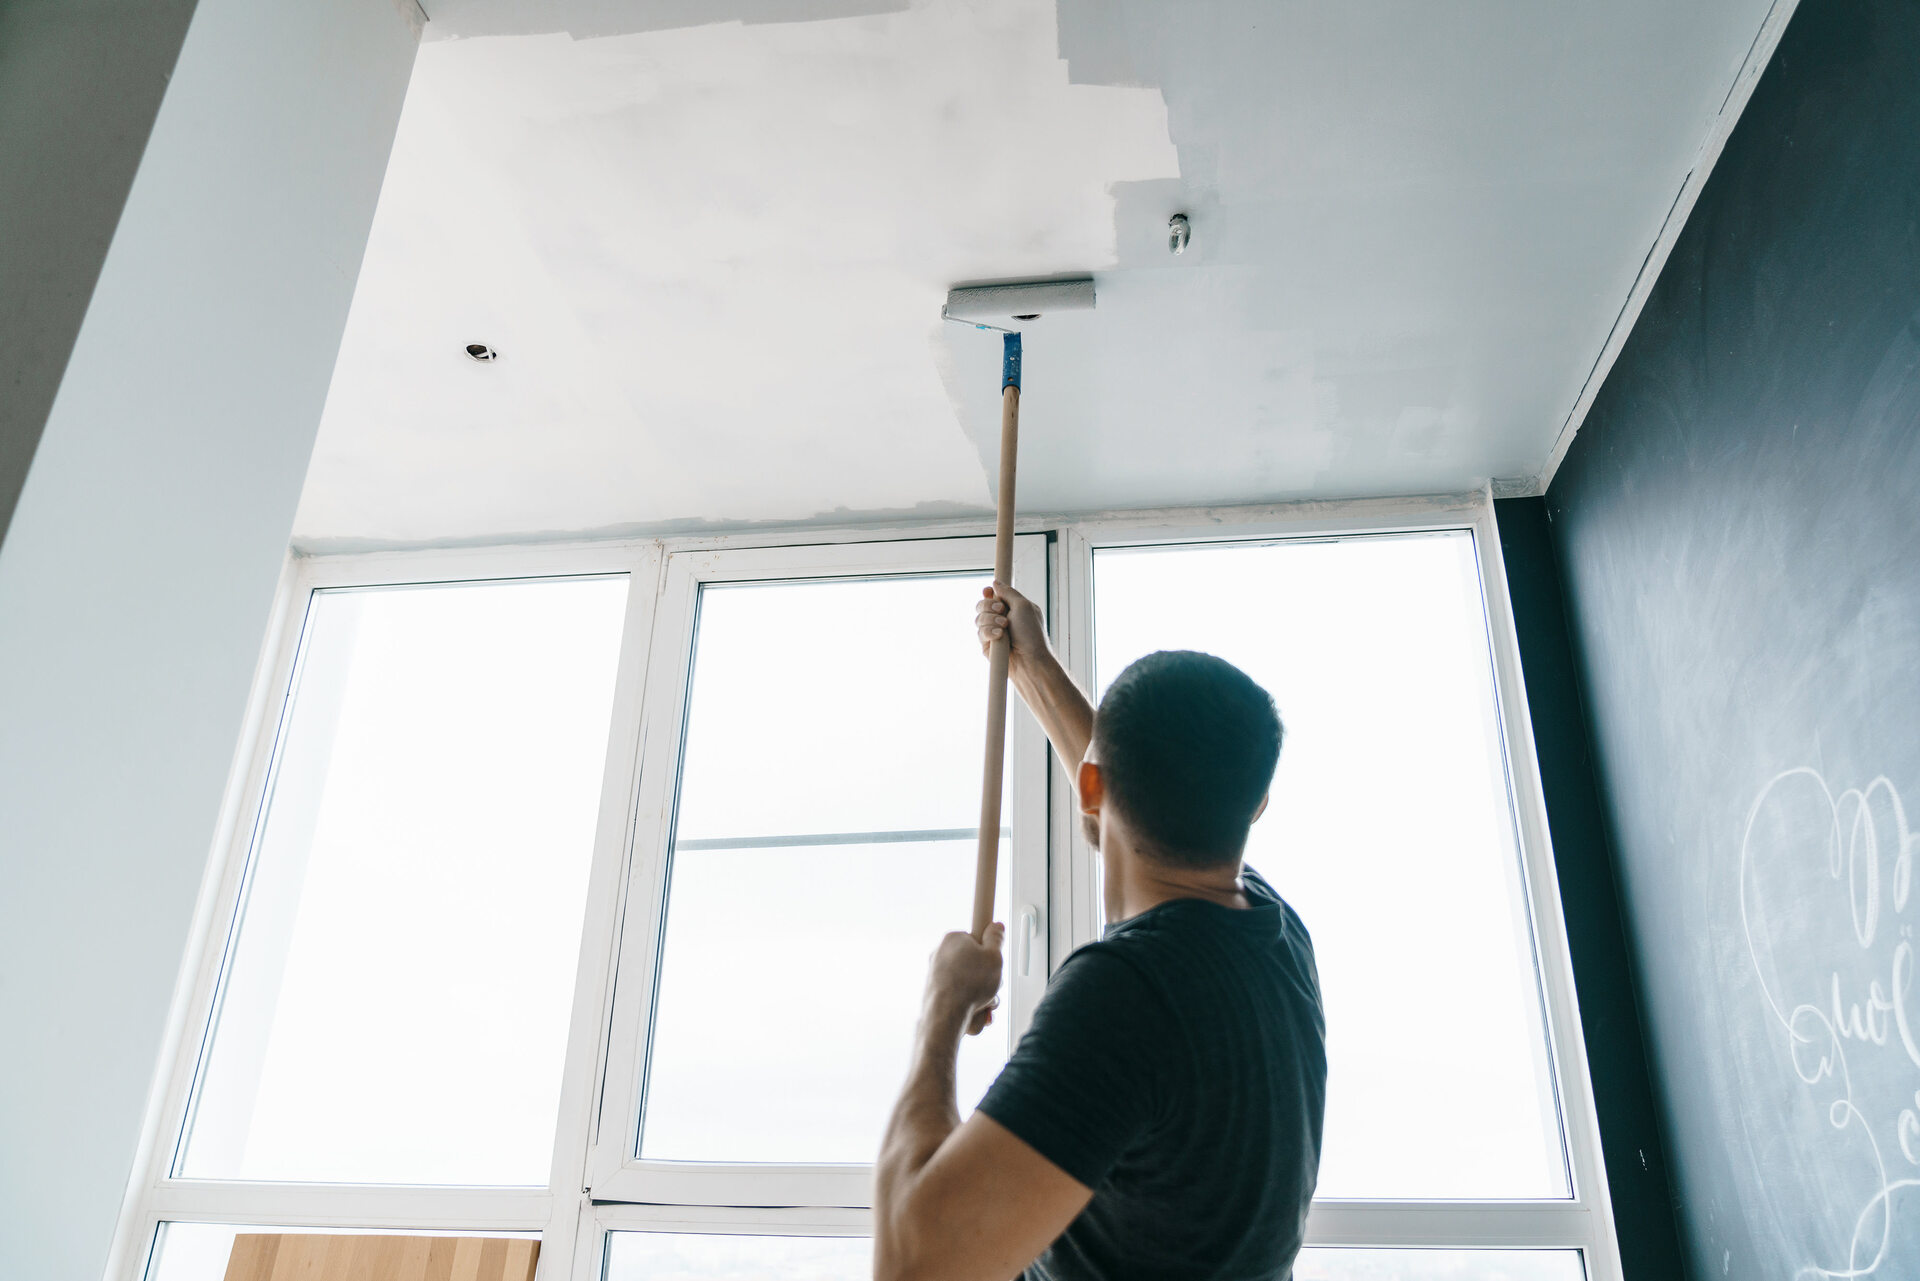
Step 5: Apply Finishing Touches
Congratulations! You’ve reached the final step in finishing your garage ceiling. Now it’s time to add those finishing touches that will bring your project to completion. Here are the essential steps to follow:
- Apply primer: Before painting the ceiling, it’s important to apply a coat of primer. Primer helps to create a smooth and even surface and ensures better adhesion of the paint. Follow the manufacturer’s instructions for the specific primer you’re using.
- Choose the right paint: Select a high-quality paint that is suitable for your garage environment. Opt for a paint that is specifically designed for ceilings, as it will have the necessary durability and finish. Consider factors such as moisture resistance and washability.
- Paint the ceiling: Use a roller or paint sprayer to apply the paint evenly across the entire garage ceiling. Work in small sections and allow each coat to dry before applying additional coats. Follow the paint manufacturer’s instructions for drying times and recommended number of coats.
- Consider additional features: Depending on your preferences and needs, you may want to consider adding additional features to your garage ceiling. This could include installing recessed lighting, ventilation fans, or acoustic panels to improve the functionality and aesthetics of the space.
- Final inspection: Once the paint has dried, carefully inspect the garage ceiling for any imperfections or touch-ups needed. Fix any areas that require attention and make sure everything looks clean and polished.
By taking the time to apply the finishing touches, you’ll be able to fully transform your garage ceiling into a space that is not only functional but also visually appealing. The right paint color and a finished ceiling will make a significant difference in the overall appearance of your garage.
With the completion of step five, you’ve successfully finished your garage ceiling! Take a step back and admire your hard work. You’ve created a more attractive and functional space that you can enjoy for years to come.
Finally, we hope this guide has provided you with the knowledge and inspiration to tackle your garage ceiling finishing project. Good luck, and enjoy your newly finished garage!
Conclusion
Congratulations on successfully finishing your garage ceiling! By following the step-by-step guide we’ve provided, you have transformed your garage into a more appealing and functional space. A finished garage ceiling not only improves the overall aesthetics but also provides insulation and noise reduction benefits.
Throughout this guide, we covered the important steps of preparing the garage ceiling, choosing the right materials, installing ceiling insulation, and putting up drywall. We also discussed the final steps of applying finishing touches, such as priming and painting, to complete the project.
It’s essential to remember that every garage is unique, and the specific requirements and techniques may vary. However, by following the general process outlined in this guide, you’ll be well on your way to achieving professional results in finishing your garage ceiling.
As you move forward with your project, make sure to prioritize safety, take your time, and pay attention to detail. Properly preparing the ceiling, selecting the right materials, and executing each step with care will ensure a successful outcome.
Now that your garage ceiling is finished, take a moment to enjoy the transformation. Use your new space for storage, a workspace, or even as an additional living area. The possibilities are endless!
We hope this comprehensive guide has provided you with valuable insights and guidance on how to finish your garage ceiling. Remember, a well-finished garage ceiling not only enhances the overall appearance of your garage but also adds value to your home. So, go ahead and enjoy your newly transformed space!
Frequently Asked Questions about How To Finish Garage Ceiling
Was this page helpful?
At Storables.com, we guarantee accurate and reliable information. Our content, validated by Expert Board Contributors, is crafted following stringent Editorial Policies. We're committed to providing you with well-researched, expert-backed insights for all your informational needs.


0 thoughts on “How To Finish Garage Ceiling”