
Articles
How To Bind Carpet Edges
Modified: December 7, 2023
Learn how to bind carpet edges with our informative articles. Find step-by-step guides and expert tips to achieve professional-looking results.
(Many of the links in this article redirect to a specific reviewed product. Your purchase of these products through affiliate links helps to generate commission for Storables.com, at no extra cost. Learn more)
Introduction
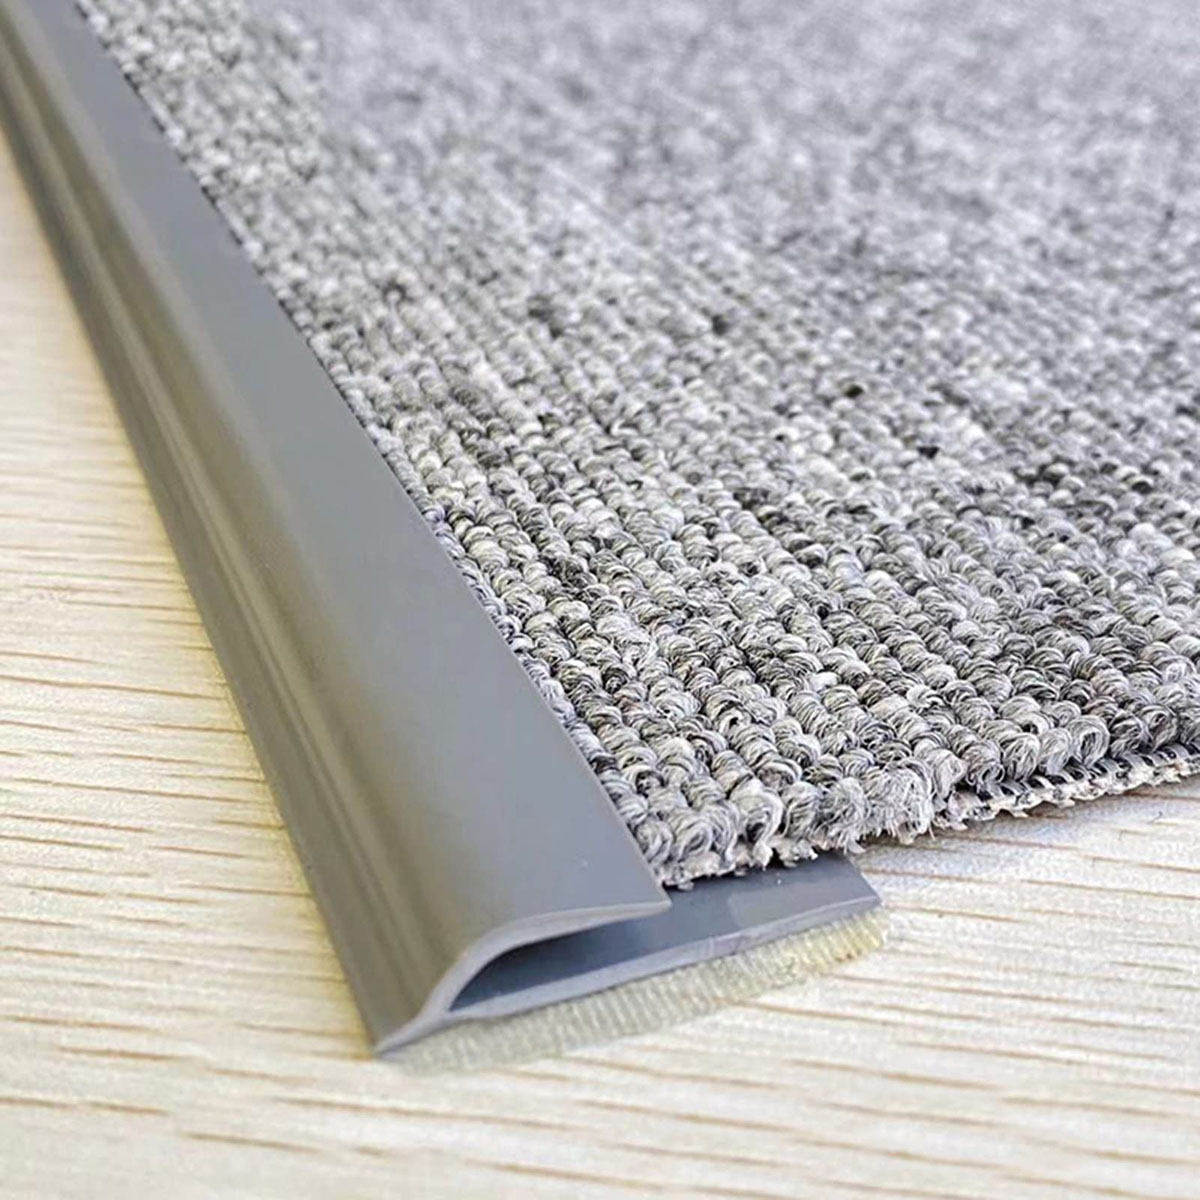
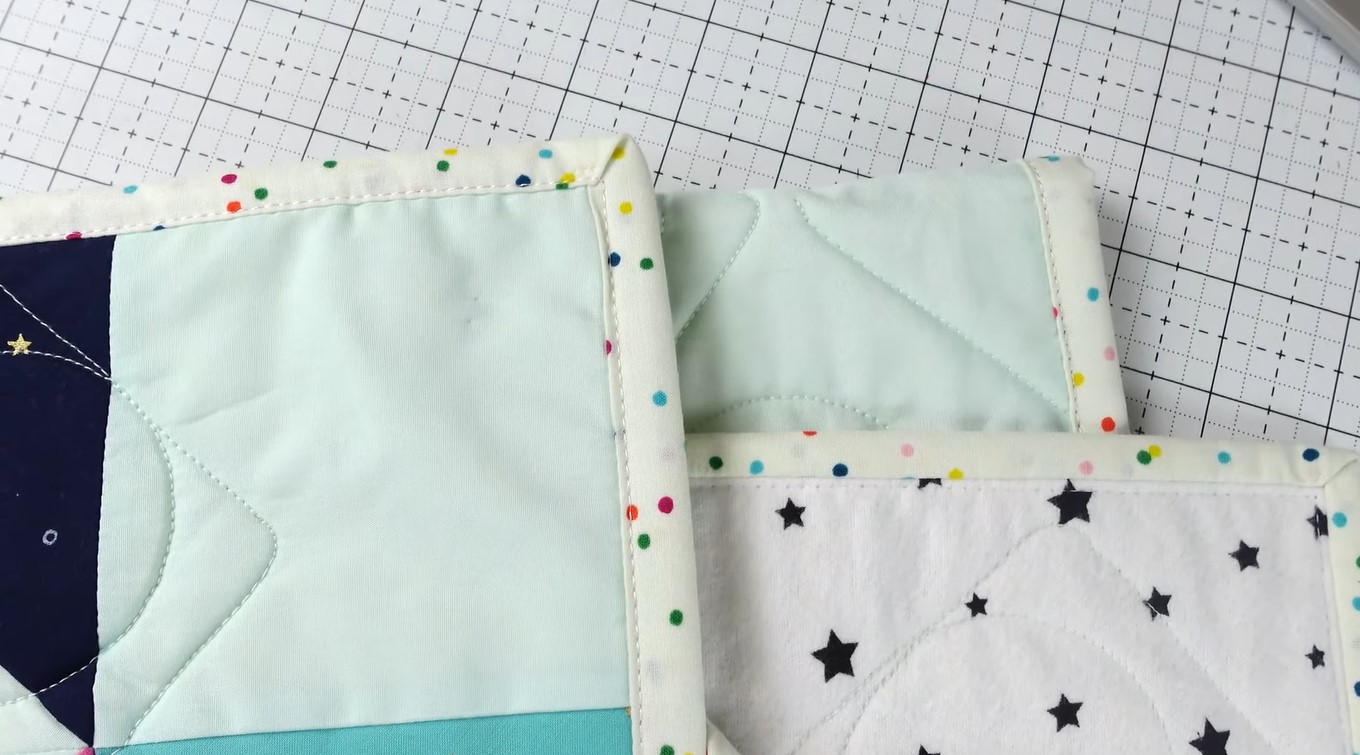
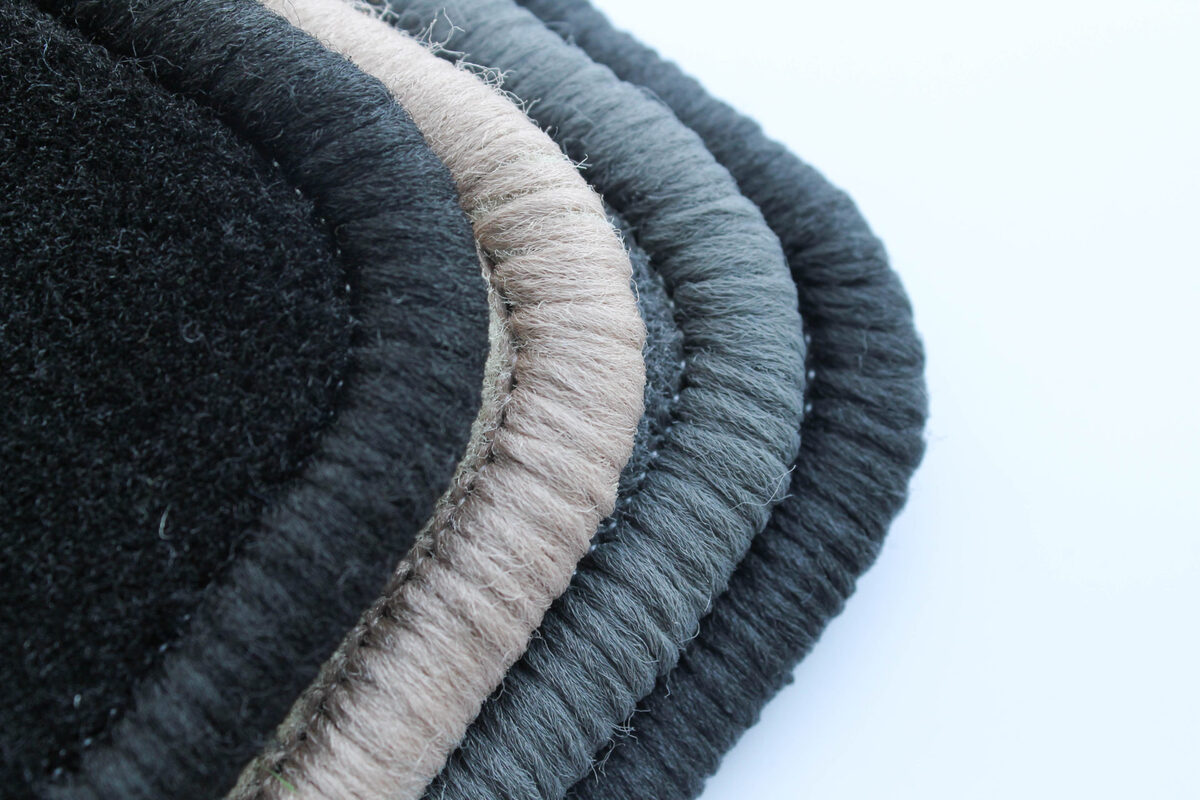
Welcome to the world of carpet binding! Whether you’ve just installed new carpet or want to give your existing carpet a fresh look, binding the edges is a great way to add a touch of professionalism and durability. Carpet binding is the process of securing the edges of the carpet with a binding tape, which not only protects the edges from fraying but also adds a decorative border. In this article, we will guide you through the steps of binding carpet edges so that you can confidently tackle this project on your own.
Before we dive into the process, let’s talk about the tools and materials you’ll need:
- Carpet
- Binding tape
- Hot glue gun
- Scissors or carpet knife
- Sewing machine (optional)
- Measuring tape
- Safety goggles
Now that we’ve got everything we need, let’s jump into the step-by-step process of binding your carpet edges!
Key Takeaways:
- Transform your carpet with a professional touch by following our step-by-step guide to binding carpet edges. Achieve durability and elegance with the right tools and attention to detail.
- Embrace the DIY spirit and elevate your space with a beautifully bound carpet. From measuring to finishing touches, our guide empowers you to create a polished and long-lasting carpet edge.
Read more: How To Bind Carpet Edges As A DIY Project
Tools and Materials Needed
Before you get started with binding your carpet edges, gather the following tools and materials:
1. Carpet: You’ll need a piece of carpet that you want to bind the edges of. It can be a new carpet or an existing one that needs a fresh look.
2. Binding tape: Look for binding tape specifically designed for carpet binding. It is usually made of polyester or cotton and comes in various colors and widths. Choose a tape that complements your carpet and desired aesthetic.
3. Hot glue gun: A hot glue gun is essential for securing the binding tape to the carpet edges. Make sure you have a high-quality glue gun that can withstand the heat and provide a strong adhesive bond.
4. Scissors or carpet knife: You’ll need a sharp pair of scissors or a carpet knife to cut the binding tape to the desired length and trim any excess. Ensure that your cutting tool is suitable for cutting through carpet and fabric.
5. Sewing machine (optional): While not necessary, a sewing machine can be used to sew the binding tape to the carpet for added durability. If you choose to sew the tape, make sure you have a sewing machine capable of handling heavy-duty fabrics.
6. Measuring tape: Accurate measurements are crucial for a neat and professional-looking binding job. Use a measuring tape to measure the length and width of the carpet, as well as the desired width of the binding tape.
7. Safety goggles: Since you’ll be working with a hot glue gun and potentially using a knife, it’s essential to protect your eyes. Wear safety goggles to shield your eyes from any potential harm.
Once you have all these tools and materials ready, you’re well-equipped to bind your carpet edges and achieve a polished and finished look for your carpet.
Step 1: Measure and Cut the Binding Tape
The first step in binding carpet edges is to measure and cut the binding tape to the appropriate length. Follow these steps:
- Measure the carpet: Use a measuring tape to determine the length of the carpet edge that needs to be binded. Measure all sides that require binding, as each side may have a different length.
- Add extra length: To ensure a proper fit, add an extra inch or two to the measured length. This additional length will accommodate any variations in the carpet’s edge.
- Cut the binding tape: With the measurements in hand, use scissors or a carpet knife to cut the binding tape to the determined length. Make sure the tape is long enough to cover the entire length of the carpet edge.
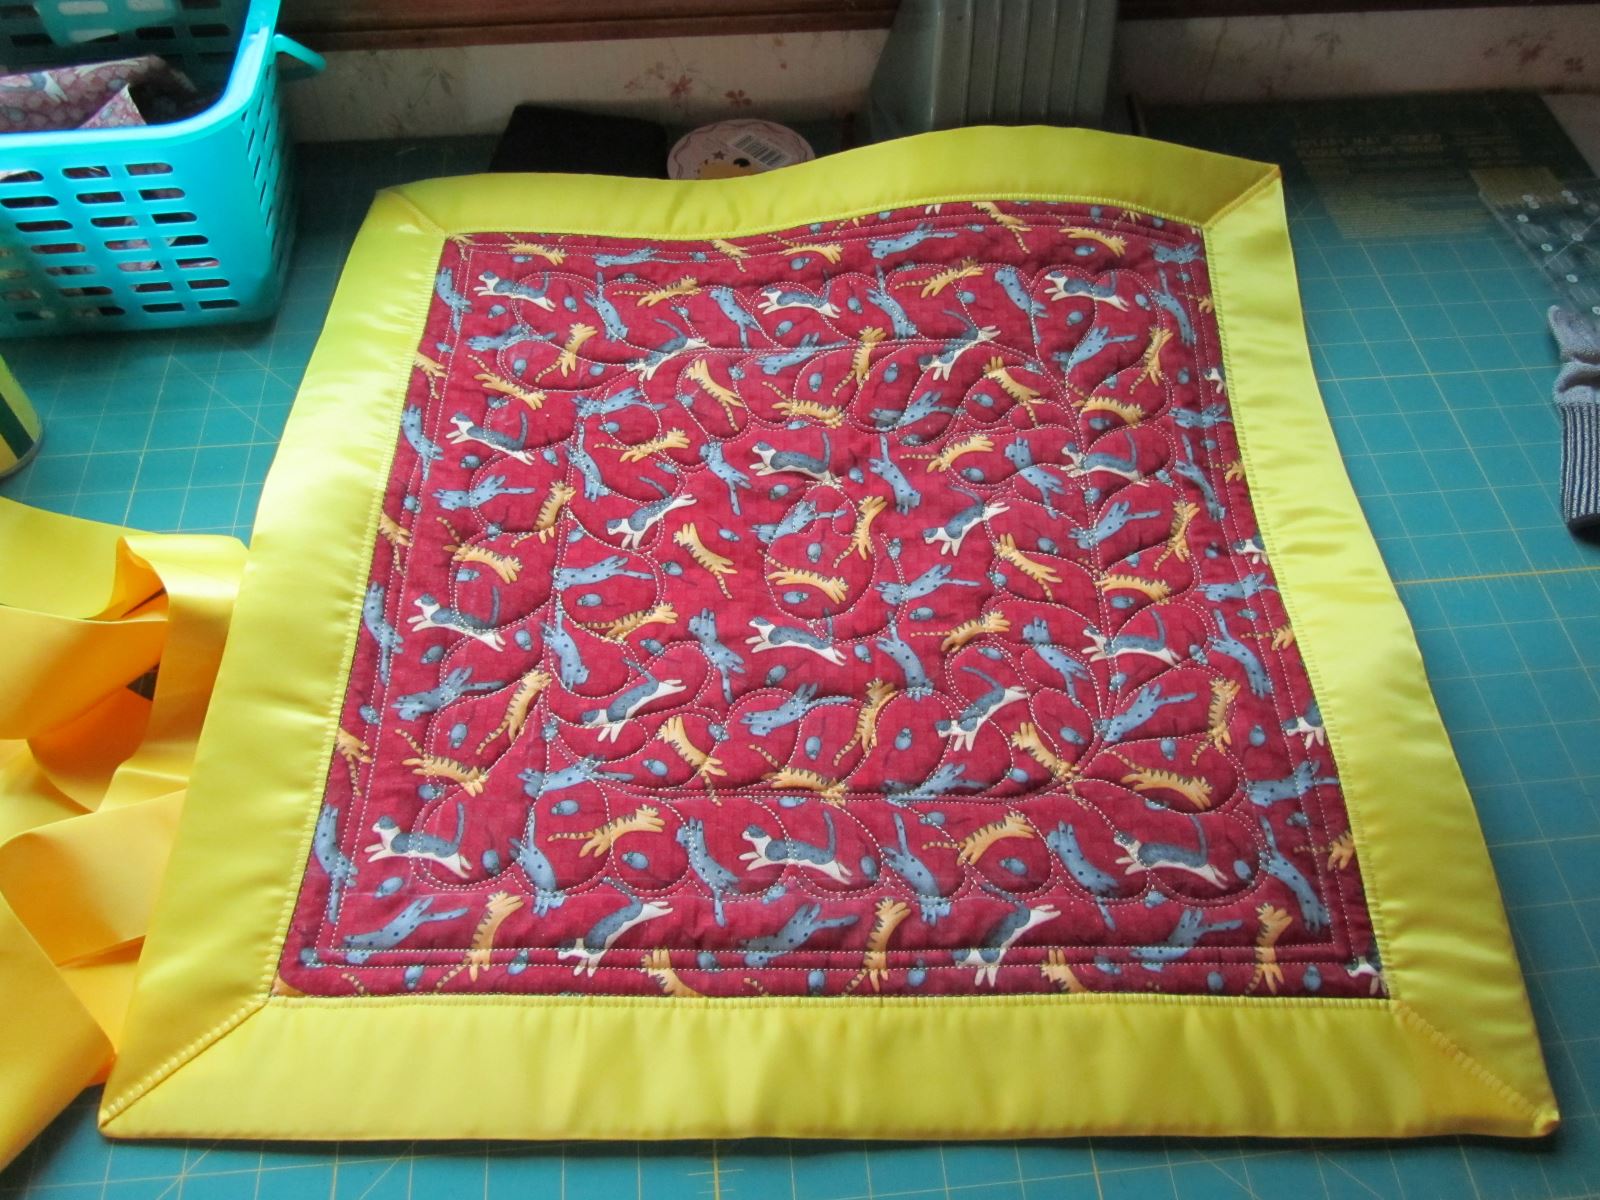
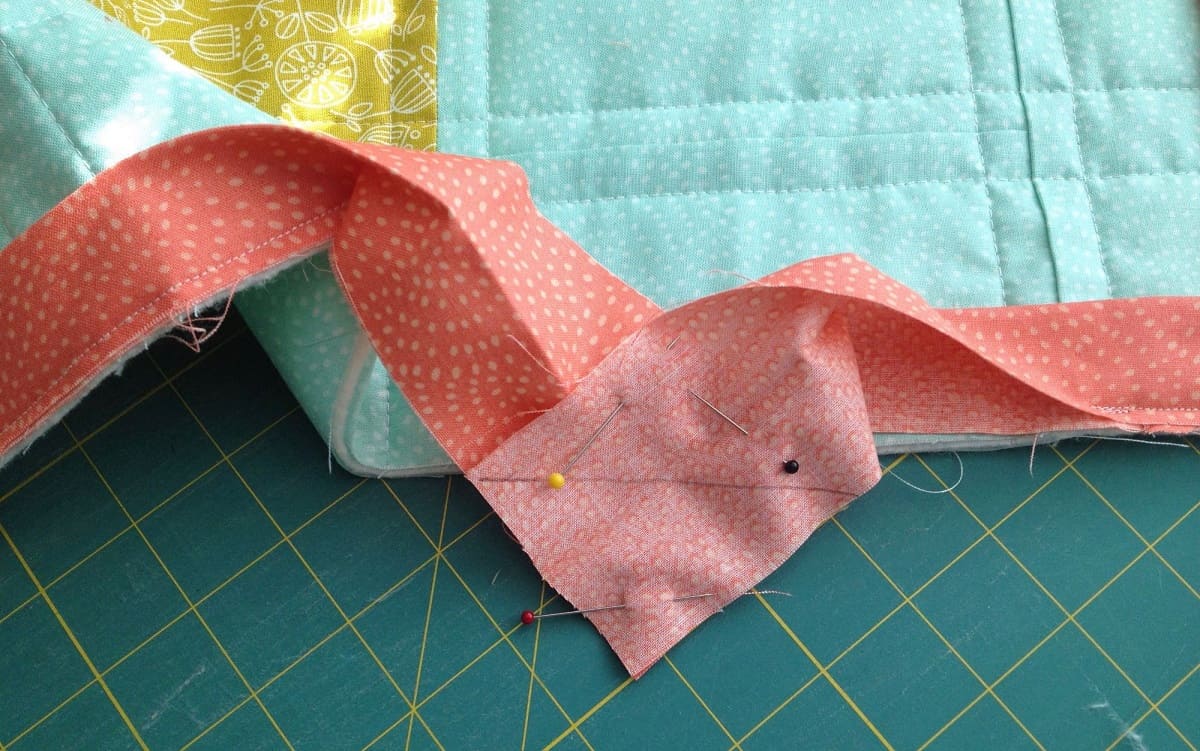
- Consider mitered corners (optional): If you want to achieve a more professional look, you can create mitered corners. To do this, cut the corners of the binding tape at a 45-degree angle. This will allow the tape to neatly fold around the corners when applied to the carpet.
Remember, accuracy is key when measuring and cutting the binding tape. Take your time to ensure precise measurements and clean cuts for a seamless binding process.
Once you have the binding tape measured and cut, you’re ready to move on to the next step: applying the tape to the carpet’s edge.
Step 2: Apply the Binding Tape to the Carpet Edge
Now that you have your binding tape cut to the appropriate length, it’s time to apply it to the carpet edge. Follow these steps:
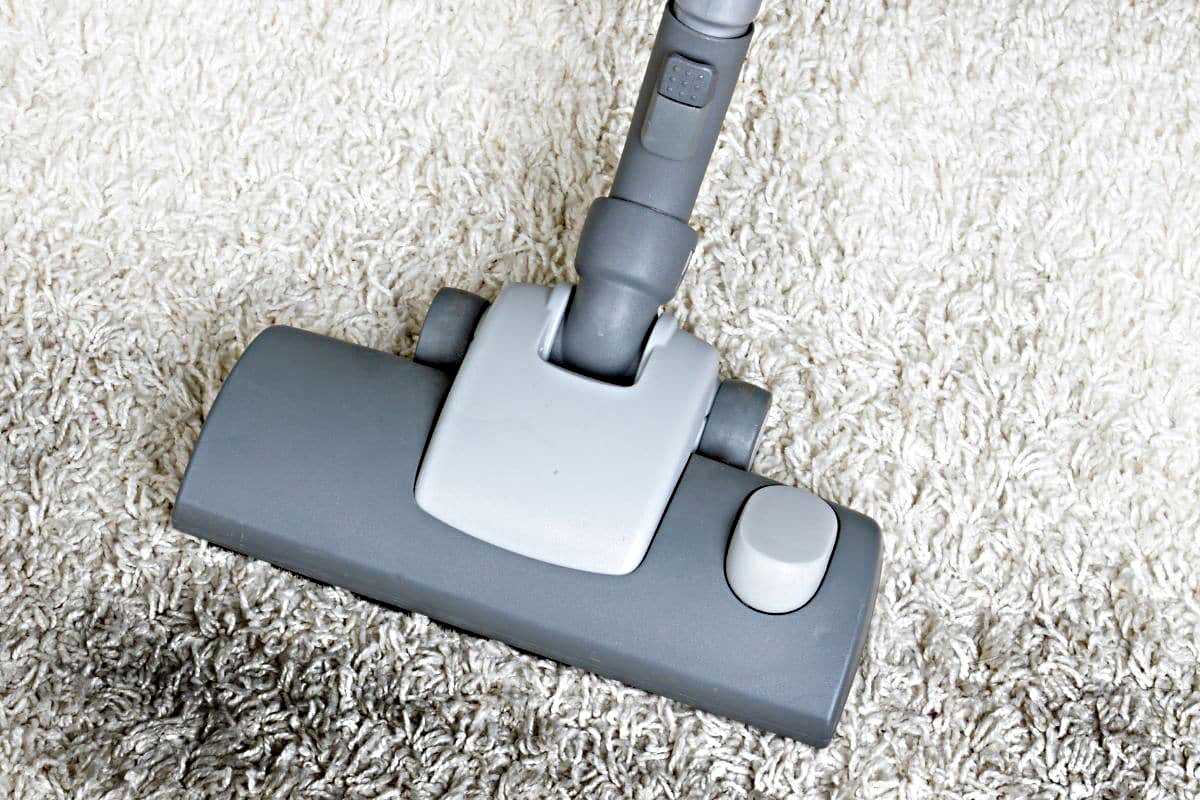
- Clean the carpet edge: Before applying the binding tape, ensure that the carpet edge is clean and free from any dirt or debris. Use a vacuum or a brush to remove any loose particles.
- Position the binding tape: Place the binding tape along the edge of the carpet, ensuring that it covers the entire length. The tape should be positioned with the wider side facing down and the narrower side facing up.
- Align the tape: Make sure the binding tape is aligned evenly with the carpet edge. This will ensure a symmetrical finish and a professional look.
- Secure the tape: Starting from one end, press the binding tape firmly against the carpet edge. Use your fingers to secure the tape in place and eliminate any wrinkles or bumps.
- Continue applying the tape: Gradually work your way along the carpet’s edge, pressing the tape securely as you go. Smooth out any creases or folds to achieve a neat and uniform appearance.
- Overlap the ends (if necessary): If you have multiple pieces of binding tape to cover the entire carpet edge, overlap the ends slightly to ensure a seamless transition. Secure the overlapping sections with hot glue or by sewing (if you choose to do so).
Take your time during this step to ensure that the binding tape is applied neatly and securely. This will ensure a professional-looking finish and enhance the durability of your carpet’s edges.
With the binding tape in place, it’s time to move on to the next step: securing the tape with a hot glue gun.
Step 3: Secure the Binding Tape with a Hot Glue Gun
After applying the binding tape to the carpet’s edge, the next step is to secure it in place using a hot glue gun. Follow these steps:
- Prepare the hot glue gun: Plug in the hot glue gun and allow it to heat up according to the manufacturer’s instructions. Place a glue stick into the gun and wait for it to melt completely.
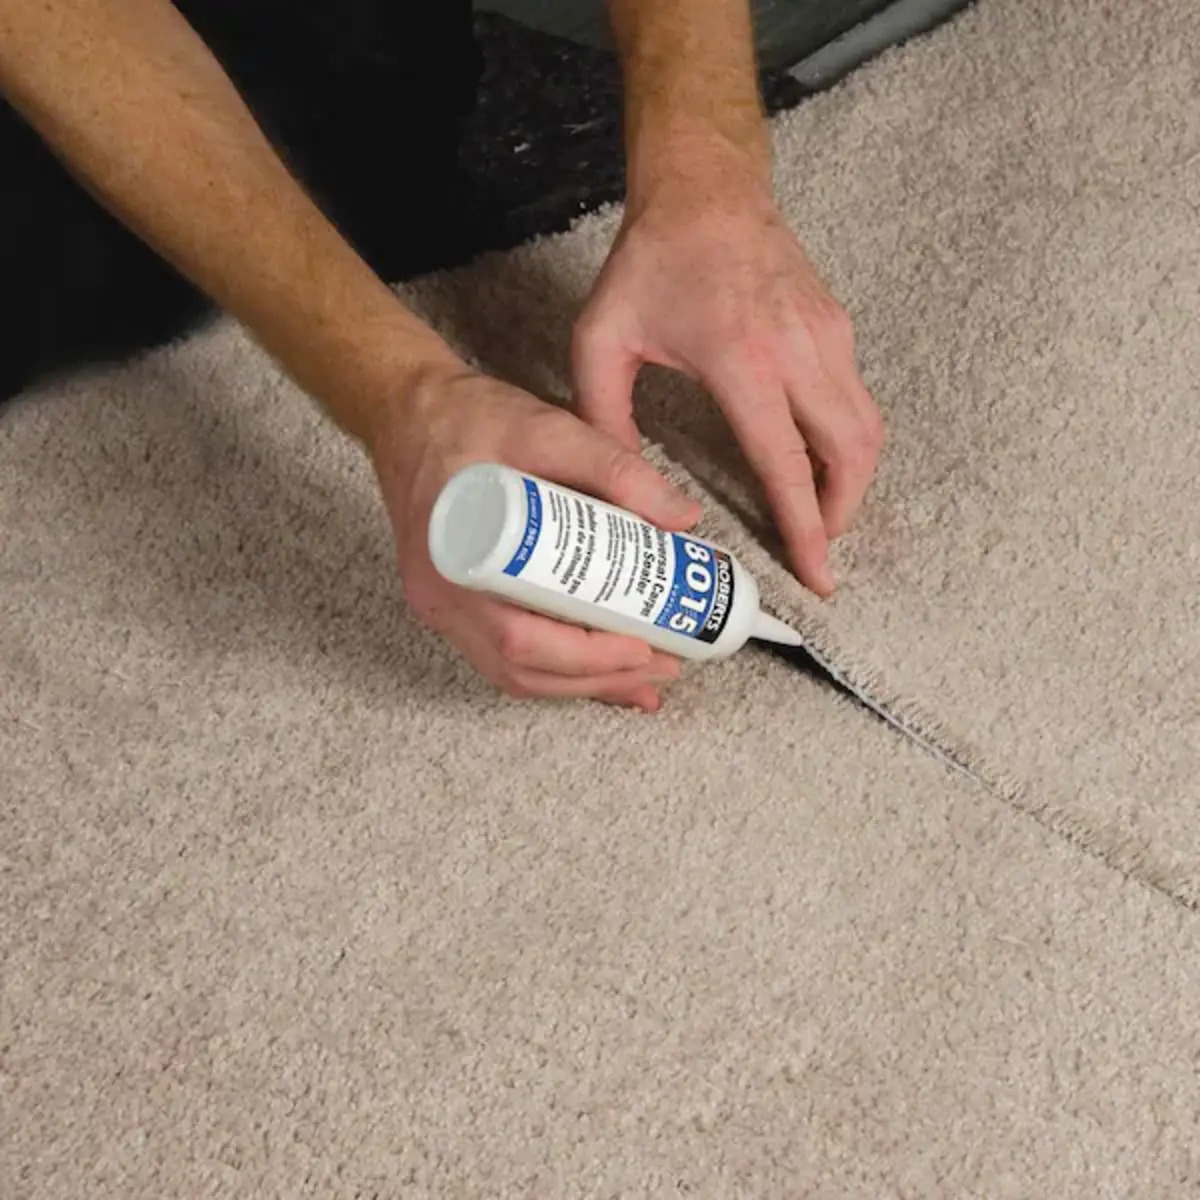
- Start from one end: Begin on one end of the carpet edge where the binding tape starts. Lift the edge of the tape slightly and apply a thin, even line of hot glue along the underside of the binding tape. Be careful not to use too much glue, as it may seep through the tape and create a visible mess.
- Press the tape down: Immediately after applying the hot glue, press the binding tape firmly against the carpet edge. Hold it in place for a few seconds to allow the glue to set and create a strong bond.
- Continue gluing: Work your way along the carpet’s edge, applying a thin line of hot glue and securely pressing down the binding tape. Repeat this process until you’ve covered the entire length of the carpet edge.
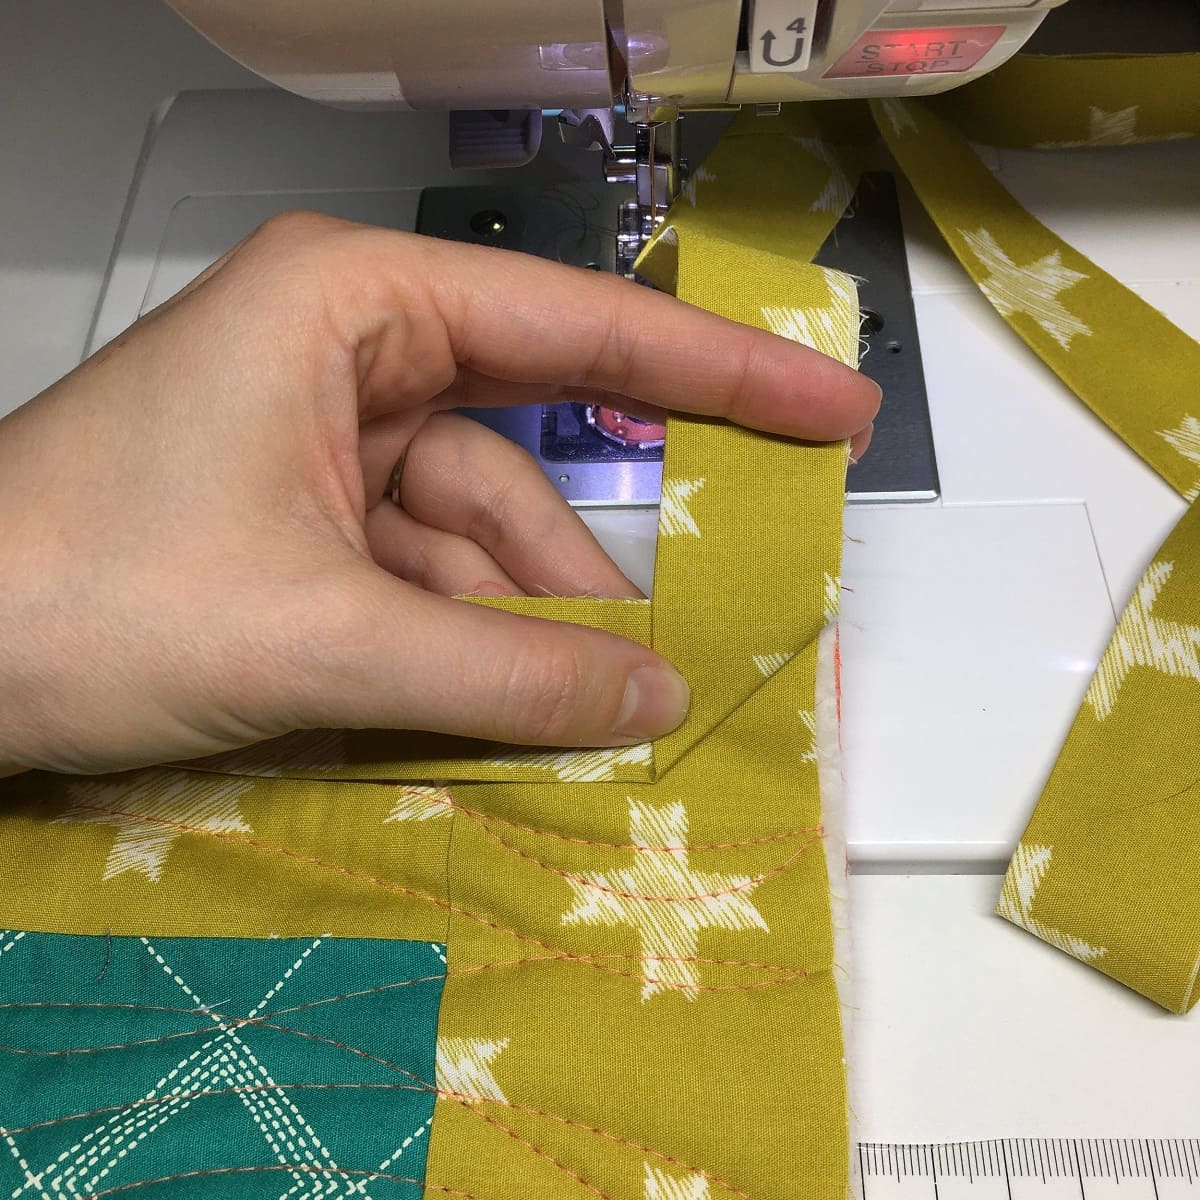
- Pay attention to corners: When you reach corners, fold the binding tape smoothly around the corner and apply hot glue to secure it in place. If you created mitered corners in the previous steps, ensure that the corners are neatly folded and glued.
- Trim excess glue: Once you’ve glued down the entire binding tape, inspect the edges for any excess hot glue that may have oozed out. Use a pair of scissors or a knife to carefully trim away any visible glue strands or blobs.
Take your time during this step to ensure that the binding tape is securely attached to the carpet’s edge. The hot glue creates a strong bond that will prevent the tape from coming loose and ensure the longevity of the binding.
With the binding tape securely glued in place, it’s time to move on to the next step: trimming any excess binding tape.
When binding carpet edges, use a binding tape that matches the color and texture of the carpet for a seamless finish. Make sure to secure the binding tape evenly and tightly to prevent fraying.
Read more: How To Clean The Edges Of A Carpet
Step 4: Trim Excess Binding Tape
With the binding tape securely fastened to the carpet’s edge, it’s time to trim any excess tape for a clean and polished look. Follow these steps:
- Inspect the edges: Carefully examine the binding tape along the carpet’s edge to identify any areas where the tape extends beyond the desired border. These excess portions need to be trimmed for a neat finish.
- Use scissors or a carpet knife: Depending on your preference and comfort level, use a sharp pair of scissors or a carpet knife to trim the excess binding tape. Make sure to exercise caution and precision to avoid cutting into the carpet fibers.
- Trim close to the edge: Hold the scissors or knife at a slight angle and trim as close to the edge of the carpet as possible. This will ensure that the binding tape is flush with the carpet’s surface.
- Take your time: This step requires patience and attention to detail. Take your time to trim the excess binding tape carefully, ensuring a clean and professional-looking result.
After trimming the excess tape, take a moment to inspect the carpet’s edge and ensure that it looks even and well-finished. If you notice any rough spots or uneven edges, use scissors or a knife to refine those areas for a polished final appearance.
Once the excess binding tape has been trimmed, you’re almost done! But if you want to add extra durability to your carpet binding, consider moving on to the optional step: sewing the binding tape.
Step 5: Optional: Sew the Binding Tape for Extra Durability
If you want to enhance the durability of your carpet binding, you have the option to sew the binding tape in addition to using hot glue. Sewing adds an extra layer of strength and stability to the binding. Follow these steps:
- Prepare the sewing machine: Set up your sewing machine in a well-lit, comfortable workspace. Make sure you have the appropriate thread color and a sewing machine needle suitable for heavy fabrics.
- Select a matching thread: Choose a thread color that matches the binding tape or the carpet for a seamless look. Load the thread onto the sewing machine and thread the needle according to your sewing machine’s instructions.
- Position and secure the carpet edge: Hold the binding tape firmly in place on the carpet’s edge, ensuring it is aligned evenly and securely. Use pins or clips to hold it in place to prevent shifting during sewing.
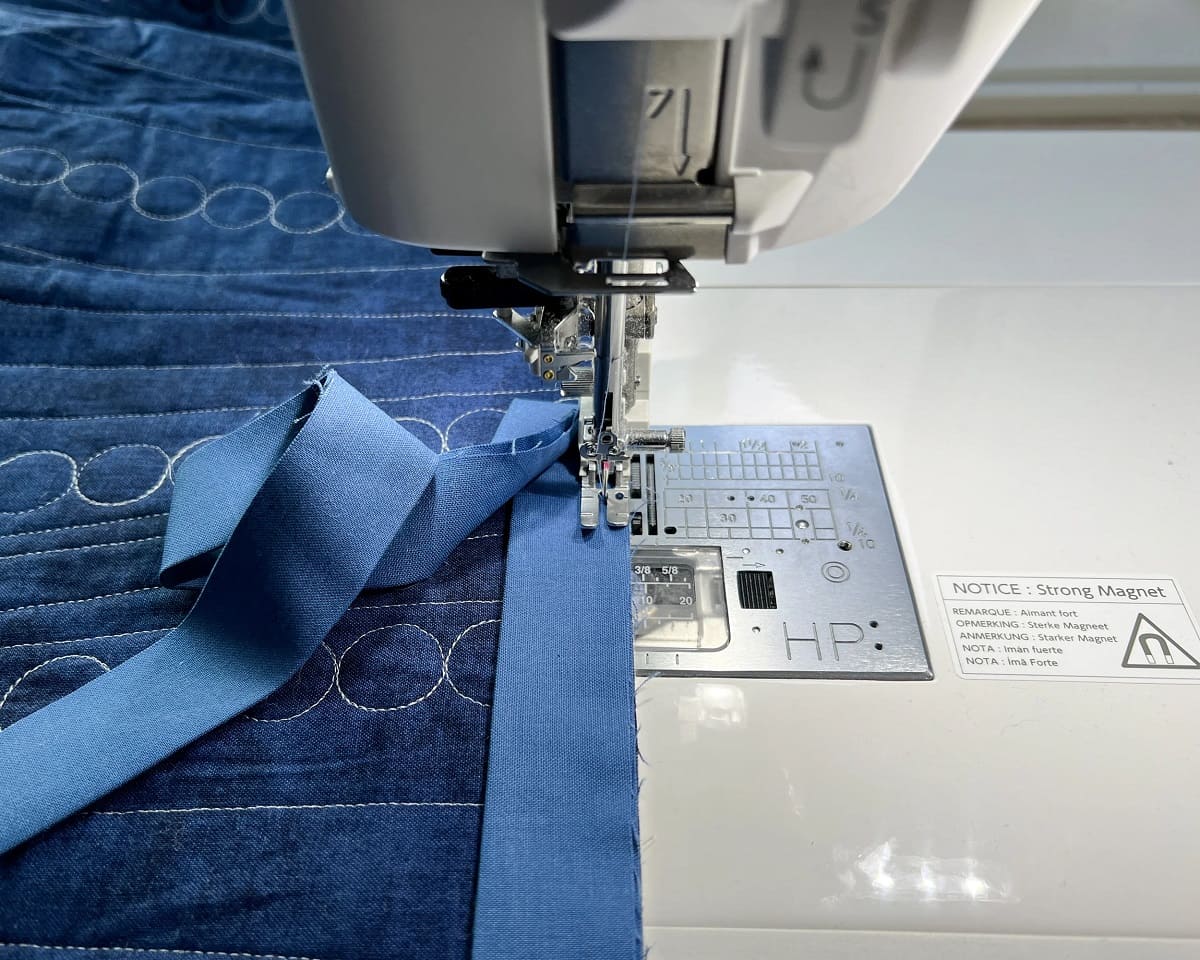
- Sew along the edge: Begin sewing along the edge of the binding tape, starting at one end. Use a straight stitch or a zigzag stitch for added strength. Continue sewing all the way around the carpet’s edge, removing pins or clips as you go.
- Overlap and secure: If you have multiple pieces of binding tape, overlap the ends slightly and continue sewing to create a seamless transition. Backstitch at the beginning and end of the sewing to secure the thread in place.
- Trim excess thread: Once you’ve completed sewing the binding tape, carefully trim any excess thread, ensuring a clean and neat finish.
Sewing the binding tape provides an extra layer of durability and ensures that the tape remains securely attached to the carpet’s edge. However, if you do not have access to a sewing machine or prefer not to sew, the hot glue alone will still provide sufficient strength for most applications.
With or without sewing, you’re almost done! It’s time for the final touches and clean-up in the last step.
Step 6: Final Touches and Clean-Up
Congratulations, you’re in the final step! Now it’s time to add the finishing touches and clean up any remaining mess. Follow these steps:
- Inspect the binding: Take a moment to carefully inspect the binding job. Check for any loose areas, uneven edges, or visible glue strands. If you notice any issues, secure loose areas with additional hot glue and trim any excess binding tape or thread.
- Clean up any glue residue: If you have any visible hot glue residue on the carpet or binding tape, use a clean cloth dampened with hot water to gently remove it. Be careful not to oversaturate the tape or carpet, as excess moisture can cause damage.
- Dispose of waste materials: Dispose of any cut binding tape, excess thread, and other waste materials from the carpet binding process. Ensure they are safely discarded according to your local waste management guidelines.
- Vacuum the carpet: Give your carpet a thorough vacuuming to remove any lingering debris or loose fibers. This will leave your newly bound carpet looking fresh and clean.
- Enjoy your professionally bound carpet: Step back and admire your work! Your carpet now has neatly bound edges that enhance its appearance and provide extra durability. Enjoy the polished and professional look of your newly bound carpet.
With the final touches completed and the clean-up done, you can now fully appreciate your beautifully bound carpet. It’s ready to withstand the demands of everyday use while adding a touch of elegance to your space.
Remember, carpet binding may seem daunting at first, but with patience and attention to detail, it’s a project that you can confidently tackle. With the right tools and a step-by-step approach, you can transform the edges of your carpet into a finished and professional-looking masterpiece.
Now go ahead and enjoy the fruits of your labor! Your bound carpet is sure to impress your family, friends, and guests.
Conclusion
Binding the edges of your carpet is a rewarding DIY project that can enhance the durability and appearance of your carpet. By following the step-by-step process outlined in this article and using the right tools and materials, you can achieve a professional-looking finish that adds a touch of elegance to your space.
Throughout the process, we’ve covered measuring and cutting the binding tape, applying it to the carpet edge, securing it with a hot glue gun, trimming any excess tape, and even the optional step of sewing for added durability. Each step plays a crucial role in creating a neatly bound carpet that withstands the test of time.
Remember, take your time with each step, ensuring accuracy and attention to detail. The end result will be well worth the effort, leaving you with a carpet that has neatly finished edges and increased longevity.
It’s important to note that while carpet binding is a DIY project, if you don’t have the time, tools, or confidence to tackle it yourself, there are professional carpet binding services available. These experts have the experience and specialized equipment to bind your carpet edges with precision.
Whether you choose to DIY or seek professional help, binding the edges of your carpet is a worthwhile investment. It not only adds a decorative touch but also protects your carpet from fraying and extends its lifespan.
So go ahead, unleash your creativity, and transform your carpet into a stunning focal point of your room. Enjoy the satisfaction of a job well done and the beauty of your professionally bound carpet!
Frequently Asked Questions about How To Bind Carpet Edges
Was this page helpful?
At Storables.com, we guarantee accurate and reliable information. Our content, validated by Expert Board Contributors, is crafted following stringent Editorial Policies. We're committed to providing you with well-researched, expert-backed insights for all your informational needs.
