Articles
How To Take Down Norman Blinds
Modified: October 18, 2024
Learn effective techniques for taking down Norman blinds in this informative article. Find step-by-step instructions and expert tips for a smooth and successful removal process.
(Many of the links in this article redirect to a specific reviewed product. Your purchase of these products through affiliate links helps to generate commission for Storables.com, at no extra cost. Learn more)
Introduction
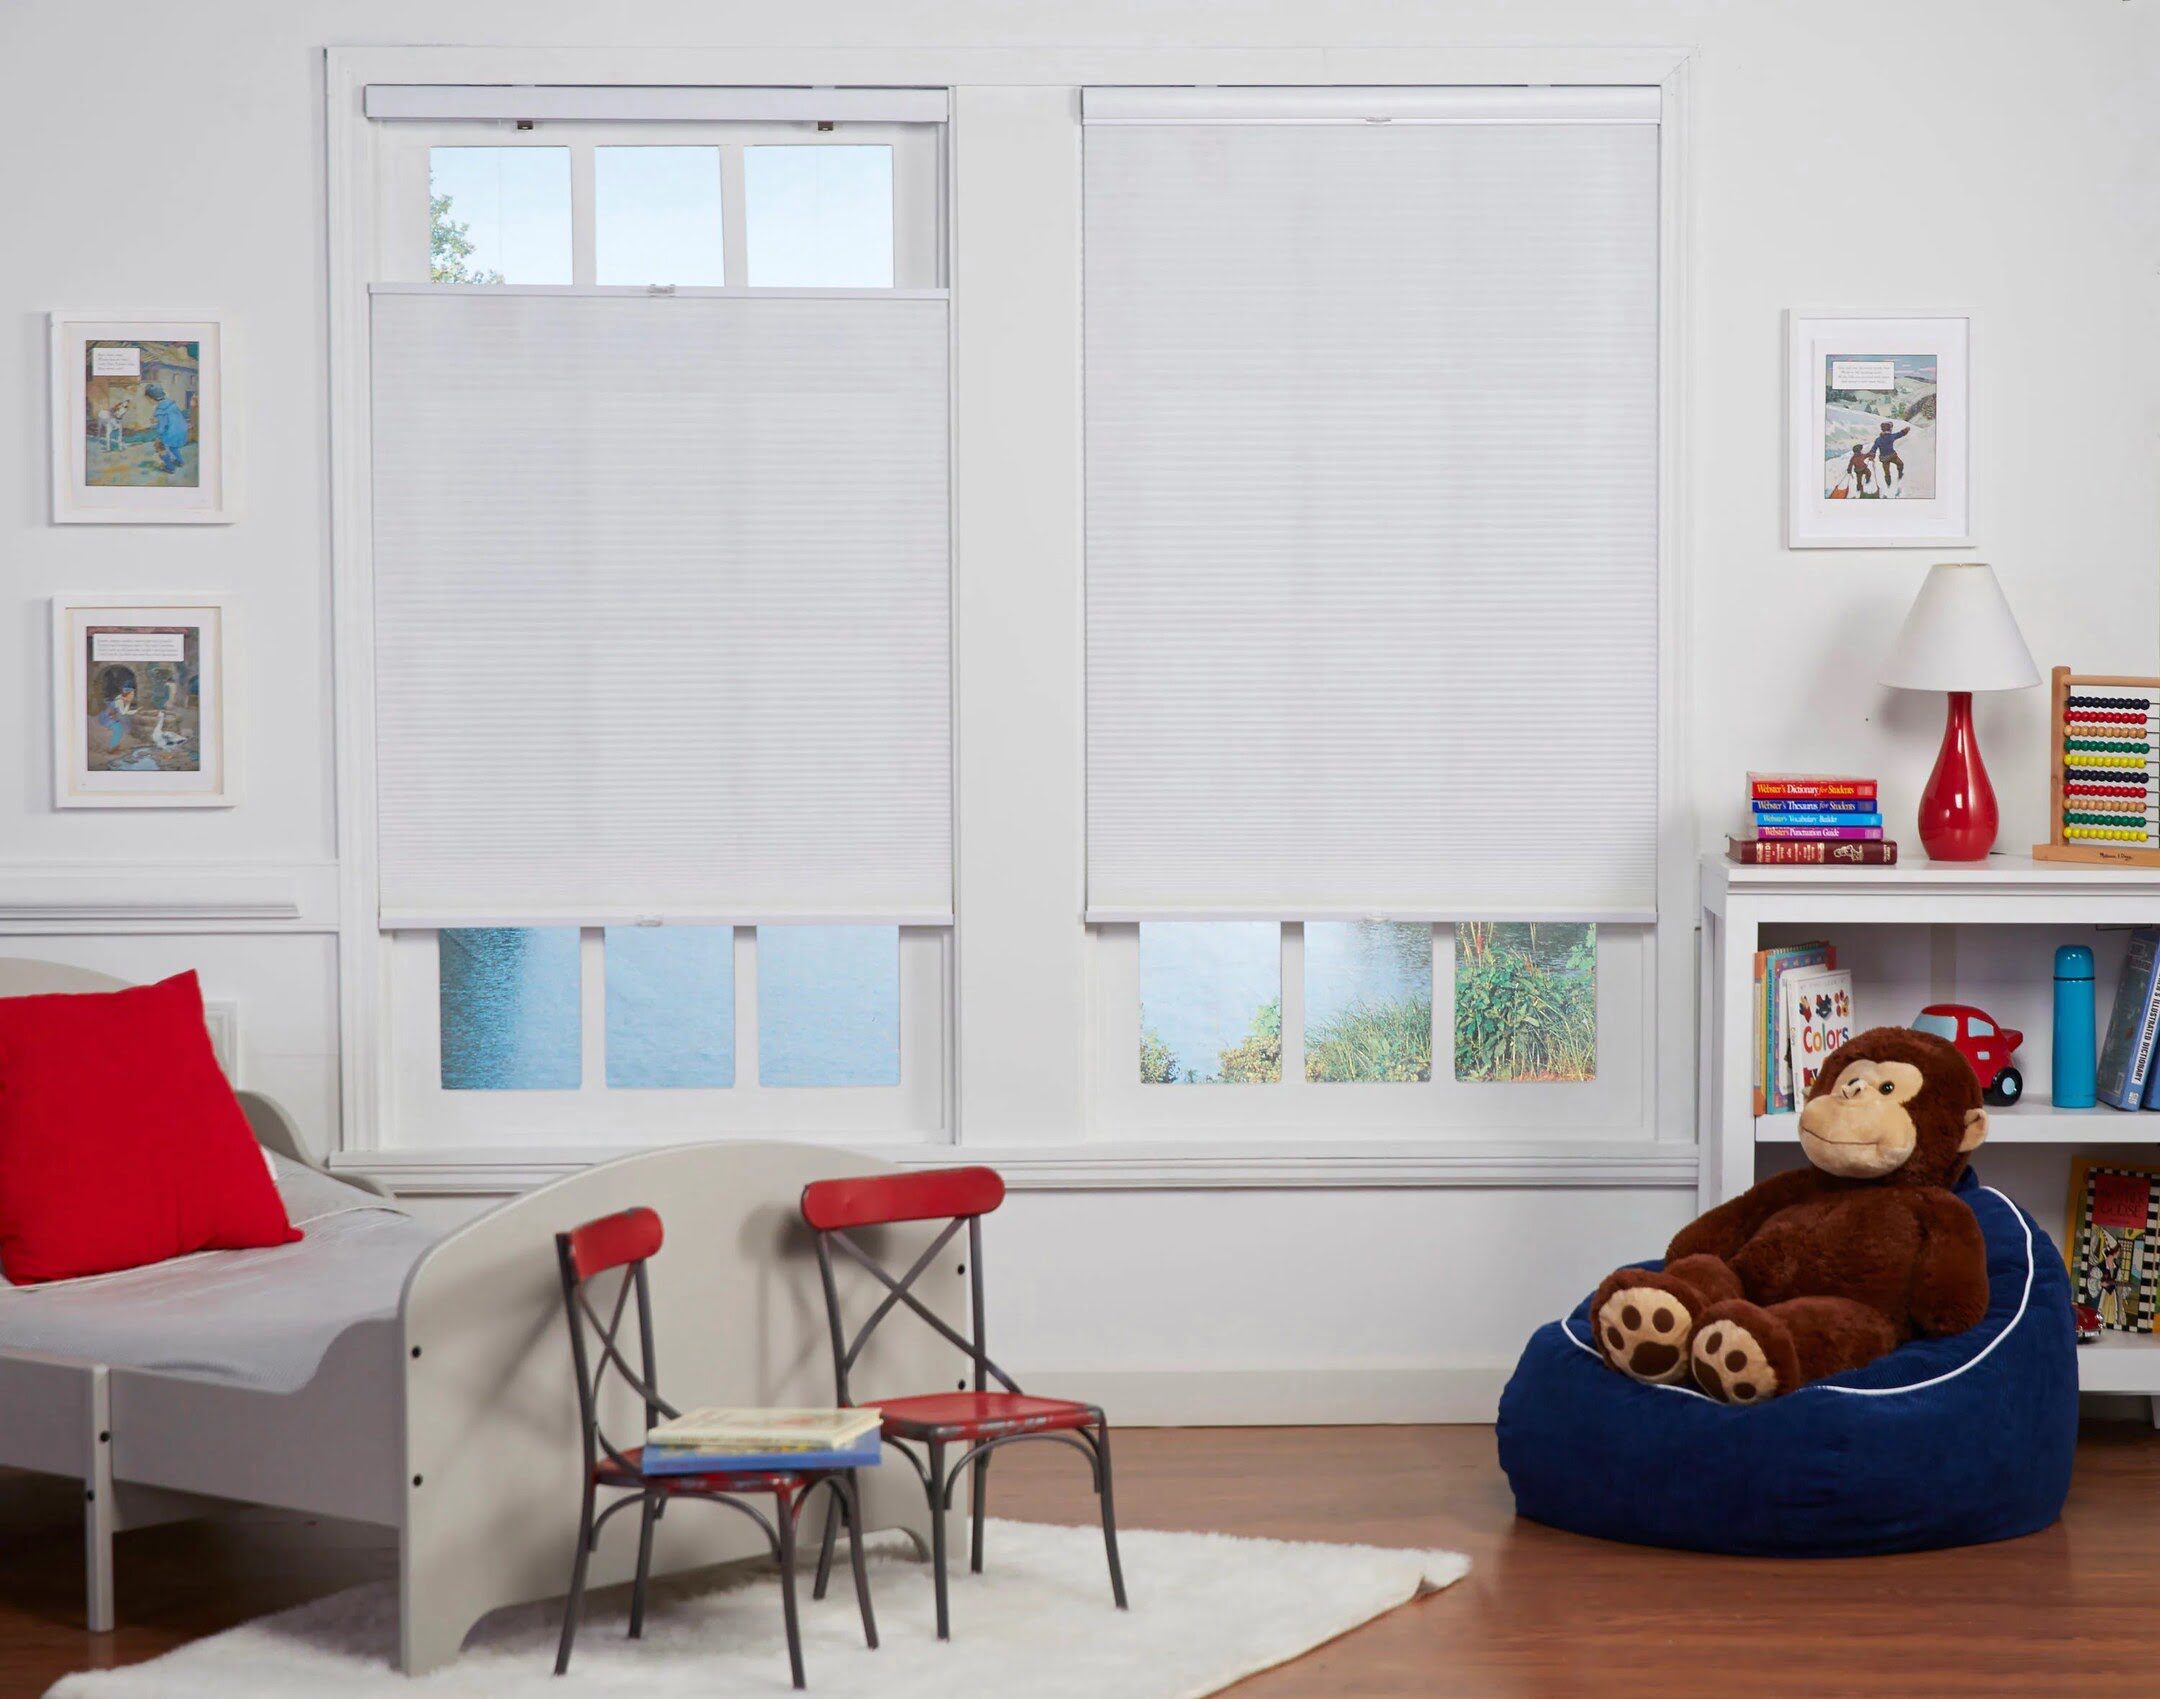
Norman blinds are a popular choice for many homeowners due to their stylish design, versatility, and functionality. However, there may come a time when you need to take down your Norman blinds. This could be for various reasons, such as cleaning, repairs, or replacement. Whatever the case may be, it’s important to know the proper steps to safely and efficiently remove your blinds.
In this article, we will guide you through the process of taking down Norman blinds, from understanding their construction to reassembling them back onto your windows. By following these steps, you can ensure a smooth and successful removal process without causing any damage to your blinds or windows.
So, let’s dive in and learn how to take down Norman blinds like a pro!
Key Takeaways:
- Master the art of safely removing, cleaning, repairing, and reassembling Norman blinds with confidence and ease, ensuring their longevity and continued functionality for years to come.
- Understanding the structure, gathering the right tools, and following a step-by-step process are key to successfully taking down Norman blinds without causing any damage to the blinds or windows.
Read more: How To Take Down Mini Blinds
Step 1: Understanding Norman Blinds
Before you begin the process of taking down your Norman blinds, it’s essential to have a basic understanding of their structure and components. Norman blinds typically consist of slats or louvers, a headrail, and a tilt mechanism.
The slats or louvers are the horizontal or vertical strips that are adjustable to control the amount of light and privacy in your space. These slats can be made of various materials such as wood, faux wood, or aluminum, depending on your preference and budget.
The headrail is the uppermost portion of the blinds and is responsible for supporting the slats and housing the tilt mechanism. It is typically attached to the window frame or wall using brackets.
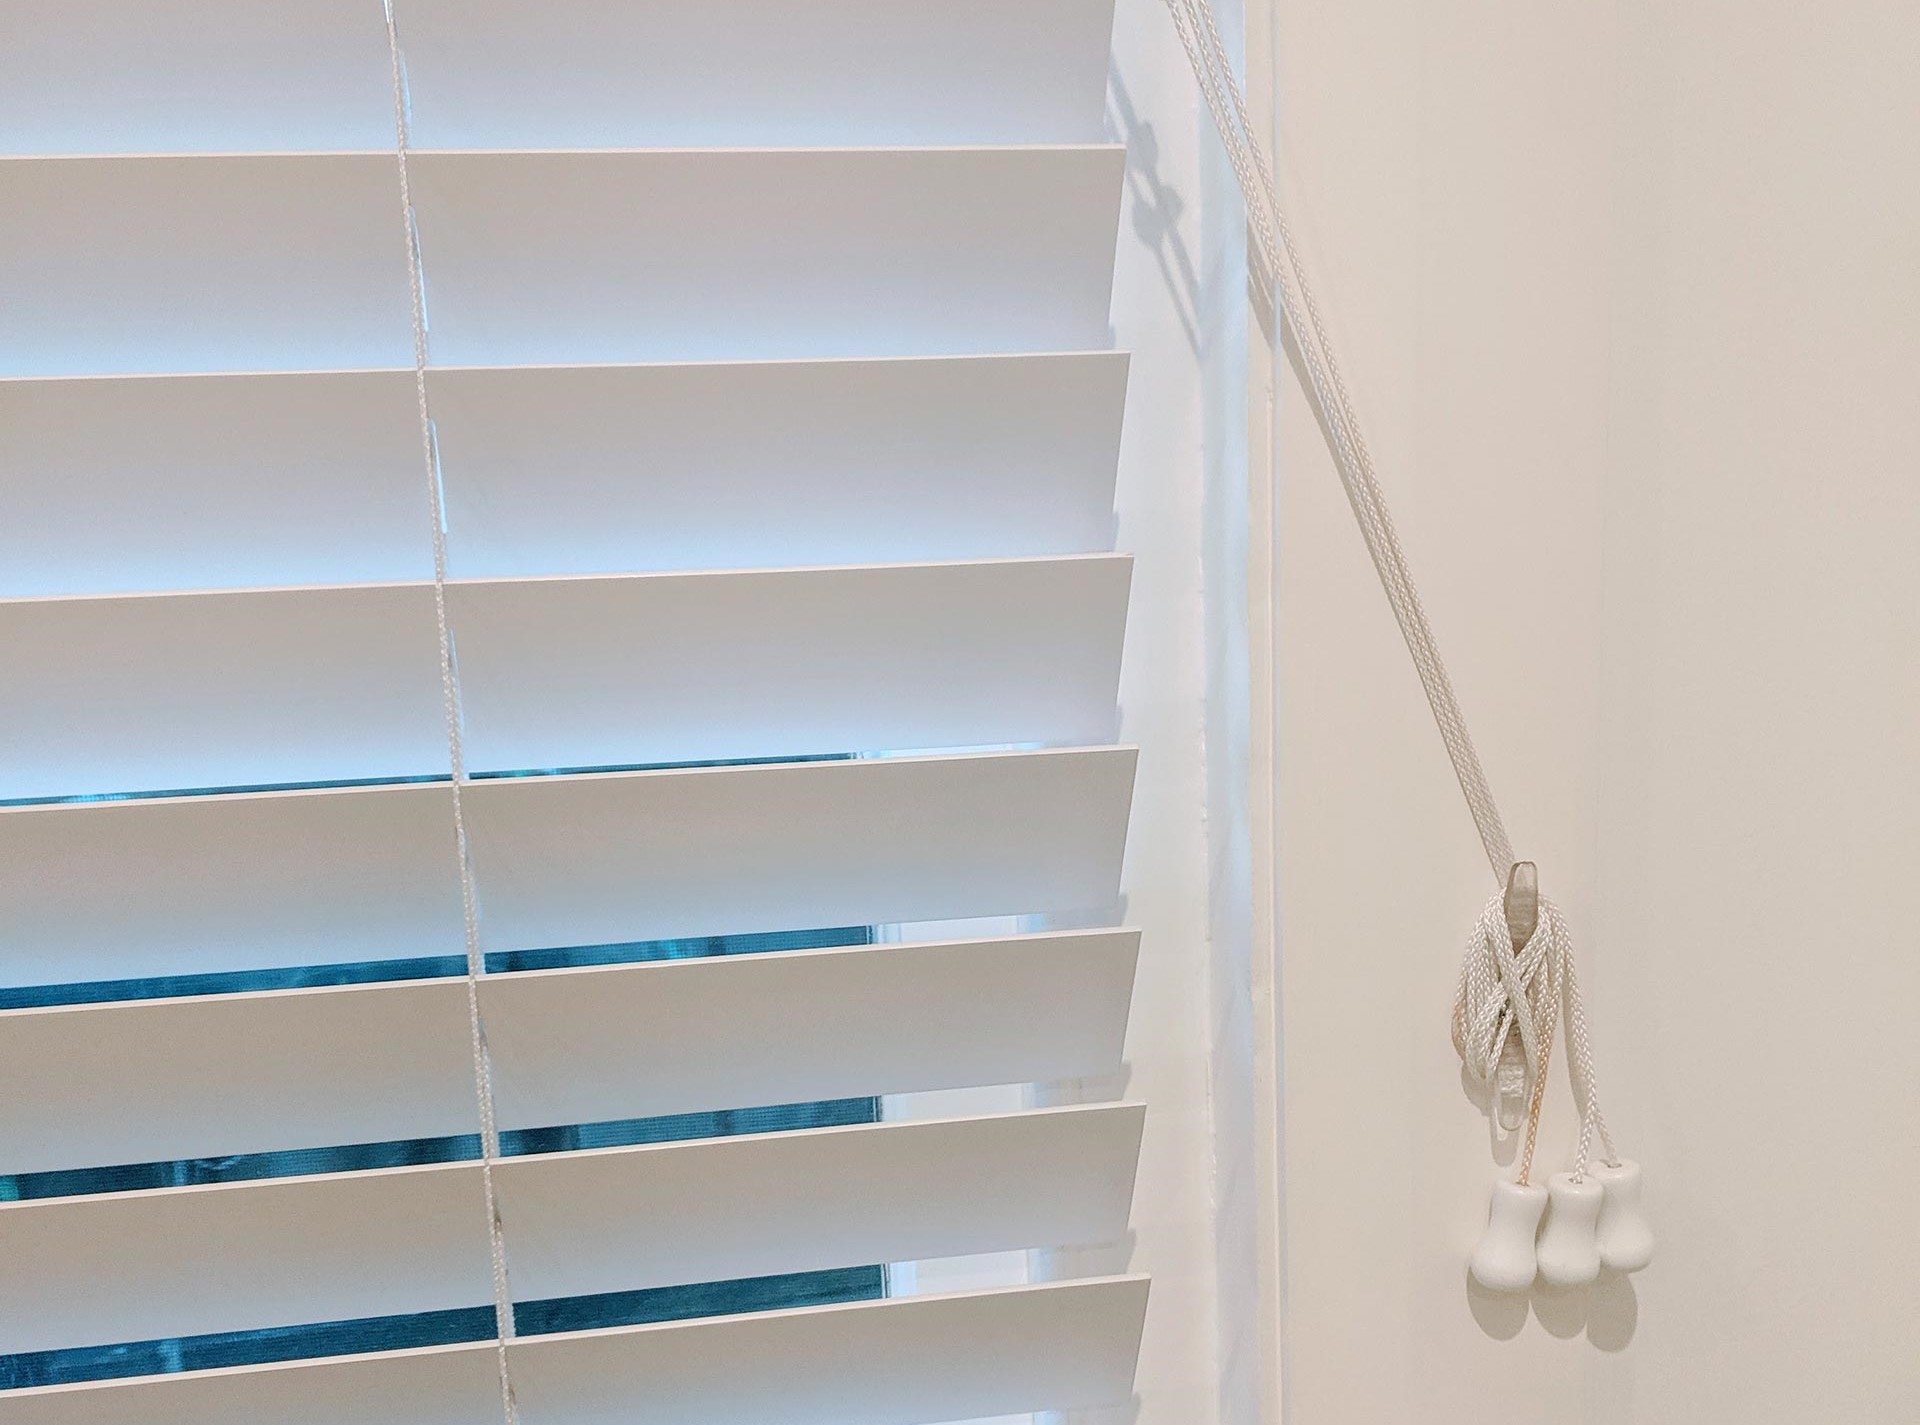
The tilt mechanism is a crucial component of Norman blinds as it allows you to tilt the slats to the desired angle, controlling the light and privacy levels in your room. The tilt mechanism can be operated manually with a wand or cord, or it can be motorized for added convenience.
By familiarizing yourself with these basic elements of Norman blinds, you’ll have a better understanding of how they are assembled and can proceed with confidence during the removal process.
Step 2: Gathering the Necessary Tools and Materials
Before you start removing your Norman blinds, it’s important to have all the necessary tools and materials at hand. This will ensure a smoother and more efficient removal process. Here are the tools and materials you’ll need:
- A screwdriver (either a flathead or Phillips, depending on the type of screws used)
- A drill (if your blinds are mounted with screws)
- Masking tape or painter’s tape
- A step ladder or stool (if your blinds are mounted high)
- A cloth or duster for cleaning
- Ziplock bags or small containers (for keeping screws and small parts organized)
Having these tools and materials readily available will save you time and effort during the removal process. It’s also a good idea to wear safety goggles and gloves to protect your eyes and hands.
Additionally, if you are planning to clean or repair your Norman blinds, you may need additional materials such as a mild detergent or cleaning solution, a soft brush, or replacement parts, depending on the specific maintenance required.
Once you have gathered all the necessary tools and materials, you are ready to move on to the next step: removing the blinds from the window.
Step 3: Removing the Blinds from the Window
Now that you have all the necessary tools and materials, it’s time to remove the Norman blinds from the window. Follow these steps to safely and effectively detach the blinds:
- Close the blinds completely: Before beginning the removal process, make sure to close the blinds completely so that they are not obstructing your view or causing any potential hazards.
- Secure the blinds with tape: To prevent the blinds from accidentally falling or swinging during the removal process, secure them in place by gently taping them to the window frame or the wall surrounding the window. This will provide additional stability and keep the blinds from getting damaged.
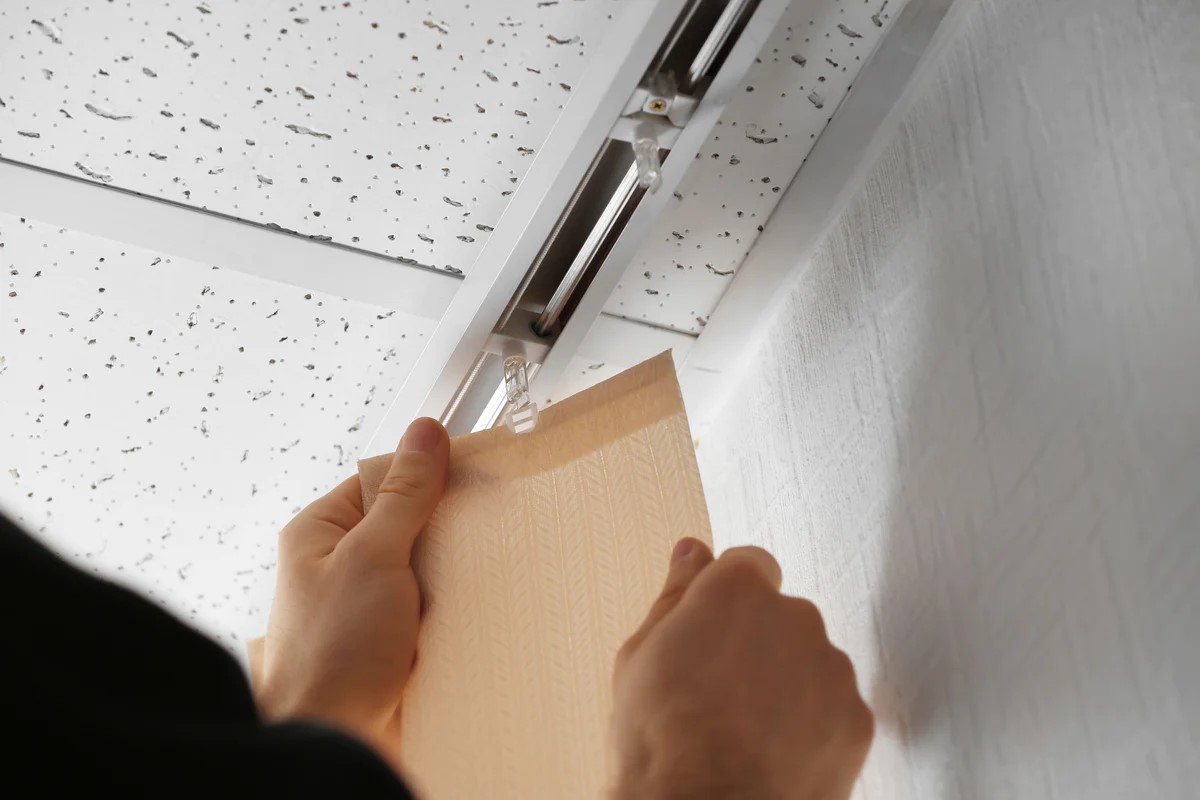
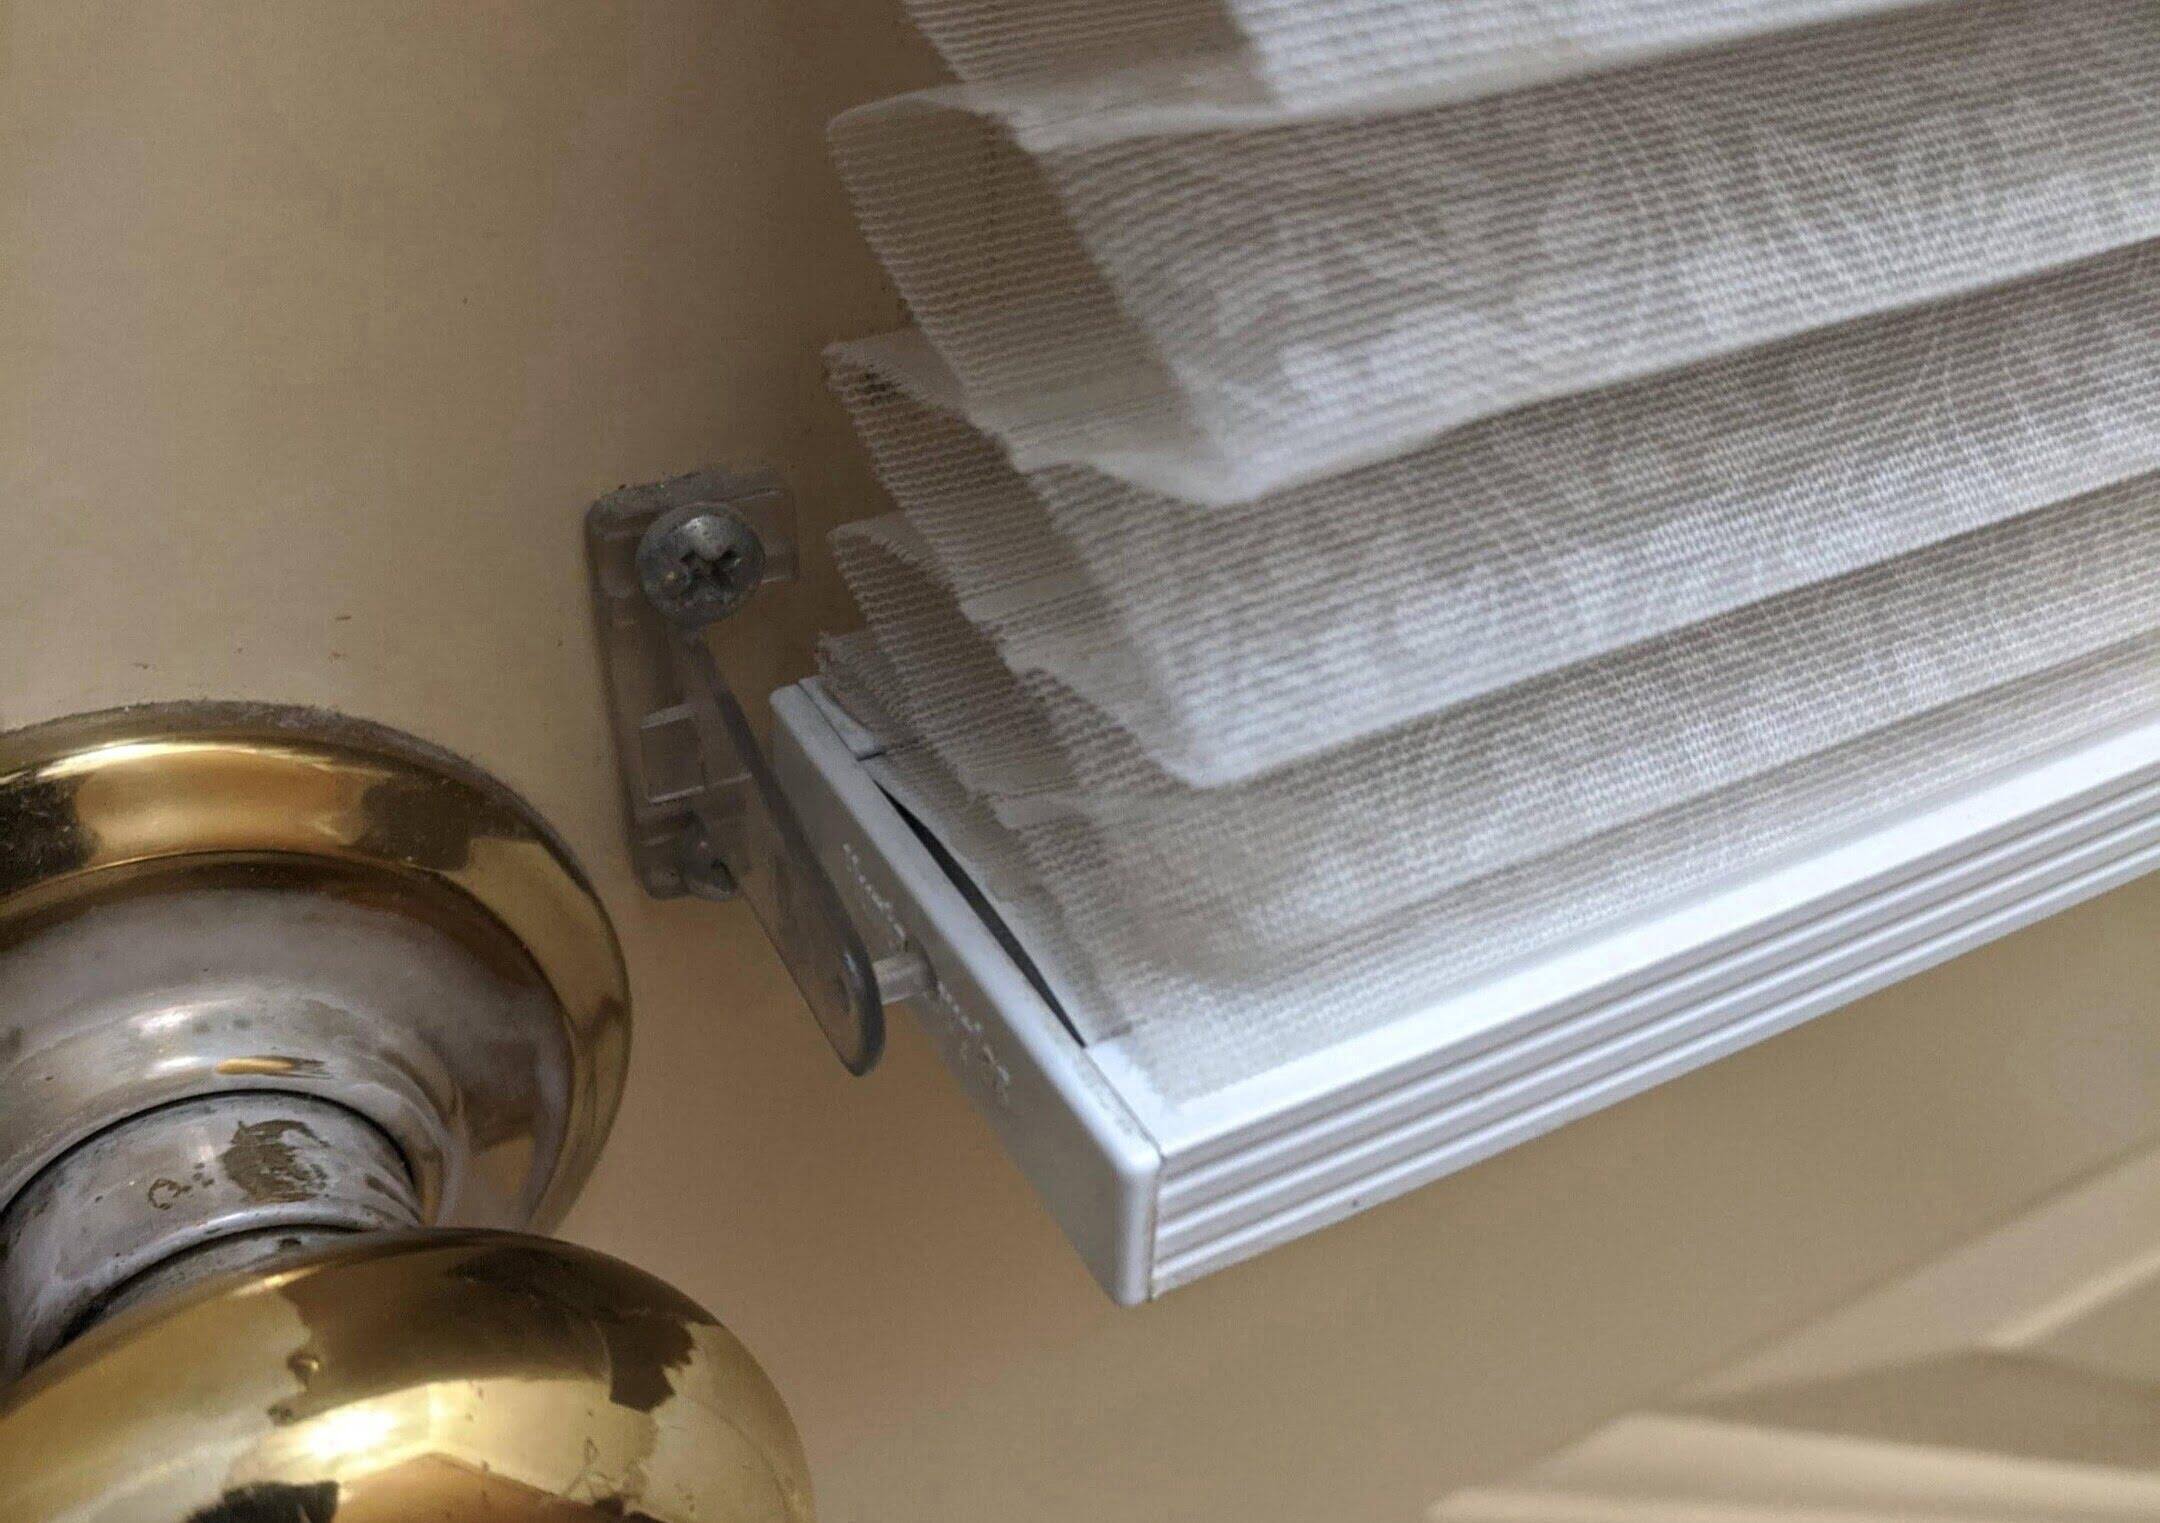
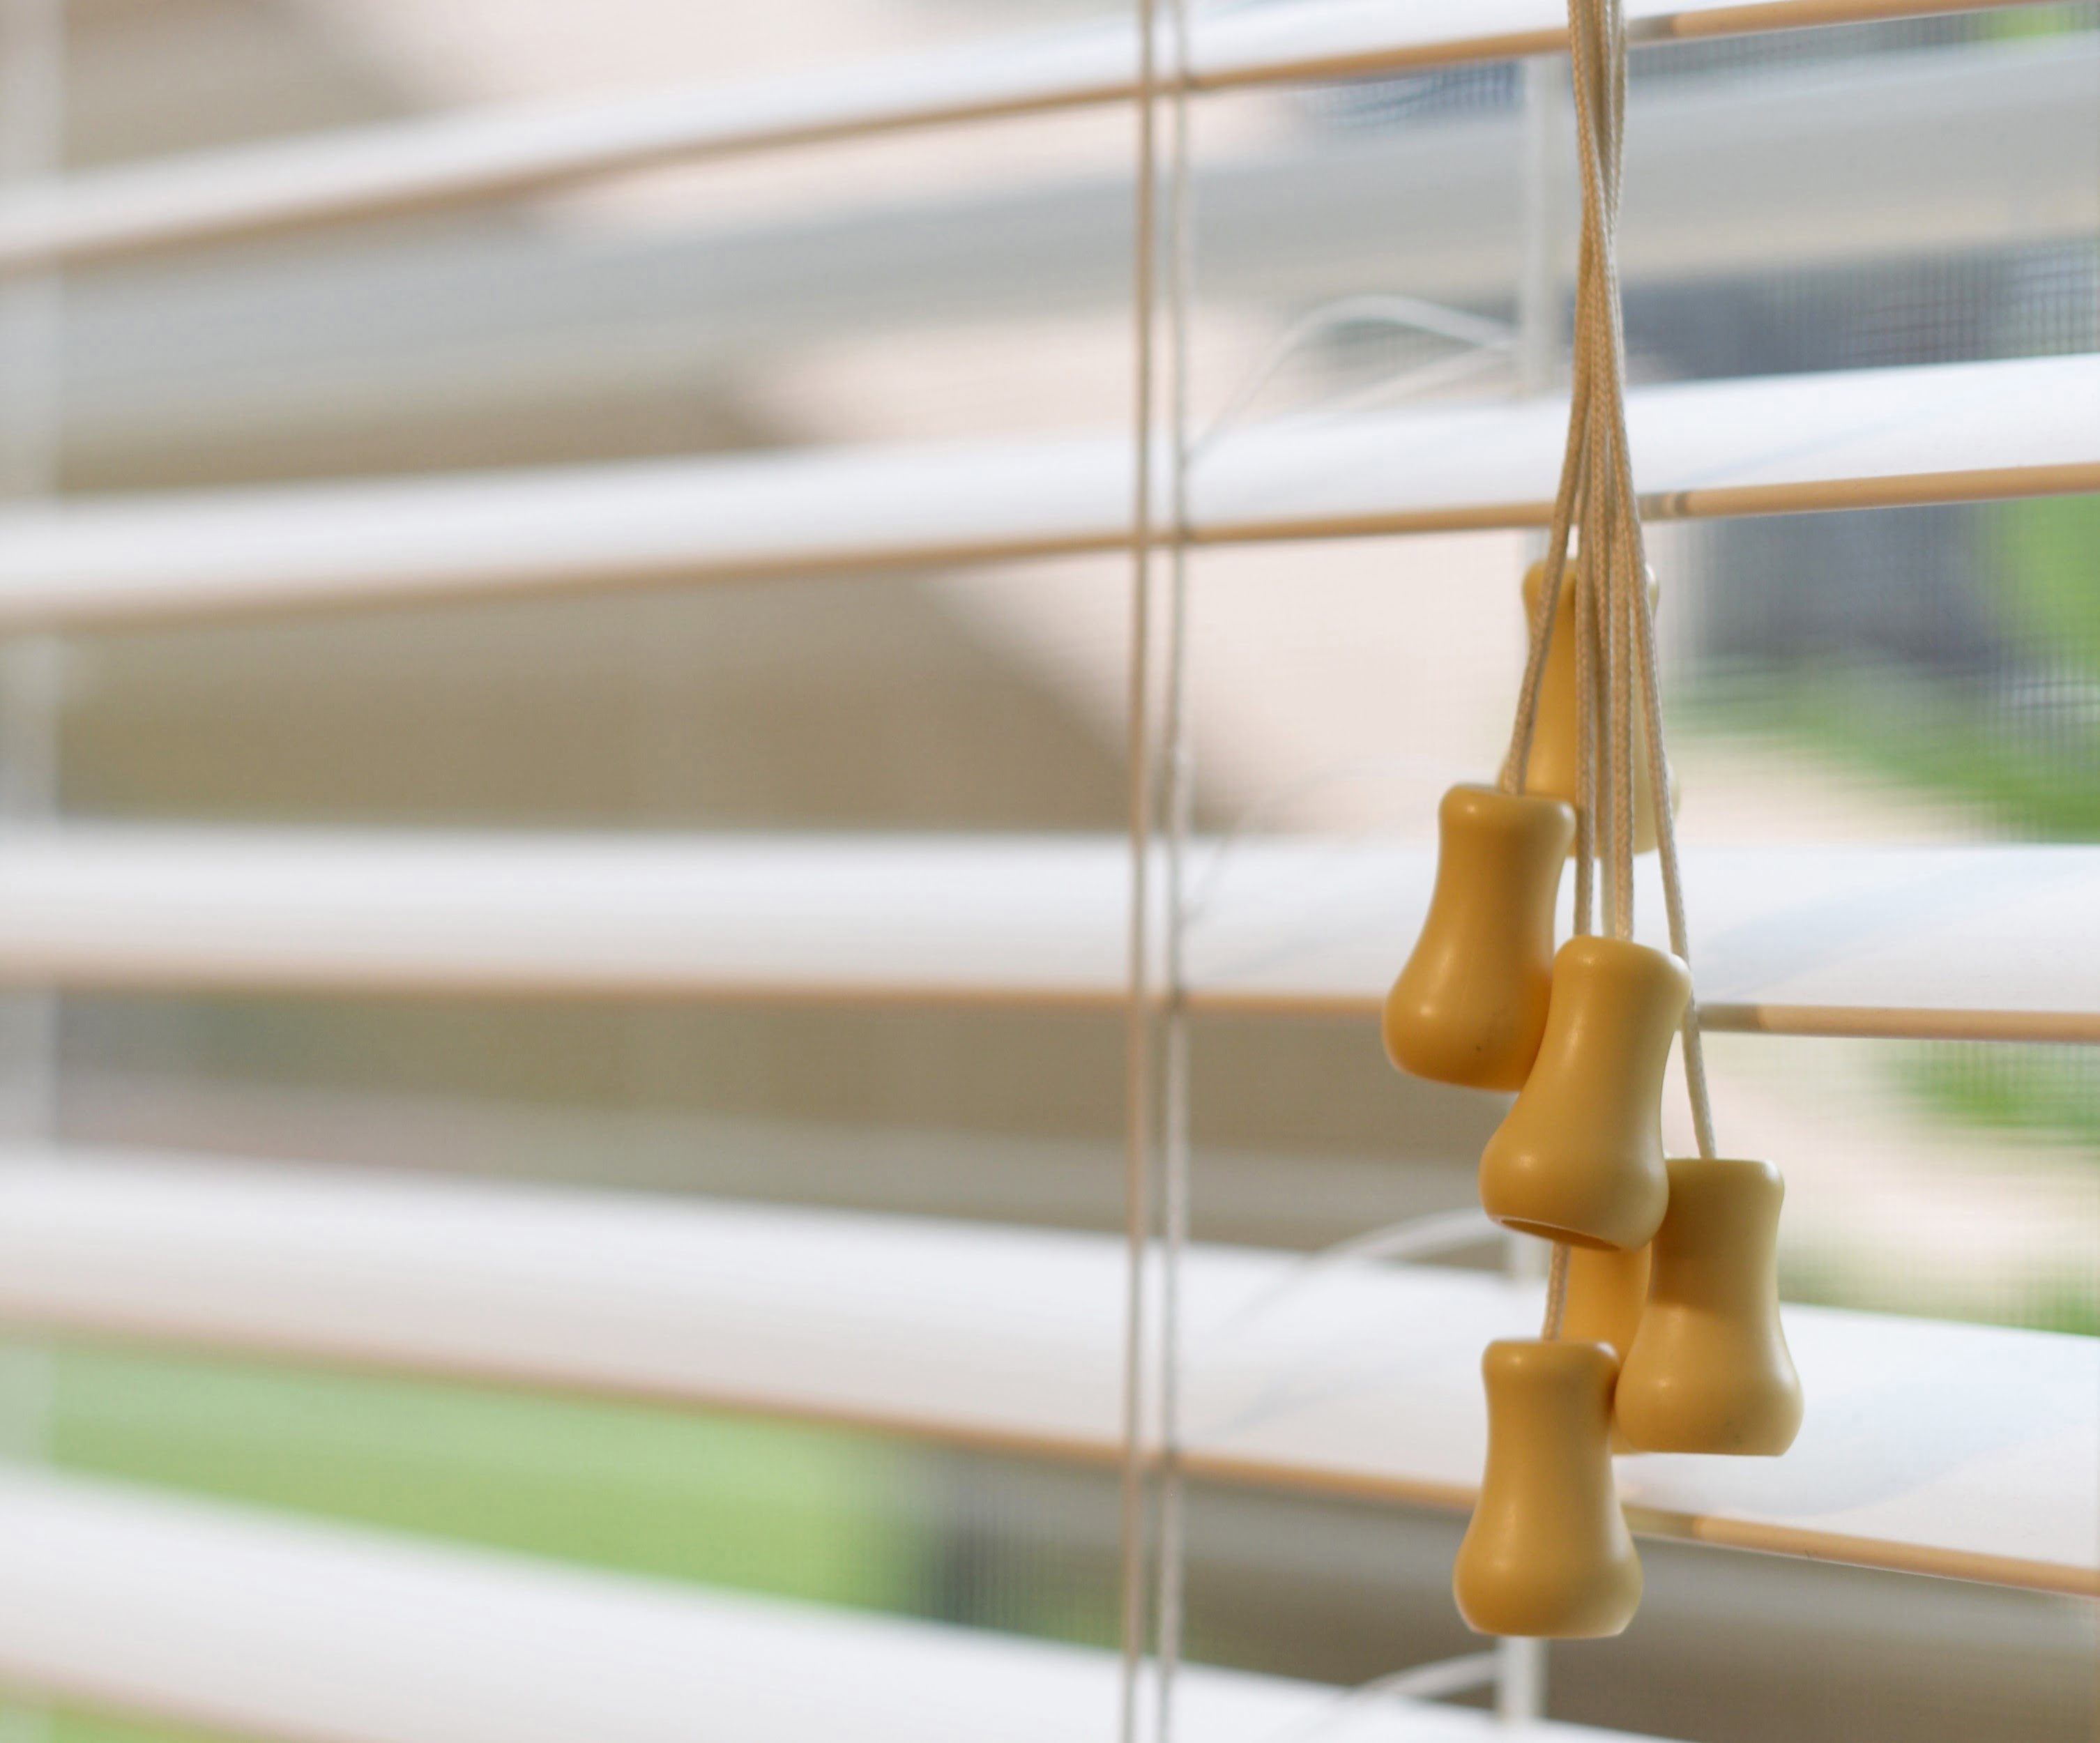
- Remove any valances or brackets: If your Norman blinds are accompanied by a valance or decorative cover, carefully remove it by unscrewing or unclipping it from the headrail. Additionally, if your blinds are mounted with brackets, locate the screws or clips that attach them to the window frame or wall.
- Detach the headrail from the brackets: With the screws or clips exposed, use a screwdriver or drill to remove them and detach the headrail from the brackets. You may need someone to assist you in holding the headrail while you remove the screws/clips.
- Gently slide the blinds out: Once the headrail is detached from the brackets, gently slide the blinds out of the brackets. Be cautious and handle the blinds with care to avoid any damage.
Once the blinds are successfully removed from the window, set them aside in a safe and clean area. This will prepare you for the next steps in the process, such as disassembling, cleaning, and maintaining your Norman blinds.
Now that you have completed Step 3, you are one step closer to successfully taking down your Norman blinds. The next step will guide you through the process of disassembling the blinds, so let’s keep going!
Step 4: Disassembling the Blinds
Disassembling the blinds is an important step in the removal process, as it allows for proper cleaning, repair, or replacement of any damaged components. Follow these steps to disassemble your Norman blinds:
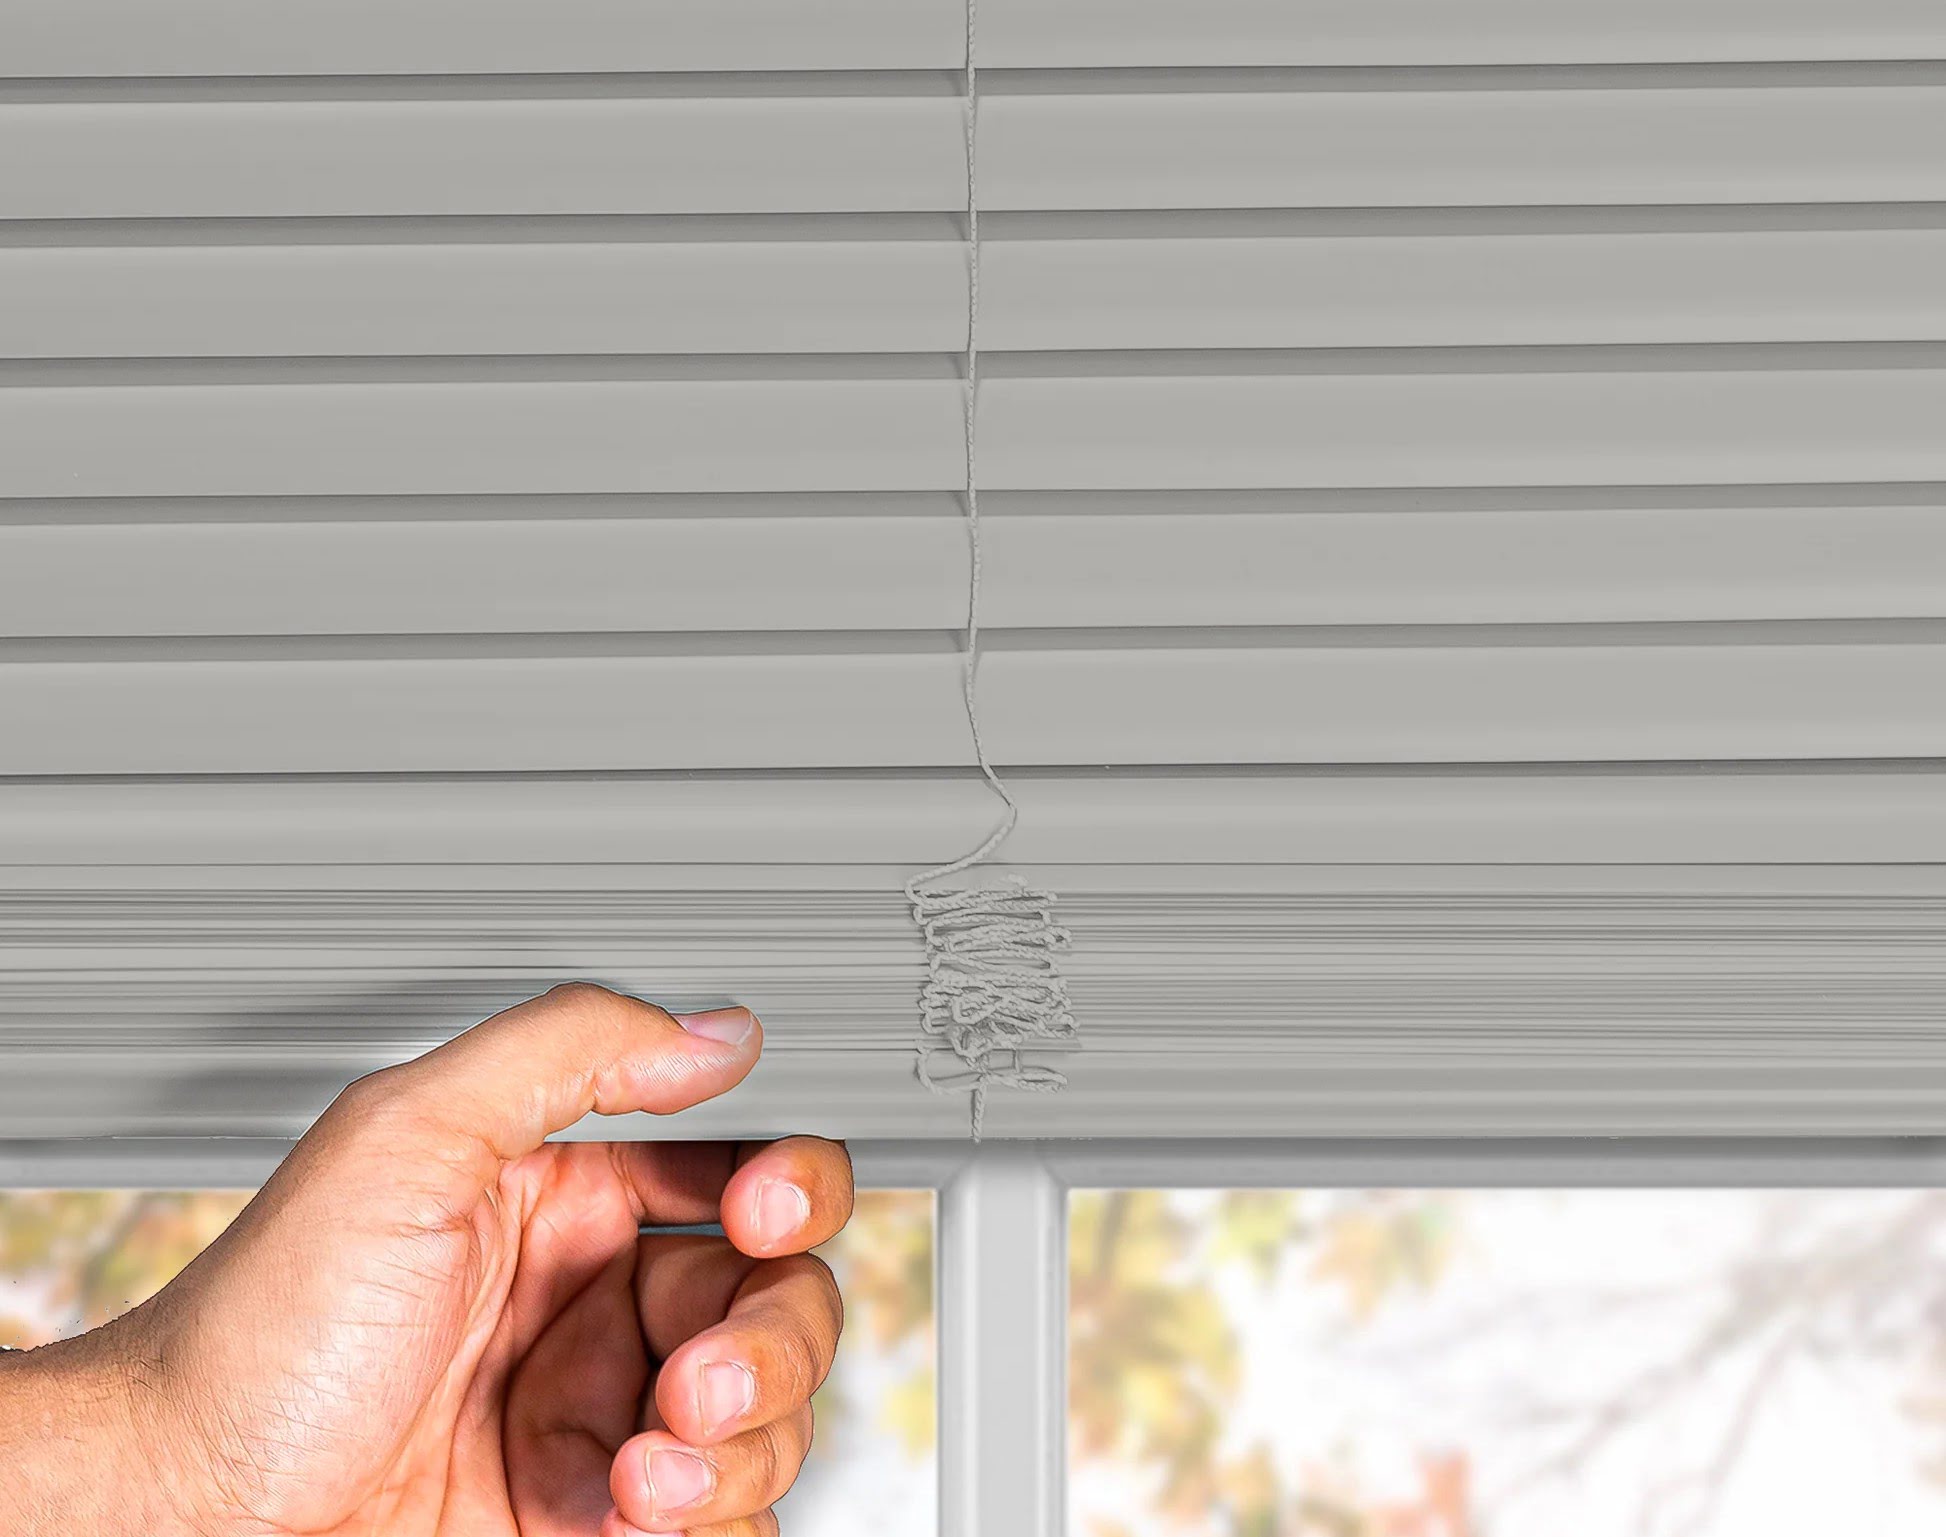
- Remove the slats/louvers: Start by tilting the slats/louvers to the fully closed position. Then, gently lift each slat/louver from the ladder string or wand. Carefully set them aside in a safe and organized manner, making sure not to bend or damage them.
- Detach the ladder string or wand: Locate the ladder string or wand that controls the tilting of the slats/louvers. Depending on the type of blinds you have, there may be a connector or clip that holds the ladder string or wand in place. Disconnect it and remove the ladder string or wand from the blinds.
- Take apart the headrail: If you need to clean or repair the headrail or access the internal mechanisms, you will need to disassemble it. Look for any screws, clips, or latches that hold the headrail together and remove them using a screwdriver or appropriate tool. Gently separate the headrail components and set them aside.
- Label and organize small parts: If there are any small parts such as screws, clips, or connectors, it’s helpful to label them and place them in separate containers or ziplock bags. This will help you keep track of them during the reassembly process.
By disassembling the blinds, you’ll have greater control over cleaning and maintaining each component individually. It also allows for easier transportation and storage if needed.
Now that you have successfully disassembled the blinds, it’s time to move on to the next step: cleaning them.
Read more: How To Take Down Graber Blinds
Step 5: Cleaning the Blinds
After disassembling the Norman blinds, it’s time to give each component a thorough cleaning. Cleaning your blinds not only helps maintain their appearance but also ensures their longevity. Follow these steps to effectively clean your blinds:
- Dust the slats/louvers: Start by using a soft cloth or duster to remove any dust or debris from the slats/louvers. You can also use a vacuum cleaner with a brush attachment to gently suck up any loose dirt.
- Wash the slats/louvers: Depending on the material of your blinds, you can use a mild detergent mixed with warm water or a specialized cleaner specifically formulated for your type of blinds. Dip a soft cloth or sponge into the cleaning solution and gently wipe both sides of each slat/louver. Be careful not to soak the blinds or use excessive moisture, as it can cause damage.
- Clean the headrail and mechanisms: Use a clean cloth or a brush to remove any dust, dirt, or debris from the headrail and other mechanisms. You can also use a can of compressed air to blow out any hidden particles. If there are any stubborn stains or buildup, you may need to use a mild cleaning solution and a toothbrush to scrub the affected areas gently.
- Allow the components to dry: After cleaning, it’s important to allow the blinds, slats, and headrail to air dry completely before reassembling them. This will prevent any moisture-related issues such as warping or mold.
Remember to follow the cleaning instructions specific to your blind’s material to prevent any damage. If you are unsure about the appropriate cleaning method, it’s always best to consult the manufacturer’s guidelines or seek professional advice.
Once each component is dry and clean, you’re ready to move on to the next step: repairing or replacing any damaged parts.
When taking down Norman blinds, start by removing the valance and then unscrewing the brackets. Carefully lift the blinds out of the brackets and set them aside for cleaning or storage.
Step 6: Repairing or Replacing Damaged Parts
During the cleaning process, you may come across damaged or broken parts of your Norman blinds. Step 6 focuses on identifying and addressing these issues to ensure the blinds function properly. Follow these steps to repair or replace damaged parts:
- Inspect each component: Carefully examine each part, including the slats/louvers, headrail, tilt mechanism, and ladder string/wand. Look for any cracks, bent slats, broken connectors, or other signs of damage.
- Repair minor damages: If you encounter minor damages like a bent slat or loose connector, try to fix them if possible. Straighten a bent slat by carefully applying gentle pressure or replace a loose connector if necessary. Use small pliers or a replacement kit to ensure secure connections.
- Order replacement parts: If the damages are beyond repair or if you need to replace multiple components, it may be necessary to order replacement parts. Contact the manufacturer or a reputable supplier to source the necessary parts like slats, connectors, or tilt mechanisms.
- Follow manufacturer instructions: When replacing parts, carefully follow the manufacturer’s instructions provided with the replacement components. This will ensure proper installation and functioning of the blinds.
It’s crucial to address any damages promptly to maintain the functionality and aesthetic appeal of your Norman blinds. Neglecting to repair or replace damaged parts can lead to further issues down the line, such as difficulty in operating the blinds or compromising their overall integrity.
Once you have repaired or replaced any damaged parts, it’s time to move on to the next step: reassembling the blinds.
Step 7: Reassembling the Blinds
Now that you have cleaned, repaired, or replaced any damaged parts, it’s time to reassemble your Norman blinds. Follow these steps to ensure a smooth reassembly process:
- Start with the headrail: Begin by attaching any necessary brackets to the window frame or wall. Then, carefully place the headrail back into the brackets, aligning it correctly. Use a screwdriver or drill to securely fasten the headrail in place.
- Reattach the ladder string or wand: If you had removed the ladder string or wand during the disassembly process, now is the time to reattach it. Connect it to the appropriate mechanism on the headrail, following the manufacturer’s instructions. Ensure that the ladder string or wand is properly aligned and properly functions to tilt the slats/louvers.
- Install the slats/louvers: Starting from the bottom, insert each slat/louver into the ladder string or wand. Make sure they are evenly spaced and aligned. Slide each slat/louver into place, using caution to avoid bending or damaging them.
- Check for smooth operation: Once all the slats/louvers are installed, test the blinds to ensure they open, close, and tilt smoothly. Adjust any misaligned slats/louvers if necessary. If the operation feels stiff or rough, double-check for any obstructions or misalignments.
By following these steps, you can reassemble your Norman blinds correctly, ensuring that they function properly and look aesthetically pleasing.
Now that your blinds are reassembled, it’s time to move on to the next step: mounting them back onto the window.
Step 8: Mounting the Blinds Back onto the Window
With your Norman blinds fully reassembled, it’s time to mount them back onto the window. Follow these steps to properly install your blinds:
- Position the headrail: Hold the headrail at the desired height and align it with the mounting brackets on the window frame or wall. Ensure that the headrail is level and centered.
- Attach the headrail to the brackets: Depending on the type of mounting brackets you have, use a screwdriver or drill to secure the headrail to the brackets. Follow the manufacturer’s instructions for proper installation and tightening of the screws.
- Double-check alignment and stability: Once the headrail is secured, check that the blinds hang evenly and are not crooked. Test the stability by gently pulling on the blinds to ensure they are securely mounted.
- Remove any tape: If you used tape to secure the blinds during removal, carefully remove it without causing any damage to the blinds or the wall.
It’s important to take your time during the mounting process to ensure that the blinds are properly aligned and securely attached. This will prevent any accidents or issues with the blinds in the future.
Now that your Norman blinds are back in place, you’re almost done! The final step involves testing and adjusting the blinds to ensure they are operating smoothly and meeting your desired light and privacy levels.
Read more: How To Take Down Blinds For Cleaning
Step 9: Testing and Adjusting the Blinds
After mounting your Norman blinds back onto the window, it’s important to test and adjust them to ensure they are functioning properly and meeting your desired light and privacy levels. Follow these steps to test and adjust your blinds:
- Test the tilting mechanism: Use the wand or cord, depending on your blinds’ design, to tilt the slats/louvers to different angles. Ensure that the tilting mechanism smoothly operates and the slats/louvers move as intended.
- Check for smooth opening and closing: Open and close the blinds fully to test their smooth operation. Make sure there are no obstacles or misalignments causing any resistance or difficulty in movement.
- Adjust the slats/louvers: If you find that the slats/louvers are not perfectly aligned or evenly spaced, gently adjust them by hand to achieve the desired appearance.
- Test light control and privacy: With the blinds fully closed and tilted, observe how much light filters into the room and the level of privacy they provide. Adjust the slats/louvers as needed to achieve your preferred light and privacy levels.
By conducting these tests and adjustments, you can ensure that your Norman blinds are operating smoothly, offering optimum light control and privacy levels for your space.
Congratulations! You have successfully taken down your Norman blinds, cleaned and repaired them as needed, and reinstalled them to enhance the aesthetics and functionality of your windows. Enjoy your refreshed blinds and the benefits they bring to your living space!
Remember, if you encounter any difficulties during the removal, cleaning, or reinstallation process, it’s always a good idea to consult the manufacturer’s instructions or seek professional assistance for guidance.
Conclusion
Taking down your Norman blinds may seem like a daunting task at first, but by following the step-by-step process outlined in this article, you can successfully remove, clean, repair, and reassemble them with ease. Understanding the structure and components of your blinds, gathering the necessary tools, and carefully following each step ensures a smooth and efficient removal process without causing any damage to your blinds or windows.
Throughout the journey, you learned how to remove the blinds from the window, disassemble them, clean each component, and address any damages or repairs needed. You also gained insights on reassembling the blinds, mounting them back onto the window, and testing and adjusting their operation to achieve the desired light and privacy levels.
Remember, while the process may vary slightly depending on the specific type and model of Norman blinds you have, the key principles discussed in this article will generally apply. Taking the time to properly care for and maintain your blinds not only enhances their longevity but also ensures that they continue to add style and functionality to your space.
So go ahead, confidently take down your Norman blinds, and enjoy a fresh and revitalized window treatment. Whether you’re cleaning, repairing, or replacing parts, this process will help you maintain beautiful and functional blinds for years to come.
Frequently Asked Questions about How To Take Down Norman Blinds
Was this page helpful?
At Storables.com, we guarantee accurate and reliable information. Our content, validated by Expert Board Contributors, is crafted following stringent Editorial Policies. We're committed to providing you with well-researched, expert-backed insights for all your informational needs.