Articles
How To Take Down Blinds For Cleaning
Modified: October 20, 2024
Learn the step-by-step process to easily remove blinds for a thorough cleaning with our informative articles. Keep your blinds looking fresh and dust-free!
(Many of the links in this article redirect to a specific reviewed product. Your purchase of these products through affiliate links helps to generate commission for Storables.com, at no extra cost. Learn more)
Introduction
Welcome to our comprehensive guide on how to take down blinds for cleaning. Blinds are an essential part of any home or office, providing privacy, controlling sunlight, and adding aesthetic appeal to your interior. Over time, however, blinds can accumulate dust, dirt, and grime, diminishing their functionality and appearance. Regular cleaning of your blinds is crucial to maintain their durability and keep them looking their best.
In this article, we will walk you through the step-by-step process of safely and effectively taking down your blinds for cleaning. We will also share some tips on regular blind maintenance to keep them in excellent condition. So, let’s dive in!
Key Takeaways:
- Regularly cleaning and maintaining blinds is crucial for their longevity and functionality. By following the step-by-step process outlined in this guide, you can easily remove, clean, and reinstall your blinds, keeping them looking fresh and enhancing your space.
- Incorporating regular blind maintenance, such as dusting, spot cleaning, and gentle handling, can extend the lifespan of your blinds. By following manufacturer’s instructions and being mindful of excessive moisture and direct sunlight, you can ensure your blinds remain in optimal condition for years to come.
Read more: How To Take Down Norman Blinds
Necessary Tools
Before you begin removing your blinds for cleaning, it’s important to gather the necessary tools. Having these tools on hand will make the process much smoother and more efficient. Here are the essential tools you will need:
- A screwdriver: Depending on the type of blinds you have, you may need a screwdriver to loosen and remove any screws holding the blinds in place.
- A step stool or ladder: If your blinds are installed in hard-to-reach places, you may need a step stool or ladder to safely access them.
- Clean cloth or microfiber duster: To remove dust and dirt from the blinds, you’ll need a clean cloth or microfiber duster.
- Mild detergent or blind cleaner: To thoroughly clean the blinds, it’s recommended to use a mild detergent or a specialized blind cleaner.
- A bucket of water: You will need a bucket filled with warm water to dip the cloth or duster for cleaning the blinds.
- A drying rack or towel: After cleaning the blinds, you’ll need a drying rack or towel to air dry them.
Having these tools ready will save you time and ensure that you have everything you need to successfully take down and clean your blinds.
Step 1: Preparation
Before you begin removing your blinds, it’s important to prepare the area and gather all the necessary materials. Here’s what you need to do:
- Clear the area: Remove any furniture or obstacles that may obstruct your access to the blinds. Make sure the surrounding area is clear for easy movement.
- Gather tools and materials: Collect all the tools and materials you will need, as mentioned in the previous section, “Necessary Tools”. Having everything prepared beforehand will make the process smoother.
- Protect the floor and furniture: Lay a drop cloth or old sheets on the floor and nearby furniture to catch any dust or dirt that may fall during the cleaning process.
- Ensure safety: If you need to use a step stool or ladder, make sure it is stable and secure. Take necessary precautions to prevent accidents or injuries while accessing high windows or hard-to-reach areas.
By taking these preparatory steps, you will create a safe and organized environment for removing and cleaning your blinds.
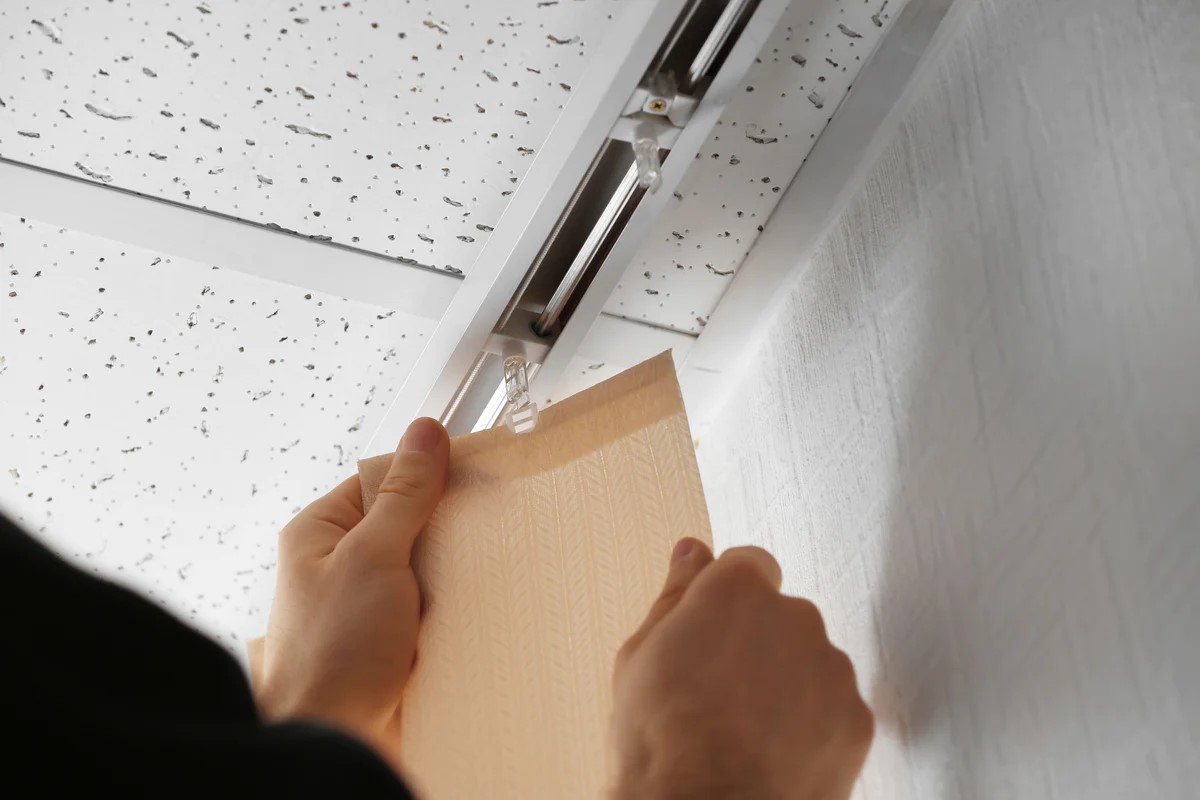
Step 2: Removing the Blinds
Now that you have prepared the area and gathered the necessary tools, it’s time to proceed with removing the blinds. Follow these steps:
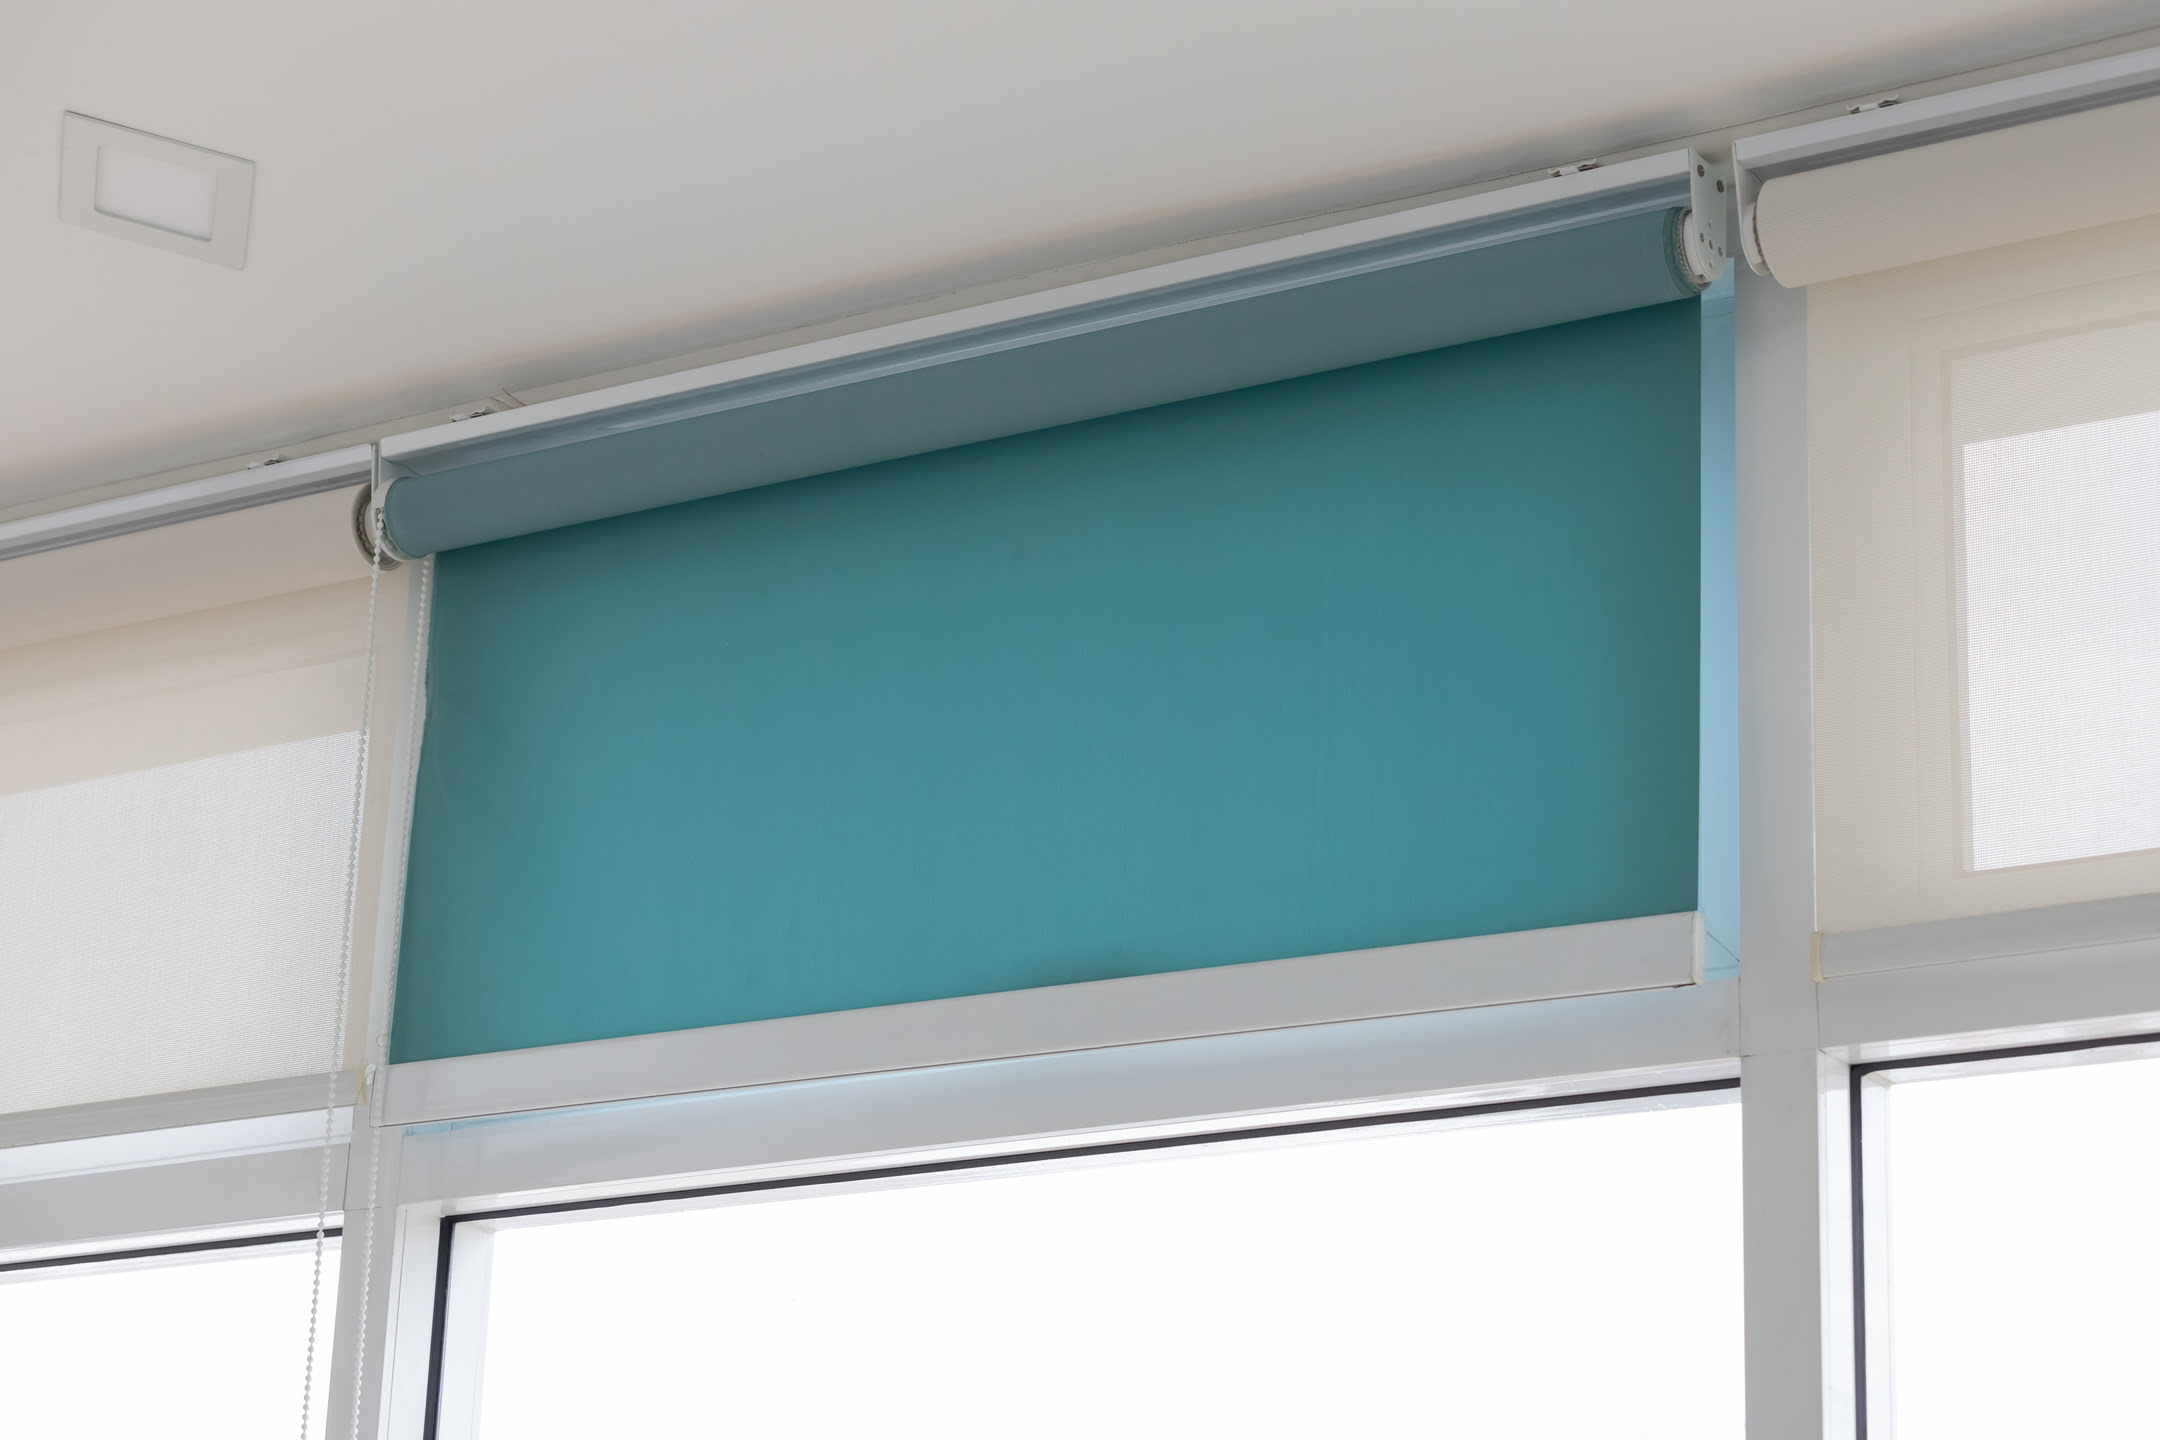
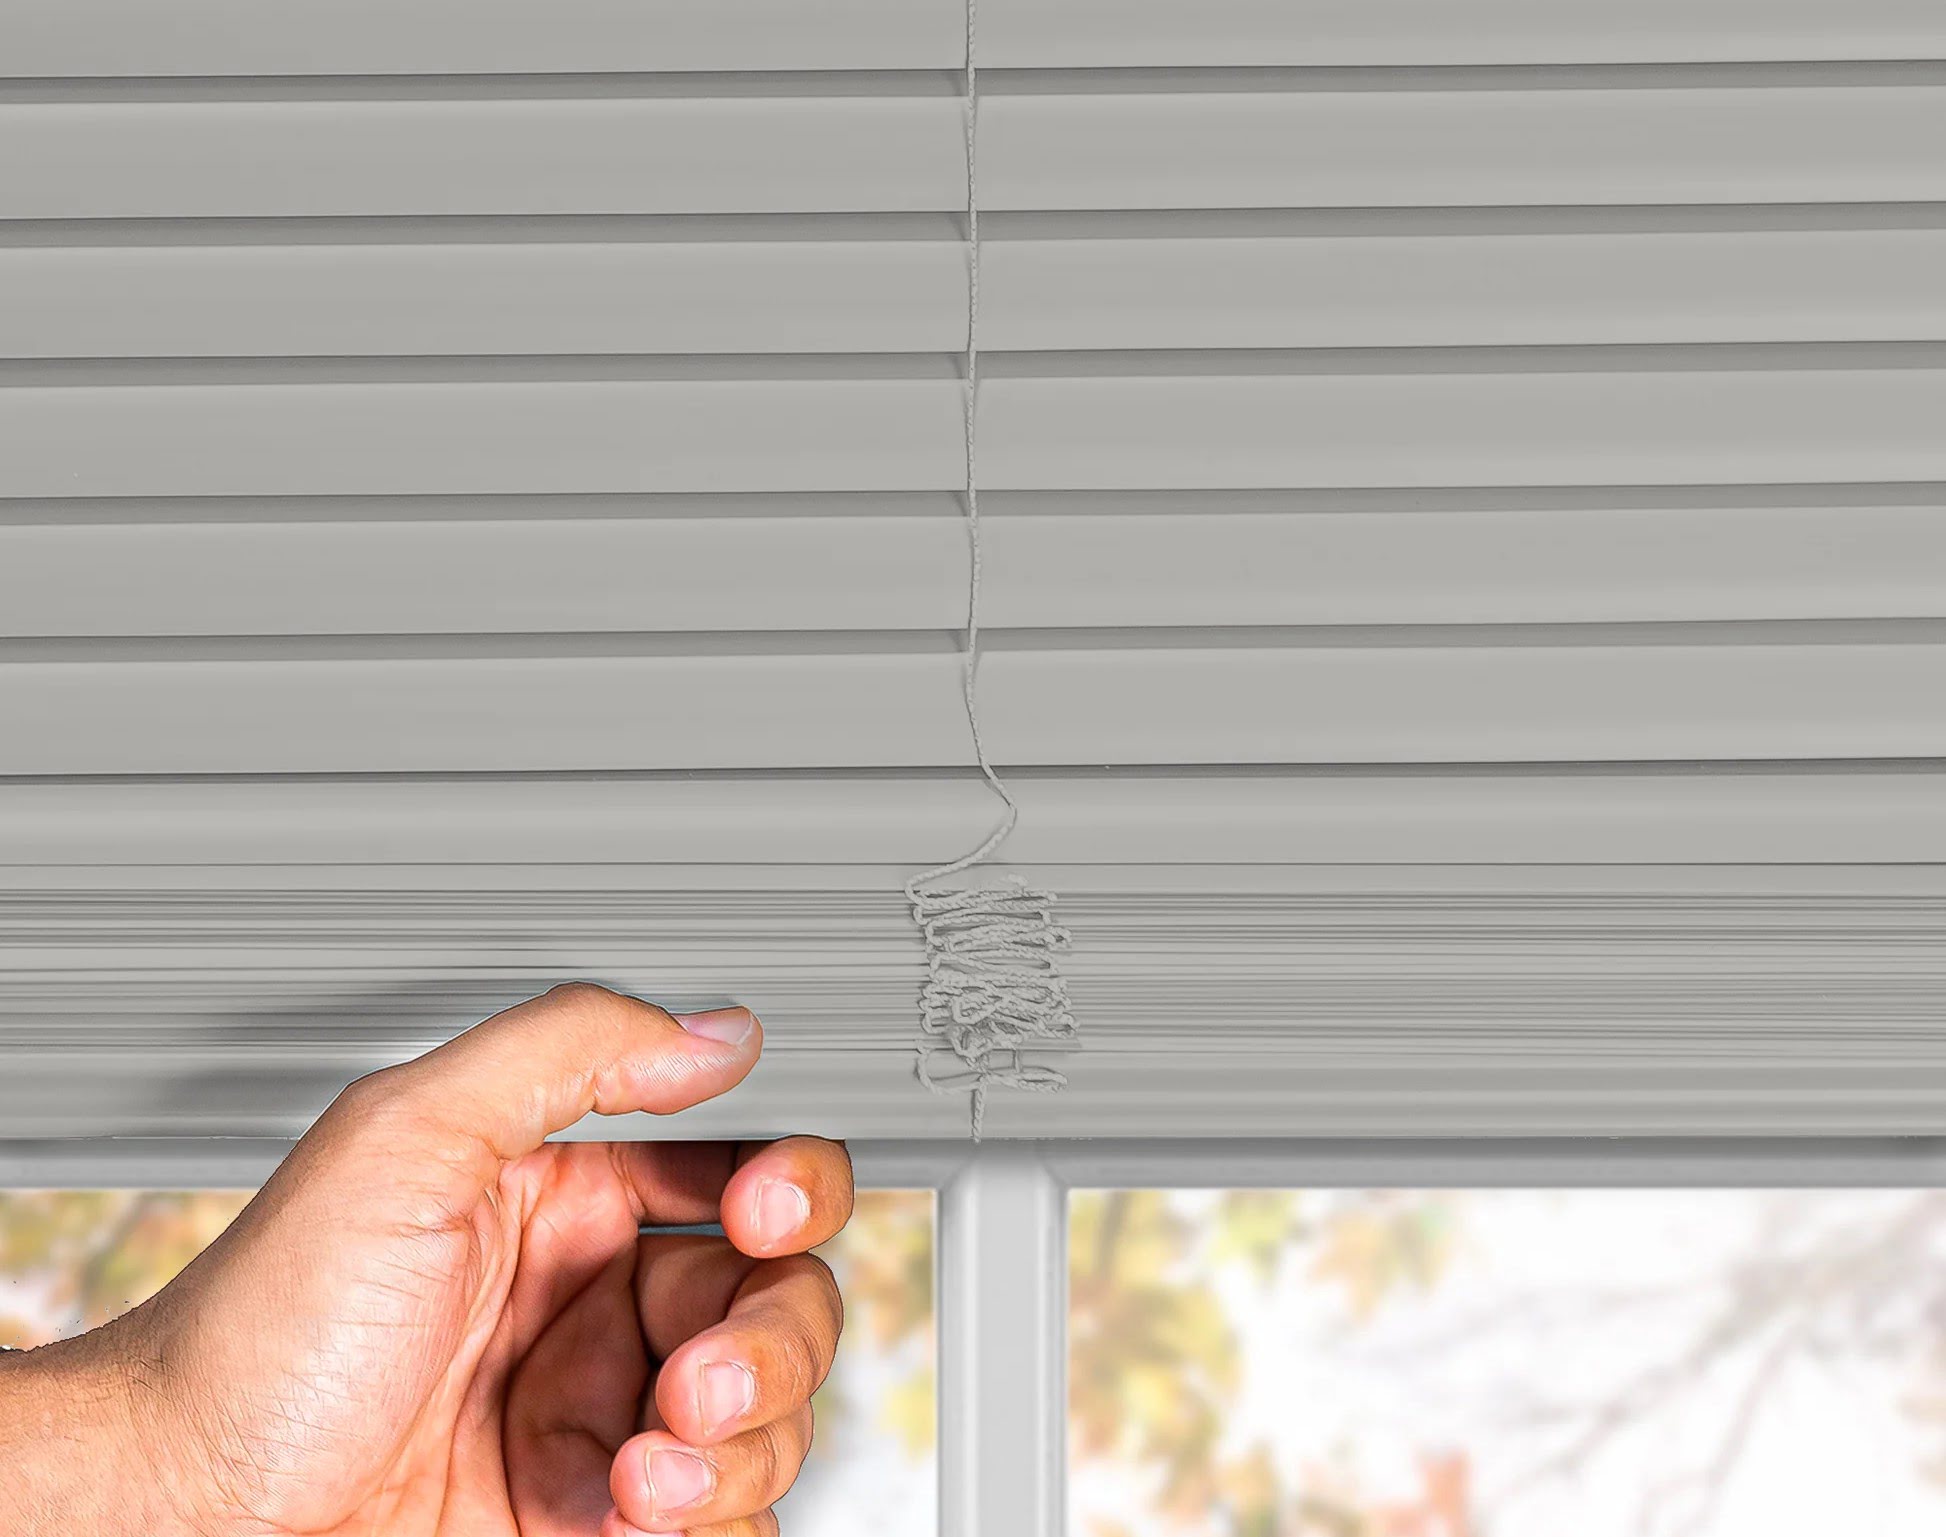
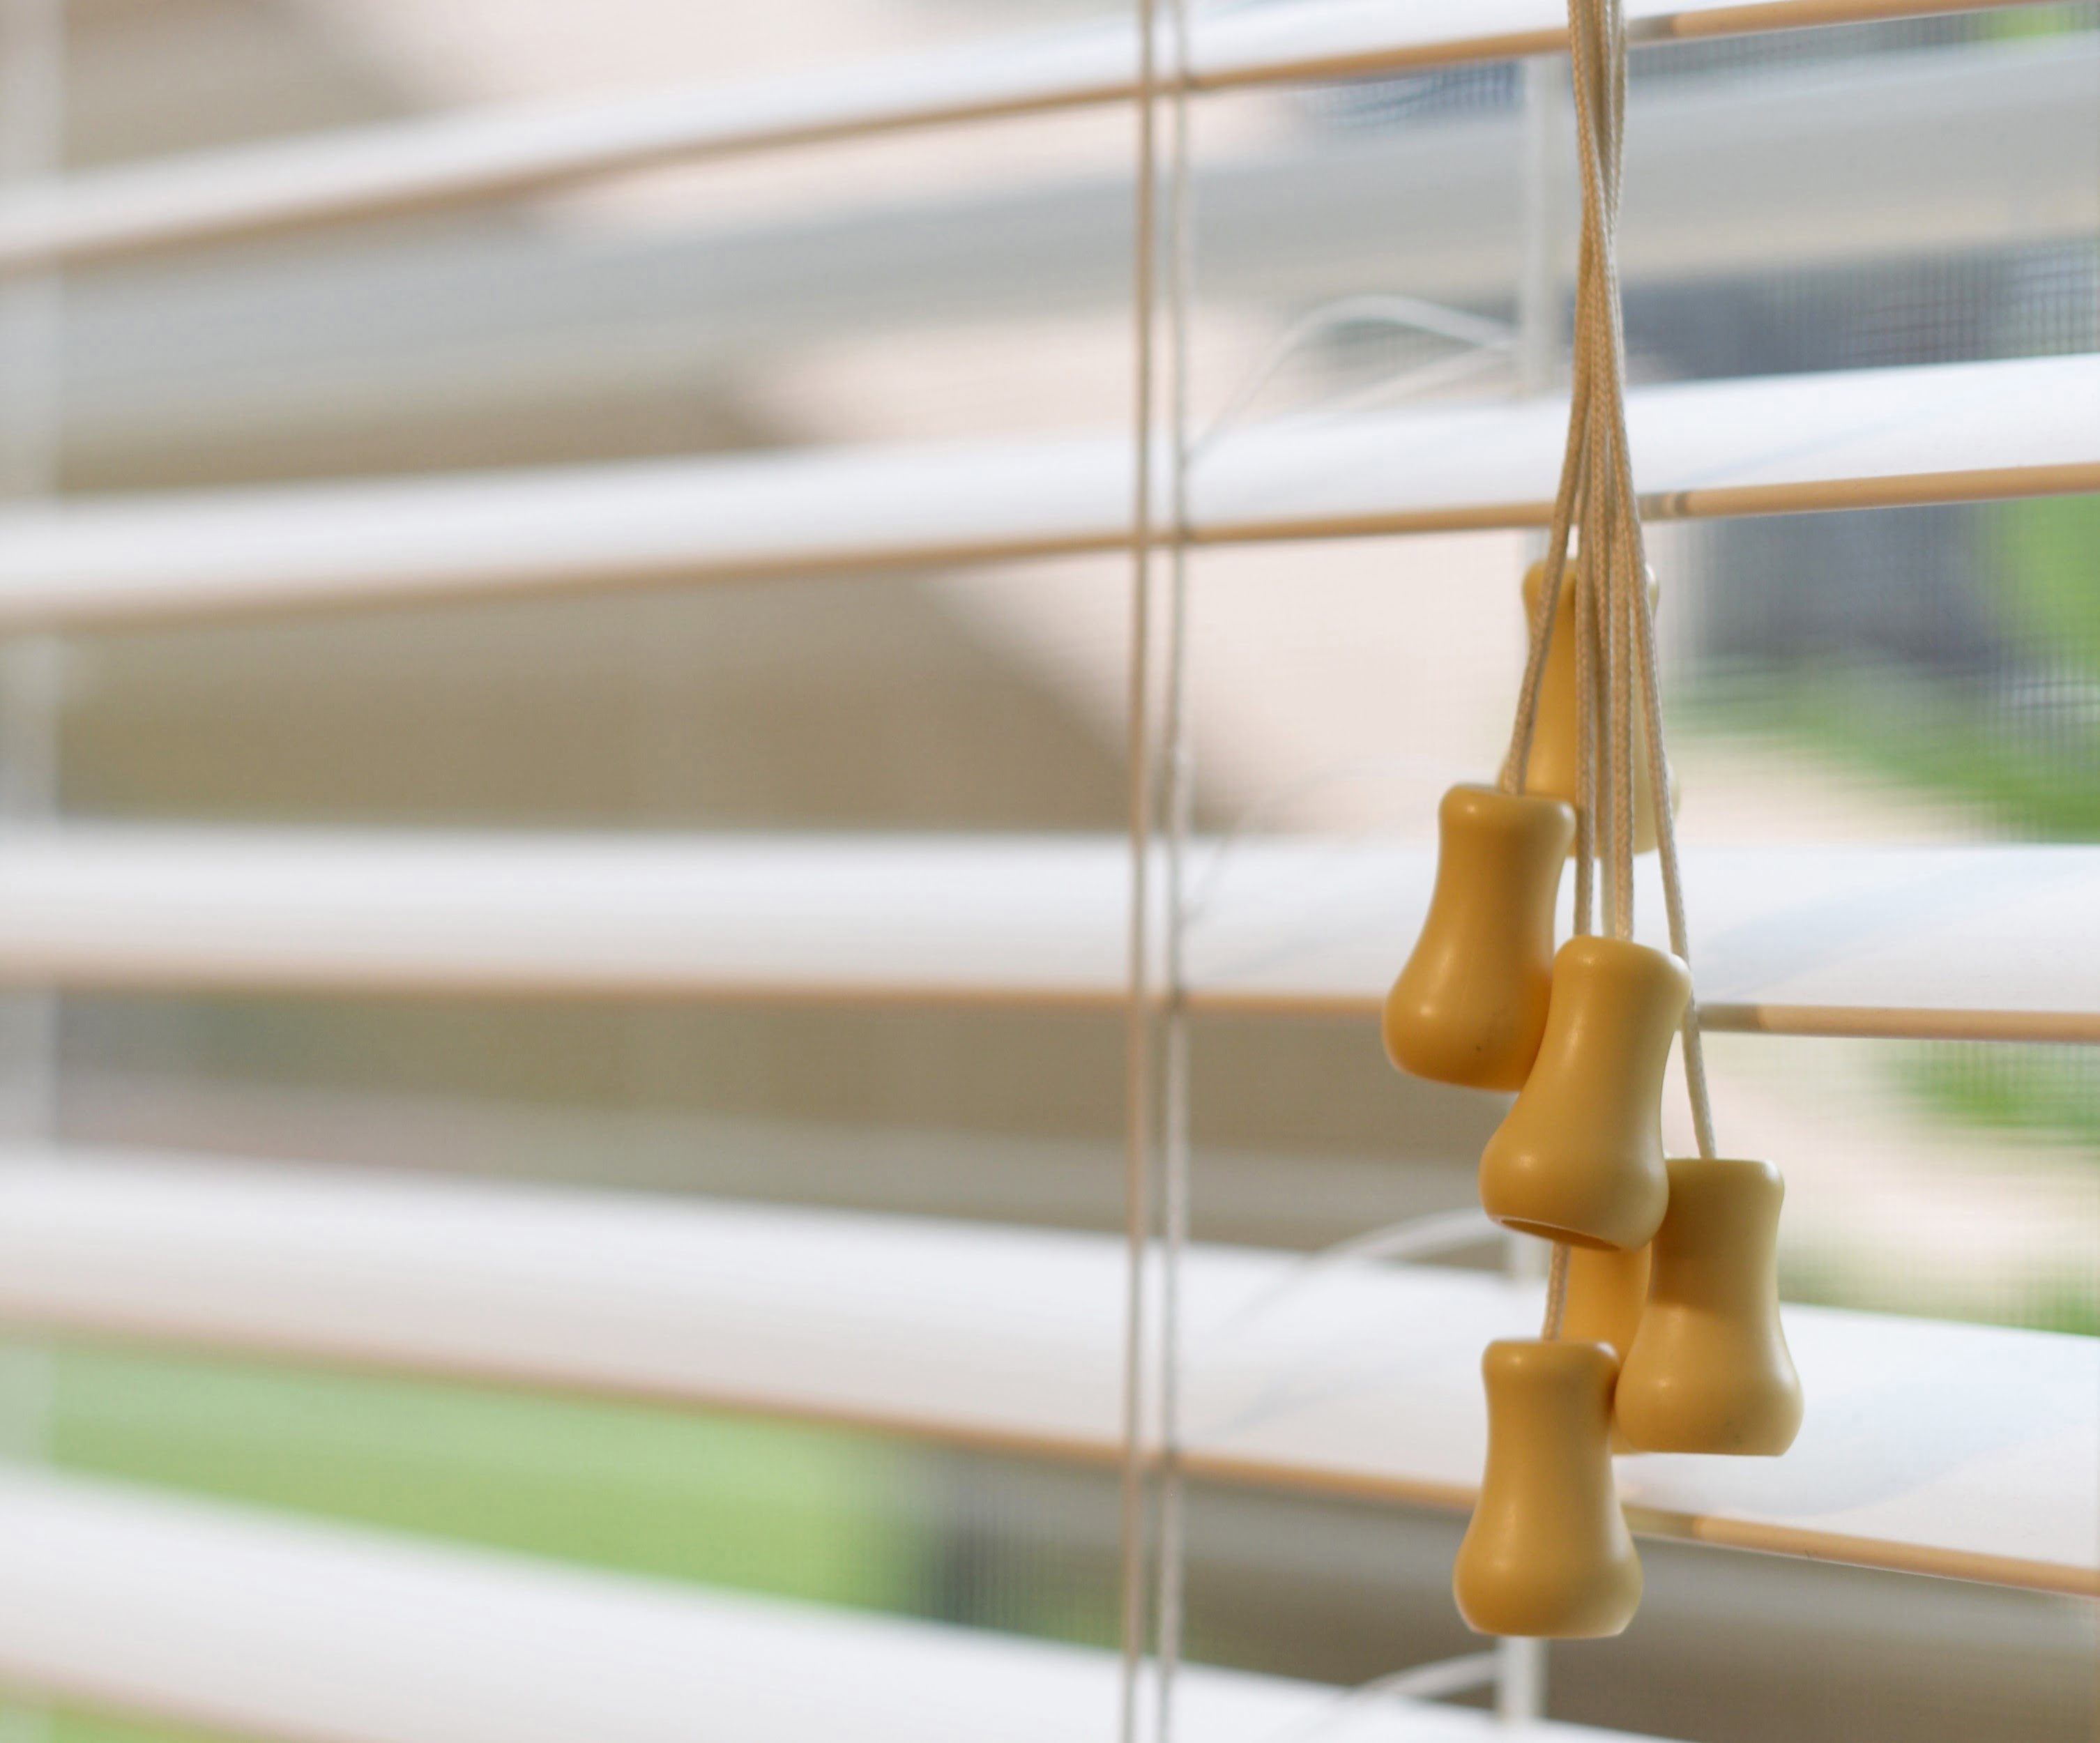
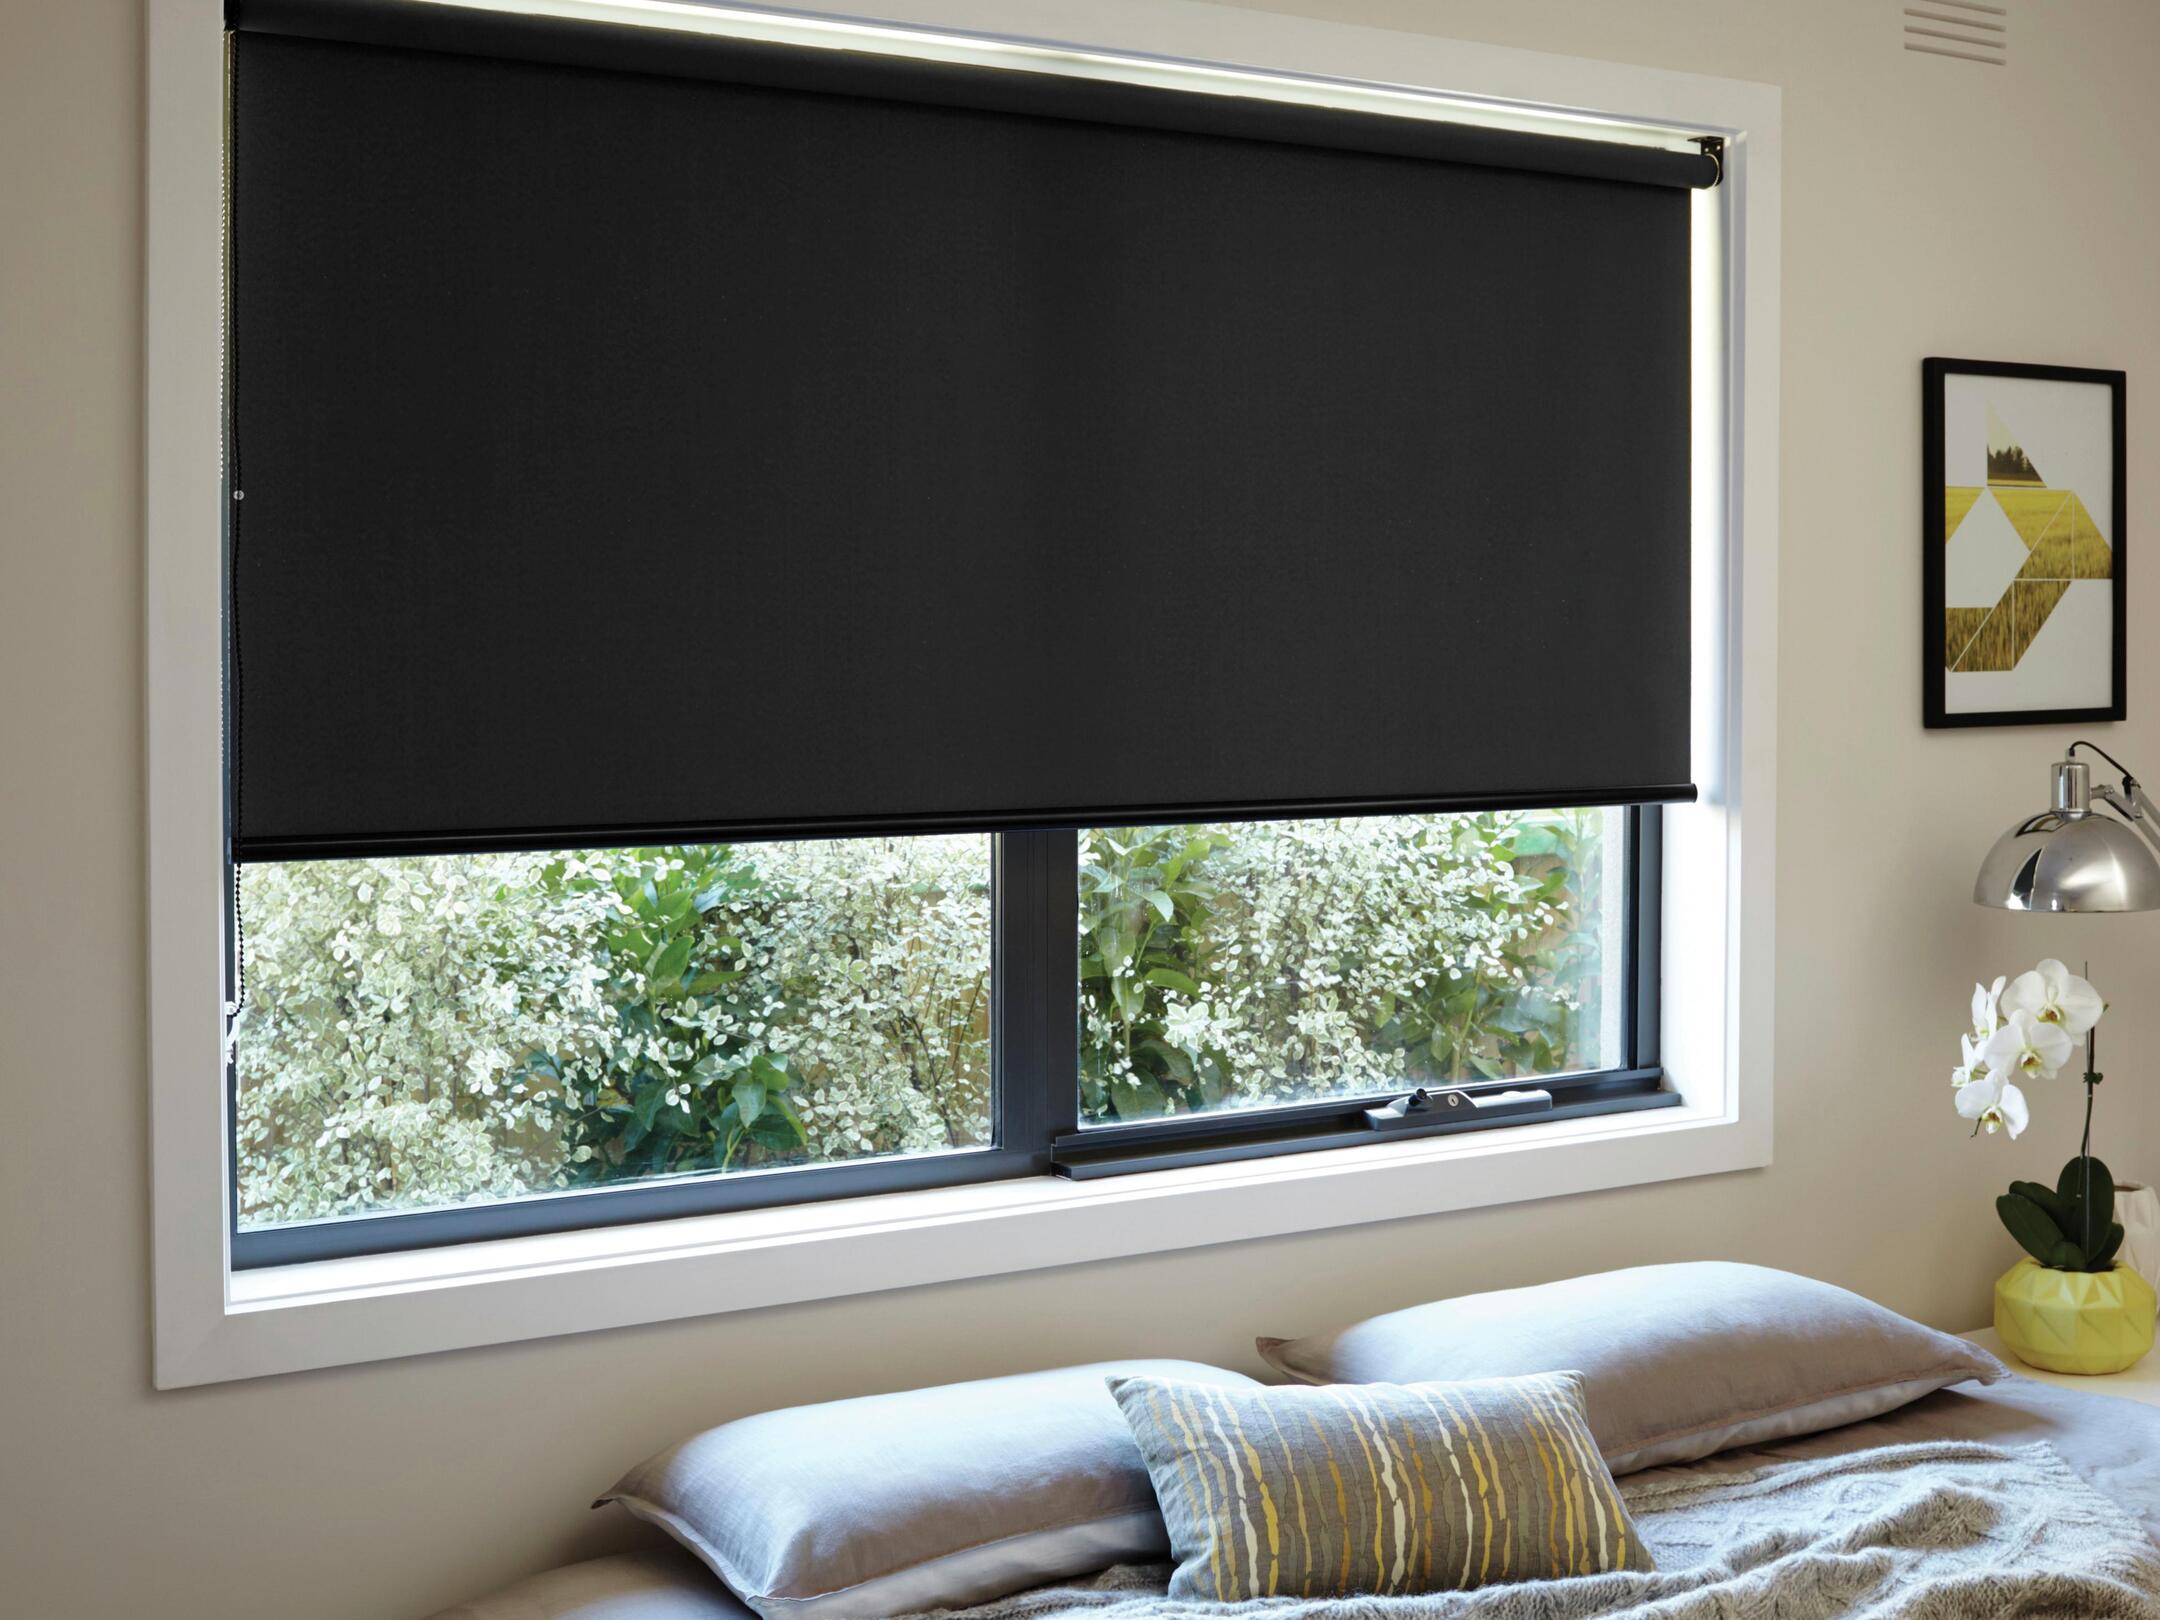
- Identify the type of blinds: Determine the type of blinds you have, such as Venetian blinds, roller blinds, or vertical blinds. Understanding the type of blinds will help you remove them more effectively.
- Remove any valances or covers: If your blinds have a valance or a cover, detach them first. Valances are usually held in place by clips or screws, so use a screwdriver to remove any screws and gently pull the valance away.
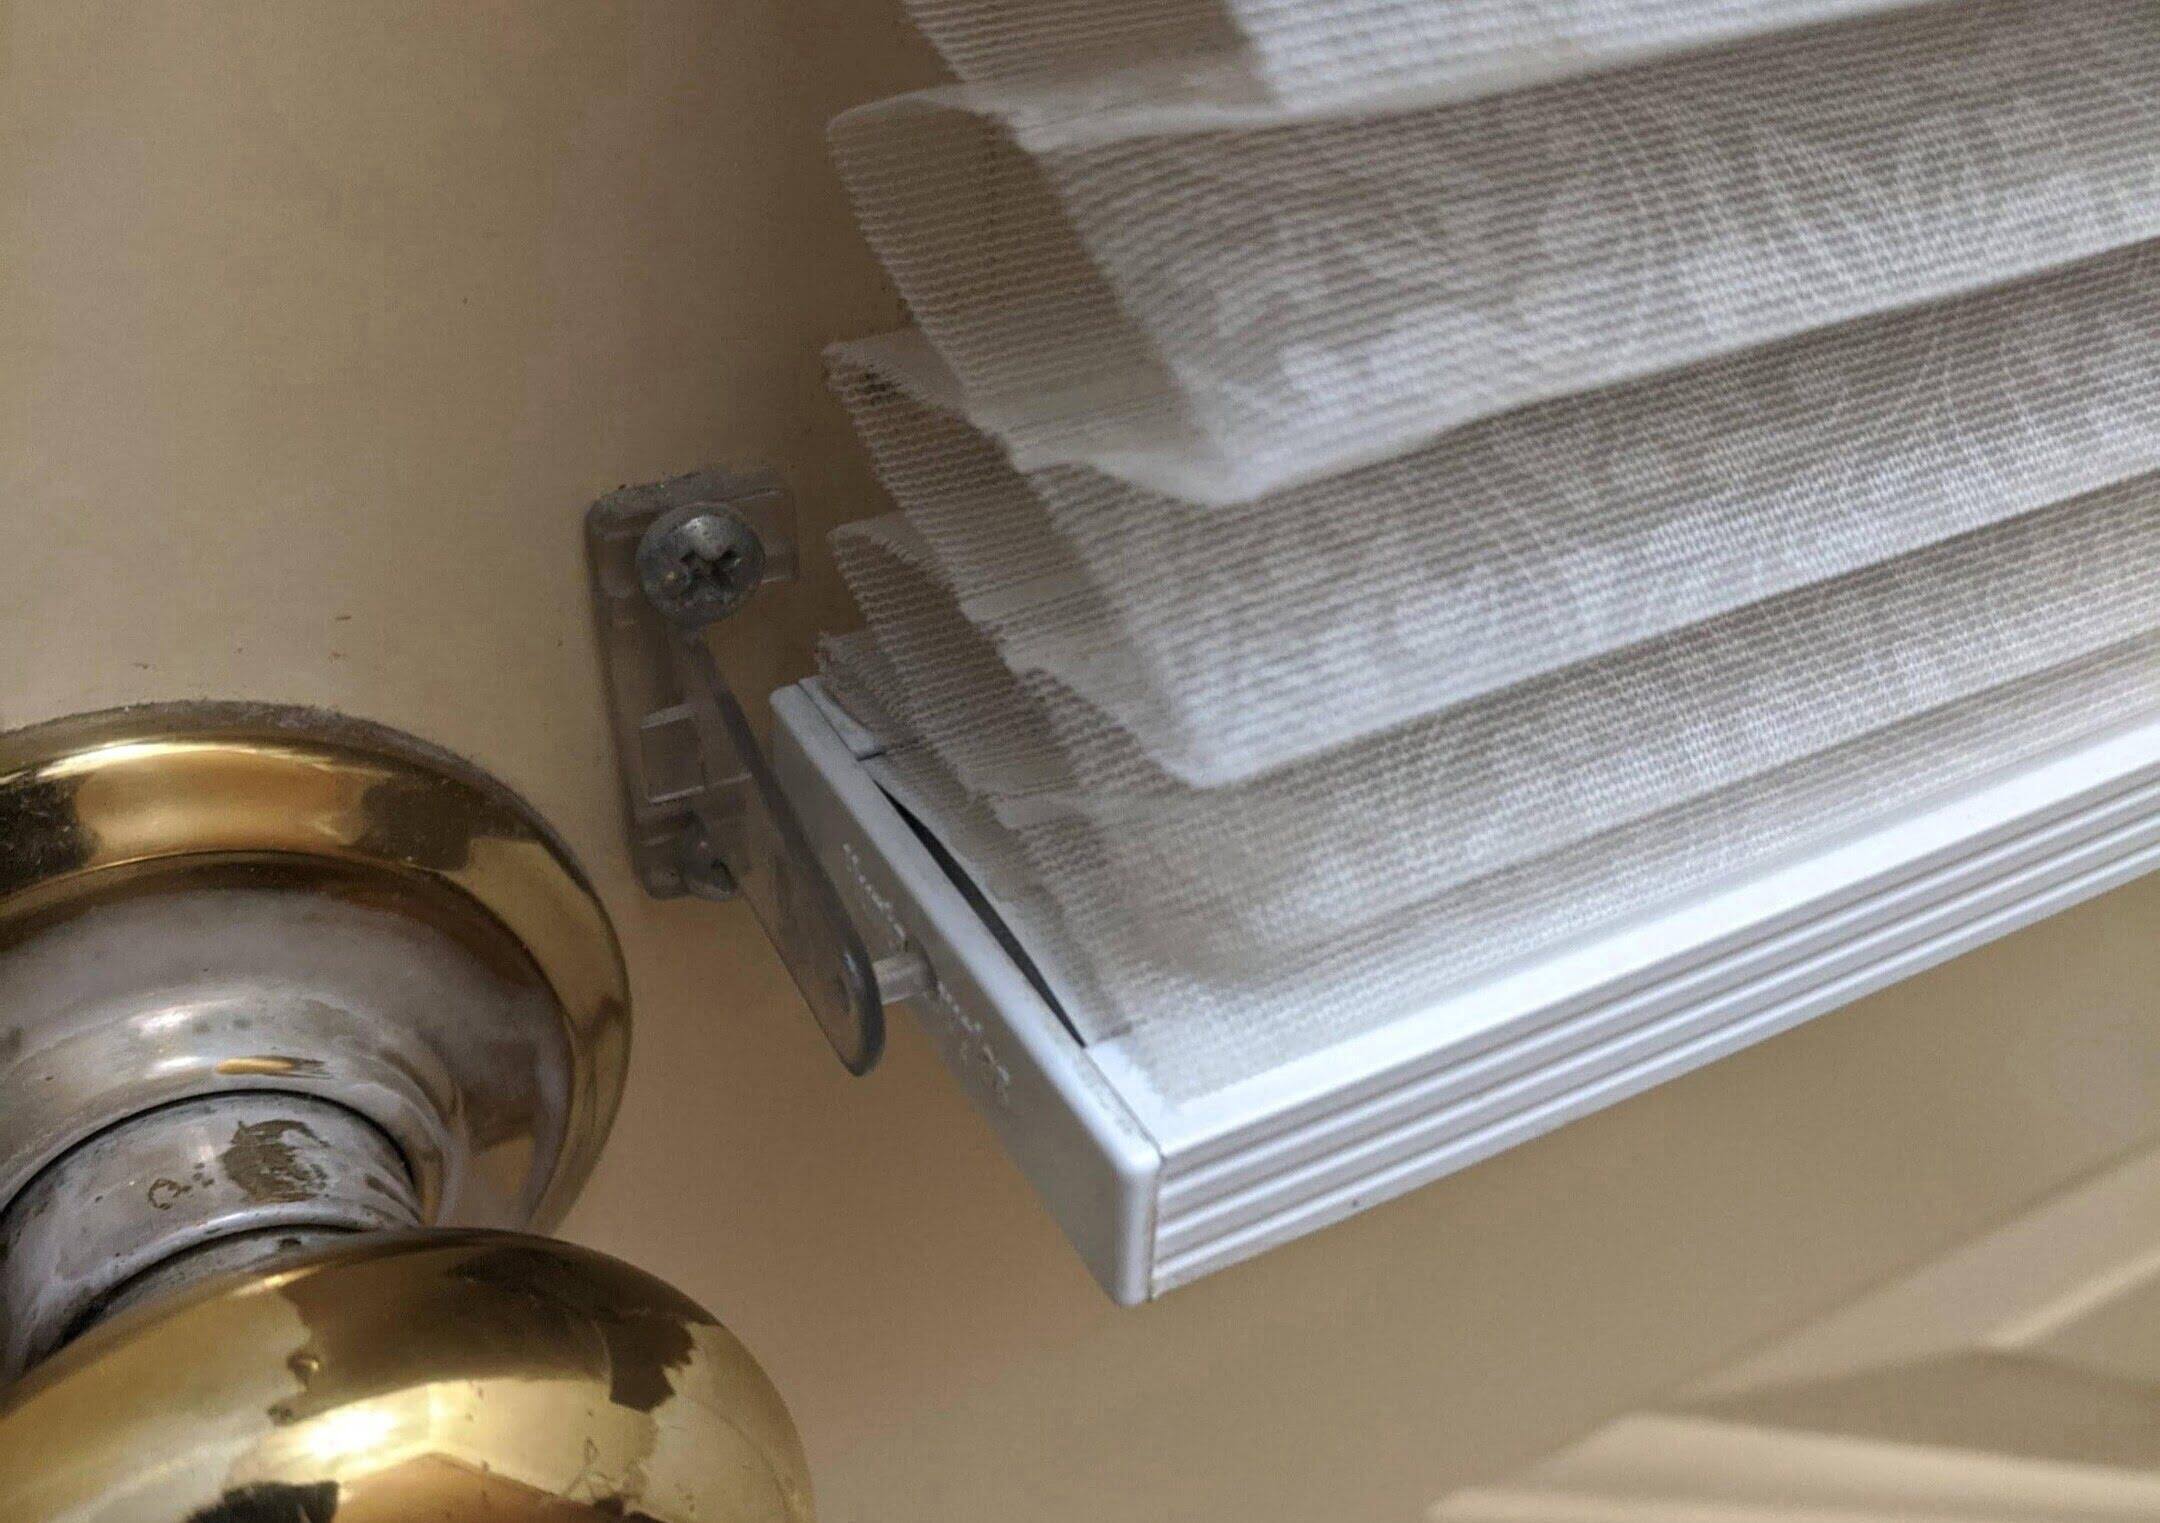
- Release any securing mechanisms: Some blinds may have securing mechanisms such as tension brackets or cord locks. Release these mechanisms to free the blinds from their brackets.
- Detach the blinds from the mounting brackets: Carefully lift the blinds out of their mounting brackets. In some cases, you may need to tilt the blinds to release them fully. If your blinds have screws holding them in place, use a screwdriver to loosen and remove the screws before lifting the blinds away.
- Place the blinds on a clean surface: Once you have removed the blinds, place them on a clean surface such as a table or countertop. This will allow you to inspect and clean them more effectively.
Remember to handle the blinds with care to avoid any damage or bending. By following these steps, you will successfully remove the blinds and prepare them for cleaning.
Step 3: Cleaning the Blinds
Now that you have removed the blinds, it’s time to give them a thorough cleaning. Follow these steps to clean your blinds:
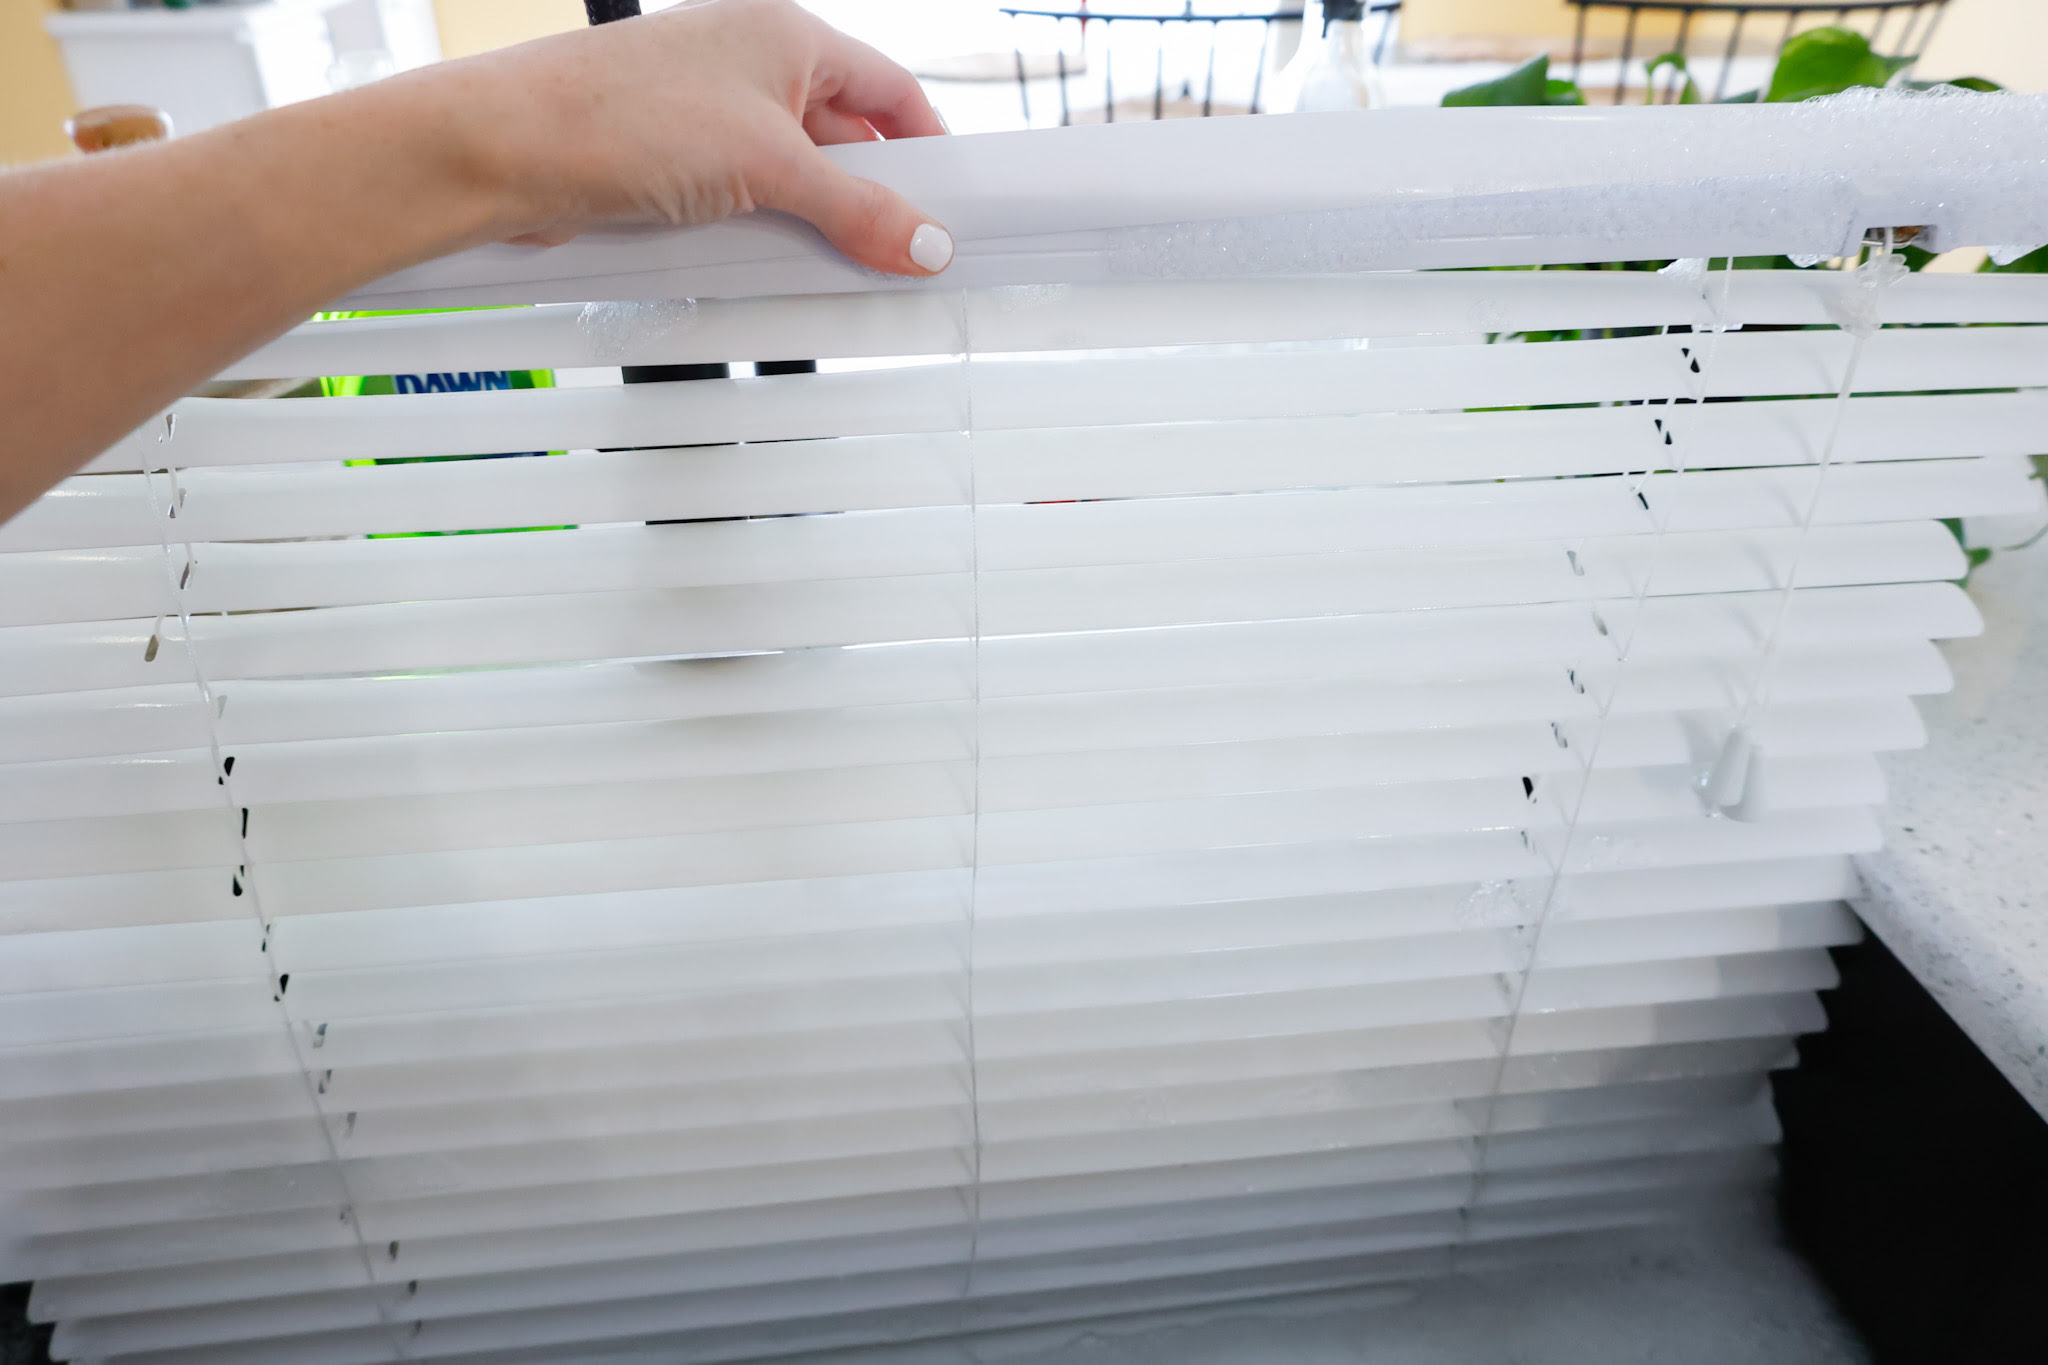
- Dust the blinds: Start by using a clean cloth or a microfiber duster to remove any dust or loose debris from the blinds. Gently wipe each slat or panel, making sure to reach both the top and bottom surfaces.
- Spot-treat stubborn stains: If you notice any stubborn stains or grime on the blinds, dampen a cloth with a mild detergent or a specialized blind cleaner. Gently rub the stained area until the stain lifts.
- Wash the blinds: Depending on the type of blinds, you may be able to wash them in a bathtub filled with warm water and a mild detergent. Submerge the blinds and gently scrub them with a soft brush or sponge. Alternatively, for delicate blinds or those that cannot be fully submerged, use a damp cloth to wipe each slat individually.
- Rinse the blinds: After washing the blinds, rinse them thoroughly with clean water to remove any soap residue. This will ensure that your blinds are left clean and free from any cleaning product residue.
- Dry the blinds: Once you have rinsed the blinds, give them a gentle shake to remove excess water. Place them on a drying rack or lay them flat on a towel to air dry completely. Avoid exposing them to direct sunlight or heat sources, as this can damage the blinds.
Take your time while cleaning the blinds to ensure that each slat or panel is thoroughly cleaned. If you encounter any specific cleaning instructions provided by the manufacturer, be sure to follow them for the best results.
By following these steps, you will restore the cleanliness and brightness of your blinds, enhancing their appearance and functionality.
When taking down blinds for cleaning, start by fully extending them and locking them in place. Then, remove the end caps or brackets to release the blinds. Be sure to follow the manufacturer’s instructions for your specific type of blinds.
Read more: How To Take Down Mini Blinds
Step 4: Drying the Blinds
Once you have cleaned the blinds, it’s important to properly dry them before reinstalling. Follow these steps to ensure the blinds are completely dry:
- Shake off excess water: Before drying the blinds, give them a gentle shake to remove any excess water. This will help to speed up the drying process.
- Use a drying rack or towel: Place the blinds on a drying rack or lay them flat on a clean towel. Ensure that the blinds are spread out and not overlapping each other. This will allow air to circulate around them, aiding in the drying process.
- Avoid direct heat sources: It’s important to avoid direct sunlight or heat sources such as heaters or hair dryers, as these can cause the blinds to warp or become damaged. Instead, place them in a well-ventilated area to air dry naturally.
- Patience is key: Depending on the material and thickness of the blinds, drying times can vary. It’s essential to be patient and allow the blinds to completely dry before attempting to reinstall them. Rushing the drying process may result in mold or mildew growth.
- Check for any remaining moisture: Before reinstalling the blinds, make sure to check for any remaining moisture. Use a clean, dry cloth to carefully blot the blinds, especially in hard-to-reach areas or corners.
By following these steps, you’ll ensure that your blinds are thoroughly dried and ready to be reinstalled in their designated window or door.
Remember, proper drying is essential to prevent any damage or issues with your blinds, so take the time to ensure they are completely dry before moving on to the next step.
Step 5: Reinstalling the Blinds
After the blinds have been cleaned and dried, it’s time to rehang them in their original position. Follow these steps to reinstall your blinds:
- Identify the correct orientation: Before reinstalling the blinds, ensure that you have identified the correct orientation. Check that the top of the blinds, with the necessary mounting hardware, is correctly positioned at the top of the window or door.
- Align the blinds with the brackets: Carefully align the blinds with the brackets that are mounted on the window or door frame. Slide the top of the blinds into the brackets, ensuring they are securely in place.
- Secure the blinds: If your blinds have tension brackets or other securing mechanisms, follow the manufacturer’s instructions to lock them into position. This will ensure that the blinds are safely secured and will not easily fall down.
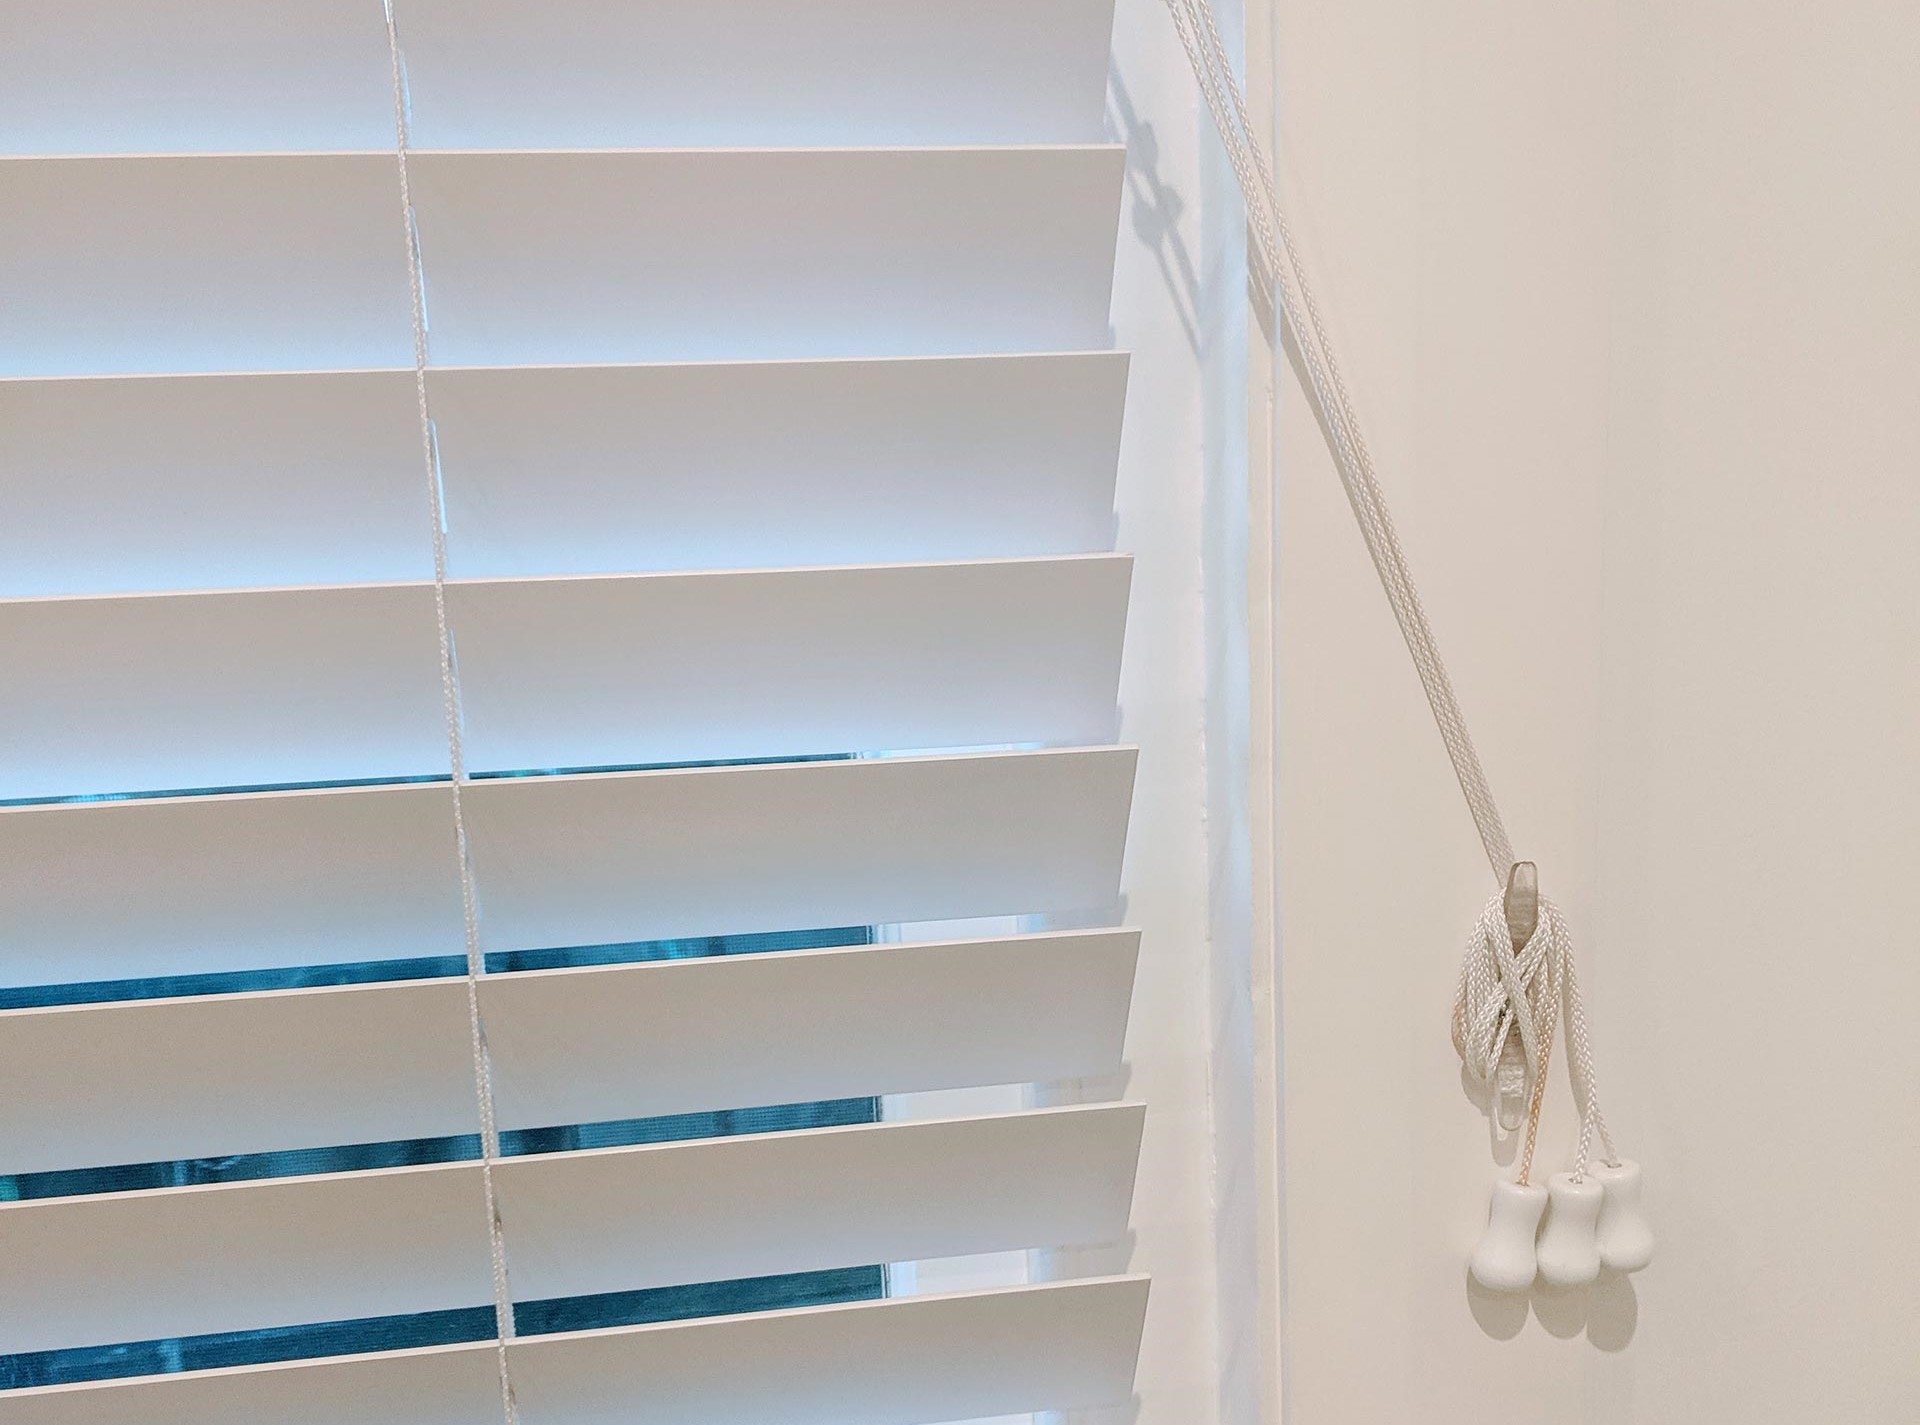
- Test the operation: Once the blinds are reinstalled, test their operation by pulling the cords or adjusting the control mechanism. Ensure that the blinds open and close smoothly and are properly aligned.
- Replace any valances or covers: If you had removed valances or covers earlier, now is the time to reattach them. Use screws or clips to secure them back into place, making sure they are properly aligned and straight.
After following these steps, step back and admire your freshly cleaned and reinstalled blinds. They will not only look great but also function optimally, providing privacy and light control for your space.
Remember, if you encounter any difficulties or have specific instructions for your blinds, refer to the manufacturer’s guidelines for proper reinstallation.
Tips for Regular Blind Maintenance
In addition to periodically deep cleaning your blinds, it’s important to incorporate regular maintenance into your routine. By doing so, you can keep your blinds in optimal condition and extend their lifespan. Here are some tips for regular blind maintenance:
- Dust blinds regularly: Use a clean cloth or a microfiber duster to remove dust from the blinds on a weekly or bi-weekly basis. This will prevent the accumulation of dust and keep your blinds looking clean and fresh.
- Spot clean when necessary: If you notice any stains or spills on your blinds, address them promptly. Dampen a cloth with water or a mild detergent and gently blot the affected area. Avoid rubbing vigorously, as this may cause damage to the blinds.
- Avoid excessive moisture: Excessive moisture can cause damage to certain types of blinds, such as wooden blinds or fabric blinds. Avoid spraying water directly onto the blinds or exposing them to high humidity areas like bathrooms or kitchens.
- Inspect cords and mechanisms: Regularly check the cords and control mechanisms of your blinds. Ensure that they are in good condition and functioning properly. Replace any frayed or damaged cords to prevent accidents or entanglement.
- Adjust blinds with care: When opening or closing blinds, handle them gently to avoid bending or damaging the slats. Use the designated control mechanism or cords and avoid forcing the blinds into position.
- Protect blinds from direct sunlight: Prolonged exposure to direct sunlight can cause fading and discoloration of certain types of blinds. Consider using curtains or shades to provide an extra layer of protection and minimize sun exposure.
- Follow manufacturer’s instructions: Different types of blinds may have specific maintenance instructions provided by the manufacturer. Always refer to these guidelines for proper care and cleaning to ensure that you don’t inadvertently damage your blinds.
By incorporating these tips into your regular cleaning routine, you can maintain the cleanliness and functionality of your blinds for years to come.
Conclusion
Cleaning and maintaining your blinds is essential for their longevity and aesthetic appeal. With proper care and regular maintenance, you can keep your blinds looking clean, fresh, and functioning optimally. By following the steps outlined in this guide, you can easily remove your blinds, clean them thoroughly, and reinstall them without any hassle.
Remember to gather the necessary tools, prepare the area, and handle your blinds with care throughout the process. Dusting regularly, spot cleaning as needed, and being mindful of excessive moisture are important aspects of regular blind maintenance. Additionally, inspecting cords and mechanisms, adjusting blinds gently, and protecting them from direct sunlight will help prolong their lifespan.
With a little effort and attention to detail, you can ensure that your blinds not only serve their practical purpose but also enhance the overall ambiance of your space. So, take the time to clean and maintain your blinds regularly, and enjoy the benefits of clean and beautiful window treatments.
Thank you for reading our comprehensive guide on how to take down blinds for cleaning. We hope you found it helpful and that you are now equipped with the knowledge to keep your blinds in tip-top shape.
Frequently Asked Questions about How To Take Down Blinds For Cleaning
Was this page helpful?
At Storables.com, we guarantee accurate and reliable information. Our content, validated by Expert Board Contributors, is crafted following stringent Editorial Policies. We're committed to providing you with well-researched, expert-backed insights for all your informational needs.