Articles
How To Take Down Hunter Douglas Blinds
Modified: February 25, 2024
Learn how to take down your Hunter Douglas blinds with our informative articles. Find step-by-step guides and useful tips to make the process quick and easy.
(Many of the links in this article redirect to a specific reviewed product. Your purchase of these products through affiliate links helps to generate commission for Storables.com, at no extra cost. Learn more)
Introduction
If you’re looking to update your window treatments or perform routine maintenance, knowing how to take down Hunter Douglas blinds is essential. Whether you’re replacing them with new blinds or cleaning them thoroughly, removing the blinds properly ensures you can do so safely and effectively.
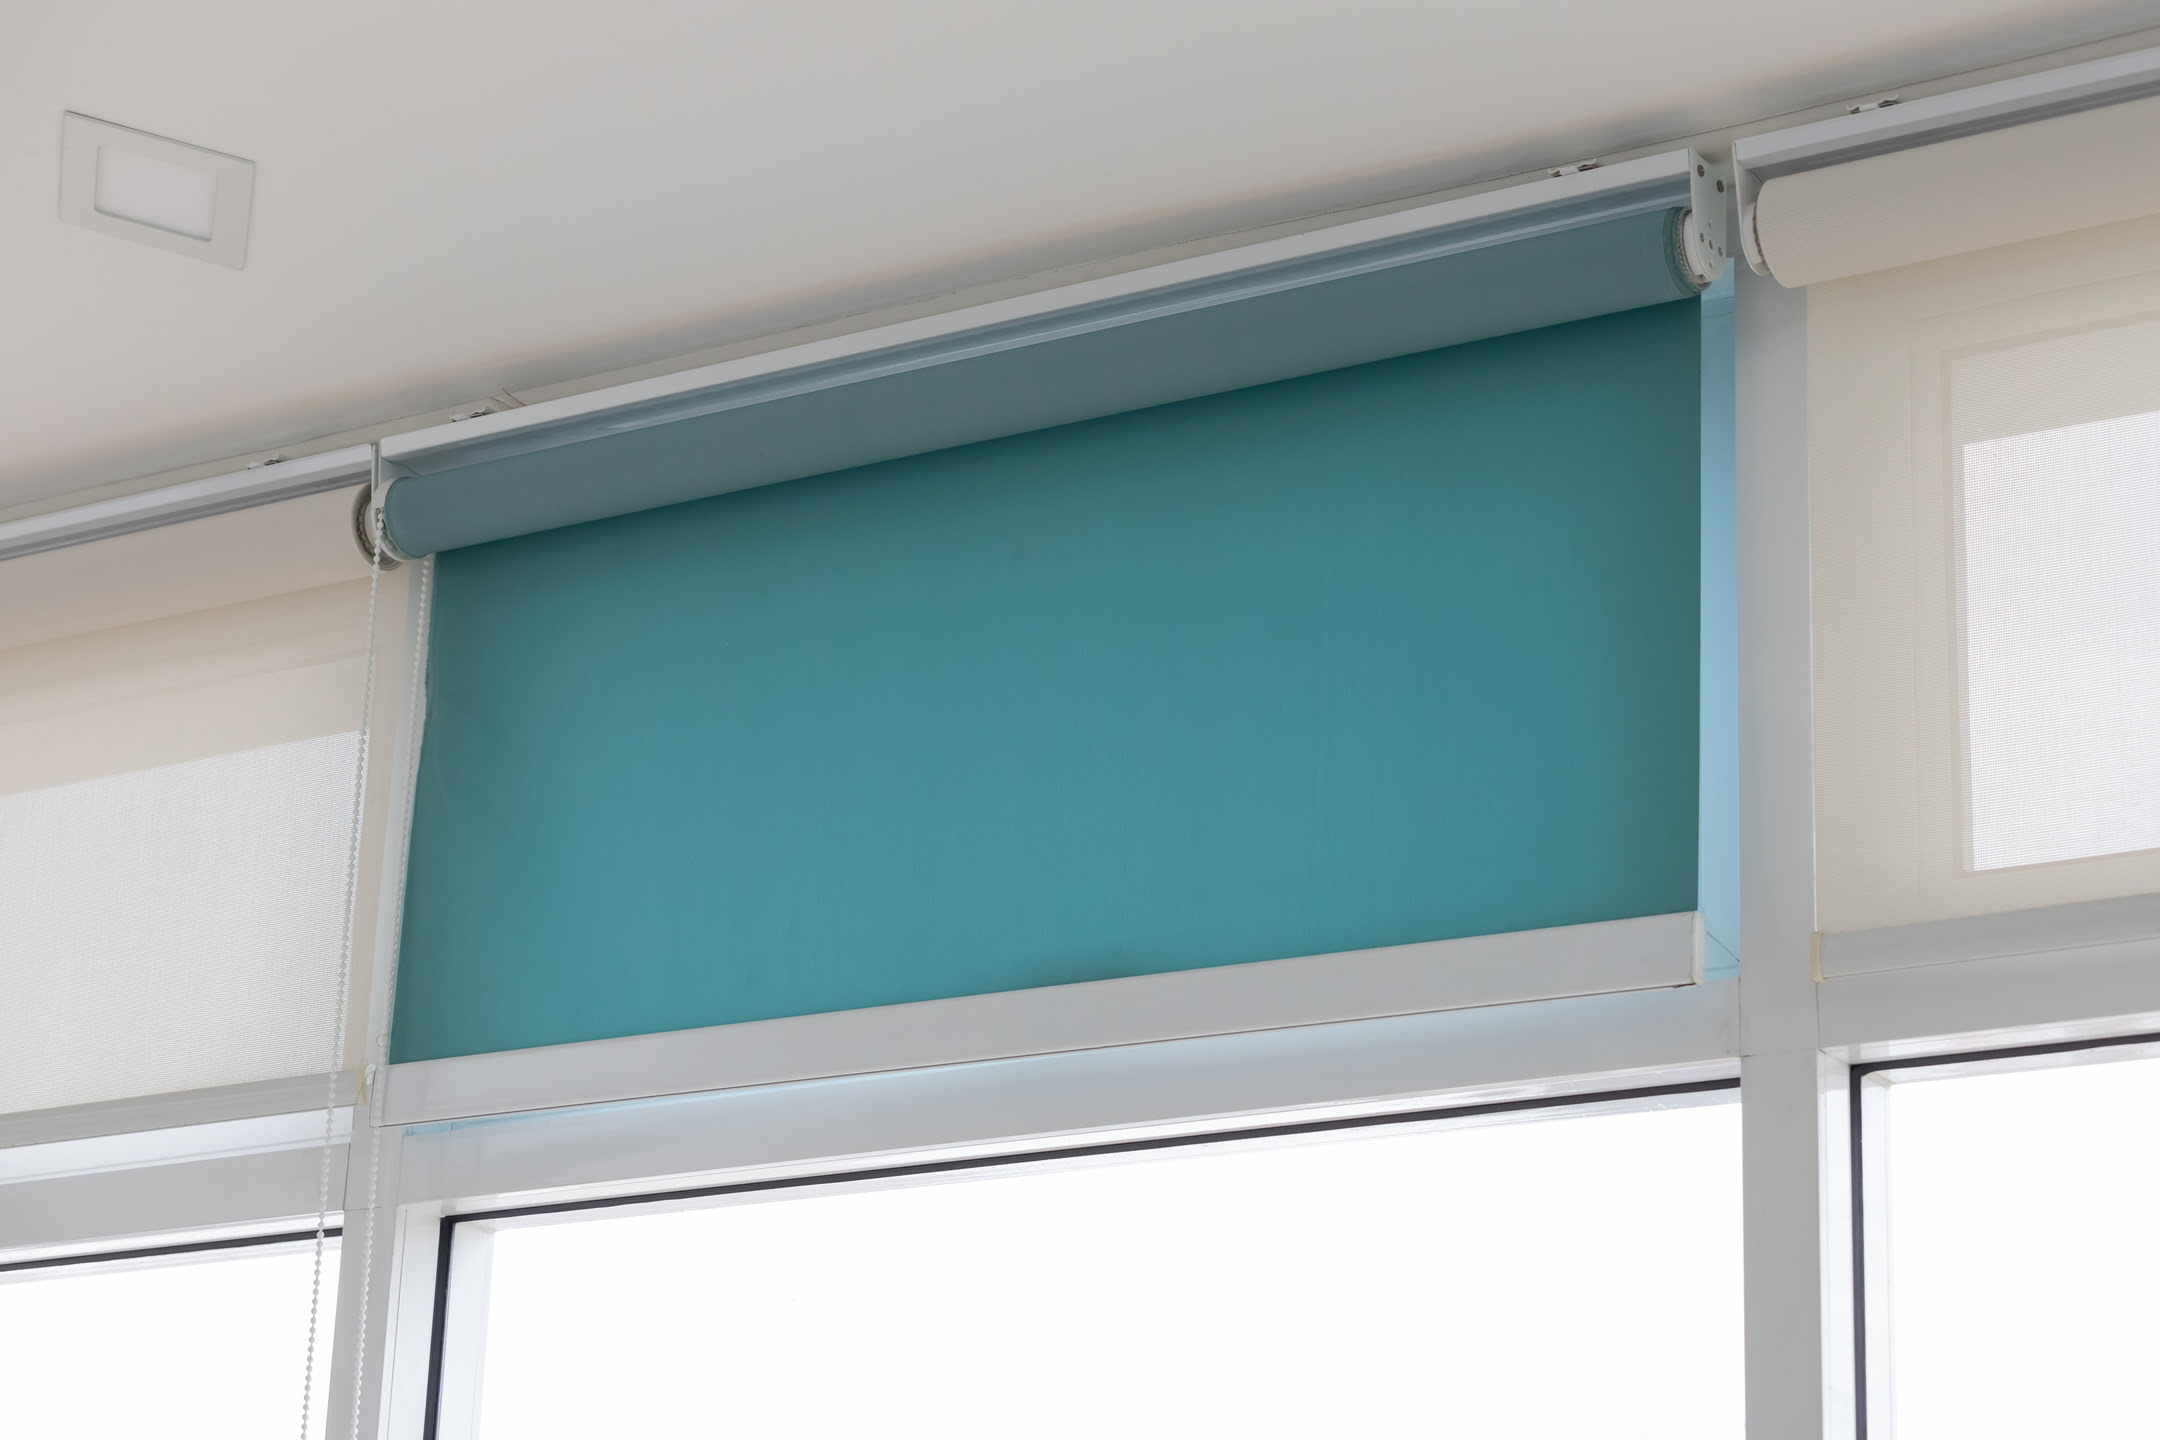
Hunter Douglas blinds are known for their high-quality craftsmanship and innovative designs. They offer a wide range of styles, including roller blinds, Roman shades, and wood blinds, among others. Taking down these blinds requires some basic tools and a few easy-to-follow steps that we’ll outline in this article. With the right approach, you can remove your Hunter Douglas blinds without damaging them or your windows.
In this guide, we’ll walk you through the step-by-step process of taking down your Hunter Douglas blinds. We’ll also provide some helpful tips on how to properly clean and store them for future use. So, let’s dive in and discover how to take down your Hunter Douglas blinds like a pro!
Key Takeaways:
- Safely and efficiently remove Hunter Douglas blinds by following simple steps and using basic tools, ensuring a smooth process without damaging the blinds or windows.
- Properly clean and store Hunter Douglas blinds to maintain their condition and functionality, allowing for easy reinstallation and a refreshed look for your windows.
Read more: How To Mount Hunter Douglas Blinds
Tools and Materials Needed
Before you begin the process of taking down your Hunter Douglas blinds, it’s essential to gather all the necessary tools and materials. This will ensure a smooth and hassle-free removal process. Here’s a list of what you’ll need:
- Screwdriver (flathead or Phillips, depending on the type of screws used)
- Step ladder or stool
- Cleaning supplies (if planning to clean the blinds)
- Drop cloth or plastic sheet (to protect the floor or furniture)
- Storage containers or bags (to keep all the parts together)
Having these tools and materials on hand will make the removal process much easier and more efficient. Take a moment to gather everything before you start, and ensure that you have a clean and clutter-free workspace to work in.
Step 1: Gather Necessary Supplies
The first step in taking down your Hunter Douglas blinds is to gather all the necessary supplies. Having everything you need readily available will make the process smoother and more efficient. Here’s what you’ll need:
- Screwdriver: Depending on the type of screws used to attach the blinds to the brackets, you’ll need either a flathead or Phillips screwdriver. Check the screws before you start to determine which screwdriver you’ll need.
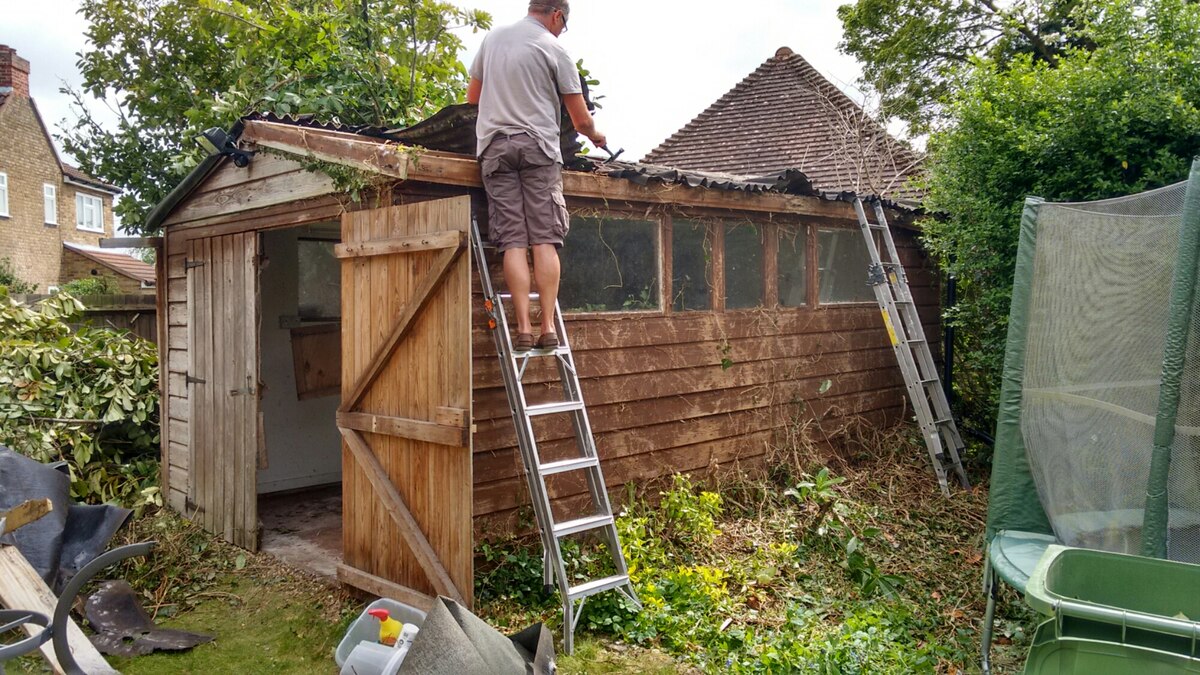
- Step ladder or stool: Since most blinds are mounted higher up on the window, having a step ladder or stool will help you reach them easily and safely. Make sure the ladder or stool is stable and secure before climbing on it.
- Cleaning supplies: If you plan on cleaning your blinds while they are removed, gather the necessary cleaning supplies. This may include a mild cleaner, a soft cloth or sponge, and a bucket of warm water.
- Drop cloth or plastic sheet: To protect the floor or furniture beneath the blinds, lay down a drop cloth or plastic sheet. This will catch any falling dust or debris and make cleanup easier.
- Storage containers or bags: To keep all the parts and hardware organized, gather some storage containers or bags. This will ensure that you don’t lose any screws or brackets and make reinstalling the blinds easier.
Once you have all the necessary supplies gathered, you’re ready to move on to the next step of taking down your Hunter Douglas blinds. Having everything prepared and within reach will save you time and make the process much smoother. Let’s move on to the next step!
Step 2: Remove the Valance
Before you can begin taking down the blinds themselves, you’ll need to remove the valance. The valance is the decorative cover that hides the headrail and gives the blinds a finished look. Here’s how you can remove the valance from your Hunter Douglas blinds:
- Start by locating the clips or brackets that hold the valance in place. These are usually located at the top of the blinds.
- Using your screwdriver, carefully remove the screws that secure the valance to the clips or brackets. Set the screws aside in a safe place, as you’ll need them when reinstalling the valance later.
- Gently pull the valance away from the clips or brackets. There may be a slight resistance, but it should come off easily once the screws are removed.
- Place the valance in a safe and clean area, away from any potential damage or dirt.
Once the valance is removed, you’ll have a clear view of the headrail and the blinds themselves. The valance can be stored separately, or you can choose to clean it before storing it. Cleaning instructions for the valance may vary depending on the material it’s made of, so refer to the manufacturer’s guidelines for the best cleaning method.
With the valance out of the way, you’re now ready to move on to the next step: detaching the blinds from the brackets.
When taking down Hunter Douglas blinds, start by removing the valance, then unclip the blinds from the brackets. Finally, lift the blinds out of the brackets and set them aside for cleaning or storage.
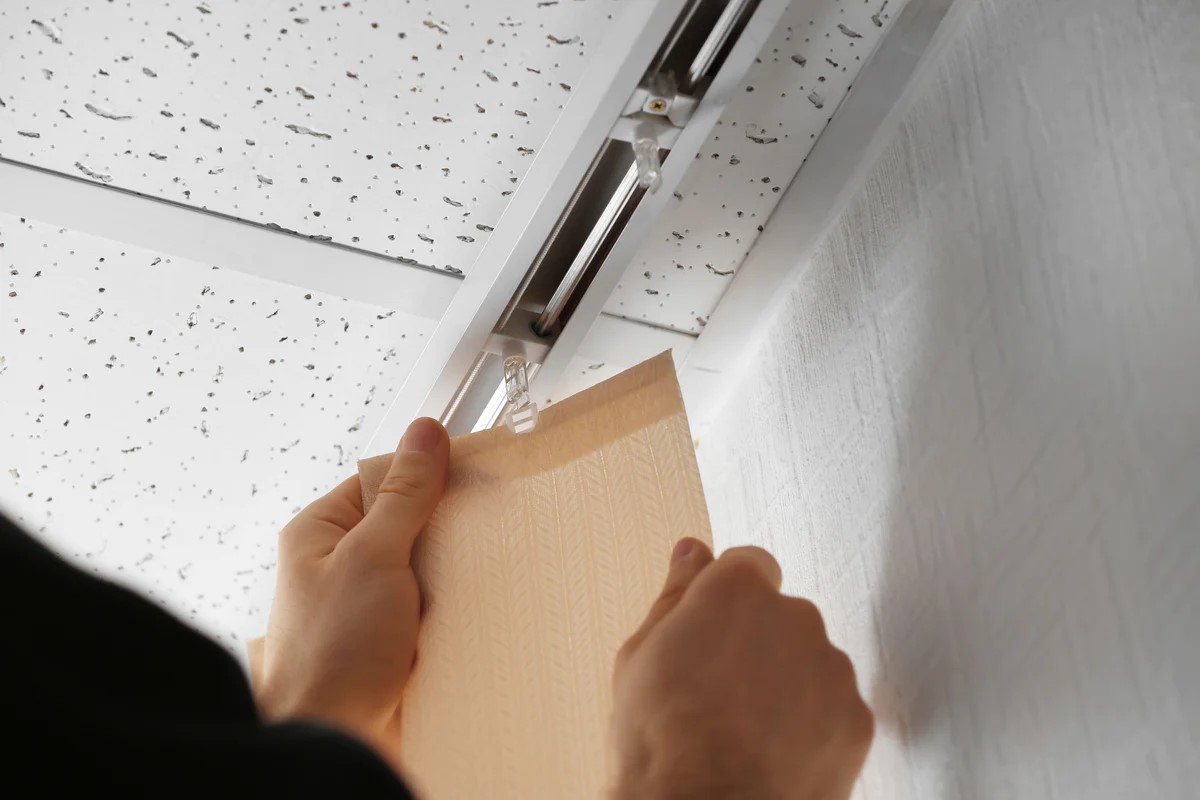
Step 3: Detach the Blinds from the Brackets
Now that the valance is removed, it’s time to detach the blinds from the brackets. This step requires caution and precision to avoid any damage to the blinds or the window frame. Follow these steps to detach the blinds from the brackets:
- Locate the brackets on either side of the blinds. These brackets are typically mounted on the window frame or wall.
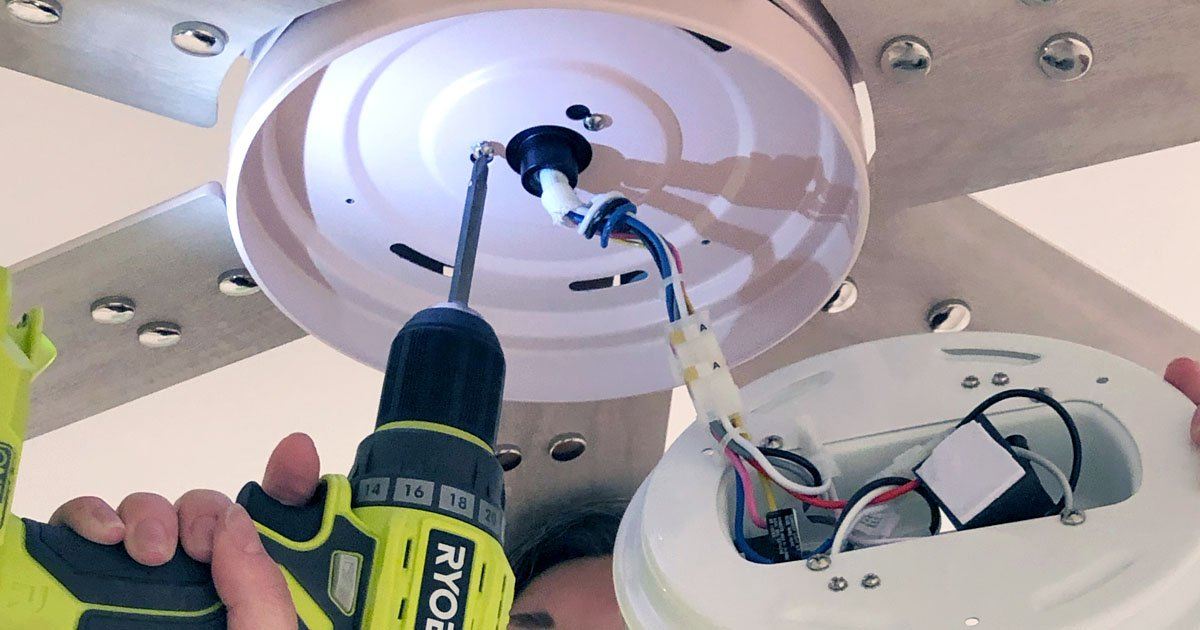
- Inspect the brackets to identify the release mechanism. Depending on the type of blinds, this mechanism may be in the form of clips, pins, or screws.
- Using your screwdriver or your fingers, release the clips, pins, or screws from the brackets. This will loosen the blinds and allow you to remove them.
- Carefully lift the blinds off the brackets, tilting them slightly if necessary.
- Place the blinds in a safe and clean area, making sure they are protected from any potential damage.
Take extra care when handling the blinds, especially if they are made of delicate materials like fabric or wood. Avoid any sudden movements or bending of the blinds to prevent them from breaking or getting damaged.
Once the blinds are detached from the brackets, you can proceed to the next step: lowering and removing the blinds.
Read more: How To Close Hunter Douglas Blinds
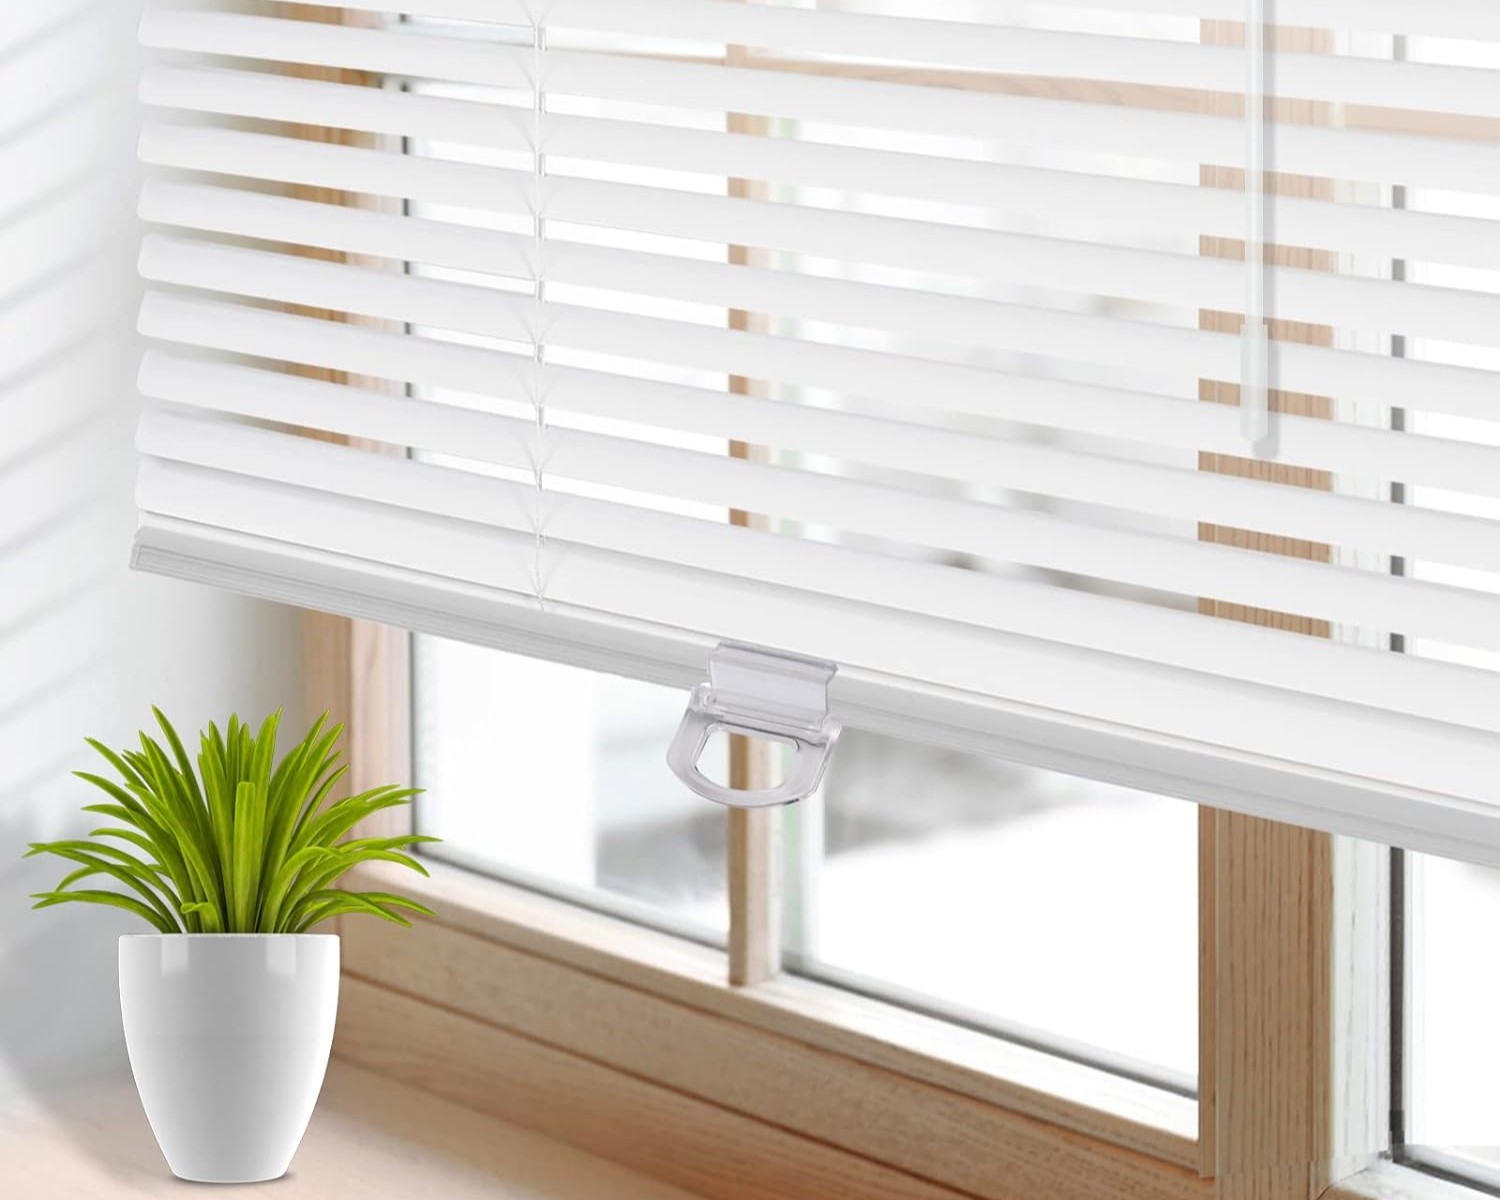
Step 4: Lower and Remove the Blinds
With the blinds detached from the brackets, it’s now time to lower and remove them from the window. Follow these steps to safely lower and remove your Hunter Douglas blinds:
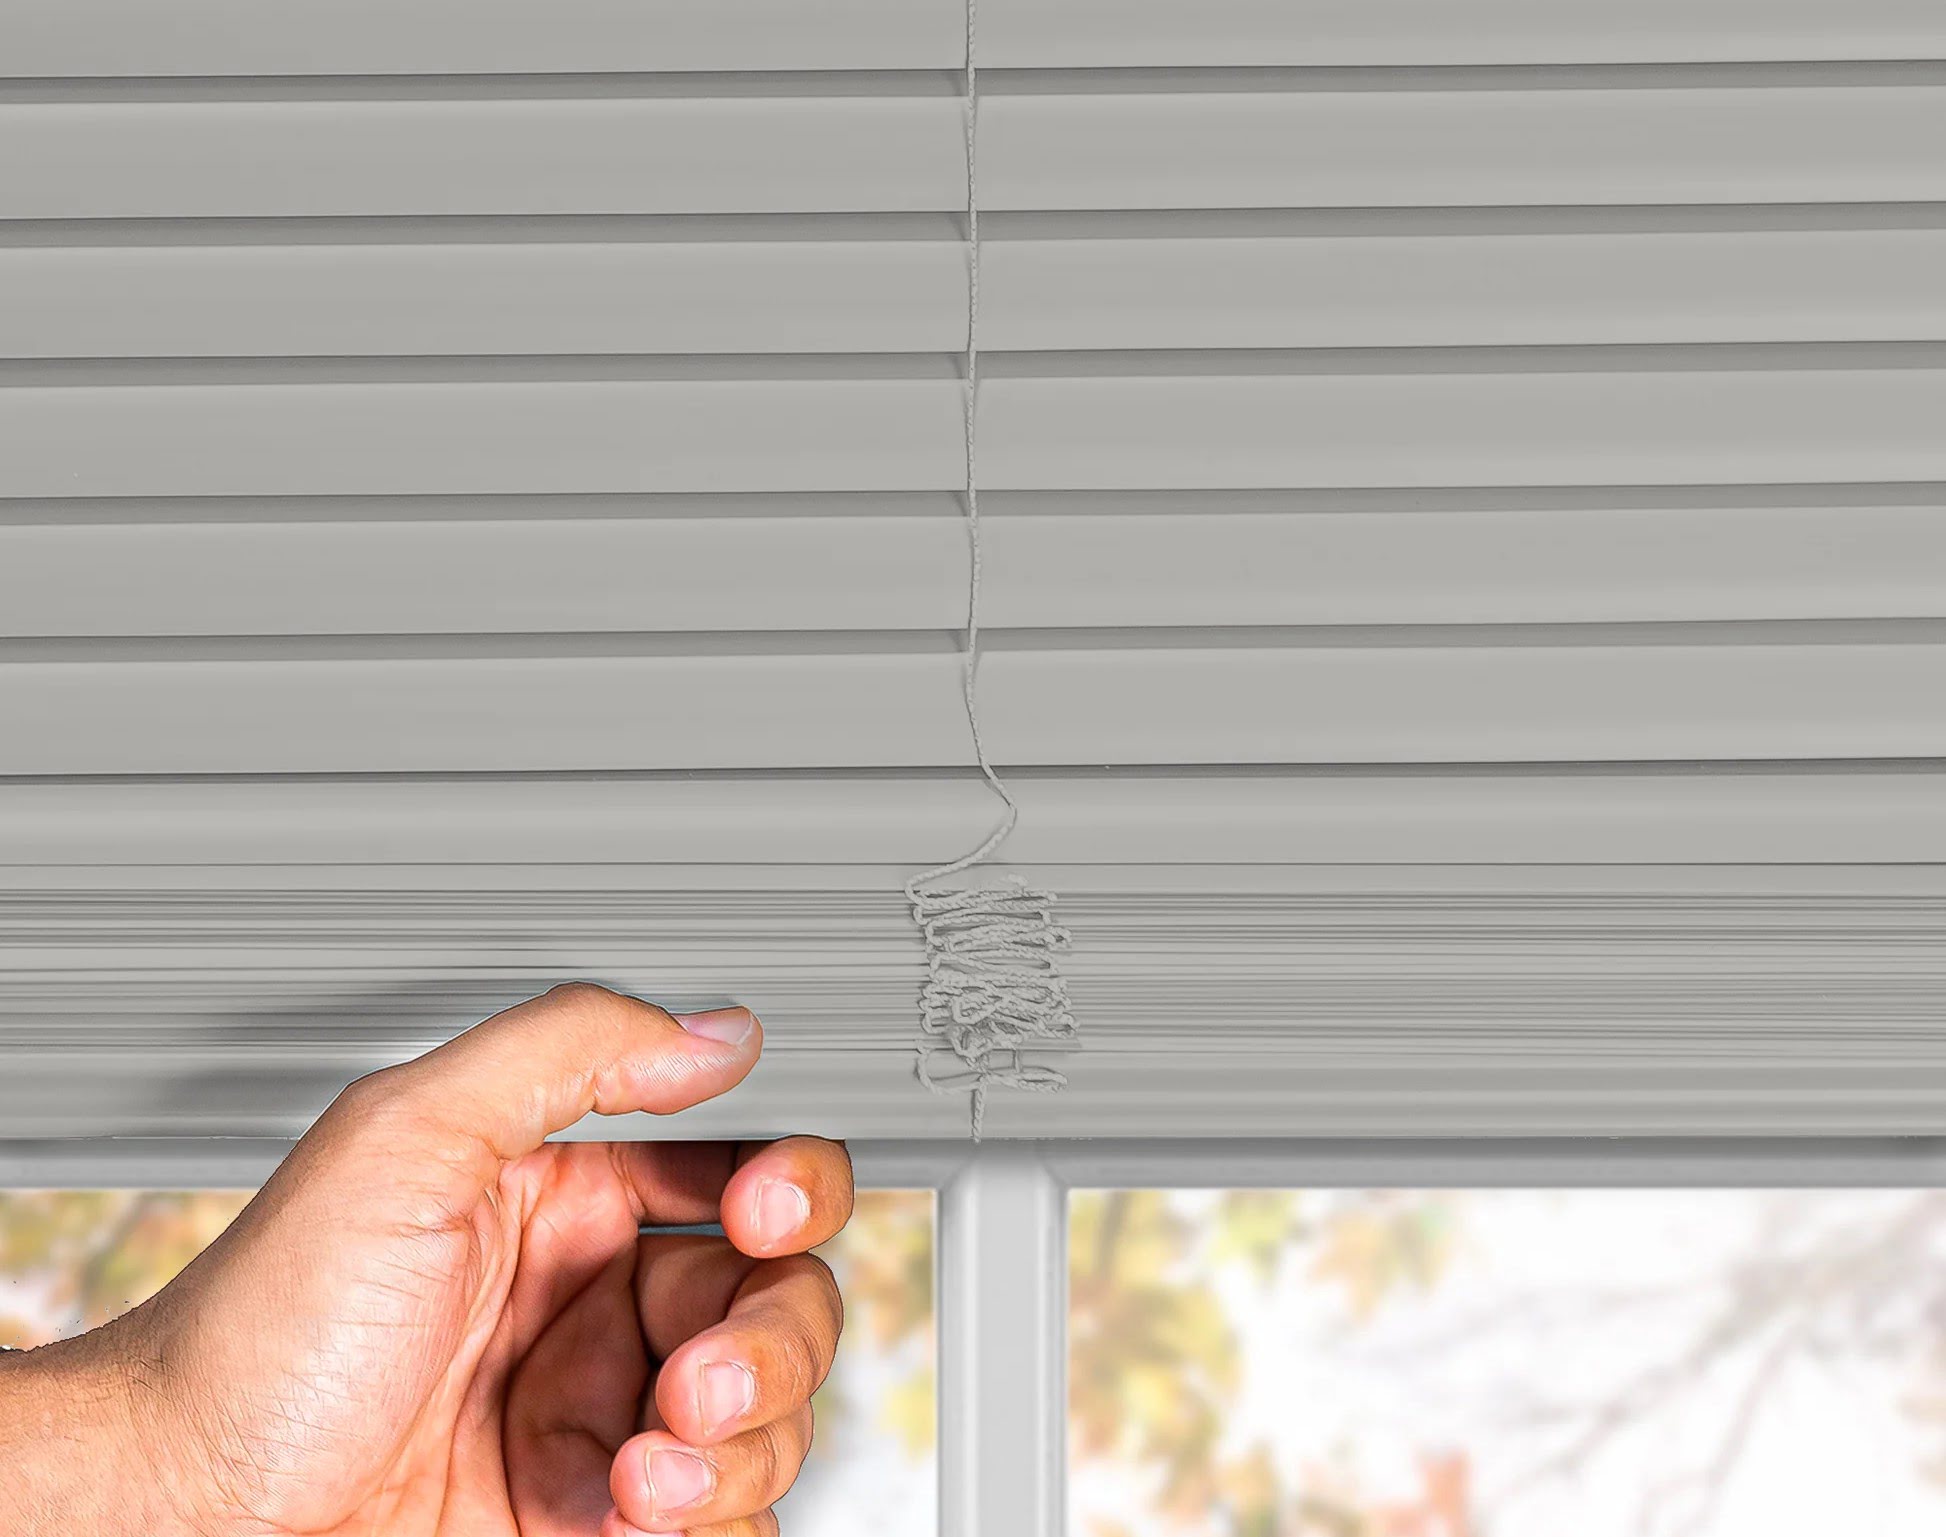
- Start by locating the lift cords or control mechanism of your blinds. These are usually found on one side of the blinds.
- Hold the lift cords or control mechanism and slowly release them, allowing the blinds to lower down smoothly. If your blinds have a cord lock, you may need to unlock it first.
- Continue releasing the lift cords or control mechanism until the blinds are fully lowered.
- Once the blinds are lowered, gently detach them from the window frame or wall by lifting them off the brackets.
- If your blinds have multiple panels or sections, repeat the process for each panel or section.
As you lower and remove the blinds, be mindful of any obstacles or delicate items in the immediate vicinity. Take your time and ensure a steady and controlled movement to avoid any accidents or damage.
Once you’ve removed the blinds from the window, place them in a safe and clean area, making sure they are protected from any potential damage. If you plan to clean the blinds, refer to the manufacturer’s guidelines for the appropriate cleaning method.
Now that the blinds are safely removed, you can proceed to the final step: cleaning and storing the blinds.
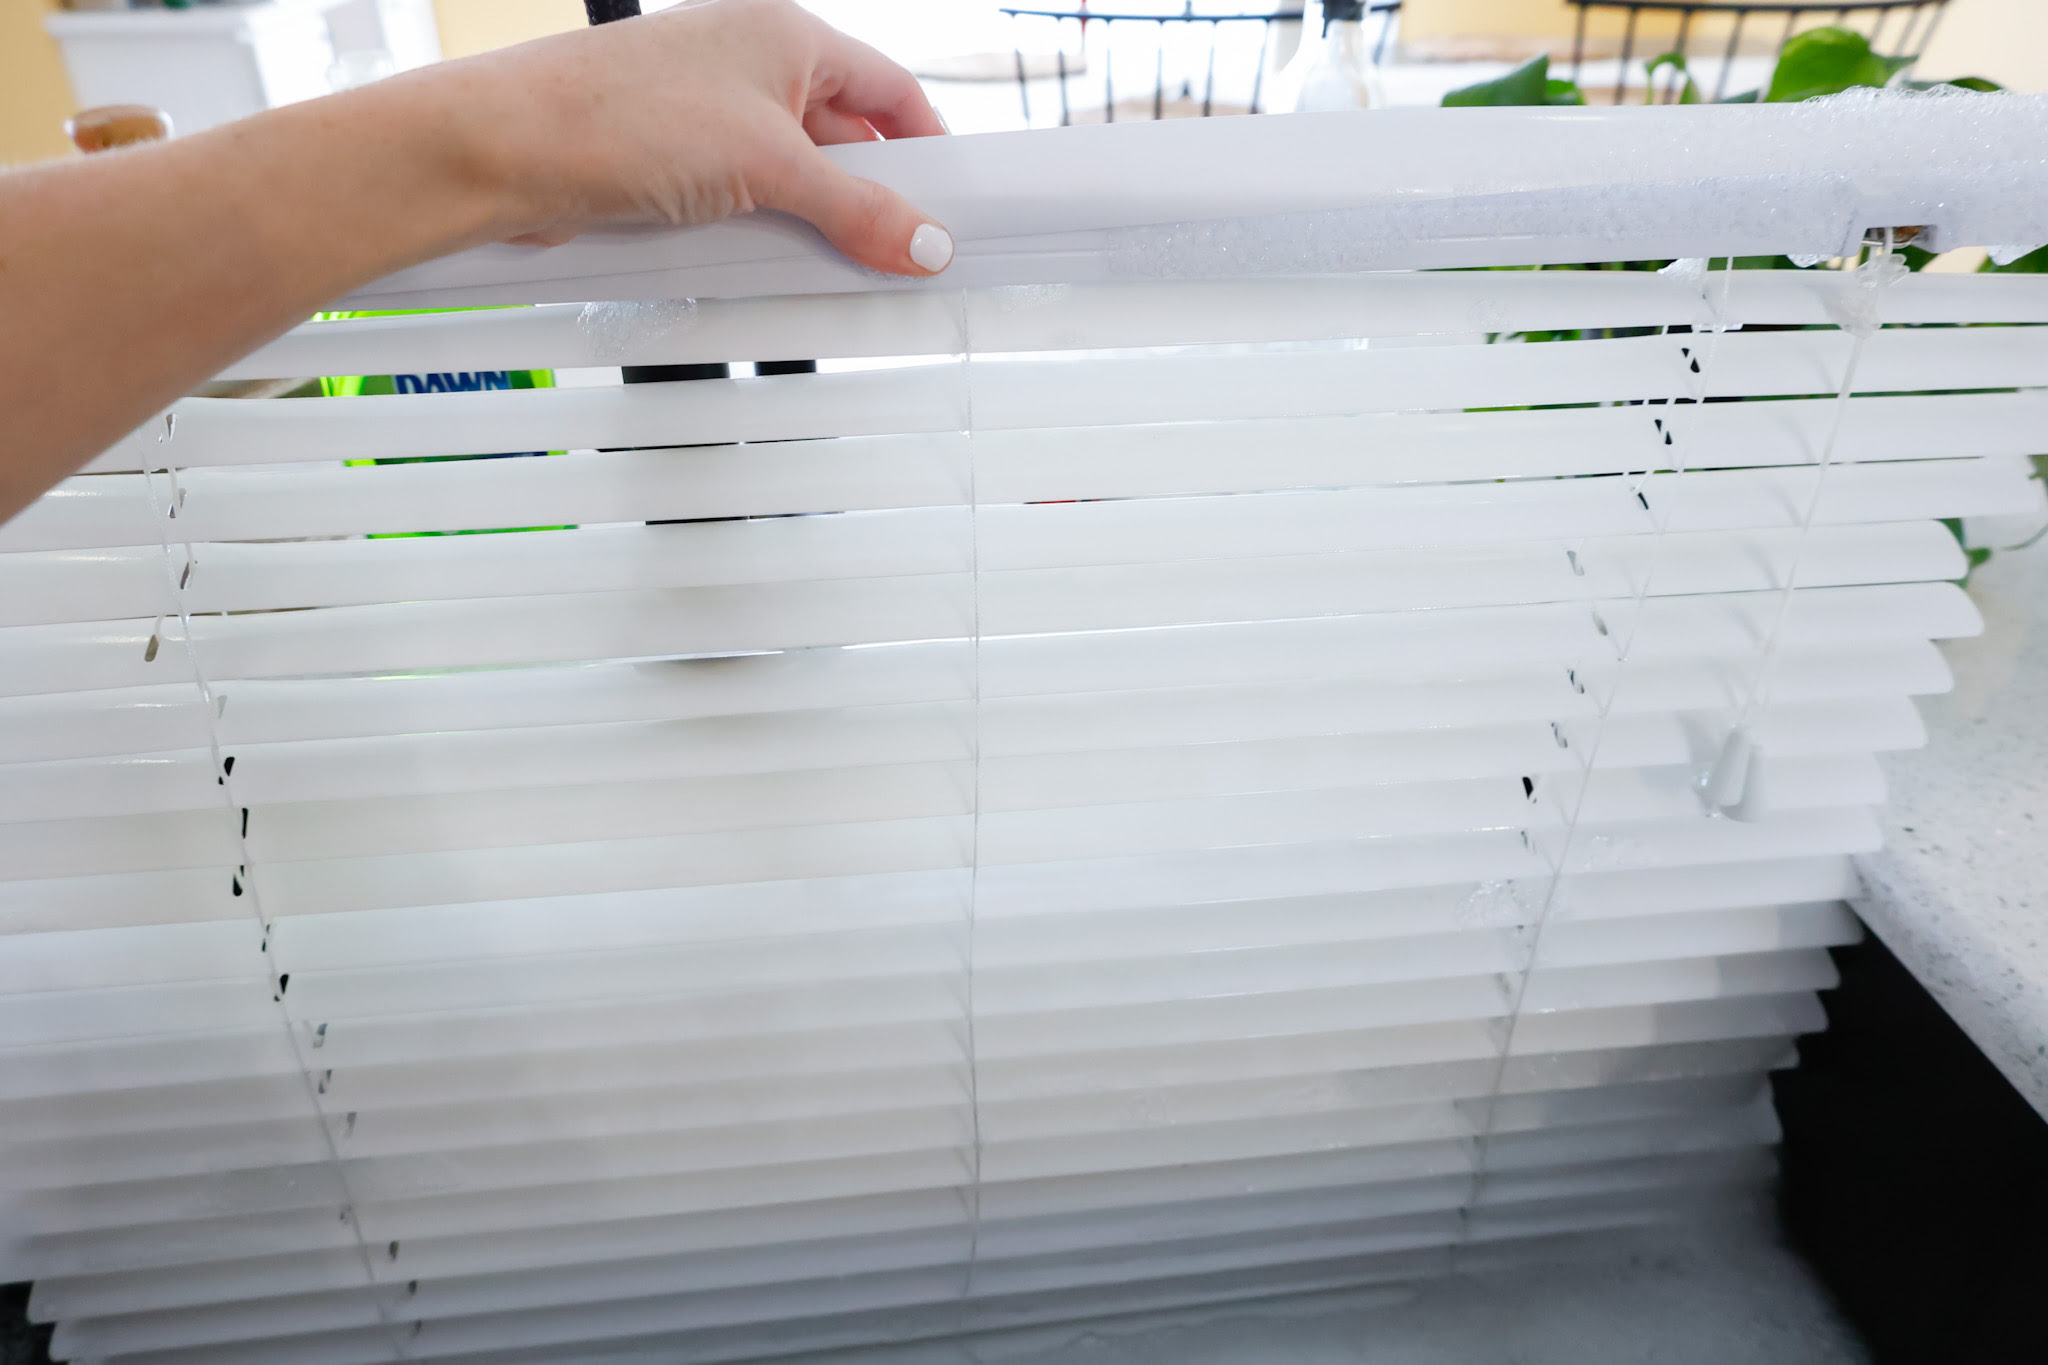
Step 5: Clean and Store the Blinds
Now that you’ve successfully removed your Hunter Douglas blinds, it’s time to give them a thorough cleaning before storing them. Follow these steps to clean and store your blinds properly:
- Prepare a cleaning solution: Depending on the material of your blinds, prepare a cleaning solution as recommended by the manufacturer. This may involve using a mild detergent, warm water, or a specific cleaning product.
- Using a soft cloth or sponge, gently wipe down each slat or panel of the blinds. Start from the top and work your way to the bottom, ensuring that you clean both the front and back surfaces.
- If your blinds have fabric components, follow the manufacturer’s instructions for cleaning them. This may involve spot cleaning or gentle hand-washing.
- Rinse the blinds thoroughly with clean water to remove any soap residue.
- Allow the blinds to air dry completely before proceeding to the next step.
- Once the blinds are dry, carefully fold or roll them, taking care to avoid creasing or damaging the material.
- Place the blinds in a clean and dust-free storage container or bag. If the blinds are too large to fit in a container, you can use a secure storage area like a closet or basement.
- Label the storage container or bag with the name and description of the blinds for easy identification in the future.
Storing your blinds properly is crucial to maintain their condition and prevent any damage. Ensure that the storage area is cool, dry, and away from direct sunlight or moisture. Avoid placing heavy objects on top of the blinds and check on them periodically to ensure they are still in good condition.
When you’re ready to reinstall your blinds, refer back to the manufacturer’s instructions or consult a professional if needed. Following the proper installation process will ensure that your blinds are secure, functional, and enhance the aesthetics of your room.
Congratulations! You’ve successfully learned how to take down your Hunter Douglas blinds, clean them, and store them for future use. By following these steps, you can easily update your window treatments or perform maintenance whenever needed.
Remember, if you’re unsure about any aspect of the process or encounter any difficulties, it’s always best to seek assistance from a professional or contact the Hunter Douglas customer support for guidance.
Now, go ahead and enjoy your freshly cleaned space while your Hunter Douglas blinds are safely stored away!
Conclusion
Taking down your Hunter Douglas blinds may seem like a daunting task, but with the right knowledge and approach, it can be a simple and rewarding process. By following the step-by-step guide outlined in this article, you can confidently remove your blinds without causing damage to them or your window.
Remember to gather all the necessary tools and materials before you start, ensuring a smooth and efficient removal process. Take your time and exercise caution as you remove the valance, detach the blinds from the brackets, lower and remove the blinds from the window, clean them thoroughly, and store them properly.
Proper cleaning and storage are vital to maintaining the condition and longevity of your Hunter Douglas blinds. Following the manufacturer’s cleaning instructions and storing the blinds in a cool, dry, and dust-free area will help preserve their beauty and functionality for years to come.
If you ever need assistance or have questions about the removal process, reach out to Hunter Douglas customer support or consult a professional for guidance.
Now that you’re equipped with the knowledge on how to take down your Hunter Douglas blinds, you have the freedom to update your window treatments, perform maintenance, or clean them with ease. Enjoy the process and the refreshed look of your windows!
Frequently Asked Questions about How To Take Down Hunter Douglas Blinds
Was this page helpful?
At Storables.com, we guarantee accurate and reliable information. Our content, validated by Expert Board Contributors, is crafted following stringent Editorial Policies. We're committed to providing you with well-researched, expert-backed insights for all your informational needs.