Articles
How To Remove Fiberglass Insulation
Modified: December 7, 2023
Looking for articles on how to remove fiberglass insulation? Check out our comprehensive guide with step-by-step instructions and tips. Say goodbye to unwanted insulation hassle-free!
(Many of the links in this article redirect to a specific reviewed product. Your purchase of these products through affiliate links helps to generate commission for Storables.com, at no extra cost. Learn more)
Introduction
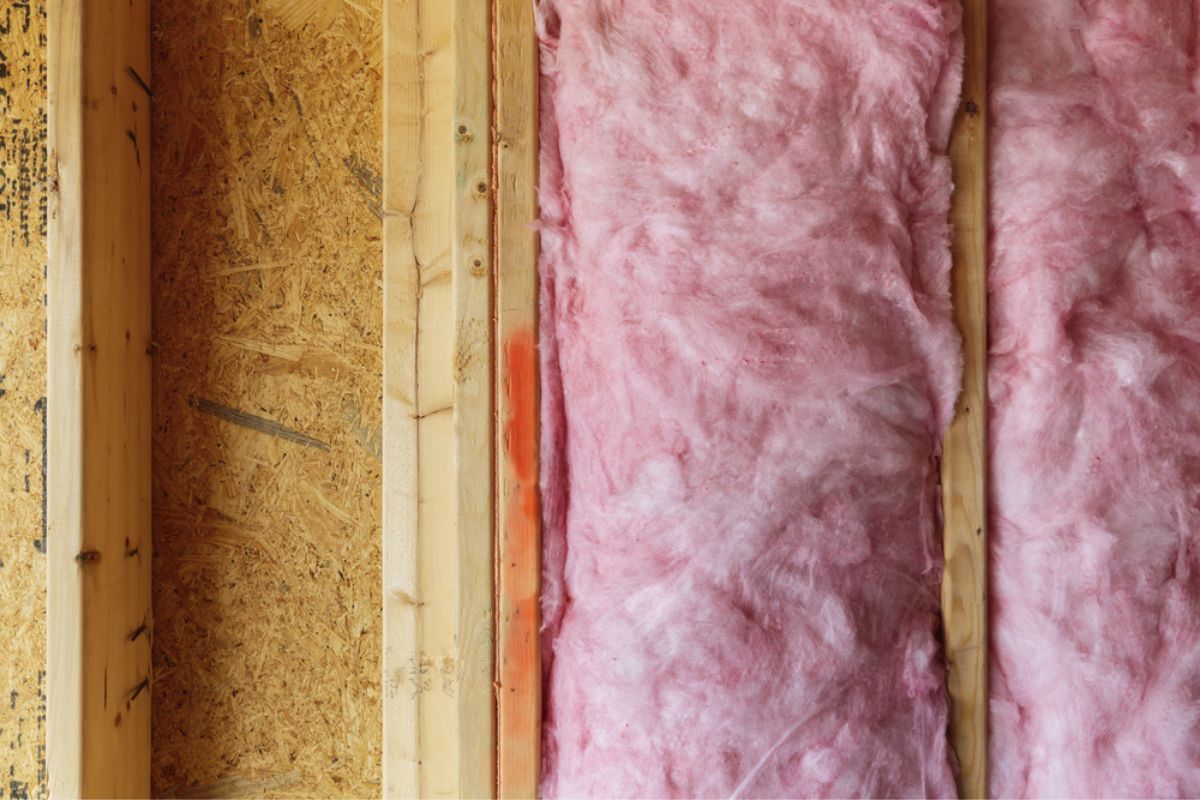
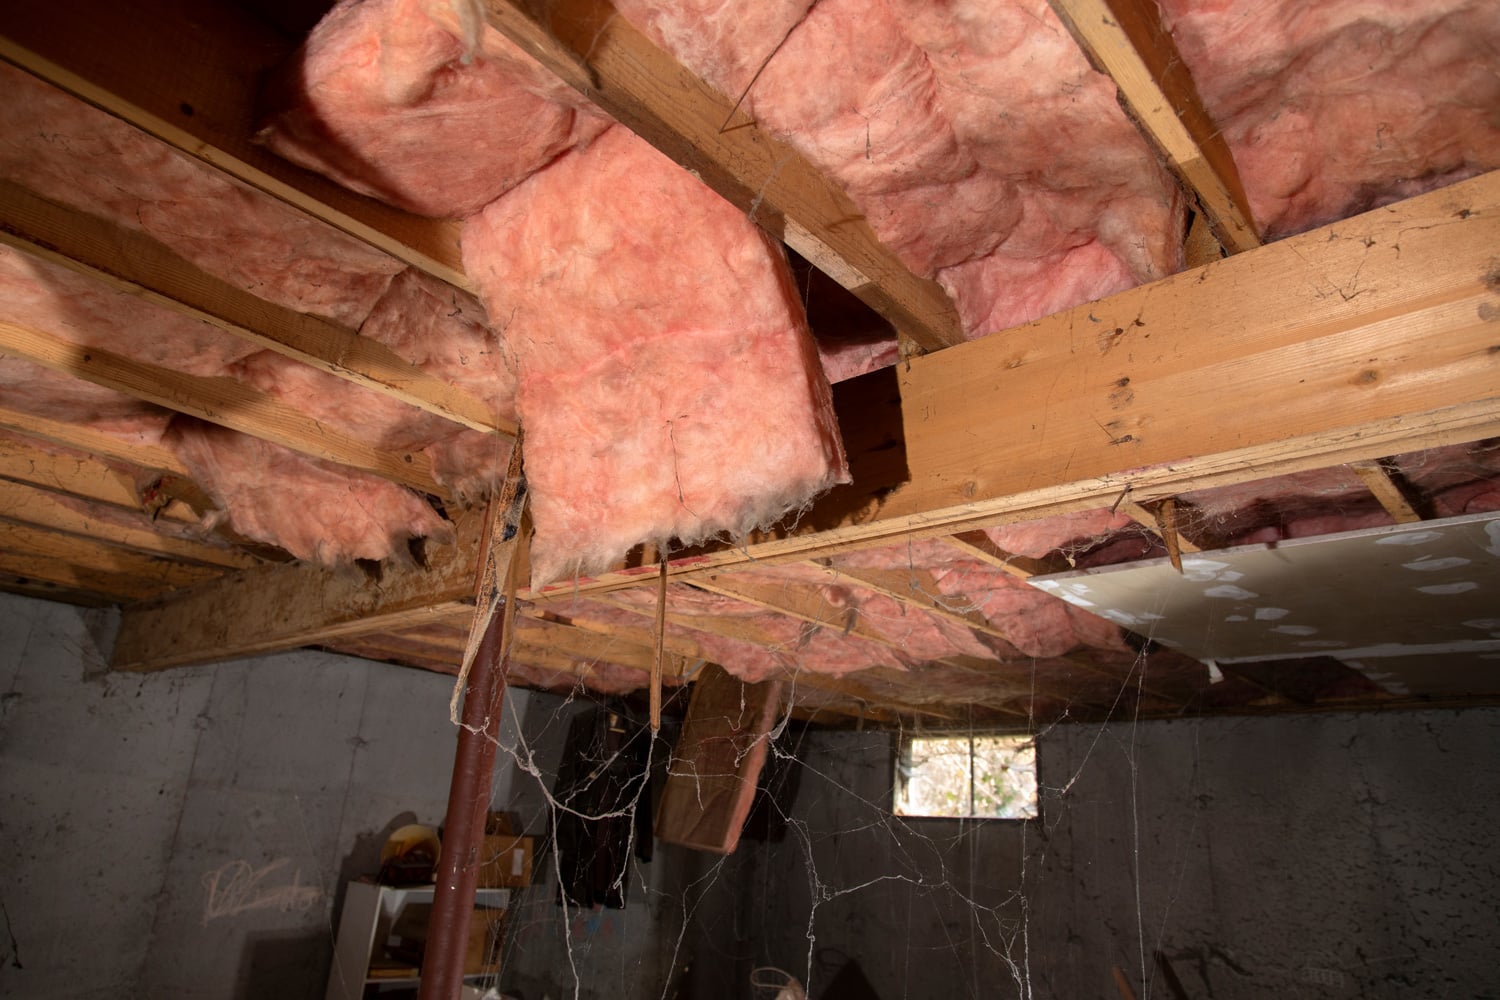
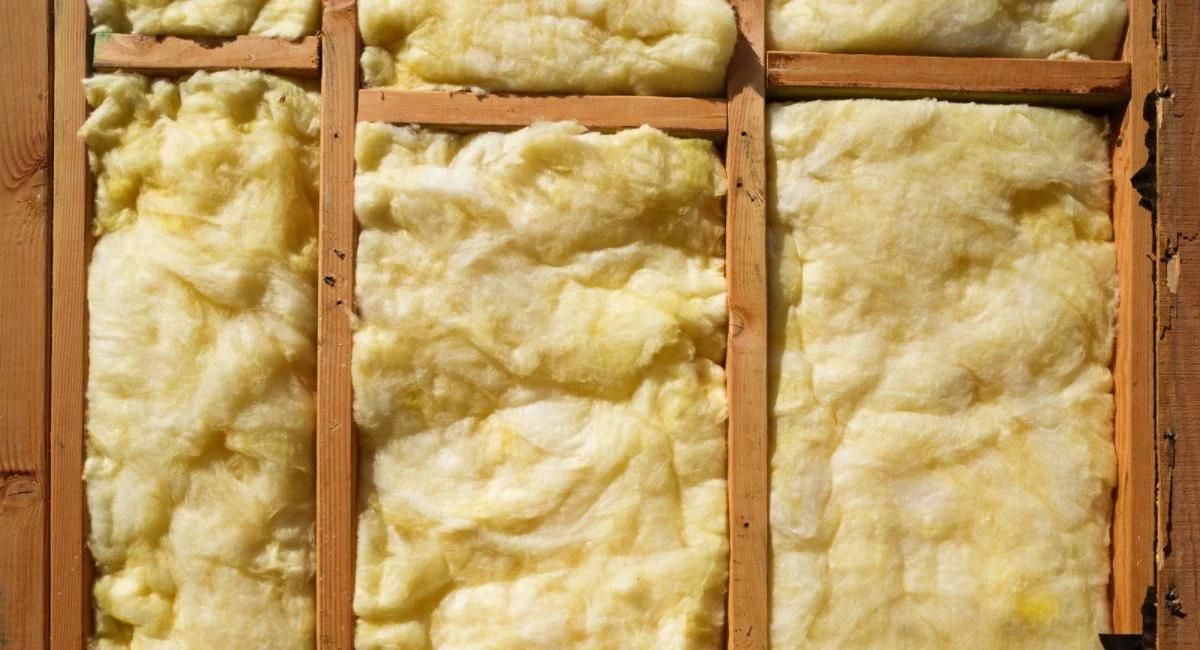
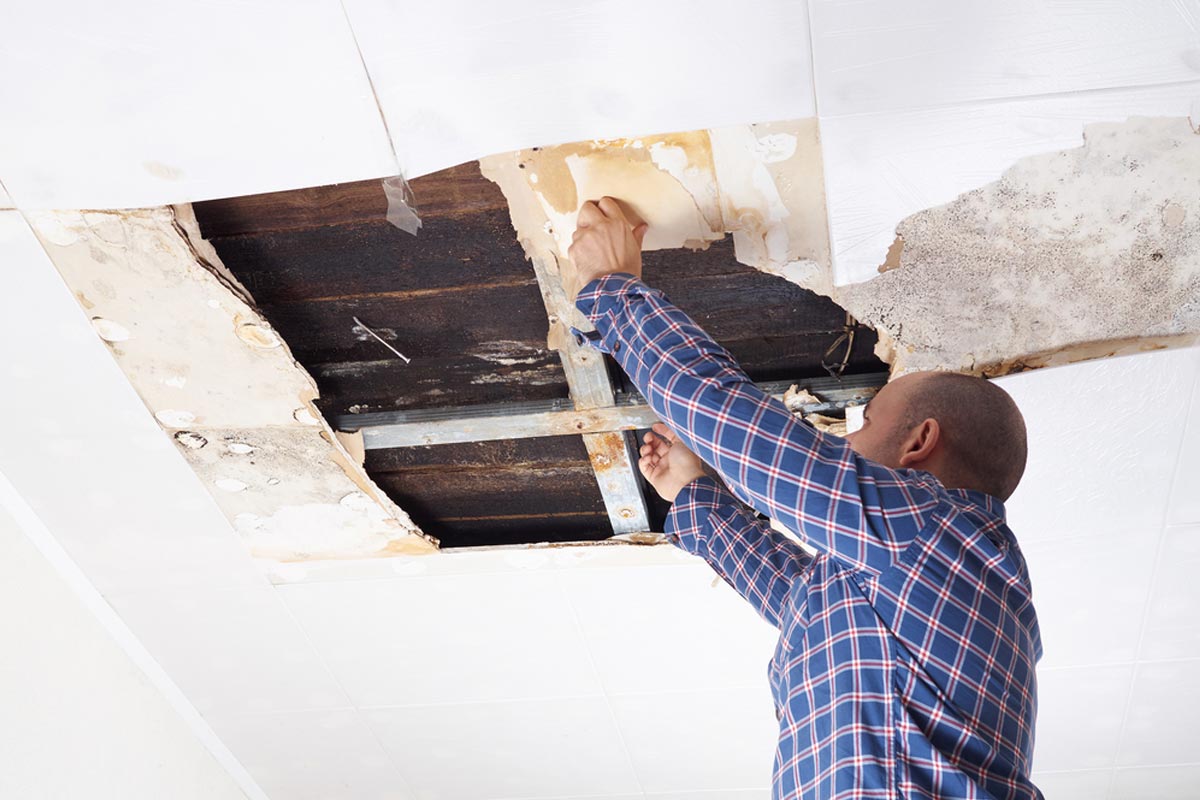
Fiberglass insulation is commonly used in homes and buildings to improve energy efficiency and provide soundproofing. However, there may come a time when you need to remove fiberglass insulation, whether it’s due to damage, renovation, or health concerns. Removing fiberglass insulation requires careful handling and proper disposal to avoid any health risks associated with fiberglass particles and fibers.
In this article, we will guide you through the step-by-step process of removing fiberglass insulation safely and efficiently. We will provide you with valuable tips and precautions to minimize exposure to fiberglass particles and ensure a smooth removal process. By following these guidelines, you can effectively remove fiberglass insulation from your home or building without causing any harm to yourself or the environment.
Key Takeaways:
- Prioritize safety by wearing protective gear, preparing the work area, and following proper disposal guidelines when removing fiberglass insulation. By taking these precautions, you can ensure a smooth and risk-free removal process.
- Choose the best removal method based on the type and condition of the insulation, and always consult professionals for hazardous materials. By carefully executing each step, you can effectively remove fiberglass insulation and create a safer environment.
Read more: How Much Is Fiberglass Insulation
Safety Precautions
Before you start the process of removing fiberglass insulation, it’s important to prioritize your safety. Fiberglass particles and fibers can be irritating to the skin, eyes, and respiratory system. Take the following safety precautions to minimize the risk of exposure and protect yourself during the removal process:
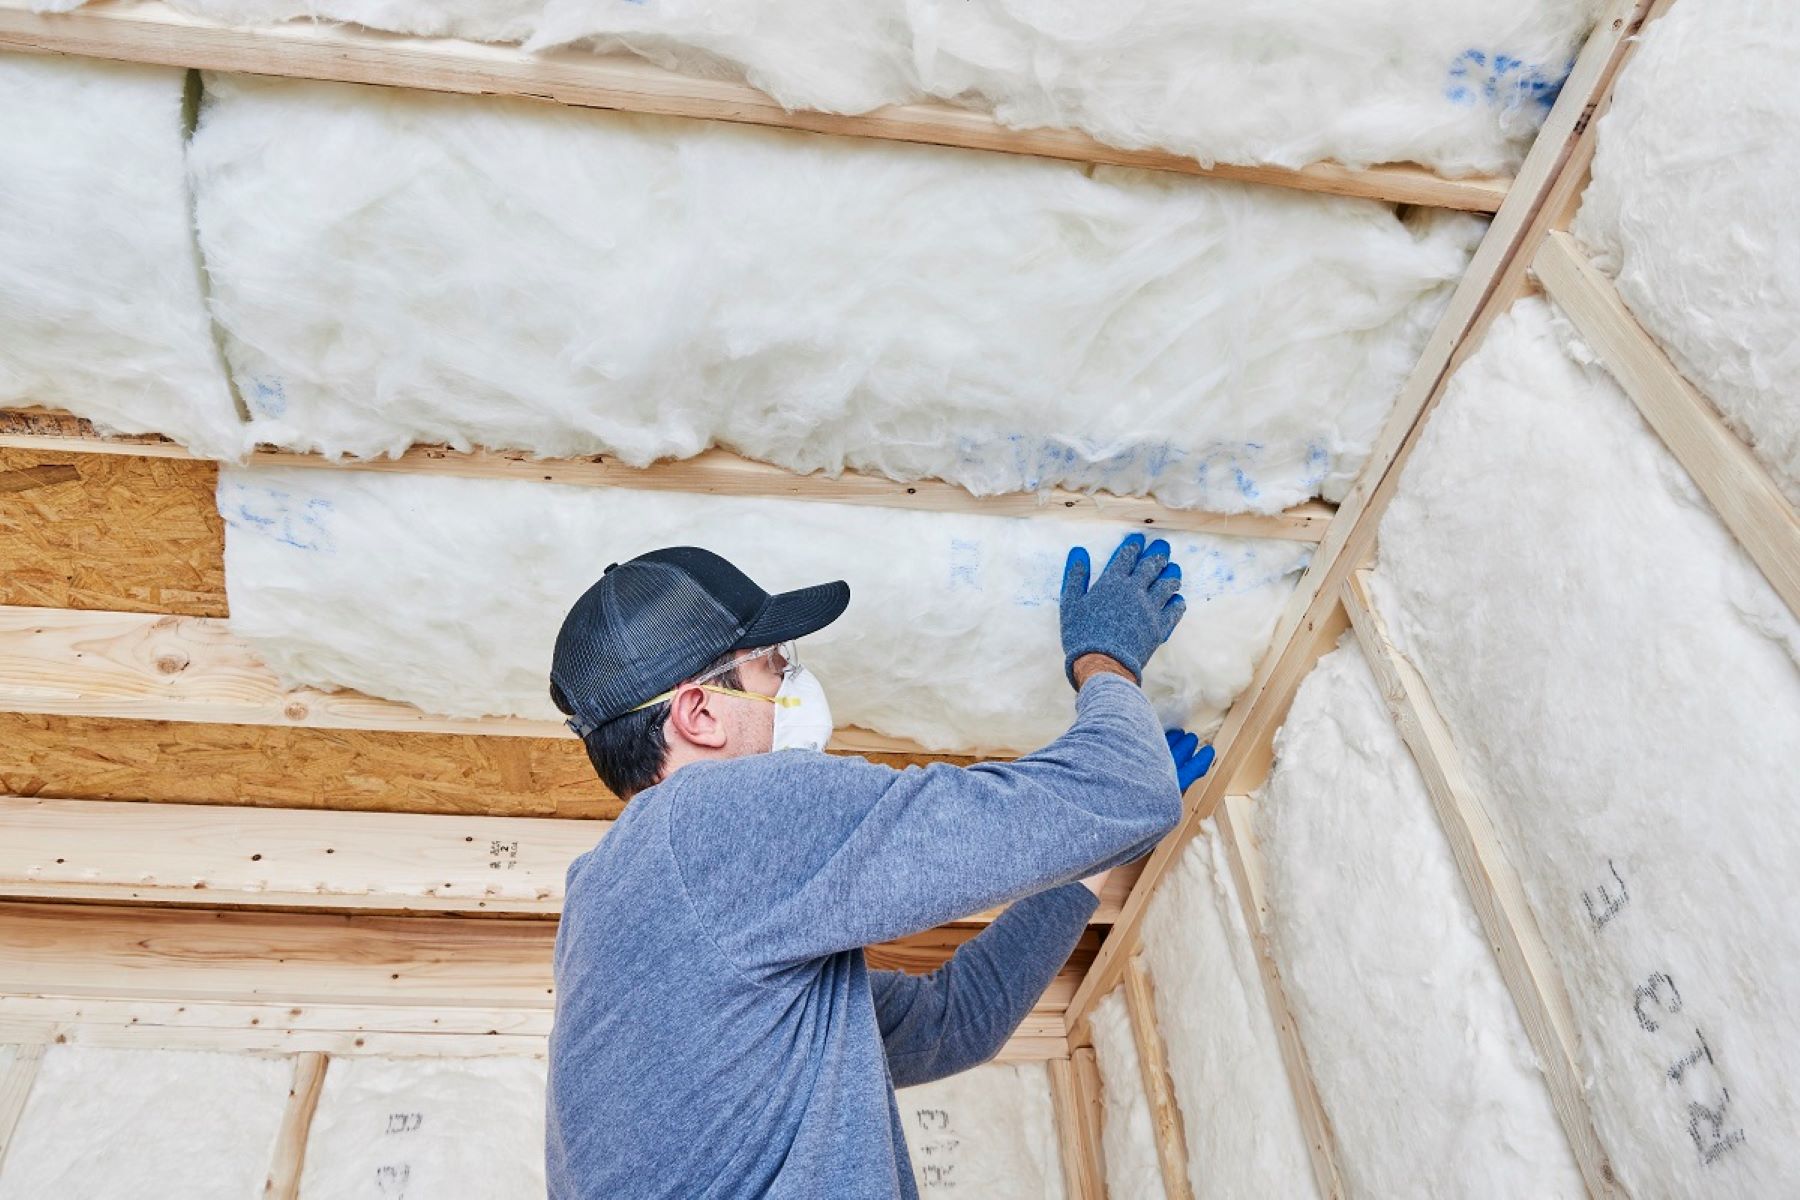
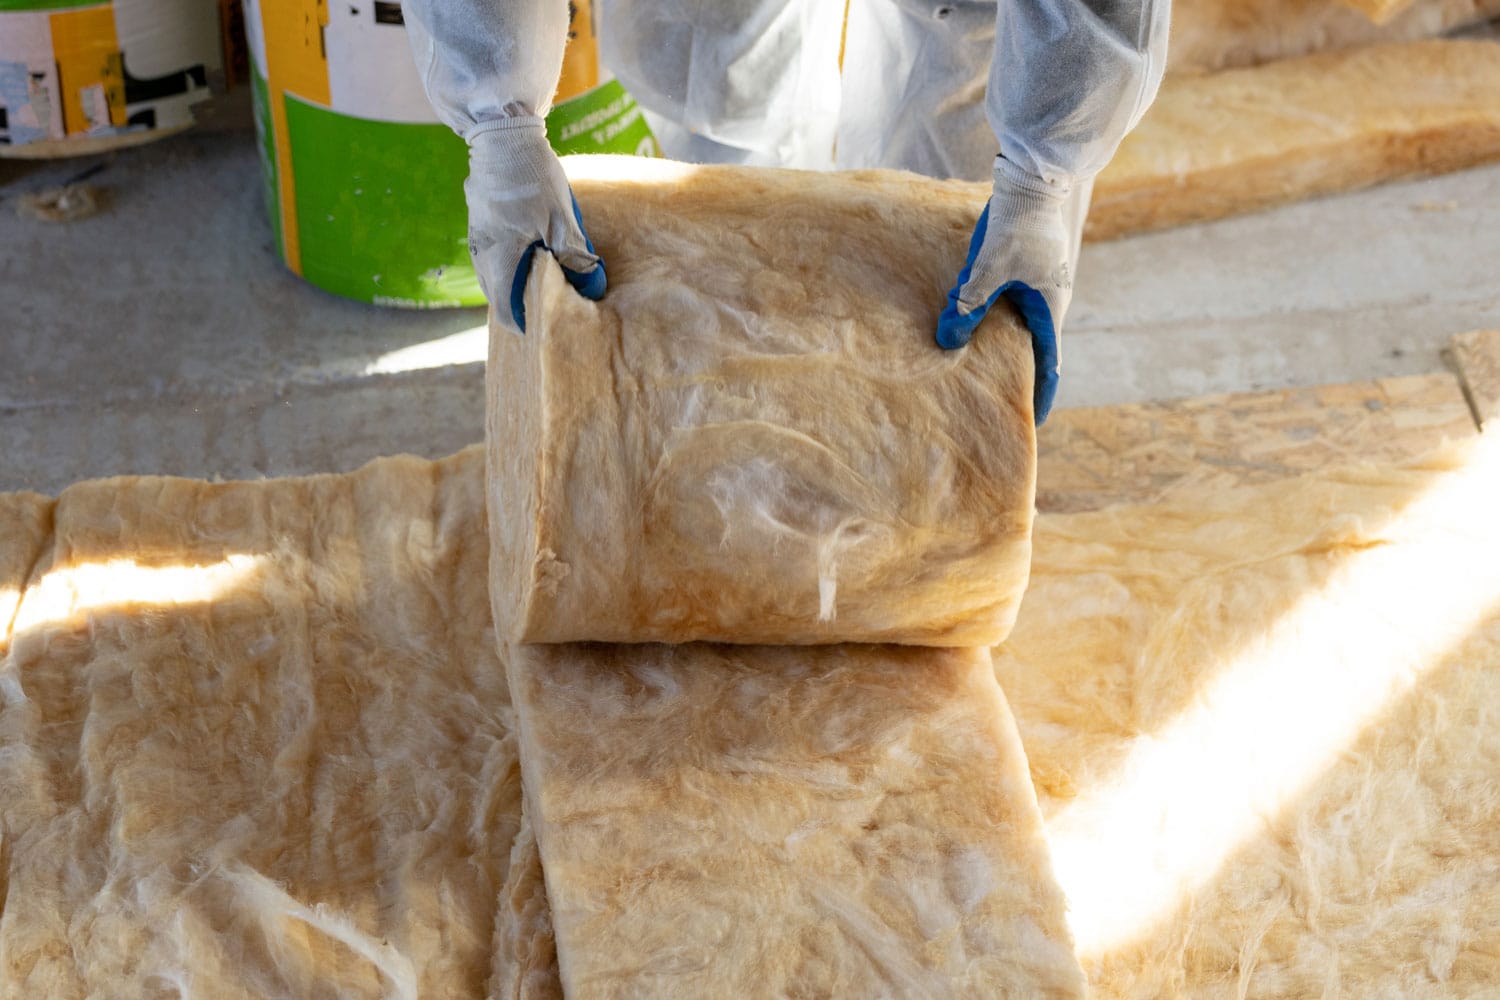
- Wear protective clothing: Put on long sleeves, pants, gloves, safety goggles, and a respirator or dust mask to cover your nose and mouth. This will help prevent direct contact with the fiberglass particles and minimize inhalation.
- Ensure proper ventilation: Open windows and doors to allow fresh air to circulate in the work area. If possible, use fans or ventilators to create an airflow that directs fiberglass particles away from you.
- Isolate the work area: Close off the area where you’ll be removing the insulation to prevent the spread of fiberglass particles to other parts of your home or building. Use plastic tarps or sheets to create a barrier.
- Keep children and pets away: Fiberglass insulation can be harmful if ingested or inhaled, so it’s crucial to keep children and pets out of the work area until the removal process is complete.
- Dispose of materials properly: Place removed fiberglass insulation in sealed plastic bags or containers to prevent the particles from spreading. Dispose of the bags according to local regulations for hazardous or construction waste.
- Wash hands and clothing: After completing the removal process, thoroughly wash your hands and remove your protective clothing. Launder the clothing separately to ensure any lingering fiberglass particles are removed.
Remember, safety should always be your top priority when handling fiberglass insulation. By taking the necessary precautions, you can minimize the risk of exposure and protect your health throughout the removal process.
Tools and Materials Needed
Before you begin removing fiberglass insulation, gather the necessary tools and materials to ensure a smooth and efficient process. Here are the items you’ll need:
- Utility knife: Used to cut through the insulation and create access points for removal.
- Protective gear: This includes gloves, safety goggles, and a respirator or dust mask to shield yourself from fiberglass particles.
- Plastic bags or containers: These will be used to safely dispose of the removed fiberglass insulation.
- Duct tape or adhesive: This can be used to seal the bags containing the insulation to prevent any particles from escaping.
- Tarp or plastic sheets: These will help in creating a barrier to isolate the work area and contain any loose particles.
- Vacuum cleaner: A vacuum with a HEPA filter can be used to clean up any loose fiberglass particles after the removal process.
- Broom and dustpan: These basic cleaning tools will also come in handy for collecting any loose particles.
- Trash bags: You will need these to dispose of debris and materials used in the cleanup.
Ensure that you have all the necessary tools and materials on hand before you begin the removal process. This will help you work efficiently and avoid any potential setbacks.
Step 1: Wear Protective Gear
Before you start removing fiberglass insulation, it’s crucial to protect yourself by wearing the appropriate gear. Fiberglass particles can cause skin irritation and respiratory issues, so taking the necessary precautions is essential.
Here’s what you need to do:
- Put on a long-sleeved shirt and pants to cover exposed skin. This will help minimize direct contact with fiberglass particles.
- Wear gloves made of a sturdy material, such as nitrile or rubber, to protect your hands from irritation.
- Choose safety goggles that fit securely around your eyes to prevent any fiberglass particles from getting into your eyes.
- Use a dust mask or respirator with a rating of N95 or higher to filter out airborne particles. Make sure it fits snugly on your face.
These protective measures will create a barrier between your body and the fiberglass insulation, reducing the risk of irritation or inhalation. Remember to wear the protective gear throughout the entire removal process and take care not to touch your face or other exposed areas with contaminated gloves or hands.
By wearing the appropriate protective gear, you are ensuring your safety and minimizing the potential health risks associated with fiberglass insulation.
Step 2: Turn Off Power and Disconnect Utilities
Before you start removing fiberglass insulation, it’s important to turn off the power supply and disconnect any utilities in the area where you’ll be working. This ensures your safety and prevents any potential accidents while handling the insulation.
Follow these steps to turn off power and disconnect utilities:
- Locate the main electrical panel or circuit breaker box for your home or building.
- Identify the breaker or fuse that supplies power to the area where the insulation needs to be removed.
- Flip the switch or remove the fuse to disconnect the power. Test the area with a voltage tester to confirm that the power has been shut off.
- For utilities like water or gas, locate the shut-off valves and turn them off to prevent any leaks or accidental openings during the removal process.
By turning off the power and disconnecting utilities, you are eliminating the risk of electrical shock or damage to utility lines while working with fiberglass insulation. It’s important to thoroughly follow these steps and ensure that all power sources and utilities are properly shut off before proceeding with the removal.
Once the insulation removal is complete, remember to reconnect the power and utilities using the same procedures in reverse order. Safety should always be a priority when working with any type of insulation, and taking these precautions will help ensure a smooth and safe removal process.
Read more: Why Is Fiberglass Used In Insulation
Step 3: Prepare the Work Area
Preparing the work area before removing fiberglass insulation is essential to ensure a clean and organized environment. By taking the time to prepare the space properly, you can make the removal process more efficient and minimize the chances of any accidents or mishaps.
Here’s what you need to do to prepare the work area:
- Clear the area: Remove any furniture, equipment, or obstacles that could hinder your access to the insulation. This will give you ample space to work and make it easier to remove the insulation without causing any damage.
- Lay down protective covers: Cover the floor with drop cloths or plastic sheets to catch any loose fiberglass particles or debris. This will make the cleanup process much easier once the insulation is removed.
- Seal off adjacent rooms: If you’re working in a room with connecting doors or open areas, use plastic sheets or tarps to create a barrier between the work area and the rest of the space. This will prevent fiberglass particles from spreading to other areas of your home or building.
- Set up proper lighting: Ensure that the work area is well-lit to allow for better visibility. Use portable work lights, if necessary, to illuminate hard-to-reach or dark corners.
- Create a disposal area: Set up a designated area for disposing of the removed insulation. Use plastic bags or containers to contain the insulation and prevent the particles from spreading.
Taking the time to prepare the work area will make the insulation removal process more efficient and help maintain a clean and organized space. By following these steps, you’ll be ready to proceed with the removal knowing that everything is in place for a successful and safe operation.
Step 4: Remove Obstacles and Furniture
Before you begin removing fiberglass insulation, it’s important to clear the work area of any obstacles, furniture, or other items that could impede your progress. Removing these objects will provide you with a clear and unobstructed space to effectively remove the insulation without any hindrances.
Follow these steps to remove obstacles and furniture from the work area:
- Assess the area: Take a thorough look around the work area and identify any furniture, equipment, or other items that may be in the way.
- Empty and clear furniture: Empty out any furniture, such as cabinets, shelving units, or desks, that may contain fiberglass insulation. This will prevent the insulation from dispersing while moving the furniture.
- Remove furniture: If possible, remove larger furniture pieces from the work area to create more space. If moving furniture is not an option, cover it with plastic sheets or tarps to protect it from dust and debris.
- Secure loose objects: Secure or remove any loose objects, such as decor, curtains, or rugs, that could be disturbed during the insulation removal process.
- Store items in a safe location: If necessary, move the cleared items to a safe and designated area away from the work zone.
By removing obstacles and furniture from the work area, you’ll have a clear workspace to maneuver and remove the fiberglass insulation more efficiently. This will also help prevent any damage to furniture or objects and ensure a smooth removal process.
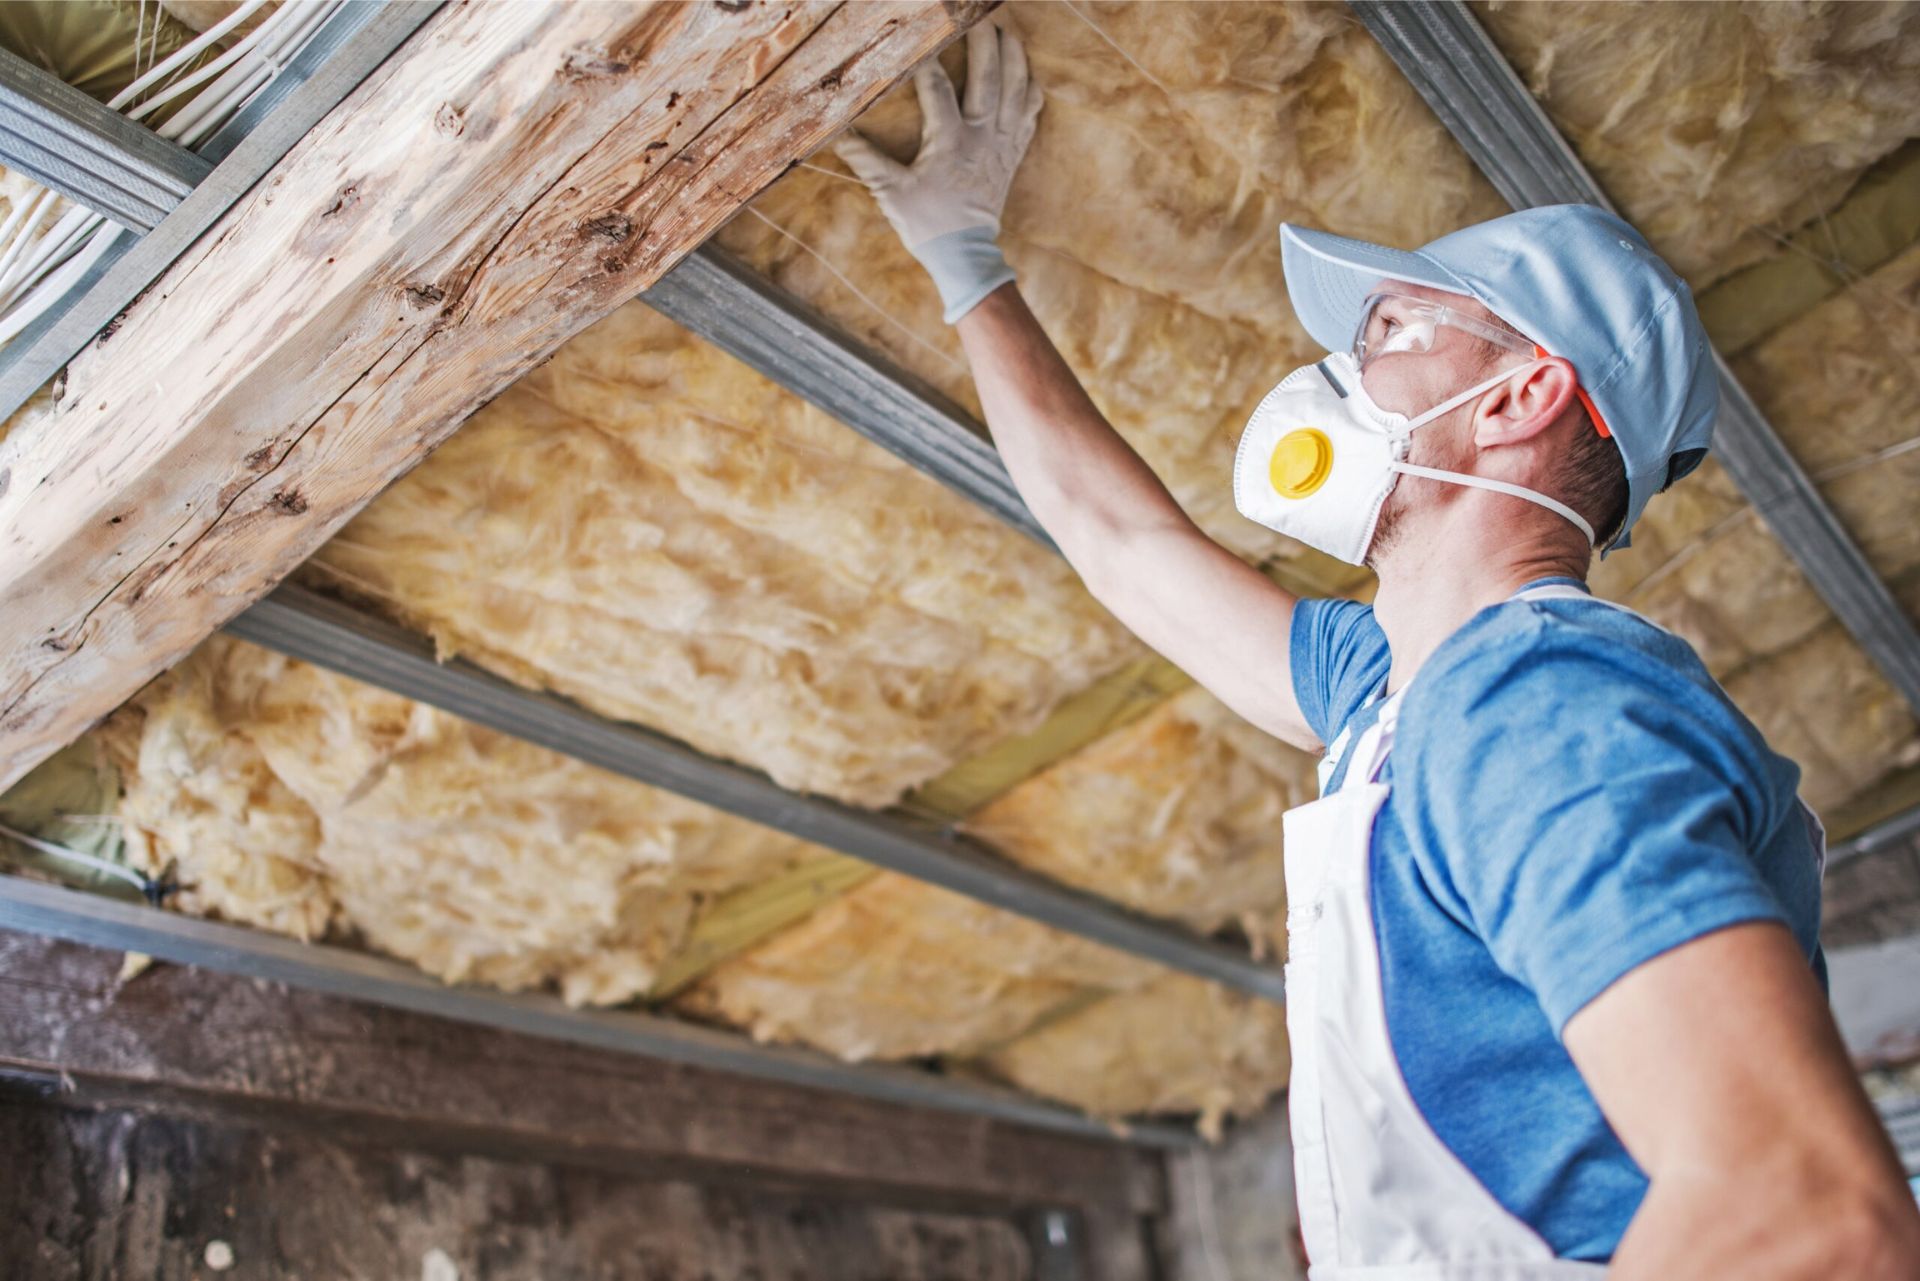
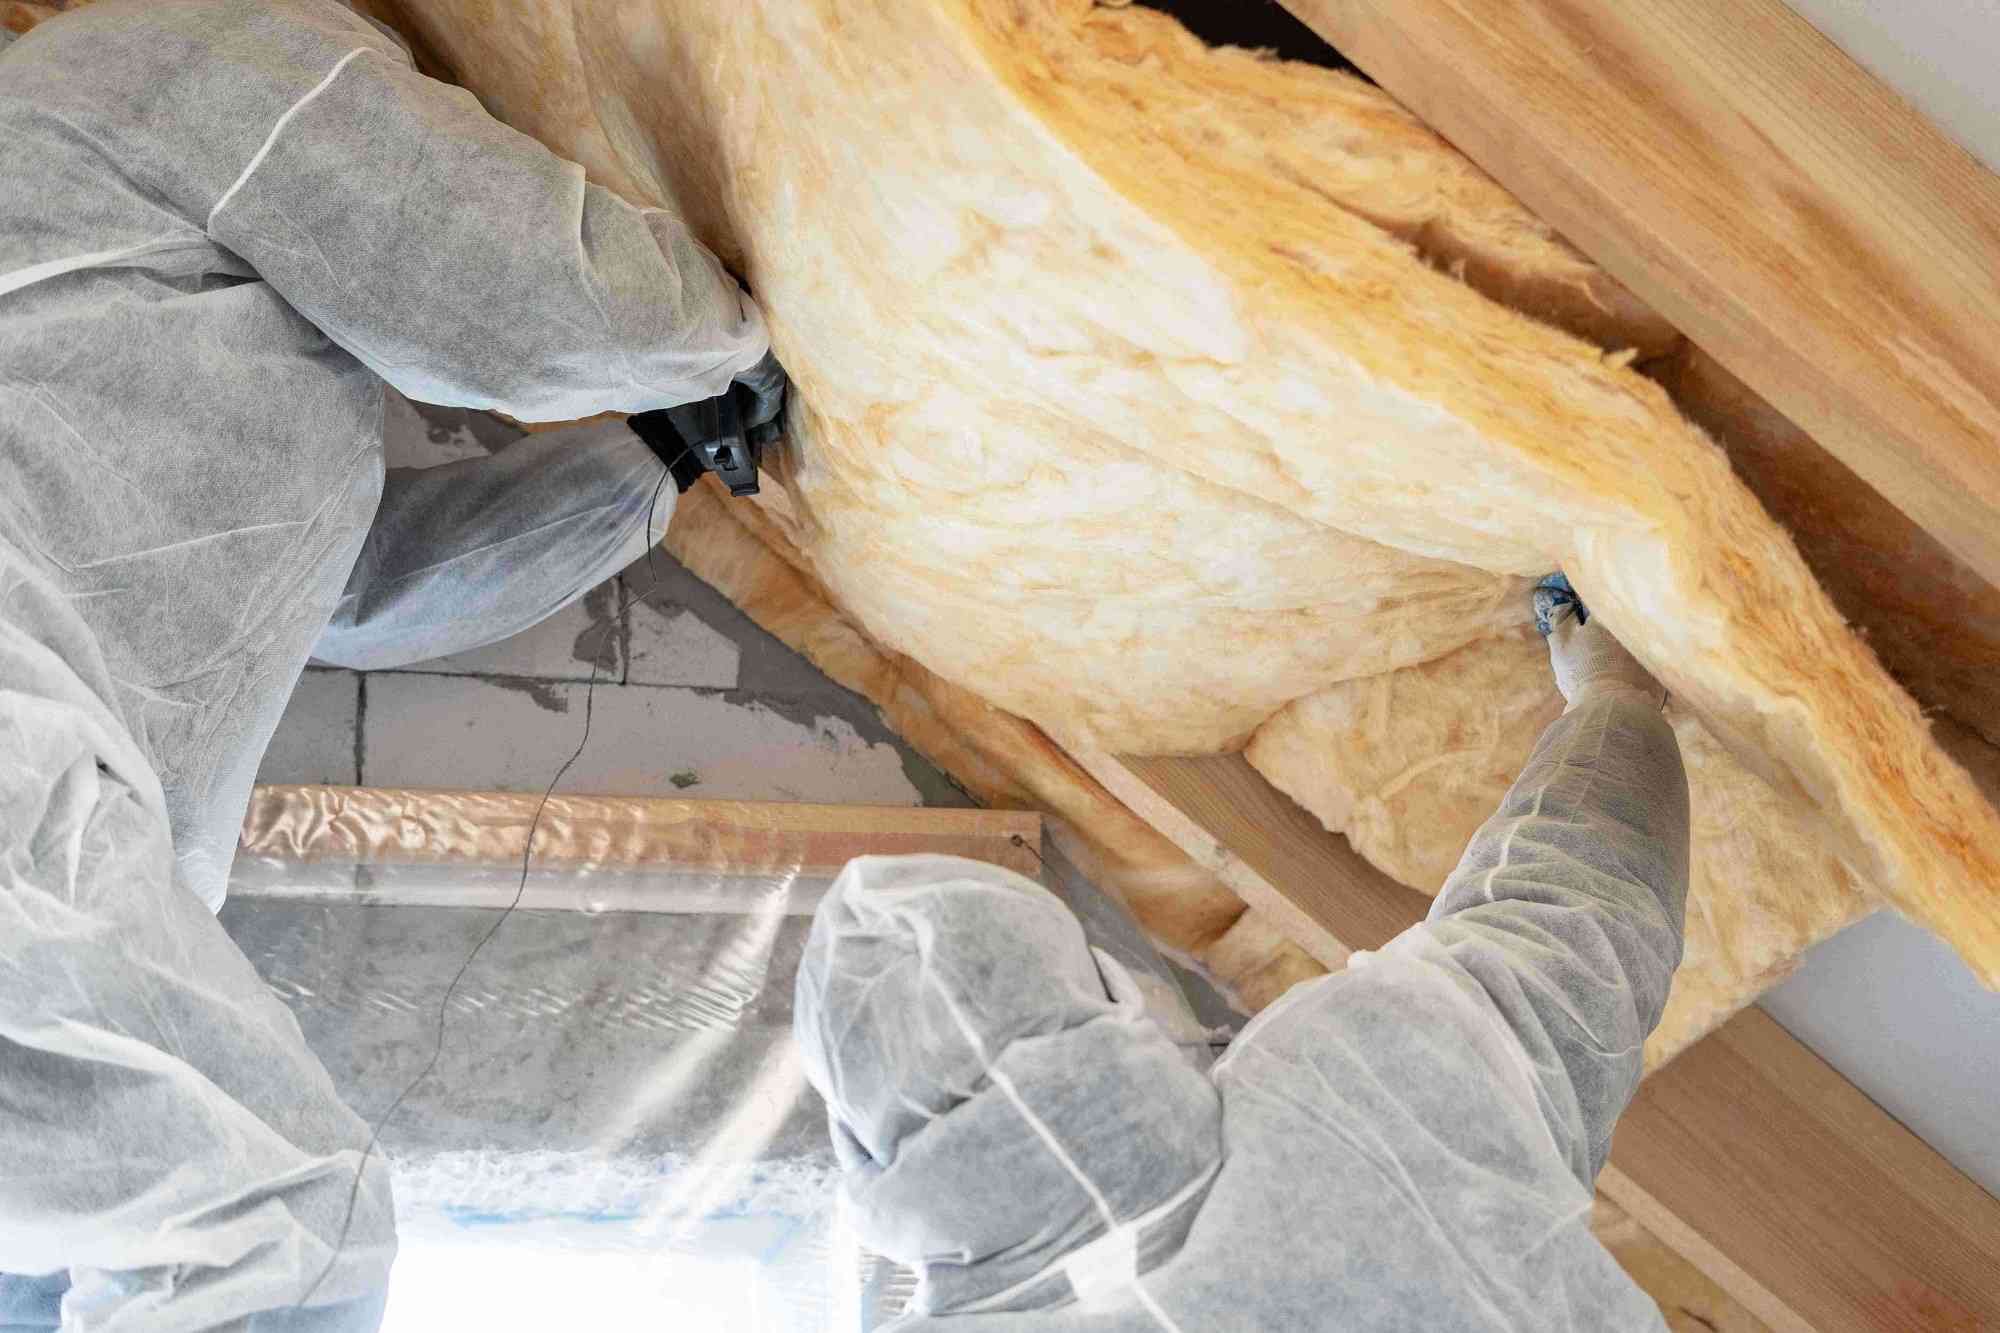
Wear protective clothing, gloves, and a mask to avoid skin irritation and inhalation of fiberglass particles. Use a vacuum with a HEPA filter to clean up any loose fibers.
Step 5: Determine the Best Removal Method
When it comes to removing fiberglass insulation, there are several methods you can choose from depending on the type of insulation, its condition, and your personal preference. It’s important to evaluate the situation and determine the best removal method to achieve the desired results effectively.
Here are some commonly used methods for removing fiberglass insulation:
- Manual removal: This method involves using your hands or tools, such as pliers or a scraping tool, to carefully pull or scrape the insulation away from the surfaces. Manual removal is ideal for loose or lightly attached insulation.
- Vacuum extraction: Using a vacuum with a HEPA filter, you can slowly and systematically remove loose fiberglass particles from the surfaces. This method is suitable for small areas or when trying to remove fine particles.
- Cutting and bagging: If the insulation is tightly packed or attached, you can use a utility knife to cut it into manageable sections. Once cut, place the insulation into sealed plastic bags for proper disposal.
- Blasting or air compression: In more extensive removal projects, professionals may use methods such as sandblasting or air compression to remove fiberglass insulation. These techniques are typically used for industrial or large-scale projects.
To determine the best removal method, consider the amount of insulation, its accessibility, and the level of attachment. Additionally, prioritize your safety and choose a method that minimizes the spread of fiberglass particles.
It’s important to note that if the fiberglass insulation is damaged or contaminated with mold or asbestos, it’s best to consult with professionals who specialize in hazardous material removal to ensure safe and proper removal.
By considering these factors and selecting the most suitable removal method, you can effectively remove the fiberglass insulation and proceed with the next steps of the process confidently.
Step 6: Use a Utility Knife to Cut the Insulation
Once you’ve determined the best removal method for your fiberglass insulation, it’s time to start the actual removal process. If you’ve chosen the cutting and bagging method, this step will guide you through using a utility knife to cut the insulation into manageable sections for easy removal.
Follow these steps to use a utility knife to cut the insulation:
- Put on your protective gear, including gloves, safety goggles, and a dust mask or respirator, to ensure your safety during the process.
- Choose a sharp utility knife with a retractable blade. This will allow you to extend and retract the blade as needed for cutting.
- Identify an accessible section of the insulation and carefully insert the blade of the utility knife into the insulation.
- Apply gentle pressure and cut through the insulation in a straight line. Depending on the thickness of the insulation, you may need to make multiple cuts to fully separate the section being removed.
- Continue cutting the insulation into manageable sections, moving methodically throughout the work area. Make sure to cut only what you can handle comfortably to prevent injury.
- As you cut, place each section of cut insulation into a sealed plastic bag or container to prevent the spread of fiberglass particles.
- Repeat the process until all the targeted insulation is cut and contained in separate bags or containers.
Remember to take breaks as needed to rest and ensure your safety. If you encounter any challenges or have difficulty cutting through the insulation, consider seeking assistance or consulting a professional for guidance.
Using a utility knife to cut the fiberglass insulation into manageable sections will make the removal process easier and facilitate the proper disposal of the insulation. With this step completed, you can move on to the next phase of removing the insulation from your space.
Read more: How To Handle Fiberglass Insulation
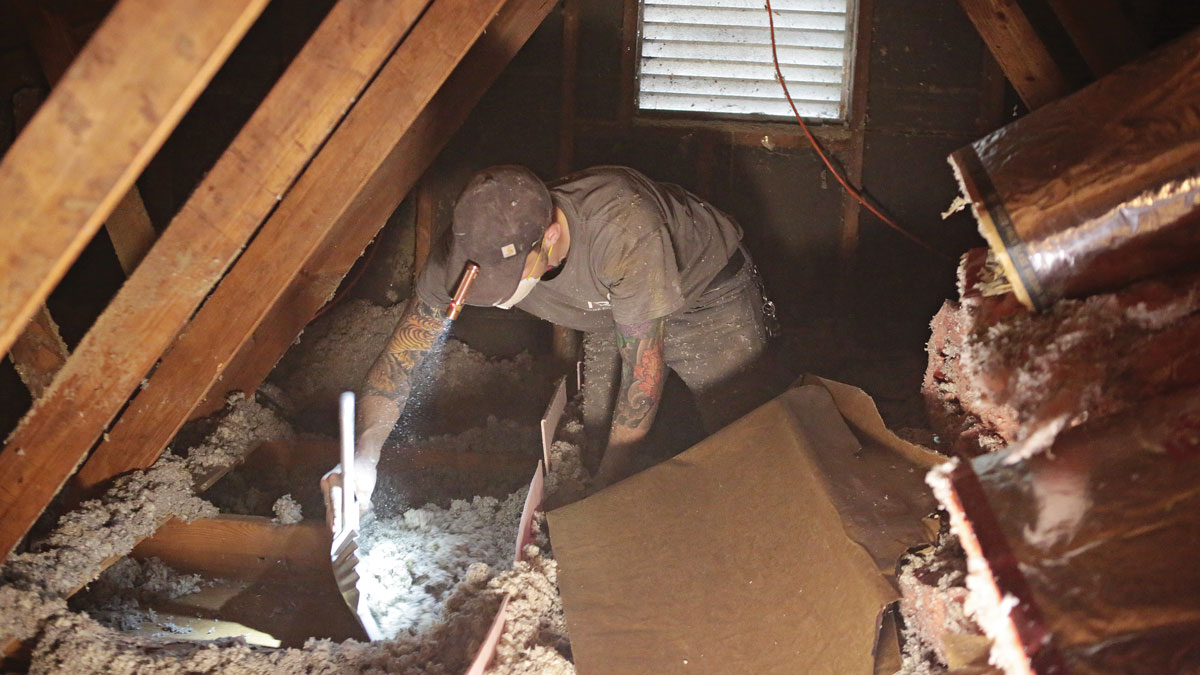
Step 7: Pull Out Fiberglass Insulation
Now that you’ve cut the fiberglass insulation into manageable sections, it’s time to remove it from the work area. This step will guide you through the process of safely pulling out the cut insulation and placing it in containers or bags for proper disposal.
Follow these steps to pull out the fiberglass insulation:
- Put on your protective gear, including gloves, safety goggles, and a dust mask or respirator, to protect yourself from any fiberglass particles.
- Starting with one section of cut insulation, grasp it securely and gently pull it out of the cavity or surface it is attached to.
- Place the removed insulation directly into a sealed plastic bag or container. This will prevent any loose particles from escaping and spreading.
- Continue this process with each section of cut insulation until all the targeted fiberglass insulation has been pulled out and properly contained.
- Handle the removed insulation with care to minimize any potential contact with your skin or clothing that could lead to irritation.
- Avoid shaking or disturbing the bags or containers containing the insulation to prevent the release of fiberglass particles.
It’s crucial to be cautious and mindful during this step to prevent any unnecessary exposure to fiberglass particles. If you encounter any stubborn or hard-to-remove pieces of insulation, use your utility knife to make additional cuts or seek professional assistance if needed.
By carefully pulling out the fiberglass insulation and placing it in sealed bags or containers, you’re ensuring proper containment and preparing it for disposal. With this step completed, you can move on to the next phase of the removal process, which involves disposing of the insulation in a safe and environmentally friendly manner.
Step 8: Dispose of the Insulation Properly
After successfully removing the fiberglass insulation, it’s crucial to dispose of it properly to ensure the safety of yourself, others, and the environment. Fiberglass insulation is considered hazardous waste and should not be disposed of in regular household trash. Follow these steps to dispose of the insulation correctly:
- Double-check that all the removed insulation is securely contained in sealed plastic bags or containers. This will prevent any release of fiberglass particles during transportation.
- Research local regulations: Check your local regulations or contact your waste management facility to determine the specific guidelines for disposing of fiberglass insulation in your area. They may have specific instructions or designated disposal sites.
- Arrange for pickup or drop-off: If permitted, schedule a pickup with your waste management provider or transport the insulation to an authorized hazardous waste facility yourself. Ensure that you follow all transportation guidelines and safety protocols.
- Label the containers: Clearly label the bags or containers as containing fiberglass insulation to alert waste management personnel of the contents.
- Store the insulation securely: Until pickup or transport, store the containers in a safe and secure location away from children, pets, and any potential sources of ignition or damage.
- Avoid reusing or repurposing: Do not attempt to reuse or repurpose the fiberglass insulation as it may pose a health risk. Dispose of it according to the appropriate guidelines.
It’s important to comply with all local regulations and disposal guidelines to ensure the safe and proper disposal of fiberglass insulation. By disposing of it correctly, you are taking responsibility for protecting the environment and preventing any potential health hazards.
If you’re unsure about the specific disposal process or have any questions, don’t hesitate to reach out to your local waste management facility or a professional waste disposal company for guidance.
Step 9: Clean Up the Work Area
Once you have removed and properly disposed of the fiberglass insulation, it’s time to clean up the work area. Cleaning up ensures that any remaining debris and particles are safely removed and the space is left tidy. Follow these steps to clean up the work area effectively:
- Remove any remaining loose fiberglass particles: Use a vacuum cleaner with a HEPA filter to effectively capture and remove any loose particles of fiberglass that may be present on surfaces, floors, or in corners. Take care not to spread the particles during the cleaning process.
- Wipe down surfaces: Use a damp cloth or sponge to wipe down surfaces, walls, and other areas that may have come into contact with the insulation. This will help capture any remaining particles and ensure a clean environment.
- Disinfect surfaces (if necessary): If the fiberglass insulation was contaminated with mold or other harmful substances, consider using a mild disinfectant or a mixture of water and vinegar to clean affected surfaces and inhibit the growth of mold or bacteria.
- Dispose of cleaning materials properly: Place any used cloths or sponges in a sealed plastic bag and dispose of them along with the rest of the debris and insulation waste.
- Inspect the area: After cleaning, inspect the work area to ensure that all debris and particles have been properly removed. Pay attention to corners, nooks, and other hard-to-reach areas.
It’s essential to dispose of the cleaning materials and debris in accordance with local regulations for hazardous or construction waste. Double-check with your waste management facility for specific guidelines on disposing of the cleaning materials properly.
By thoroughly cleaning up the work area, you are leaving behind a safe and clean environment, free from any fiberglass particles or debris. With this step completed, the final step is to restore the utilities and power in the space.
Step 10: Reconnect Utilities and Restore Power
With the fiberglass insulation removed and the work area cleaned up, it’s time to reconnect the utilities and restore power to the space. Restoring the utilities ensures that the area is fully functional and ready for use. Follow these steps to reconnect utilities and restore power:
- Contact the utility providers: Reach out to the respective utility providers, such as electricity, water, and gas, to notify them that you have completed the insulation removal process.
- Schedule service restoration: Request the utility providers to schedule the restoration of services in your property. Follow their instructions and be available for any necessary appointments or inspections.
- Turn on the main electrical switch: Locate the main electrical panel or circuit breaker box and switch the main electrical switch to the “on” position. This will restore power throughout the property.
- Check the functionality of utilities: Once power is restored, check the functionality of other utilities such as water and gas. Ensure that they are functioning properly and there are no leaks or issues.
- Test electrical outlets and fixtures: Test electrical outlets, switches, and fixtures to ensure they are functioning correctly. If you encounter any issues, consult a qualified electrician for further assistance.
- Monitor for any abnormalities: Keep an eye on the restored utilities and the area for any signs of abnormalities, such as unusual odors, sounds, or malfunctions. Report any concerns to the respective utility providers.
It’s important to follow the instructions provided by the utility providers and adhere to any safety protocols during this process to ensure a safe and smooth restoration of services.
By reconnecting utilities and restoring power, you can enjoy a fully functional space once again. Congratulations on successfully completing the fiberglass insulation removal process and restoring the utilities in your home or building.
Read more: How Is Fiberglass Insulation Made
Conclusion
Removing fiberglass insulation requires careful planning, proper safety precautions, and adherence to disposal guidelines. By following the step-by-step process outlined in this article, you can safely and efficiently remove fiberglass insulation from your home or building.
Prioritize your safety by wearing protective gear, ensuring proper ventilation, and isolating the work area. Use the appropriate tools, such as a utility knife, to cut the insulation into manageable sections. Carefully pull out the insulation and dispose of it properly, taking into account local regulations for hazardous waste.
After removal, clean up the work area, removing any loose fiberglass particles and wiping down surfaces. Finally, reconnect utilities and restore power, ensuring that everything is functioning correctly.
Remember, if you encounter challenges or have any concerns throughout the process, it’s always wise to consult professionals or experts in handling insulation removal. They can provide guidance and assistance to ensure a safe and successful removal.
By following these steps and taking proper precautions, you can effectively remove fiberglass insulation and create a safer and more comfortable environment. Whether you’re renovating, addressing damage, or simply improving energy efficiency, the process outlined in this article will help you achieve your goals with confidence.
Take the time to plan, prepare, and execute each step carefully. By doing so, you’ll be able to complete the removal process smoothly, minimizing health risks, and ensuring a successful outcome. Good luck with your fiberglass insulation removal journey!
Frequently Asked Questions about How To Remove Fiberglass Insulation
Was this page helpful?
At Storables.com, we guarantee accurate and reliable information. Our content, validated by Expert Board Contributors, is crafted following stringent Editorial Policies. We're committed to providing you with well-researched, expert-backed insights for all your informational needs.


0 thoughts on “How To Remove Fiberglass Insulation”