Home>Construction & Tools>Building Materials>How To Cut Stone Veneer Panels
Building Materials
How To Cut Stone Veneer Panels
Modified: August 17, 2024
Learn the best techniques for cutting stone veneer panels and create stunning designs for your building projects. Find expert tips and advice on working with building materials. Discover more!
(Many of the links in this article redirect to a specific reviewed product. Your purchase of these products through affiliate links helps to generate commission for Storables.com, at no extra cost. Learn more)
Introduction
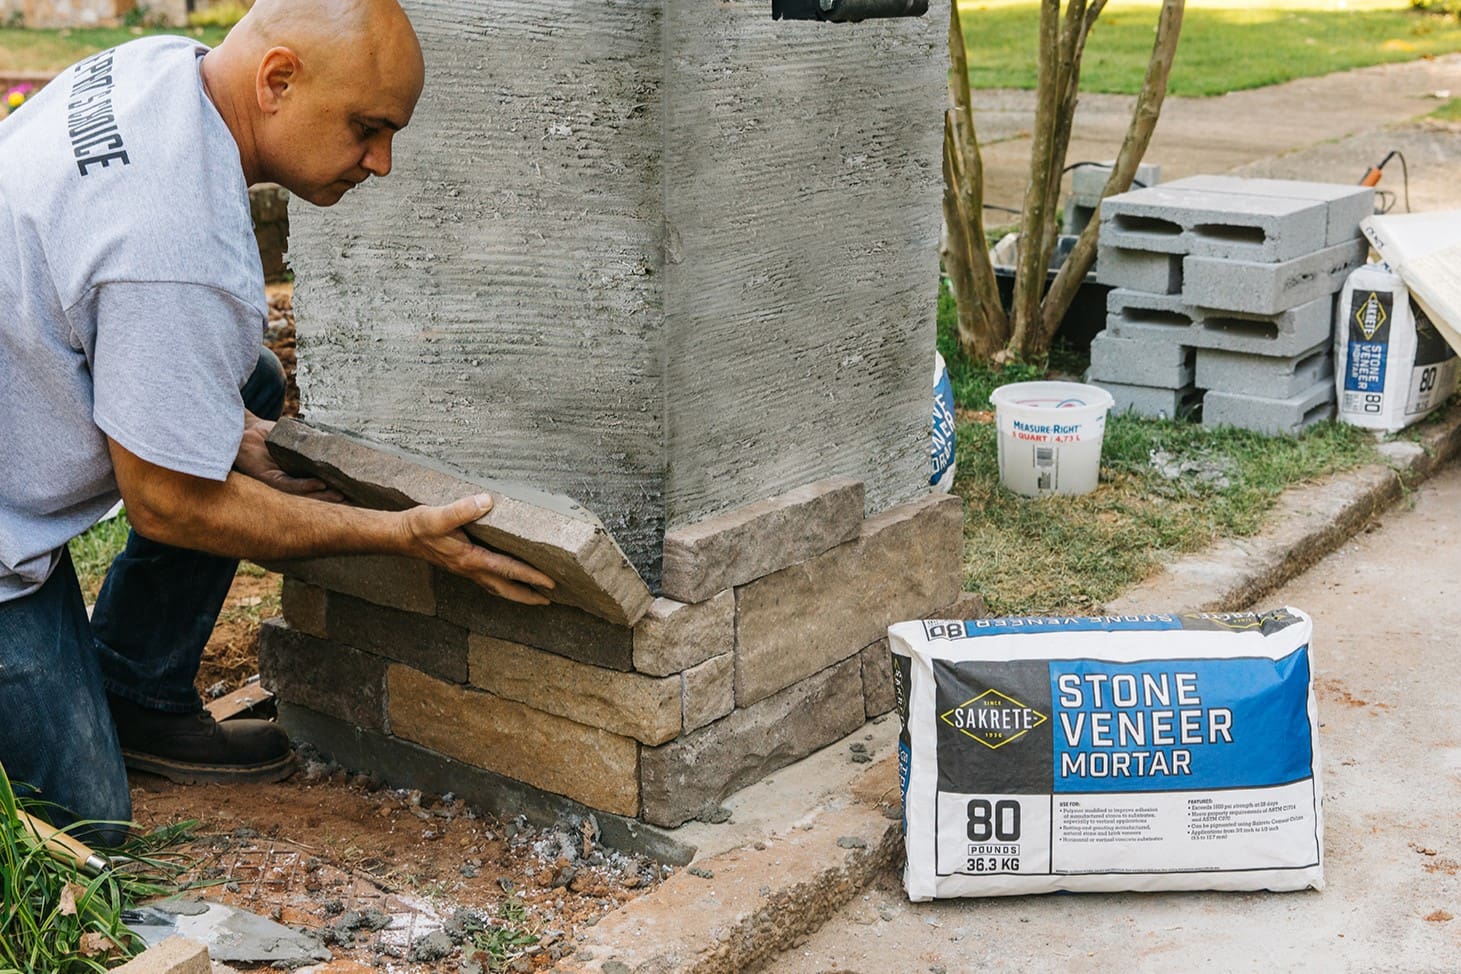
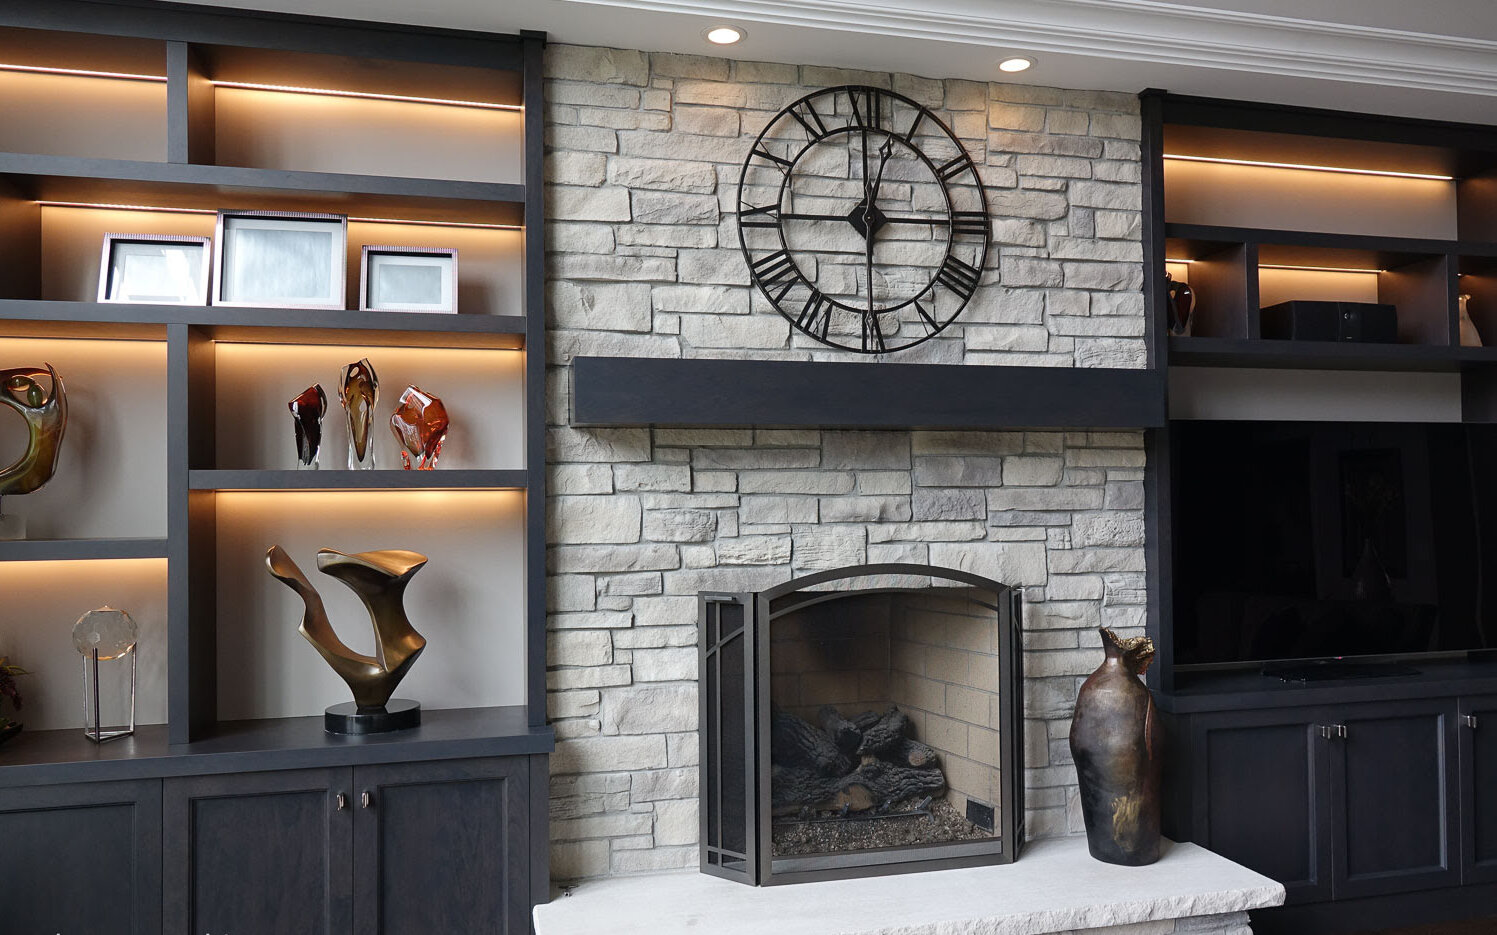
Welcome to the world of stone veneer panels, where the timeless elegance of natural stone meets modern versatility. Stone veneer panels have become increasingly popular in both residential and commercial construction and renovation projects. These panels offer the authentic look and feel of natural stone while providing the added benefits of lightweight and easy installation. Whether you are a seasoned contractor or a DIY enthusiast, learning how to cut stone veneer panels is a valuable skill that can elevate the aesthetics of any space.
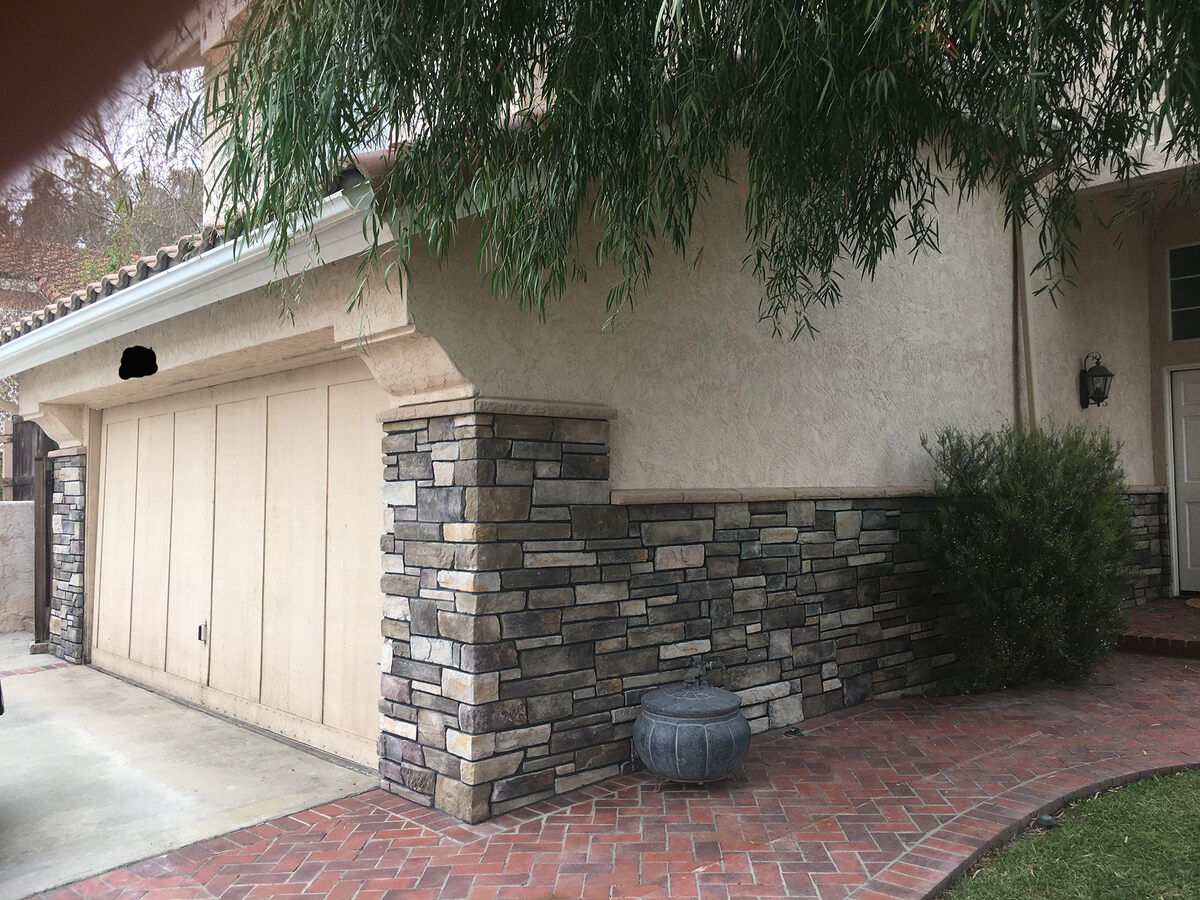
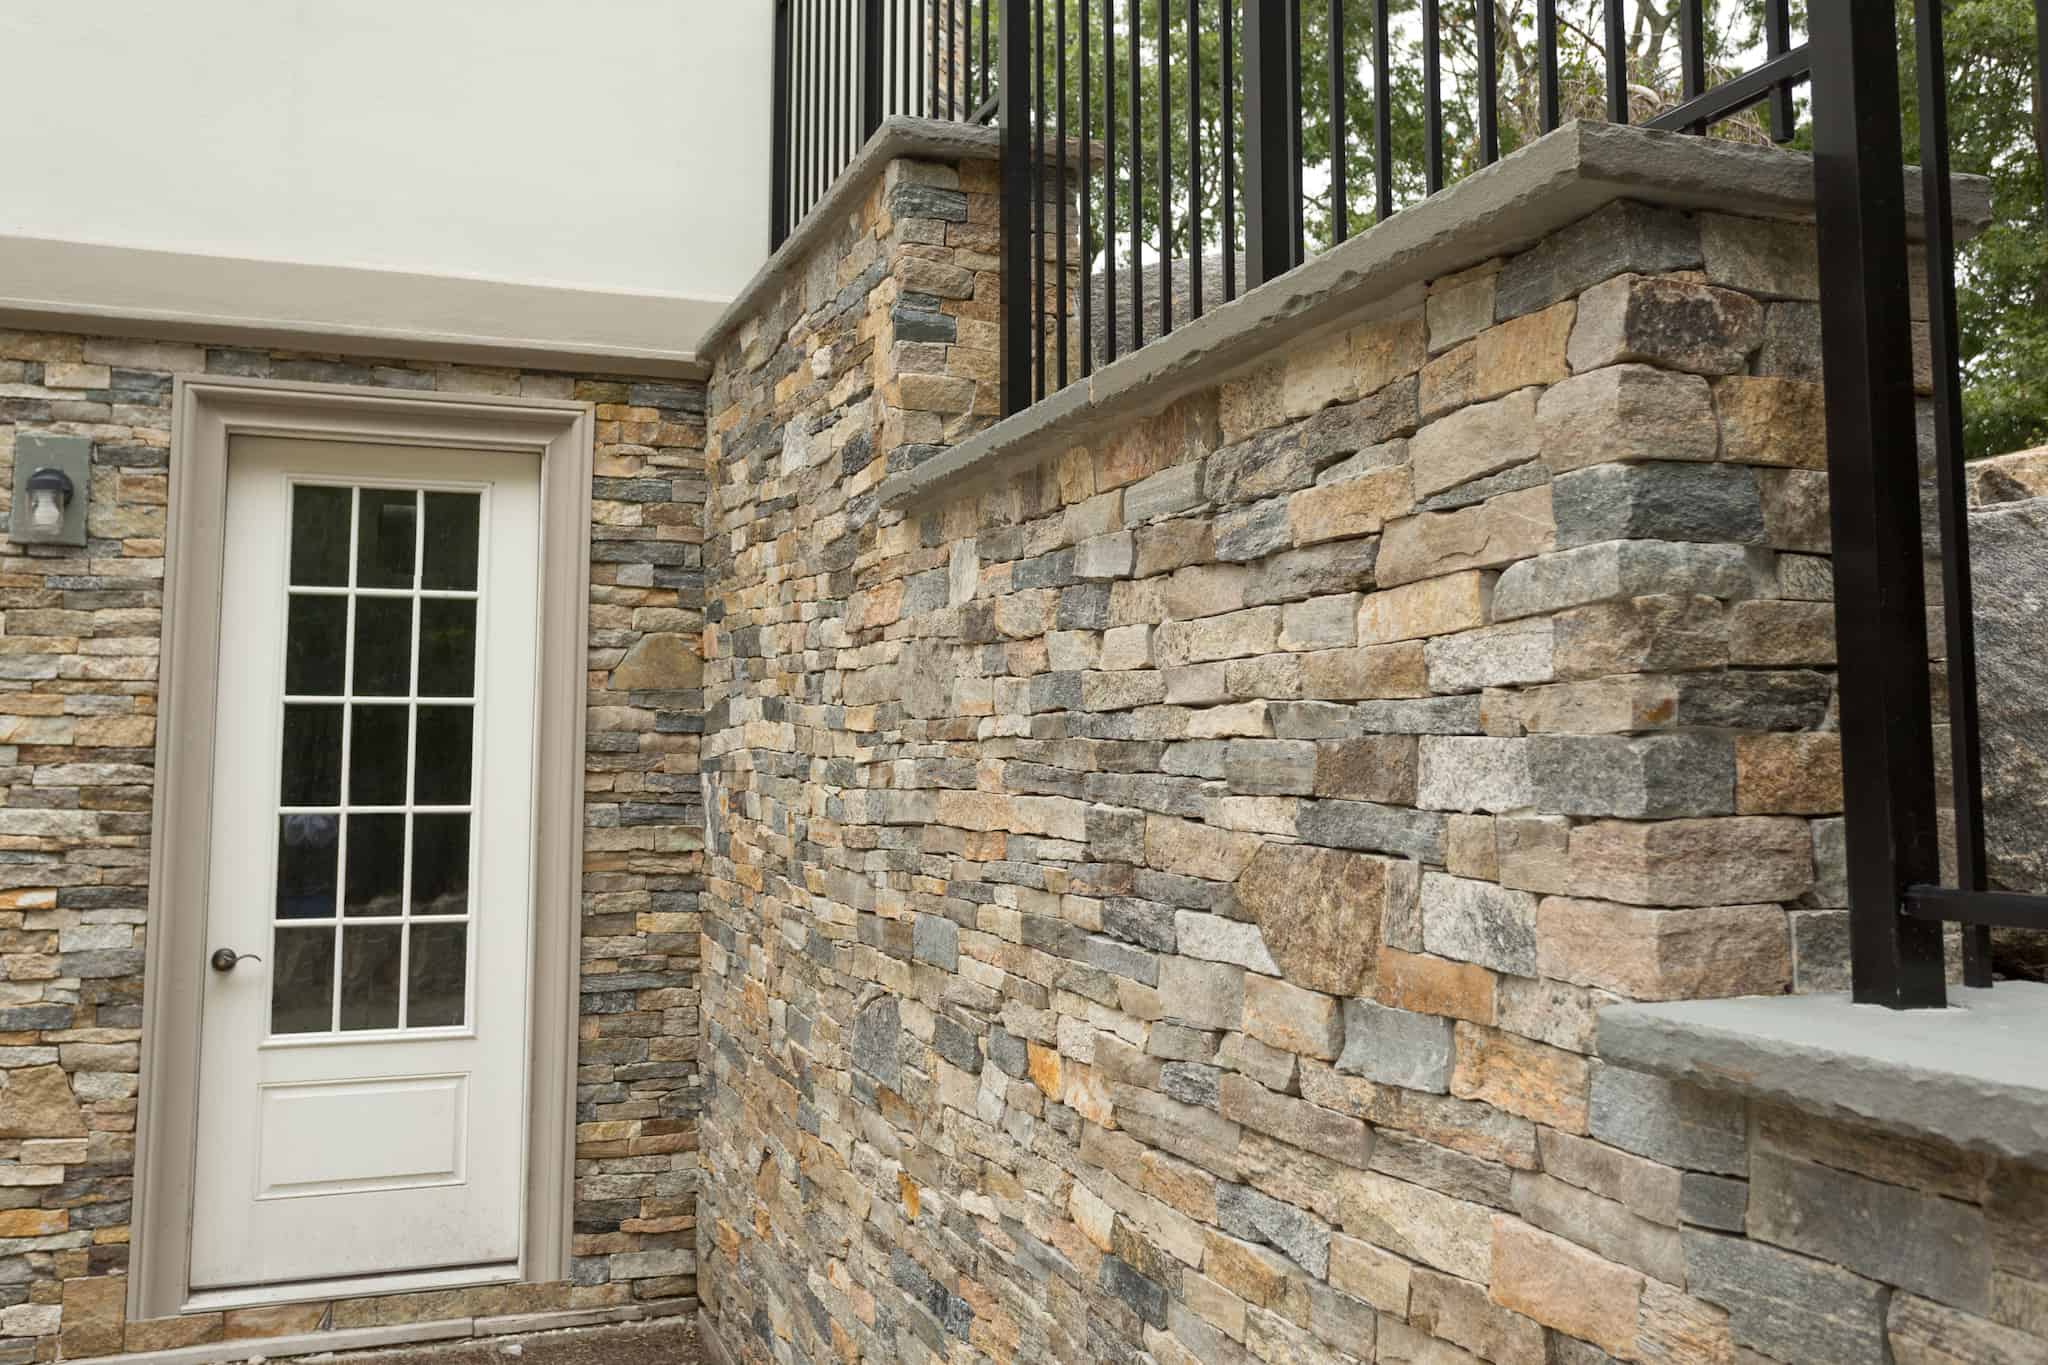
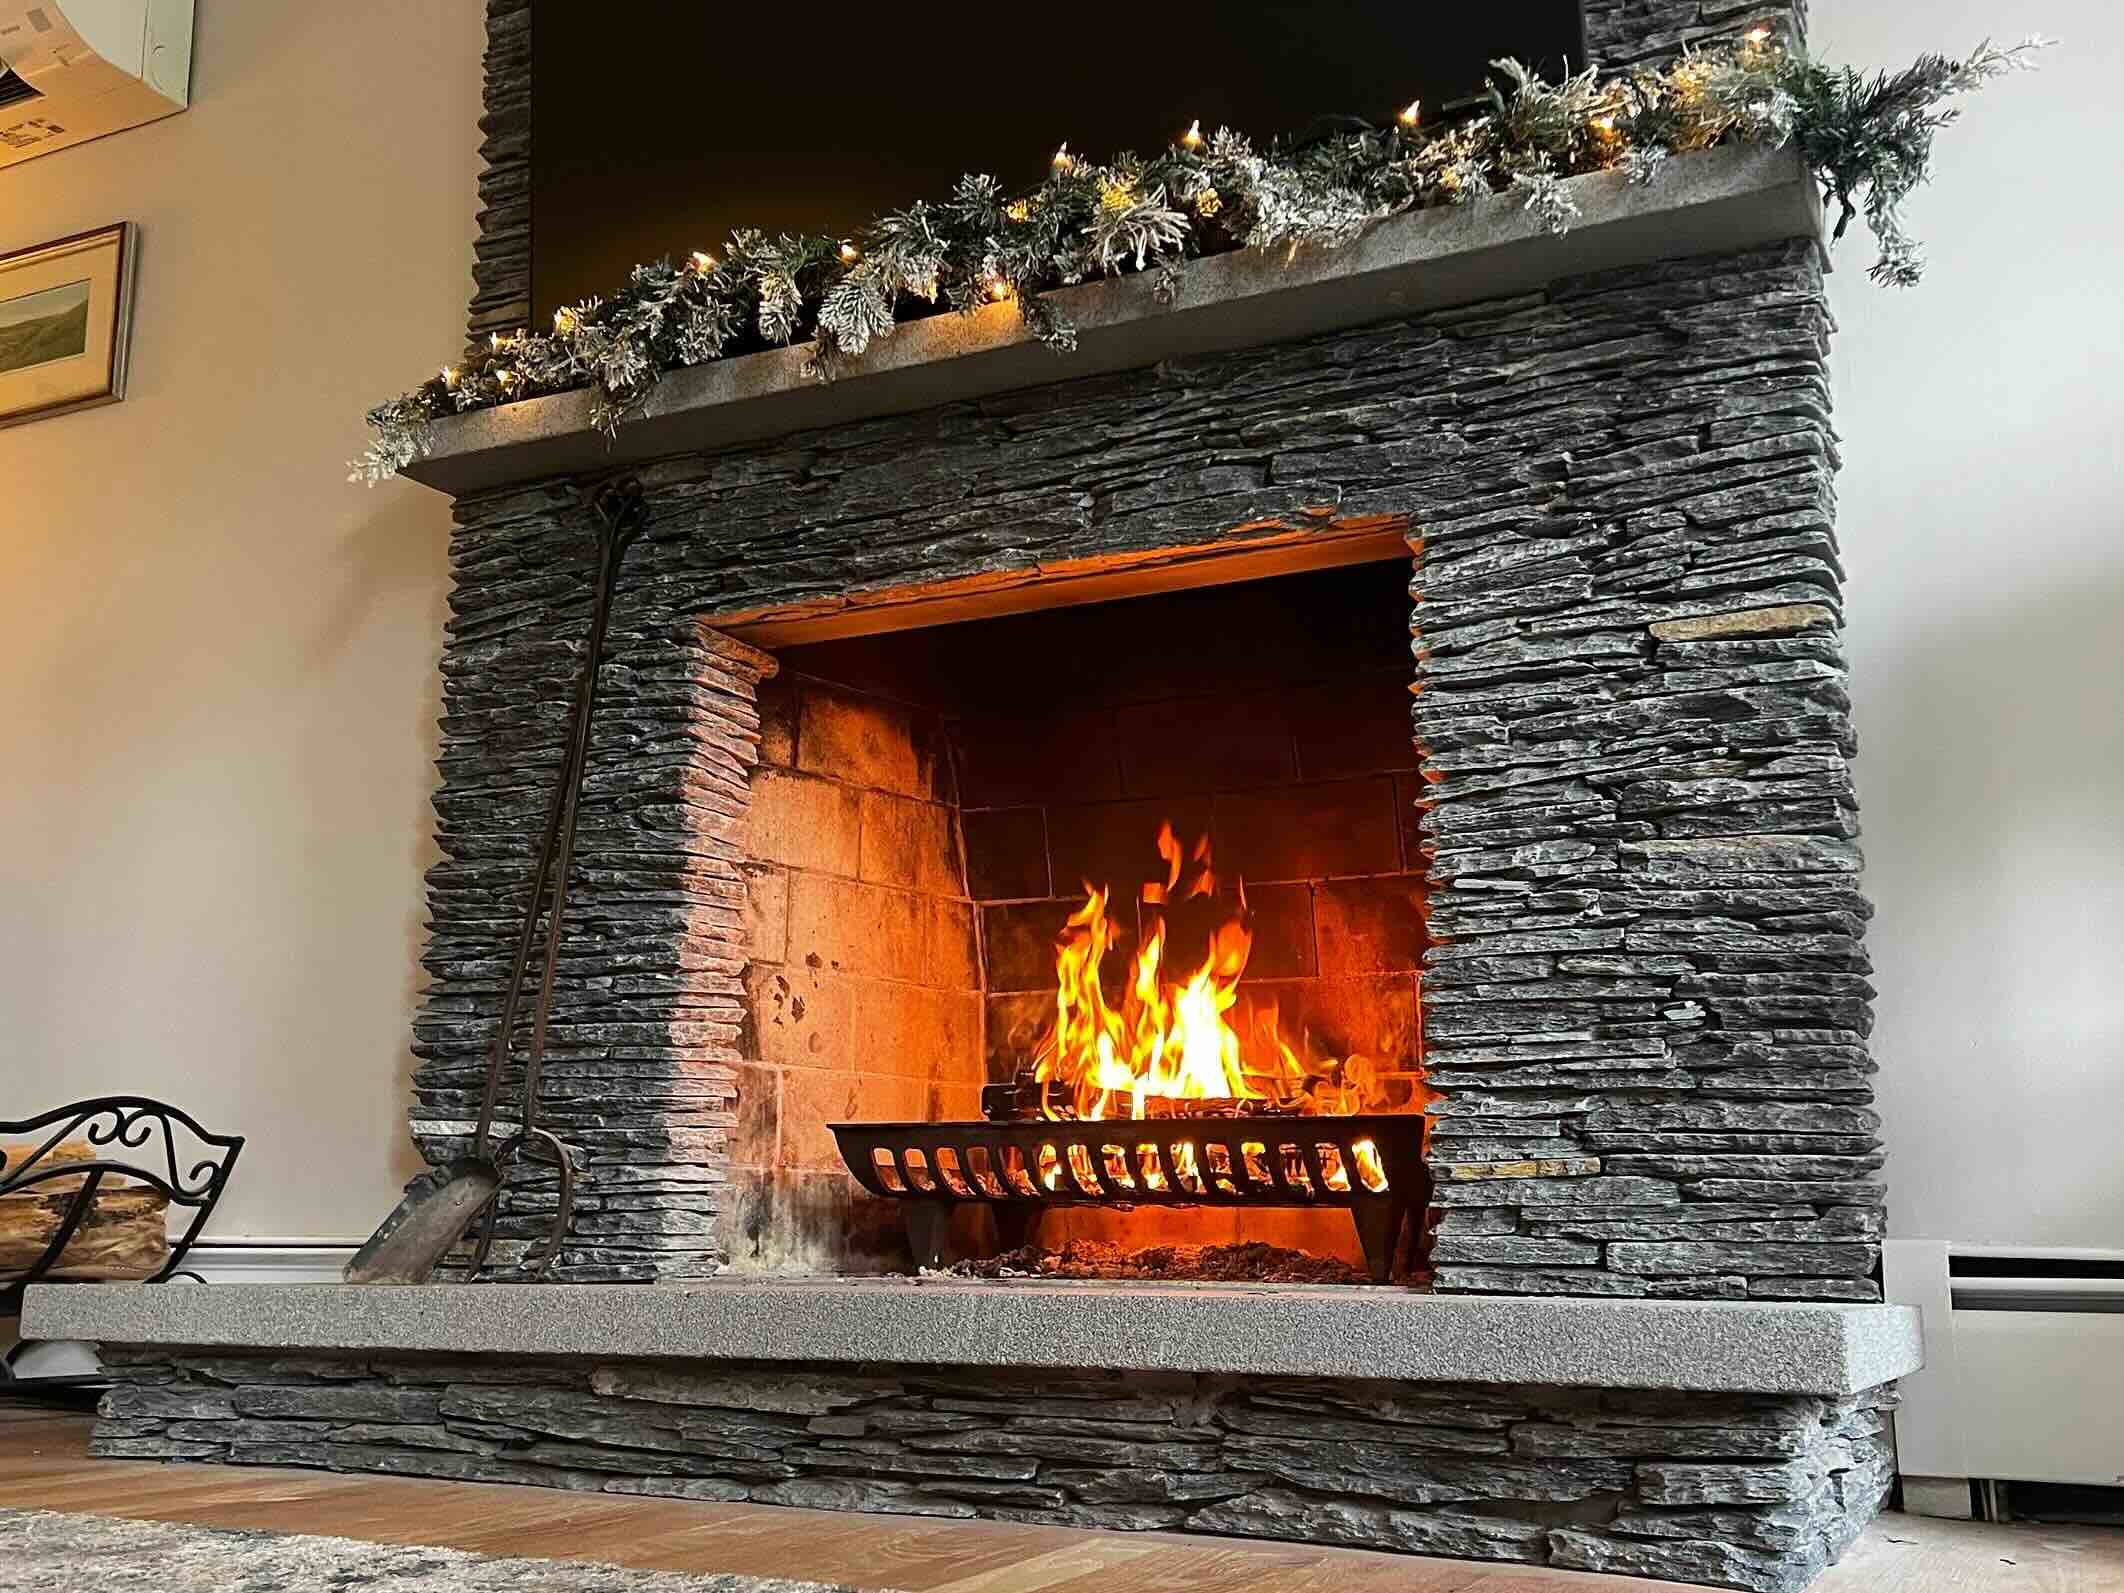
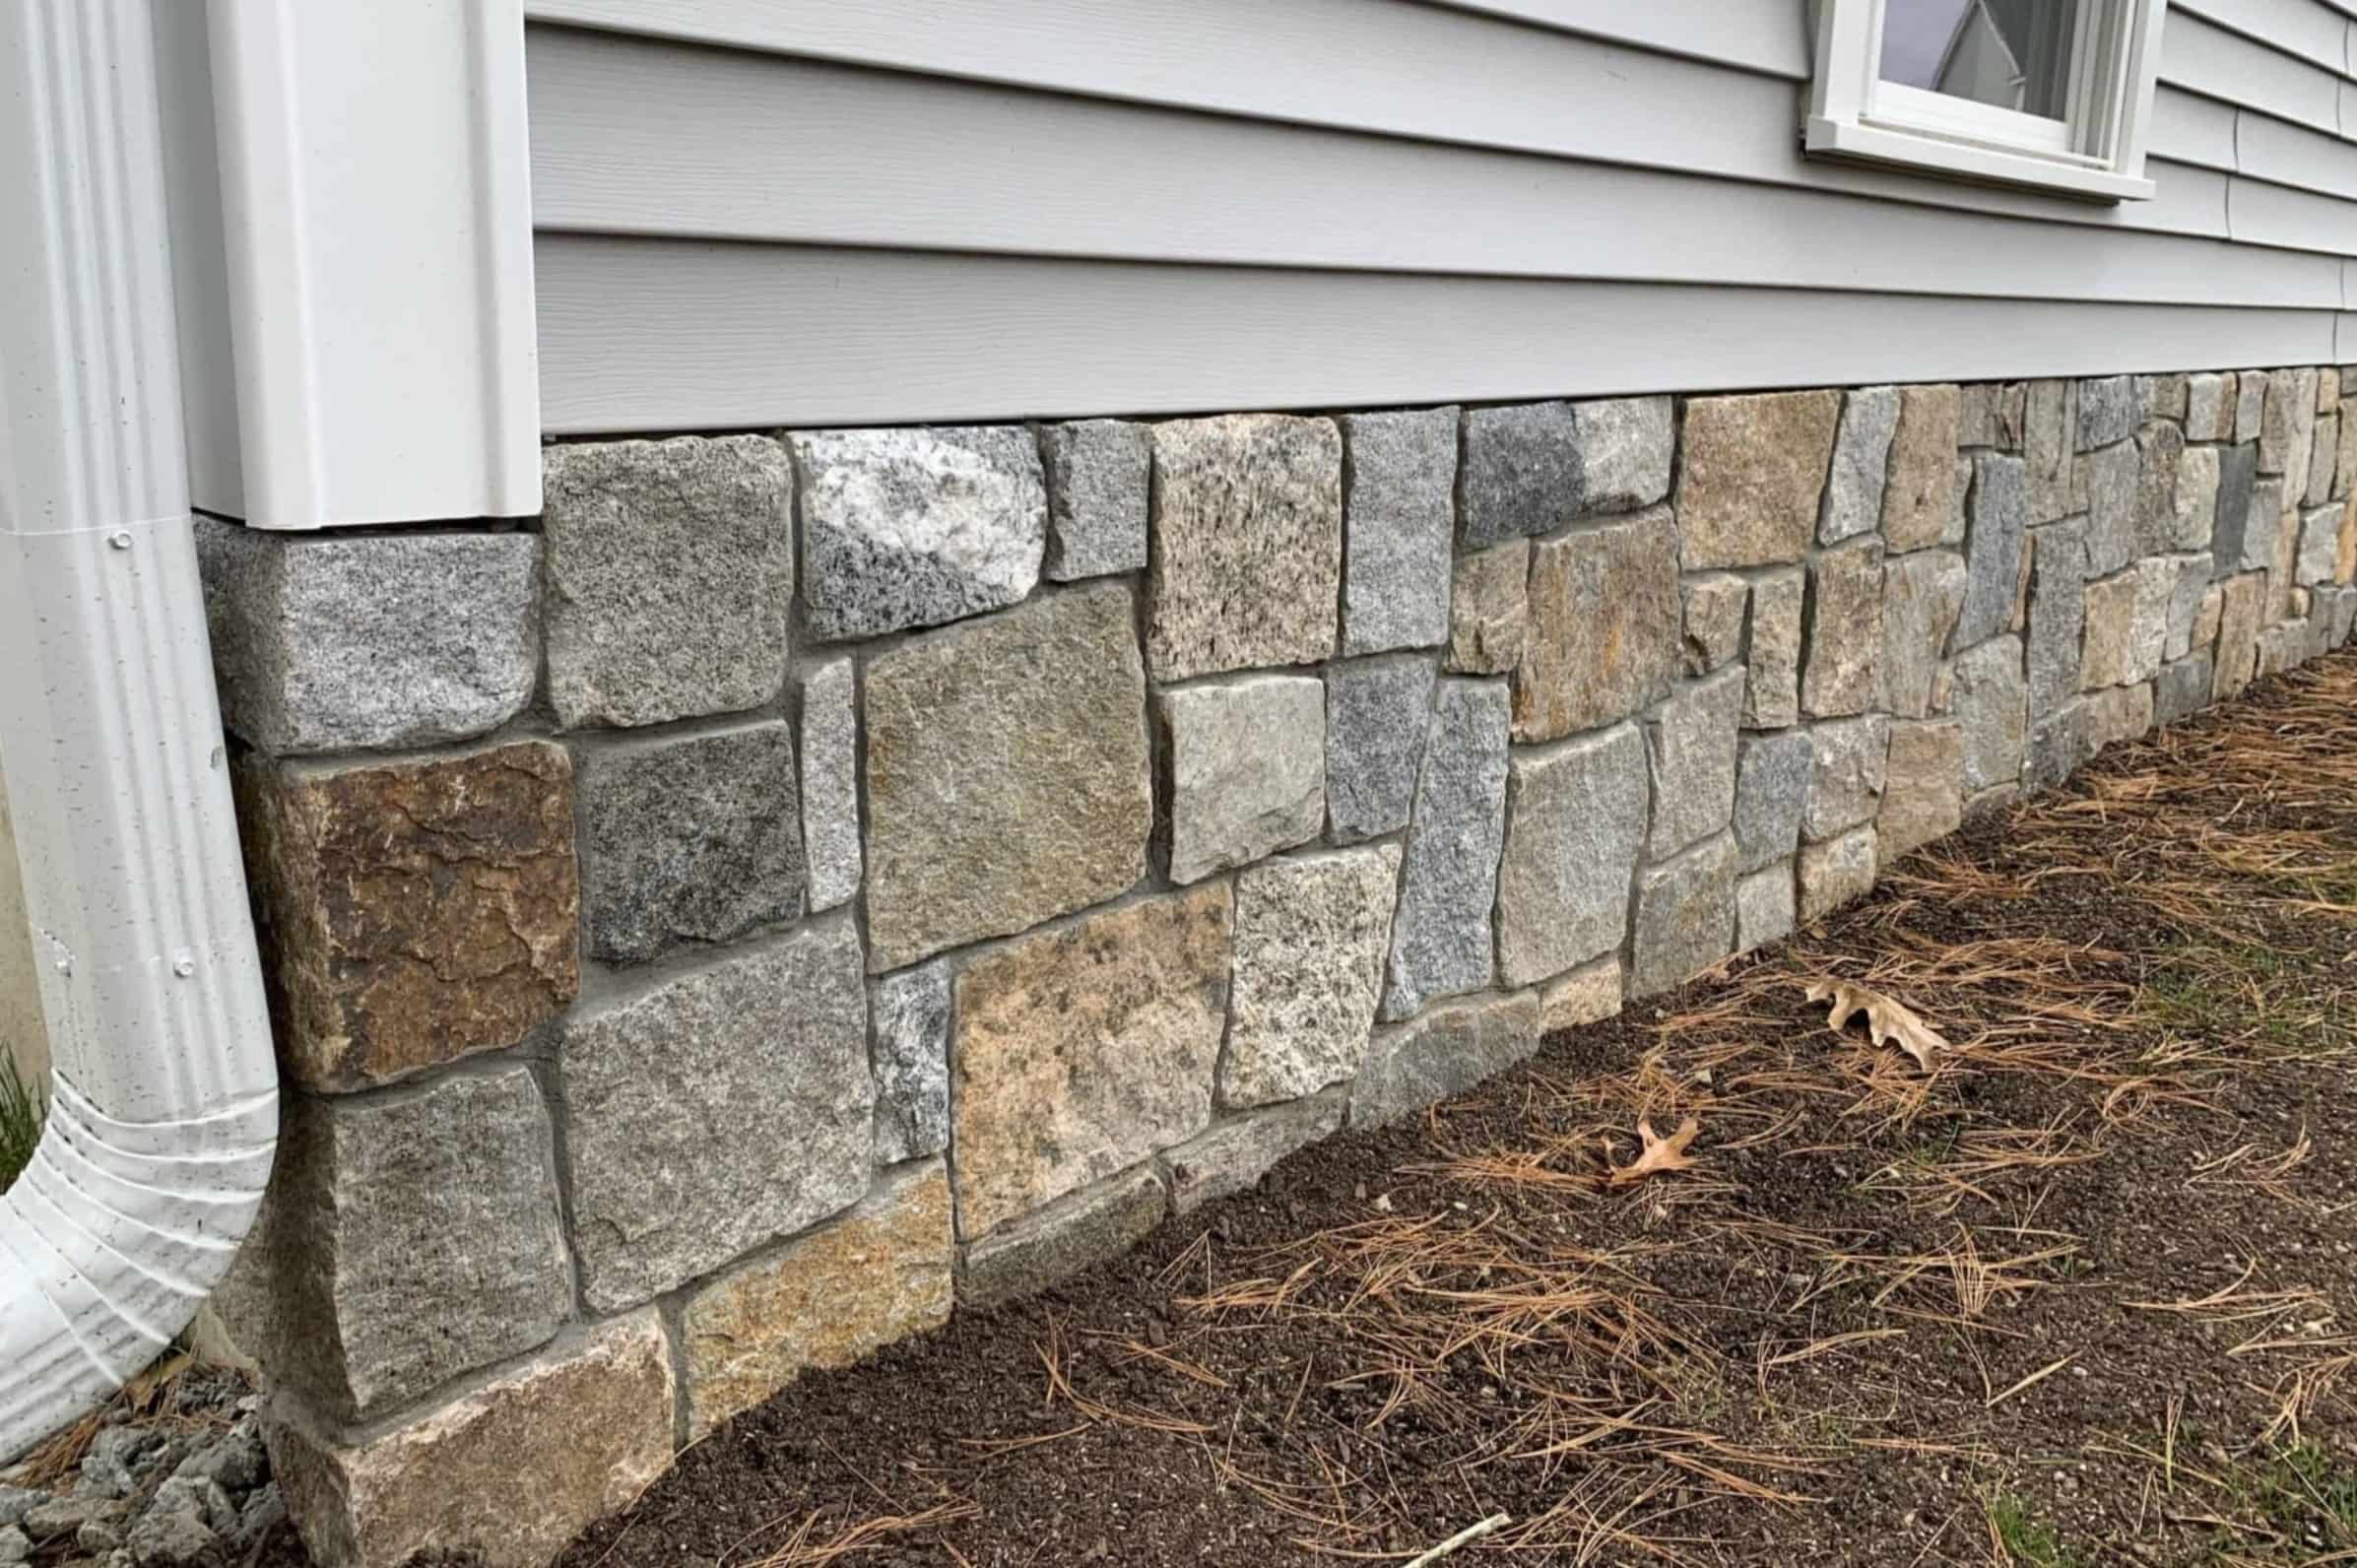
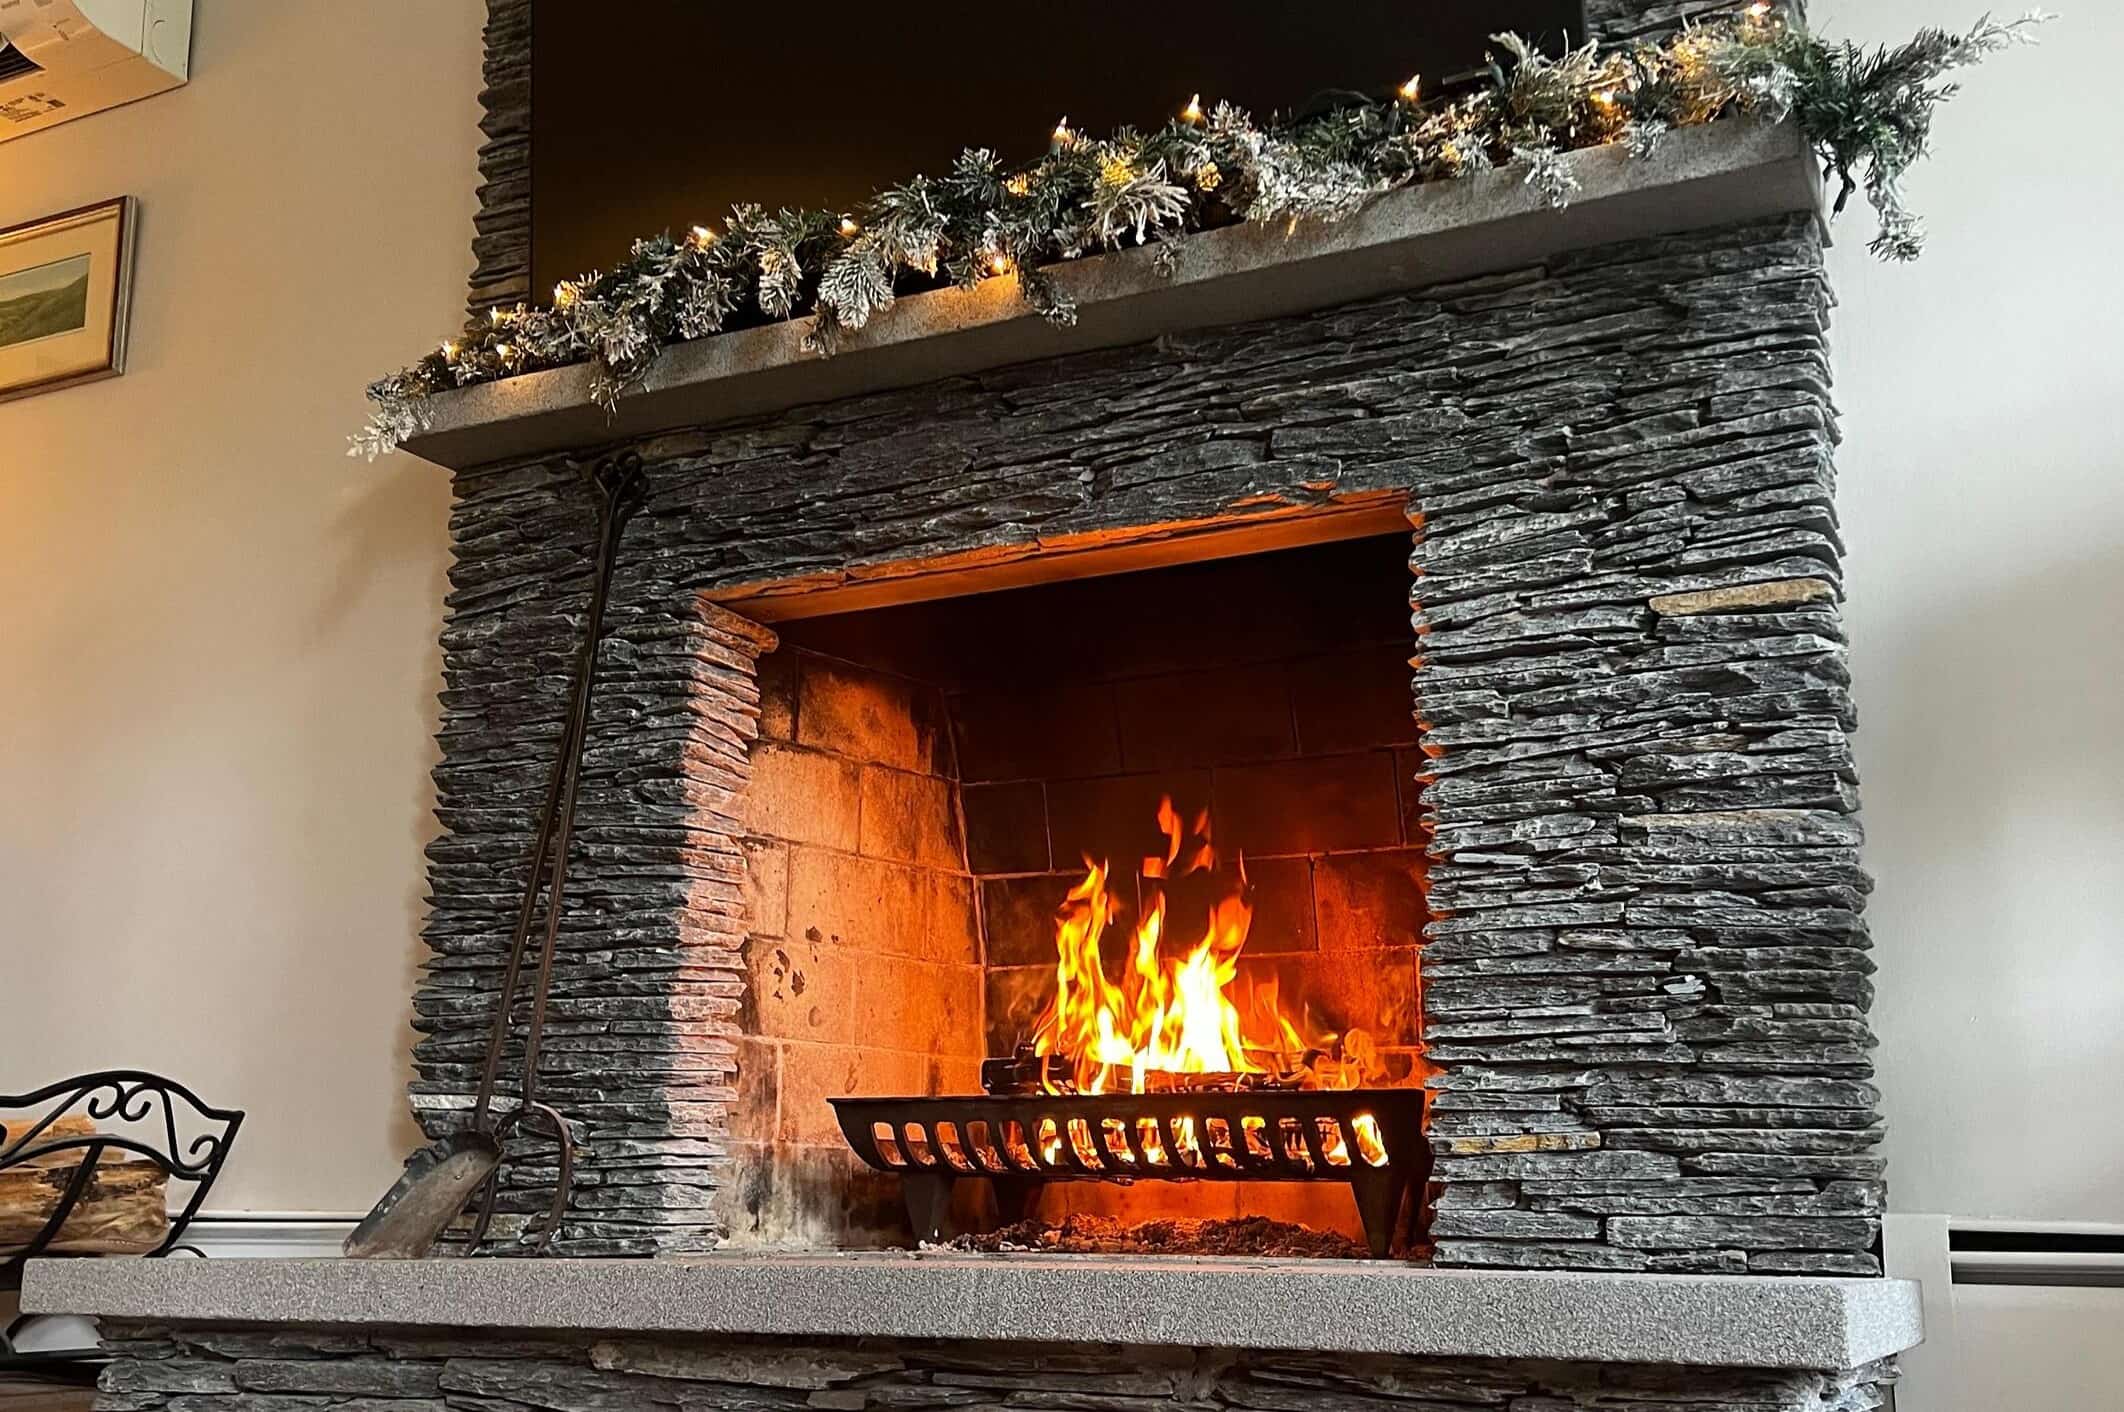
In this comprehensive guide, we will explore the essential techniques and safety precautions for cutting stone veneer panels with precision and confidence. From marking and measuring to the selection of tools and materials, we will cover every aspect of the cutting process to ensure a successful outcome for your project. Whether you are enhancing an interior feature wall, creating a stunning exterior facade, or adding a touch of sophistication to a fireplace surround, mastering the art of cutting stone veneer panels opens up a world of design possibilities.
Join us as we delve into the intricacies of working with stone veneer panels, uncovering the secrets to achieving clean and accurate cuts that showcase the natural beauty of the material. With the right knowledge and a passion for craftsmanship, you can unlock the potential of stone veneer panels to transform ordinary spaces into extraordinary works of art. So, grab your tools, put on your safety gear, and let's embark on this journey to master the art of cutting stone veneer panels.
Key Takeaways:
- Safety First!
Before cutting stone veneer panels, prioritize safety by wearing protective gear, working in a well-ventilated area, and familiarizing yourself with tool handling to prevent accidents and injuries. - Precision is Key
Mark and measure the stone veneer panels accurately before cutting, and master the cutting techniques for straight and curved cuts with an angle grinder or wet saw to achieve professional results.
Safety Precautions
Before diving into the process of cutting stone veneer panels, it is crucial to prioritize safety at every step of the way. Working with stone veneer panels involves handling sharp tools and abrasive materials, making it essential to adhere to proper safety precautions to prevent accidents and injuries. Here are the key safety measures to keep in mind:
- Protective Gear: Prior to initiating any cutting activities, ensure that you are equipped with the necessary protective gear. This includes safety goggles to shield your eyes from flying debris, a dust mask to prevent inhalation of fine particles, and sturdy work gloves to safeguard your hands from sharp edges.
- Stable Work Surface: Set up a stable and level work surface to carry out the cutting process. A sturdy workbench or sawhorses can provide the stability needed to handle the stone veneer panels securely.
- Proper Ventilation: When cutting stone veneer panels, dust and debris are inevitable. Work in a well-ventilated area to minimize the accumulation of airborne particles. If working indoors, consider using a dust extraction system to maintain a clean and breathable environment.
- Tool Handling: Familiarize yourself with the proper handling and operation of cutting tools. Ensure that blades are sharp and properly secured, and always follow the manufacturer’s guidelines for safe usage.
- Mindful Movements: When handling sharp tools and heavy materials, practice mindfulness and focus on deliberate movements. Avoid distractions and maintain a clear workspace to minimize the risk of accidents.
- First Aid Kit: Have a well-stocked first aid kit readily available in case of minor cuts or injuries. Being prepared for unforeseen incidents is essential for a safe and efficient work environment.
By prioritizing safety and adhering to these precautions, you can create a secure working environment that minimizes risks and maximizes the potential for a successful stone veneer panel cutting experience.
Tools and Materials
Equipping yourself with the right tools and materials is essential for achieving precise and professional results when cutting stone veneer panels. From specialized cutting implements to fundamental marking tools, assembling the following items will set the stage for a successful cutting process:
Tools:
- Angle Grinder: A versatile tool equipped with a diamond blade for making straight cuts and intricate shapes in stone veneer panels.
- Wet Saw: Ideal for larger cutting tasks, a wet saw with a diamond blade ensures clean and accurate cuts while minimizing dust and heat buildup.
- Diamond Blade: Essential for both angle grinders and wet saws, a high-quality diamond blade is designed to smoothly cut through stone veneer panels with precision.
- Safety Gear: Protective goggles, a dust mask, and work gloves are indispensable for safeguarding yourself during the cutting process.
- Measuring Tools: A tape measure, straight edge, and pencil are essential for accurately marking the stone veneer panels before cutting.
- Clamps: Secure the stone veneer panels in place during cutting by using clamps to prevent shifting or slippage.
- Workbench or Sawhorses: Provide a stable and elevated platform for cutting the stone veneer panels with ease.
Materials:
- Stone Veneer Panels: Select high-quality stone veneer panels in the desired color and texture for your project.
- Water: When using a wet saw, ensure a water source is readily available to keep the blade cool and minimize dust production.
- Marker or Chalk: Use a contrasting marker or chalk to clearly outline the cutting lines on the stone veneer panels.
- Protective Coverings: Lay down protective coverings such as drop cloths or cardboard to safeguard the work area from potential damage.
- Cleaning Supplies: Have cleaning materials on hand to remove any residual dust or debris from the stone veneer panels after cutting.
By assembling the appropriate tools and materials, you can approach the cutting process with confidence, knowing that you have the necessary resources to achieve precise and professional results.
Read more: How Thick Is Stone Veneer
Marking and Measuring
Before making any cuts on the stone veneer panels, precise marking and accurate measurements are essential to ensure that the desired dimensions and shapes are achieved. Here’s a step-by-step guide to marking and measuring the stone veneer panels effectively:
1. Assess the Panel:
Examine the stone veneer panel to identify the specific areas that need to be cut. Take note of any natural variations in the stone’s pattern and texture, as these may influence the cutting approach.
2. Measure and Mark:
Use a tape measure to determine the exact dimensions for the cuts. Mark the cutting lines with a pencil or chalk, ensuring that the lines are clear and easily visible. For straight cuts, a straight edge can be used to guide the marking process and maintain precision.
3. Double-Check the Measurements:
Verify the accuracy of the marked dimensions by measuring the lines again. It is crucial to confirm the measurements before proceeding with the cutting process to avoid errors that could compromise the final fit and appearance of the stone veneer panels.
Read more: How To Attach Stone Veneer
4. Consider the Cutting Method:
Depending on the complexity of the cuts and the available tools, assess whether the cuts will be made with an angle grinder or a wet saw. This consideration will influence the type of markings and the approach to the cutting process.
5. Account for Overhang and Finishing:
If the stone veneer panels will be installed with an overhang or require specific finishing details, incorporate these factors into the marking and measuring process. Accurately marking these features ensures that the final cuts align seamlessly with the installation requirements.
By meticulously marking and measuring the stone veneer panels, you establish a solid foundation for the cutting process, setting the stage for precise and tailored cuts that seamlessly integrate into your project’s design.
Cutting Techniques
Mastering the art of cutting stone veneer panels involves employing the right techniques to achieve clean and precise results. Whether using an angle grinder or a wet saw, understanding the following cutting techniques is essential for a successful outcome:
Straight Cuts with an Angle Grinder:
When making straight cuts with an angle grinder, follow these steps for optimal results:
- Secure the Panel: Clamp the stone veneer panel securely to a stable work surface to prevent movement during cutting.
- Set the Cutting Depth: Adjust the depth of the angle grinder’s blade to ensure that it penetrates the stone veneer panel without excessive force.
- Follow the Marked Line: With a steady hand, carefully guide the angle grinder along the marked cutting line, applying gentle and consistent pressure to facilitate a smooth cut.
- Finishing Touches: After completing the cut, use a stone file or sandpaper to refine the edges and achieve the desired smoothness.
Read more: What Is Stone Veneer Siding
Curved Cuts with an Angle Grinder:
For intricate curved cuts, the following approach can be employed with an angle grinder:
- Create Relief Cuts: Make relief cuts along the curved pattern, allowing for easier maneuverability and reduced risk of chipping the stone veneer panel.
- Gradual Shaping: Slowly and precisely shape the curved pattern by connecting the relief cuts, ensuring a gradual and controlled cutting motion.
- Refinement: Once the primary cuts are complete, refine the edges and curves using a stone file or sandpaper to achieve a polished finish.
Wet Saw Cutting:
When using a wet saw for cutting stone veneer panels, the following steps are recommended for optimal results:
- Prepare the Saw: Fill the wet saw’s reservoir with water to keep the blade cool and minimize dust production during cutting.
- Align the Panel: Position the stone veneer panel securely on the saw’s cutting surface, ensuring that it is stable and properly aligned for the intended cut.
- Execute the Cut: Slowly guide the stone veneer panel through the wet saw’s blade, maintaining a steady pace to facilitate a smooth and precise cut.
- Final Touches: After the cut is complete, use a stone file or sandpaper to refine the edges and achieve the desired finish.
By mastering these cutting techniques and selecting the most suitable approach for your specific project requirements, you can confidently navigate the cutting process, unlocking the potential of stone veneer panels to elevate your architectural and design endeavors.
Finishing and Installation
Once the stone veneer panels have been expertly cut to the desired dimensions and shapes, the finishing and installation phase is the critical final step in bringing your vision to life. Here’s a comprehensive guide to achieving flawless finishing and seamless installation:
Refining the Edges:
After cutting the stone veneer panels, it is essential to refine the edges to ensure a professional and polished appearance. Utilize a stone file or sandpaper to smooth out any rough edges and create a uniform finish that seamlessly integrates with adjacent panels.
Read more: How To Clean Exterior Stone Veneer
Preparing the Installation Surface:
Prior to installing the stone veneer panels, ensure that the surface is clean, level, and structurally sound. Remove any debris or obstructions, and address any irregularities that could affect the installation’s integrity.
Adhering the Panels:
Depending on the specific installation method, apply the appropriate adhesive or mortar to the back of the stone veneer panels. Ensure even coverage to guarantee a secure and durable bond with the installation surface.
Positioning and Alignment:
Carefully position each stone veneer panel according to the predetermined layout, ensuring proper alignment and spacing between panels. Use spacers or shims as needed to maintain consistent gaps and create a visually appealing installation.
Securing the Panels:
Once positioned, firmly press each stone veneer panel into place, ensuring that it adheres securely to the installation surface. Use a rubber mallet to gently tap the panels into position, promoting a strong bond with the adhesive or mortar.
Read more: How To Install Stone Veneer Fireplace
Grouting and Sealing (If Applicable):
If grout is part of the installation method, carefully apply the grout to the joints between the stone veneer panels, ensuring a uniform and tidy finish. Following grouting, consider applying a sealant to enhance the panels’ longevity and protect them from environmental elements.
Final Inspection:
Thoroughly inspect the installed stone veneer panels to ensure that the alignment, spacing, and overall appearance meet your expectations. Make any necessary adjustments before the adhesive or mortar sets to achieve the desired aesthetic and structural integrity.
By meticulously attending to the finishing details and following best practices for installation, you can transform your expertly cut stone veneer panels into captivating architectural features that exude timeless elegance and exceptional craftsmanship.
Conclusion
Congratulations on embarking on the journey to master the art of cutting stone veneer panels. Throughout this guide, we have delved into the essential techniques, safety precautions, and meticulous processes that elevate the cutting and installation of stone veneer panels to a true art form. As you conclude this insightful exploration, it is important to reflect on the transformative potential that stone veneer panels offer in architectural and design endeavors.
By honing your skills in marking, measuring, and cutting stone veneer panels with precision and finesse, you have unlocked the ability to shape and customize these timeless materials to suit your creative vision. Whether enhancing interior spaces with captivating feature walls, creating stunning exterior facades, or adding a touch of sophistication to fireplace surrounds, your expertise in cutting stone veneer panels empowers you to breathe life into architectural concepts and design aspirations.
As you proceed to refine the edges, expertly position and secure the panels, and meticulously attend to the finishing touches, remember that each step contributes to the creation of enduring and captivating installations. The craftsmanship and attention to detail that you bring to the cutting and installation process will be reflected in the seamless integration of stone veneer panels within your architectural and design projects.
With a keen focus on safety, precision, and artistry, the art of cutting stone veneer panels becomes a testament to your dedication to craftsmanship and your ability to transform raw materials into breathtaking works of architectural art. Embrace the creative possibilities that stone veneer panels offer, and let your expertise shine as you bring your design visions to fruition.
So, as you venture forth with newfound knowledge and a passion for excellence, may your endeavors in cutting stone veneer panels be marked by ingenuity, artistry, and the fulfillment of architectural dreams.
Frequently Asked Questions about How To Cut Stone Veneer Panels
Was this page helpful?
At Storables.com, we guarantee accurate and reliable information. Our content, validated by Expert Board Contributors, is crafted following stringent Editorial Policies. We're committed to providing you with well-researched, expert-backed insights for all your informational needs.
0 thoughts on “How To Cut Stone Veneer Panels”