Home>Gardening & Outdoor>Outdoor Structures>How To Roof A Flat Roof Shed

Outdoor Structures
How To Roof A Flat Roof Shed
Published: January 19, 2024
Learn how to roof a flat roof shed and protect your outdoor structures with our expert tips. Find step-by-step instructions for outdoor-structures roofing projects.
(Many of the links in this article redirect to a specific reviewed product. Your purchase of these products through affiliate links helps to generate commission for Storables.com, at no extra cost. Learn more)
Introduction
So, you've decided to build a flat roof shed. Congratulations! Whether you're a seasoned DIY enthusiast or a novice looking to expand your outdoor storage space, constructing a flat roof shed can be a rewarding and practical project. However, one of the most critical aspects of building a shed is ensuring that the roof is properly installed to provide protection from the elements.
In this comprehensive guide, we'll walk you through the essential steps for roofing a flat roof shed. From preparing the roof surface to applying the underlayment and installing the roofing material, we've got you covered. By the end of this article, you'll have the knowledge and confidence to tackle the roofing process with ease.
So, grab your tools and let's get started on creating a sturdy and weather-resistant roof for your flat roof shed!
Key Takeaways:
- Roofing a flat roof shed requires careful preparation, including cleaning the surface, applying underlayment, and installing the roofing material. Safety precautions and attention to detail are crucial for a successful and durable roof.
- By following the steps outlined in this guide and prioritizing safety, DIY enthusiasts can create a sturdy and weather-resistant roof for their flat roof shed. Meticulous preparation and precise installation are key to a long-lasting outdoor structure.
Read more: How To Fix A Sagging Flat Shed Roof
Materials Needed
Before diving into the roofing process, it’s crucial to gather all the necessary materials and tools. Here’s a comprehensive list to ensure you’re well-equipped for the task:
- Roofing Material: Choose from a variety of options such as asphalt shingles, metal panels, EPDM rubber roofing, or TPO membrane.
- Underlayment: Select a high-quality underlayment to provide an additional layer of protection against moisture.
- Roofing Nails or Screws: Depending on the roofing material, ensure you have the appropriate fasteners for secure installation.
- Roofing Adhesive: If using EPDM or TPO membrane, you’ll need adhesive for proper bonding.
- Drip Edge: Install a drip edge to prevent water from seeping into the shed’s structure.
- Roofing Sealant: Opt for a durable sealant to fill gaps and prevent leaks.
- Roofing Tools: This includes a hammer, roofing nail gun, utility knife, roofing shovel, and a chalk line for precise measurements.
- Safety Gear: Prioritize safety with non-slip footwear, gloves, protective eyewear, and a hard hat.
- Ladder: Ensure you have a stable and appropriately sized ladder for safe access to the roof.
- Caulking Gun: Use a caulking gun for applying sealant with accuracy.
By having these materials on hand, you’ll be well-prepared to execute each step of the roofing process efficiently and effectively.
Safety Precautions
Prior to embarking on the roofing process, it’s paramount to prioritize safety at every stage. Working at heights and handling roofing materials require careful attention to minimize the risk of accidents. Here are essential safety precautions to adhere to:
- Secure Ladder Placement: Ensure the ladder is placed on stable, level ground and extend it at least three feet above the roof edge for easy access.
- Use of Personal Protective Equipment (PPE): Wear non-slip footwear, gloves, protective eyewear, and a hard hat to safeguard against potential hazards.
- Weathervane Awareness: Be mindful of weather conditions. Avoid working on the roof during windy or rainy weather to prevent slips and falls.
- Tool Handling: Exercise caution when using sharp tools and power equipment. Always follow the manufacturer’s guidelines and handle tools with care.
- Work Area Safety: Keep the work area tidy and free of debris to minimize tripping hazards. Secure loose materials and tools to prevent them from sliding off the roof.
- Buddy System: If possible, have a partner assist you during the roofing process. They can provide support, pass tools, and act as an extra set of eyes for safety.
- Stay Hydrated: Roofing work can be physically demanding, especially in warm weather. Stay hydrated and take regular breaks to prevent fatigue.
- Electrical Safety: Be cautious around power lines and electrical equipment. Ensure all electrical connections are secure and avoid contact with overhead wires.
By meticulously adhering to these safety precautions, you can create a secure working environment and mitigate potential risks, allowing you to focus on the roofing process with confidence and peace of mind.
Preparing the Roof Surface
Before laying down the roofing materials, it’s crucial to prepare the roof surface to ensure a stable foundation for the upcoming installation. Here’s a step-by-step guide to effectively prepare the roof surface:
- Clean the Surface: Start by removing any debris, dirt, and old roofing material from the flat roof. Use a broom or a leaf blower to clear the surface thoroughly.
- Inspect for Damage: Carefully examine the roof for any signs of damage, such as cracks, rot, or structural issues. Address any repairs needed to fortify the roof’s integrity.
- Repair Leaks: If there are existing leaks or areas of moisture penetration, apply roofing sealant to patch these areas and prevent further water ingress.
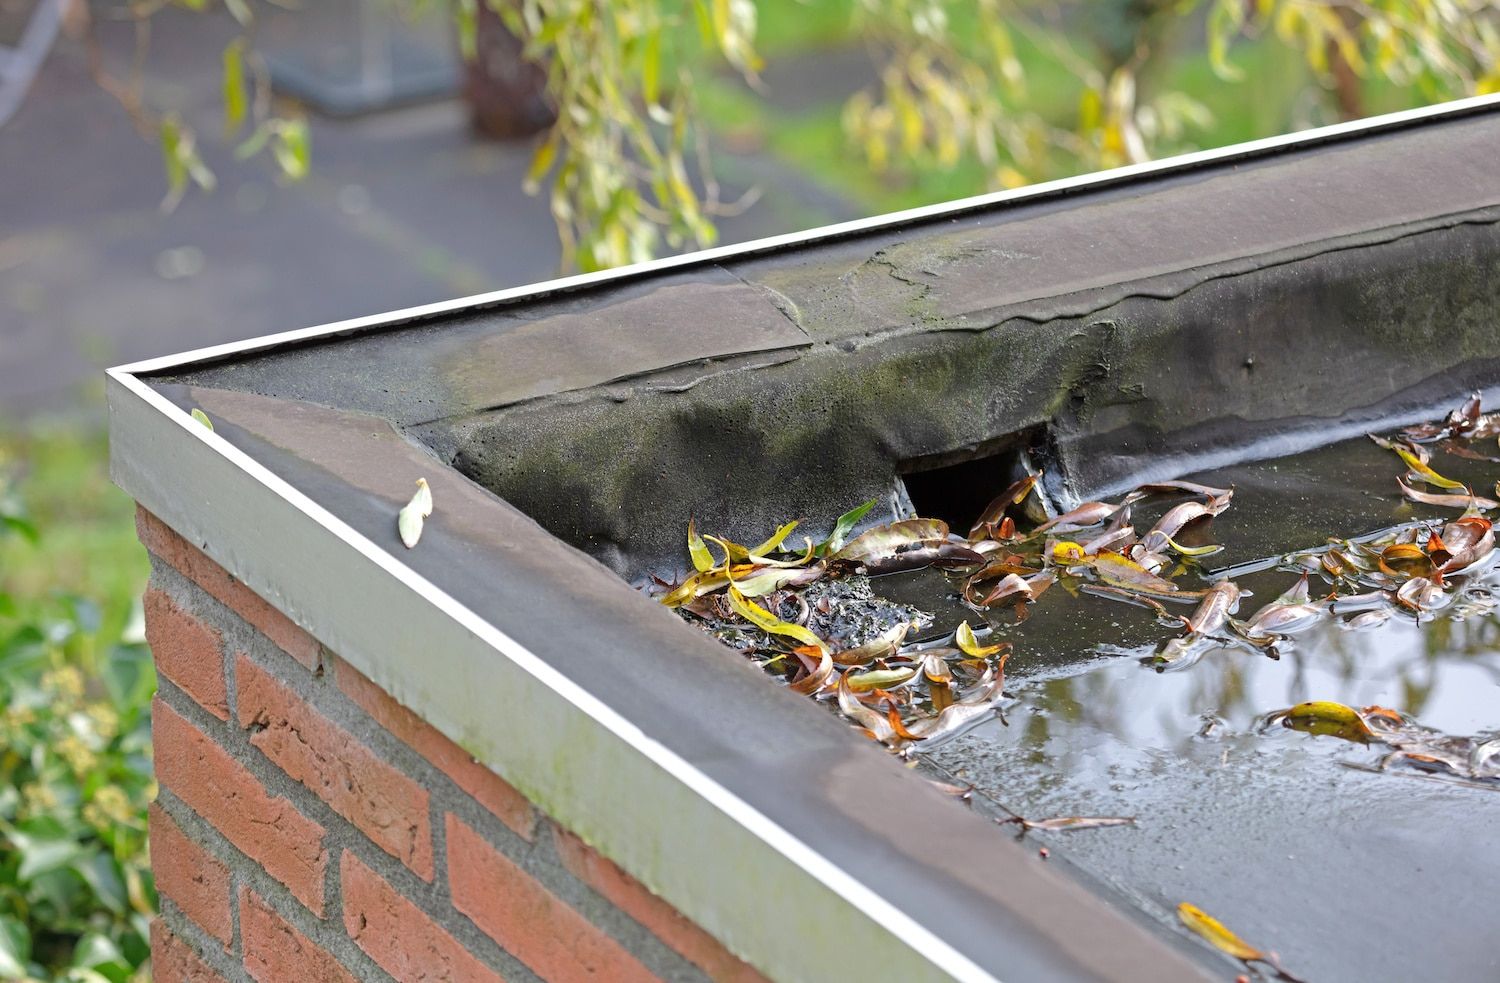
- Check for Proper Drainage: Ensure that the roof has adequate drainage to prevent water from pooling. Clear any clogged gutters or downspouts to maintain proper water flow.
- Apply Primer (if necessary): Depending on the roofing material being used, you may need to apply a primer to enhance adhesion and create a uniform surface.
- Install Drip Edge: Secure a drip edge along the roof’s perimeter to direct water away from the shed and protect the underlying structure from moisture.
- Verify Roof Slope: Confirm that the roof has the appropriate slope for efficient water runoff. Adjustments may be necessary to achieve optimal drainage.
By meticulously preparing the roof surface, you’ll establish a solid groundwork for the subsequent installation of the underlayment and roofing materials. This proactive approach sets the stage for a durable and long-lasting flat roof shed.
When roofing a flat roof shed, make sure to use a waterproof membrane to prevent leaks. It’s important to have proper drainage to avoid water pooling. Consider using a rubber or PVC membrane for durability.
Applying the Underlayment
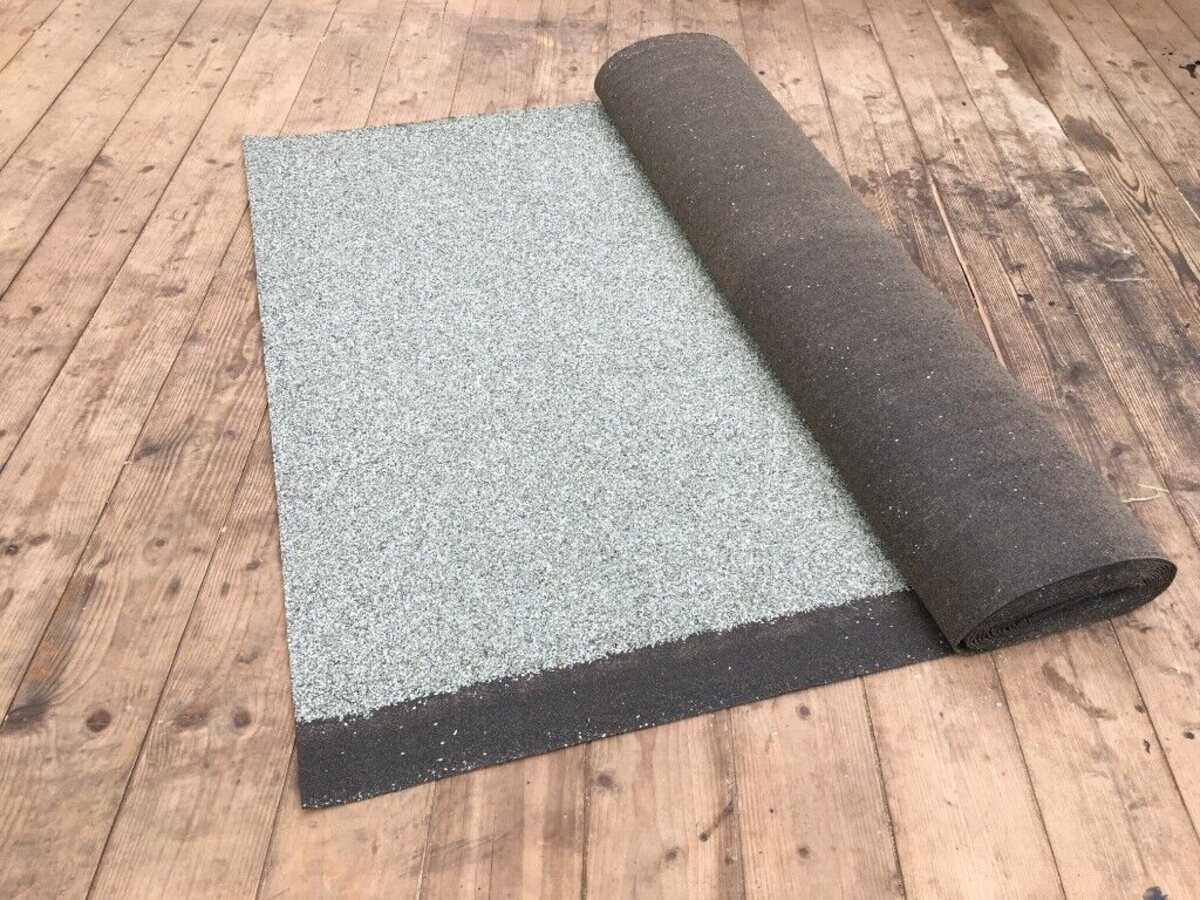
The underlayment serves as a crucial barrier against moisture and provides an additional layer of protection for the roof structure. Properly applying the underlayment is essential for safeguarding the shed from potential water damage. Follow these steps to effectively install the underlayment:
- Measure and Cut: Unroll the underlayment material and cut it to the appropriate size, allowing for a generous overlap at the edges and seams.
- Start at the Bottom: Begin at the lowest edge of the roof and gradually work your way upwards. Secure the underlayment in place, ensuring it lies flat and wrinkle-free.
- Overlap Seams: When laying subsequent rows of underlayment, overlap the edges by the manufacturer’s recommended amount to create a watertight seal.
- Secure with Fasteners: Use roofing nails or staples to fasten the underlayment to the roof surface at regular intervals, adhering to the specified spacing outlined in the product guidelines.
- Trim Excess Material: Trim any excess underlayment along the edges and around protrusions, maintaining a neat and precise fit.
- Inspect for Uniform Coverage: Thoroughly inspect the entire underlayment installation to ensure it covers the entire roof surface without gaps or wrinkles.
- Seal Around Penetrations: Apply roofing sealant around any roof penetrations, such as vents or chimneys, to reinforce the underlayment’s waterproofing capabilities.
By meticulously applying the underlayment, you establish a resilient barrier that shields the shed from moisture infiltration, setting the stage for the final phase of installing the roofing material.
Read more: How To Replace A Flat Roof
Installing the Roofing Material
Now comes the exciting phase of installing the roofing material, which not only enhances the shed’s aesthetics but also provides essential protection against the elements. The following steps outline the process of installing the roofing material on your flat roof shed:
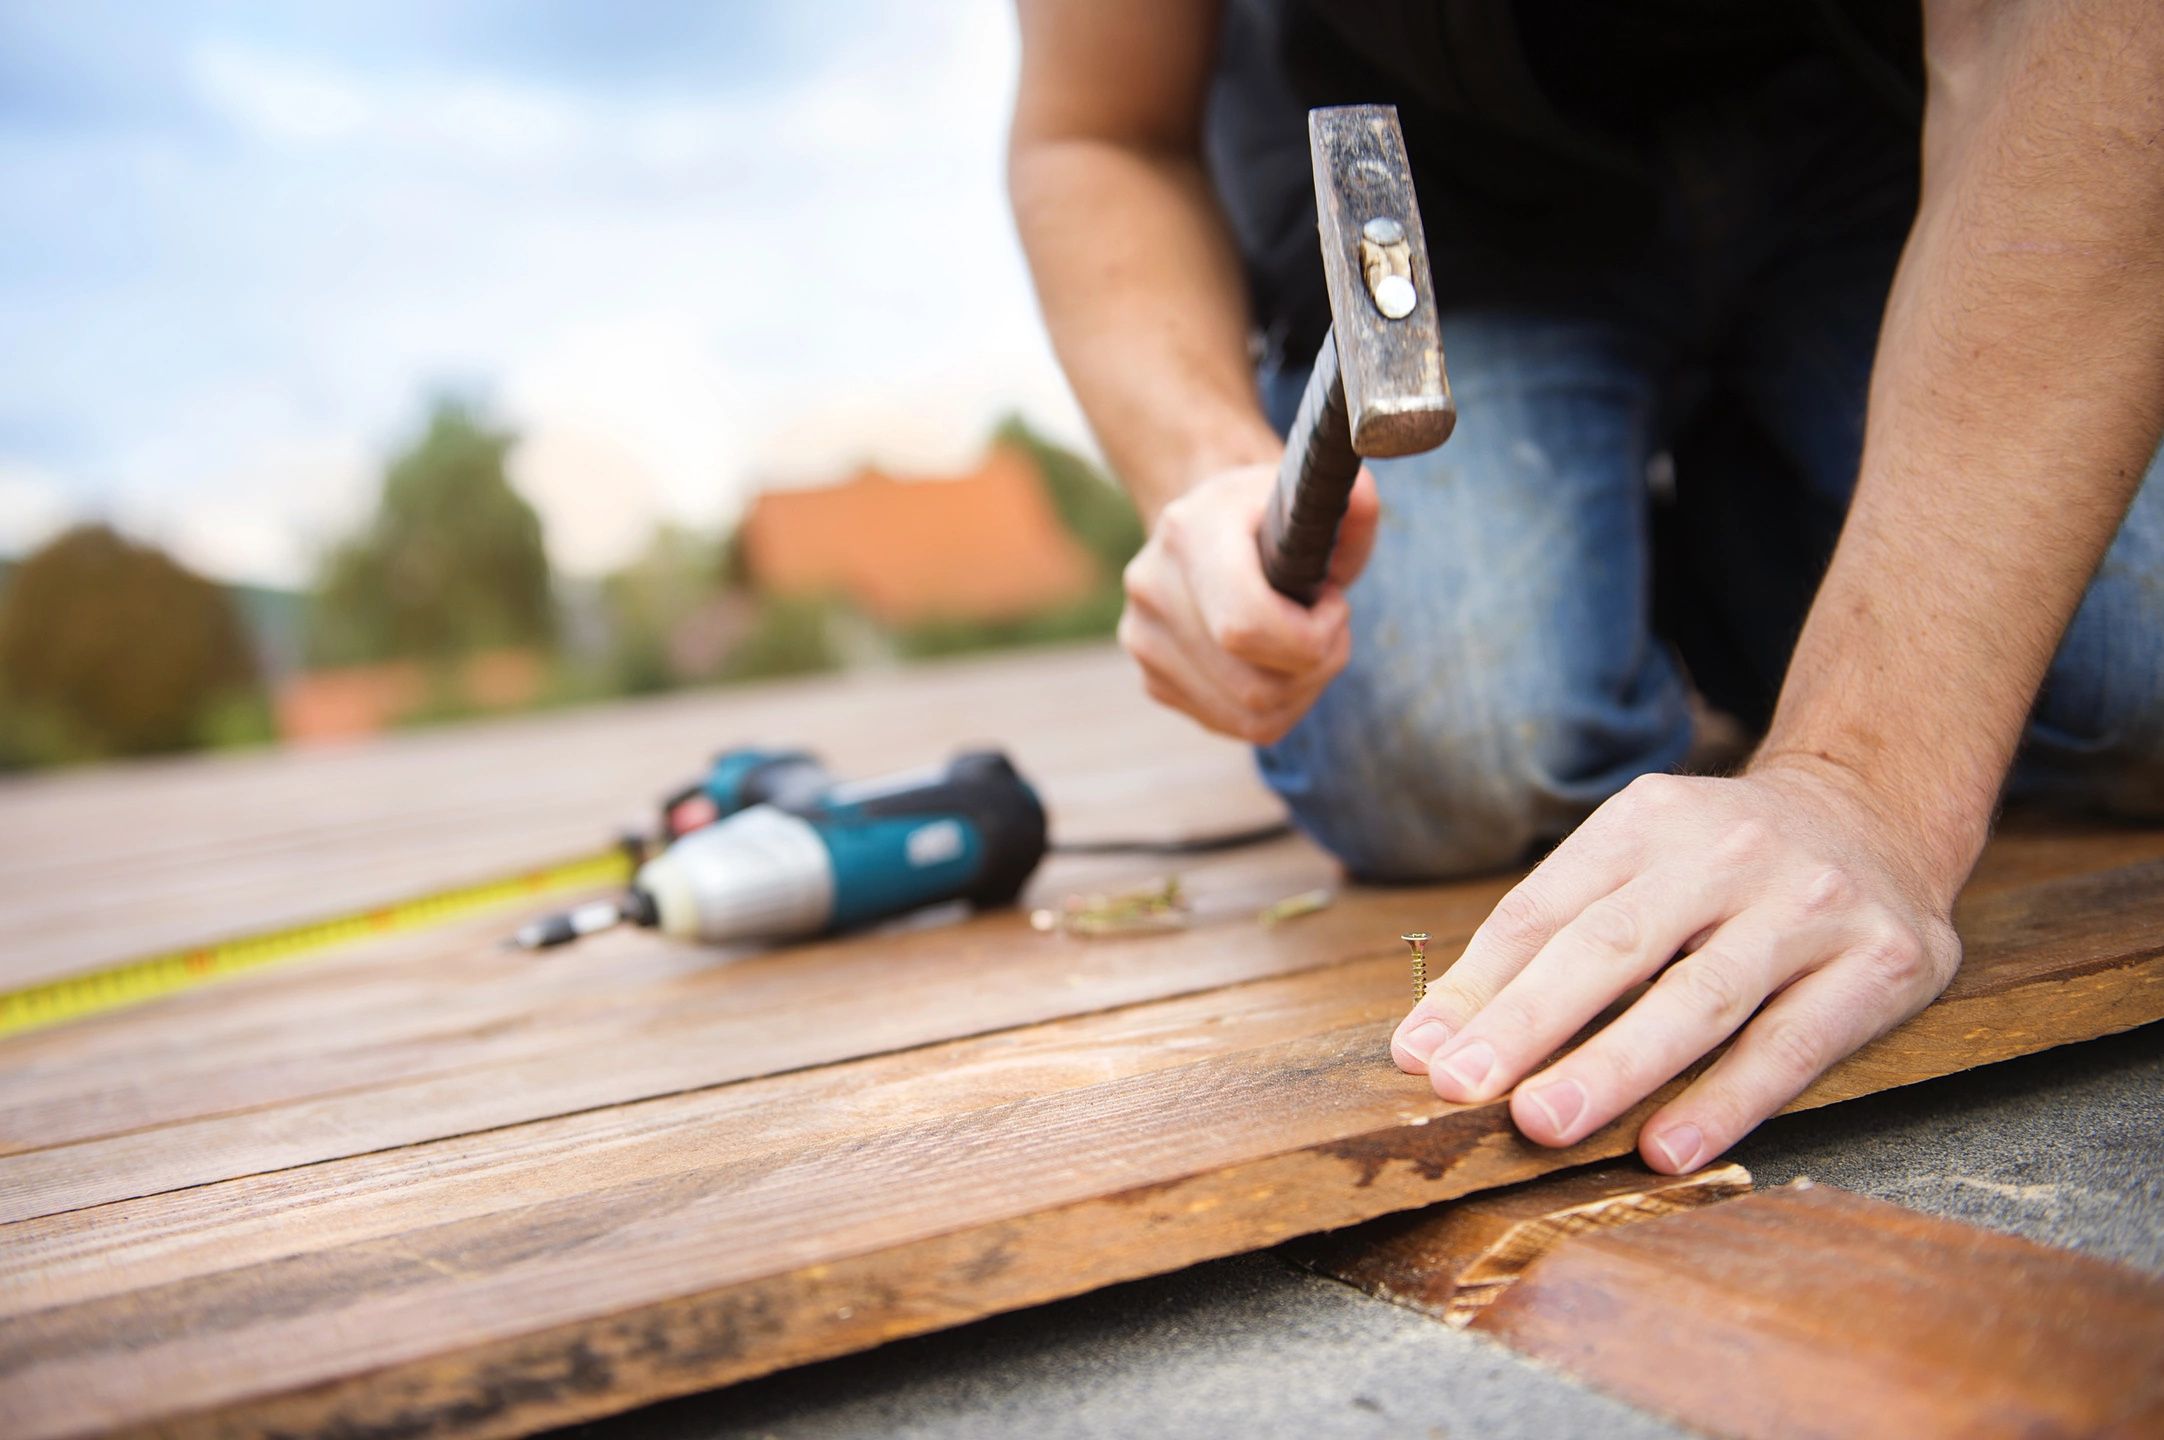
- Begin at the Bottom Edge: Start at the bottom edge of the roof and align the first row of roofing material, ensuring it overhangs the roof’s edge as per the manufacturer’s specifications.
- Secure with Fasteners: Depending on the roofing material, use appropriate fasteners such as roofing nails or screws to secure the material in place. Follow the recommended spacing for fastener placement.
- Overlap Rows: When laying subsequent rows of roofing material, overlap the edges according to the manufacturer’s guidelines to create a seamless and weather-resistant barrier.
- Trim for a Precise Fit: Use a utility knife or shears to trim the roofing material as needed, ensuring a neat and accurate fit around roof protrusions and edges.
- Adhere Adhesive (if applicable): For certain roofing materials such as EPDM or TPO membrane, apply the recommended adhesive to ensure secure bonding between the seams and edges.
- Seal Joints and Edges: Apply roofing sealant along the joints, edges, and any penetrations to fortify the roof’s waterproofing and prevent potential leaks.
- Verify Proper Alignment: Regularly check the alignment and straightness of the roofing material to maintain a uniform and visually appealing finish.
By meticulously following these steps, you’ll achieve a professional and weather-resistant installation of the roofing material, ensuring that your flat roof shed is well-equipped to withstand the elements for years to come.
Finishing Touches
As you near the completion of roofing your flat roof shed, it’s time to focus on the finishing touches that will enhance the functionality and longevity of the roof. Consider the following essential steps to add the final touches to your roofing project:
- Inspect for Loose Fasteners: Thoroughly inspect the roof to ensure all fasteners are securely in place. Tighten any loose nails or screws as needed to prevent potential uplift during high winds.
- Trim Excess Material: Trim any overhanging edges of the roofing material to achieve a clean and polished appearance while ensuring the material remains securely in place.
- Apply Protective Coating (if applicable): Depending on the roofing material used, consider applying a protective coating to enhance durability and UV resistance, prolonging the roof’s lifespan.
- Check for Proper Drainage: Confirm that the roof maintains optimal drainage to prevent water accumulation and potential structural issues. Adjust the slope if necessary to ensure efficient water runoff.
- Inspect Seals and Joints: Thoroughly examine all sealed joints and edges for any signs of gaps or damage. Reapply sealant as needed to maintain a watertight seal.
- Clean the Work Area: Remove any debris, tools, and leftover materials from the roof and surrounding area, leaving behind a tidy and safe environment.
- Document the Installation: Consider documenting the roofing installation with photographs or notes for future reference. This can be valuable for maintenance and potential warranty claims.
By attending to these finishing touches, you’ll ensure that your flat roof shed is equipped with a resilient and well-maintained roof, ready to withstand the elements and serve its intended purpose for years to come.
Conclusion
Congratulations on successfully roofing your flat roof shed! By following the comprehensive steps outlined in this guide, you’ve equipped your outdoor structure with a sturdy and weather-resistant roof that will provide reliable protection for your belongings and the shed’s interior. Throughout the process, you’ve demonstrated a commitment to quality craftsmanship and attention to detail, setting the stage for a long-lasting and visually appealing roofing installation.
Remember, the key to a durable and reliable flat roof shed lies in meticulous preparation, precise installation, and proactive maintenance. By prioritizing safety precautions, gathering the necessary materials, and executing each step with care, you’ve not only achieved a functional roof but also honed your skills as a capable DIY enthusiast.
As you admire your completed flat roof shed, take pride in the knowledge that you’ve not only expanded your outdoor storage space but also enriched your hands-on experience in construction and home improvement. Whether it’s protecting your gardening tools, outdoor equipment, or creating a cozy workspace, your well-crafted flat roof shed is ready to serve your needs with resilience and style.
As you reflect on this rewarding endeavor, consider sharing your newfound expertise with fellow DIY enthusiasts or embarking on future projects to further enhance your outdoor living space. The skills and confidence you’ve gained in roofing your flat roof shed are invaluable assets that will continue to benefit your home and lifestyle.
So, take a moment to appreciate your accomplishment, bask in the satisfaction of a job well done, and look forward to the countless benefits that your newly roofed flat roof shed will bring to your everyday life.
Frequently Asked Questions about How To Roof A Flat Roof Shed
Was this page helpful?
At Storables.com, we guarantee accurate and reliable information. Our content, validated by Expert Board Contributors, is crafted following stringent Editorial Policies. We're committed to providing you with well-researched, expert-backed insights for all your informational needs.


0 thoughts on “How To Roof A Flat Roof Shed”