Articles
How To Cut Roof Rafters
Modified: December 7, 2023
Learn how to cut roof rafters in this comprehensive guide. Our articles provide step-by-step instructions and tips for a successful rafter cutting project.
(Many of the links in this article redirect to a specific reviewed product. Your purchase of these products through affiliate links helps to generate commission for Storables.com, at no extra cost. Learn more)
Introduction
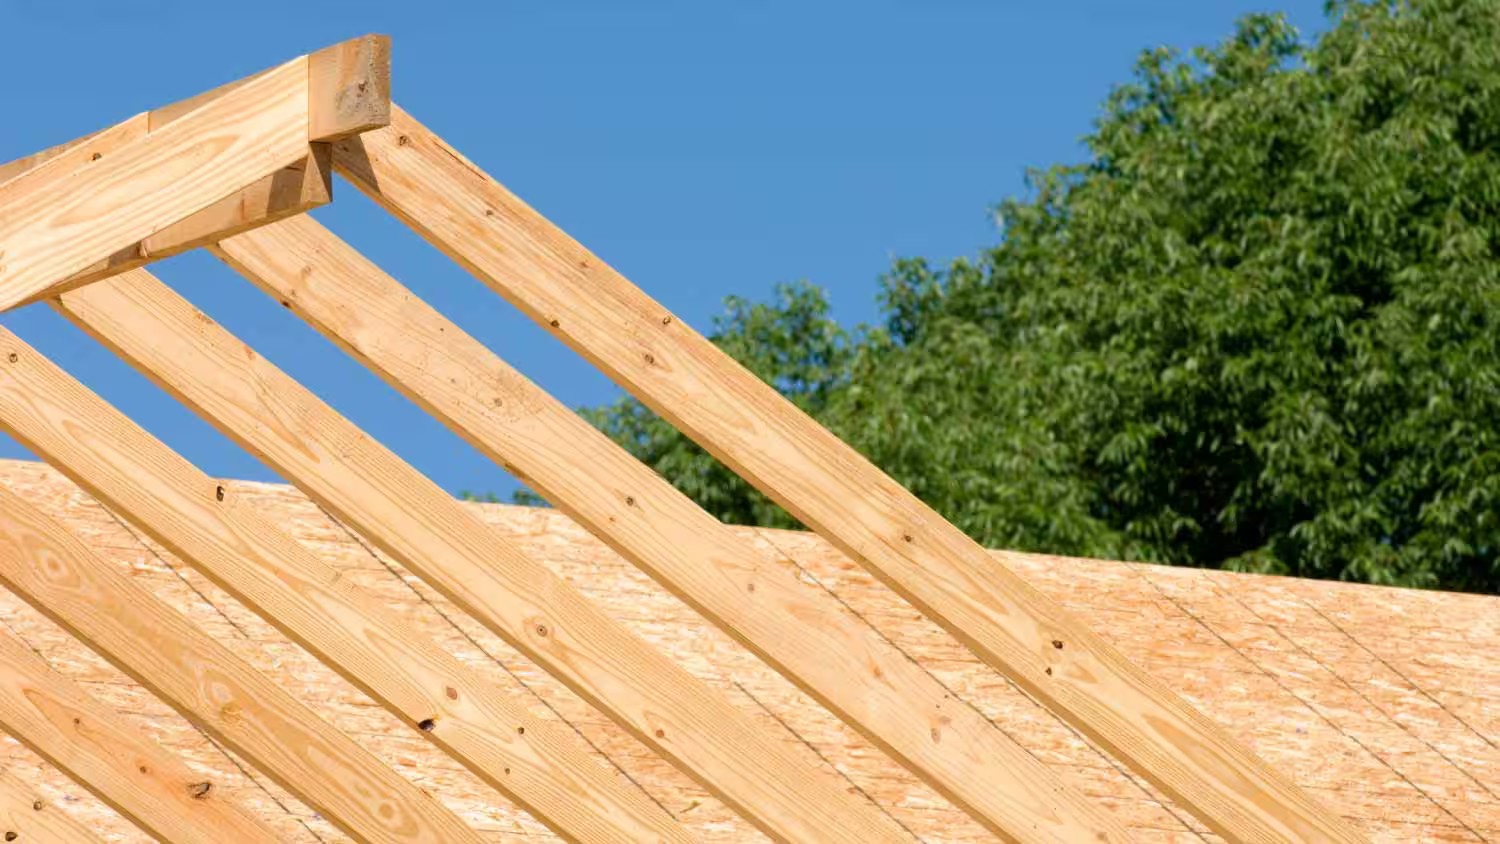
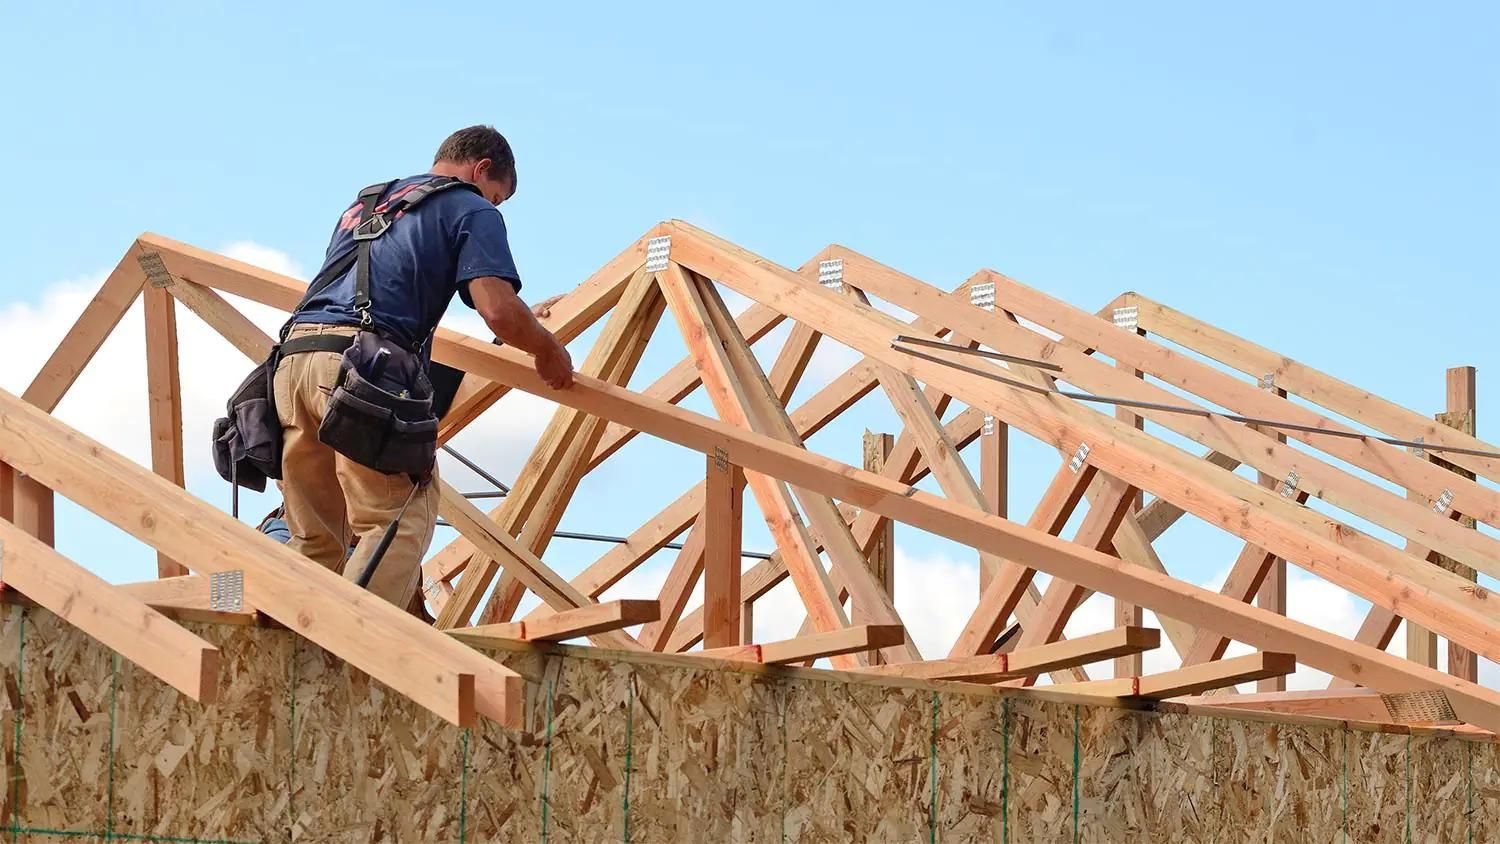
When it comes to building a roof, one of the most crucial and challenging aspects is cutting roof rafters. Rafters are the sloping beams that support the roof and give it its shape. Cutting rafters requires precision, careful measurement, and accurate calculations to ensure that each rafter fits perfectly into place.
In this guide, we will walk you through the step-by-step process of cutting roof rafters. Whether you are a seasoned DIY enthusiast or a professional contractor, following these steps will help you successfully complete your roofing project with confidence.
Before we dive into the details, it’s important to note that the method described in this guide assumes you are working with a conventional gable roof, which is the most common type of roof found in residential buildings. The process may vary for other types of roof designs, such as hip roofs or shed roofs.
Now, let’s get started with the first step of cutting roof rafters.
Key Takeaways:
- Precision and careful measurement are essential when cutting roof rafters to ensure a stable and well-designed roof structure. Prioritizing safety, accuracy, and attention to detail is crucial for a successful outcome.
- Mastering the art of cutting roof rafters empowers DIY enthusiasts and professional contractors to contribute to the creation of strong and secure roofs. Embrace the process with confidence and attention to detail.
Read more: How To Cut PVC Roof Panels
Step 1: Measure and mark the rafter layout
The first step in cutting roof rafters is to measure and mark the layout on the top plate of the wall. This will determine the placement and angles of the rafters.
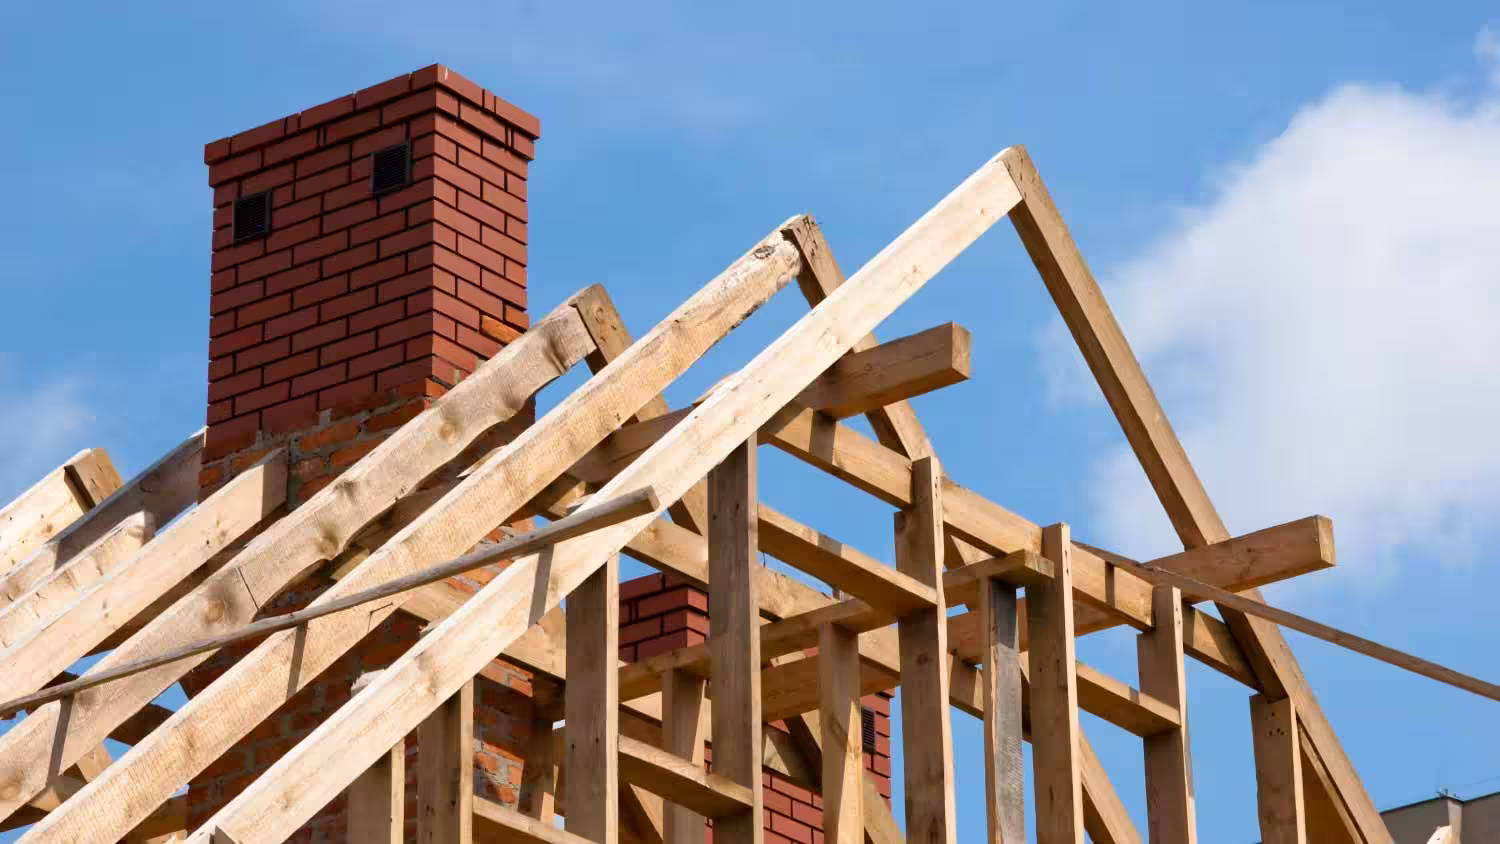
Start by locating the position of the ridge board. The ridge board is the horizontal beam that connects the tops of the rafters and provides stability to the roof structure. Measure and mark the centerline of the ridge board on the top plate using a tape measure and a pencil.
Next, you need to determine the length and angle of the rafters. The length of each rafter will depend on the slope of the roof and the span between the ridge board and the top plate of the wall. Use a framing square to find the rise and run of the roof. The rise is the vertical measurement from the top plate to the ridge board, while the run is the horizontal measurement from the ridge board to the outside edge of the wall.
Once you have the rise and run measurements, you can calculate the length of the rafters using the Pythagorean theorem. Square the rise measurement, square the run measurement, and then add the two squares together. Take the square root of the sum to find the length of the rafter. Mark this length on the top plate, starting from the centerline of the ridge board.
Now it’s time to mark the angles on the rafters. The angle of the rafters is determined by the pitch of the roof, which is the slope of the roof surface. Pitch is typically expressed as a ratio, such as 6:12, where the first number represents the rise and the second number represents the run. To determine the angle, you can use a framing square or a rafter angle square. Place the square on the rafter layout line and align the run of the square with the top of the rafter. Mark the angle on the rafter using the square as a guide.
Repeat this process for each rafter, marking the layout lines on the top plate. Ensure that the spacing between the rafters is consistent, typically 16 or 24 inches on center, depending on the load requirements and local building codes.
With the rafter layout marked on the top plate, you are now ready to move on to the next step: calculating the rafter length and angle.
Step 2: Calculate rafter length and angle
Once you have measured and marked the rafter layout on the top plate, the next step is to calculate the length and angle of each rafter. These calculations are essential to ensure that the rafters fit correctly and provide the necessary support for the roof.
To calculate the rafter length, you will need to know the pitch of the roof and the span between the ridge board and the top plate of the wall. The pitch is typically given as a ratio, such as 6:12 or 8:12, representing the vertical rise and horizontal run of the roof. The span is the distance from the centerline of the ridge board to the outside edge of the wall.
There are several methods for calculating rafter length, but one common technique is to use the Pythagorean theorem. Start by squaring the rise and run measurements. Then, add the two squares together and take the square root of the sum. This will give you the length of the rafter. Remember to account for any overhang or additional length required for flashing or fascia boards.
Once you have determined the rafter length, you can move on to calculating the rafter angle. The angle is determined by the pitch of the roof and is typically expressed in degrees or as a ratio. To calculate the angle, you can use a rafter angle square or a framing square. Align the square with the rafter layout line and mark the angle on the rafter.
It’s important to note that if you are working with a roof that has different pitches or slopes on each side, you will need to calculate the length and angle separately for each rafter. Additionally, if your roof has a ridge board that is not level, you will need to make adjustments to ensure that the rafters fit properly.
Take your time and double-check your calculations to ensure accuracy. Cutting rafters with incorrect measurements can lead to structural issues and potential roof failure. Once you have calculated the rafter length and angle, you can move on to the next step: setting up the saw and safety equipment.
Step 3: Set up the saw and safety equipment
Before you start cutting the roof rafters, it’s essential to set up the necessary tools and safety equipment to ensure a smooth and safe cutting process. Here are the steps to follow:
1. Prepare the saw: Choose a circular saw or a miter saw with a fine-toothed blade suitable for cutting lumber. Ensure that the saw is in good working condition and the blade is sharp. Adjust the saw’s cutting angle to match the marked angle on the rafters.
2. Safety gear: Put on the necessary safety equipment, including safety goggles to protect your eyes from debris, gloves to protect your hands, and ear protection if needed. Avoid loose-fitting clothing that could potentially get caught in the saw.
3. Secure the workpiece: Place the rafter on a stable work surface or sawhorses. Ensure that the rafter is secured firmly to prevent it from shifting or falling during the cutting process.
4. Set up a cutting guide: Use a straight board or a clamped guide to ensure clean and accurate cuts. Align the marked rafter layout line with the guide to maintain uniformity in the cut angles.
5. Mark the cutting lines: Double-check the marked rafter layout lines and use a pencil or a marker to indicate the precise points where you will make your cuts. Take your time to ensure accuracy before proceeding with the cutting process.
6. Clear the workspace: Remove any obstacles, clutter, or debris from the cutting area. This will prevent accidents and allow for better maneuverability when using the saw.
Remember, safety should always be a top priority when using power tools. Always follow the manufacturer’s instructions for operating the saw and take the necessary precautions to protect yourself and others around you.
With your saw and safety equipment set up, you are now ready to move on to the next step: cutting the bird’s mouth.
Step 4: Cut the bird’s mouth
The bird’s mouth is a key component of a rafter that allows it to sit securely on the wall plate. This notch provides a stable connection point and helps distribute the weight of the roof evenly. Here’s how to cut the bird’s mouth:
1. Measure and mark the bird’s mouth: Starting from the bottom edge of the rafter, measure up the thickness of the wall plate (typically around 1.5 inches) and make a mark. This will be the bottom of the bird’s mouth cut. From this mark, measure up the plumb cut distance (typically about one-third of the rafter width) and make another mark. Connect these two marks with a vertical line.
2. Measure the seat cut: Measure the width of the wall plate and mark this measurement on the horizontal line of the bird’s mouth. This will determine the width of the notch that will sit on the wall plate.
3. Cut the bird’s mouth: Set the depth of your circular saw blade to match the thickness of the wall plate. Position the saw blade on the vertical line of the bird’s mouth notch, ensuring that it aligns with the horizontal line. Securely hold the rafter and make the first cut along the vertical line, stopping at the horizontal line. Repeat the process on the other side of the vertical line.
4. Remove the waste material: Use a chisel to remove the waste material between the two cuts. Make shallow cuts and gradually deepen them until you reach the desired depth. Take care not to overcut or damage the remaining wood. Test the fit of the bird’s mouth notch on the wall plate and make any necessary adjustments.
5. Smooth the cut surface: Use sandpaper or a file to smooth the cut surface of the bird’s mouth. This will ensure a snug fit and help prevent any splintering or rough edges.
It’s important to note that the design of the bird’s mouth may vary depending on the type of roof and the specific building requirements. Always refer to your local building codes or consult with a professional if you have any doubts or uncertainties.
With the bird’s mouth cut, you are now ready to move on to the next step: cutting the plumb cut.
When cutting roof rafters, always double check your measurements before making any cuts to ensure accuracy and avoid costly mistakes.
Read more: How To Build Rafters For A Shed
Step 5: Cut the plumb cut
The plumb cut is an essential part of cutting roof rafters as it determines the angle at which the rafter will sit against the ridge board. This cut ensures that the rafter is perpendicular to the roof surface. Here’s how to cut the plumb cut:
1. Mark the plumb cut angle: Using the angle measurement you calculated in Step 2, transfer that angle onto the end of the rafter. This will be the top of the plumb cut.
2. Measure the length of the plumb cut: Measure the distance from the bottom point of the plumb cut angle to the top edge of the rafter. This is the length of the plumb cut.
3. Set up the saw: Adjust the saw to the correct angle for the plumb cut. Ensure that the saw blade is aligned with the marked angle on the rafter.
4. Make the plumb cut: Securely hold the rafter in place and carefully guide the saw along the marked plumb cut line. Take your time to ensure a clean and accurate cut. Use a steady and controlled motion to prevent any potential kickback.
5. Check the fit: Once you have made the plumb cut, check the fit of the rafter against the ridge board. The plumb cut should align perfectly with the ridge board at a right angle. Make any necessary adjustments to ensure a snug fit.
It’s crucial to maintain the accuracy of the plumb cut to ensure the structural integrity of the roof. Even a slight variation in the angle can lead to problems with the roof’s alignment and stability.
With the plumb cut complete, you can now move on to the next step: cutting the tail cut.
Step 6: Cut the tail cut
The tail cut is the final cut that is made on the end of the rafter, opposite the plumb cut. This cut creates the desired shape and overhang of the roof. Follow these steps to efficiently cut the tail cut:
1. Measure the desired overhang: Determine the length of the tail cut by measuring the amount of overhang you want for your roof. This measurement is typically specified in your building plans or local building codes.
2. Mark the tail cut: Starting from the end of the rafter, measure the distance determined in the previous step and make a mark. This mark will indicate the starting point of the tail cut.
3. Set up the saw: Set the saw to the necessary angle for the tail cut. Ensure that the blade is aligned with the marked line and ready for cutting.
4. Safely make the cut: Hold the rafter securely and guide the saw along the marked line to cut the tail of the rafter. Take your time to ensure accuracy and a clean cut. Avoid rushing or using excessive force, as this can lead to a jagged or uneven cut.
5. Smooth the cut surface: Once the tail cut is complete, use sandpaper or a file to smooth any rough edges or splinters. This will not only improve the overall appearance of the rafter but also mitigate the risk of potential injury from sharp edges.
Remember to double-check your measurements and ensure that the tail cut aligns with your design plans and the other rafters. Consistency in the tail cut will result in a uniform appearance and proper alignment of the roof structure.
With the tail cut made, you have successfully completed the main cuts of the rafter. Now, you can proceed to the final step: repeating the process for the remaining rafters.
Step 7: Repeat the process for the remaining rafters
Now that you’ve completed the cutting process for the first rafter, it’s time to repeat the same steps for the remaining rafters. Remember, consistency and accuracy are key to ensure a sturdy and properly aligned roof. Here’s how to proceed:
1. Measure and mark: Take the measurements and layout lines from Step 1 and apply them to each subsequent rafter. Measure and mark the rafter layout on the top plate, ensuring the correct spacing and alignment with the ridge board.
2. Calculate length and angle: Use the same calculations and techniques from Step 2 to determine the rafter length and angle for each remaining rafter. Double-check your measurements to ensure accuracy.
3. Set up saw and safety equipment: Follow the instructions from Step 3 to set up the saw and safety equipment for cutting each rafter. Ensure that the saw is adjusted to the correct angles and that your safety gear is worn before proceeding with the cuts.
4. Cut the bird’s mouth: Repeat the process outlined in Step 4 to cut the bird’s mouth for each rafter. Take your time and make any necessary adjustments to ensure a proper fit on the wall plate.
5. Cut the plumb cut: Follow the instructions from Step 5 to cut the plumb cut on each rafter. Maintain the correct angles and check the fit against the ridge board to ensure proper alignment.
6. Cut the tail cut: Repeat the process outlined in Step 6 to cut the tail cut for each rafter. Double-check your measurements to ensure consistent overhang and a clean cut.
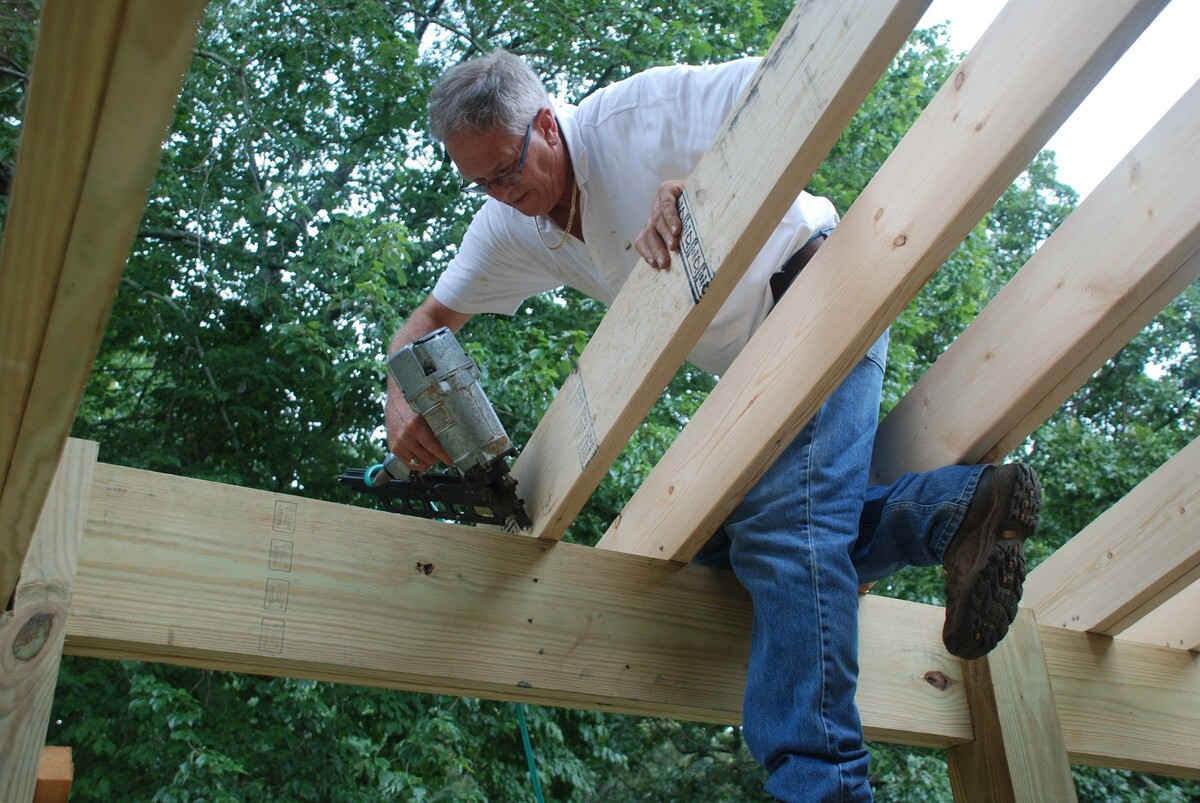
Remember to work methodically and accurately as you repeat these steps for each rafter. Take breaks as needed to maintain focus and prevent fatigue, as cutting rafters can be a physically demanding task.
Once you have completed cutting the remaining rafters, ensure that each one fits properly and aligns with the ridge board and wall plate. Make any necessary adjustments before proceeding with the installation of the rafters on your roof structure.
Congratulations! You have successfully completed the process of cutting roof rafters. With precision and careful attention to detail, you are well on your way to constructing a strong and reliable roof.
Conclusion
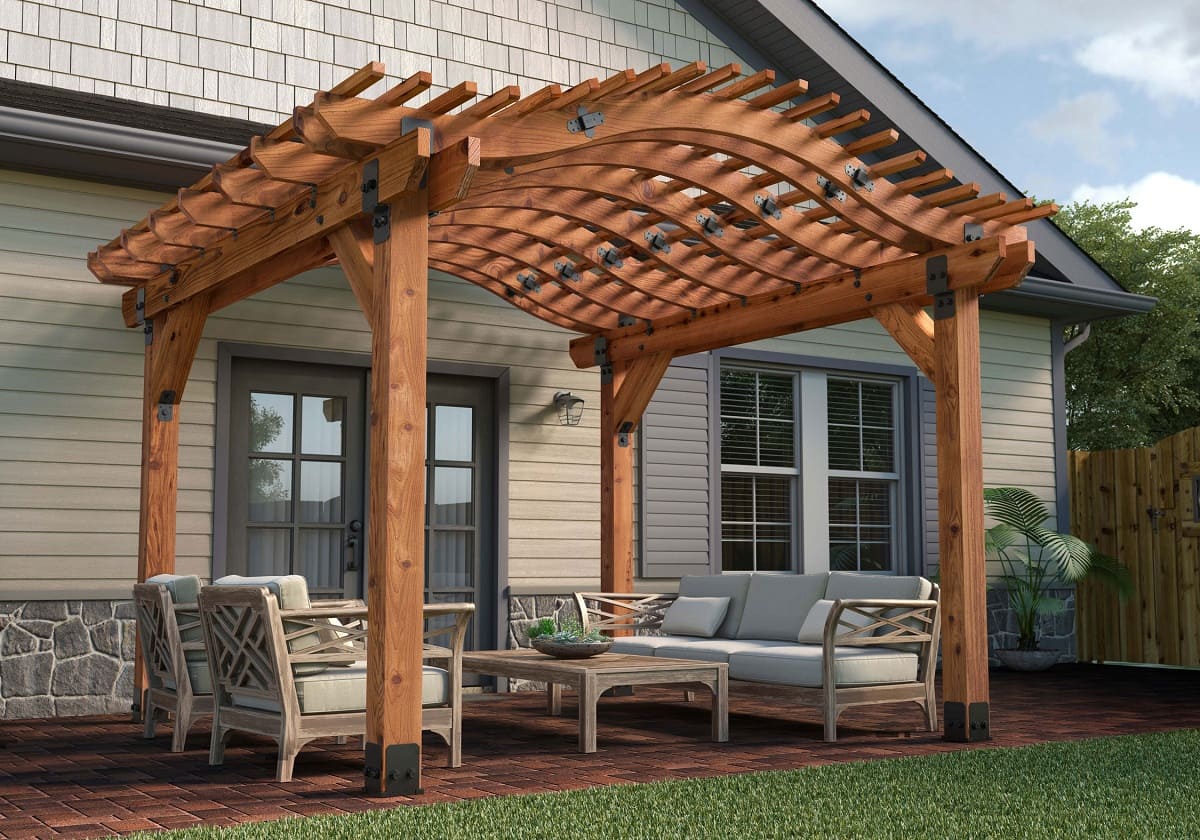
Cutting roof rafters is a crucial step in constructing a roof that is both structurally sound and visually appealing. By following the step-by-step process outlined in this guide, you can confidently and accurately cut roof rafters for your next construction project.
From measuring and marking the rafter layout to calculating rafter length and angles, setting up the saw and safety equipment, and making the various cuts including the bird’s mouth, plumb cut, and tail cut, each step plays a vital role in creating a stable and well-designed roof structure.
Throughout the entire process, it is important to prioritize safety and accuracy. Wearing the necessary safety equipment, setting up the tools properly, and taking the time to double-check measurements and cuts will help ensure a successful outcome.
Whether you are a seasoned DIY enthusiast or a professional contractor, cutting roof rafters requires attention to detail and precision. Remember to refer to your local building codes and consult with professionals as needed to ensure that your roof adheres to safety standards and regulations.
With the completion of the final step, which involves repeating the process for the remaining rafters, you can proudly move forward with the installation of the rafters and continue the construction of your roof.
By mastering the art of cutting roof rafters, you have gained an essential skill that empowers you to contribute to the creation of strong and secure roofs. So, grab your tools and embrace the process. Happy cutting and building!
Frequently Asked Questions about How To Cut Roof Rafters
Was this page helpful?
At Storables.com, we guarantee accurate and reliable information. Our content, validated by Expert Board Contributors, is crafted following stringent Editorial Policies. We're committed to providing you with well-researched, expert-backed insights for all your informational needs.


0 thoughts on “How To Cut Roof Rafters”