Home>Furniture & Design>Living Room Furniture>How To Hang A Room Divider Curtain

Living Room Furniture
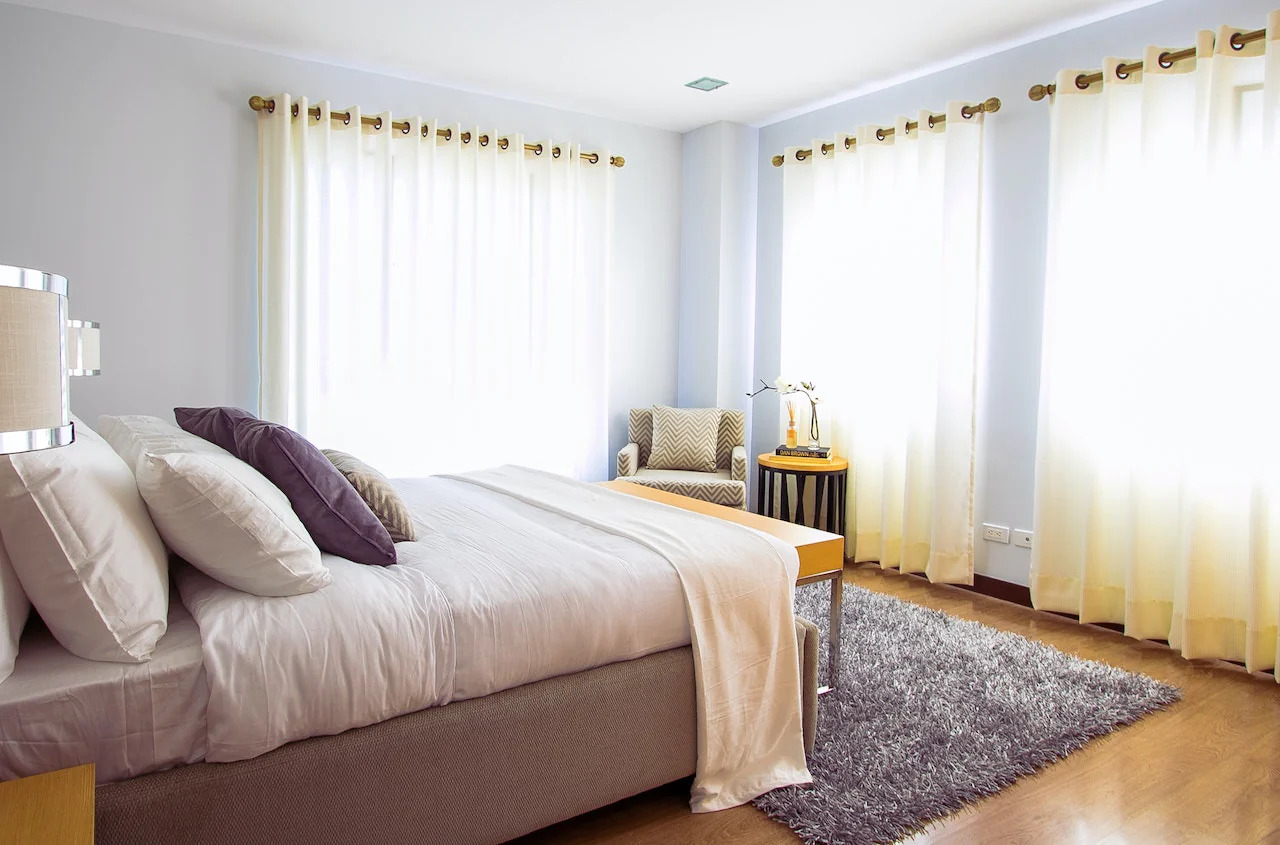
How To Hang A Room Divider Curtain
Modified: December 21, 2023
Learn how to hang a room divider curtain to create a stylish and functional division in your living room. Explore our expert tips and ideas for living room furniture and design.
(Many of the links in this article redirect to a specific reviewed product. Your purchase of these products through affiliate links helps to generate commission for Storables.com, at no extra cost. Learn more)
Introduction
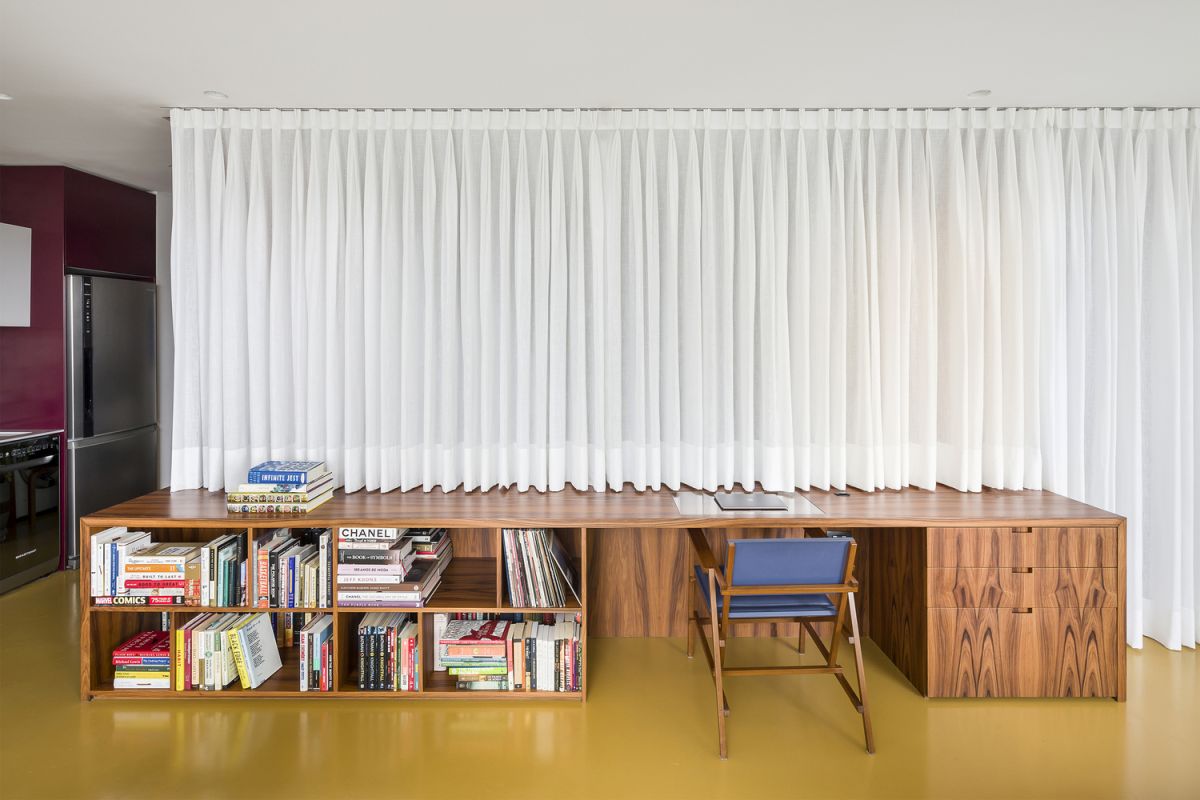
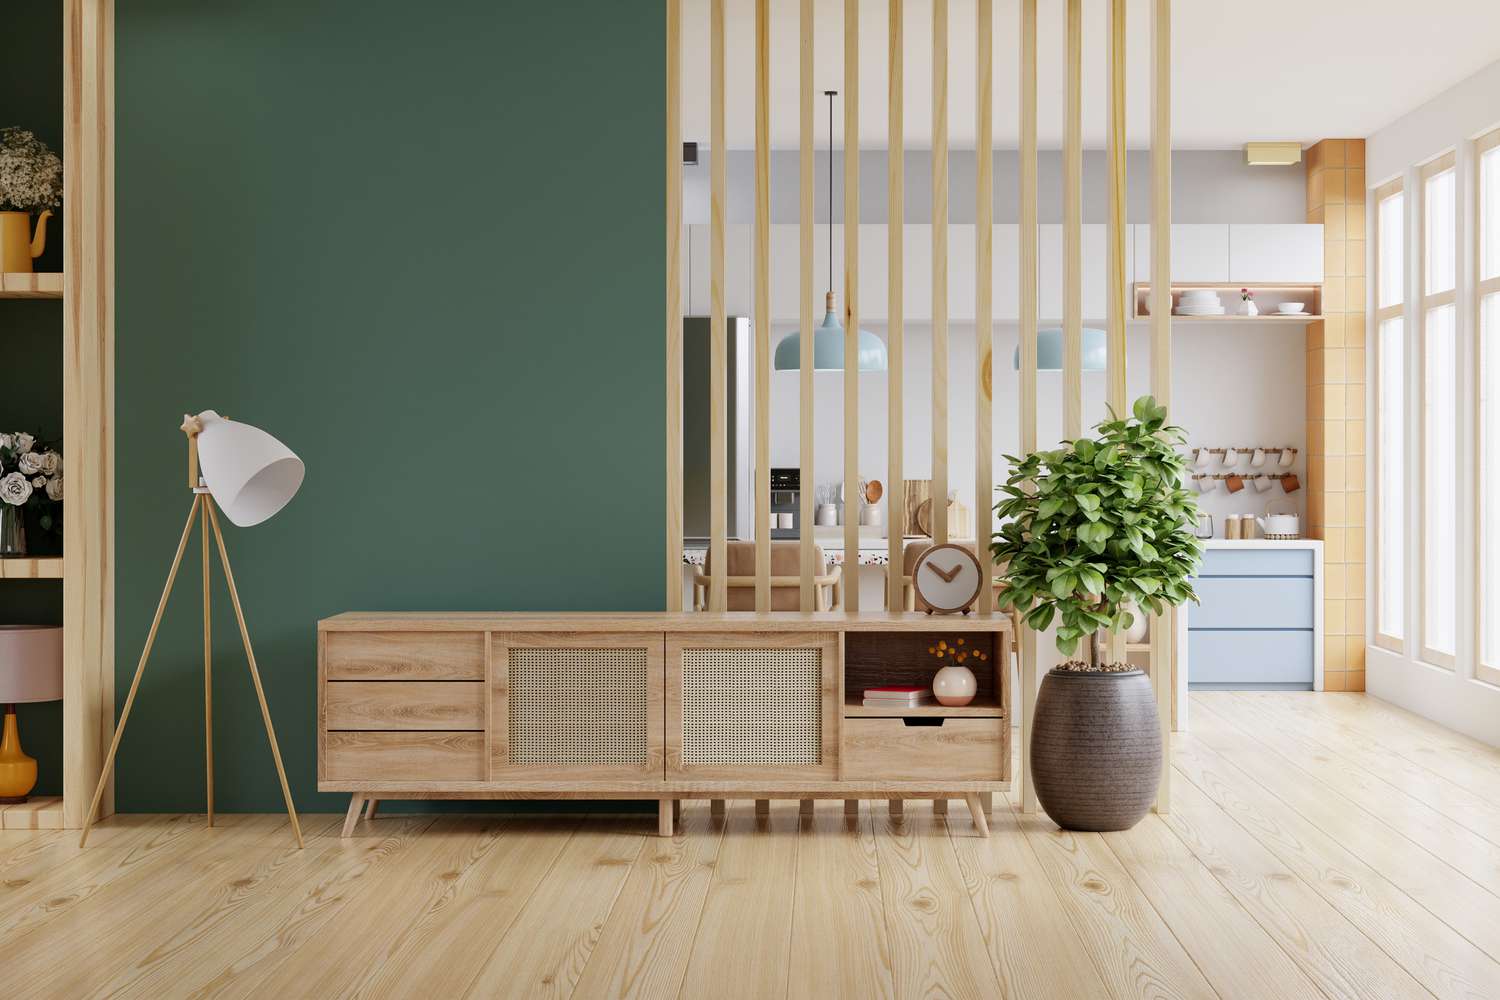
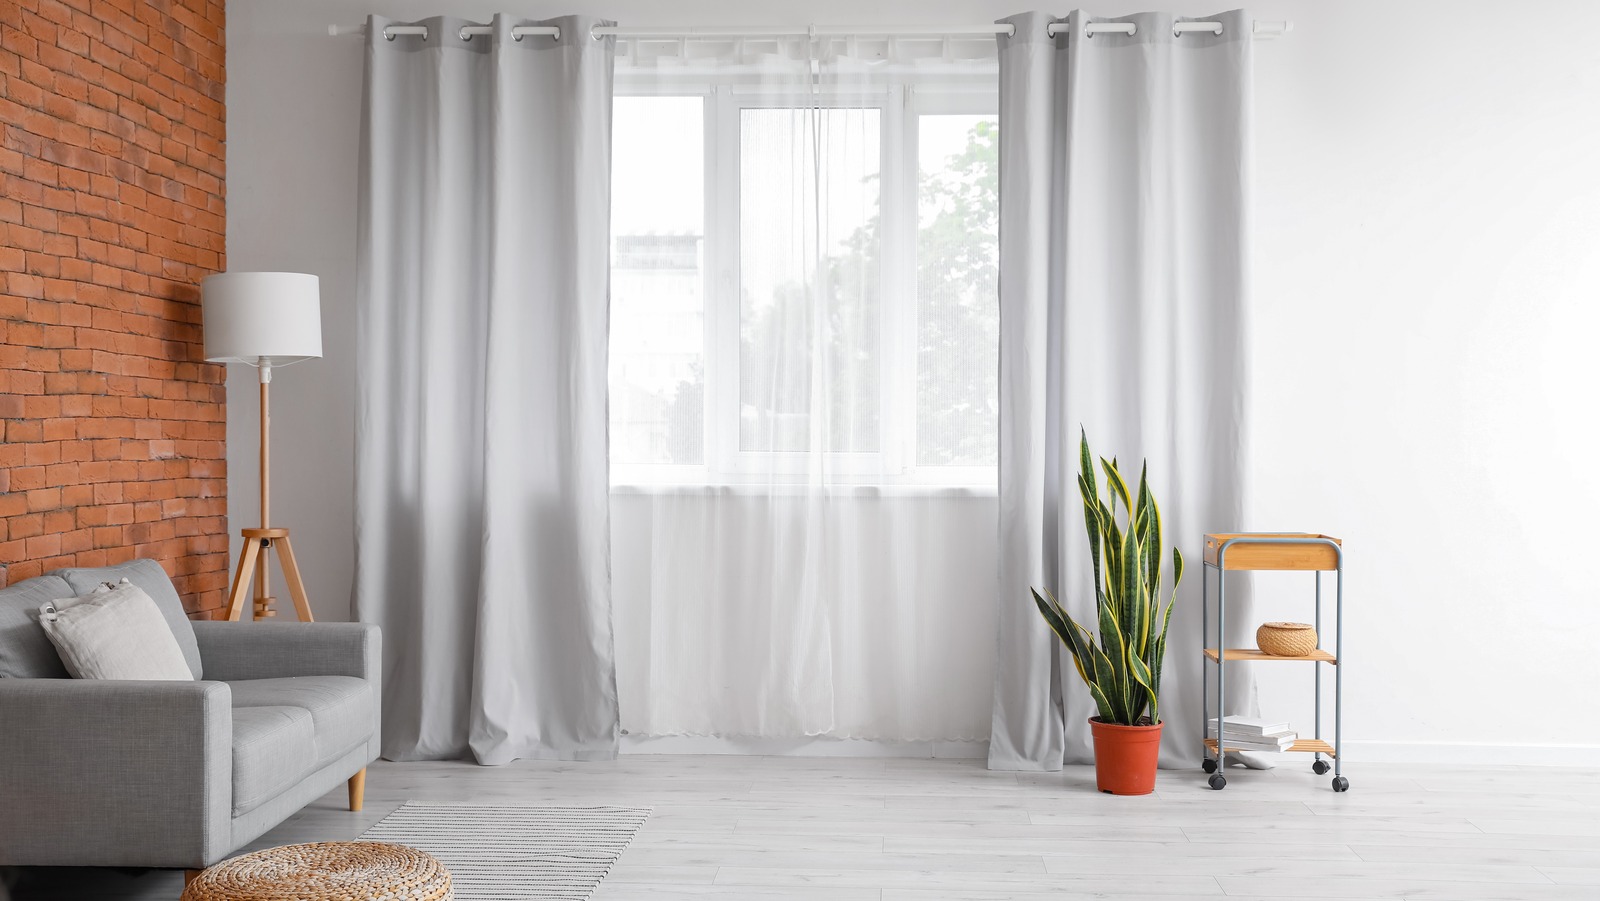
So, you've decided to add a touch of elegance and functionality to your living space by incorporating a room divider curtain. This simple yet effective addition can transform the ambiance of a room, creating privacy, defining separate areas, and adding a decorative element. Whether you're aiming to section off a part of the room for a home office, create a cozy reading nook, or simply add a stylish accent, a room divider curtain can be a versatile and cost-effective solution.
In this comprehensive guide, we'll walk you through the process of hanging a room divider curtain with ease. From gathering the necessary materials to the step-by-step installation, you'll gain the confidence and know-how to elevate your living space. So, roll up your sleeves, grab your tools, and let's dive into the art of hanging a room divider curtain with finesse.
Key Takeaways:
- Elevate your living space with a room divider curtain, creating privacy and adding style. Follow precise measurements and secure installation for a polished and functional outcome.
- Enjoy the versatility of a room divider curtain, whether for a private workspace or a cozy reading nook. Embrace the enhanced beauty and functionality it brings to your home.
Read more: How To Hang Curtains As A Room Divider
Materials Needed
Before embarking on the installation process, it’s essential to gather the necessary materials to ensure a smooth and successful endeavor. Here’s a list of items you’ll need:
- Curtain Rod: Select a sturdy and stylish curtain rod that complements your interior decor. Ensure that it’s long enough to span the width of the area where you intend to hang the curtain.
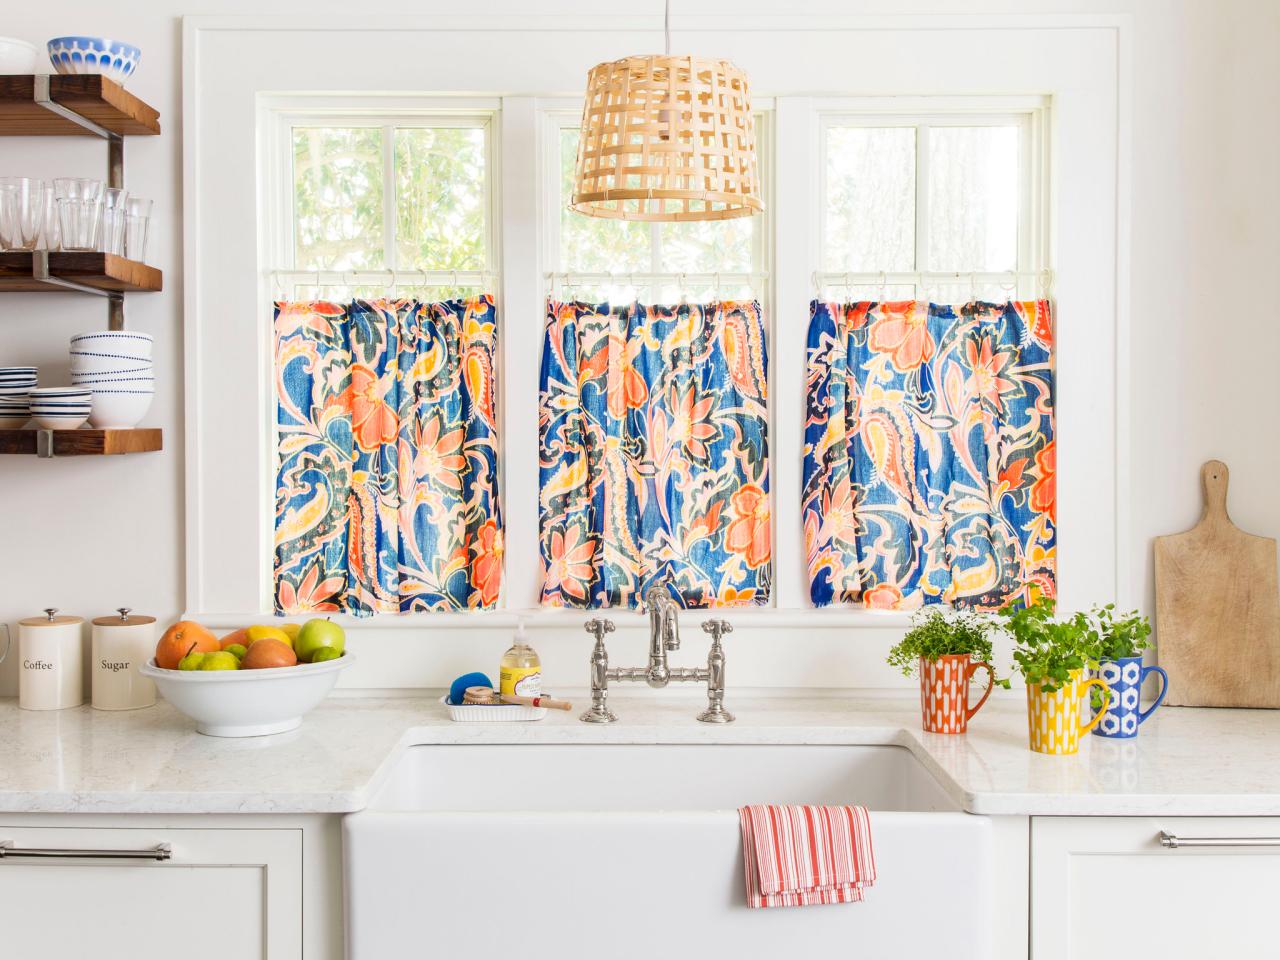
- Room Divider Curtain: Choose a high-quality curtain specifically designed for use as a room divider. Consider the material, color, and opacity based on your privacy and aesthetic preferences.
- Mounting Hardware: Depending on the type of curtain rod and your wall surface, you may need brackets, screws, and anchors for secure installation.
- Measuring Tape: Accurate measurements are crucial for a precise fit, so have a measuring tape on hand to determine the width and height of the area where the curtain will be hung.
- Level: To ensure that the curtain rod is installed perfectly straight, a level is indispensable for achieving professional-looking results.
- Drill and Screwdriver: Depending on the mounting hardware and wall type, a drill and screwdriver will be essential for securing the curtain rod in place.
- Optional Accessories: If you desire additional embellishments, consider decorative finials for the curtain rod, tiebacks to hold the curtain in place when not in use, and any other decorative elements to personalize the look.
By gathering these materials in advance, you’ll be well-prepared to embark on the next steps of the installation process. With the right tools at your disposal, you’ll be on your way to creating a functional and visually appealing room divider with ease.
Step 1: Measure the Area
Before diving into the installation process, it’s crucial to take precise measurements of the area where the room divider curtain will be hung. This step is essential for ensuring a proper fit and a polished end result. Here’s a detailed guide on how to measure the area effectively:
1. Width Measurement: Use a measuring tape to determine the width of the space where the curtain will be installed. Measure the distance from one end to the other, ensuring that the curtain rod will span the entire width without leaving gaps.
2. Height Measurement: Next, measure the height from the mounting position to the floor or ceiling, depending on the desired placement of the curtain. Be sure to account for any floor or ceiling moldings that may affect the hanging length.
3. Consider Overlap: If you intend to create a more comprehensive division, consider allowing for some overlap at the center when measuring the width. This overlap will ensure better privacy and a more seamless appearance when the curtain is closed.
4. Take Accurate Notes: Record your measurements carefully, noting down the width, height, and any additional considerations such as overlap. Having these measurements on hand will guide you in selecting the appropriately sized curtain and installing the curtain rod at the correct position.
By meticulously measuring the area and considering all relevant factors, you’ll set the stage for a successful installation. These precise measurements will serve as the foundation for selecting the right curtain size and positioning the curtain rod with accuracy, ultimately leading to a professional and visually pleasing outcome.
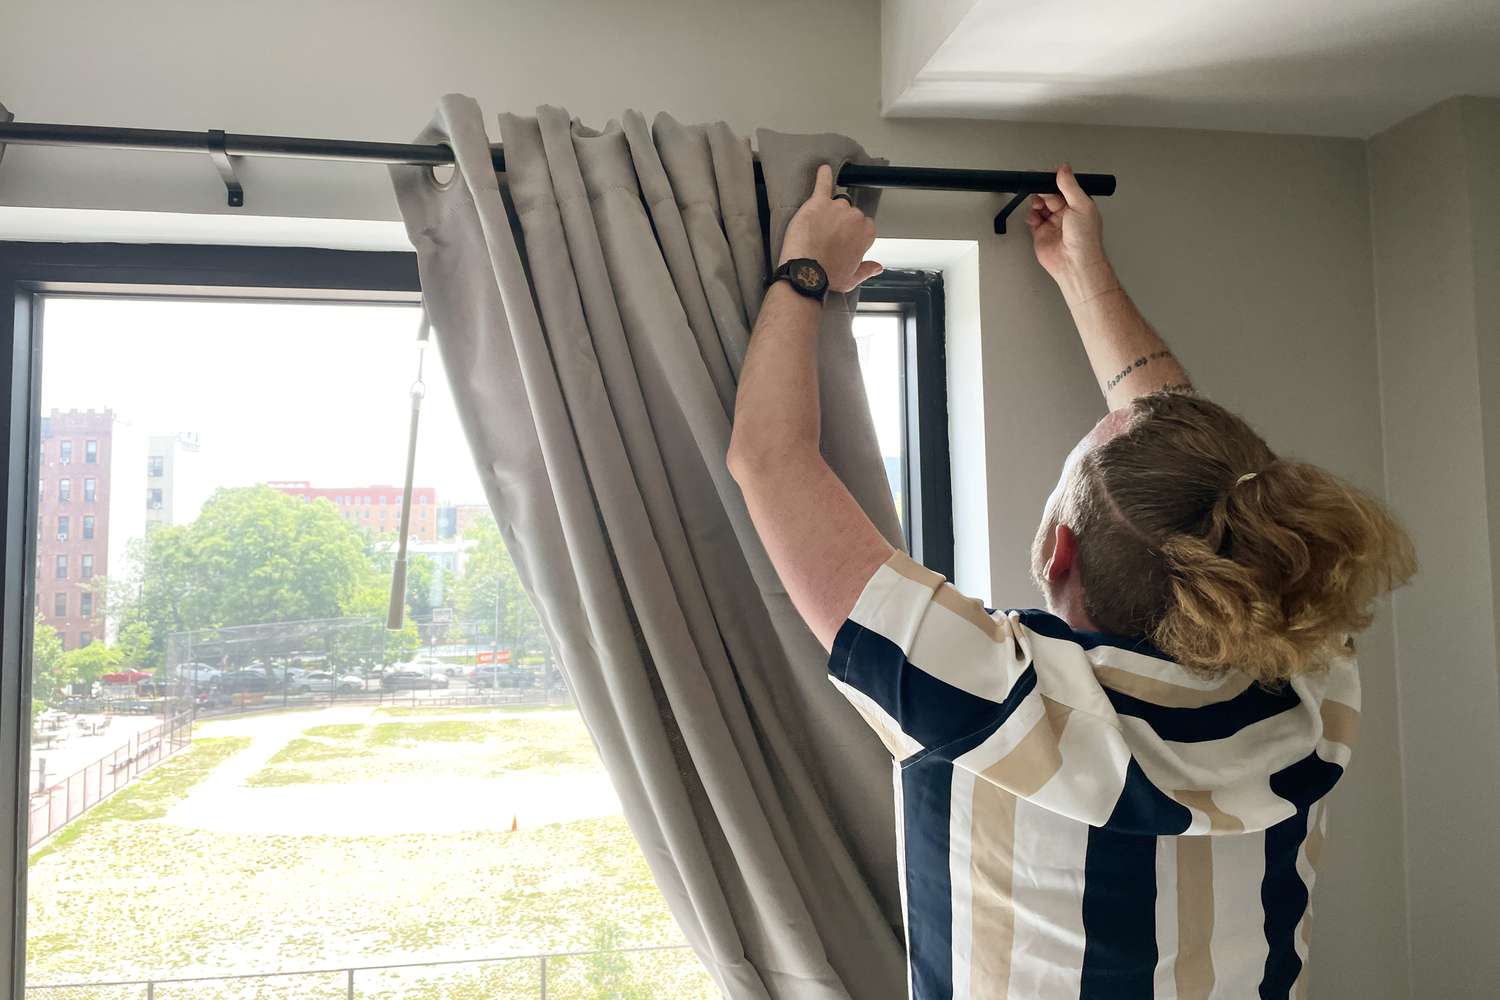
Step 2: Install the Curtain Rod
With accurate measurements in hand, it’s time to proceed with installing the curtain rod, a pivotal step in the process of hanging a room divider curtain. Follow these detailed instructions to ensure a secure and visually appealing installation:
1. Select the Mounting Position: Based on your measurements and the desired height of the curtain, determine the ideal position for mounting the curtain rod. Use a pencil to mark the spots where the mounting hardware will be installed.
2. Install the Brackets: If using brackets to support the curtain rod, secure them to the marked positions on the wall using appropriate screws and anchors. Ensure that the brackets are level and firmly attached to the wall to provide stable support for the rod.
3. Assemble the Curtain Rod: If your curtain rod requires assembly, follow the manufacturer’s instructions to put it together. This may involve attaching finials, if included, and joining the rod segments securely.
4. Place the Rod in Position: Once the brackets are in place, carefully position the assembled curtain rod onto the brackets. Ensure that it rests securely and evenly within the brackets, providing a stable foundation for hanging the curtain.
5. Double-Check Alignment: Use a level to verify that the curtain rod is perfectly straight. Adjust the position as needed to achieve a level installation, which is essential for a polished and professional look.
By following these steps, you’ll successfully install the curtain rod, laying the groundwork for the next phase of the installation process. A securely mounted and level curtain rod is essential for ensuring the stability and visual appeal of the room divider curtain once it’s hung.
When hanging a room divider curtain, make sure to measure the height and width of the space accurately. Use a tension rod for easy installation and adjust it to fit snugly in the doorway or window. Be sure to secure the curtain properly to prevent it from falling down.
Step 3: Hang the Curtain
With the curtain rod securely in place, it’s time to proceed with the exciting step of hanging the room divider curtain. This transformative process will bring your vision to life and elevate the ambiance of your living space. Here’s a detailed guide to hanging the curtain with precision and finesse:
1. Prepare the Curtain: If the curtain requires any preparation, such as attaching hooks or rings, ensure that these steps are completed before hanging the curtain. This preparation will streamline the hanging process and ensure a seamless result.
2. Position the Curtain: Carefully drape the curtain over the curtain rod, ensuring that it hangs evenly and aligns with your measurements and desired placement. Take a step back to assess the positioning and make any necessary adjustments before proceeding.
3. Smooth Out the Fabric: Once the curtain is in position, gently smooth out any wrinkles or folds in the fabric to achieve a neat and polished appearance. This simple step can significantly enhance the overall look of the room divider curtain.
4. Verify Privacy and Coverage: Close the curtain or step to the opposite side of the room to ensure that it provides the desired level of privacy and coverage. Make adjustments as needed to achieve the ideal positioning and functionality of the curtain.
5. Step Back and Admire: Take a moment to step back and admire the impact of the newly hung curtain. Appreciate how it enhances the space, creates a sense of privacy, and adds a stylish touch to the room. Your efforts in hanging the curtain are now yielding tangible and visually rewarding results.
By following these steps, you’ll successfully hang the room divider curtain, bringing a touch of elegance and functionality to your living space. The carefully executed hanging process will contribute to the overall appeal and functionality of the curtain as a stylish and practical room divider.
Read more: How To Divide Room With Curtains
Step 4: Adjust and Secure
After hanging the room divider curtain, the final step involves making any necessary adjustments to ensure a flawless and secure installation. This crucial phase will guarantee that the curtain not only looks visually appealing but also functions effectively as a room divider. Here’s a detailed guide to adjusting and securing the curtain with precision:
1. Check the Alignment: Step back and assess the curtain’s alignment and positioning. Ensure that it hangs evenly and aligns with your initial measurements, making any adjustments as needed to achieve a balanced and visually pleasing appearance.
2. Secure the Curtain: If the curtain features tiebacks or other securing mechanisms, utilize them to hold the curtain in place when not in use. This step adds a decorative touch while keeping the curtain neatly gathered to the side when privacy is not required.
3. Test Functionality: Open and close the curtain to test its functionality and ease of movement. Ensure that it glides smoothly along the rod and provides the desired level of privacy and division when closed. Make any adjustments to the positioning or hardware if necessary.
4. Address Any Wrinkles: Take a moment to smooth out any remaining wrinkles or folds in the fabric, ensuring that the curtain presents a polished and visually appealing appearance. This simple step can significantly enhance the overall look of the room divider curtain.
5. Enjoy the Results: Step back and admire the impact of the fully adjusted and secured curtain. Take pride in the transformation it has brought to your living space, creating a sense of privacy, defining separate areas, and adding a stylish accent to the room.
By carefully adjusting and securing the room divider curtain, you’ll ensure that it not only enhances the aesthetics of your living space but also functions seamlessly as a practical and elegant division solution. With these final adjustments, your room divider curtain will stand as a testament to your attention to detail and commitment to creating a stylish and functional home environment.
Conclusion
Congratulations! By following this comprehensive guide, you’ve successfully mastered the art of hanging a room divider curtain, transforming your living space with elegance and functionality. The addition of a well-installed and thoughtfully chosen room divider curtain has the power to redefine the ambiance of a room, providing privacy, delineating distinct areas, and adding a touch of style to your decor.
As you reflect on the installation process, take pride in the meticulous measurements, precise installation of the curtain rod, and the artful hanging and adjustment of the curtain. Your attention to detail and dedication to achieving a polished result have culminated in a visually stunning and practical room divider that enhances the functionality and aesthetic appeal of your living space.
Now, as you enjoy the benefits of your newly installed room divider curtain, take a moment to appreciate the versatility it offers. Whether it’s creating a private workspace, defining a cozy reading nook, or simply adding an elegant accent to the room, the room divider curtain stands as a versatile and impactful addition to your home.
With the right materials, precise measurements, and careful execution, you’ve successfully elevated your living space with a stylish and functional room divider curtain. As you bask in the ambiance of your transformed room, take pride in your accomplishment and the enhanced beauty and functionality it brings to your home.
Embrace the newfound privacy, style, and versatility that the room divider curtain brings to your living space, and revel in the satisfaction of a home improvement project executed with finesse. Your dedication to creating a welcoming and visually appealing environment has undoubtedly left a lasting impression, both on your living space and on those who experience its newfound charm.
Frequently Asked Questions about How To Hang A Room Divider Curtain
Was this page helpful?
At Storables.com, we guarantee accurate and reliable information. Our content, validated by Expert Board Contributors, is crafted following stringent Editorial Policies. We're committed to providing you with well-researched, expert-backed insights for all your informational needs.


0 thoughts on “How To Hang A Room Divider Curtain”