Articles
How To Build A Safe Room In Your Basement
Modified: January 5, 2024
Learn how to build a secure and protected safe room in your basement with these informative articles. Ensure your family's safety and peace of mind.
(Many of the links in this article redirect to a specific reviewed product. Your purchase of these products through affiliate links helps to generate commission for Storables.com, at no extra cost. Learn more)
Introduction
When it comes to ensuring the safety and security of your family, having a safe room in your basement can be a crucial addition to your home. A safe room, also known as a panic room, is a fortified space designed to provide protection during emergencies, such as natural disasters or home invasions. It provides a secure and secluded area where you and your loved ones can seek refuge until help arrives.
In this article, we will guide you through the process of building a safe room in your basement. We will cover everything from assessing your basement space to equipping it with essential supplies and communication devices. By following these steps, you can create a safe haven that offers peace of mind and protection.
Before we begin, it’s important to note that building a safe room requires careful planning, expertise, and adherence to safety guidelines. We recommend consulting with a professional contractor or architect who specializes in safe room construction to ensure that your project meets all necessary requirements and standards.
Now, let’s dive into the steps involved in building a safe room in your basement.
Key Takeaways:
- Building a safe room in your basement involves assessing space, reinforcing walls, and stocking essential supplies. Regular maintenance and testing are crucial for ensuring its ongoing reliability and security.
- Equipping the safe room with communication devices, securing windows, and establishing escape routes are vital steps in creating a well-prepared space for protection and peace of mind during emergencies.
Read more: How To Build A Basement
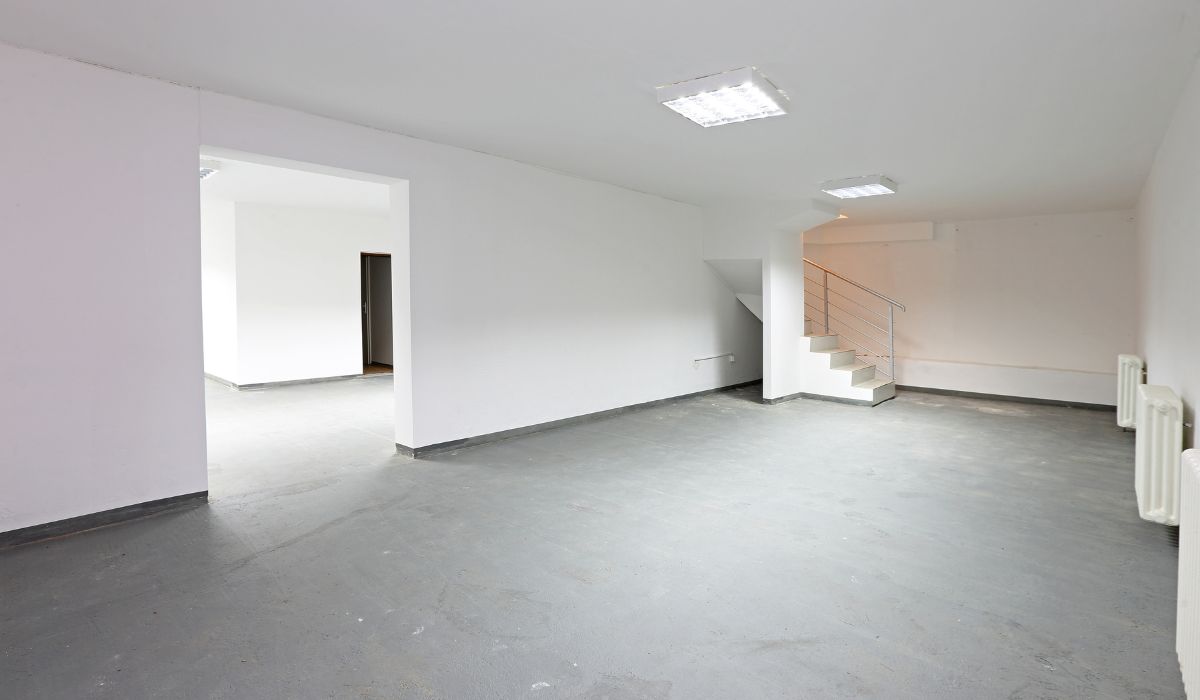
Step 1: Assessing Your Basement
The first step in building a safe room in your basement is to assess the space you have available. Take a thorough look at your basement and consider factors such as size, layout, and accessibility. This assessment will help you determine the most suitable location for your safe room.
Measure the dimensions of your basement to determine how much space you can allocate for the safe room. Keep in mind that the room should be spacious enough to accommodate all members of your family comfortably. It’s also essential to consider the height of the ceiling, as this will affect the overall layout and design of the room.
Next, evaluate the structural integrity of your basement. Check for any signs of water leakage, mold, or cracks in the walls. It’s crucial to address any existing issues before proceeding with the construction of the safe room. You may need to consult with a professional to conduct a thorough inspection and make any necessary repairs.
In addition, take note of any existing utility lines, such as electrical wiring or plumbing, that may run through your basement. These should be considered when designing the layout of your safe room to avoid any interference or potential hazards.
Lastly, assess the accessibility of your basement. Consider the entry points and the pathway leading to your basement. Ensure that there are no obstructions or obstacles that could hinder a quick and safe escape to the safe room in case of an emergency.
By thoroughly assessing your basement, you will have a better understanding of the space available and any necessary preparations that need to be made before moving forward with constructing your safe room.
Step 2: Choosing the Location
Once you have assessed your basement, the next step is to choose the most suitable location for your safe room. The location should offer optimal security and accessibility while being strategically positioned within your basement.
Consider selecting an interior location for your safe room, away from exterior walls and windows. Interior locations provide an extra layer of protection against potential threats. Additionally, avoid placing the safe room near any utility rooms or areas where there may be a higher risk of plumbing leaks or electrical hazards.
When choosing the location, also take into account the layout and flow of your basement. Avoid areas with restricted access or tight corners, as these may impede movement during emergencies. You want the safe room to be easily accessible from all areas of your basement.
Furthermore, consider the proximity of the safe room to other key areas of your home. If possible, choose a location that allows for a quick and discreet escape to the safe room from various parts of your house, such as bedrooms or living areas.
Once you have identified a potential location, mark out the boundaries of the safe room on the basement floor. This will help you visualize the space and ensure that it meets your requirements in terms of size and layout.
Remember to consult with a professional contractor or architect to ensure that your chosen location aligns with safety regulations and building codes. They can offer valuable advice and help you make informed decisions.
Choosing the right location for your safe room is crucial to its effectiveness in providing maximum security and ease of access during emergencies.
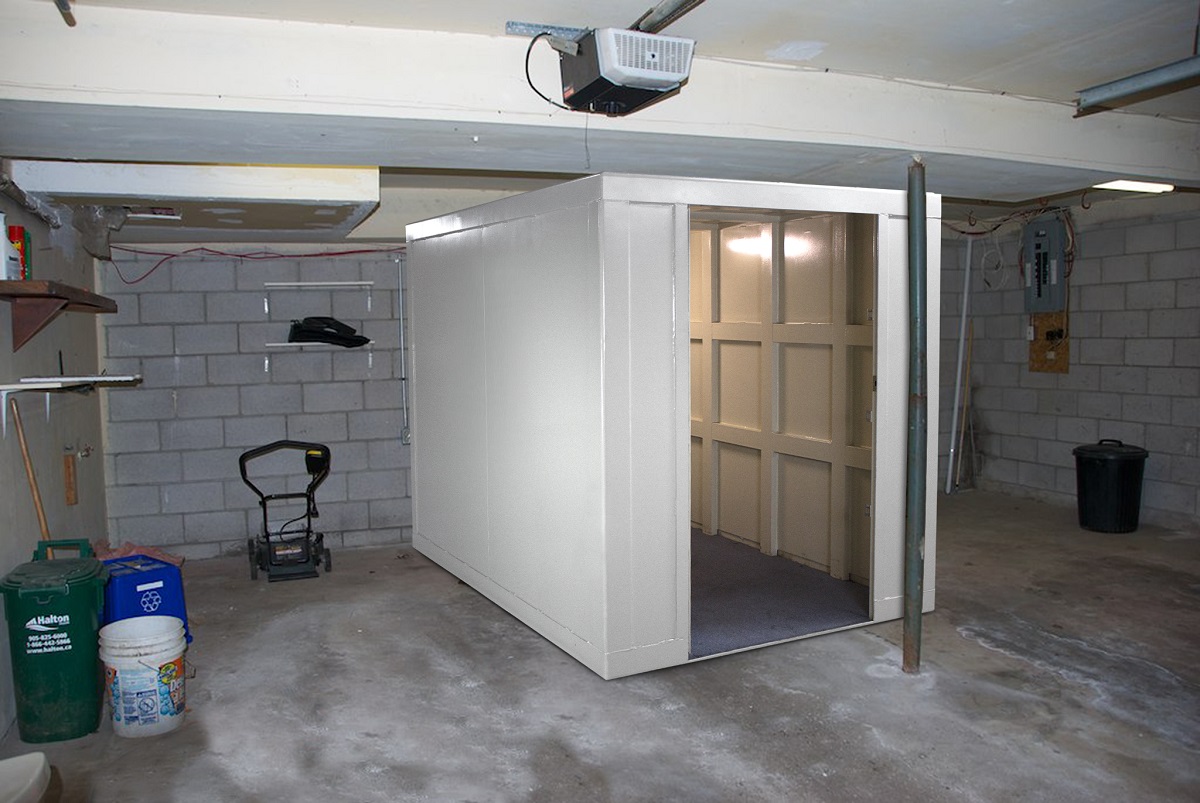
Step 3: Reinforcing the Walls
One of the key elements in building a safe room is reinforcing the walls of the chosen location. The reinforced walls will provide added strength and protection, ensuring the integrity of the safe room during emergencies.
Start by assessing the current condition of the walls in the designated area. Check for any cracks or weaknesses that may need to be addressed before reinforcing them. It’s important to have a solid and stable foundation to work with.
There are several options for reinforcing the walls of your safe room. One popular method is using concrete or reinforced concrete blocks. These materials are known for their durability and strength. Consult with a professional contractor to determine the best approach for your specific basement and safe room design.
During the reinforcement process, it’s essential to consider factors such as wall thickness and reinforcement placement. The walls should be thick enough to withstand external forces and potential impacts. Reinforcement materials, such as rebar or steel mesh, should be strategically placed within the concrete to provide optimal structural support.
In addition to the walls, it may be necessary to reinforce the ceiling of the safe room, especially if it’s located beneath another floor or a heavy structure. Consider using reinforced concrete or steel beams to provide added strength.
Keep in mind that the level of reinforcement required may vary depending on the potential risks in your area. For example, if you live in an area prone to tornadoes or earthquakes, you may need to implement additional reinforcement measures to ensure the safe room can withstand these specific threats.
Lastly, don’t forget to seal any gaps or openings in the walls to prevent outside elements, such as water or debris, from entering the safe room. This will help maintain a secure and comfortable environment during emergencies.
By reinforcing the walls of your safe room, you are creating a sturdy and reliable space that can effectively protect you and your loved ones in times of crisis.
Step 4: Installing a Secure Door
Once you have reinforced the walls of your safe room, the next step is to install a secure door. The door is a crucial component of the safe room as it serves as the primary point of entry and exit while providing a barrier against potential threats.
Start by selecting a door that is specifically designed for safe room applications. These doors are typically made of solid steel or other heavy-duty materials that offer enhanced security. Look for doors that are certified to meet industry standards, such as those with a UL Listing or FEMA approval.
When choosing the size of the door, make sure it is wide enough to accommodate easy entry and exit, especially in high-stress situations. The door should be at least 36 inches wide to allow for wheelchair accessibility if needed. It’s also advisable to choose a door with a thick frame and hinges that can withstand forceful impacts.
Ensure that the door is properly installed and anchored into the reinforced walls of the safe room. Consult with a professional contractor to ensure the door is securely fitted and aligned. This will prevent any potential weaknesses or vulnerabilities in the structure.
In addition to the door itself, consider installing additional security features such as multiple deadbolt locks, heavy-duty strike plates, and reinforced door jambs. These measures will further enhance the door’s resistance against forced entry.
Don’t forget to equip the door with a peephole or a communication system that allows you to assess the situation outside the safe room before opening the door. This provides an extra layer of security, allowing you to verify the presence of authorities or trusted individuals before exiting.
Regularly inspect and maintain the door to ensure that it remains in good working condition. Lubricate hinges and locks as needed and replace any damaged or worn-out parts promptly.
By installing a secure door, you are fortifying the main entry point of your safe room, ensuring that it effectively protects you and your loved ones from potential threats.
Read more: What Is A Safe Radon Level In A Basement
Step 5: Adding Ventilation and Electrical Outlets
When building a safe room in your basement, it’s essential to include proper ventilation and electrical outlets to ensure comfort, functionality, and safety for extended periods of seclusion. Ventilation helps maintain air quality, while electrical outlets provide power for lighting, communication devices, and essential equipment.
Start by evaluating the existing ventilation in your basement and determine if any improvements or additions are needed. Adequate ventilation is crucial to prevent the buildup of stale air and ensure a continuous supply of fresh oxygen. Consider installing ventilation fans or air vents to create airflow within the safe room. These ventilation systems can be connected to the main HVAC system or operate independently with battery backup.
Next, plan the placement and installation of electrical outlets in your safe room. Identify the optimal locations for outlets based on the positioning of equipment and devices you plan to use during emergencies. It’s important to consult with a qualified electrician to ensure compliance with local electrical codes and safety regulations.
When selecting electrical outlets, prioritize those with built-in surge protectors. Surge protectors help safeguard your equipment and devices against power surges, which can occur during severe weather or utility disruptions. Additionally, consider installing battery-powered or backup power sources in case of a power outage.
Remember, safety is paramount when dealing with electrical wiring. Ensure that all wiring is properly insulated and secured to prevent accidents or electrical hazards. It’s advisable to have a licensed electrician perform the installation to ensure it is done correctly and in compliance with safety standards.
Additionally, consider incorporating a communication system into your safe room. This can include a landline phone, mobile phone signal booster, or two-way radio. These communication devices will enable you to stay in touch with emergency services or loved ones outside the safe room.
Regularly inspect and test the ventilation system, electrical outlets, and communication devices to ensure they are functioning properly. Replace or repair any faulty components promptly.
By adding ventilation and electrical outlets to your safe room, you are creating a comfortable and functional space that supports long-term stays and facilitates communication during emergencies.
When building a safe room in your basement, be sure to reinforce the walls, ceiling, and door with sturdy materials like steel or concrete to provide maximum protection against severe weather or intruders.
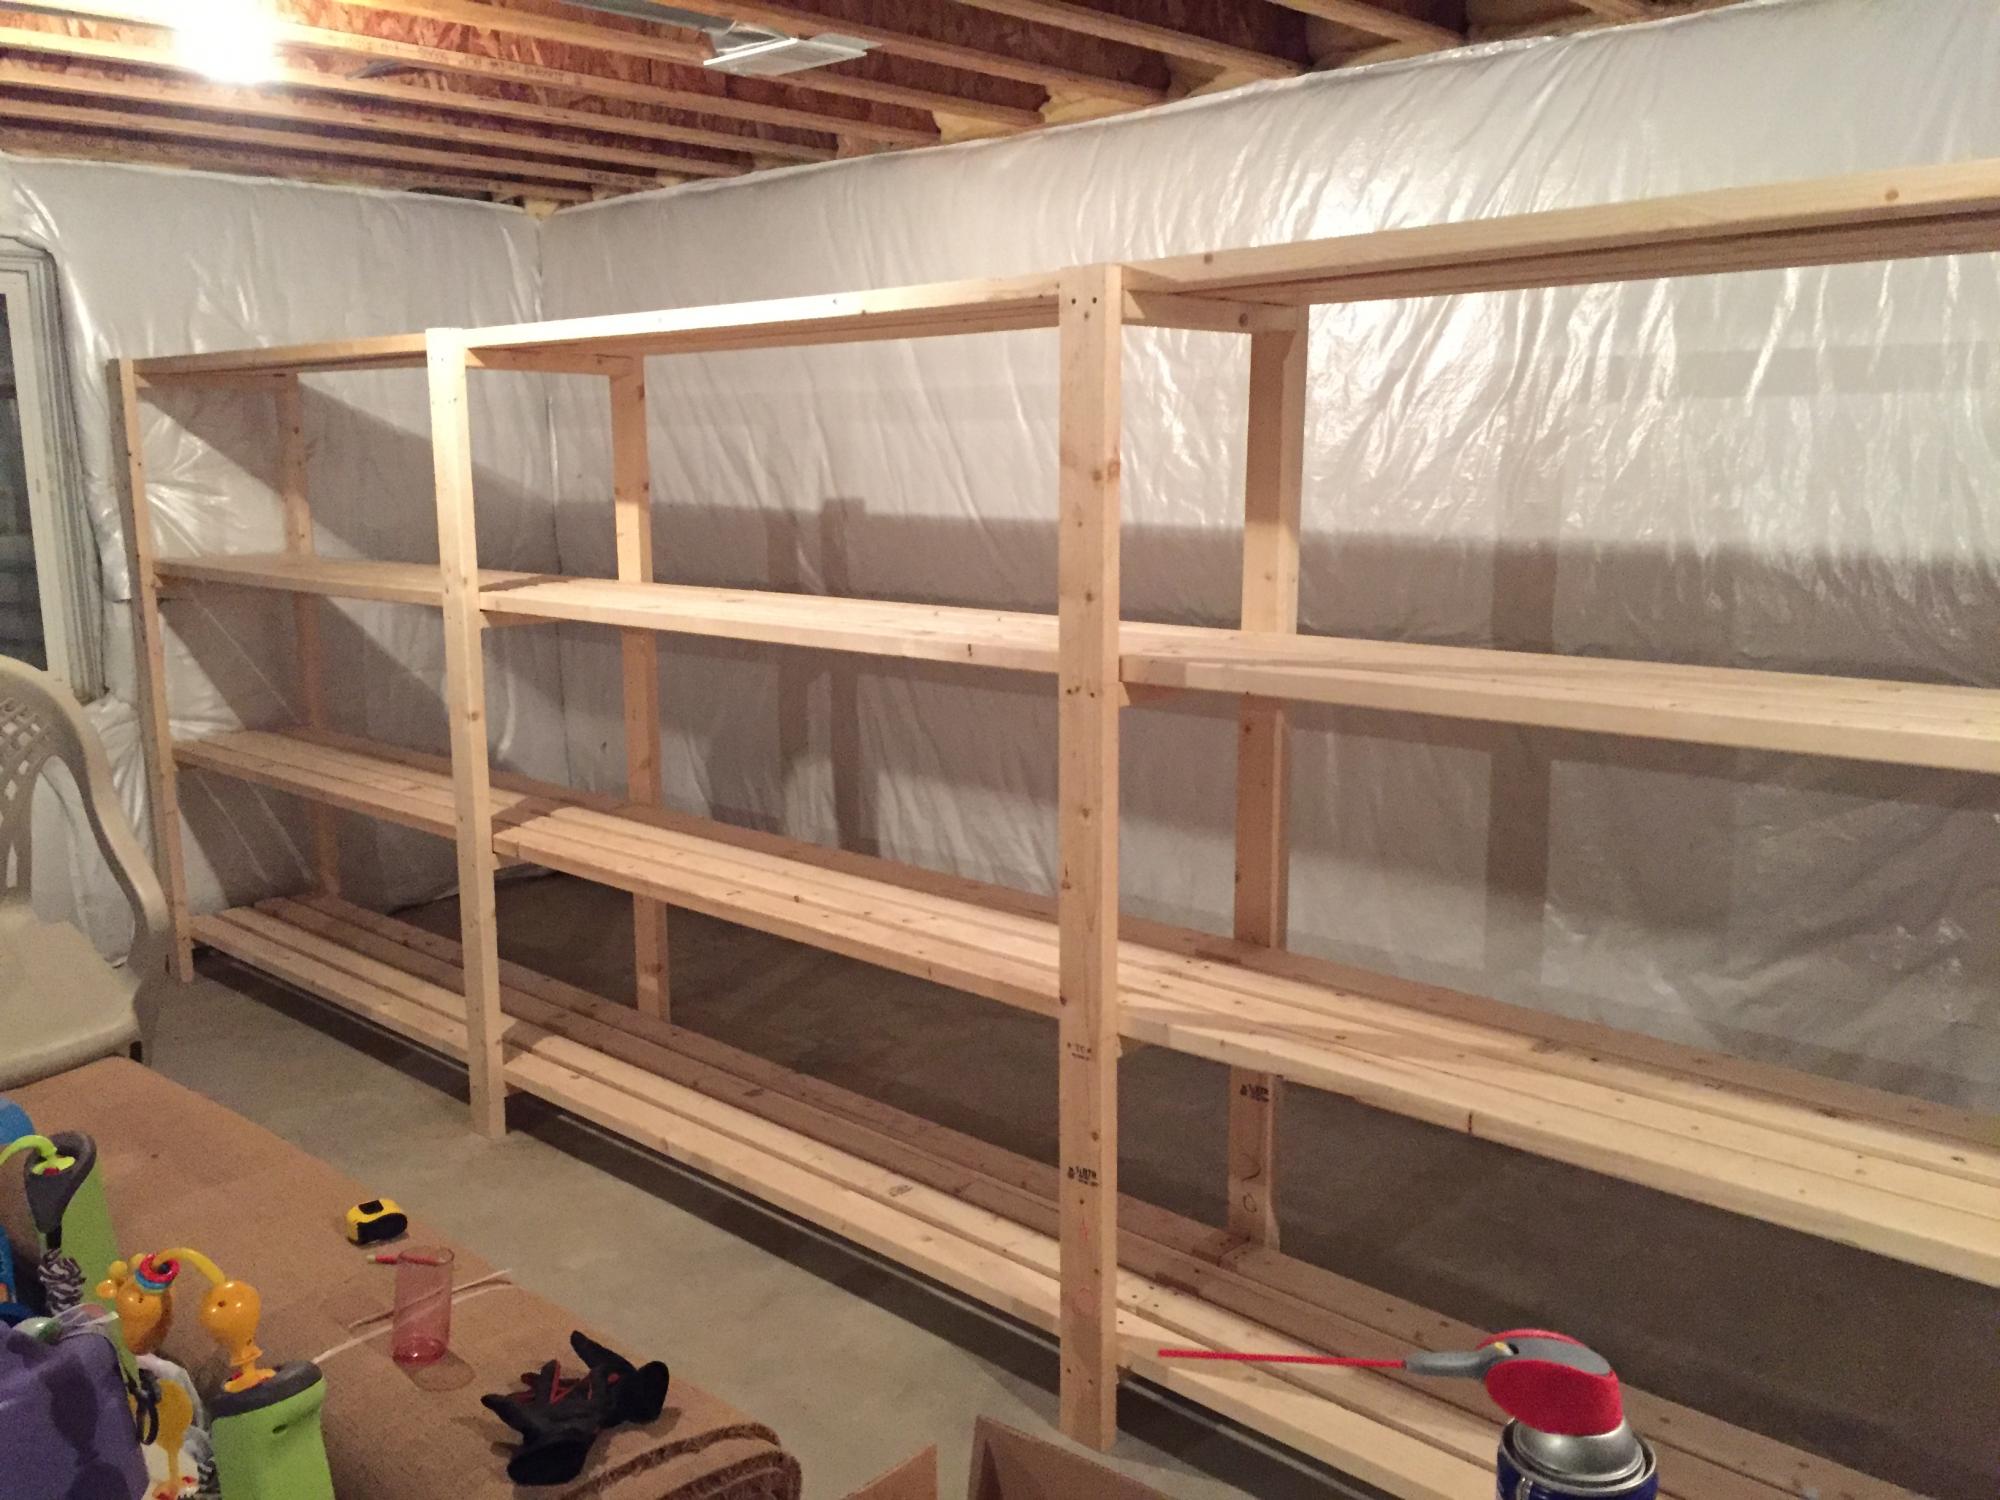
Step 6: Stocking Supplies
Having a well-stocked safe room is essential for sustaining you and your family during an emergency. It’s crucial to have an adequate supply of essential items that can sustain you for an extended period until help arrives. In this step, we will guide you through the process of stocking your safe room with necessary supplies.
Start by considering the basic needs of survival, including food, water, and medical supplies. Stock up on non-perishable food items that are easy to store and require little to no cooking. Focus on items that have a long shelf life and can provide essential nutrients. Don’t forget to include a manual can opener for canned foods.
Water is also vital for survival. Store an ample supply of bottled water or invest in a water purification system that can ensure a constant supply of clean drinking water. Aim for at least one gallon of water per person per day, accounting for a 3-day minimum supply.
Medical supplies are crucial in case of injuries or health emergencies. Include a first aid kit that is well-stocked with bandages, medications, disinfectants, and any necessary prescription medications specific to your family’s needs. Regularly check and replenish expired items in the first aid kit.
Other important supplies to consider include flashlights with extra batteries, emergency blankets, a battery-powered radio for news updates, personal hygiene items, and a portable toilet with waste disposal supplies. Don’t forget to include comfort items such as extra clothing, bedding, and entertainment options to alleviate stress during extended stays.
It’s also important to have a means of self-defense for added security. Consider including items such as pepper spray, a whistle, or a personal alarm to ward off potential intruders or attract attention in case of danger.
Regularly review and rotate your supplies to ensure freshness and usability. Check expiration dates and replace items as needed. Consider creating a checklist to track your inventory and remind yourself to regularly restock essential items.
Lastly, educate yourself and your family members on how to properly use the stocked supplies. Have a contingency plan in place and discuss emergency protocols to ensure everyone knows what to do during different scenarios.
By properly stocking your safe room with essential supplies, you are preparing yourself and your family for any potential emergencies and ensuring their comfort and well-being during challenging times.
Step 7: Securing Windows and Escape Routes
While a safe room is designed to provide a secure space during emergencies, it’s also important to consider the security of windows and potential escape routes in your basement. In this step, we will explore the measures you can take to secure windows and establish effective escape routes.
Start by evaluating the windows in your basement. Consider reinforcing them with security film or shatter-resistant glass. This will make it more difficult for intruders to break in and gain access to your safe room. Additionally, install window locks or security bars to further enhance their strength and prevent unauthorized entry.
If your basement has windows at ground level, consider installing window well covers. These covers are designed to prevent debris from accumulating and people from accidentally falling into the window well. Make sure the covers are sturdy and can support the weight of a person to prevent anyone from attempting to gain access through the window.
Another important aspect to consider is establishing alternative escape routes from your safe room in case the primary exit is compromised. Assess your basement layout and identify potential escape routes, such as secondary doors or windows. Ensure that these exit points are accessible and can be easily reached in an emergency.
When planning alternative escape routes, take into consideration any potential obstacles or hazards that may impede a quick and safe exit. Clear the pathways and ensure that doors and windows are easily opened from both inside and outside the safe room. Practice using these escape routes with your family members to familiarize yourselves with the process.
While securing windows and establishing alternative escape routes are important, it’s essential to weigh the risks and benefits based on your specific circumstances. Consult with a professional contractor or security expert to assess the best options for your basement and safe room design.
Regularly inspect and maintain the windows, locks, and escape routes to ensure they are in good working condition. Repair or replace any damaged components promptly to maintain the security and functionality of your safe room.
By securing windows and establishing effective escape routes, you are enhancing the safety and versatility of your safe room, ensuring that you have multiple options for evacuation during emergencies.
Step 8: Adding Communication Devices
In times of emergency, communication is paramount. Adding communication devices to your safe room will enable you to stay connected with the outside world and seek help when needed. In this step, we will explore the different communication devices you can include in your safe room.
One essential communication device is a mobile phone. Make sure to have a fully charged mobile phone with emergency numbers pre-programmed and easily accessible. Keep in mind that cellular service can be unreliable during certain emergencies, so consider investing in a mobile phone signal booster or an external antenna to enhance reception within your safe room.
Additionally, including a landline phone in your safe room is another reliable option, especially if cellular service is compromised. Ensure that the landline phone is connected to a separate line that remains functional during power outages or high call volumes. Keep a list of emergency contacts near the phone for easy reference.
Two-way radios are also valuable communication devices to consider. These devices allow you to communicate within short distances without relying on cellular networks. Make sure to have multiple radios and spare batteries for extended use.
When it comes to communication devices, it’s important to prioritize safety and reliability. Choose devices that have long battery life and can withstand harsh conditions. Consider investing in portable power banks or solar chargers to ensure a continuous power supply for your communication devices.
Lastly, familiarize yourself and your family members with the operation of these communication devices. Practice using them to ensure everyone knows how to send distress signals, make emergency calls, or communicate with authorities.
Regularly test the functionality of your communication devices and ensure they are always in working order. Keep spare batteries or charging cables readily available to avoid any interruptions in communication.
By adding communication devices to your safe room, you are equipping yourself with the means to seek help, stay informed, and communicate effectively during emergencies, enhancing the overall safety of your safe room.
Read more: How To Build A Basement Door
Step 9: Equipping the Safe Room
Equipping your safe room with essential tools and supplies is crucial to ensure your safety and comfort during an emergency. In this step, we will explore the necessary equipment and items you should have in your safe room.
First and foremost, consider having a well-stocked emergency kit in your safe room. This kit should include basic necessities such as non-perishable food, water, first aid supplies, flashlights, batteries, a battery-powered radio, a whistle, and blankets. Customize the kit according to the specific needs of your family members, such as medication, infant supplies, or pet essentials.
In addition to the emergency kit, consider having a fire extinguisher readily available in your safe room. This will enable you to quickly respond to any potential fire hazards and protect yourself and your loved ones.
A sturdy and reliable multipurpose tool or pocketknife can also prove invaluable during emergencies. These tools can assist with various tasks, such as cutting through debris or opening cans.
Consider including a portable, battery-powered weather radio in your safe room. This will keep you informed about severe weather conditions or emergency broadcasts. Opt for a model that offers multiple power sources, such as batteries, solar charging, or hand-crank mechanisms.
Having a personal hygiene kit, including items such as toilet paper, wet wipes, hand sanitizer, and feminine products, is essential for maintaining cleanliness and hygiene during extended stays in your safe room.
Furthermore, ensure that you have a supply of important documents and personal identification within your safe room. Keep copies of passports, identification cards, insurance policies, and other vital paperwork in a waterproof and easily accessible container.
Lastly, consider including comfort items to help alleviate stress during prolonged stays in the safe room. This can include books, games, toys, or any other items that can provide comfort and entertainment for yourself and your family members.
Regularly inspect and update the equipment and supplies in your safe room. Check expiration dates on perishable items, replace batteries, and update emergency contact information as needed.
By equipping your safe room with essential tools, supplies, and comfort items, you can better ensure your safety, well-being, and peace of mind during emergencies.
Step 10: Regular Maintenance and Testing
Once you have built and equipped your safe room, it’s important to prioritize regular maintenance and testing to ensure that it remains a reliable and secure space. Regular maintenance and testing will help identify any issues or potential vulnerabilities, allowing you to address them promptly. In this final step, we will explore the key aspects of maintaining and testing your safe room.
Start by conducting regular visual inspections of the safe room. Check for any signs of damage, including cracks, leaks, or wear and tear. Address any issues immediately, as even minor damages can compromise the structural integrity of the room.
Inspect ventilation systems, electrical outlets, and communication devices regularly. Ensure that they are in proper working order and replace any faulty components or batteries as needed.
Test the functionality of the secure door, locks, and security features on a regular basis. Ensure that they are operating smoothly and effectively. Replace any worn-out or damaged parts to maintain the security of your safe room.
Regularly replace or rotate the stock of any perishable items in your emergency kit, such as food and water supplies, medications, or batteries. Check expiration dates and replenish them as necessary.
Conduct drills and practice using the safe room with your family members. Test the alternative escape routes, communication devices, and emergency protocols. This will help familiarize everyone with the process and improve response times during an actual emergency.
Consider maintaining a maintenance log or checklist to track regular inspections, repairs, and testing schedules. This will help you stay organized and ensure that all necessary maintenance tasks are consistently completed.
Stay updated on safety guidelines and recommended practices for safe room maintenance. Seek professional advice whenever necessary, especially for complex maintenance tasks or repairs.
Lastly, stay informed about any new technologies or advancements in safe room construction and security. Regularly update your safe room’s features and technologies to keep up with the latest standards and ensure the highest level of protection.
By prioritizing regular maintenance and testing, you can ensure that your safe room remains a reliable and secure space, providing optimal protection and peace of mind for you and your family during emergencies.
Conclusion
Building a safe room in your basement is a proactive measure that can provide you and your family with a secure space during emergencies. By following the steps outlined in this guide, you can create a well-prepared safe room that offers protection, comfort, and peace of mind.
Through assessing your basement, choosing the right location, reinforcing the walls, and installing a secure door, you ensure the structural integrity and security of the safe room. Adding ventilation, electrical outlets, and communication devices further enhance its functionality and connectivity. Stocking essential supplies, securing windows and escape routes, and equipping the safe room with necessary tools and supplies ensure your safety and survival during an emergency.
However, building a safe room is only the beginning. Regular maintenance and testing are crucial to its ongoing reliability. Conducting inspections, testing systems, replacing expired supplies, and practicing emergency protocols are essential for keeping the safe room in optimal condition.
Remember to consult with professionals when needed, such as contractors, architects, or security experts, to ensure that your safe room meets all necessary standards and regulations.
In conclusion, by investing in a safe room in your basement and following these steps, you are taking a proactive approach to safeguarding the well-being and security of your loved ones. With a well-equipped and properly maintained safe room, you can face emergencies with confidence, knowing that you have a reliable and secure space to seek refuge and wait for help to arrive. Stay prepared, stay vigilant, and stay safe.
Frequently Asked Questions about How To Build A Safe Room In Your Basement
Was this page helpful?
At Storables.com, we guarantee accurate and reliable information. Our content, validated by Expert Board Contributors, is crafted following stringent Editorial Policies. We're committed to providing you with well-researched, expert-backed insights for all your informational needs.


0 thoughts on “How To Build A Safe Room In Your Basement”