Home>Articles>How To Install Peel And Stick Wallpaper Horizontally
Articles
How To Install Peel And Stick Wallpaper Horizontally
Modified: January 19, 2024
Looking for step-by-step instructions on how to install peel and stick wallpaper horizontally? Check out our helpful articles for easy DIY tips and techniques.
(Many of the links in this article redirect to a specific reviewed product. Your purchase of these products through affiliate links helps to generate commission for Storables.com, at no extra cost. Learn more)
Introduction
Welcome to our comprehensive guide on how to install peel and stick wallpaper horizontally. If you’re looking to add a touch of style and personality to your walls without the hassle of traditional wallpaper, peel and stick wallpaper is the perfect solution. Not only is it easy to install, but it also allows you to change up your decor whenever you desire.
In this article, we will walk you through the step-by-step process of installing peel and stick wallpaper horizontally, ensuring a smooth and professional-looking finish. Whether you’re a seasoned DIY enthusiast or a novice looking to tackle your first home improvement project, this guide will provide you with all the information and tips you need to get started.
Before we dive into the installation process, let’s talk about some of the tools and materials you’ll need to ensure a successful project.
Key Takeaways:
- Transform your walls with ease using peel and stick wallpaper. Follow our guide for a smooth installation, from preparation to trimming, and enjoy the creative freedom it offers.
- Attention to detail and patience are key to a successful peel and stick wallpaper installation. Take accurate measurements, align panels carefully, and enjoy the transformed space.
Tools and Materials Needed
Before getting started with the installation process, it’s important to gather all the necessary tools and materials. Here’s a list of what you’ll need:
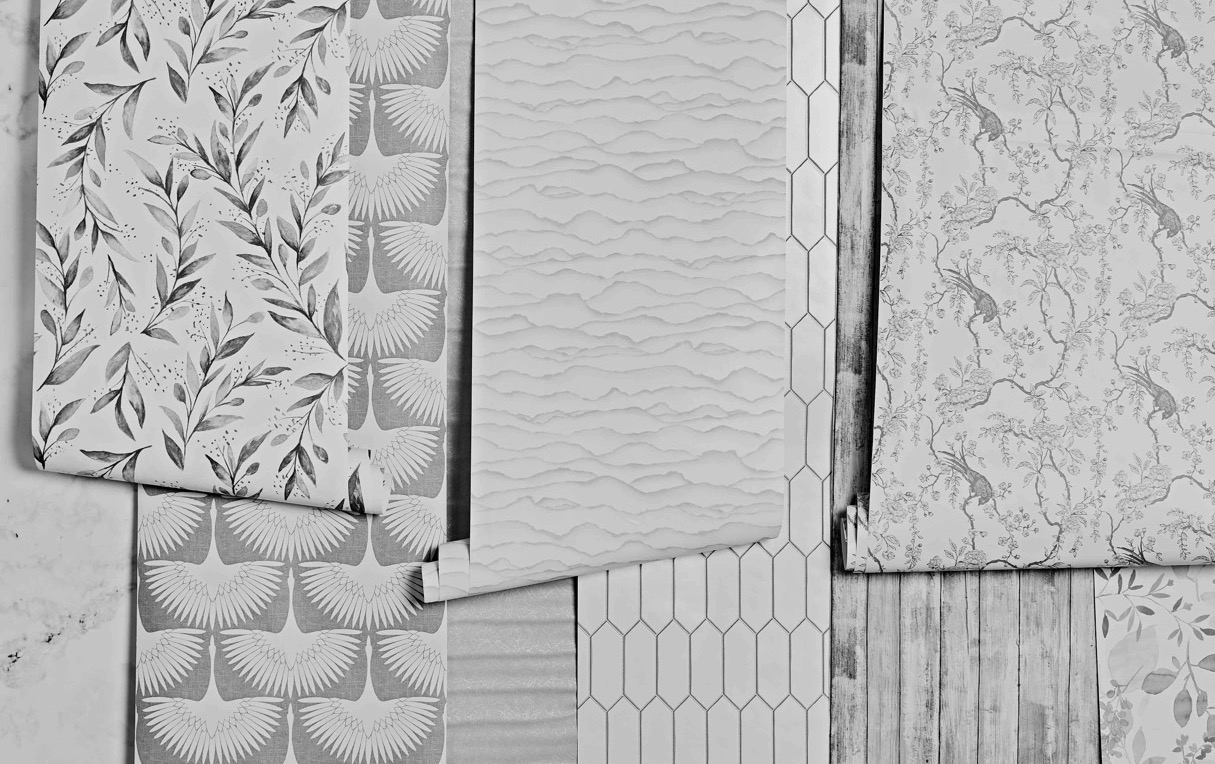
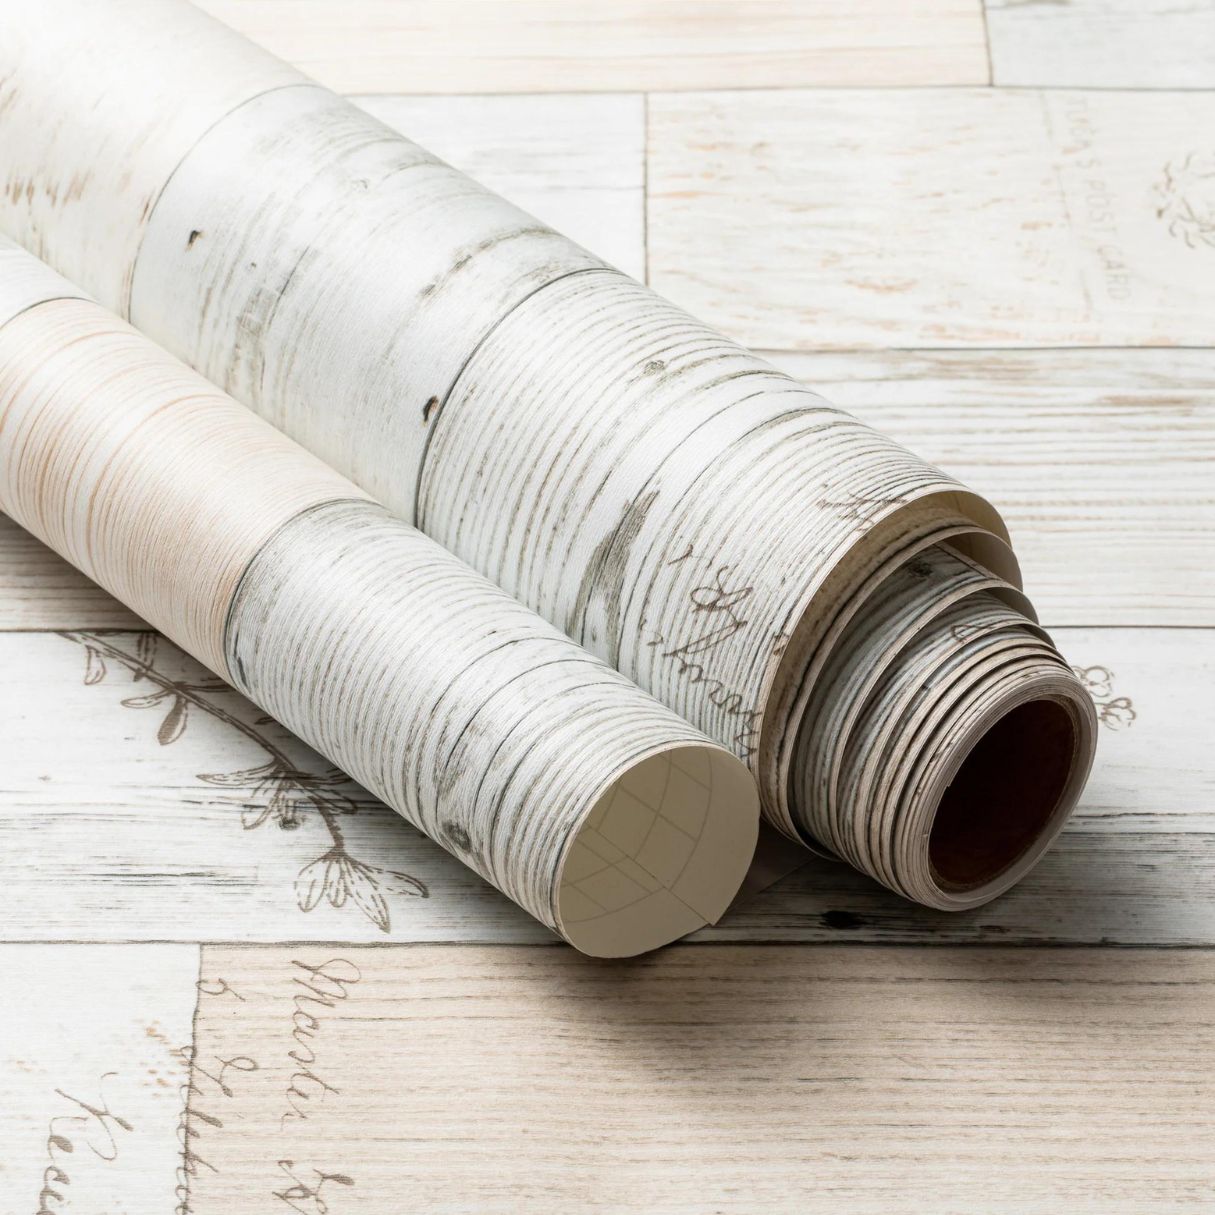
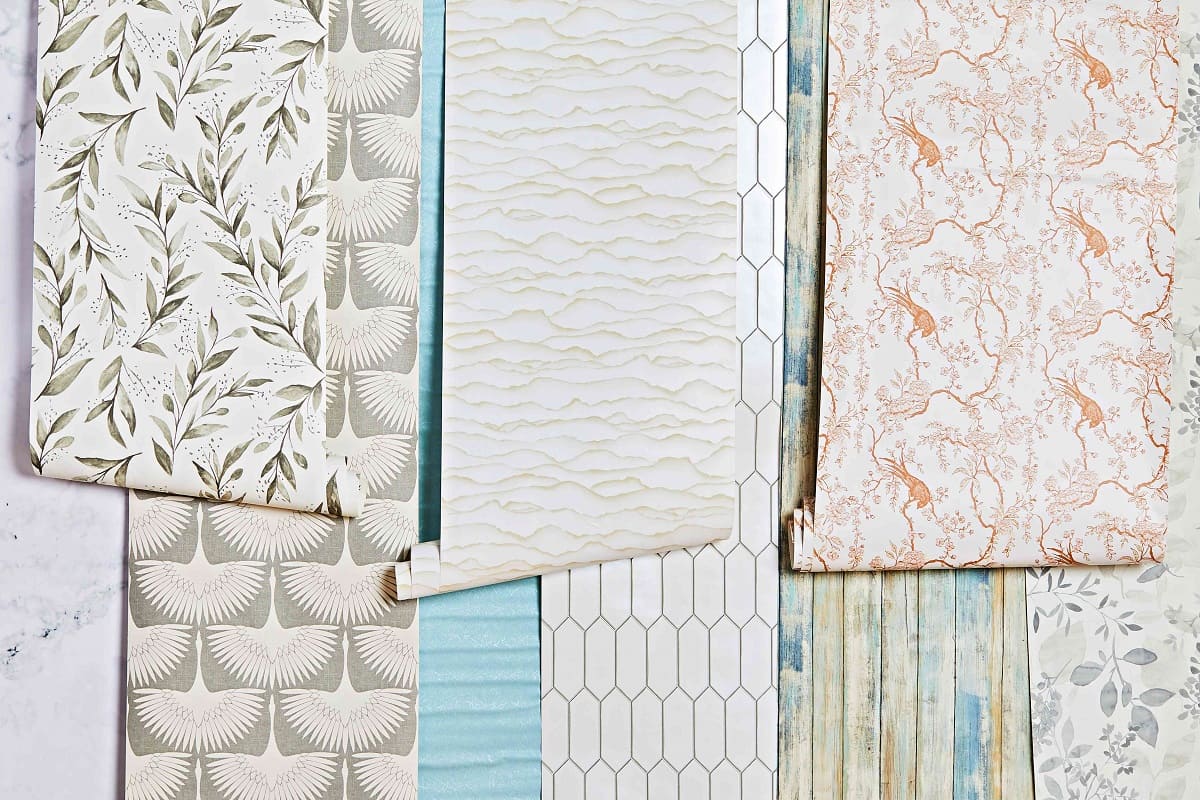
- Peel and stick wallpaper – Measure the area you plan to cover to determine how much wallpaper you’ll need.
- Tape measure or ruler – Essential for accurate measurements.
- Utility knife – For cutting the wallpaper and trimming any excess.
- Scraper or smoothing tool – Used to smooth out any air bubbles and ensure a tight bond between the wallpaper and the wall.
- Pencil or marker – For marking measurements and guidelines on the wallpaper.
- Level – To ensure that the wallpaper is applied straight and level.
- Spatula or putty knife – Useful for pressing the wallpaper against the wall and removing any air bubbles.
- Spray bottle filled with water – Helps with repositioning the wallpaper if necessary.
- Step ladder or stool – Provides additional height and stability for reaching higher areas of the wall.
- Smooth, clean cloths or sponges – Used to wipe down the wall before applying the wallpaper.
- Drop cloth or plastic sheeting – To protect your floors or furniture from any adhesive or water spills.
Having these tools and materials ready before starting the installation will ensure a smoother and more efficient process. Now that you’re prepared, let’s move on to preparing the wall.
Preparing the Wall
Before applying the peel and stick wallpaper, it’s crucial to properly prepare the wall to ensure a clean and smooth surface. Follow these steps to prepare your wall:
- Clean the wall thoroughly – Remove any dirt, dust, or grease from the wall using a mild detergent and warm water. Wipe down the wall with a clean cloth or sponge, ensuring that the surface is completely clean and dry before proceeding.
- Repair any imperfections – Inspect the wall for any cracks, holes, or uneven areas. Fill in any imperfections with spackling paste or joint compound. Smooth out the surface with a putty knife and allow it to dry thoroughly. Sand the repaired areas to create a flush and even surface.
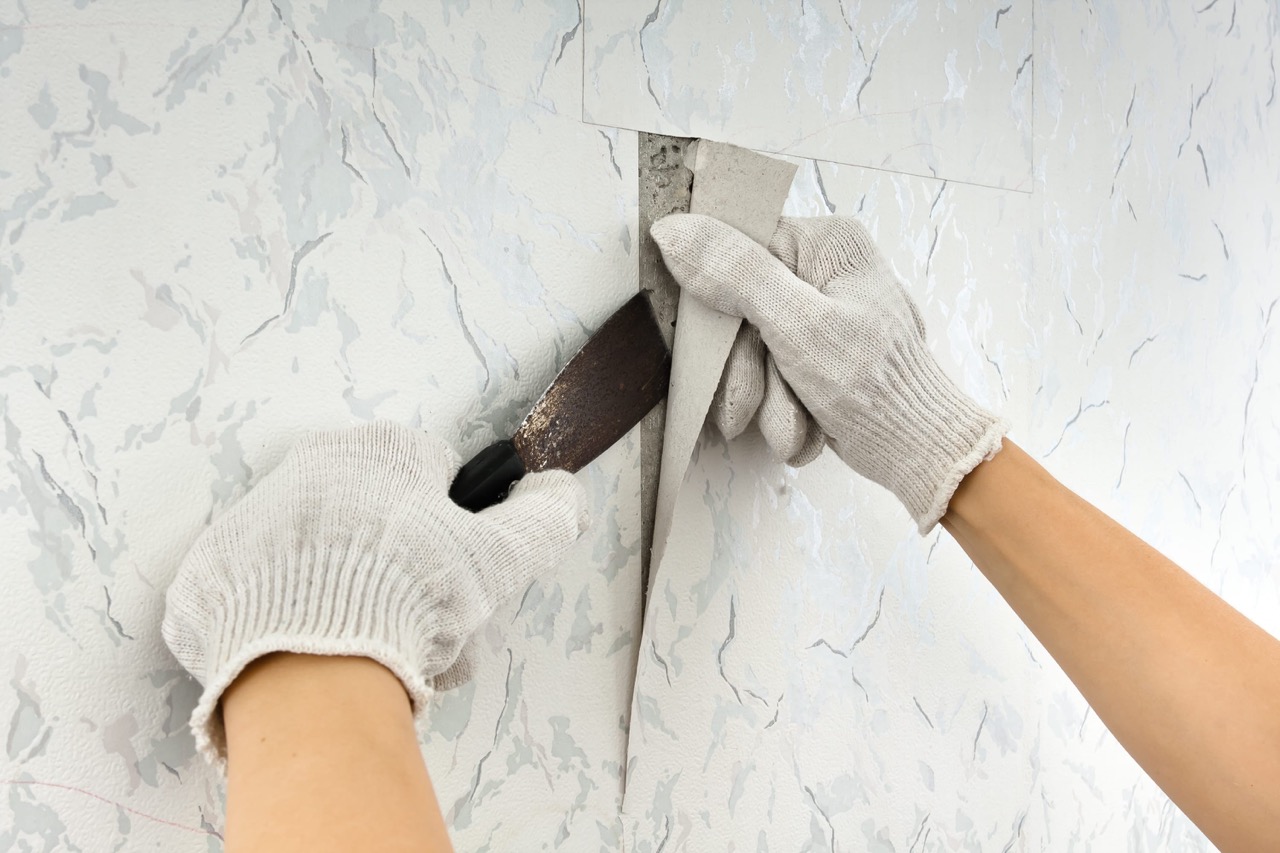
- Remove any existing wallpaper or loose paint – If there is any existing wallpaper or loose paint on the wall, it’s essential to remove it before applying the peel and stick wallpaper. Use a wallpaper stripper or a solution of warm water and fabric softener to soften the wallpaper adhesive. Gently scrape off the wallpaper using a scraper or putty knife. For loose paint, use a scraper to remove any peeling or flaking paint.
- Sand the wall – Lightly sand the entire wall surface with fine-grit sandpaper. This step helps to create a rougher texture, allowing the peel and stick wallpaper to adhere more effectively.
- Prime the wall – Apply a coat of primer to the wall to create a smooth and even base for the wallpaper. Use a roller or brush to apply the primer evenly. Allow the primer to dry completely before moving on to the next step.
By following these steps, you’ll ensure that your wall is clean, smooth, and ready for the peel and stick wallpaper installation. Now that the wall is prepared, it’s time to measure and cut the wallpaper.
Measuring and Cutting the Wallpaper
Accurate measurements and precise cuts are essential for a successful peel and stick wallpaper installation. Follow these steps to measure and cut the wallpaper:
- Measure the height of the wall – Use a tape measure or ruler to measure the height of the wall from top to bottom. Add a few extra inches to the measurement to account for any discrepancies or errors.
- Measure the width of the wall – Measure the width of the wall horizontally, starting from one corner to the other. Again, add a few extra inches to the measurement for adjustments and trimming.
- Cut the first panel – Roll out the peel and stick wallpaper on a clean and flat surface with the adhesive side up. Use a tape measure or ruler to mark the measurements for the first panel based on the height and width of the wall. Use a pencil or marker to draw straight lines across the back of the wallpaper.
- Cut along the marked lines – Use a sharp utility knife to carefully cut along the marked lines. Slow and steady cuts will ensure clean and precise edges. Trim off any excess, keeping in mind the measurements of the wall and allowing for a slight overlap at the top and bottom of the panel.
- Repeat for subsequent panels – Following the same process, cut additional panels of wallpaper based on the measurements of the wall. Make sure to match any patterns or designs if necessary.
Remember to double-check your measurements and make any adjustments as needed. It’s better to cut the wallpaper slightly larger than required, as you can always trim off any excess during the installation process. With your wallpaper panels cut and ready, it’s time to start applying the first panel on the wall.
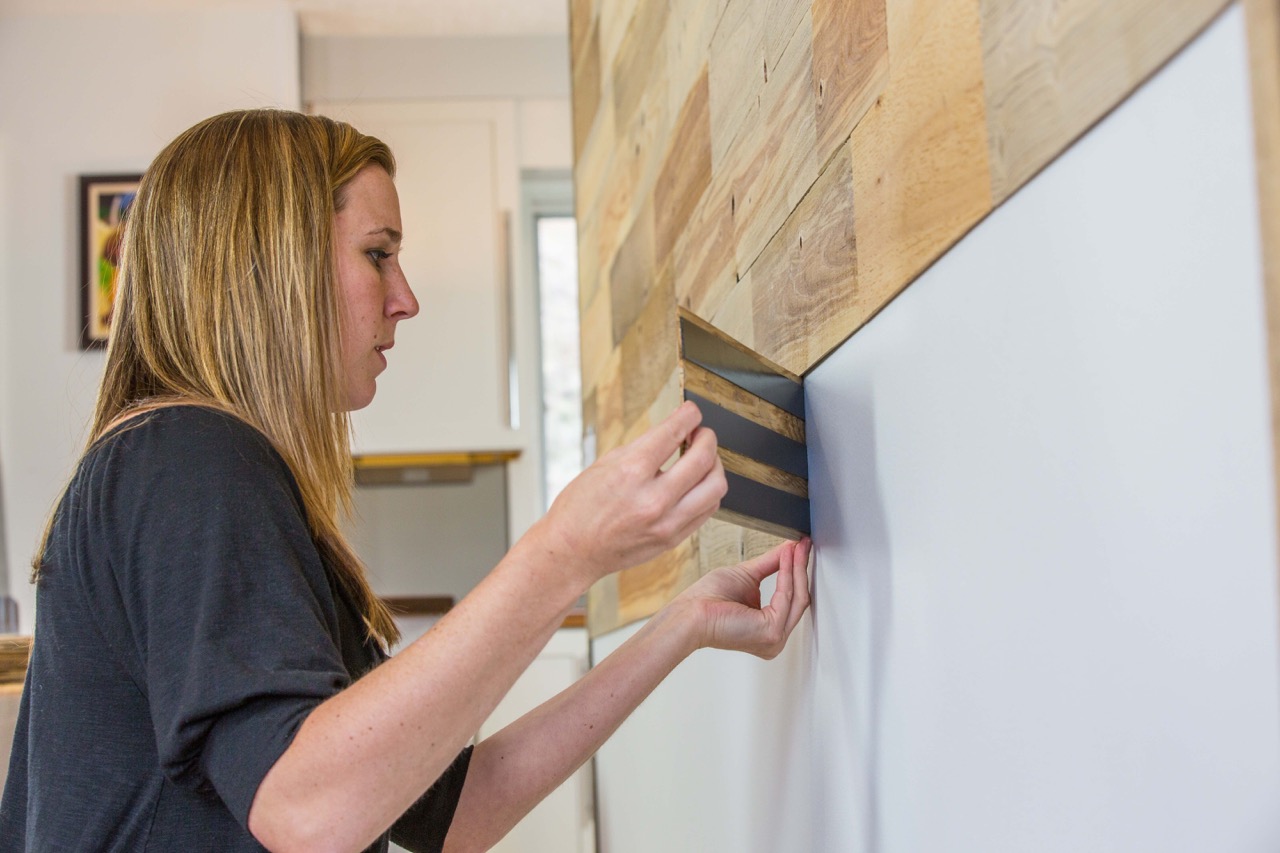
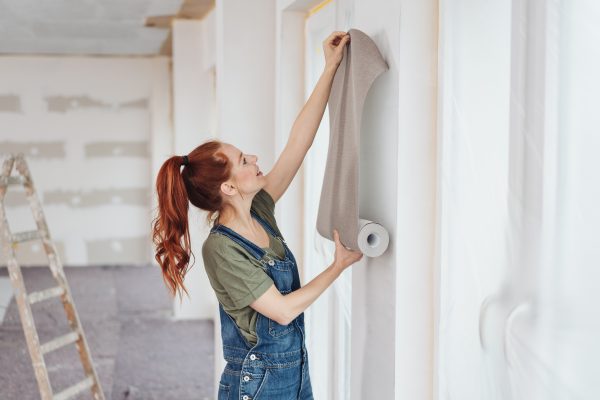
Applying the First Panel
Now that you have your peel and stick wallpaper panels cut to size, it’s time to start applying the first panel on the wall. Follow these steps for a smooth and successful installation:
- Start in a corner – Begin the installation in a corner of the wall, preferably the one that is least visible in the room. This will ensure that any mismatches or imperfections are less noticeable.
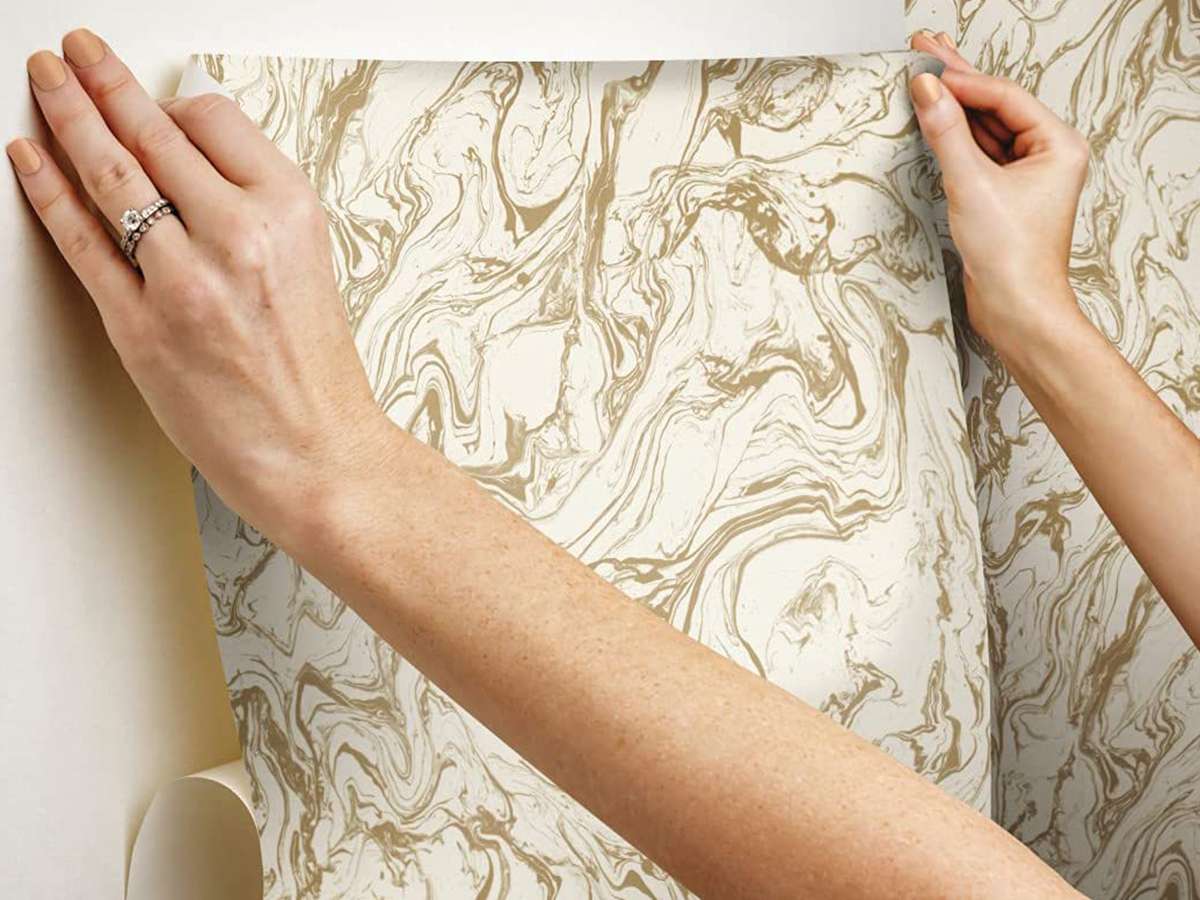
- Peel off a few inches of the backing – Slowly peel off the backing paper from the top few inches of the wallpaper panel. Be careful not to crease or fold the wallpaper as you peel.
- Align the top of the panel – Align the top edge of the wallpaper panel with the top of the wall, making sure it is level. Press the exposed adhesive portion firmly against the wall.
- Smooth out the panel – Use a scraper, smoothing tool, or a clean cloth to gently press and smooth out the wallpaper from top to bottom and side to side. This will help eliminate any air bubbles or wrinkles.
- Continue peeling and sticking – Gradually continue peeling off the backing paper while adhering the wallpaper to the wall. Use the smoothing tool to press and smooth the wallpaper as you go.
- Trim excess at the bottom – Once the first panel is fully adhered to the wall, use a utility knife to carefully trim off the excess wallpaper at the bottom. Trim along the baseboard or skirting board for a clean finish.
Take your time during this process to ensure that the first panel is applied smoothly and without any visible imperfections. Once the first panel is successfully applied, you can move on to aligning and hanging subsequent panels.
When installing peel and stick wallpaper horizontally, start at the top of the wall and work your way down, using a level to ensure the first strip is straight. Smooth out any air bubbles as you go.
Read more: How To Measure For Peel And Stick Wallpaper
Aligning and Hanging Subsequent Panels
Now that the first panel is securely in place, it’s time to align and hang the subsequent panels of peel and stick wallpaper. Follow these steps for a seamless installation:
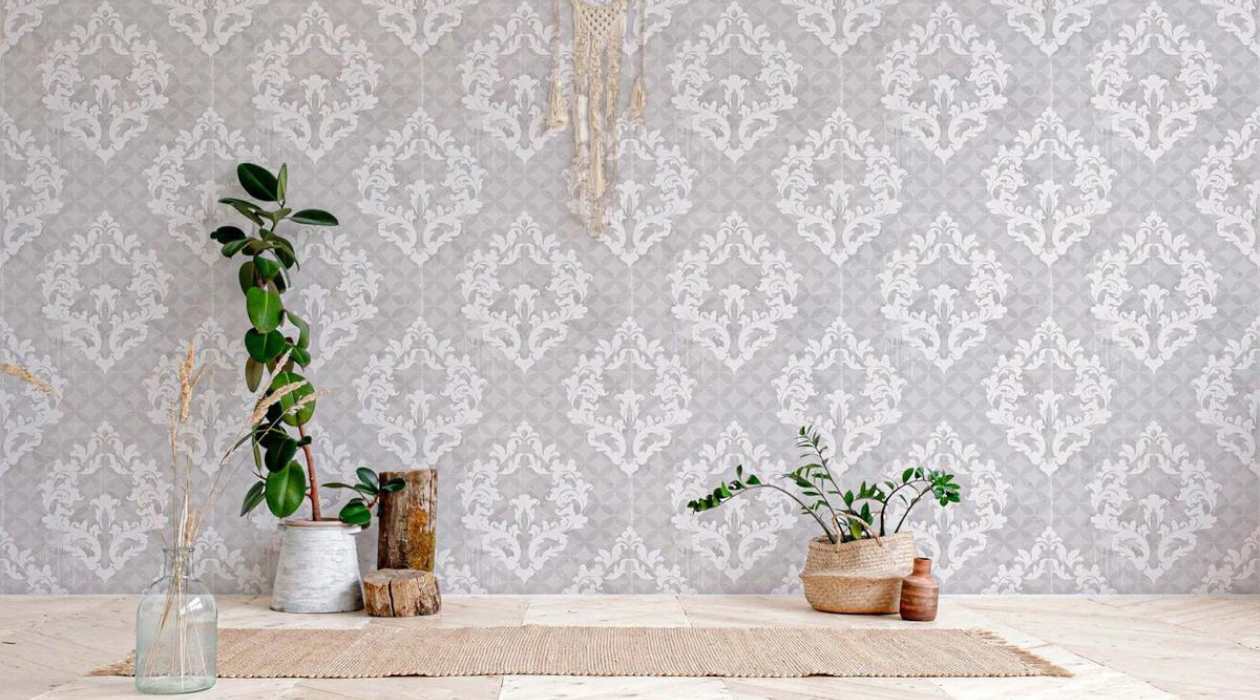
- Line up the pattern – If your wallpaper has a pattern or design, it’s important to align each panel correctly to create a continuous and cohesive look. Match up the pattern edges of the next panel with the previous one before adhering it to the wall.
- Overlap the panels – To ensure a tight bond and eliminate any visible seams, overlap the edges of the panels slightly. The amount of overlap may vary depending on the specific wallpaper design and manufacturer’s instructions.
- Smooth out each panel – As you adhere each subsequent panel, use a smoothing tool or clean cloth to smooth out any air bubbles or wrinkles. Start from the center of the panel and work your way outwards towards the edges.
- Check for levelness – Periodically use a level to ensure that each panel is aligned horizontally and vertically. Adjust as needed to maintain a straight and level appearance.
- Trim excess at the top – Once all the panels are in place, use a utility knife to carefully trim off any excess wallpaper at the top, near the ceiling. Trim along the edge for a clean and finished look.
Take your time with each panel, paying attention to the pattern alignment and smooth application. A well-aligned and properly hung series of panels will create a seamless and professional-looking finish. Next, let’s move on to dealing with corners and outlets.
Dealing with Corners and Outlets
When installing peel and stick wallpaper, you may come across corners, windows, doors, and electrical outlets that require some special attention. Here’s how to handle them:
- Corners – For corners, you have two options. You can either cut the wallpaper vertically along the corner, making sure to leave a small overlap on each side, or you can wrap the wallpaper around the corner for a seamless look. Use a scraper or putty knife to smooth the wallpaper along the corner, ensuring a tight and secure bond.
- Windows and doors – When applying the wallpaper around windows and doors, start by applying a full panel from the top to the bottom of the wall, making sure to align it properly. Then, use a utility knife to carefully trim the excess wallpaper around the edges of the window or door frame. Smooth out any wrinkles or air bubbles with a scraper or smoothing tool.
- Electrical outlets – When encountering electrical outlets, it’s essential to cut around them for a clean and safe installation. Start by turning off the power to the outlet. Use a utility knife to carefully cut an “X” shape over the outlet, starting from the center. Fold back the cut flaps and trim them neatly around the edges of the outlet. Replace the outlet cover once the wallpaper is fully applied.
Dealing with corners, windows, doors, and electrical outlets requires precision and attention to detail. Take your time and make sure to achieve a seamless and professional look. Now that the wallpaper is in place, let’s move on to trimming any excess.
Trimming Excess Wallpaper
After applying the peel and stick wallpaper, you may have some excess material that needs to be trimmed for a clean and finished look. Follow these steps to trim the excess wallpaper:
- Let the adhesive set – Before trimming, allow the wallpaper to set and adhere to the wall fully. This will ensure a secure bond and prevent any accidental peeling.
- Use a straight edge – Grab a ruler or straight edge and place it along the edge or corner of the wallpaper that needs to be trimmed. This will serve as a guide for your cutting line.
- Cut with a utility knife – Using a sharp utility knife, carefully cut along the edge or corner, following the straight edge as your guide. Apply steady pressure and make clean, straight cuts to avoid any jagged edges.
- Remove the excess – Once you’ve cut along the line, gently peel away the excess wallpaper, being careful not to damage the neighboring panels. Dispose of the excess material properly.
- Check for any missed areas – After trimming, inspect the wall and make sure there are no remaining excess or overlapping sections. Smooth out any edges or seams as needed.
Taking the time to trim the excess wallpaper will provide a polished and professional finish to your installation. Now, let’s explore some additional tips and tricks to ensure a smooth and successful project.
Tips and Tricks for a Smooth Installation
Here are some valuable tips and tricks to make your peel and stick wallpaper installation a breeze:
- Start with a clean and smooth surface – Ensure that the wall is clean, free from dust, grease, and imperfections. A smooth surface will allow for better adhesion and a neater finish.
- Take accurate measurements – Measure the height and width of the wall accurately to determine the amount of wallpaper needed. It’s better to have a little extra than to run out in the middle of the installation.
- Allow for a slight overlap – When aligning and hanging subsequent panels, allow for a slight overlap to create a seamless look and ensure a strong bond between the panels.
- Smooth out air bubbles – Use a scraper, smoothing tool, or clean cloth to smooth out any air bubbles or wrinkles as you apply the wallpaper. Work from the center outward for the best results.
- Reposition if necessary – If you encounter any misalignment or need to reposition the wallpaper, use a spray bottle filled with water to lightly spray the adhesive side. Gently lift and adjust for a perfect placement.
- Be patient – Take your time during the installation process. Rushing can lead to mistakes or uneven application. Carefully follow the instructions provided by the manufacturer.
- Smooth from top to bottom – When smoothing out the wallpaper, start from the top and work your way down. This helps to minimize the risk of trapped air bubbles.
- Trim carefully – When trimming excess wallpaper, use a sharp utility knife and be mindful of neighboring panels. Take slow and precise cuts for a clean and professional finish.
- Clean up as you go – Wipe away any excess adhesive or water spills immediately using a clean cloth or sponge. This will prevent the adhesive from drying on unwanted surfaces.
- Step back and admire – Once the wallpaper is fully installed, take a step back and appreciate your work. Enjoy the transformed space and the beauty of your new peel and stick wallpaper.
By following these tips and tricks, you’ll achieve a smooth and successful installation, creating a stunning and personalized look for your walls. Now, it’s time to wrap up our guide.
Conclusion
Congratulations! You’ve reached the end of our comprehensive guide on how to install peel and stick wallpaper horizontally. With the right tools, materials, and knowledge, you can successfully transform your walls and add a touch of style to your space.
Throughout this guide, we’ve covered the step-by-step process of preparing the wall, measuring and cutting the wallpaper, applying the first panel, aligning and hanging subsequent panels, dealing with corners and outlets, trimming excess wallpaper, and shared some valuable tips and tricks for a smooth installation.
Remember, patience and attention to detail are key during the installation process. Take your time, follow the instructions provided by the manufacturer, and don’t hesitate to seek assistance if needed.
Peel and stick wallpaper offers a convenient and versatile option for changing up your home decor. Whether you’re looking to add a pop of color, patterns, or a unique focal point, this DIY project allows you to express your creativity and update your space with ease.
We hope that this guide has provided you with the knowledge and confidence to tackle your own peel and stick wallpaper installation. Enjoy the process and embrace the transformative power of a beautifully decorated wall!
Frequently Asked Questions about How To Install Peel And Stick Wallpaper Horizontally
Was this page helpful?
At Storables.com, we guarantee accurate and reliable information. Our content, validated by Expert Board Contributors, is crafted following stringent Editorial Policies. We're committed to providing you with well-researched, expert-backed insights for all your informational needs.


0 thoughts on “How To Install Peel And Stick Wallpaper Horizontally”