Home>Articles>How To Remove Bubbles From Peel And Stick Wallpaper
Articles
How To Remove Bubbles From Peel And Stick Wallpaper
Modified: May 6, 2024
Looking for articles on how to remove bubbles from peel and stick wallpaper? Find expert tips and tricks to achieve a smooth and flawless finish in our comprehensive guide.
(Many of the links in this article redirect to a specific reviewed product. Your purchase of these products through affiliate links helps to generate commission for Storables.com, at no extra cost. Learn more)
Introduction
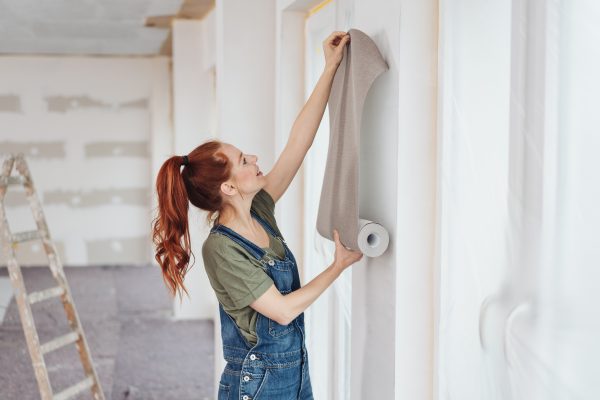
Welcome to our comprehensive guide on how to remove bubbles from peel and stick wallpaper. If you’ve recently installed peel and stick wallpaper and noticed unsightly bubbles, don’t worry – we’re here to help you fix it! While peel and stick wallpaper is a convenient and budget-friendly option for transforming your walls, it’s not uncommon to encounter air bubbles during the installation process.
In this article, we’ll walk you through a step-by-step process to effectively remove bubbles from your peel and stick wallpaper, ensuring a smooth and seamless finish for your walls. With a few simple tools and techniques, you’ll be able to achieve a professional-looking result in no time.
Before we dive into the steps, let’s quickly discuss why bubbles occur in peel and stick wallpaper. Bubbles usually form when air gets trapped between the wallpaper and the wall surface during the application process. This can happen due to improper wall preparation, incorrect application techniques, or simply by not taking the necessary time to smooth out the wallpaper properly.
Now that we understand the common causes of bubbles, let’s move on to the step-by-step process to remove them from your peel and stick wallpaper. Whether you’re an experienced DIY enthusiast or a beginner, these instructions will help you achieve a bubble-free finish that looks professional and polished.
Key Takeaways:
- Say goodbye to unsightly bubbles in your peel and stick wallpaper by following our step-by-step guide for a flawless, professional-looking installation.
- Achieve a visually stunning and seamless finish with your peel and stick wallpaper by mastering the art of bubble removal and proper installation techniques.
Read more: How To Measure For Peel And Stick Wallpaper
Step 1: Gather the necessary materials
Before you begin removing bubbles from your peel and stick wallpaper, it’s important to gather all the necessary materials. Having everything on hand will help you work efficiently and ensure that you have the right tools to complete the job.
Here are the materials and tools you’ll need:
- Smoothing tool: This tool is essential for removing bubbles and ensuring a smooth application of the wallpaper. You can purchase a dedicated smoothing tool from a home improvement store, or you can use a credit card, squeegee, or even a clean plastic spatula as a makeshift option.
- Pin or needle: This will be used to release stubborn bubbles that are difficult to smooth out with the smoothing tool. Make sure the pin or needle is clean and sharp.
- Measuring tape: You’ll need a measuring tape to accurately measure and cut the peel and stick wallpaper to fit your wall dimensions.
- Cutting mat or surface: To protect your work area and ensure clean cuts, use a cutting mat or a smooth surface, such as a clean table or countertop.
- Utility knife: A sharp utility knife will be needed to cut the peel and stick wallpaper according to your measurements. Make sure the blade is fresh and sharp for clean cuts.
- Wall cleaner: Before applying the wallpaper, you’ll need to clean the wall surface to ensure proper adhesion. Use a mild wall cleaner or a mixture of water and mild soap.
- Rags or paper towels: These will be used for cleaning the wall surface and wiping away any excess adhesive or moisture.
- Level: A small level will help you ensure that your wallpaper is applied straight and level on the wall.
- Pencil: Use a pencil to mark your measurements on the back of the peel and stick wallpaper and on the wall surface.
- Optional: Heat gun or hairdryer: If you’re working with particularly stubborn bubbles, using a heat gun or hairdryer on a low heat setting can help soften the adhesive and make it easier to smooth out the bubbles.
By gathering these materials before you start, you’ll be prepared to tackle the issue of bubbles in your peel and stick wallpaper effectively.
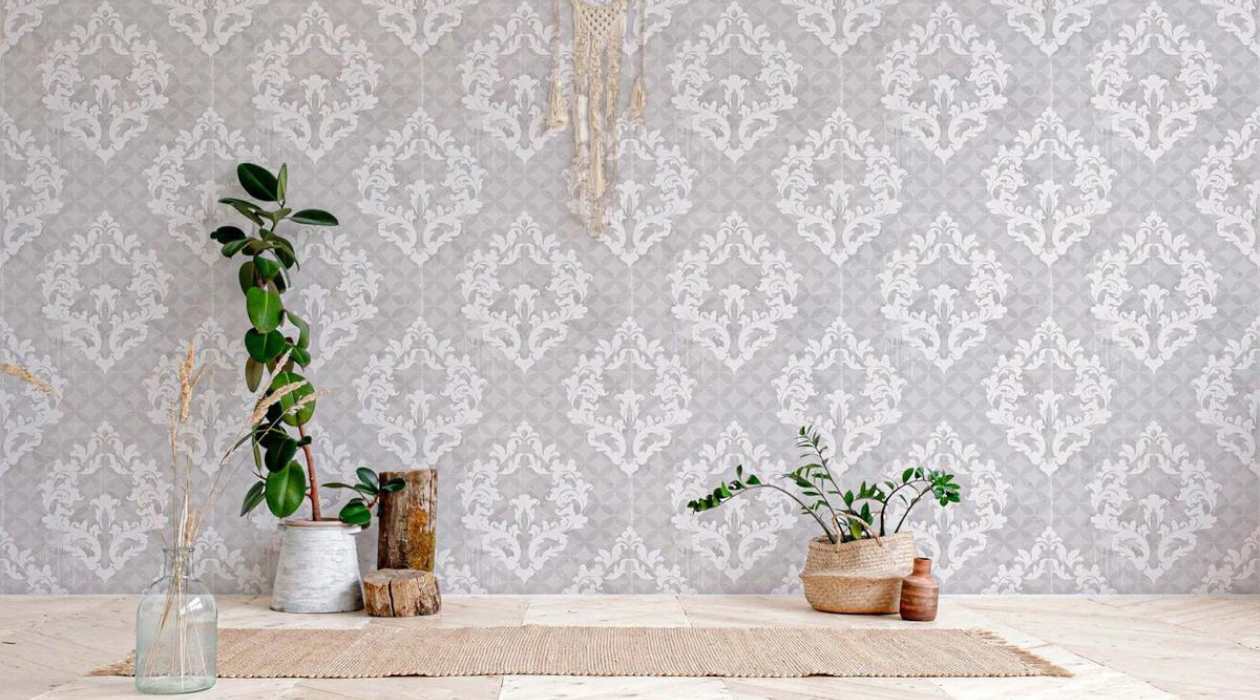
Step 2: Prepare the wall surface
Before you begin removing bubbles from your peel and stick wallpaper, it’s crucial to properly prepare the wall surface. This step will ensure optimal adhesion and help prevent bubbles from forming in the first place.
Follow these steps to prepare your wall surface:
- Clean the wall: Start by cleaning the wall using a mild wall cleaner or a mixture of water and mild soap. Remove any dirt, dust, or grease from the wall surface. Make sure the wall is completely dry before proceeding.
- Repair any imperfections: Inspect the wall for any cracks, holes, or uneven surfaces. Fill in any holes or cracks with spackle or a wall patching compound. Smooth out any rough areas using sandpaper. Allow the repairs to dry and then sand them lightly to create a smooth surface.
- Remove switch plates and outlet covers: Take off any switch plates or outlet covers on the wall. This will simplify the application process and ensure that the wallpaper covers the entire surface evenly.
- Make sure the wall is level: Use a small level to ensure that the wall is plumb and level. This will help you achieve a straight and even application of the peel and stick wallpaper.
- Prime the wall (optional): Depending on the condition of your wall, you may choose to apply a primer before installing the peel and stick wallpaper. A primer can help with adhesion and create a smoother surface. Consult the manufacturer’s instructions for the specific peel and stick wallpaper you’re using to determine if priming is necessary.
By properly preparing the wall surface, you’ll create a clean and smooth canvas for the peel and stick wallpaper. This will contribute to a better overall application and reduce the chances of bubbles forming.
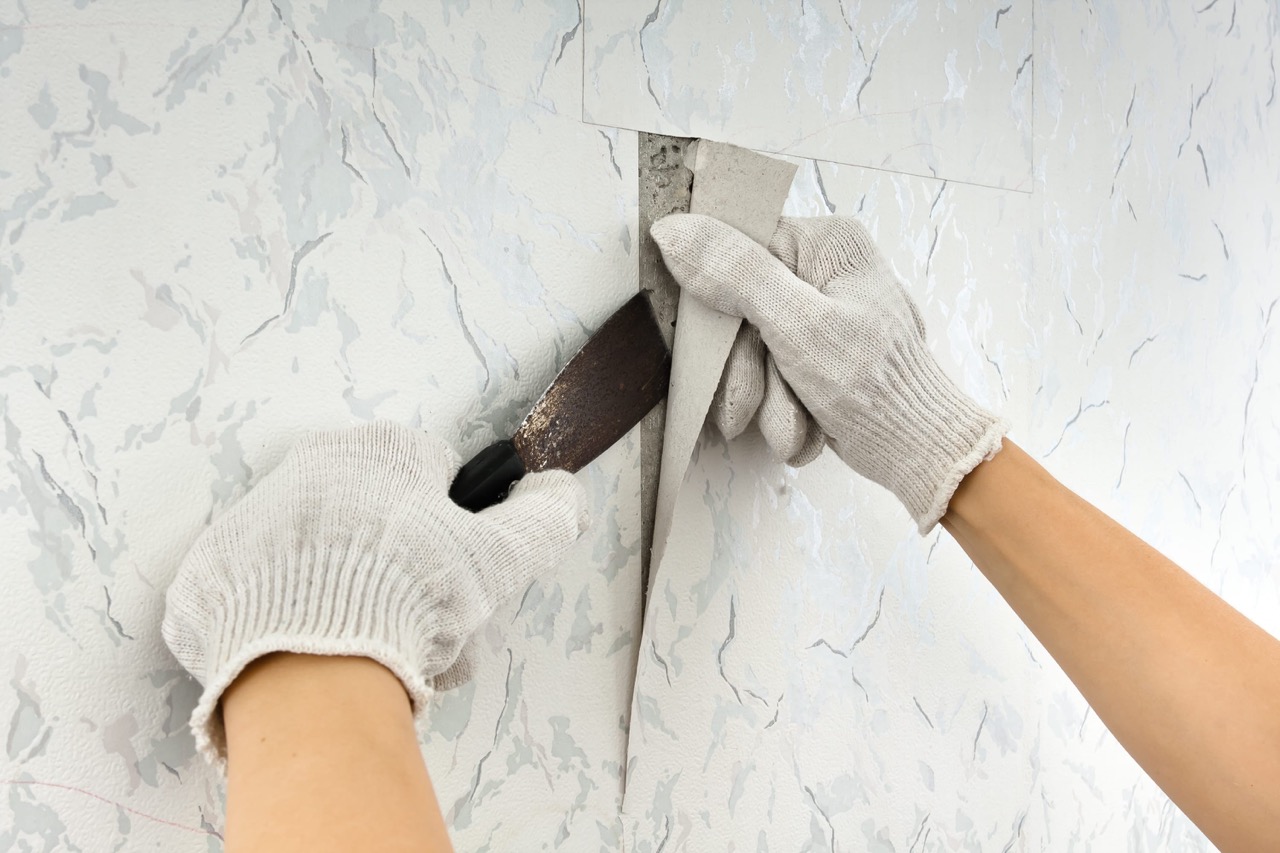
Step 3: Remove any existing wallpaper
If there is existing wallpaper on the wall, it’s important to remove it before applying the peel and stick wallpaper. Leaving old wallpaper on the wall can lead to bubbling and uneven adhesion of the new wallpaper. Follow these steps to effectively remove any existing wallpaper:
- Assess the type of wallpaper: Determine the type of wallpaper you’re dealing with, as the removal process may vary. Most wallpapers come in two categories: strippable and non-strippable. Strippable wallpaper is designed to be easily removed by pulling it away from the wall in large sections. Non-strippable wallpaper requires additional steps to loosen the adhesive.
- Prepare the room: Clear the room of any furniture or objects near the walls to create a workspace. Lay down protective drop cloths or plastic sheets to catch any debris or moisture during the removal process.
- Start with a corner: Begin by peeling back a corner of the wallpaper using a putty knife or a wallpaper scraper. Slowly pull the wallpaper away from the wall at a 45-degree angle. If the wallpaper does not come off easily, it may be non-strippable and will require additional steps.
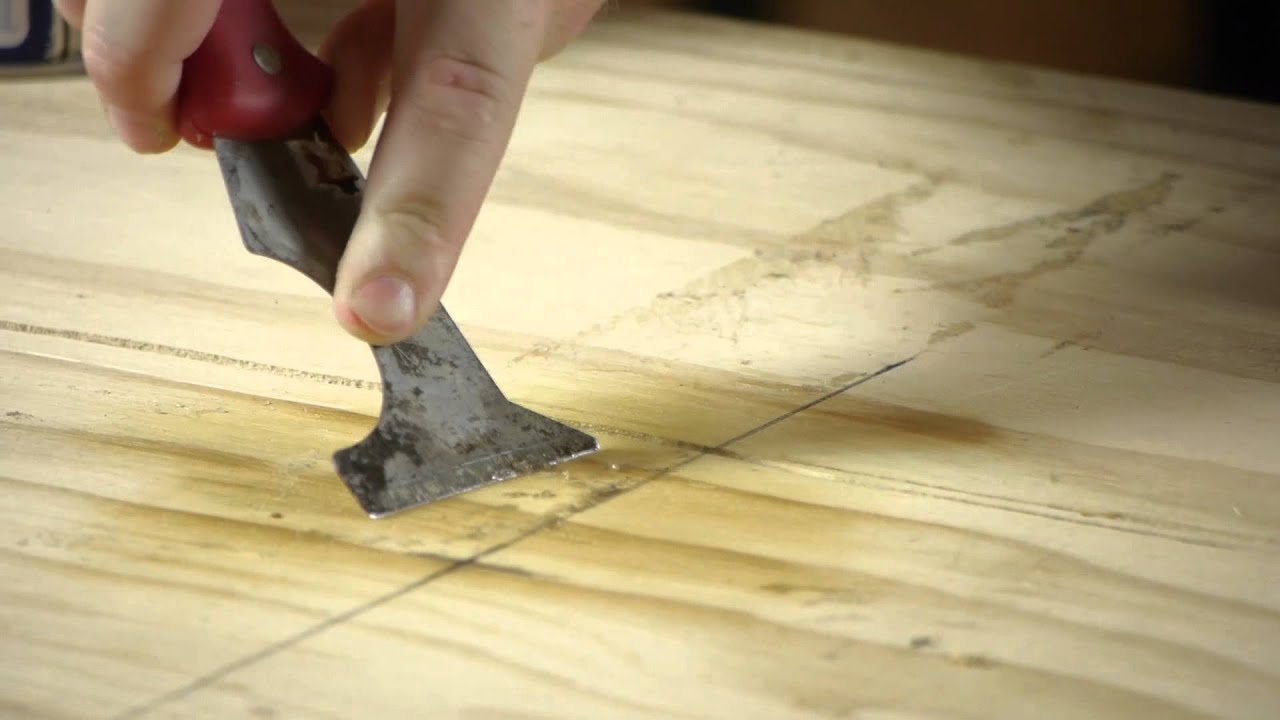
- Loosen the adhesive: For non-strippable wallpaper, you’ll need to loosen the adhesive before removing it. Use a scoring tool to create small holes or slits in the wallpaper, which will allow the wallpaper removal solution to penetrate and dissolve the adhesive. Apply a wallpaper removal solution or a mixture of warm water and fabric softener to the wallpaper surface, following the manufacturer’s instructions. Allow the solution to soak into the wallpaper for the recommended time.
- Scrape and remove: Use a putty knife or a wallpaper scraper to gently scrape away the loosened wallpaper. Work in small sections, starting from the bottom and moving upwards. Be careful not to damage the wall surface while scraping away the wallpaper. Dispose of the removed wallpaper in a trash bag or bin.
- Clean the wall: Once all the wallpaper has been removed, clean the wall surface using a mild wall cleaner or a mixture of warm water and mild soap. Remove any remnants of adhesive or wallpaper residue, ensuring a clean and smooth surface for the peel and stick wallpaper installation.
By removing any existing wallpaper, you’ll create an even and smooth surface for the peel and stick wallpaper application, reducing the likelihood of bubbles forming.
Step 4: Measure and cut the peel and stick wallpaper
Accurate measurements and precise cuts are crucial for a seamless installation of peel and stick wallpaper. Taking the time to measure and cut the wallpaper correctly will help ensure a professional and bubble-free finish. Follow these steps to measure and cut the peel and stick wallpaper:
- Measure the wall: Use a measuring tape to measure the height and width of the wall you’ll be covering with the peel and stick wallpaper. Round up the measurements to the nearest inch.
- Add extra length: Add a few extra inches to the height measurement to accommodate any uneven surfaces or to allow room for trimming. It’s better to have more wallpaper than you need rather than falling short.
- Transfer measurements to the wallpaper: Lay the peel and stick wallpaper on a cutting mat or a smooth surface with the adhesive side facing down. Use a pencil to mark the measurements on the back of the wallpaper. Make sure to align the markings with the pattern if your wallpaper has one.
- Cut the wallpaper: Using a sharp utility knife, carefully cut along the markings you made on the back of the wallpaper. Take your time and use a straight edge or ruler as a guide for clean and precise cuts.
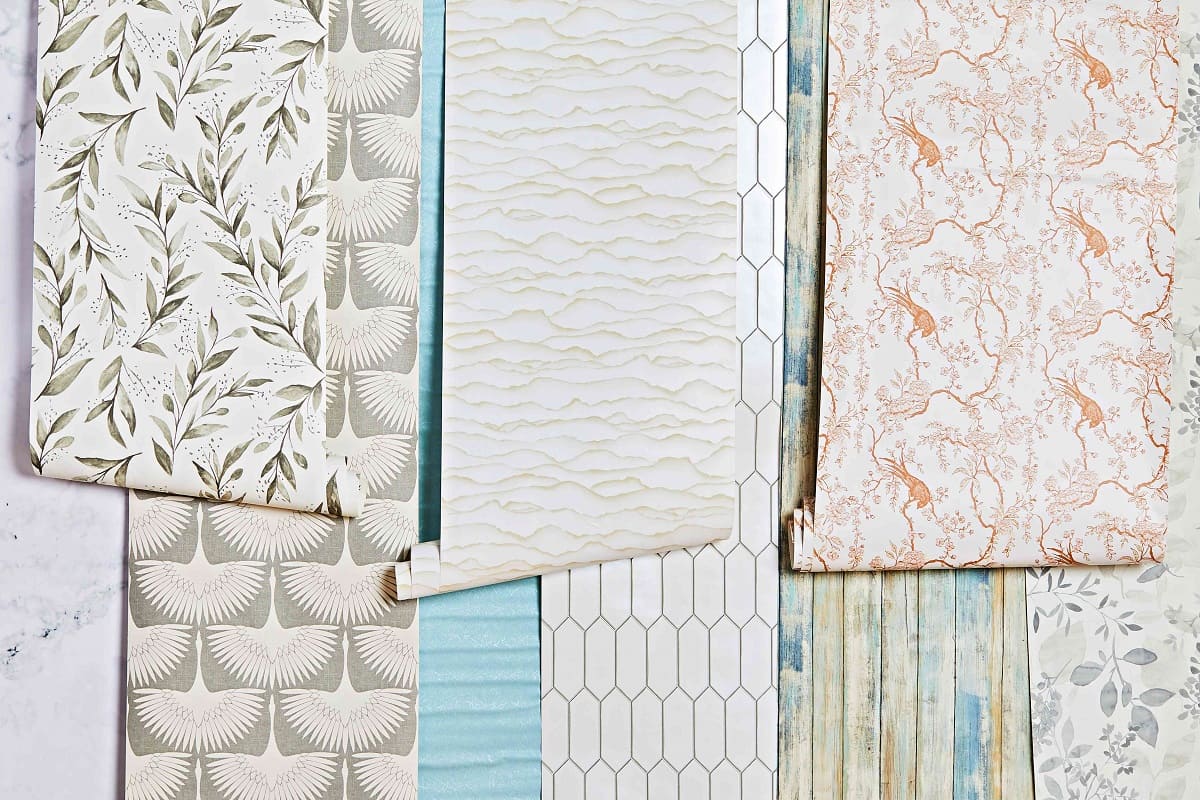
- Repeat for multiple strips: If your wall requires multiple strips of wallpaper, repeat the measuring and cutting process for each strip. Make sure to match the pattern if applicable.
By measuring and cutting the peel and stick wallpaper accurately, you’ll have properly sized strips that fit your wall perfectly. This will make the installation process easier and help minimize the chances of bubbles forming.
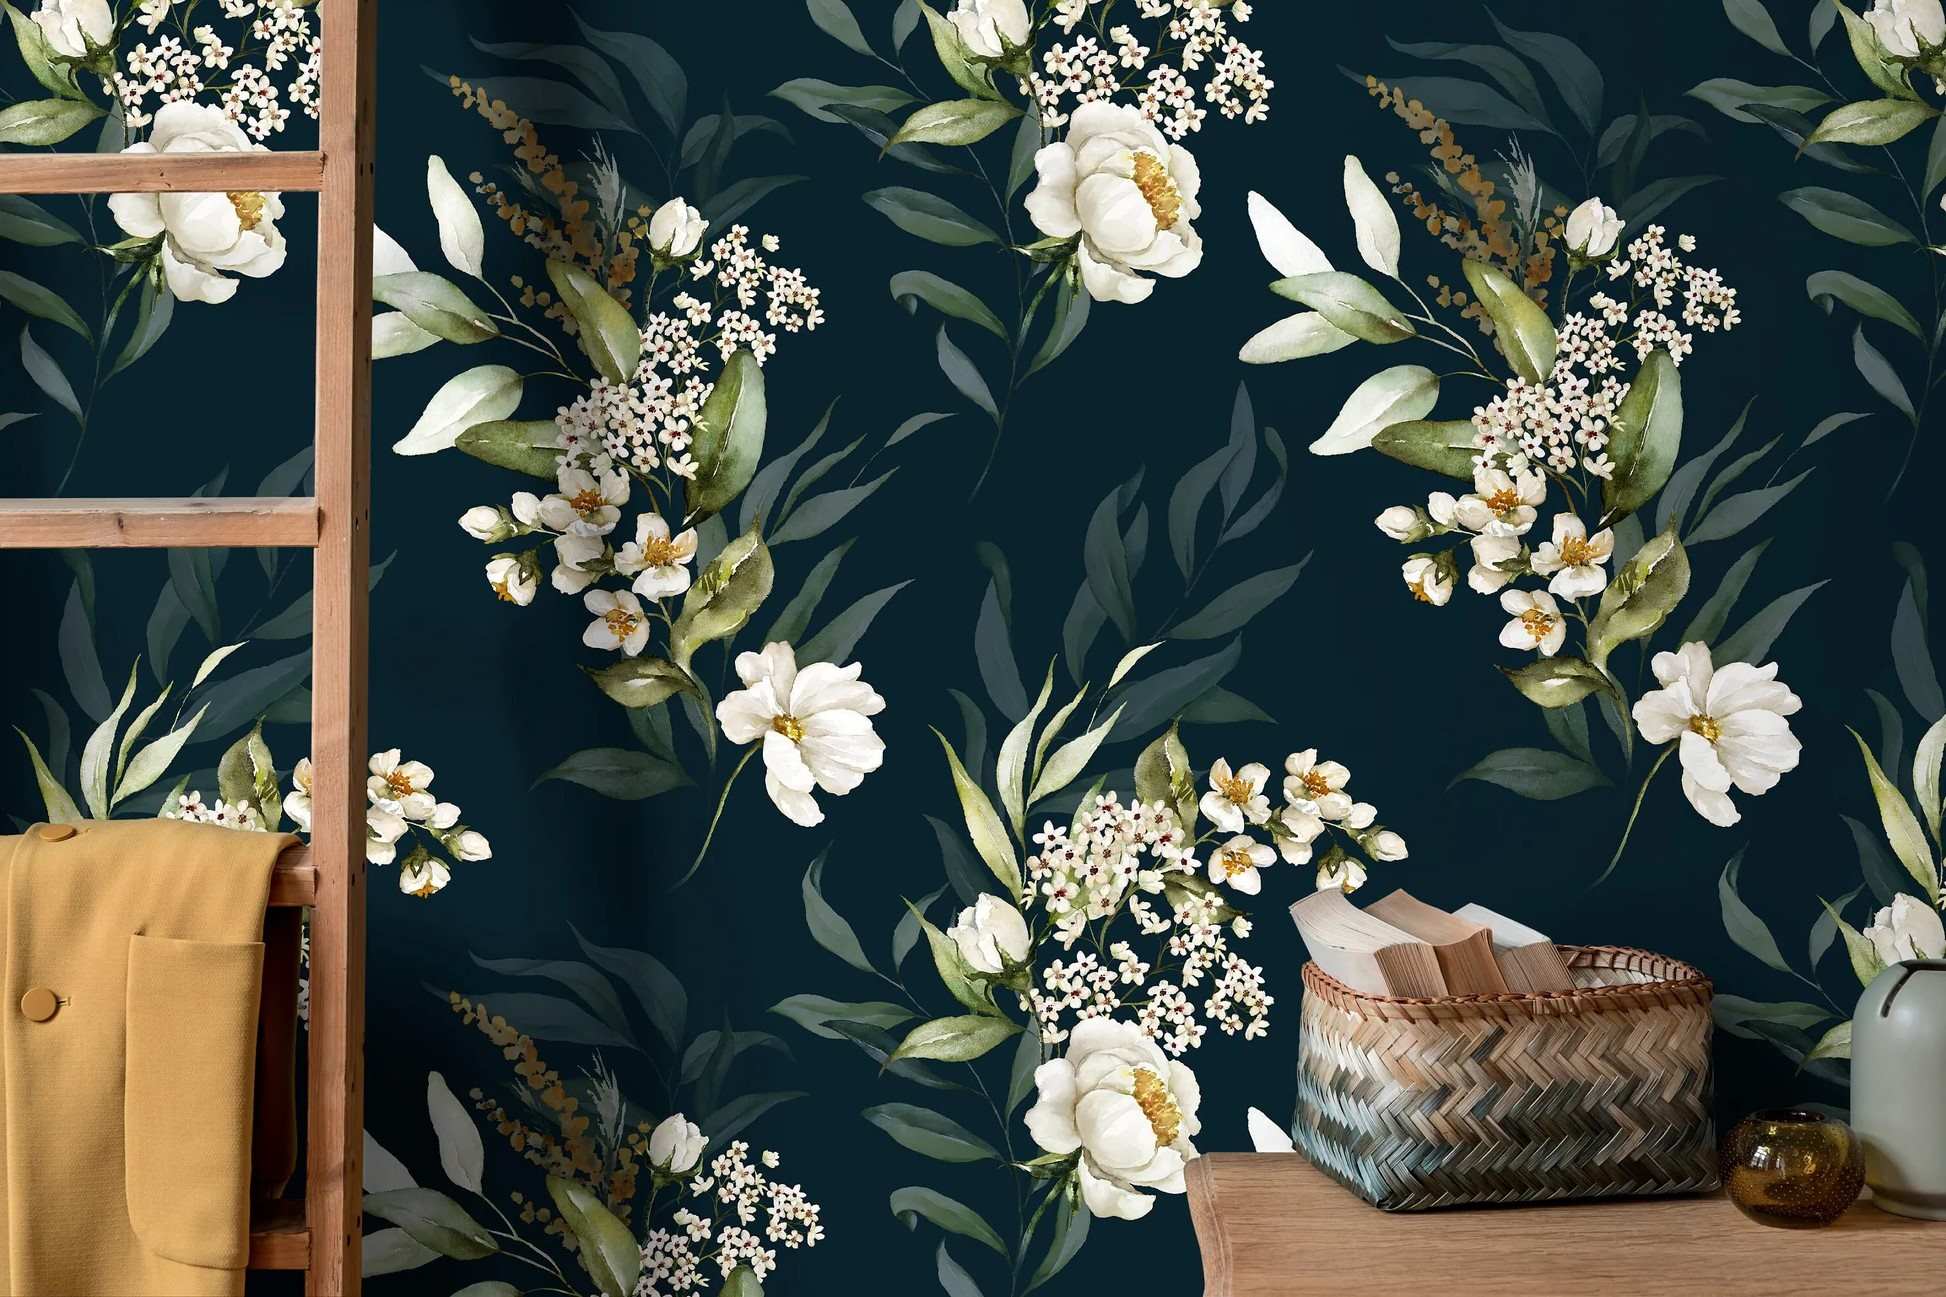
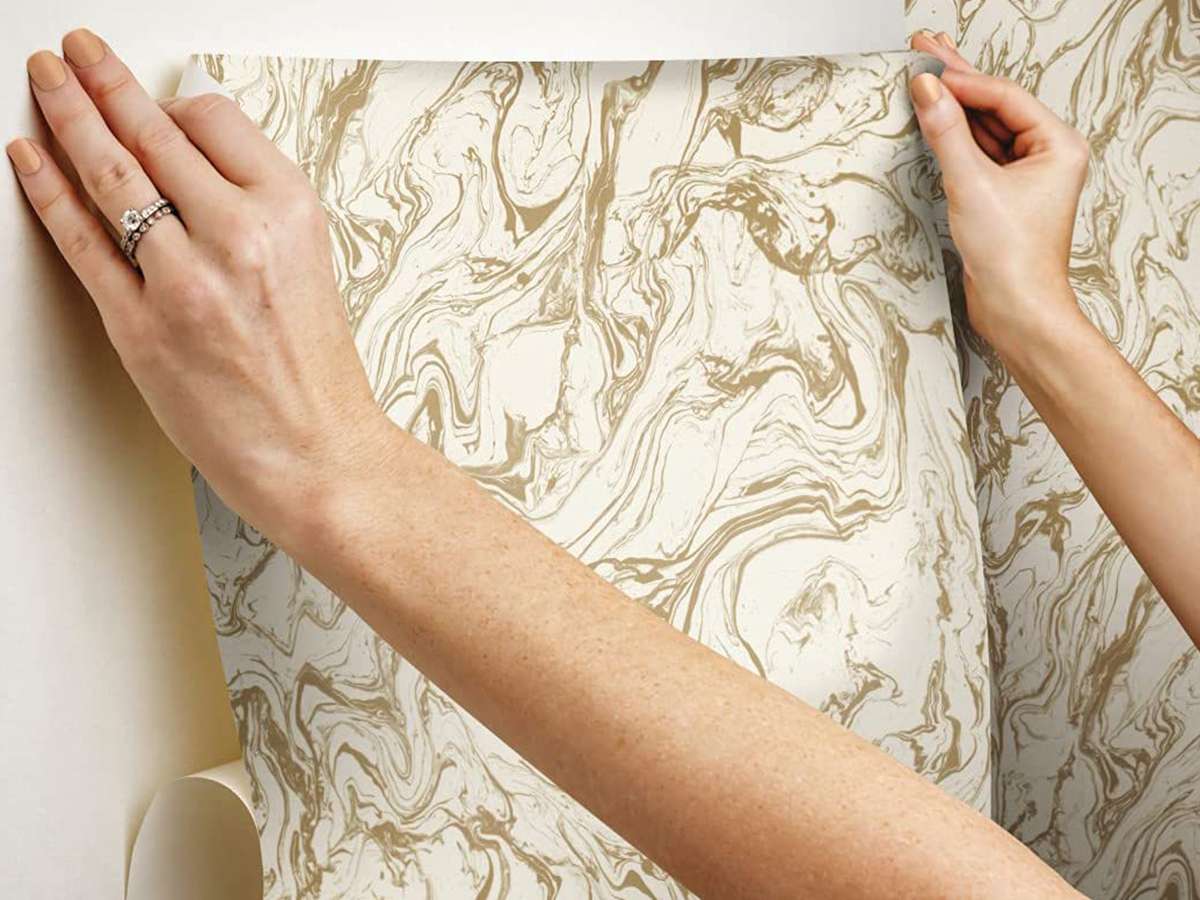
Step 5: Apply the wallpaper to the wall
Now that you have your peel and stick wallpaper measured and cut, it’s time to apply it to the wall. This step requires careful attention to ensure a smooth and bubble-free application. Follow these steps to apply the peel and stick wallpaper:
- Start at the top: Begin by positioning the top edge of the wallpaper strip against the top of the wall. Leave a small overlap at the ceiling to allow for adjustments.
- Peel off the backing: Slowly peel away a few inches of the backing paper from the top of the wallpaper strip. Be cautious not to touch the exposed adhesive.
- Align and stick: Align the edge of the wallpaper strip with the corner of the wall. Carefully press the exposed adhesive section onto the wall, smoothing it down with your hand or a clean cloth to ensure proper adhesion.
- Work your way down: Gradually peel away more of the backing paper, around 12 inches at a time, while pressing the wallpaper onto the wall and smoothing it as you go. Use gentle pressure to avoid trapping air bubbles underneath the wallpaper.
- Smooth out the wallpaper: As you continue to apply the wallpaper, use your hands or a smoothing tool to gently smooth out any wrinkles or bubbles. Start from the center and work your way towards the edges, using downward strokes to ensure a flat and even application.
- Repeat the process: Continue applying additional wallpaper strips next to each other, matching the patterns if applicable. Repeat the peeling, aligning, sticking, and smoothing process until the entire wall is covered.
- Overlap and trim excess: For each new strip, overlap it slightly onto the previous one, ensuring a seamless appearance. Once all the wallpaper is applied, use a sharp utility knife and a straight edge to trim any excess wallpaper along the edges and at the bottom.
By carefully applying the peel and stick wallpaper, you’ll create a smooth and bubble-free surface. Take your time and pay attention to detail for the best results.
Step 6: Smooth out the wallpaper
After applying the peel and stick wallpaper to the wall, it’s important to smooth out any imperfections and ensure a seamless appearance. This step will help eliminate any potential bubbles or wrinkles that may have formed during the application process. Follow these steps to effectively smooth out the wallpaper:
- Inspect the wallpaper: Take a step back and examine the entire wall to identify any areas that require smoothing. Look for bubbles, wrinkles, or any other visible imperfections.
- Use a smoothing tool: Take a smoothing tool, such as a dedicated wallpaper smoother, credit card, squeegee, or a clean plastic spatula, and gently press it against the wallpaper surface. Start from the center of the bubble or wrinkle and move towards the edges, applying firm but gentle pressure.
- Smooth in a vertical motion: Work in a vertical motion, moving the smoothing tool up and down to compress any air trapped underneath the wallpaper. This will help release the bubbles and create a flat surface.
- Smooth in a diagonal motion: If necessary, use a diagonal motion with the smoothing tool to further eliminate bubbles or wrinkles. This can be especially helpful when working with larger bubbles that are difficult to smooth out with vertical strokes alone.
- Be gentle and patient: As you smooth out the wallpaper, be careful not to apply too much pressure or damage the surface. Take your time and work systematically, focusing on one area at a time.
- Inspect and repeat as needed: After smoothing out a section of wallpaper, closely inspect the area for any remaining bubbles or wrinkles. If necessary, repeat the smoothing process in that specific area to achieve a flawless finish.
By smoothing out the wallpaper, you’ll eliminate any trapped air bubbles or wrinkles, resulting in a visually appealing and professionally installed surface. This step will ensure that your peel and stick wallpaper looks seamless and smooth.
Use a wallpaper smoothing tool to gently push out any air bubbles from the center to the edges. If the bubbles persist, use a pin to carefully puncture the bubble and smooth it out.
Step 7: Remove bubbles using a smoothing tool
If you notice any bubbles or air pockets in your peel and stick wallpaper after smoothing it out, you can take additional steps to remove them. Using a smoothing tool and a careful technique, you can effectively eliminate bubbles and achieve a flawless finish. Follow these steps to remove bubbles using a smoothing tool:
- Identify the bubbles: Take a close look at the wallpaper and identify any areas where bubbles or air pockets have formed. These areas may appear as raised spots or uneven sections on the surface.
- Reapply pressure with the smoothing tool: Take your smoothing tool, such as a dedicated wallpaper smoother, credit card, or squeegee, and press it firmly against the bubble.
- Push out the air: Using the smoothing tool, work from the center of the bubble towards the edges, applying steady and even pressure. This technique will help push out the trapped air and flatten the wallpaper.
- Smooth in a sweeping motion: Move the smoothing tool in a sweeping motion across the bubble, applying consistent pressure as you go. This motion will help distribute the adhesive and eliminate any remaining air pockets.
- Repeat as necessary: If the bubble does not completely disappear, continue to reapply pressure and smooth out the area using the aforementioned technique. Be patient and persistent, as some bubbles may require multiple attempts to fully remove.
- Inspect the area: After smoothing out the bubble, carefully inspect the area to ensure that it appears flat and seamless. Run your hand over the surface to feel for any remaining imperfections.
- Continue with the remaining bubbles: Repeat the process for any other bubbles or air pockets you discover on the wallpaper. Address each bubble individually, applying the smoothing tool and using the sweeping motion to remove the air.
By using a smoothing tool and following these steps, you can effectively remove bubbles and achieve a smooth and professional-looking result with your peel and stick wallpaper installation.
Step 8: Use a pin or needle to release stubborn bubbles
If you encounter stubborn bubbles that cannot be easily smoothed out with a smoothing tool, you can take an alternative approach to release trapped air. By using a pin or needle, you can puncture the bubble and release the air to achieve a flat and seamless appearance. Follow these steps to release stubborn bubbles using a pin or needle:
- Identify the stubborn bubbles: Examine the wallpaper closely to locate any bubbles that have not been successfully removed through the previous steps. These bubbles may feel particularly tight or resistant to smoothing efforts.
- Sterilize the pin or needle: To ensure cleanliness, sterilize the tip of a pin or needle by rubbing it with rubbing alcohol or dipping it in boiling water. This step will help prevent any potential contamination or damage to the wallpaper.
- Position the pin or needle: Gently position the sterilized pin or needle at the edge of the stubborn bubble. Insert it into the bubble at a slight angle, taking care not to pierce through the wallpaper or the wall beneath.
- Puncture the bubble: With a gentle and controlled motion, puncture the bubble by pushing the pin or needle into the wallpaper. Make a small incision, allowing the trapped air to escape.
- Smooth out the area: After releasing the air from the punctured bubble, use a smoothing tool or your hand to flatten the wallpaper in that area. Apply firm but gentle pressure to ensure the wallpaper adheres smoothly to the wall.
- Inspect the area: Closely examine the area to ensure the bubble has been successfully removed and that the wallpaper is now flat and seamless. If needed, repeat the process for any remaining stubborn bubbles.
- Trim any excess: If there is any excess adhesive or material around the punctured area, carefully trim it using a sharp utility knife. Be cautious not to damage the surrounding wallpaper while doing so.
By using a pin or needle to release stubborn bubbles, you can achieve a smooth and flawless appearance with your peel and stick wallpaper. However, exercise caution to prevent over-puncturing or damaging the wallpaper during the process.
Step 9: Repeat the smoothing process
Even after releasing stubborn bubbles, it’s important to repeat the smoothing process to ensure a seamless and bubble-free finish with your peel and stick wallpaper installation. By going over the entire wall surface again, you can address any remaining imperfections and achieve a smooth and flawless appearance. Follow these steps to repeat the smoothing process:
- Inspect the wall surface: Take a step back and carefully inspect the entire wall surface to identify any remaining bubbles, wrinkles, or uneven spots. This thorough examination will help you prioritize areas that require further attention.
- Use a smoothing tool or your hand: Take a smoothing tool, such as a dedicated wallpaper smoother, credit card, or squeegee, and go over the wall surface. Apply even pressure and use long, sweeping motions to smooth out any imperfections.
- Pay attention to corners and edges: Focus on corners and edges, which can be more prone to trapping air and forming bubbles. Use your fingers or the edge of the smoothing tool to press the wallpaper firmly into these areas.
- Work methodically: Work methodically across the entire wall, smoothing out the wallpaper strip by strip. Pay attention to any pattern matching if applicable, ensuring a seamless transition between each strip.
- Apply heat if necessary: If you encounter stubborn bubbles or wrinkles that are difficult to smooth out, you can apply heat using a heat gun or a hairdryer on a low heat setting. Gently heat the area and then use the smoothing tool to press down the wallpaper and eliminate the imperfections.
- Inspect and touch up: After repeating the smoothing process, closely inspect the entire wall surface once again. Run your hand over the wallpaper to feel for any remaining bubbles or wrinkles. If needed, go back and touch up any areas that require further attention.
By repeating the smoothing process, you’ll ensure a thoroughly smooth and polished appearance for your peel and stick wallpaper. Take your time and be diligent in smoothing out any remaining imperfections, resulting in a flawless finish.
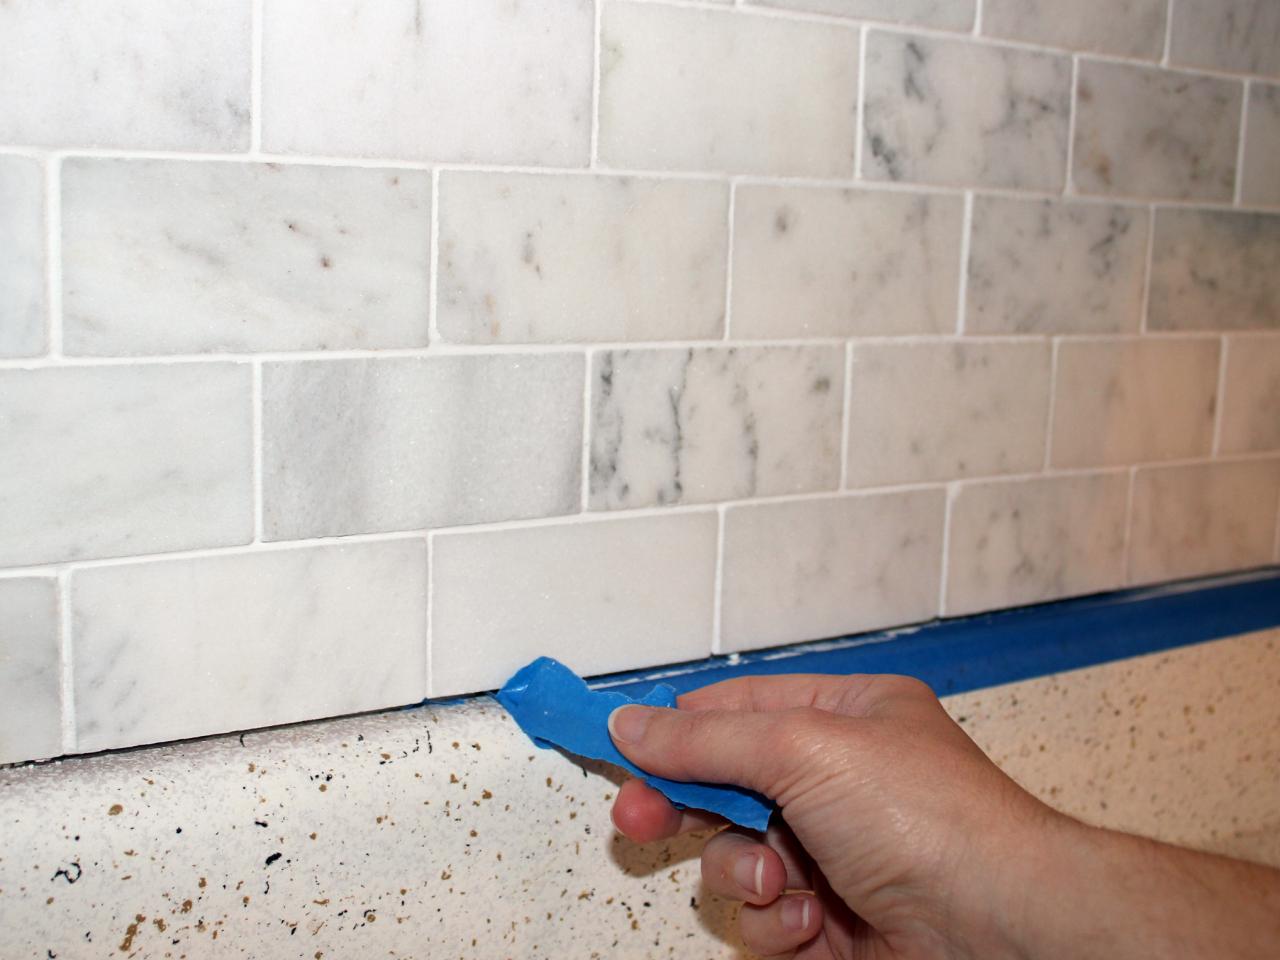
Step 10: Trim any excess wallpaper
Once you have successfully smoothed out the peel and stick wallpaper and achieved a bubble-free and seamless appearance, it’s time to trim any excess material. Trimming the wallpaper will give your installation a neat and finished look. Follow these steps to trim any excess wallpaper:
- Prepare your tools: Gather a sharp utility knife, a straight edge ruler, and a cutting mat or a smooth surface to protect your work area.
- Inspect the edges: Examine the edges of the wallpaper, paying close attention to corners, outlets, and moldings. Look for any areas where the wallpaper extends beyond the desired coverage area.
- Place the straight edge: Position the straight edge ruler along the edge of the wallpaper where you want to make the cut. Ensure the ruler is securely held in place.
- Cut along the edge: Using a sharp utility knife, carefully cut along the edge of the straight edge ruler. Apply gentle but firm pressure while making the cut to ensure a clean and precise line.
- Continue trimming: Move along the edges of the wall, cutting away any excess wallpaper. Take your time and make small, controlled cuts to avoid any accidental damage to the walls or adjacent surfaces.
- Trim around outlets and moldings: When trimming around outlets or moldings, make a small diagonal cut from the edge of the wallpaper to the center of each opening. Then, carefully trim away the excess material.
- Collect and dispose of scraps: As you trim the wallpaper, collect the scraps and dispose of them in a trash bag or bin.
- Inspect the edges: After trimming, closely inspect the edges of the wallpaper to ensure a clean and seamless finish. Make any necessary touch-ups or adjustments if you notice any unevenness or imperfections.
By trimming any excess wallpaper, you will achieve a professional and precise installation. Take your time during this step to ensure clean and accurate cuts, resulting in a polished and finished look for your peel and stick wallpaper.
Step 11: Clean up and enjoy your bubble-free wallpaper
Congratulations! You have successfully removed bubbles and achieved a flawless installation of your peel and stick wallpaper. Now it’s time to clean up and enjoy the beautiful transformation of your walls. Follow these final steps to complete the process:
- Remove any adhesive residue: Inspect the wall surface for any adhesive residue that may have been left behind during the installation process. Use a damp cloth or sponge to gently wipe away any excess adhesive.
- Reattach switch plates and outlet covers: Once the wall is clean and free of any adhesive residue, reattach the switch plates and outlet covers that were temporarily removed during the installation.
- Collect and organize materials: Gather all the tools and materials used during the installation and safely put them away. Dispose of any remaining scraps or packaging materials.
- Admire your bubble-free wallpaper: Take a step back and admire your newly transformed walls. You have successfully removed bubbles and achieved a smooth and seamless application of your peel and stick wallpaper.
- Enjoy the results: Now that your walls are adorned with beautiful, bubble-free wallpaper, it’s time to enjoy the fruits of your labor. Sit back, relax, and bask in the ambiance and aesthetic appeal of your newly decorated space.
- Maintain and care for your wallpaper: To ensure the longevity and beauty of your wallpaper, follow any maintenance and care instructions provided by the manufacturer. This may include gentle cleaning methods or precautions to prevent damage to the wallpaper.
By completing these final steps, you can clean up your work area and fully appreciate the bubble-free and visually stunning results of your peel and stick wallpaper installation. Sit back, relax, and enjoy the refreshed ambiance of your space!
Conclusion
Congratulations on successfully removing bubbles from your peel and stick wallpaper! With the step-by-step guide provided in this article, you have learned how to tackle this common issue and achieve a flawless and professional-looking installation. By following the proper techniques and using the right tools, you were able to smooth out the wallpaper, release stubborn bubbles, and achieve a seamless finish.
Remember that proper preparation of the wall surface, accurate measuring and cutting of the wallpaper, and thorough smoothing are key to achieving a bubble-free result. Take your time and be patient throughout the process, ensuring that each step is carried out with attention to detail.
Once you have removed the bubbles and trimmed any excess wallpaper, take a moment to step back and admire your handiwork. Your walls now showcase a captivating and visually appealing design that enhances the overall aesthetics of your space.
Proper maintenance and care will help preserve the beauty and longevity of your wallpaper. Follow any instructions provided by the manufacturer to keep your walls looking fresh and vibrant for years to come.
Now, sit back, relax, and enjoy the transformation of your space with the satisfaction of knowing that you have successfully removed bubbles from your peel and stick wallpaper. Embrace the beauty and ambiance that your newly decorated walls bring to your home or office.
Thank you for choosing this comprehensive guide as your resource for removing bubbles from peel and stick wallpaper. We hope that this article has been informative and helpful in your DIY journey. Enjoy your bubble-free walls!
Now that you've mastered removing bubbles from peel and stick wallpaper, why not take your home renovation skills further? Dive into our guide on selecting the perfect hardwood floors to transform any room. Whether upgrading your living space or adding value to your property, this guide offers essential insights for choosing floors that stand the test of time and style.
Frequently Asked Questions about How To Remove Bubbles From Peel And Stick Wallpaper
Was this page helpful?
At Storables.com, we guarantee accurate and reliable information. Our content, validated by Expert Board Contributors, is crafted following stringent Editorial Policies. We're committed to providing you with well-researched, expert-backed insights for all your informational needs.
0 thoughts on “How To Remove Bubbles From Peel And Stick Wallpaper”