Home>Articles>How To Prepare Walls For Peel And Stick Wallpaper
Articles
How To Prepare Walls For Peel And Stick Wallpaper
Modified: February 29, 2024
Learn how to prepare your walls for peel and stick wallpaper with our informative articles. Get expert tips and tricks for a flawless application.
(Many of the links in this article redirect to a specific reviewed product. Your purchase of these products through affiliate links helps to generate commission for Storables.com, at no extra cost. Learn more)
Introduction
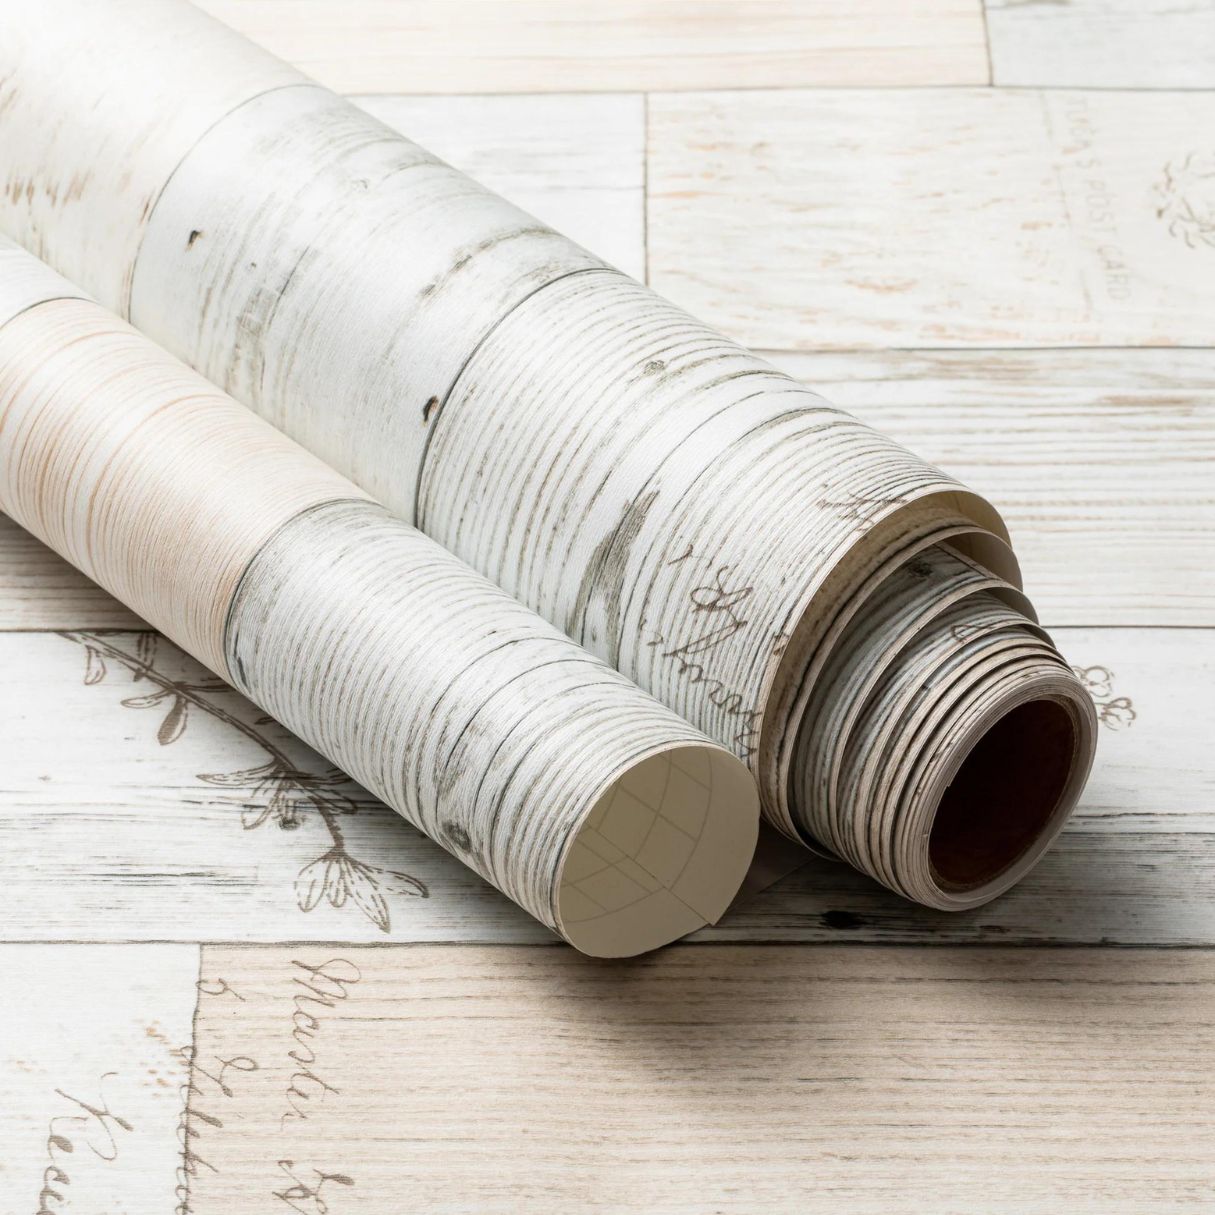
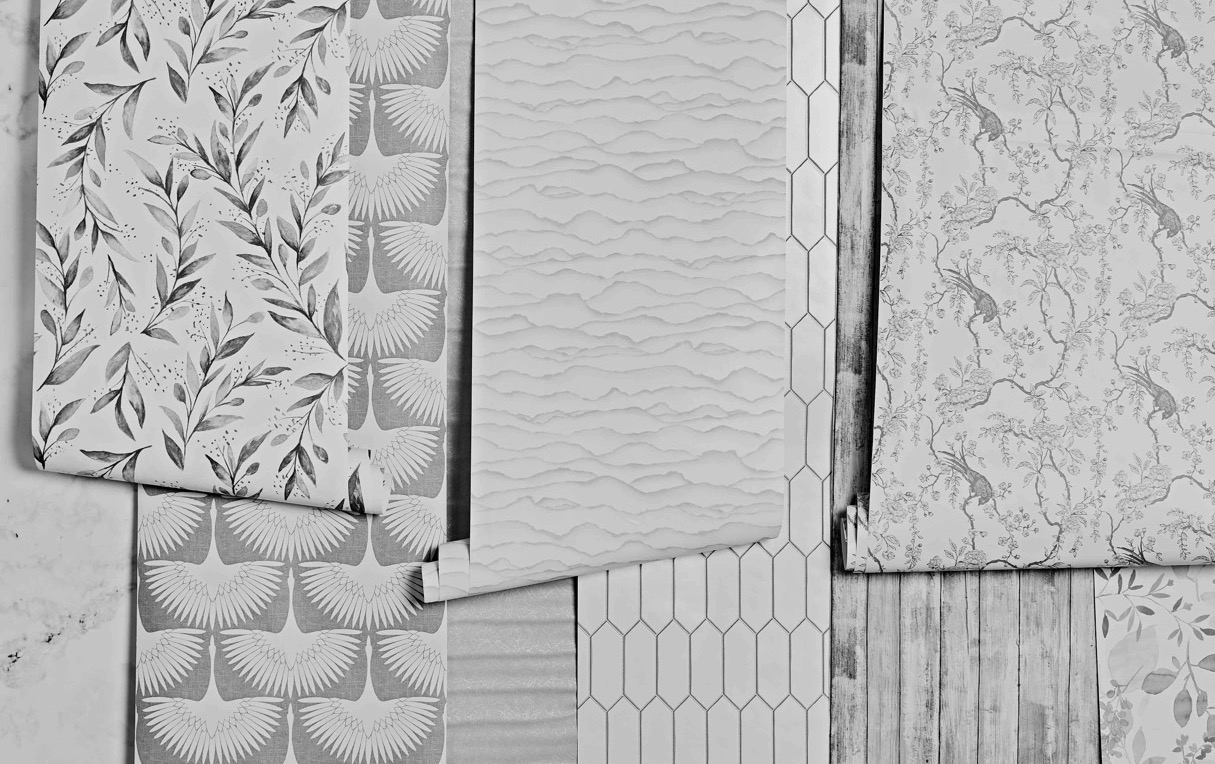
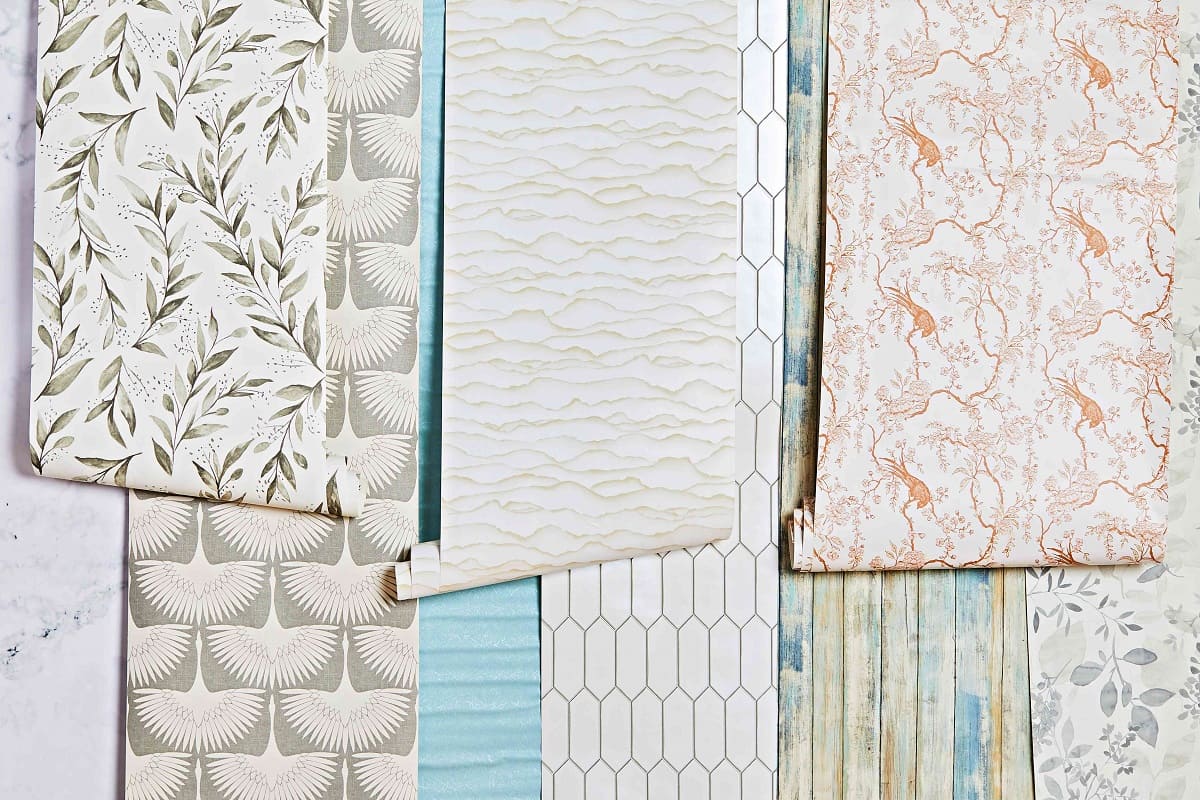
Peel and stick wallpaper has become a popular choice for homeowners and renters alike. Its easy installation, versatility, and wide range of designs make it a convenient and stylish option for transforming any space. Whether you’re looking to add a pop of color to a room or create a statement wall, peel and stick wallpaper can help you achieve the desired look without the hassle of traditional wallpaper.
However, before you start applying peel and stick wallpaper, it’s important to properly prepare your walls. This will ensure that the wallpaper adheres well and lasts for a long time. In this article, we will guide you through the step-by-step process of preparing your walls for peel and stick wallpaper, covering everything from cleaning the walls to trimming the excess wallpaper.
By following these guidelines, you can create a smooth, clean, and flawless backdrop for your peel and stick wallpaper, allowing it to adhere well and enhance the overall aesthetics of your space. So let’s dive in and learn how to prepare walls for peel and stick wallpaper!
Key Takeaways:
- Properly preparing walls for peel and stick wallpaper is crucial for a successful and long-lasting installation. From cleaning and repairing to measuring and applying, attention to detail is key for a flawless finish.
- Meticulous wall preparation ensures a smooth surface for peel and stick wallpaper, resulting in a professional and seamless look. Take your time, follow the steps, and enjoy the transformation of your space!
Tools and Materials Needed
Before you begin preparing your walls for peel and stick wallpaper, it’s important to gather the necessary tools and materials. Here’s a list of what you’ll need:
- Soap or mild detergent
- Water
- Sponge or cloth
- Putty knife
- Spackle or wood filler
- Sandpaper (medium and fine grit)
- Primer
- Paintbrush or roller
- Measuring tape
- Scissors or utility knife
- Squeegee or smoothing tool
- Level
- Pencil
These tools and materials will help you effectively clean, repair any damage, and create a smooth surface for the peel and stick wallpaper to adhere to. Make sure you have everything on hand before you start the preparation process.
It’s also worth noting that some peel and stick wallpapers come with their own adhesive backing, while others may require a separate wallpaper adhesive. Be sure to read the manufacturer’s instructions for the specific wallpaper you’re using to determine if any additional materials are needed.
Now that you have all the necessary tools and materials, you’re ready to move on to the next step: cleaning the walls.
Step 1: Clean the Walls
The first step in preparing walls for peel and stick wallpaper is to thoroughly clean them. This is crucial to ensure that the wallpaper adheres properly and has a smooth surface to stick to. Here’s how you can clean the walls:
- Mix a small amount of soap or mild detergent with water in a bucket or container. Use a gentle cleanser to avoid damaging the walls.
- Dip a sponge or cloth into the soapy water and wring out any excess moisture.
- Gently wipe the walls from top to bottom, applying even pressure. Pay special attention to any areas with dirt, grease, or stains.
- For stubborn stains, you may need to use a more concentrated cleaning solution or a cleaning product recommended for your specific wall surface.
- Rinse the sponge or cloth with fresh water and wipe down the walls again to remove any soap residue.
- Allow the walls to air dry completely before proceeding to the next step.
Cleaning the walls will remove any dust, dirt, or oils that may interfere with the adhesive properties of the peel and stick wallpaper. It’s important to ensure that the walls are clean and free from any debris for optimal adhesion.
Once the walls are clean and dry, you can move on to the next step: repairing any damage.
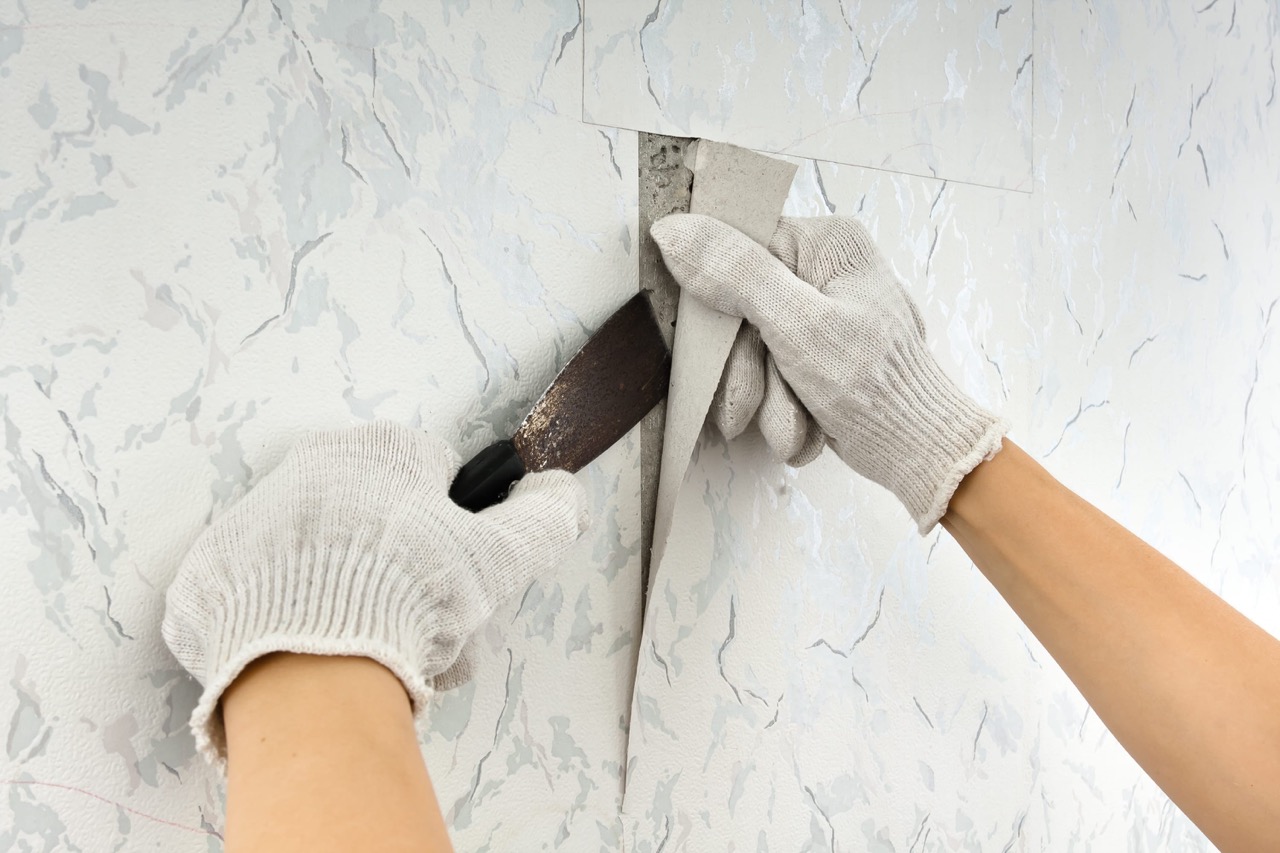
Step 2: Repair Any Damage
Before applying peel and stick wallpaper, it’s essential to inspect the walls for any visible damage such as cracks, holes, or uneven surfaces. Repairing these imperfections will not only result in a smoother overall finish but also ensure a better adhesion of the wallpaper. Follow these steps to repair any damage:
- Use a putty knife to scrape off any loose or peeling paint around the damaged area. This will create a clean surface for the repair.
- If there are small holes or cracks, fill them with spackle or wood filler using the putty knife. Smooth out the filler and let it dry according to the manufacturer’s instructions.
- If there are larger holes or extensive damage, you may need to use a patching compound or drywall tape to reinforce the area. Apply the compound or tape over the damaged section and smooth it out with a putty knife. Allow it to dry completely.
- Once the repair material is dry, use sandpaper to gently sand the repaired area until it is flush with the surrounding wall surface. Start with medium-grit sandpaper to level the surface, then switch to fine-grit sandpaper to create a smooth finish.
- Wipe away any dust or debris with a clean cloth or sponge.
Repairing any damage on the walls will not only improve the overall appearance of the space but also provide a solid base for the peel and stick wallpaper. Ensuring that the walls are in good condition and free from any noticeable imperfections will help the wallpaper adhere seamlessly.
With the wall damage repaired, you’re ready to move on to the next step: sanding the walls.
Step 3: Sand the Walls
After repairing any damage on the walls, the next step in preparing them for peel and stick wallpaper is to sand the surface. Sanding helps to create a smooth texture and removes any rough or uneven areas, ensuring a flawless finish. Follow these steps to sand the walls:
- Start by selecting the appropriate sandpaper grit. For leveling the repaired areas and smoothing the wall surface, use medium-grit sandpaper (around 120 to 150 grit).
- Wrap the sandpaper around a sanding block or use a sanding sponge. This will provide a firm grip and allow for easier control while sanding.
- Begin sanding the walls in a circular motion, focusing on the repaired areas first. Apply light to moderate pressure to prevent damaging the wall surface.
- Continue sanding the entire wall surface, working from top to bottom. Pay attention to any rough spots, bumps, or uneven areas.
- Periodically wipe away the dust with a clean cloth or use a vacuum cleaner with a brush attachment to remove the debris.
- After sanding with the medium-grit sandpaper, switch to a fine-grit sandpaper (around 220 grit). This will help further smooth the walls and prepare them for the wallpaper.
- Repeat the sanding process with the fine-grit sandpaper, making sure to clean the walls of any dust or debris afterward.
Sanding the walls creates a uniform and smooth surface, allowing the peel and stick wallpaper to adhere seamlessly. The process removes any imperfections and ensures a professional-looking finish.
With the walls sanded, you’re now ready to move on to the next step: priming the walls.
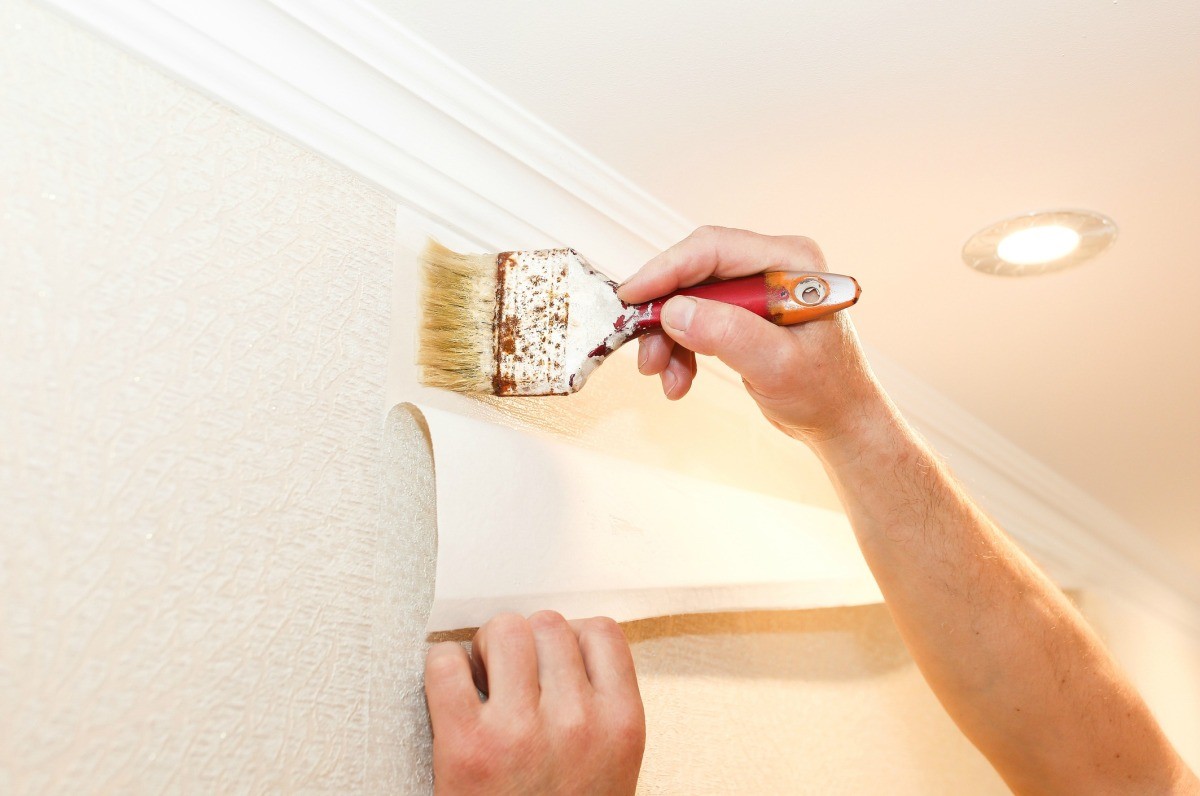
Step 4: Prime the Walls
Priming the walls is an important step in preparing for peel and stick wallpaper. Primer creates a barrier between the wall surface and the wallpaper, promoting better adhesion and increasing the longevity of the wallpaper. Follow these steps to prime the walls:
- Start by selecting a high-quality primer suitable for your wall surface. Consider factors such as the type of paint on the walls and whether the walls are porous or non-porous.
- Using a paintbrush or roller, apply a thin and even coat of primer to the entire wall surface. Ensure that you cover all areas, including corners and edges.
- Allow the primer to dry completely according to the manufacturer’s instructions. Typically, this can take anywhere from a few hours to overnight.
- After the primer is completely dry, inspect the walls for any missed spots or areas that may require a second coat of primer. Apply a second coat if necessary.
- Once the second coat is dry, lightly sand the walls with fine-grit sandpaper to create a smooth surface for the wallpaper to adhere to.
- Wipe away any dust or debris with a clean cloth before proceeding to the next step.
Priming the walls provides a suitable surface for the peel and stick wallpaper to adhere to, ensuring better adhesion and a longer-lasting result. It also helps to prevent the underlying wall color or any imperfections from showing through the wallpaper.
Now that the walls are primed, you’re ready to move on to the exciting part of the process: measuring and cutting the peel and stick wallpaper.
Before applying peel and stick wallpaper, make sure to clean the walls thoroughly to remove any dust, dirt, or grease. Use a mild detergent and water to wash the walls, and allow them to dry completely before applying the wallpaper.
Step 5: Measure and Cut the Wallpaper
Properly measuring and cutting the peel and stick wallpaper is crucial for ensuring a precise fit and a seamless installation. Before you begin, make sure you have the necessary tools and materials, including a measuring tape, a level, scissors or a utility knife, and a pencil. Follow these steps to measure and cut the wallpaper:
- Start by measuring the height of your wall. Use a measuring tape to determine the desired length of the wallpaper. Add a few extra inches to account for any mistakes or adjustments.
- Using a level, draw a vertical line on the wall where you want to begin installing the wallpaper. This line will act as a guide during the application process.
- Unroll a section of the peel and stick wallpaper on a clean, flat surface. Use the measuring tape to measure the height you determined in step 1.
- Mark the measured height on the wallpaper using a pencil, ensuring that the line is straight and level.
- Using scissors or a utility knife, carefully cut along the marked line to create a strip of wallpaper in the desired height.
- Repeat the measuring and cutting process for additional strips of wallpaper, ensuring that each strip aligns with the pattern and any adjacent strips.
- Label the back of each strip with a number or letter to keep track of the correct order during installation.
Accurate measurements and clean cuts will help you achieve a professional and seamless look once the wallpaper is applied. Take your time during this step to ensure precision and avoid any wastage of material.
Now that you have your wallpaper strips ready, you’re ready to move on to applying the peel and stick wallpaper.
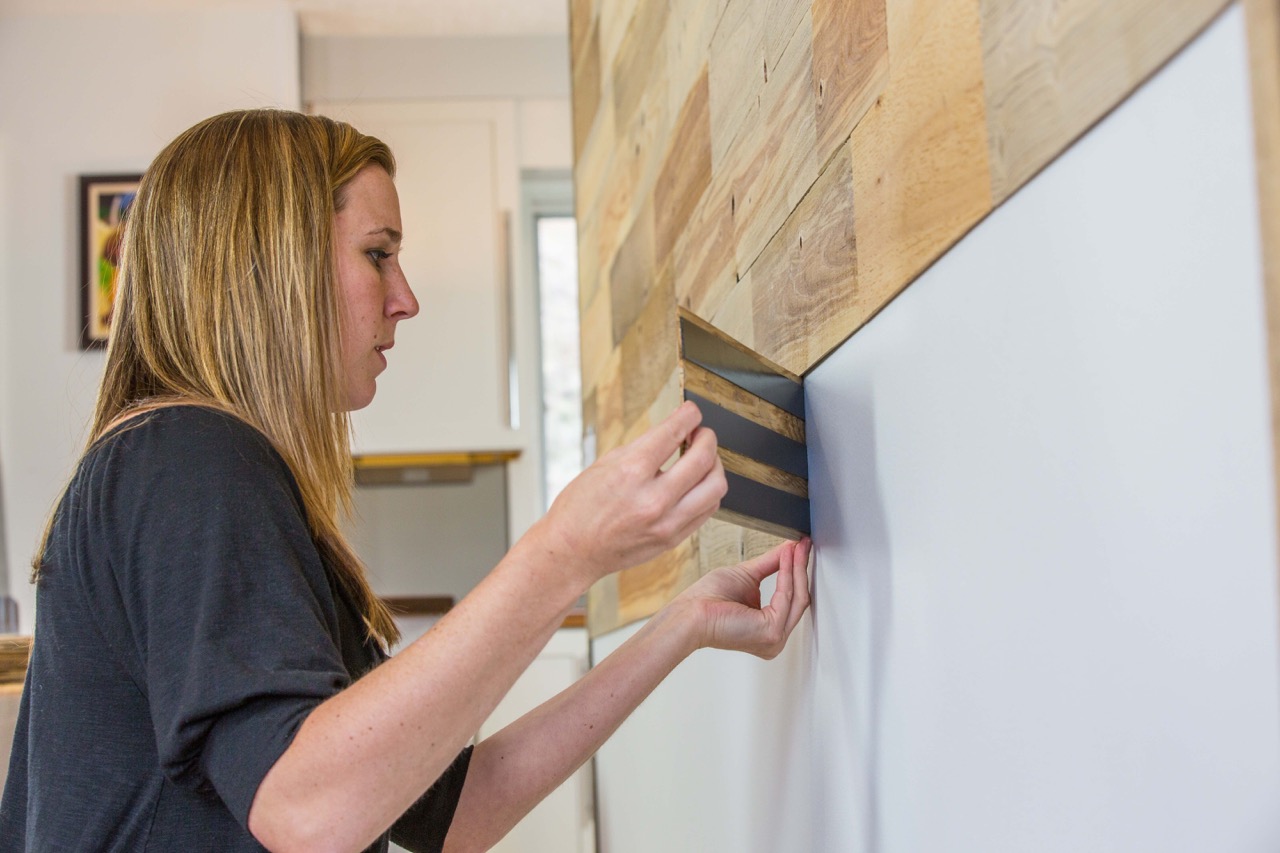
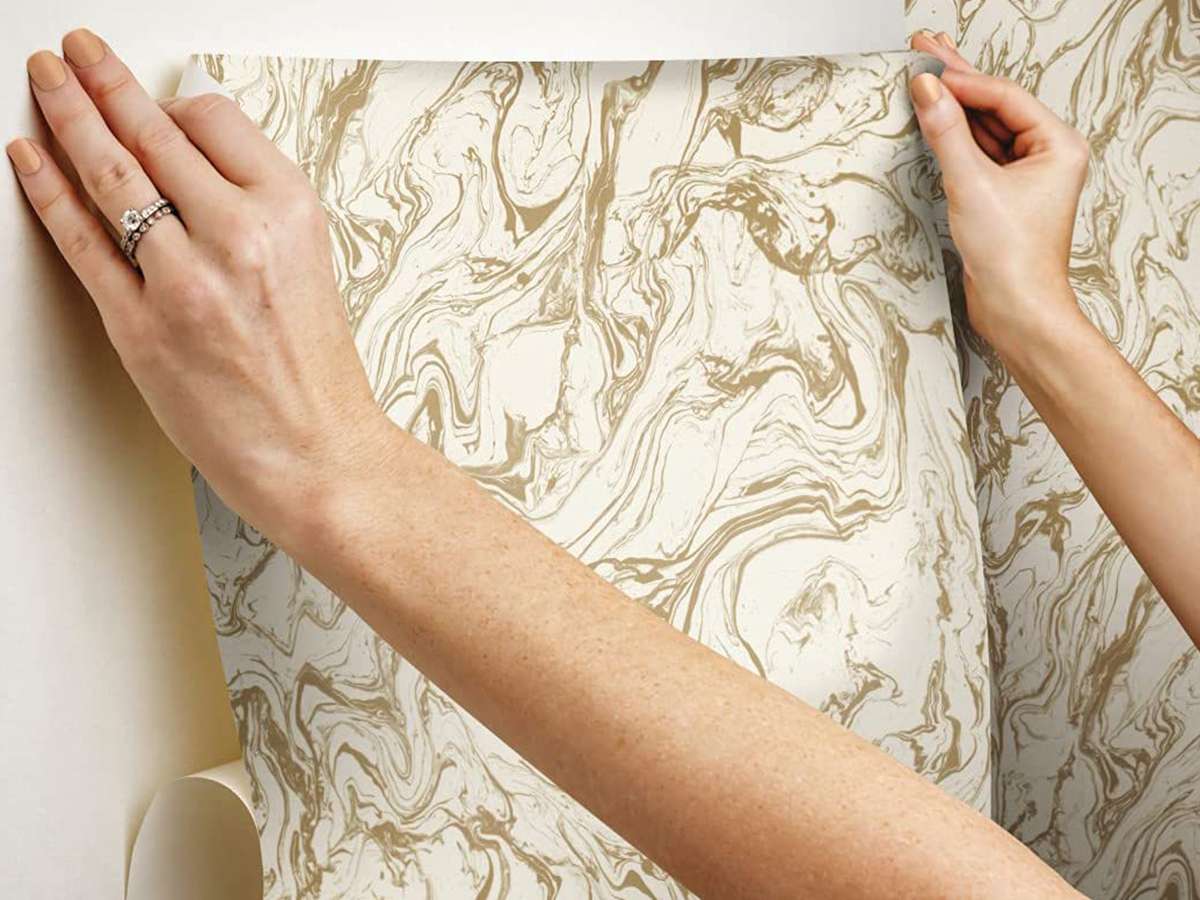
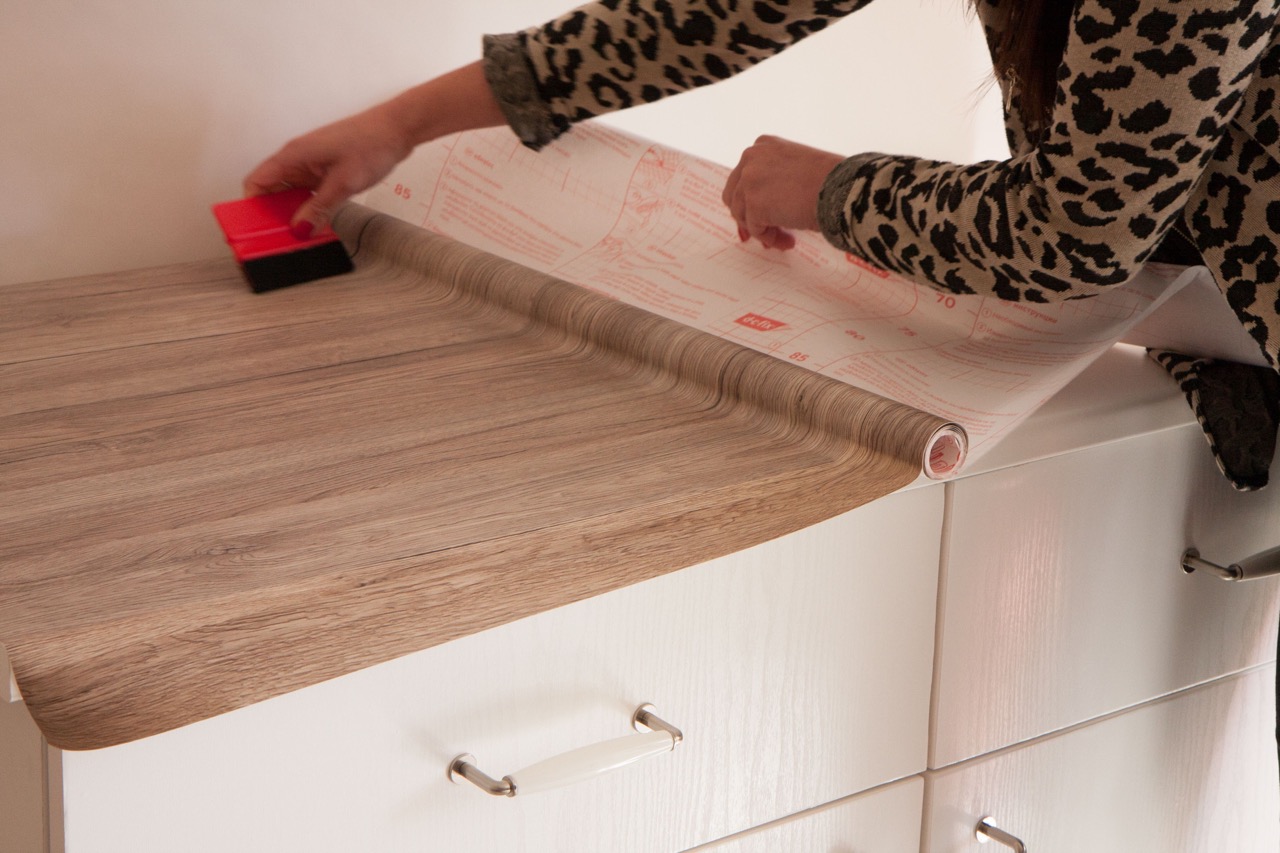
Step 6: Apply the Wallpaper
Now comes the exciting part – it’s time to apply the peel and stick wallpaper to your prepared walls. Follow these steps for a successful application:
- Starting from your marked vertical line, peel the backing from the top few inches of the wallpaper strip.
- Align the top of the strip with your vertical line and slowly begin applying it to the wall, smoothing it out as you go.
- Continue peeling the backing and applying the wallpaper strip, making sure to align it correctly and avoid any bubbles or wrinkles.
- Use a squeegee or a smoothing tool to firmly press the wallpaper onto the wall, starting from the center and working your way towards the edges. This will help ensure proper adhesion and a smooth finish.
- Continue applying additional strips of wallpaper, following the same process and aligning the patterns as needed.
- If using a patterned wallpaper, take extra care to match the patterns along the seams for a seamless look.
- Smooth out any bubbles or wrinkles as you go, using the squeegee or smoothing tool to press them out towards the edges.
- Trim any excess wallpaper at the top and bottom using scissors or a utility knife, following the contours of the baseboard and ceiling.
Throughout the application process, take your time and be meticulous to achieve a professional-looking result. Smooth out any imperfections as you go and double-check that the patterns align correctly.
Once you have applied all the wallpaper, step back and admire your newly transformed wall. But before you’re completely done, there’s one more step to consider – smoothing out the wallpaper.
Step 7: Smooth Out the Wallpaper
After applying the peel and stick wallpaper to your walls, it’s important to smooth out any remaining wrinkles, bubbles, or imperfections for a flawless finish. Follow these steps to ensure a smooth surface:
- Start in the center of each strip and use a squeegee or a smoothing tool to gently press and smooth out the wallpaper towards the edges.
- Work your way from the top to the bottom, applying even pressure to eliminate any bubbles or wrinkles.
- If you encounter stubborn bubbles or wrinkles, carefully lift the affected area and reapply, smoothing from the center outward.
- Use the edge of the squeegee or a smoothing tool to press the wallpaper firmly into corners and along the edges, ensuring a secure fit.
- Continue smoothing out each strip of wallpaper until they all lay flat and appear seamless.
Take your time during this step, as it will greatly impact the final appearance of your wallpaper. The smoother the surface, the more professional and polished your walls will look.
Now that you have successfully smoothed out the wallpaper, you’re almost done! All that’s left is to trim the excess wallpaper.
Read more: How To Measure For Peel And Stick Wallpaper
Step 8: Trim the Excess Wallpaper
Once you have applied and smoothed out the peel and stick wallpaper, it’s time to trim the excess and give your wall a neat and finished appearance. Follow these steps to trim the excess wallpaper:
- Using a sharp pair of scissors or a utility knife, carefully trim the excess wallpaper along the top and bottom edges.
- Hold the blade at a slight angle and follow the contours of the baseboard or ceiling for a clean and precise cut.
- Take your time to ensure accuracy and take care not to damage the underlying wall or the installed wallpaper.
- For corners and edges, carefully fold the excess wallpaper over and create a clean, crisp fold. Trim any overlapping or excess material.
- Continue trimming the excess wallpaper along all the remaining edges until you have a seamless and well-defined finish.
Trimming the excess wallpaper provides a polished look and eliminates any uneven or protruding edges. This final step will give your peel and stick wallpaper a professionally installed appearance.
Congratulations! You have successfully prepared your walls and applied peel and stick wallpaper. Take a step back and admire your newly transformed space!
Remember, proper preparation and attention to detail are key to achieving excellent results. By following these steps and taking your time throughout the process, you’ll create a stunning and long-lasting wallpaper installation.
Now, sit back, relax, and enjoy your beautiful new wall covering!
Conclusion
Preparing walls for peel and stick wallpaper is a crucial step in ensuring a successful and long-lasting installation. By following the step-by-step process outlined in this article, you can achieve a smooth, clean, and flawless surface that will enhance the overall look of your space.
From cleaning the walls to repairing any damage, sanding, priming, measuring, cutting, and applying the wallpaper, each step plays a vital role in creating a professional and seamless finish. It’s important to be meticulous, take your time, and pay attention to detail to achieve the best results.
Not only does proper wall preparation provide a solid foundation for the peel and stick wallpaper to adhere to, but it also ensures that the wallpaper looks its best without any visible imperfections such as bubbles, wrinkles, or uneven surfaces.
Remember, in addition to following the steps outlined in this article, it’s essential to carefully read and follow the instructions provided by the manufacturer of the peel and stick wallpaper you’ve chosen. Different brands and types of wallpaper may have specific application guidelines or additional recommendations.
So, whether you’re looking to transform a single accent wall or revamp an entire room, taking the time to prepare your walls for peel and stick wallpaper will yield a stunning and long-lasting result. The convenience, versatility, and wide range of design options make peel and stick wallpaper a popular choice for homeowners and renters alike.
Now that you’re armed with the knowledge and steps to prepare your walls, go ahead and embark on your wallpaper installation journey. Enjoy the process, personalize your space, and create a beautiful, stylish, and unique environment that reflects your personality and taste.
Good luck, and happy wallpapering!
Frequently Asked Questions about How To Prepare Walls For Peel And Stick Wallpaper
Was this page helpful?
At Storables.com, we guarantee accurate and reliable information. Our content, validated by Expert Board Contributors, is crafted following stringent Editorial Policies. We're committed to providing you with well-researched, expert-backed insights for all your informational needs.

0 thoughts on “How To Prepare Walls For Peel And Stick Wallpaper”