
Articles
How To Install Peel And Stick Wallpaper
Modified: January 8, 2024
Learn how to install peel and stick wallpaper with our informative articles. Transform your space easily and without the mess of traditional wallpaper.
(Many of the links in this article redirect to a specific reviewed product. Your purchase of these products through affiliate links helps to generate commission for Storables.com, at no extra cost. Learn more)
Introduction
Installing peel and stick wallpaper is a great way to transform the look of any room without the hassle and commitment of traditional wallpaper. Whether you want to add a pop of color, a stylish pattern, or a textured finish, peel and stick wallpaper offers an easy and cost-effective solution. This versatile decorating option is perfect for renters, homeowners, and anyone looking to update their space.
In this article, we will guide you through the step-by-step process of installing peel and stick wallpaper. From gathering the necessary materials to achieving a smooth and seamless finish, we’ll cover all the essential details to ensure a successful installation.
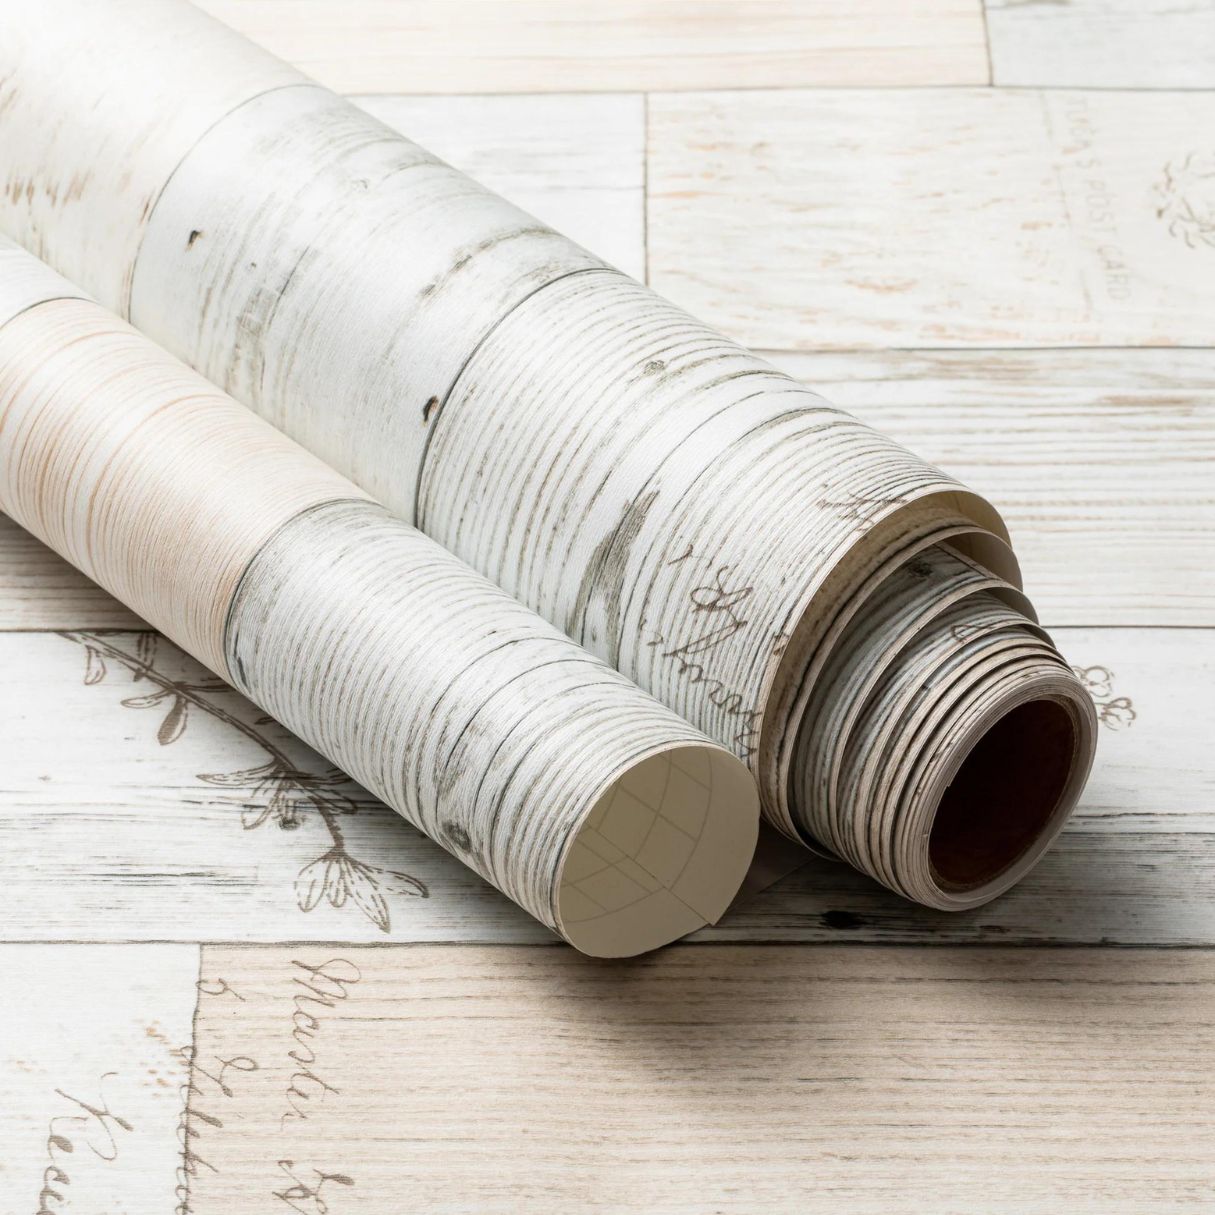
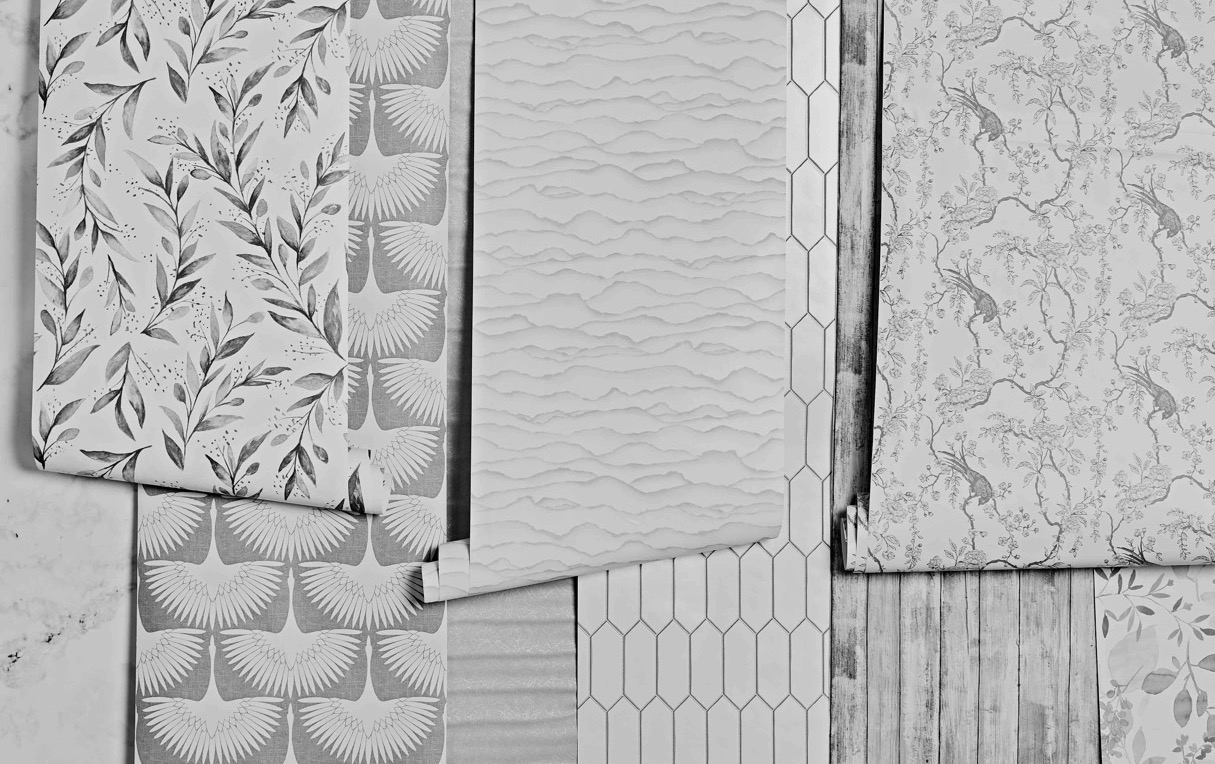
Before we dive into the installation process, let’s take a moment to understand what exactly peel and stick wallpaper is. As the name suggests, it is a self-adhesive wallpaper that can be easily applied and removed from surfaces. It comes in a variety of colors, patterns, and textures, allowing you to unleash your creativity and personalize your space.
The beauty of peel and stick wallpaper lies in its simplicity and convenience. Unlike traditional wallpaper, there’s no need for messy glue or lengthy drying times. Instead, the wallpaper comes with a peel-off backing that reveals an adhesive surface. Simply peel off the backing, stick the wallpaper to the wall, and smooth it out for a flawless finish.
Now that we have a basic understanding of peel and stick wallpaper, let’s move on to the step-by-step installation process. Grab your tools and let’s get started on transforming your space!
Key Takeaways:
- Transform your space with ease using peel and stick wallpaper. Enjoy a hassle-free installation process and unleash your creativity with a versatile and temporary design solution.
- Achieve a professional-looking finish by meticulously preparing walls, measuring and cutting wallpaper accurately, and smoothing out air bubbles. Embrace the convenience and endless design possibilities of peel and stick wallpaper.
Step 1: Gather the necessary materials
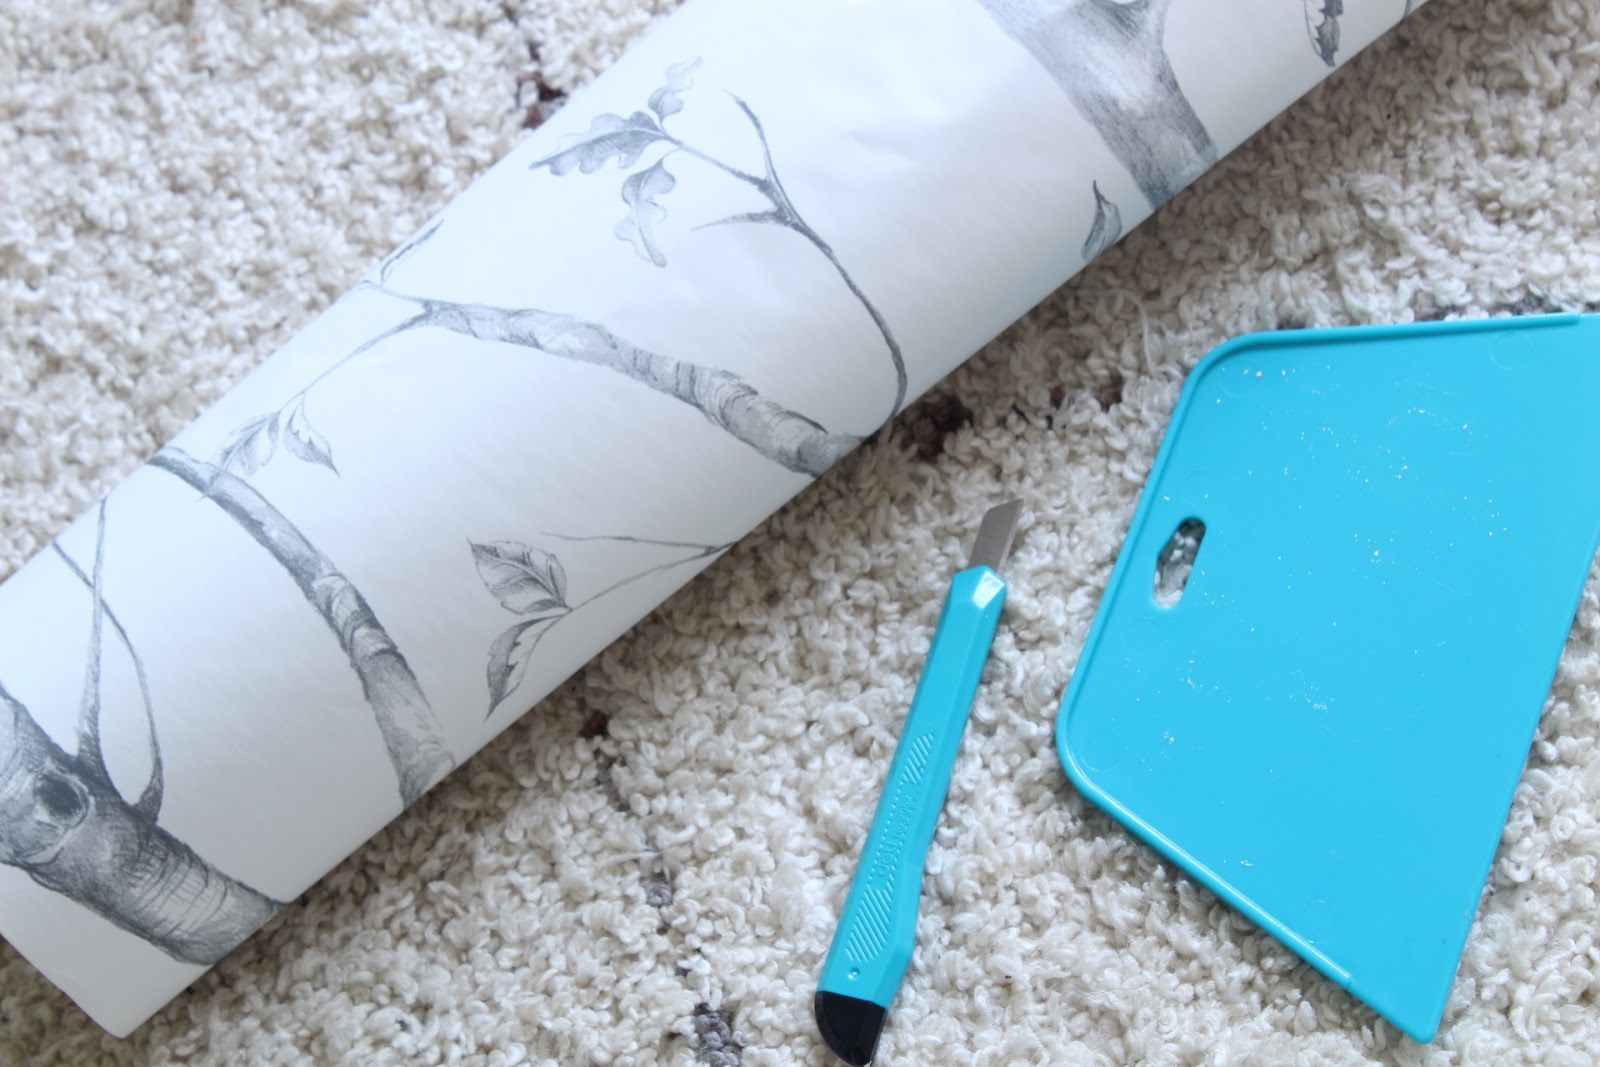
Before you begin the installation process, it’s essential to gather all the necessary materials. This will ensure a smooth and efficient installation. Here’s a list of the items you’ll need:
- Peel and stick wallpaper: Choose a design, pattern, or texture that matches your style and complements your space. Measure the dimensions of your walls to determine how much wallpaper you’ll need.
- Measuring tape: Use a measuring tape to accurately measure the dimensions of your walls. This will help you determine the amount of wallpaper required and ensure a precise fit.
- Straight edge: A straight edge, such as a ruler or a level, will come in handy when measuring and cutting the wallpaper.
- Utility knife or scissors: You’ll need a sharp utility knife or a pair of scissors to cut the wallpaper to the desired size and shape. Make sure they are sharp for clean cuts.
- Smoothing tool: A smoothing tool, such as a squeegee or a plastic scraper, will help ensure a smooth and bubble-free application of the wallpaper. This tool will also help remove any air bubbles during the installation process.
- Step ladder: Depending on the height of your walls, you may need a step ladder to reach higher areas during the installation process. Safety should always be a priority, so choose a sturdy and stable ladder.
- Pencil or marker: You’ll need a pencil or a marker to mark measurements and guide your cutting process. Make sure it’s a washable option, so you can easily remove any visible marks later.
- Clean cloth: Keep a clean cloth or sponge nearby to wipe down the walls and remove any dirt or dust before applying the wallpaper. This will ensure a smooth and adhesive-friendly surface.
Once you have gathered all the necessary materials, you’re ready to move on to the next step: preparing the walls. Taking the time to prepare the walls properly will help ensure a long-lasting and professional-looking finish. Let’s dive into the details of wall preparation in the next step.
Step 2: Prepare the walls
Properly preparing the walls is crucial to ensure a smooth and successful installation of peel and stick wallpaper. Follow these steps to prepare your walls:
- Clean the walls: Start by cleaning the walls to remove any dirt, dust, or grease. Use a gentle cleanser and a clean cloth or sponge to wipe down the walls thoroughly. Allow the walls to dry completely before proceeding.
- Smooth out any imperfections: Inspect the walls for any imperfections, such as cracks, holes, or uneven surfaces. Fill in any cracks or holes with spackling compound and use sandpaper to smooth out any uneven areas. A smooth surface will ensure that the wallpaper adheres properly and gives a seamless finish.
- Remove fixtures and outlet covers: Take the time to remove any fixtures, such as switch plates, outlet covers, or wall decor, from the walls. This will make the installation process easier and prevent any damage to these items.
- Prime the walls (optional): If your walls have a glossy or textured finish, it may be beneficial to prime them before applying the peel and stick wallpaper. Priming the walls will help create a better adhesive surface and improve the longevity of the wallpaper. Consult with your local paint store for the appropriate primer for your specific wall type.
- Mark the starting point: Use a level or a straight edge to mark a straight vertical line on the wall where you want to start the installation. This will serve as a guide to ensure that the wallpaper is applied in a straight and aligned manner.
By meticulously preparing your walls, you’ll create an optimal surface for the peel and stick wallpaper. This will result in a flawless and long-lasting application. Once you’ve prepared the walls, it’s time to move on to the next step: measuring and cutting the wallpaper.
Step 3: Measure and cut the wallpaper
Accurate measurements and precise cuts are crucial for a seamless and professional-looking installation of peel and stick wallpaper. Follow these steps to measure and cut the wallpaper:
- Measure the wall: Use a measuring tape to measure the height and width of the wall you’ll be covering with wallpaper. Measure from floor to ceiling and from corner to corner to ensure precise measurements.
- Add extra for pattern matching: If your wallpaper has a pattern or design that requires matching, it’s important to account for pattern repeat. Add a few extra inches to your measurements to ensure you have enough wallpaper to match the pattern seamlessly.
- Mark and cut the wallpaper: With your measurements in hand, unroll the peel and stick wallpaper on a clean, flat surface. Use a straight edge and a pencil or marker to mark the dimensions of the wallpaper based on your measurements. Carefully cut along the marked lines using a sharp utility knife or a pair of scissors. Take your time and ensure clean and precise cuts.
- Label the wallpaper pieces: To keep track of each cut piece, label the back of each wallpaper segment with a pencil or marker. This will make it easier to know which piece corresponds to which area of the wall during the installation process.
Remember to take your time during the measuring and cutting process. Accurate measurements and precise cuts will result in a seamless and perfectly aligned installation. Once you have your wallpaper pieces cut and labeled, you’re ready to move on to the next step: peeling off the backing and sticking the wallpaper.
Step 4: Peel off the backing and stick the wallpaper
Now that you have your wallpaper pieces cut and labeled, it’s time to peel off the backing and stick the wallpaper to the wall. Follow these steps for a successful application:
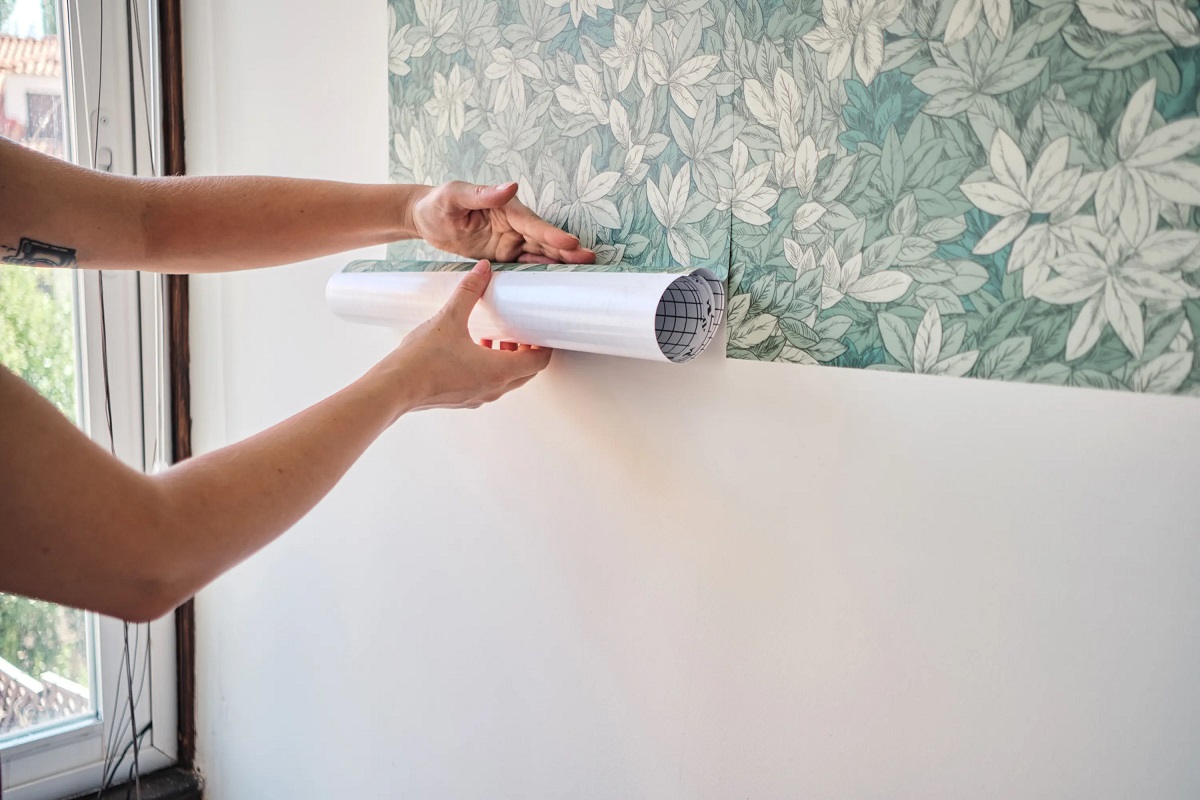
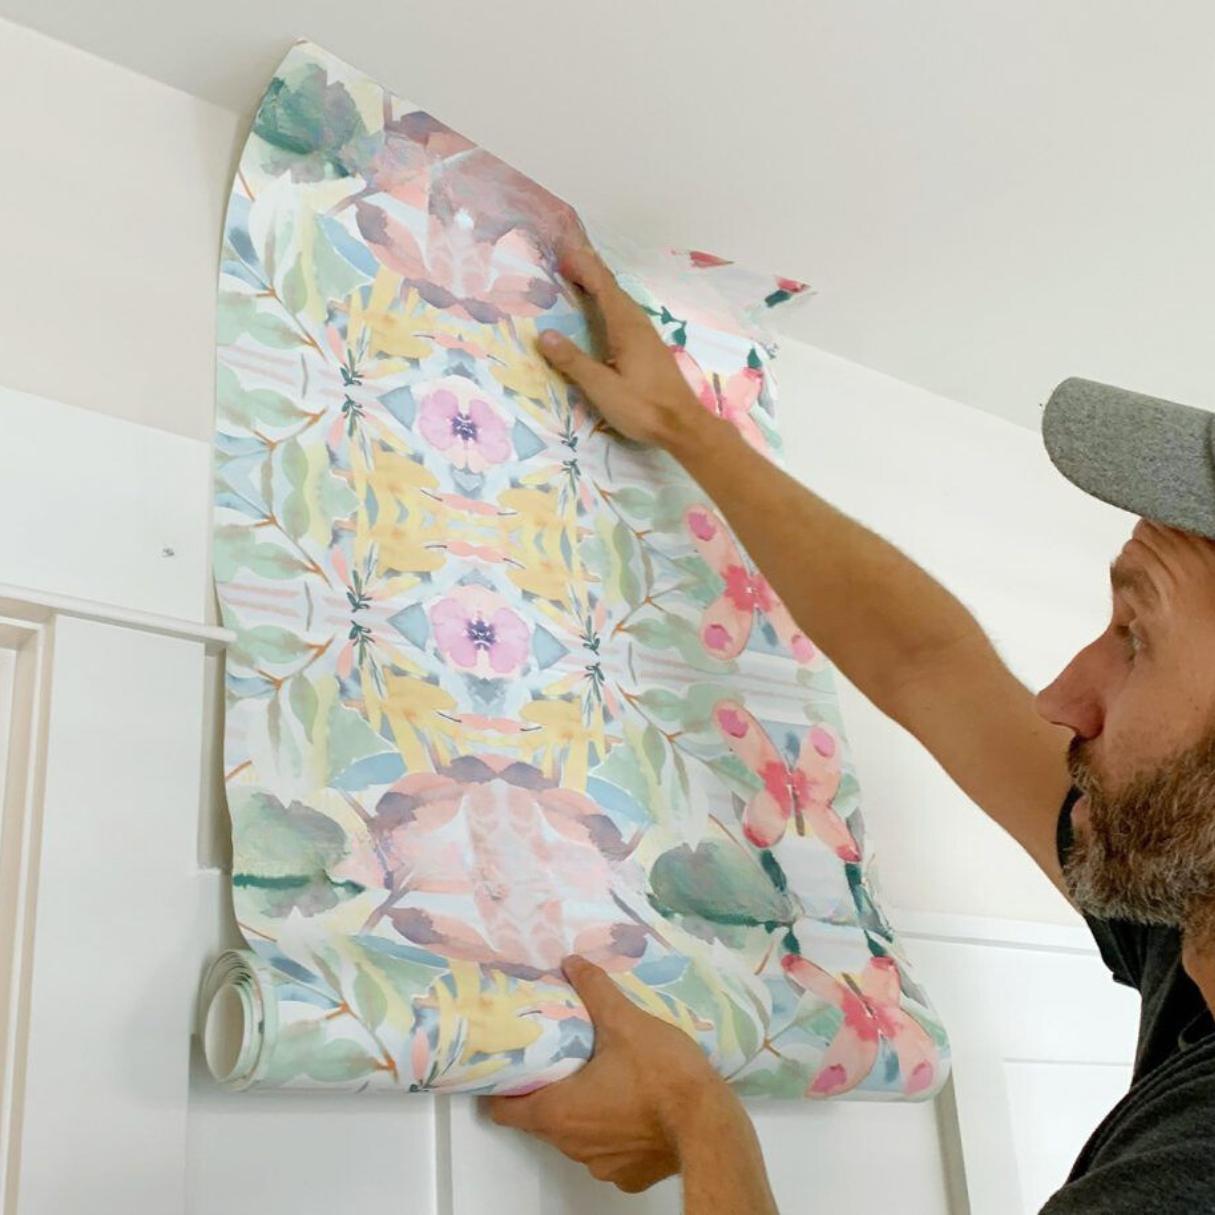
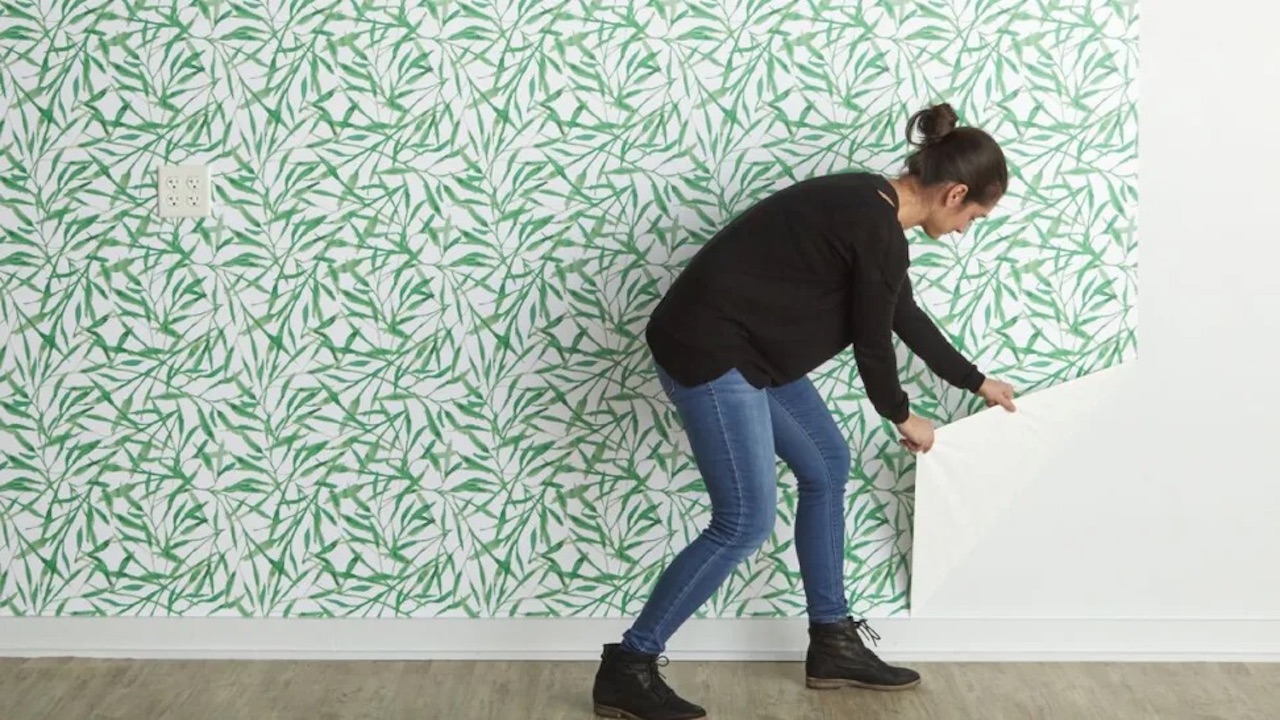
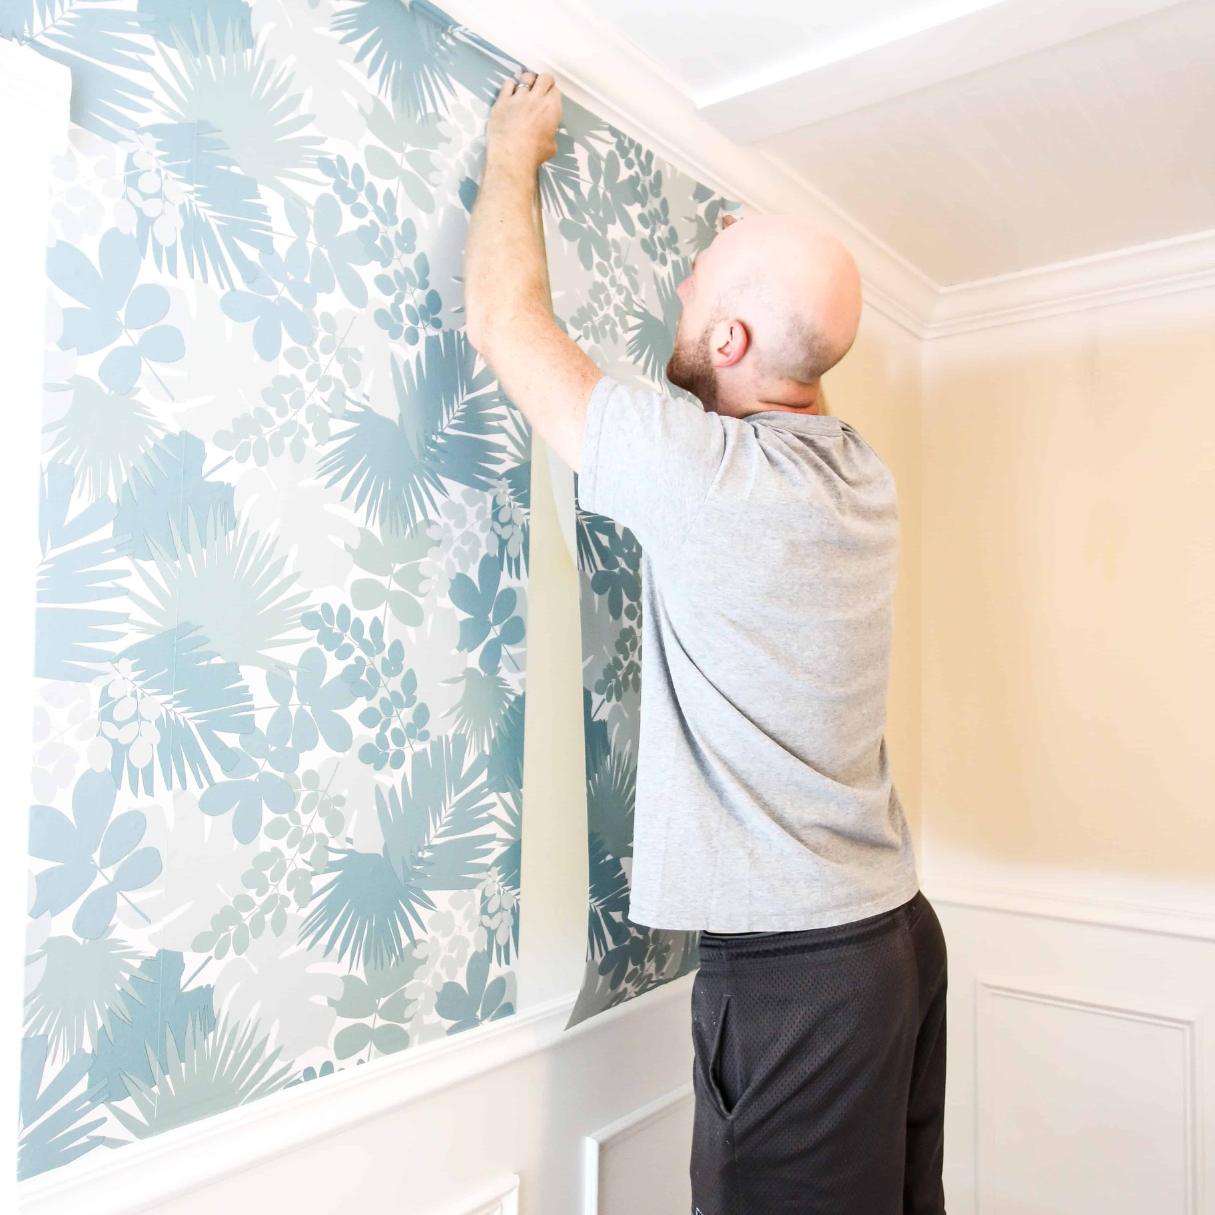
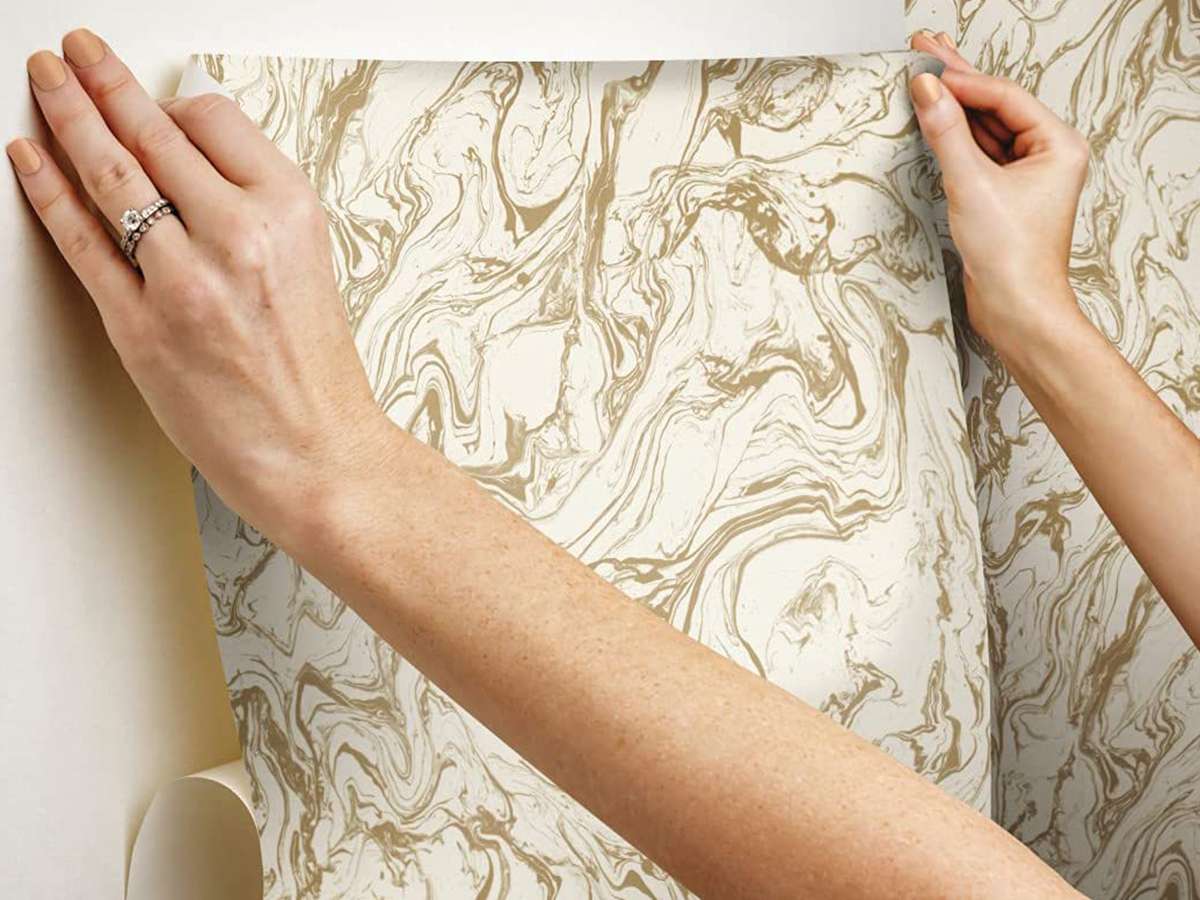
- Start at the top: Begin at the top of the wall, aligning the top edge of the wallpaper with your marked vertical line. Slowly peel off a few inches of the backing from the top of the wallpaper.
- Stick the wallpaper: Gently press the exposed adhesive side of the wallpaper onto the wall, starting from the top and working your way down. Use your hands or a smoothing tool to smooth out any air bubbles or wrinkles as you go along.
- Peel and stick in sections: Continue to peel off the backing a few inches at a time, sticking the wallpaper to the wall as you go. Work in manageable sections, ensuring that each piece lines up smoothly with the previous one.
- Align the pattern: If your wallpaper has a pattern, take extra care to align the pattern as you apply each section. Match the pattern seams and edges as closely as possible for a seamless look.
- Smooth out air bubbles: As you stick the wallpaper to the wall, be mindful of air bubbles that may form. Use your hands or a smoothing tool to gently smooth out any air bubbles, starting from the center and working your way towards the edges.
- Work from top to bottom: Continue the process of peeling, sticking, and smoothing from top to bottom until you’ve covered the entire wall with the peel and stick wallpaper.
Be patient and take your time during this step. Smooth out any air bubbles or wrinkles as you go along to ensure a flawless and professional-looking installation. Once you’ve completed sticking the wallpaper to the wall, it’s time to move on to the next step: smoothing out any remaining air bubbles.
Make sure to properly clean and smooth the surface before applying the peel and stick wallpaper to ensure a smooth and long-lasting finish.
Read more: How To Measure For Peel And Stick Wallpaper
Step 5: Smooth out any air bubbles
After you’ve stuck the peel and stick wallpaper to the wall, it’s important to smooth out any air bubbles for a clean and seamless finish. Follow these steps to smooth out air bubbles:
- Use a smoothing tool: Grab a smoothing tool, such as a squeegee or a plastic scraper, to help smooth out any air bubbles. Start from the center of the wallpaper section and gently push the tool towards the edges, applying even pressure as you go.
- Work in small sections: Focus on one small section at a time, applying the smoothing tool and working out any air bubbles as you move along. This will prevent the air bubbles from spreading or becoming more prominent.
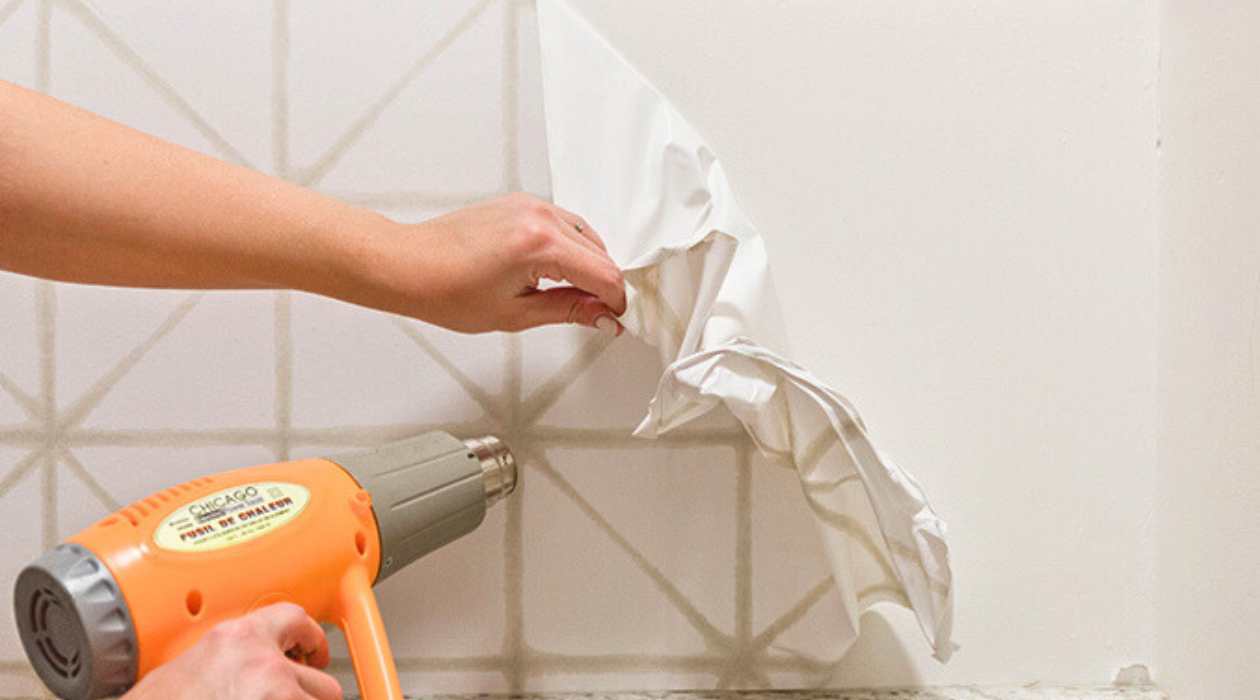
- Apply heat (optional): If you encounter stubborn air bubbles, you can use a hairdryer on low heat to help soften the adhesive and make it more pliable. Use the heat sparingly and at a safe distance to avoid damaging the wallpaper or the wall.
- Repeat the process: Continue to use the smoothing tool and apply heat (if necessary) to work out any remaining air bubbles. Take your time and be patient to achieve a smooth and bubble-free finish.
Remember to smooth out the air bubbles as soon as you notice them during the installation process. The longer the air bubbles remain, the more difficult they can be to remove. Taking the time to smooth out the air bubbles will result in a professionally installed wallpaper. Once you’ve smoothed out the air bubbles, it’s time to move on to the next step: trimming any excess wallpaper.
Step 6: Trim any excess wallpaper
After successfully applying the peel and stick wallpaper to the wall and smoothing out any air bubbles, it’s time to trim off any excess wallpaper for a clean and polished look. Follow these steps to trim the excess wallpaper:
- Inspect the edges: Carefully examine the edges of the wallpaper to identify any areas where excess wallpaper extends beyond the desired coverage area. These areas may occur at corners, along the ceiling, baseboards, or around windows and doors.
- Mark the trim lines: Use a pencil or a marker to mark the trim lines along the edges of the wallpaper where you need to make cuts. Ensure the lines are straight and aligned with the adjacent surfaces.
- Use a straight edge: Place a straight edge, such as a ruler or a level, along the marked trim lines to guide your cutting. This will help you achieve clean and precise cuts and ensure that all the edges are perfectly aligned.
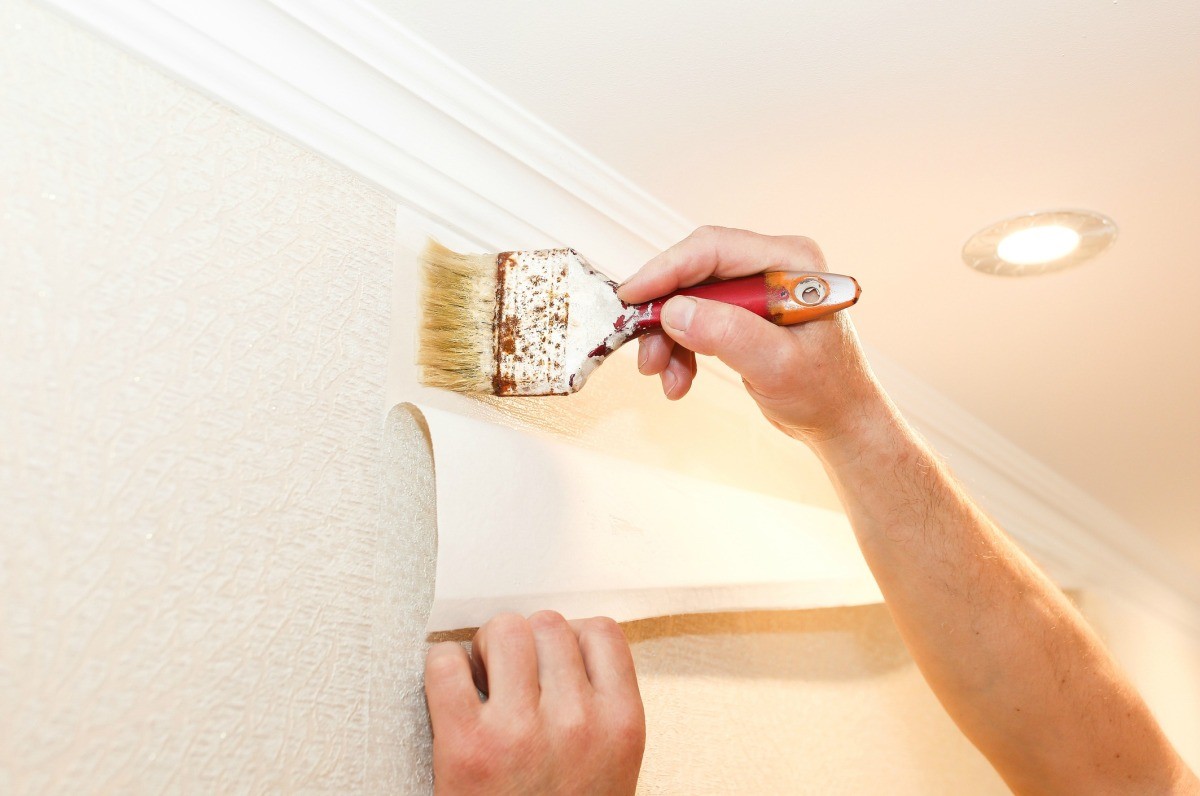
- Cut the excess wallpaper: Using a sharp utility knife or a pair of scissors, carefully cut along the marked trim lines. Take your time and make smooth, controlled cuts to avoid any jagged or uneven edges.
- Remove the excess wallpaper: Once you’ve made the cuts, gently peel away and discard the excess wallpaper. Be careful not to disturb or damage the installed wallpaper.
- Inspect the trimmed edges: After removing the excess wallpaper, inspect the trimmed edges to ensure they are clean, smooth, and aligned with the adjacent surfaces. Use the smoothing tool to gently press down any lifted or loose edges.
Trimming the excess wallpaper will give your installation a professional and finished look. Be meticulous during this step to achieve clean and crisp edges. Once you’ve trimmed the excess wallpaper, it’s time to move on to the final step: adding the finishing touches and cleaning up.
Step 7: Finishing touches and clean up
Congratulations, you’re almost done with the installation of your peel and stick wallpaper! The final step involves adding some finishing touches and cleaning up to ensure a flawless and polished look. Follow these steps to complete the process:
- Smooth out any remaining imperfections: Take a few moments to inspect the installed wallpaper for any remaining imperfections, such as small air bubbles, wrinkles, or lifted edges. Use your smoothing tool or the back of a clean cloth to gently press down and smooth out any imperfections.
- Replace fixtures and outlet covers: Now that the wallpaper is in place, it’s time to reattach any fixtures, switch plates, outlet covers, or wall decor that you removed previously. Take care when handling these items and ensure they are securely fastened to the wall.
- Clean up: Dispose of any discarded wallpaper scraps and materials in an appropriate trash bin. Use a damp cloth or sponge to clean up any adhesive residue or dirt on the surface of the wallpaper or surrounding areas. Be gentle to avoid damaging the wallpaper.
- Enjoy your new space: Step back and admire your newly transformed space! Take a moment to appreciate the hard work you put into the installation. Enjoy the fresh look and the new atmosphere that the peel and stick wallpaper brings to the room.
With the finishing touches completed, you can now sit back and relax in your revamped space. Peel and stick wallpaper offers a versatile and temporary design solution, making it easy to change the look whenever you desire. Whether you want to update a room or add a personal touch, peel and stick wallpaper is a convenient and budget-friendly option.
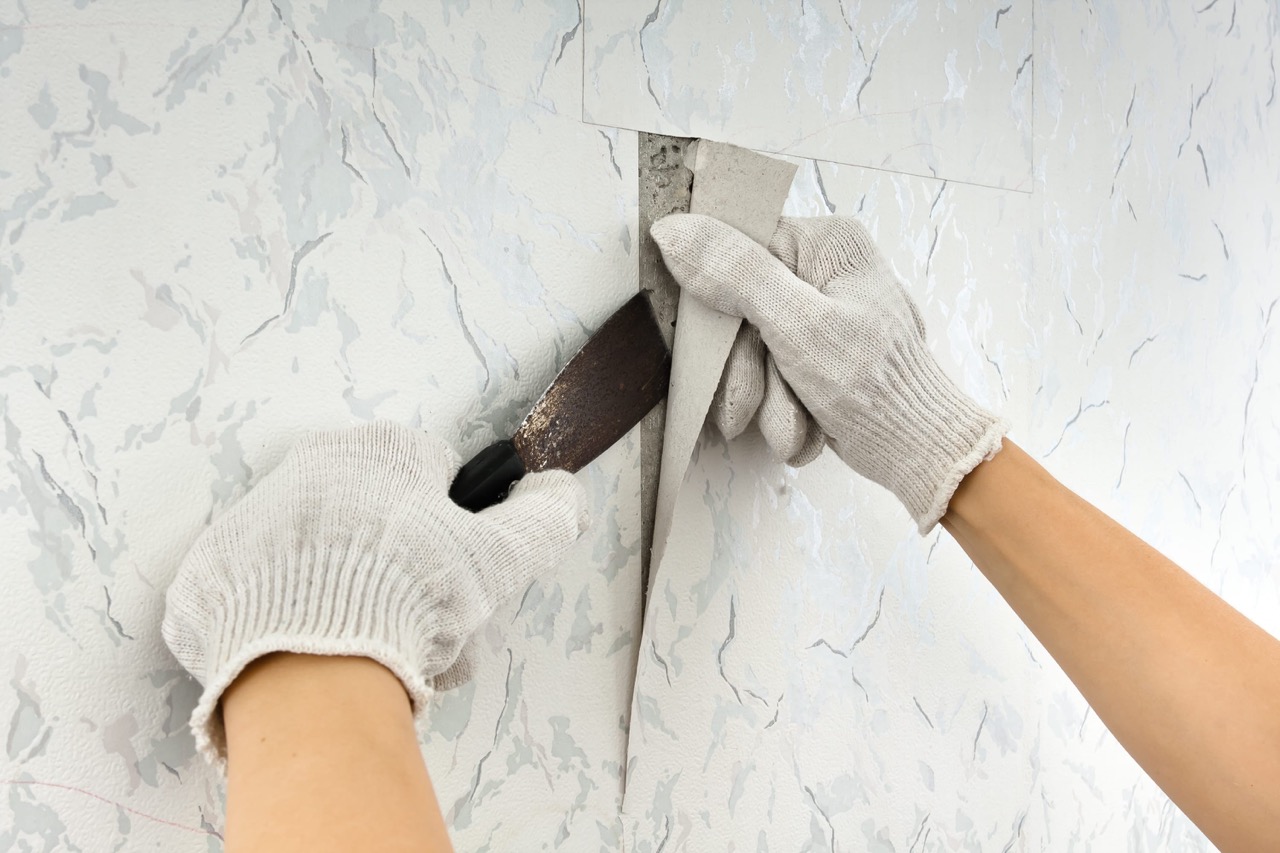
Remember to keep any leftover wallpaper for future touch-ups or to use in other creative projects. And if you ever decide to remove the wallpaper, simply peel it off from one corner and slowly remove it, taking care not to damage the wall surface. However, always follow the instructions provided by the manufacturer for proper removal techniques.
Now that you have successfully completed the installation process, enjoy your newly transformed space and bask in the satisfaction of a job well done!
Conclusion
Installing peel and stick wallpaper is a fun and simple way to refresh the look of your space without the hassle and commitment of traditional wallpaper. With its easy application and removal, peel and stick wallpaper offers a versatile and temporary design solution for renters, homeowners, and anyone looking to update their space.
In this article, we’ve walked through the step-by-step process of installing peel and stick wallpaper. From gathering the necessary materials to adding the finishing touches, each step plays a crucial role in achieving a seamless and professional-looking installation.
By preparing your walls properly, measuring and cutting the wallpaper accurately, smoothing out air bubbles, and trimming any excess wallpaper, you can achieve stunning results. It’s essential to take your time during each step and pay attention to detail for the best outcome.
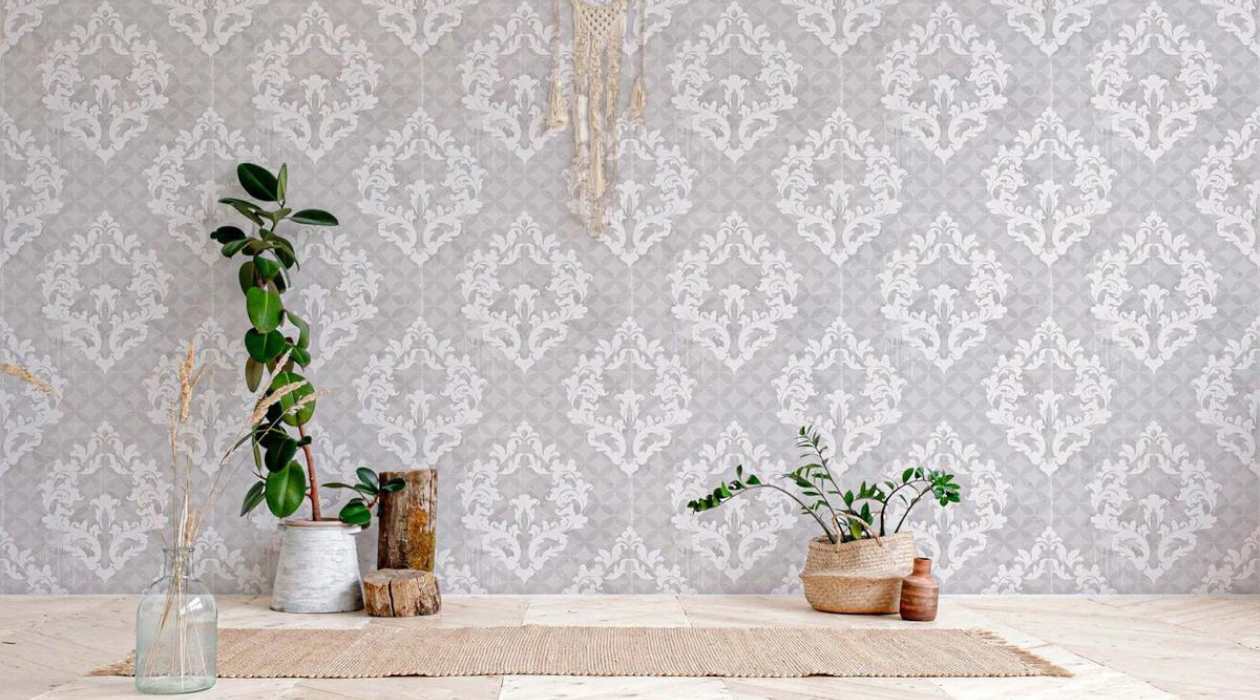
Peel and stick wallpaper offers a wide range of design options, including various colors, patterns, and textures, allowing you to personalize your space according to your style and preferences. Whether you want a bold statement wall or a subtle touch of elegance, peel and stick wallpaper provides endless possibilities.
Remember, the beauty of peel and stick wallpaper lies in its versatility and convenience. If you ever want to change the look or remove the wallpaper, it can be easily peeled off without leaving any residue or damaging the walls. Always follow the manufacturer’s instructions for proper removal techniques.
So, go ahead and unleash your creativity! Install peel and stick wallpaper to transform your space and create a personalized and stylish environment. With its ease of use and remarkable impact, peel and stick wallpaper is a fantastic choice for giving any room a fresh new look.
Now that you have the knowledge and guidance, it’s time to get started. Gather your materials, prepare your walls, and embark on the exciting journey of installing peel and stick wallpaper. Enjoy the process and the sensational transformation that awaits you!
Frequently Asked Questions about How To Install Peel And Stick Wallpaper
Was this page helpful?
At Storables.com, we guarantee accurate and reliable information. Our content, validated by Expert Board Contributors, is crafted following stringent Editorial Policies. We're committed to providing you with well-researched, expert-backed insights for all your informational needs.

0 thoughts on “How To Install Peel And Stick Wallpaper”