Home>Articles>How To Apply Peel-and-Stick Wallpaper For Long-Lasting Results
Articles
How To Apply Peel-and-Stick Wallpaper For Long-Lasting Results
Modified: December 7, 2023
Learn how to apply peel-and-stick wallpaper effectively with our comprehensive articles. Achieve long-lasting results with our expert tips and techniques.
(Many of the links in this article redirect to a specific reviewed product. Your purchase of these products through affiliate links helps to generate commission for Storables.com, at no extra cost. Learn more)
Introduction
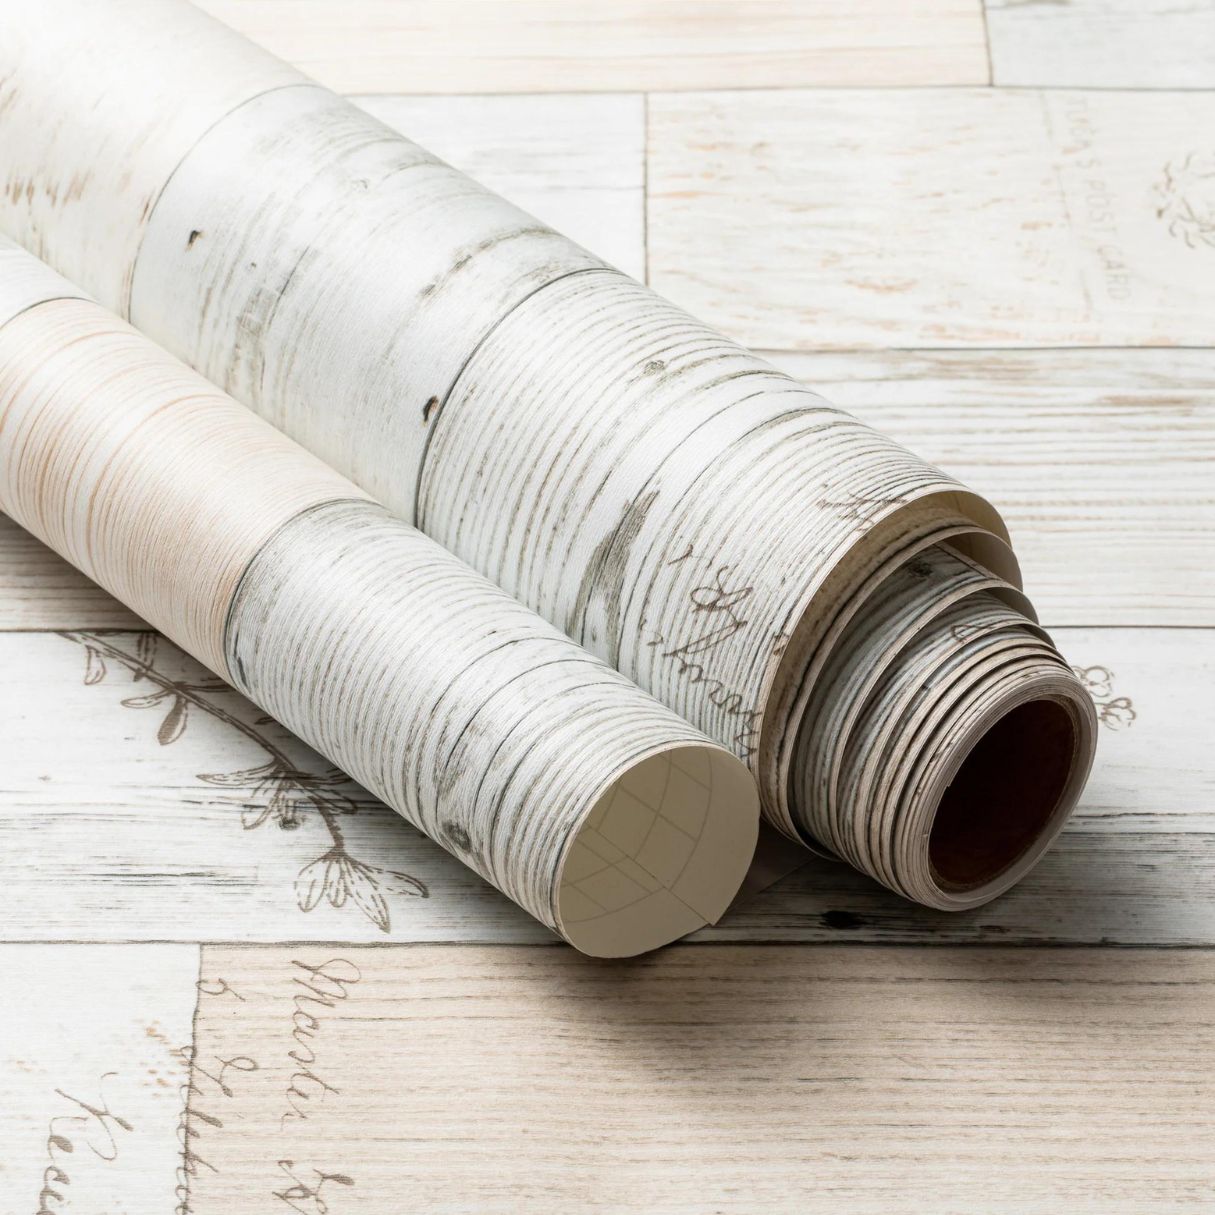
When it comes to transforming the look and feel of a room, peel-and-stick wallpaper is a game-changer. With its easy application and removal, this versatile decor option has gained immense popularity among homeowners and renters alike. Whether you want to add a pop of color, create an accent wall, or revamp an entire space, peel-and-stick wallpaper offers a convenient and budget-friendly solution.
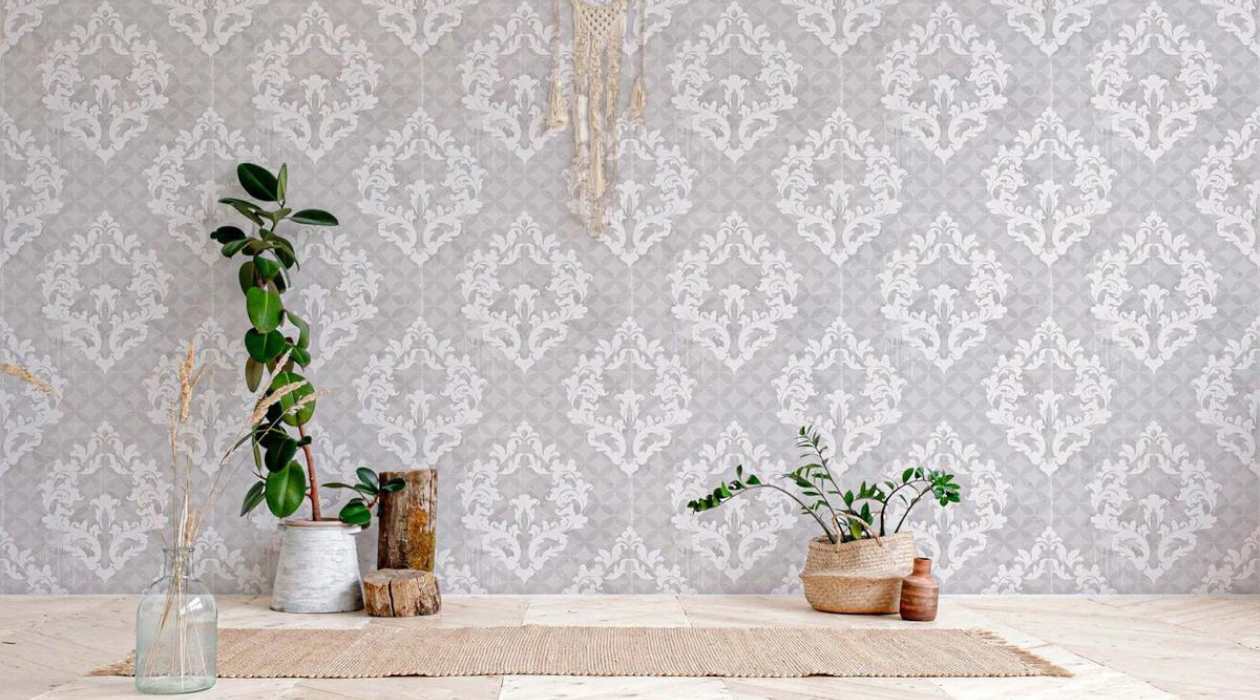
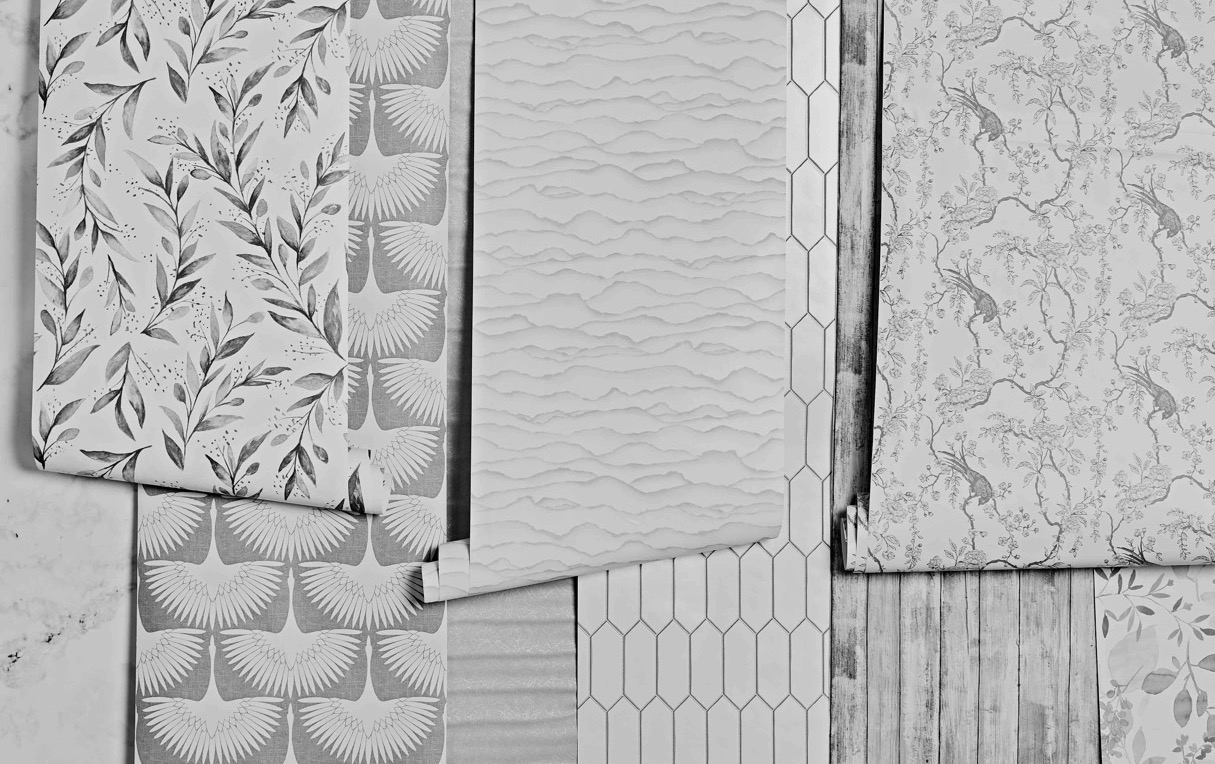
Not only is peel-and-stick wallpaper simple to install, but it also allows for endless design possibilities. From traditional to modern, floral to geometric, there is a wide range of patterns and styles to suit every taste. Whether you’re a DIY enthusiast or a first-time decorator, mastering the art of applying peel-and-stick wallpaper is key to achieving long-lasting and professional-looking results.
In this article, we will guide you through the step-by-step process of applying peel-and-stick wallpaper, ensuring that your project is successful and your walls are transformed into stunning works of art. From preparing the surface to smoothing out any imperfections, we will share insider tips and expert advice to help you achieve a flawless and durable finish.
So, get ready to unleash your creativity and let’s dive into the exciting world of peel-and-stick wallpaper application!
Key Takeaways:
- Transform your space with peel-and-stick wallpaper by following our step-by-step guide for flawless, long-lasting results. Unleash your creativity and enjoy the versatility of this popular decor option.
- Ensure the durability of your peel-and-stick wallpaper with proper surface preparation, meticulous application, and mindful maintenance. Achieve a professional look that reflects your style and lasts for years.
Read more: How To Apply Peel-and-Stick Wallpaper
Materials Needed
Before you begin applying peel-and-stick wallpaper, it’s important to gather all the necessary materials. Having everything ready will make the installation process smooth and efficient. Here are the materials you’ll need:
- Peel-and-stick wallpaper: Ensure you have enough wallpaper to cover the desired area, allowing for extra in case of mistakes or future repairs.
- Measuring tape: Accurate measurements are essential for a precise fit. Use a measuring tape to measure the height and width of the walls you’ll be covering.
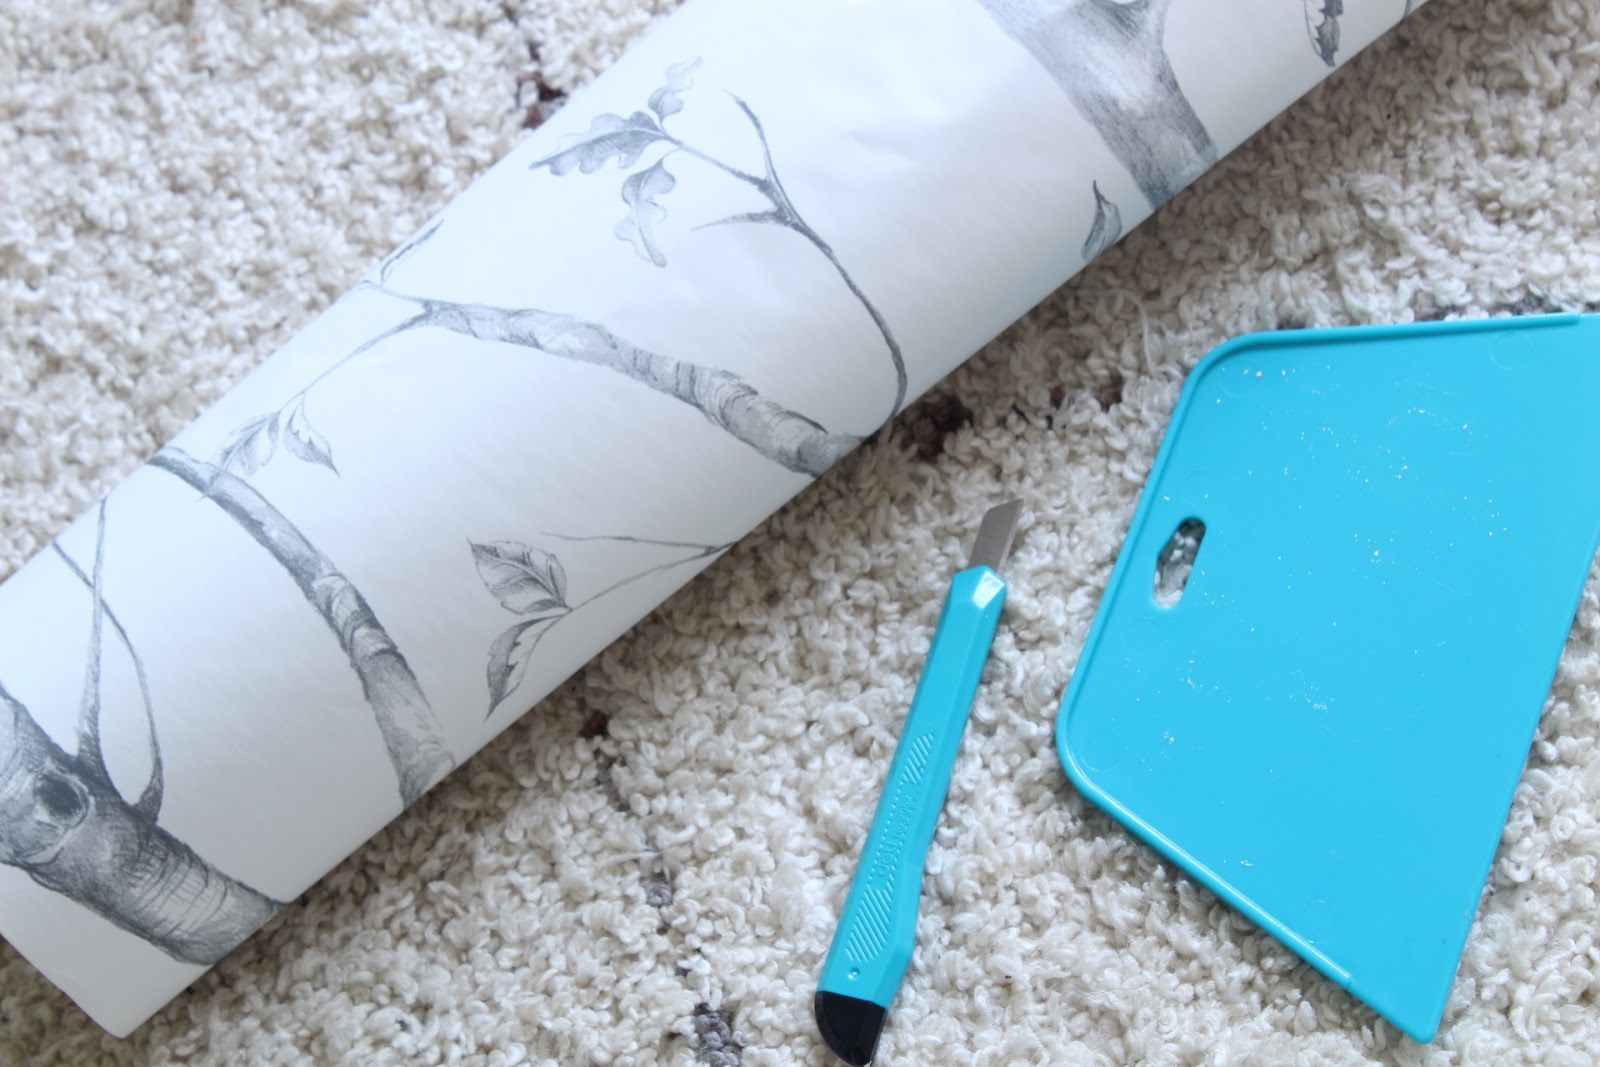
- Utility knife or scissors: You’ll need a sharp utility knife or a pair of scissors to cut the wallpaper to the required size.
- Smoothing tool: A plastic smoothing tool or a squeegee will help remove air bubbles and ensure the wallpaper adheres tightly to the wall.
- Level: To ensure the wallpaper is applied straight, a bubble level will come in handy.
- Pencil or marker: Use a pencil or marker to mark any necessary cuts or adjustments on the wallpaper.
- Step ladder: Depending on the height of the walls, a step ladder will help you reach higher areas without straining yourself.
- Clean cloth or sponge: Before applying the wallpaper, you’ll need to clean the wall surface. A clean cloth or sponge, along with mild soap and water, will do the job.
- Wallpaper primer (optional): If the wall surface is textured or porous, applying a wallpaper primer can help the wallpaper adhere better and ensure long-lasting results.
Double-check that you have all these materials on hand before you start the installation process. This will save you time and prevent any delays or interruptions during the project. Once you have everything ready, you’re all set to move on to the next step: preparing the surface.
Preparing the Surface
Before applying peel-and-stick wallpaper, it is crucial to properly prepare the surface to ensure optimal adhesion and a smooth finish. Here are the steps to follow for surface preparation:
- Remove any existing wallpaper: If there is any old wallpaper on the walls, it is important to remove it before applying the new peel-and-stick wallpaper. Use a wallpaper scraper or steamer to gently remove the old wallpaper, ensuring the wall surface is clean and smooth.
- Clean the walls: Use a clean cloth or sponge to wipe down the walls and remove any dust, dirt, or grease. If there are any stubborn stains, gently scrub them with mild soap and warm water. Allow the walls to dry completely before proceeding.
- Repair any imperfections: Inspect the walls for any cracks, holes, or uneven surfaces. Fill in any imperfections with spackling paste or joint compound, and use a putty knife to smooth it out. Once the compound is dry, lightly sand the patched areas to create a smooth and even surface.
- Apply wallpaper primer (optional): If your walls are textured or porous, applying a wallpaper primer can enhance adhesion and ensure better results. Follow the manufacturer’s instructions to apply the primer evenly onto the walls. Allow it to dry completely before moving on to the next step.
Taking the time to properly prepare the surface will ensure that the peel-and-stick wallpaper adheres well and lasts for a long time. It will also help in achieving a professional-looking finish without any visible imperfections. Once the surface is prepped and ready, you can move on to measuring and cutting the wallpaper.
Measuring and Cutting the Wallpaper
Accurate measurements and precise cutting are essential for a seamless and professional-looking wallpaper installation. Here’s a step-by-step guide on how to measure and cut the wallpaper:
- Measure the wall: Use a measuring tape to determine the height and width of the wall you’ll be covering with wallpaper. It’s important to measure from the top of the baseboard up to the ceiling and from one corner to another to get the exact dimensions. Add a few extra inches to your measurements to account for any adjustments or mistakes.
- Roll out the wallpaper: Roll out the peel-and-stick wallpaper on a clean and flat surface with the pattern side facing down. Take note of any patterns or designs that need to be aligned or matched.
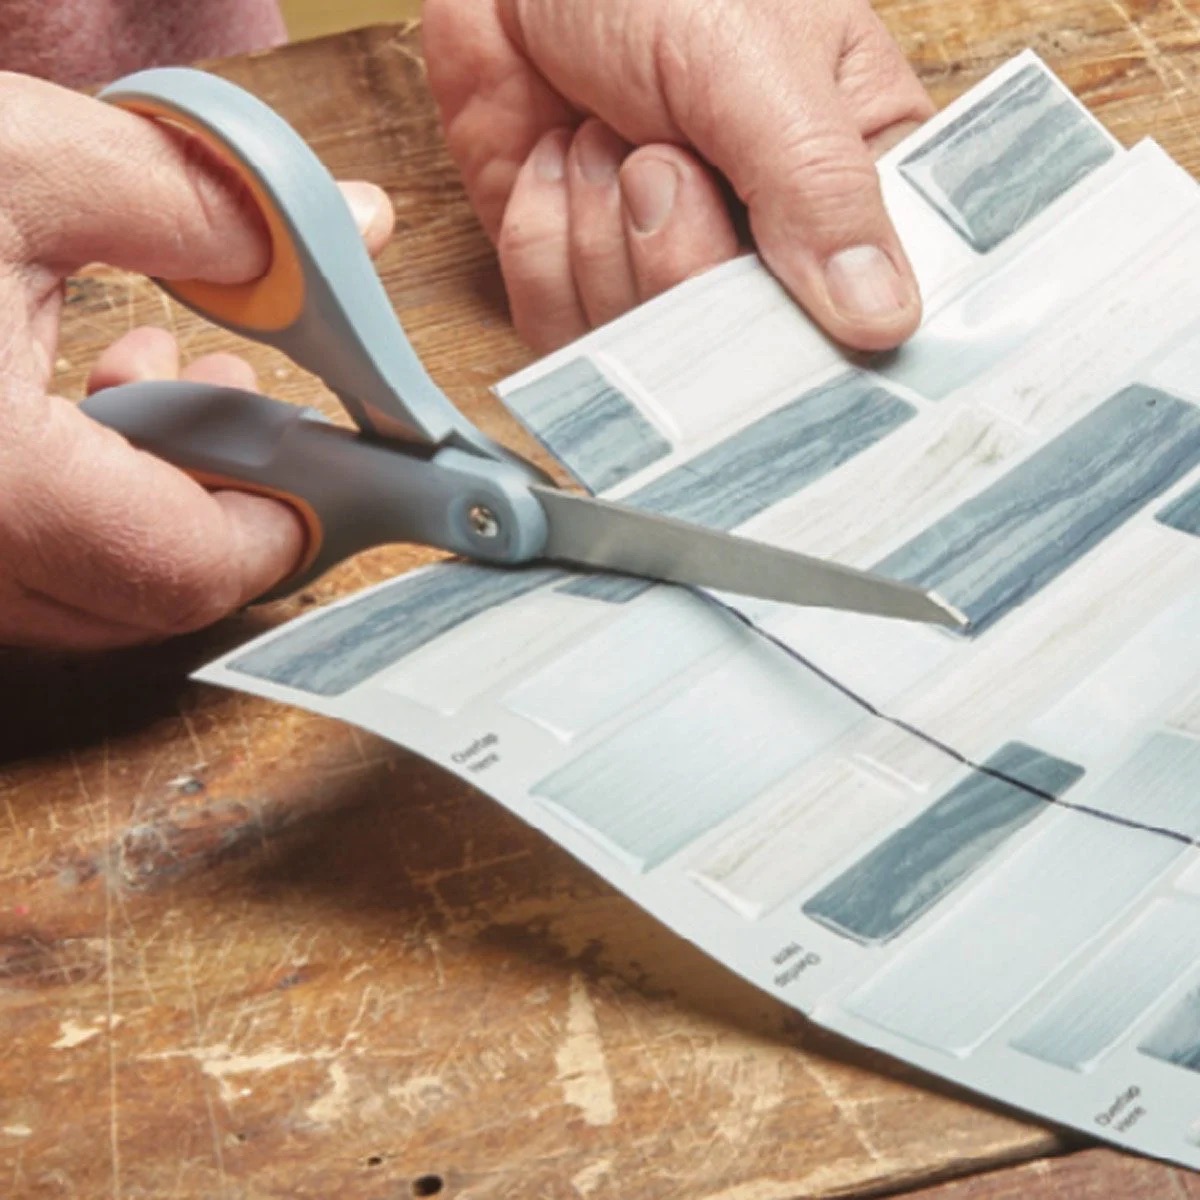
- Mark and cut the first strip: Using your measurements, mark the width of the first strip of wallpaper on the backside of the roll with a pencil or marker. Be sure to leave extra length at the top and bottom to allow for adjustments. Use a straight edge or a level to create a cutting guide, then carefully cut along the marked line with a sharp utility knife or scissors.
- Continue measuring and cutting: Repeat the same process for each additional strip of wallpaper, ensuring that the pattern matches up correctly. Use a pencil or marker to label each strip so you know where it will be placed on the wall.
Remember to work methodically and carefully when measuring and cutting the wallpaper. Double-check your measurements and take your time to ensure accuracy. It’s better to be precise at this stage to avoid any complications during the installation process. Once you have all the strips cut and ready, you’re ready to move on to the next step: removing the backing and applying the wallpaper.
Make sure to properly clean and smooth the surface before applying peel-and-stick wallpaper to ensure a long-lasting bond. Use a squeegee to remove air bubbles for a smooth finish.
Removing the Backing and Applying the Wallpaper
Now that you have your wallpaper strips cut and prepared, it’s time to remove the backing and apply the wallpaper to the wall. Follow these steps for a smooth and successful application process:
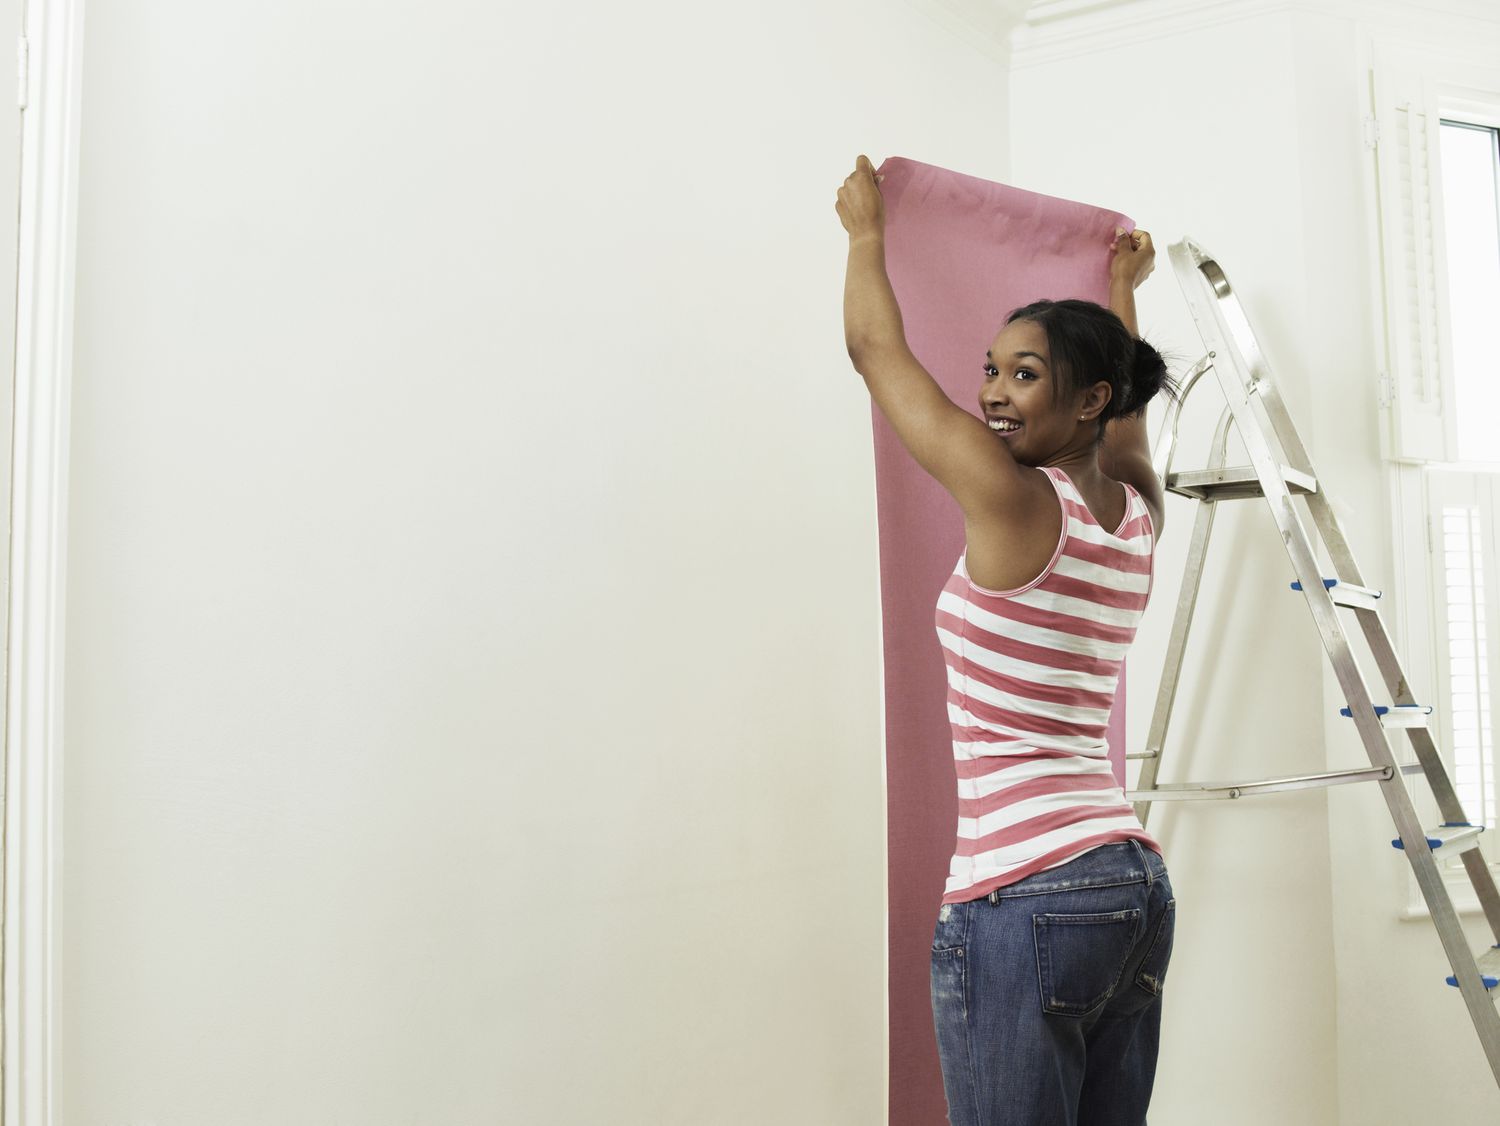
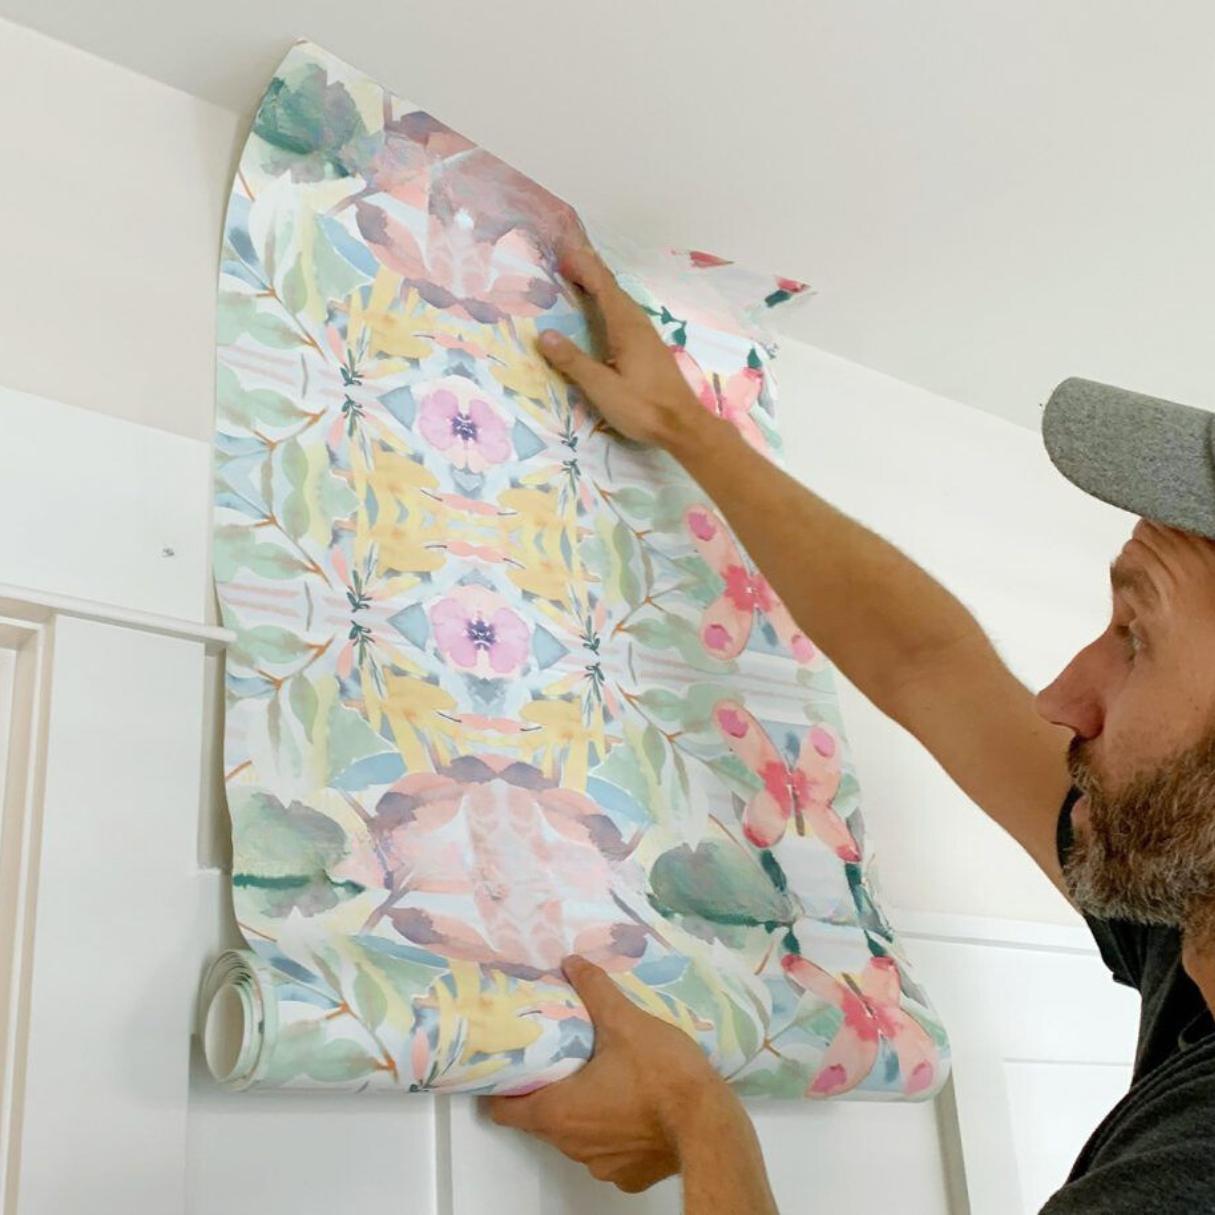
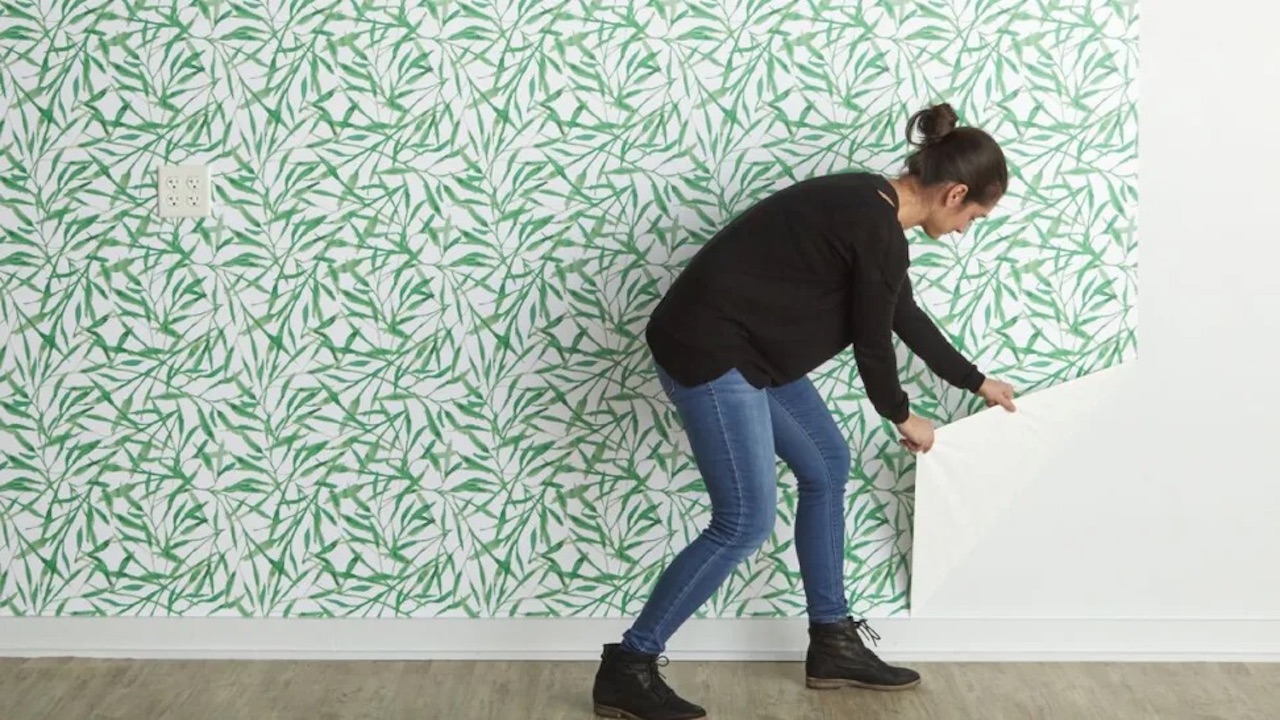
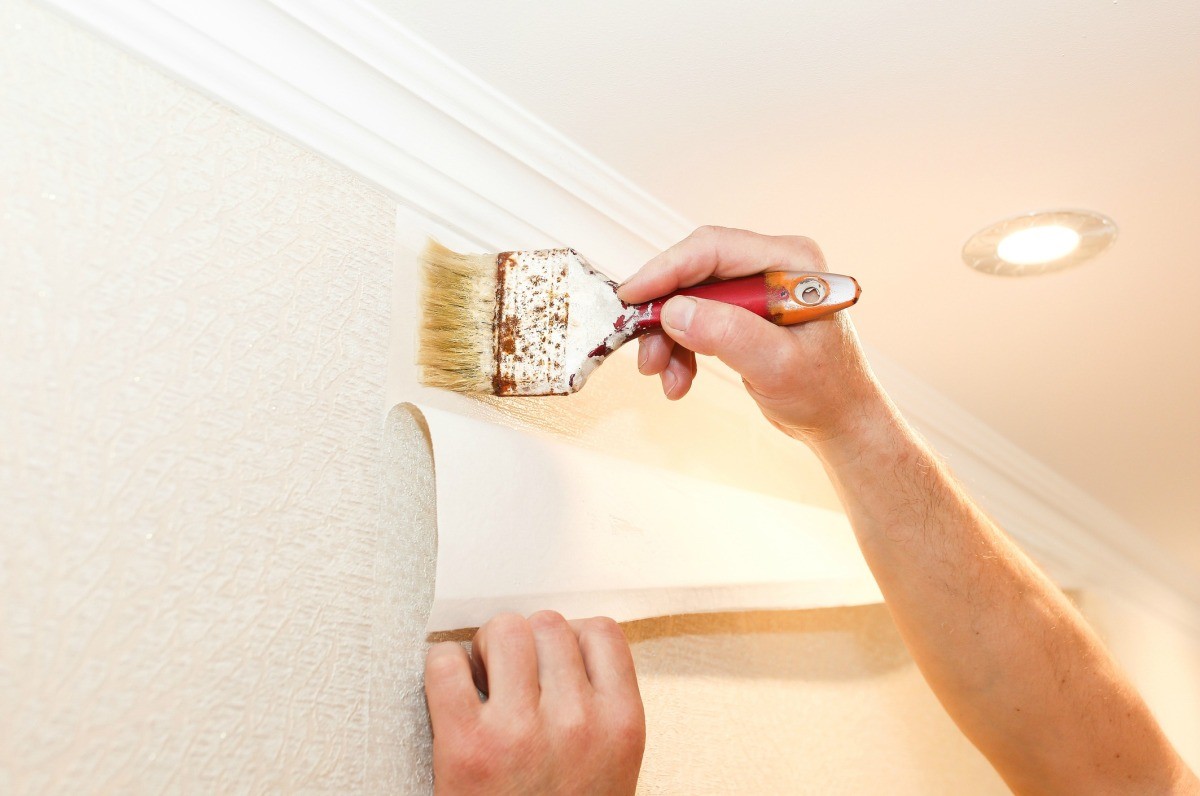
- Start with the first strip: Take the first strip of wallpaper and peel off a few inches of the backing at the top. Align the top edge of the wallpaper with the ceiling or the desired height, making sure it’s straight. Slowly lower the wallpaper, peeling off the backing as you go. Use a smoothing tool or your hands to smooth out any air bubbles and ensure it adheres securely to the wall.
- Continue applying the strip: Once the top portion of the wallpaper is in place, continue peeling off the backing gradually and press the wallpaper onto the wall. Work your way down the strip, using a smoothing tool to remove any air bubbles and smoothing out the wallpaper as you go. Take your time to ensure the wallpaper is applied straight and without any creases or wrinkles.
- Trim excess wallpaper: Once the strip is fully applied, use a sharp utility knife or scissors to trim off any excess wallpaper at the top and bottom. Align the cutting tool against the edge of the baseboard or ceiling and carefully cut along the edge for a neat finish.
- Repeat the process for additional strips: Move on to the next strip of wallpaper, ensuring that the pattern aligns correctly with the previous strip. Repeat the steps of peeling off the backing, applying the wallpaper, smoothing out any air bubbles, and trimming off the excess. Take your time to ensure each strip is applied evenly and seamlessly.
Remember to work slowly and carefully during the application process. Smooth out any air bubbles as you go and adjust the wallpaper as needed to achieve a precise and seamless look. Pay attention to patterns and alignment, ensuring a consistent appearance across the wall. Once all the strips are applied, it’s time to move on to the next step: smoothing out and trimming excess wallpaper.
Smooth Out and Trim Excess Wallpaper
After applying the peel-and-stick wallpaper strips to the wall, the next step is to smooth out any imperfections and trim off the excess wallpaper. This will give your walls a clean and polished look. Follow these steps to achieve a flawless finish:
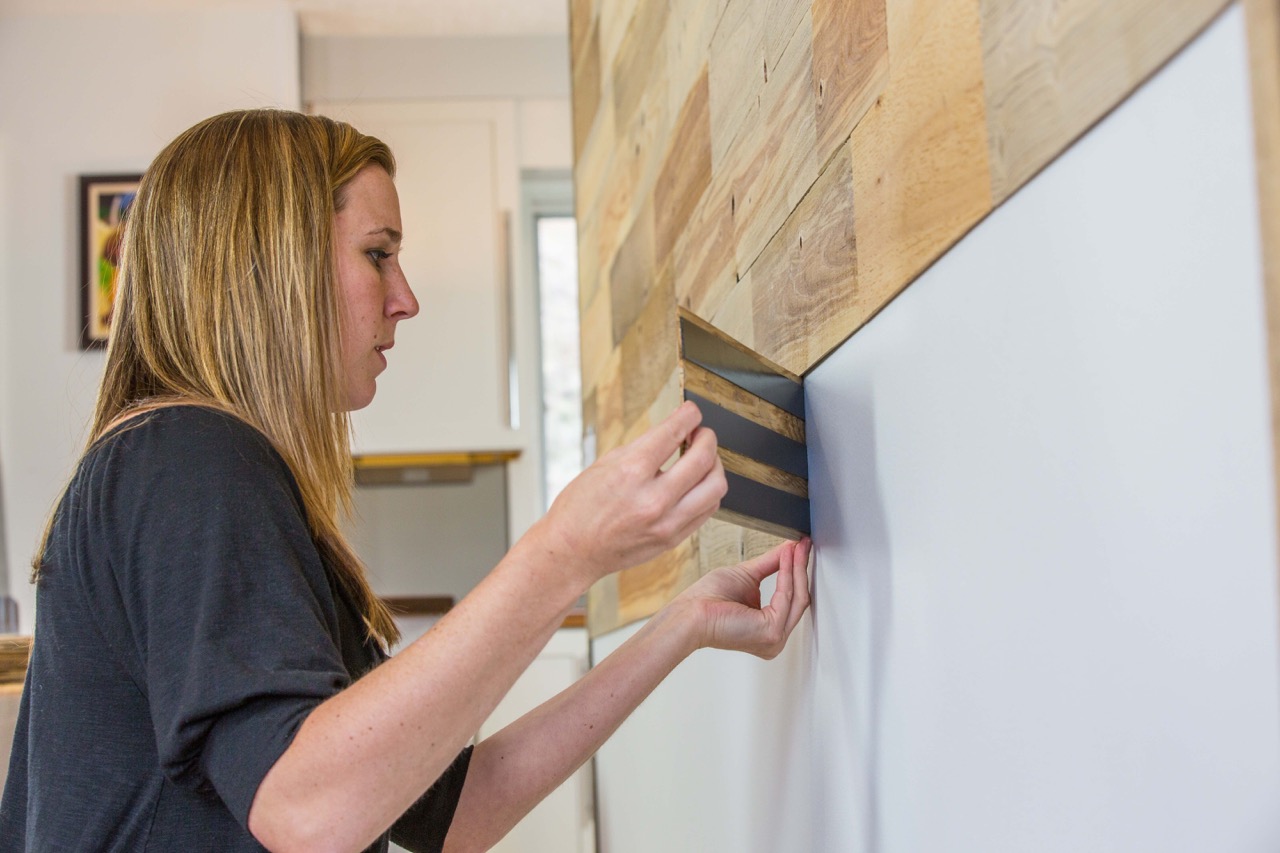
- Smooth out air bubbles: Use a plastic smoothing tool or a squeegee to gently smooth out any remaining air bubbles or wrinkles in the wallpaper. Start from the center of the strip and slowly work your way towards the edges, applying even pressure. This will help the wallpaper adhere tightly to the wall and create a smooth surface.
- Trim excess wallpaper at corners: When it comes to corners, you’ll need to create a clean and precise finish. Use a straightedge or a level as a guide and carefully trim the excess wallpaper at the corners of the walls. This will ensure a neat and seamless transition between adjacent walls.
- Trim excess wallpaper around outlets and switches: If there are electrical outlets or light switches on the walls, you’ll need to cut around them for a professional look. Turn off the power to the outlets or switches before working near them. Carefully cut an “X” shape over the outlet or switch with a utility knife and fold back the flaps. Trim the excess wallpaper around the edges and gently press the flaps back in place.
- Inspect and make final adjustments: Take a step back and carefully inspect the applied wallpaper. Look for any visible seams, bubbles, or misaligned patterns. Make any necessary adjustments by lifting and reapplying the affected areas. Smooth out any imperfections once again to ensure a flawless finish.
Taking the time to smooth out the wallpaper and trim off the excess will enhance the overall appearance and longevity of your peel-and-stick wallpaper. It will give your walls a professional and finished look, setting the stage for a beautifully transformed space. Once you’ve completed this step, it’s important to keep a few tips in mind to ensure long-lasting results.
Tips for Long-Lasting Results
To ensure that your peel-and-stick wallpaper stays in pristine condition and lasts for a long time, consider the following tips:
- Ensure proper surface preparation: Take the time to properly clean and prepare the wall surface before applying the wallpaper. This will help the adhesive bond securely and reduce the risk of peeling or bubbling.
- Smooth out air bubbles: When applying the wallpaper, be vigilant about smoothing out air bubbles and wrinkles. Use a smoothing tool or squeegee to press the wallpaper firmly onto the wall and remove any trapped air. This will prevent future lifting or peeling.
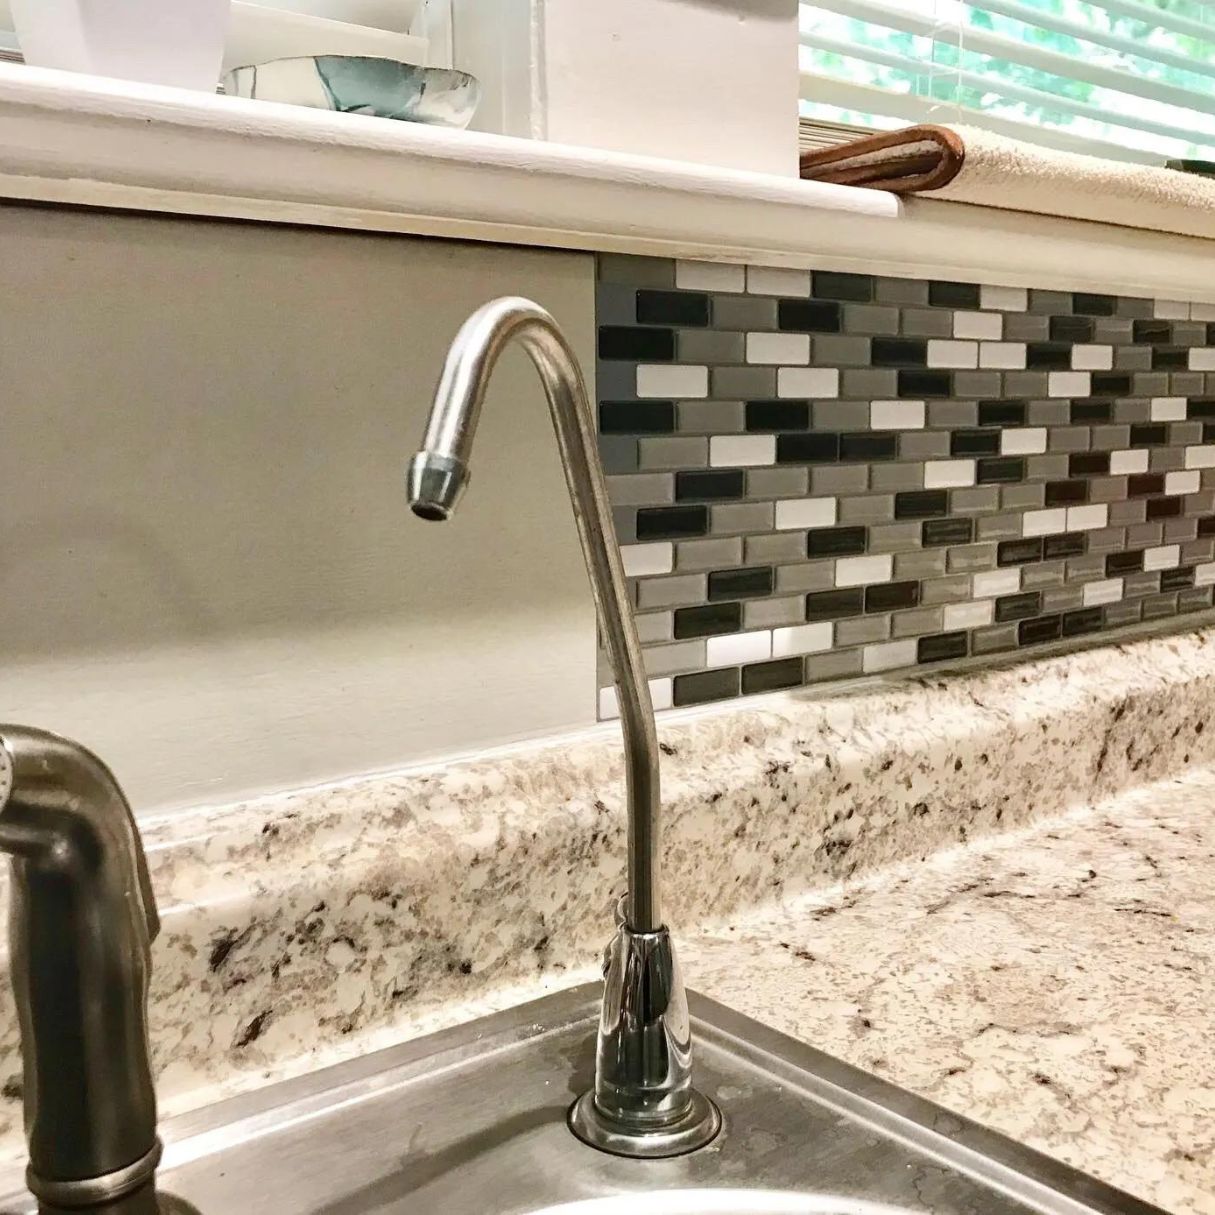
- Avoid excessive moisture: Peel-and-stick wallpaper is not suitable for high moisture areas like bathrooms or kitchens. Excessive humidity and moisture can loosen the adhesive, causing the wallpaper to peel. Choose appropriate wallpaper materials for these spaces.
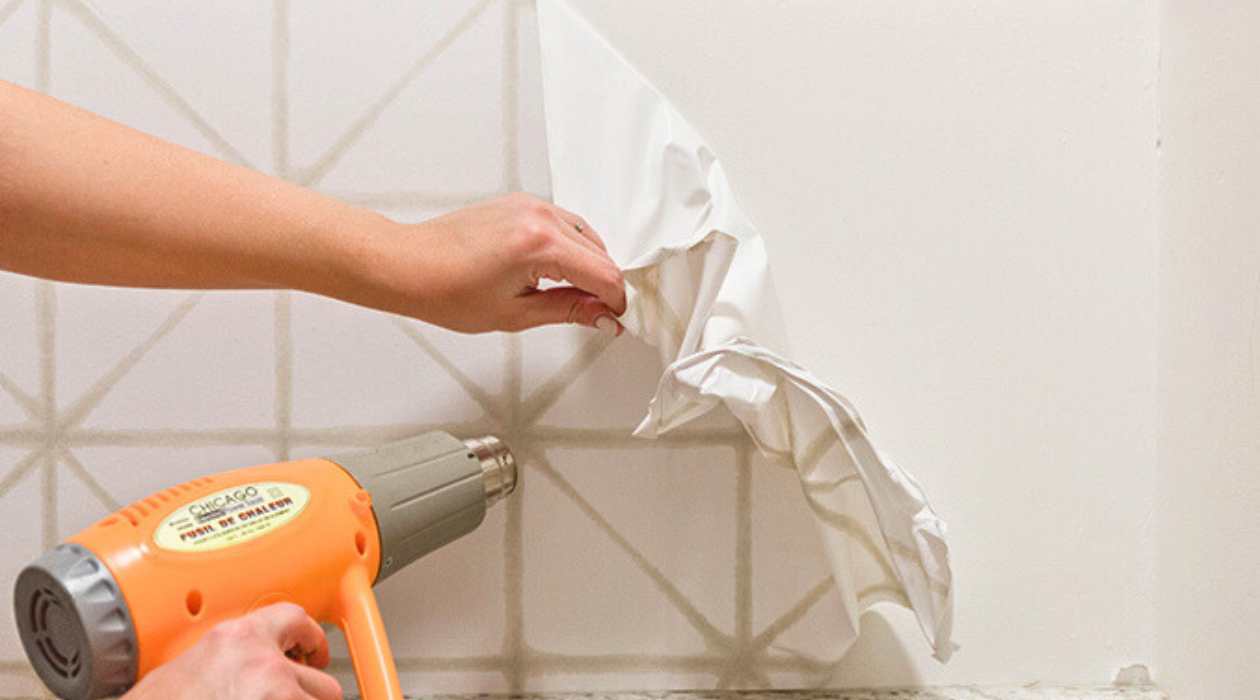
- Use caution near heat sources: Be mindful of placing peel-and-stick wallpaper near heat sources such as stoves or fireplaces. High temperatures can compromise the adhesive, leading to wallpaper damage. Maintain a safe distance and consider alternative wall treatments for these areas.
- Avoid direct sunlight: Prolonged exposure to direct sunlight can cause the colors of the wallpaper to fade over time. Use curtains or blinds to protect the wallpaper from excessive sunlight, or choose wallpapers specifically designed to withstand UV rays.
- Be mindful of cleaning: When cleaning the wallpapered walls, use a soft cloth or sponge and mild soap and water. Avoid abrasive cleaners or scrubbing vigorously, as this can damage the surface of the wallpaper. Gently wipe away stains and dirt to maintain its appearance.
- Keep extra wallpaper for future repairs: It’s always a good idea to purchase extra rolls of wallpaper. This will come in handy should you need to make repairs or replace damaged sections in the future. Having matching wallpaper on hand ensures a seamless repair job.
By following these tips, you can prolong the life and beauty of your peel-and-stick wallpaper. It will continue to enhance your space and bring joy for years to come. Remember, proper installation and maintenance are key to achieving long-lasting and impressive results.
Conclusion
Peel-and-stick wallpaper is a fantastic option for transforming the look and feel of any room. With its ease of application, wide range of designs, and removable nature, it has become a popular choice among homeowners and renters alike. By following the step-by-step process outlined in this article and keeping in mind the tips for long-lasting results, you can achieve a professional-looking finish that will bring life and character to your walls.
Remember to start by gathering all the necessary materials and properly preparing the surface. Accurate measurements and precise cutting will ensure the wallpaper fits perfectly. Take your time when removing the backing and applying each strip, smoothing out any air bubbles as you go. Trim off the excess wallpaper for a polished look. Lastly, follow our tips to maintain the wallpaper’s durability and longevity.
With careful attention to detail and a touch of creativity, you can effortlessly transform your space with peel-and-stick wallpaper. So, go ahead, unleash your inner designer, and enjoy the beauty and versatility this decorative option offers. Watch as your walls come alive with color, pattern, and texture, and let your personality shine through. The possibilities are endless!
Now it’s time to grab your materials and embark on your peel-and-stick wallpaper journey. Get ready to create a space that reflects your style and taste, and enjoy the satisfaction of a successful and long-lasting wallpaper installation.
Frequently Asked Questions about How To Apply Peel-and-Stick Wallpaper For Long-Lasting Results
Was this page helpful?
At Storables.com, we guarantee accurate and reliable information. Our content, validated by Expert Board Contributors, is crafted following stringent Editorial Policies. We're committed to providing you with well-researched, expert-backed insights for all your informational needs.

0 thoughts on “How To Apply Peel-and-Stick Wallpaper For Long-Lasting Results”