
Articles
How To Drain An Electric Water Heater
Modified: October 20, 2024
Learn how to properly drain an electric water heater with this informative article. Find step-by-step instructions and expert tips to safely maintain your water heater.
(Many of the links in this article redirect to a specific reviewed product. Your purchase of these products through affiliate links helps to generate commission for Storables.com, at no extra cost. Learn more)
Introduction
An electric water heater is an essential appliance in many homes, providing hot water for various household tasks, such as bathing, washing dishes, and doing laundry. Over time, sediments can accumulate in the tank, affecting the efficiency and performance of the water heater. Draining the electric water heater periodically is necessary to remove these sediments and ensure its optimal functioning.
In this article, we will guide you through the step-by-step process of draining an electric water heater. By following these instructions, you will be able to effectively remove the sediments and extend the lifespan of your water heater.
Before we begin, please note that it is important to take safety precautions when working with any electrical appliance. Make sure to turn off the power supply to the water heater before performing any maintenance or repairs.
Now, let’s dive into the step-by-step process of draining an electric water heater.
Key Takeaways:
- Regularly draining an electric water heater is crucial for removing sediment, improving efficiency, and extending its lifespan. Prioritize safety by turning off the power supply and following proper precautions.
- By following the step-by-step process, you can effectively remove sediment and debris, improve energy efficiency, and extend the lifespan of your water heater. Regular maintenance is essential for optimal performance.
Read more: How To Drain Whirlpool Water Heater
Step 1: Turn off the power supply to the water heater
The first step in draining an electric water heater is to ensure the power supply is turned off. This is crucial for your safety as well as to prevent any damage to the heating elements of the water heater.
Locate the circuit breaker panel in your home and identify the circuit that supplies power to the water heater. Flip the corresponding breaker to the “off” position to cut off the electricity supply. If your water heater has a dedicated shut-off switch, you can also use that to turn off the power.
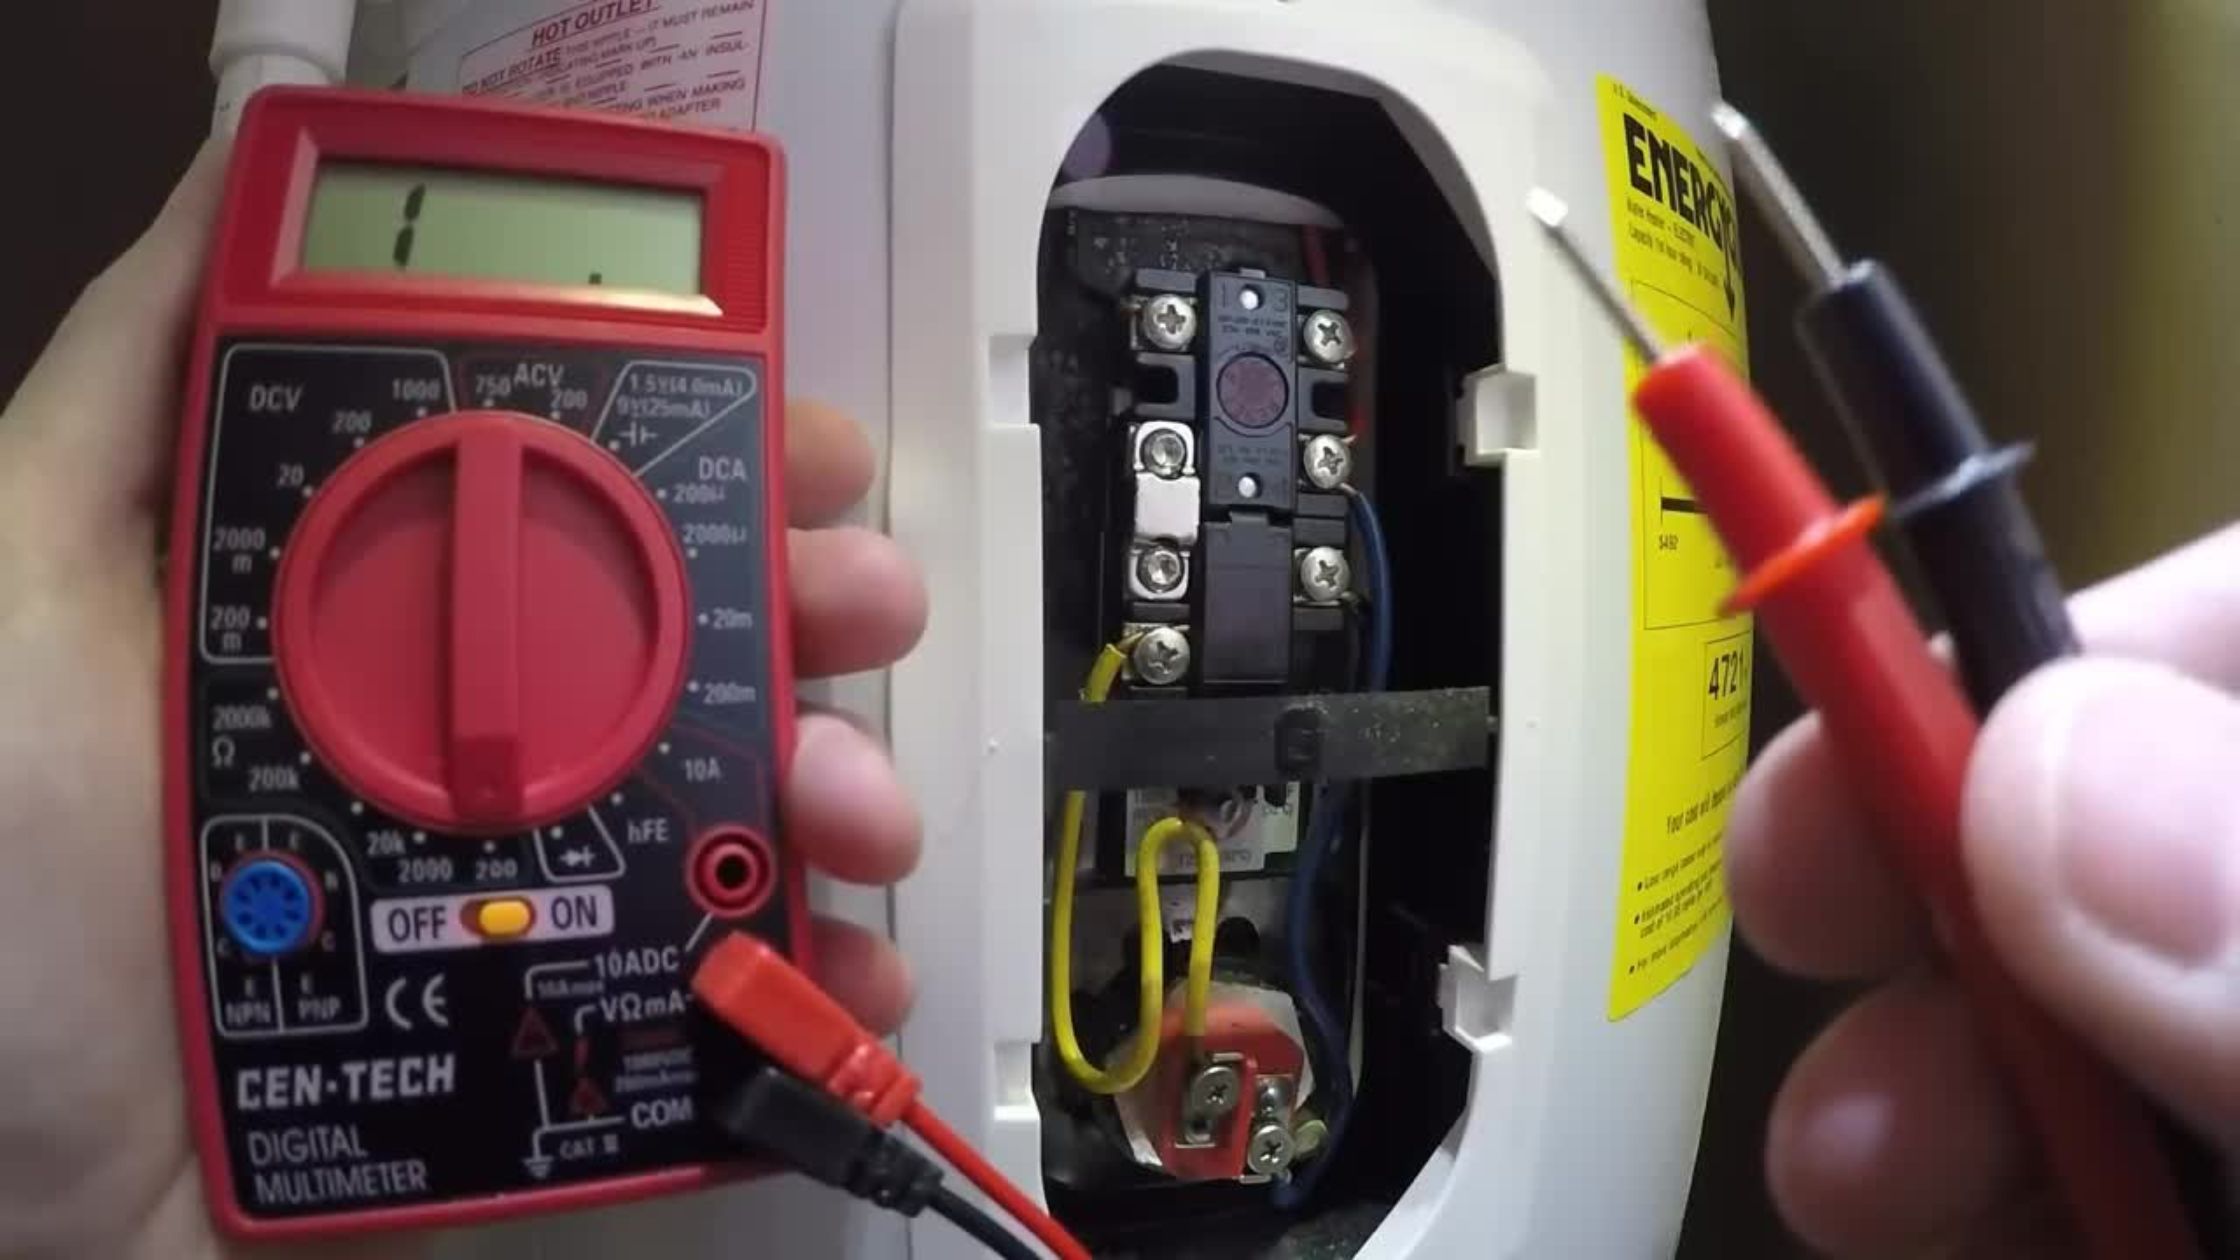
Before proceeding, it’s a good idea to verify that the power is indeed off. You can do this by testing the water heater’s controls or using a voltage tester to ensure that there is no voltage flowing to the unit.
Remember, safety should always be your top priority when working with electrical appliances. Take the necessary precautions and double-check that the power supply is disconnected before moving on to the next steps.
Step 2: Locate and turn off the cold water supply valve
Once you have ensured that the power supply to the water heater is turned off, the next step is to locate and turn off the cold water supply valve. This valve controls the flow of water into the water heater, preventing any water from entering while you drain it.
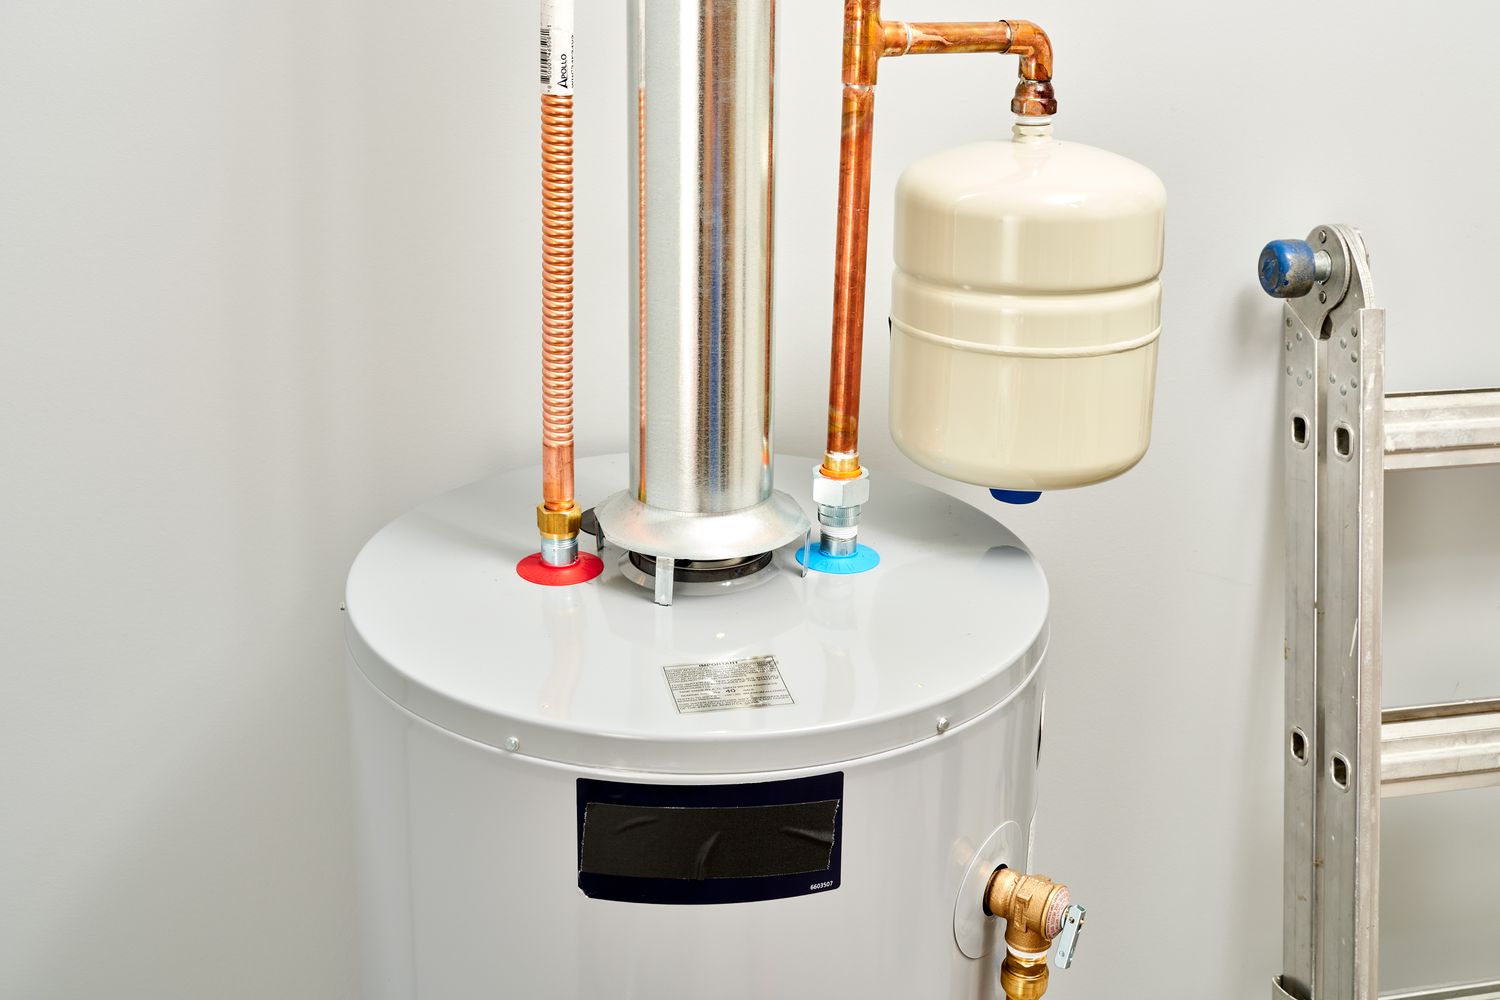
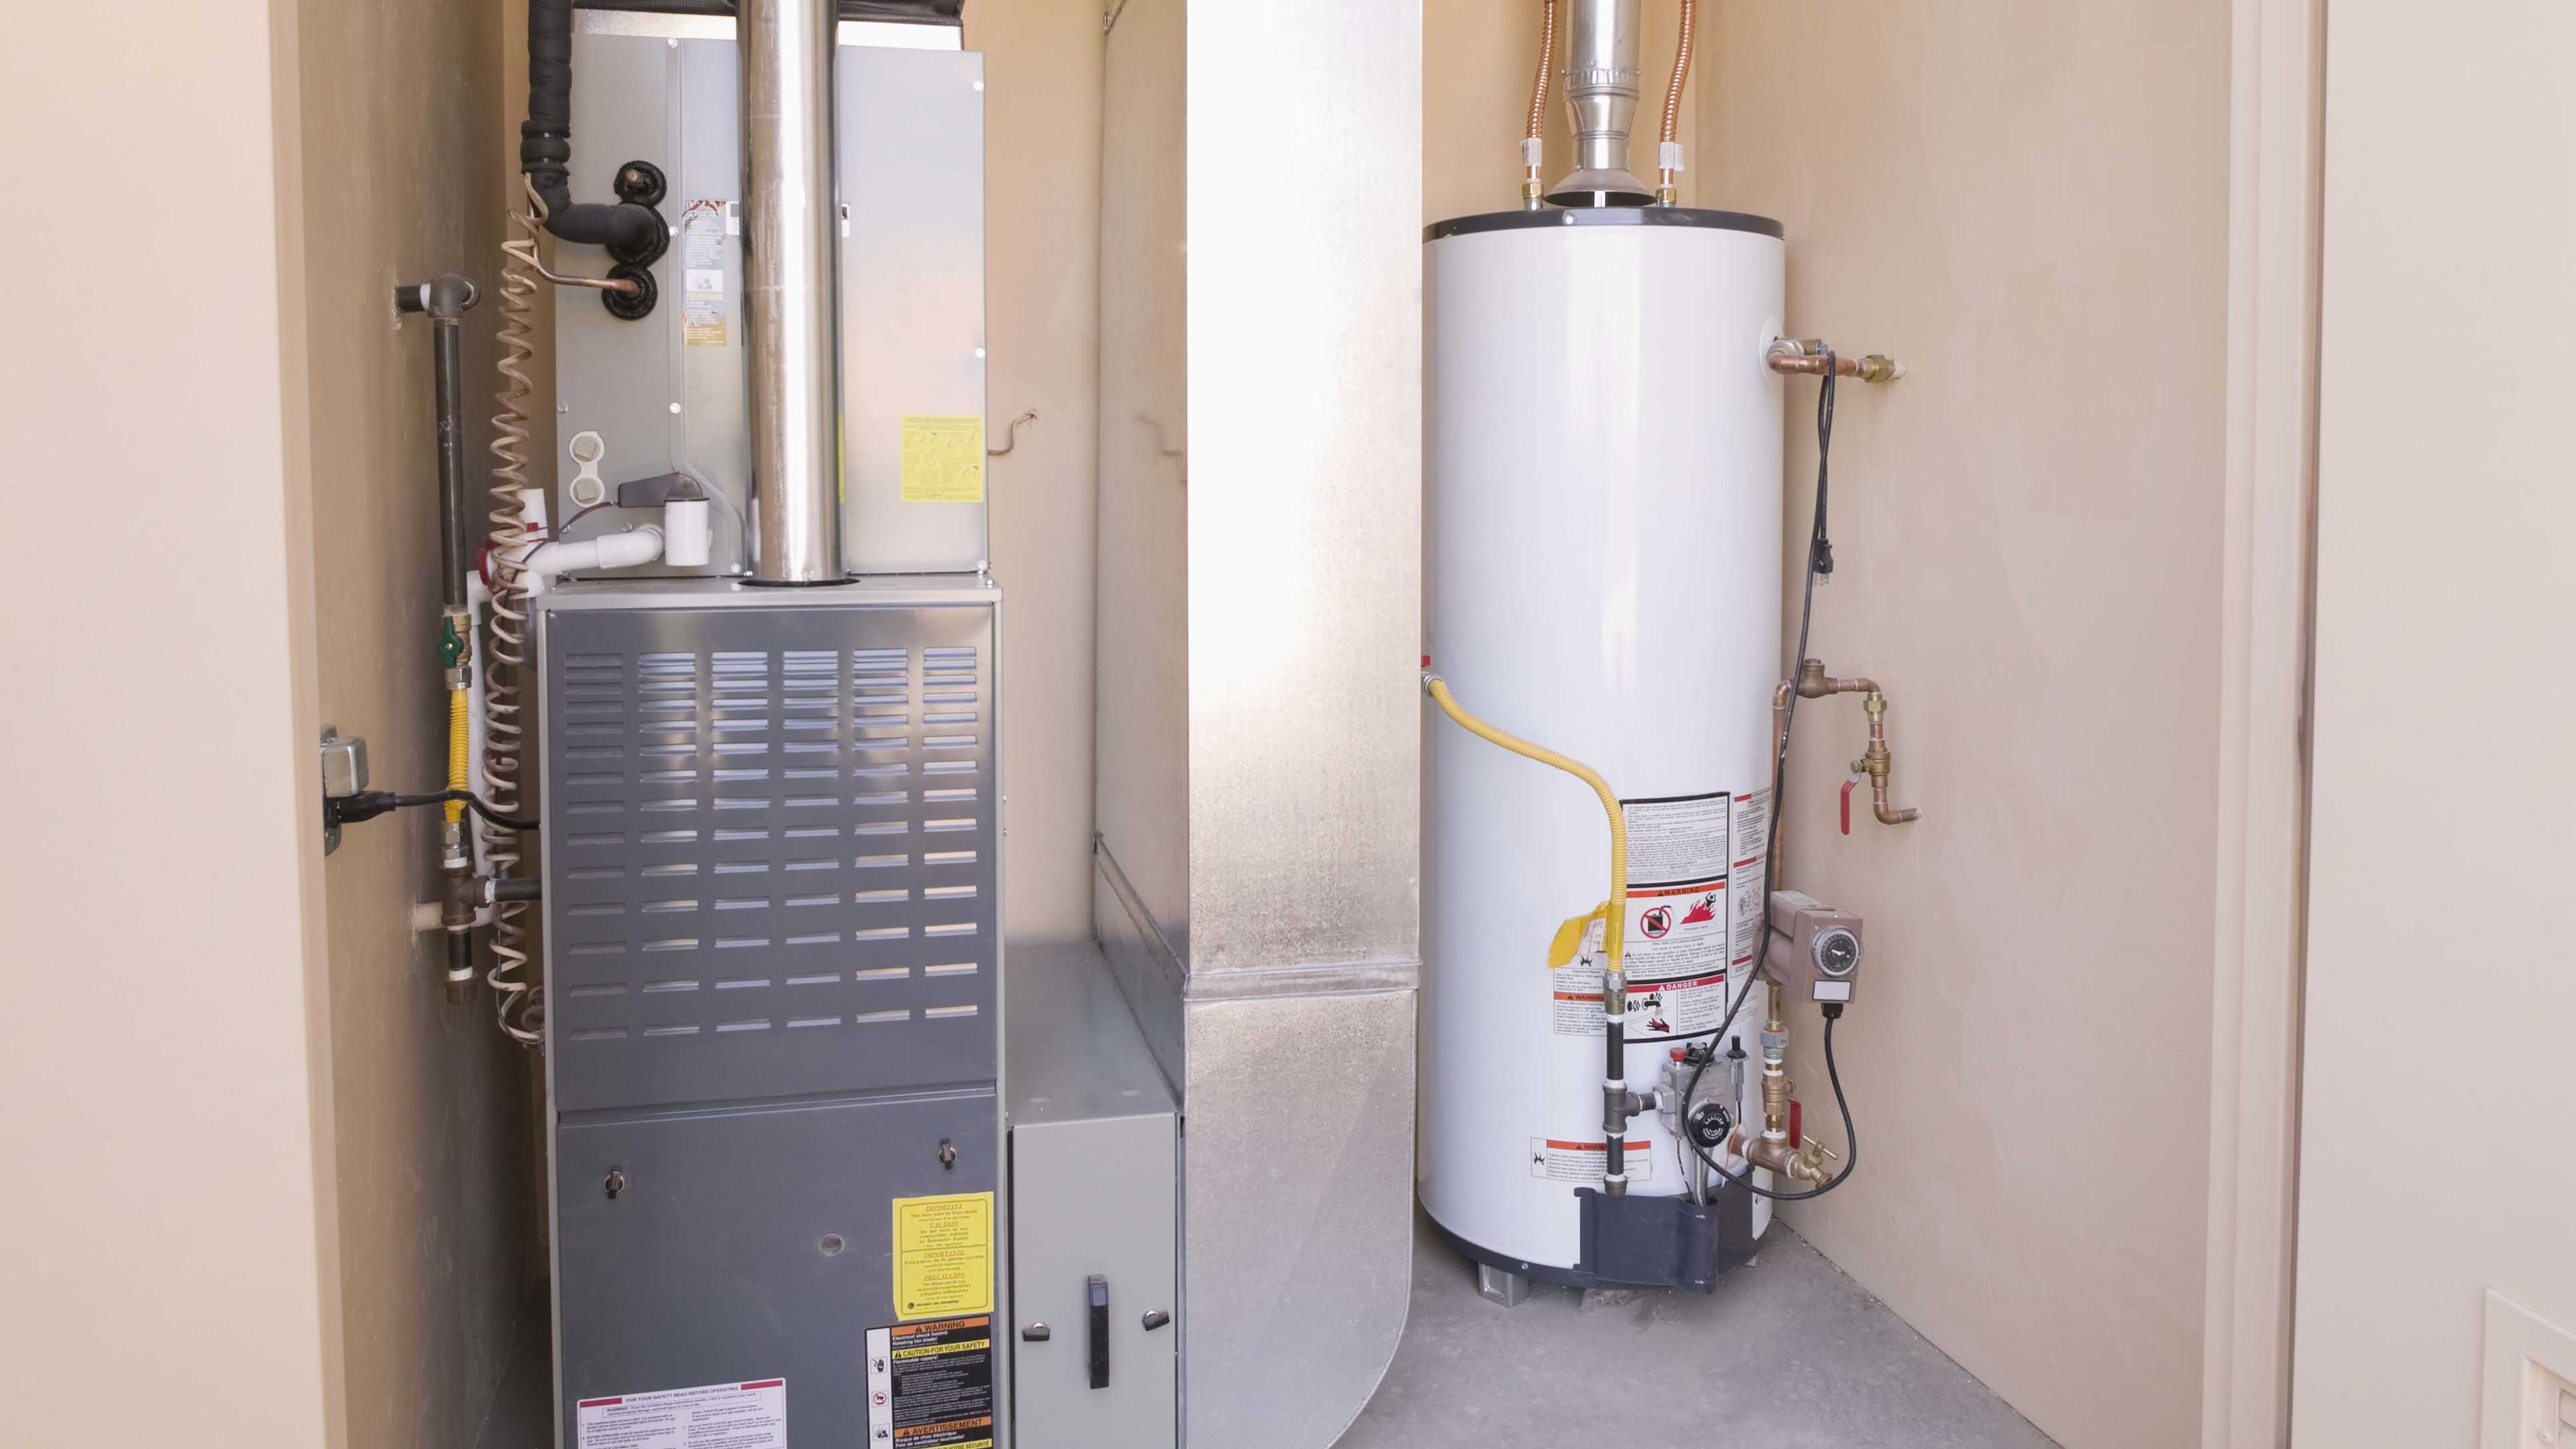
The cold water supply valve is typically located on the top of the water heater or nearby in the plumbing line. It is usually a lever-type valve or a wheel valve that you can manually turn to shut off the water supply.
To turn off the cold water supply valve, rotate the lever or wheel clockwise until it is fully closed. This will stop the flow of water into the water heater and prevent any new water from entering the tank while you are draining it.
It is essential to shut off the cold water supply valve to prevent any potential flooding or leaks while you are performing the maintenance on the water heater.
Once you have successfully closed the cold water supply valve, you are ready to move on to the next step of the process.
Step 3: Attach a garden hose to the drain valve
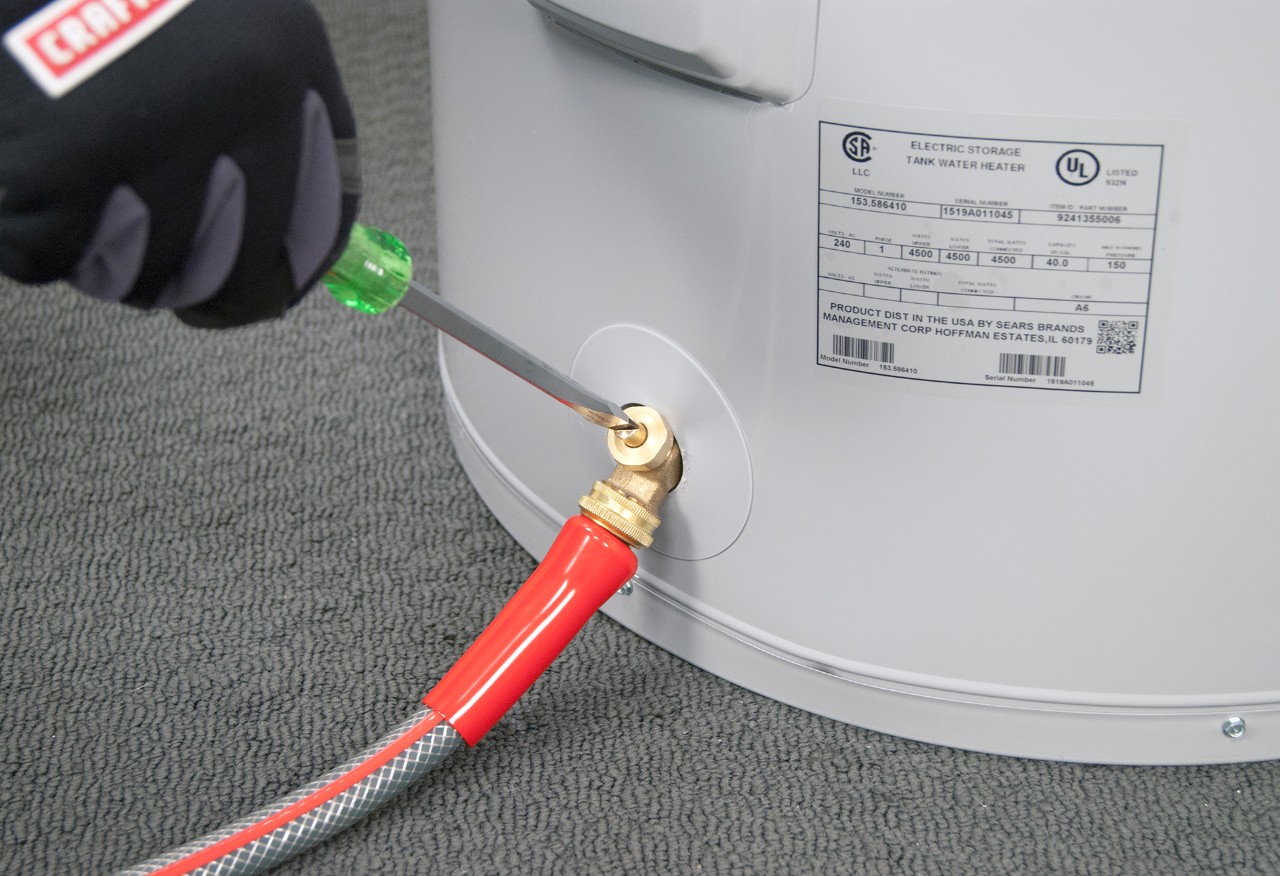
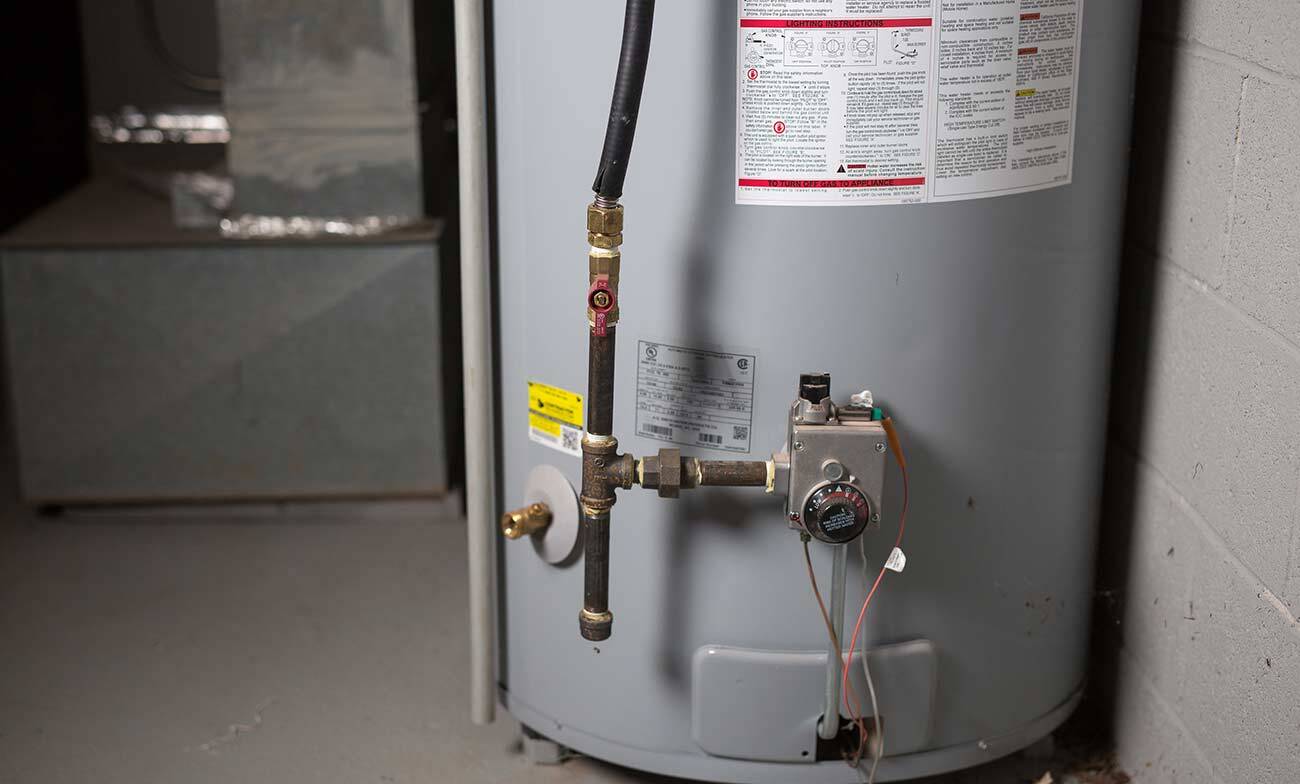
In order to drain the water heater, you will need to attach a garden hose to the drain valve. The drain valve is located near the bottom of the water heater and is used to release the water from the tank.
Before attaching the garden hose, ensure that the other end of the hose is placed in a suitable drainage area. This can be a floor drain, a utility sink, or even outdoors if you have a safe and convenient location to direct the water.
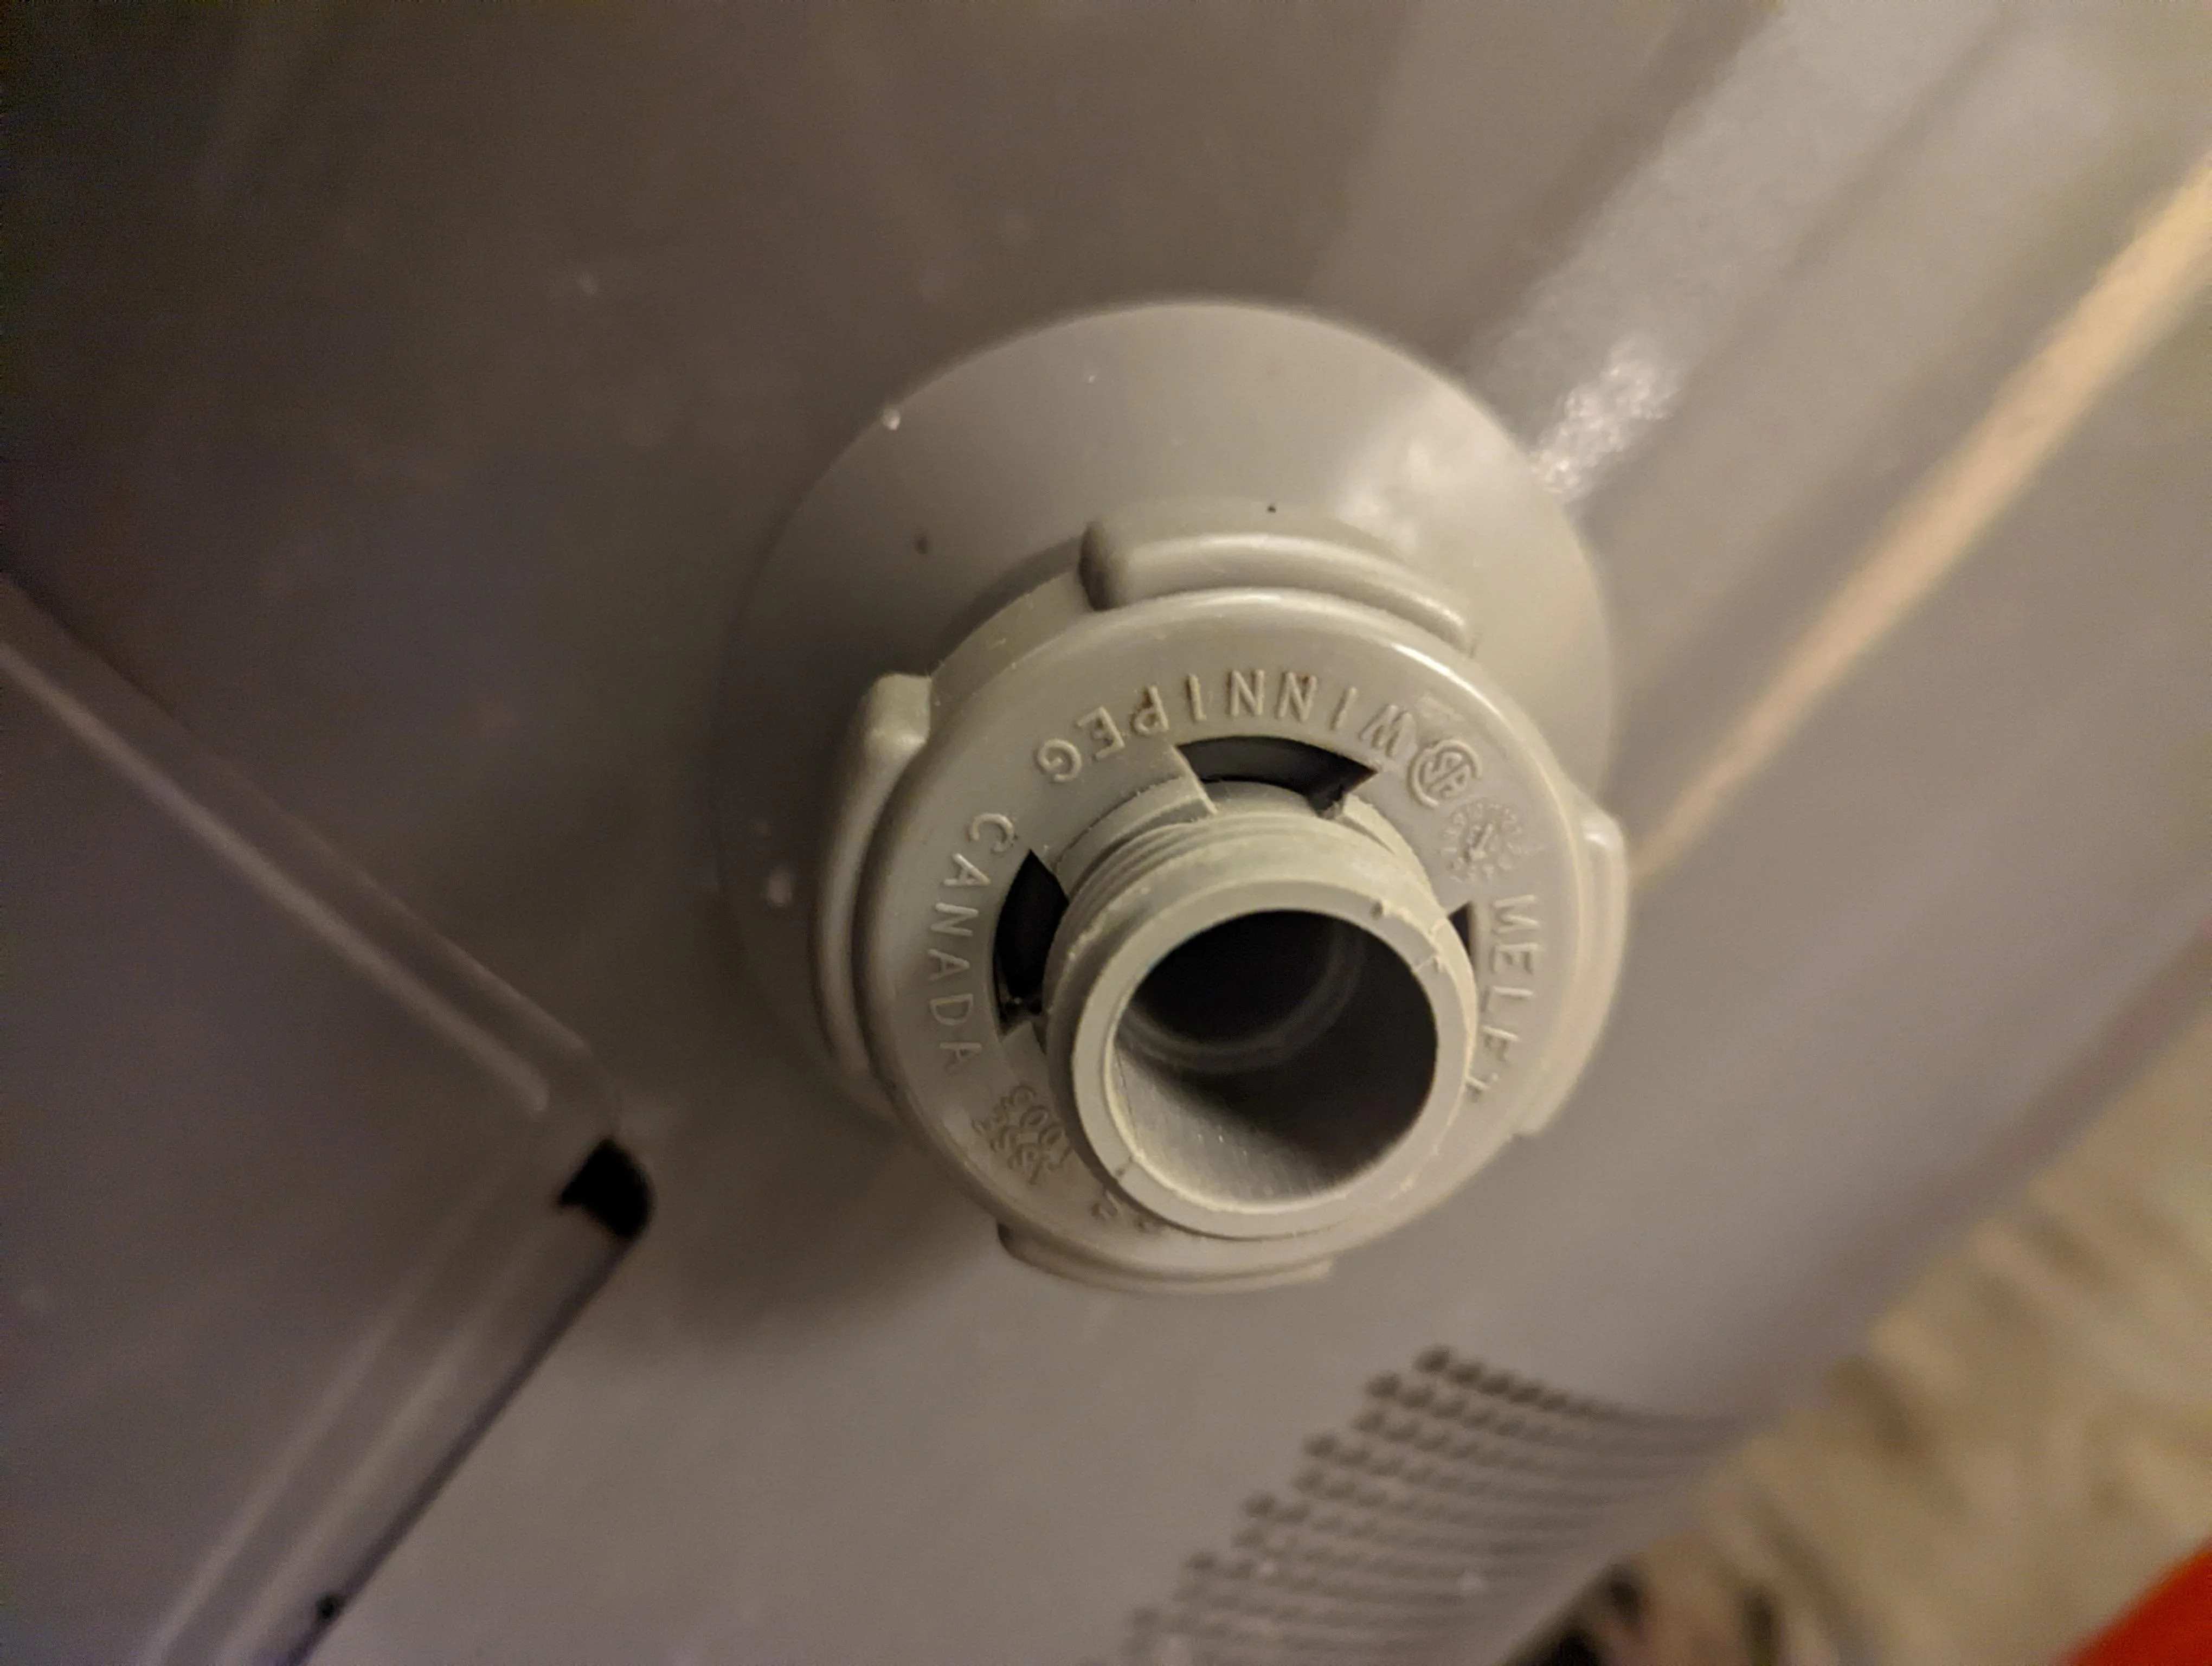
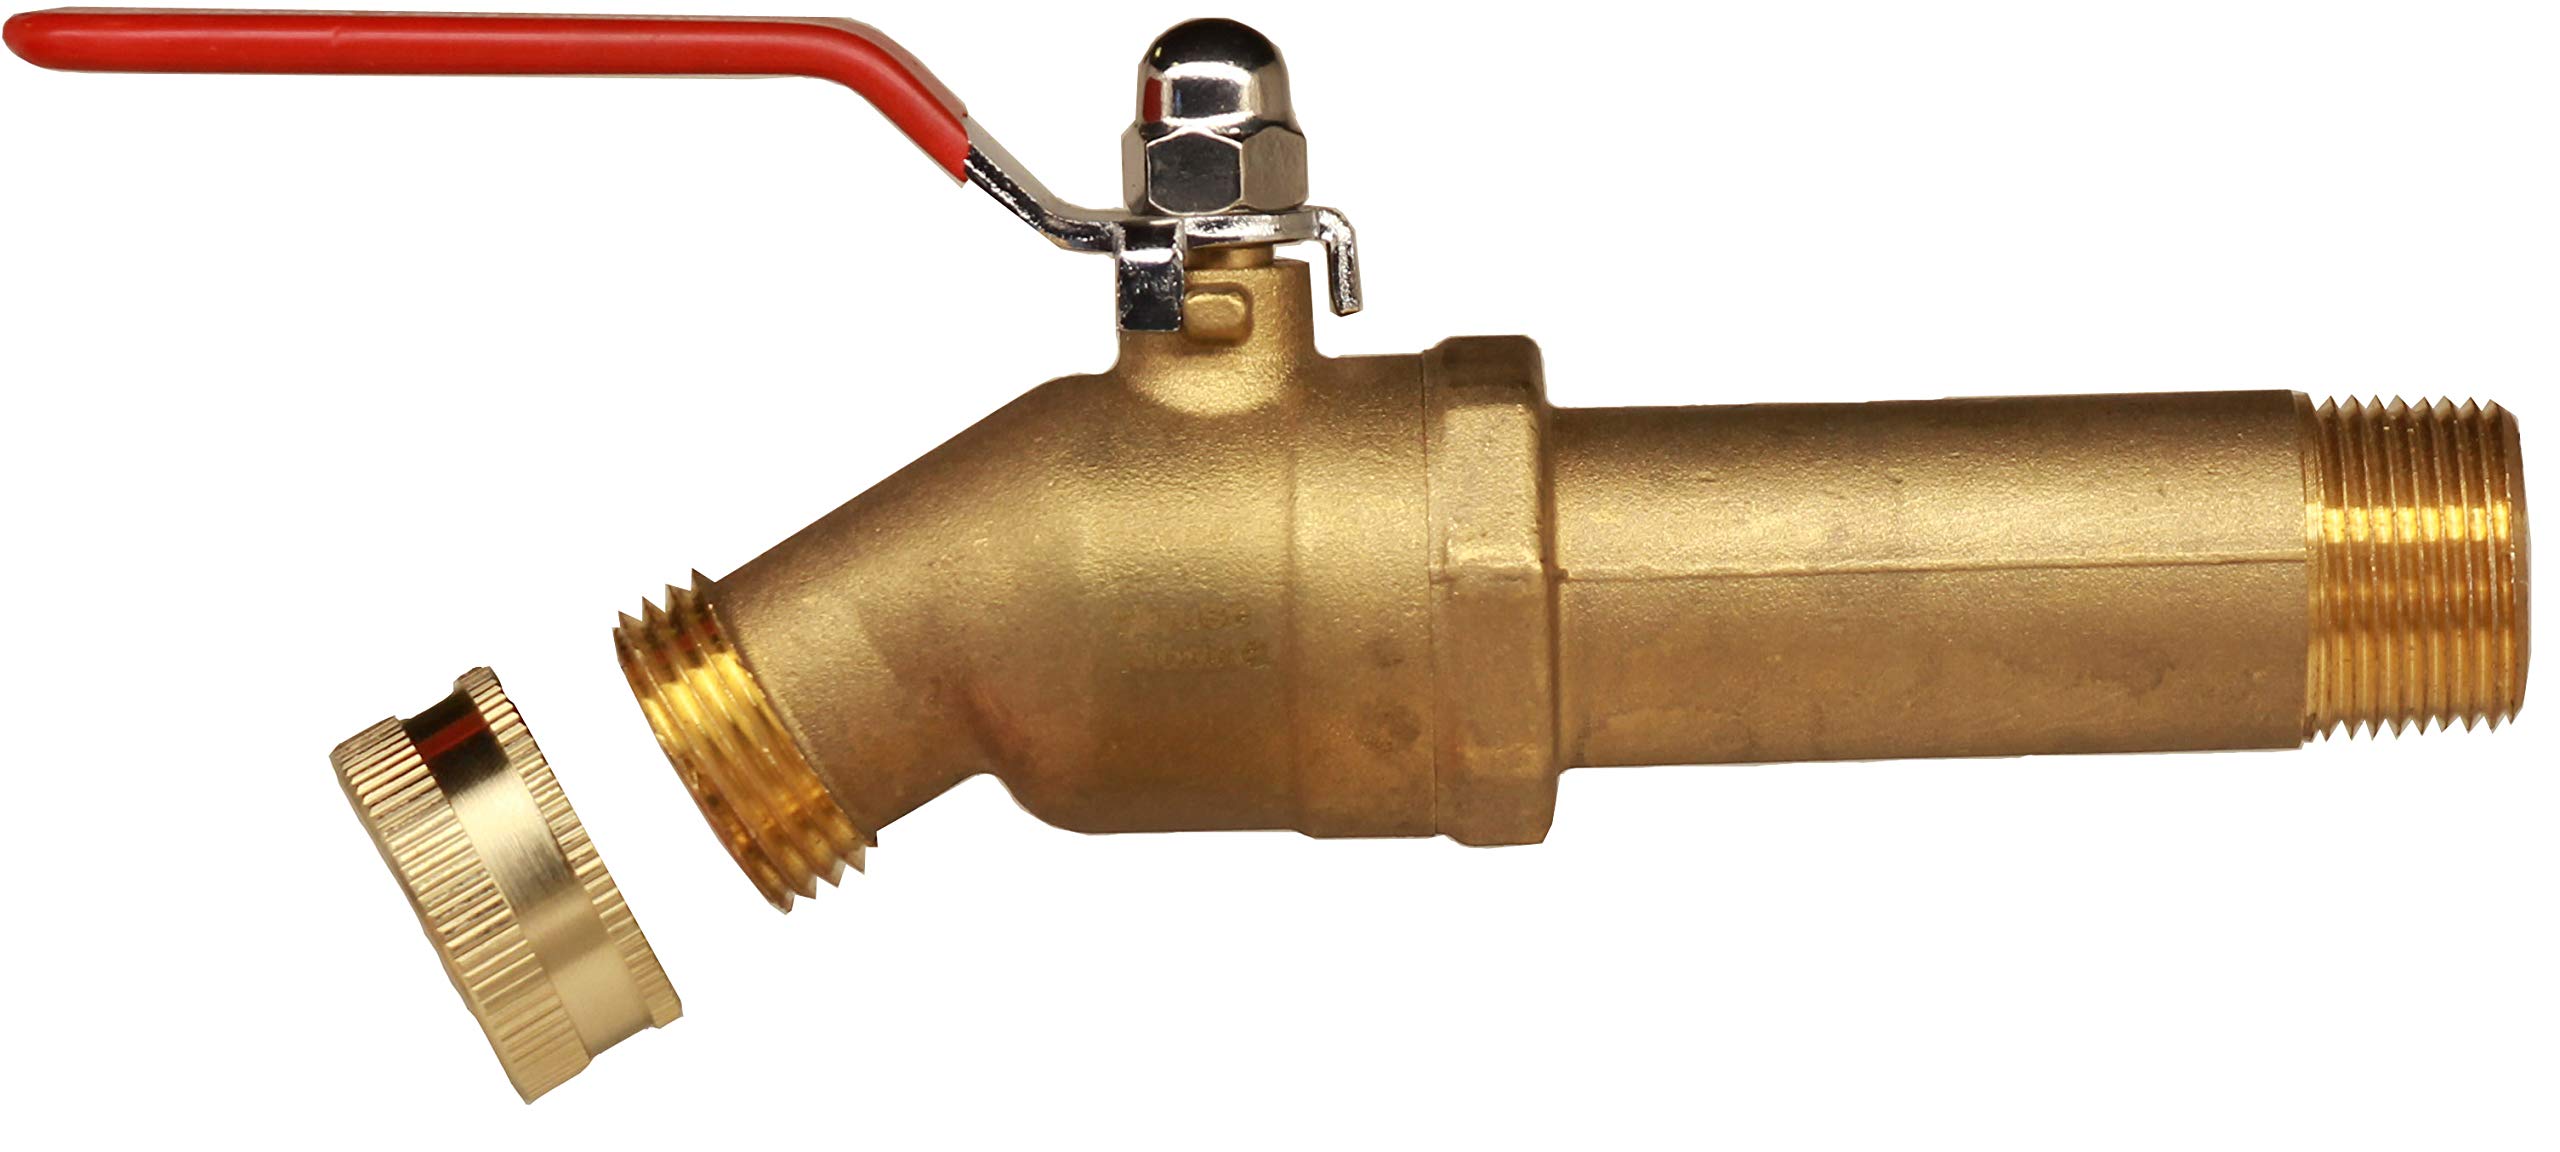
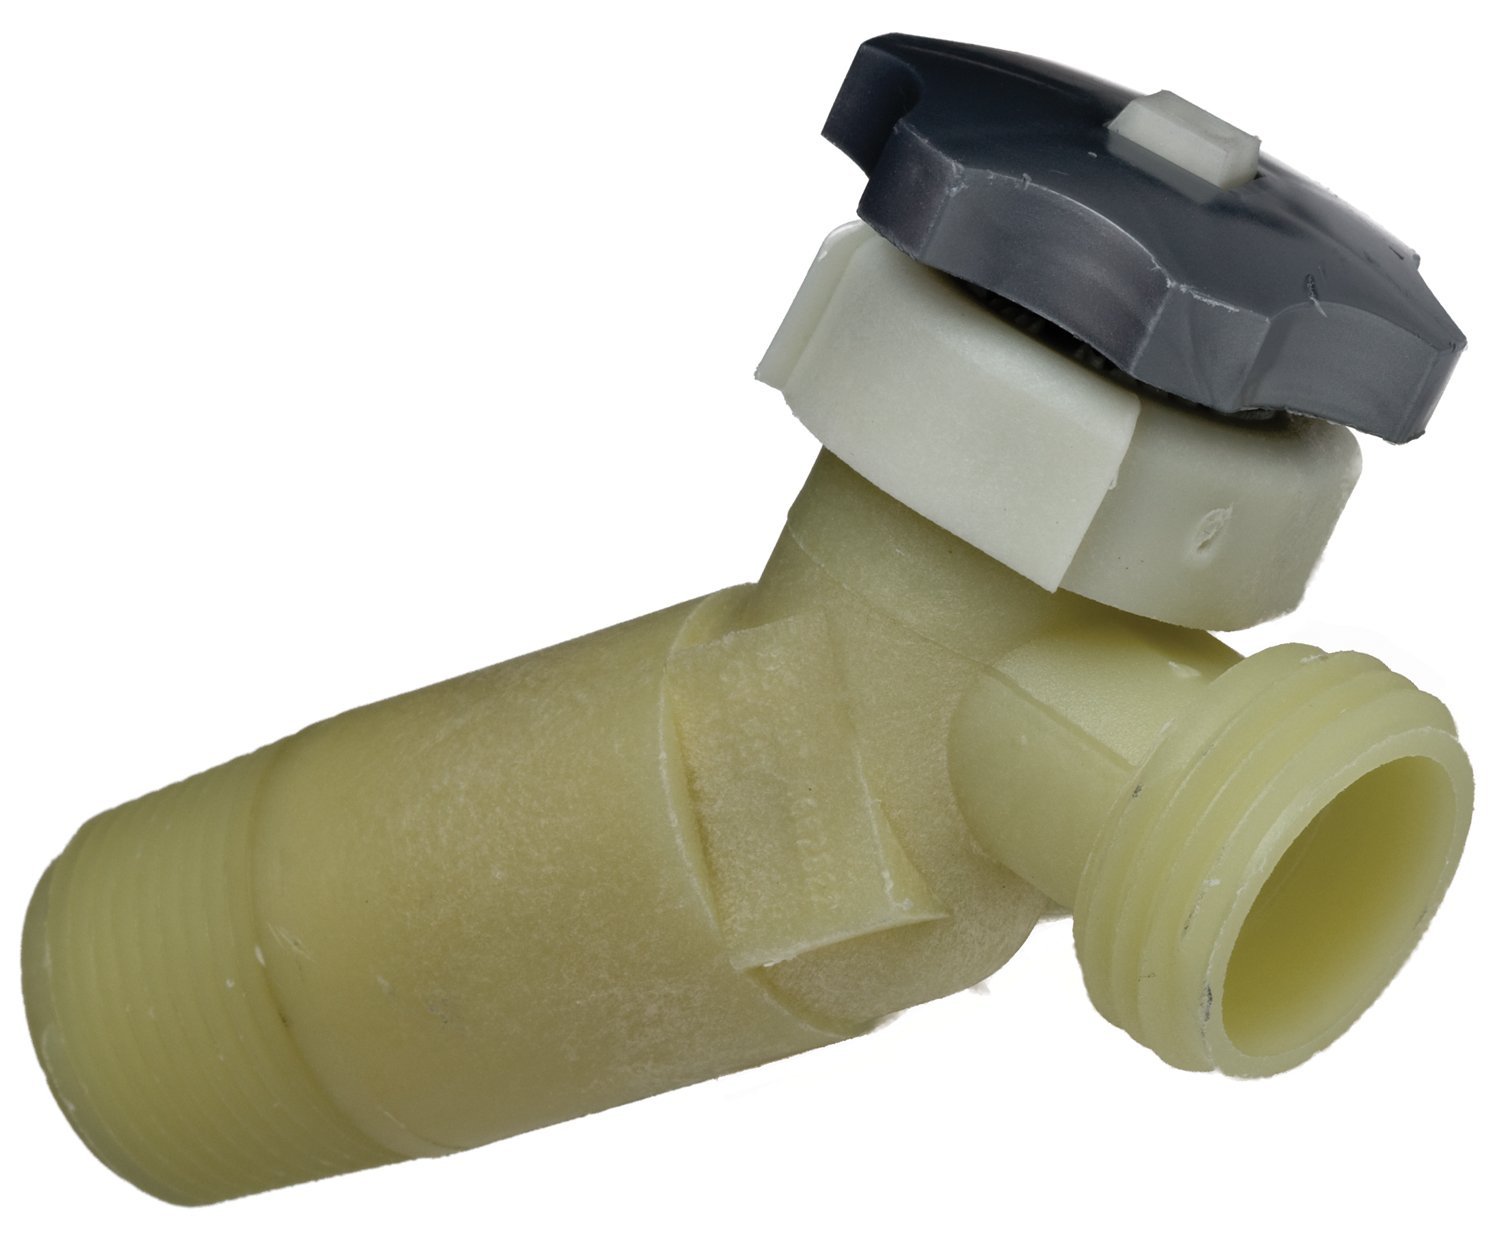
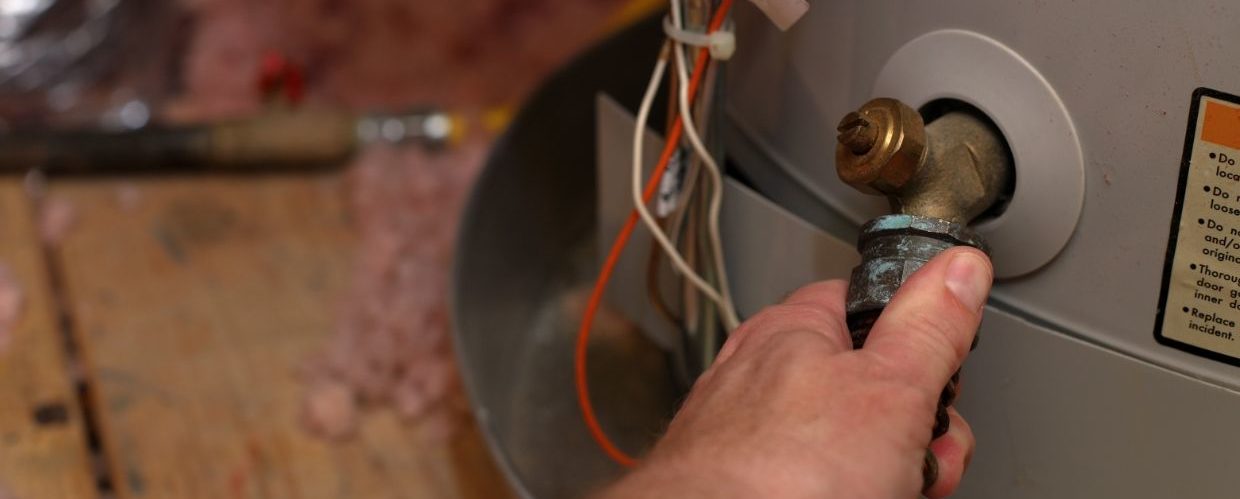
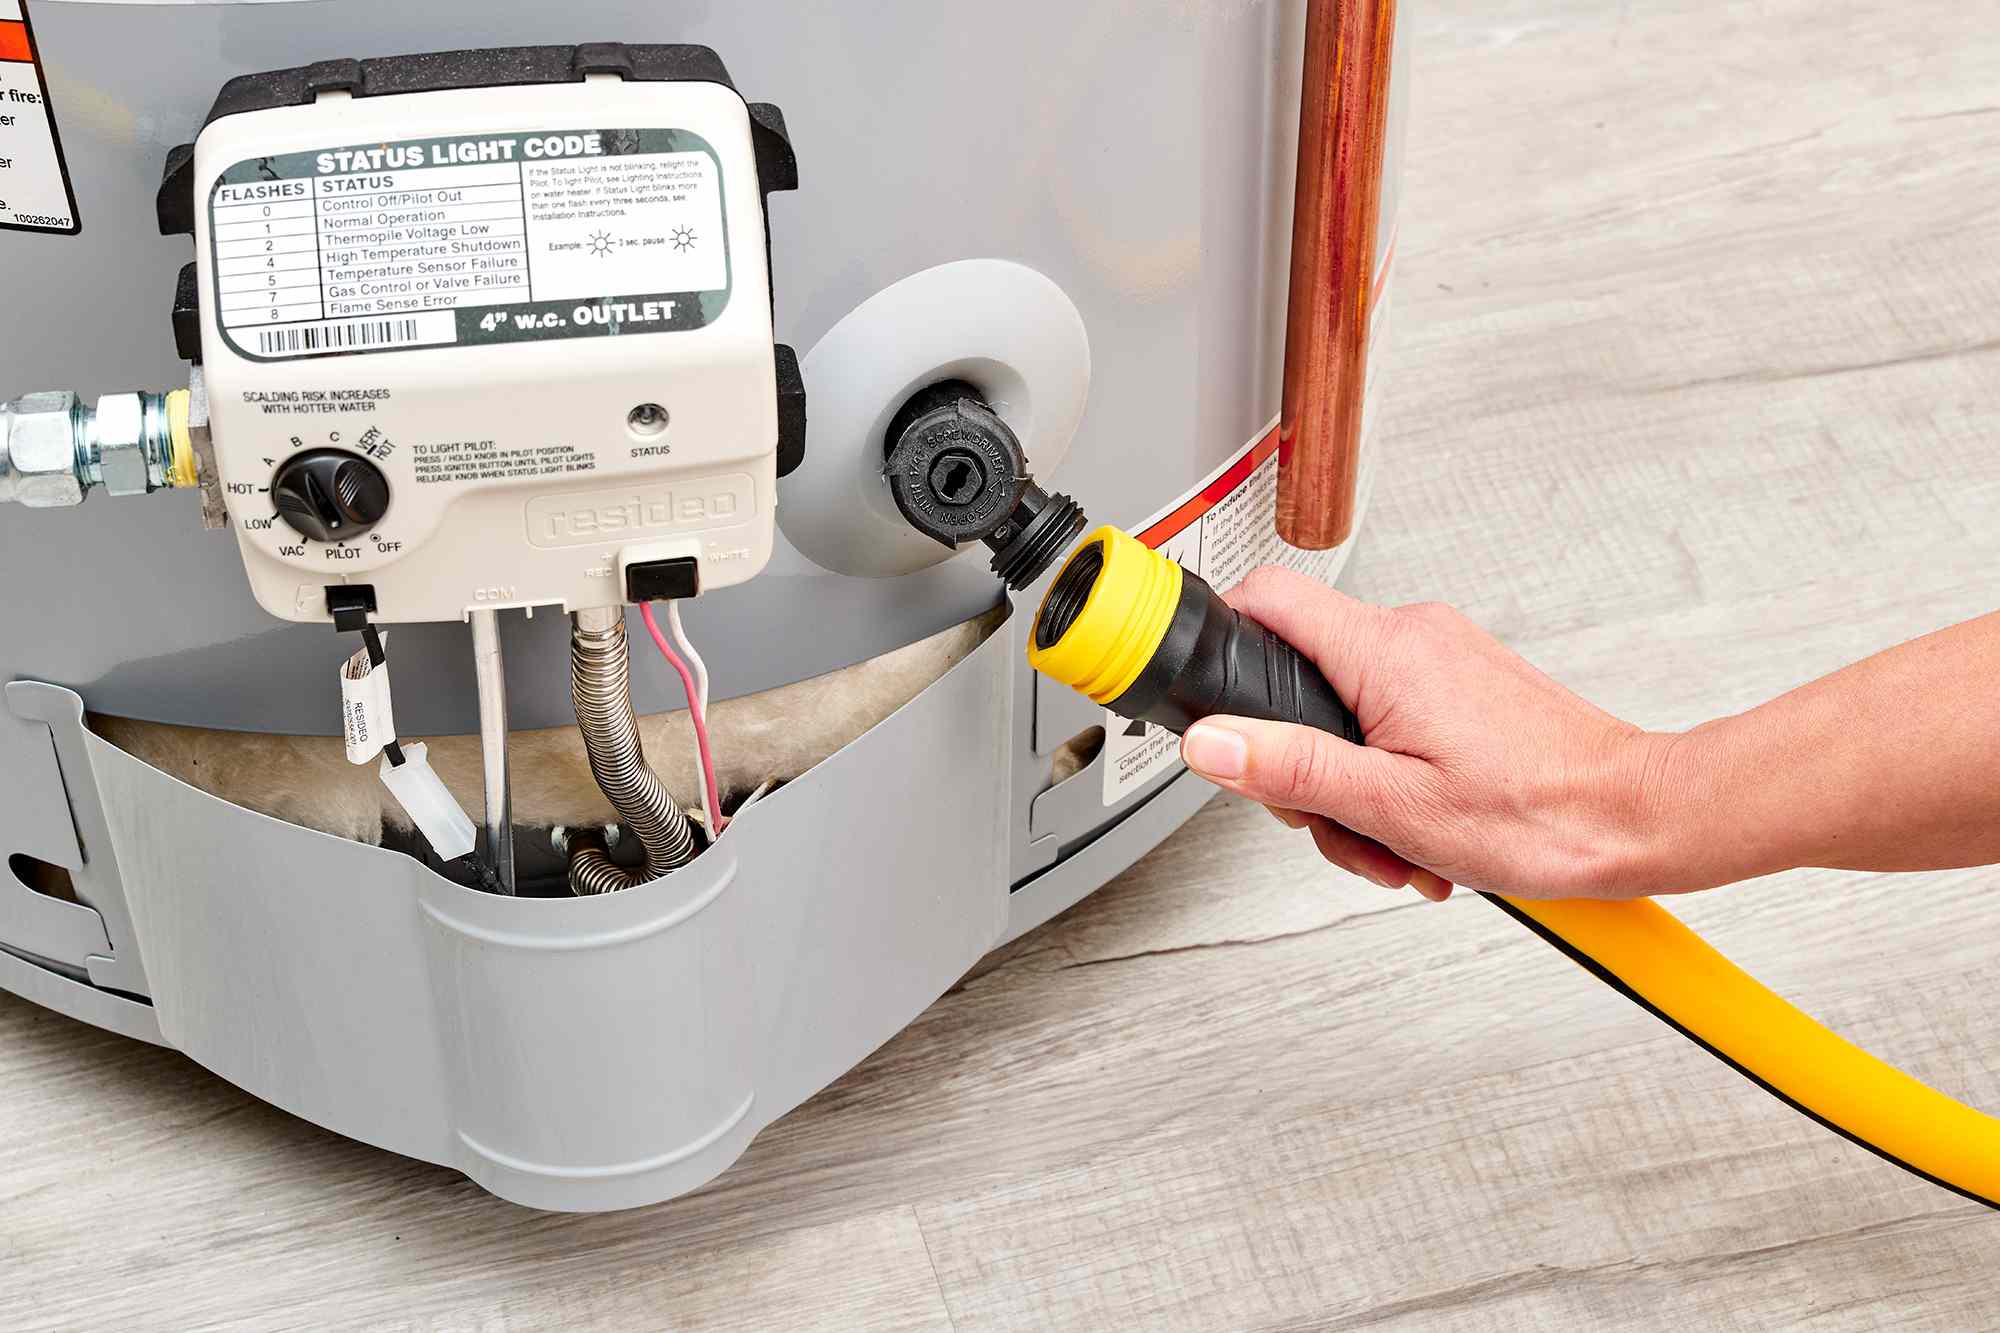
Next, locate the drain valve at the bottom of the water heater. It is typically a small brass or plastic valve with a threaded connection. Insert one end of the garden hose onto the drain valve by screwing it onto the threaded part of the valve. Ensure that the hose is securely attached to prevent any leaks or spills.
If the threads on the drain valve are worn or damaged, you might need to use hose clamps or a thread seal tape to create a tight seal and prevent any water from leaking out.
Once the garden hose is securely attached to the drain valve, you are ready to move on to the next step and prepare the water heater for draining.
Step 4: Open a hot water faucet
Before you start draining the water heater, it is crucial to open a hot water faucet in your home. Opening a hot water faucet helps to create a venting system and relieve any built-up pressure in the water heater tank.
Choose a hot water faucet that is closest to the water heater. This can be a faucet in the kitchen, bathroom, or any other location where hot water is readily available.
Turn the hot water faucet handle to the “on” position and let it run. The water flowing from the faucet will help to prevent a vacuum from forming in the water heater tank, allowing for a smooth and continuous flow of water during the draining process.
Keep the hot water faucet open until you have finished draining the water heater and closed the drain valve. This step ensures that the tank is fully drained and there is no residual pressure inside.
By opening a hot water faucet, you create a pathway for air to enter the system, preventing any potential pressure issues and facilitating a faster and more efficient draining process.
Once you have opened a hot water faucet, you are ready to proceed to the next step and begin draining the water heater.
Read more: How To Drain Water Heater In The Attic
Step 5: Open the drain valve and begin draining the water heater
With the garden hose securely attached and the hot water faucet open, it’s time to open the drain valve and start draining the water heater.
Locate the drain valve at the bottom of the water heater. It is typically a small brass or plastic valve with a handle or knob. Turn the handle or knob counterclockwise to open the valve. As you do this, you will start to hear the sound of water flowing through the hose.
Allow the water to flow freely through the garden hose and into the drainage area. Depending on the size of your water heater and the amount of sediment inside, the draining process can take some time.
It is important to exercise caution when draining the water heater as the water can be hot. Avoid coming into direct contact with the water or the hose during the process.
You may notice that the water initially appears cloudy or discolored. This is normal, as sediment and debris from inside the tank are being flushed out. The water will eventually become clear as you continue to drain the water heater.
Monitor the water level in the tank by checking the flow through the garden hose. Once the water stops flowing or becomes a slow trickle, the tank is effectively drained.
After you have fully drained the water heater, proceed to the next step to flush out any remaining sediment and debris.
Turn off the power supply to the water heater before draining to avoid any electrical hazards. This can usually be done by switching off the circuit breaker or disconnecting the power supply.
Step 6: Flush the water heater with cold water
Now that you have successfully drained the water heater, it’s time to flush out any remaining sediment and debris from the tank. Flushing the water heater with cold water helps to remove any residual particles and ensure its optimal performance.
Close the drain valve by turning it clockwise until it is fully closed. This will prevent any water from escaping the tank during the flushing process.
Next, open the cold water supply valve that you had previously closed. Turning on the cold water supply will allow fresh water to enter the tank and flush out any remaining sediment.
As the cold water flows into the tank, you may notice some turbulence and discoloration in the water. This is normal and indicates that the flushing process is effectively removing the sediment.
Let the cold water run through the water heater for a few minutes, allowing it to flush out any remaining debris. You can monitor the water coming out of the hot water faucet to ensure that it runs clear and free from any particles.
Flushing the water heater with cold water helps to maintain its efficiency and extend its lifespan. It ensures that the heating elements are not hindered by sediment buildup and allows for the smooth circulation of hot water throughout your home.
Once you are satisfied with the clarity of the water running through the faucet, you can proceed to the next step and complete the process of draining and refilling the water heater.
Step 7: Close the drain valve and remove the garden hose
After flushing the water heater with cold water, it’s time to close the drain valve and remove the garden hose.
Begin by turning the drain valve clockwise until it is fully closed. Ensure that it is securely tightened to prevent any water from leaking out.
Once the drain valve is closed, carefully disconnect the garden hose from the valve. Start by twisting the hose counterclockwise to loosen it from the threaded connection. Remove the hose gently to avoid spills or splashing.
While removing the garden hose, be cautious as the water inside the hose may still be hot. Use a towel or gloves if needed to protect your hands from the heat.
Inspect the drain valve and the threaded connection for any signs of leakage. If you notice any leaks, tighten the valve or consider using thread seal tape to create a tight seal.
With the drain valve closed and the garden hose removed, you have successfully completed the draining process of the water heater. The next step involves refilling the water heater to restore it to its normal operating condition.
Proceed to the following step to learn how to turn on the cold water supply and refill the water heater.
Step 8: Turn on the cold water supply valve and refill the water heater
Now that the draining and flushing process is complete, it’s time to turn on the cold water supply valve and refill the water heater.
Start by locating the cold water supply valve that you had previously closed. This valve controls the flow of water into the water heater.
To turn it on, simply rotate the valve handle or wheel counterclockwise until it is fully open. This will allow cold water to enter the water heater and fill up the tank.
As the water starts flowing into the tank, you may hear some gurgling or noises caused by air being displaced. This is normal and will subside as the tank fills up.
Keep a close eye on the water heater as it refills to ensure that there are no leaks or other issues. If you notice any leaks, immediately shut off the cold water supply valve and address the problem before proceeding.
The time it takes to refill the water heater will vary depending on the size of the tank and the water pressure in your home. Be patient and allow sufficient time for the tank to fill up completely.
Once the tank is full, you can proceed to the final step—turning on the power supply to the water heater.
Note: It’s important to check the manufacturer’s instructions for your specific water heater model, as the steps for refilling may vary.
Read more: How To Drain Water Heater In Basement
Step 9: Turn on the power supply to the water heater
Now that the water heater has been drained, flushed, and refilled, the final step is to turn on the power supply and restore the heating function of the water heater.
Locate the circuit breaker panel in your home and find the circuit that supplies power to the water heater. Flip the corresponding breaker to the “on” position to restore the electricity supply to the water heater. If your water heater has a dedicated shut-off switch, turn it back to the “on” position.
Before proceeding, it’s crucial to verify that the power supply is indeed on. You can check the water heater’s controls or use a voltage tester to ensure that there is voltage flowing to the unit.
Once you have confirmed that the power supply is restored, wait for the water heater to heat up the newly refilled tank. Depending on the size of the unit, this process may take a couple of hours.
During this time, it is normal to hear some sounds as the water heater heats the water, such as hissing or gurgling noises. These sounds indicate that the heating elements are functioning correctly.
After the water has reached the desired temperature, you can now use the hot water from the faucets as usual. The water heater is now ready to provide hot water for all your household needs.
It’s important to remember that regular maintenance, including periodic draining and flushing, is necessary to keep your water heater in excellent condition and extend its lifespan. Consult the manufacturer’s guidelines for the recommended frequency of maintenance for your specific water heater model.
Congratulations! You have successfully drained your electric water heater, removed sediment and debris, and restored it to its optimal working condition.
If you encountered any difficulties during the process or have concerns about your water heater’s performance, it’s always a good idea to consult a professional plumber for assistance.
Conclusion
Draining an electric water heater is a crucial maintenance task that should be performed periodically to ensure its efficient and optimal performance. By following the step-by-step process outlined in this article, you can effectively remove sediment and debris, improve energy efficiency, and extend the lifespan of your water heater.
Throughout the draining process, it is important to prioritize safety by turning off the power supply and following proper precautions. Always double-check that the power is disconnected before working on the water heater.
The step-by-step process includes turning off the power supply, shutting off the cold water supply valve, attaching a garden hose to the drain valve, opening a hot water faucet for venting, opening the drain valve to drain the water, flushing the water heater with cold water, closing the drain valve, and removing the garden hose.
Once these steps are completed, you can turn on the cold water supply valve to refill the tank and then turn on the power supply to restore the heating function of the water heater.
Remember, regular maintenance, including draining and flushing your water heater, is essential to keep it running efficiently and prolong its lifespan. Consult the manufacturer’s guidelines for specific maintenance recommendations for your water heater model.
If you have any concerns about your water heater or encounter any difficulties during the process, it is always recommended to seek assistance from a professional plumber to ensure the proper maintenance and functioning of your water heater.
By incorporating regular draining and maintenance into your routine, you can enjoy a reliable and efficient supply of hot water for years to come.
Now that you've mastered draining your electric water heater, why not consider upgrading? Our next guide highlights "10 Amazing Electric Water Heaters for 2024". This insightful piece covers the latest models that are energy efficient, cost-effective, and reliable. Whether you're looking to replace an old unit or simply curious about the newest technology in home heating, this article is packed with valuable information to help you make an informed decision. Don't miss out on learning about the future of home comfort.
Frequently Asked Questions about How To Drain An Electric Water Heater
Was this page helpful?
At Storables.com, we guarantee accurate and reliable information. Our content, validated by Expert Board Contributors, is crafted following stringent Editorial Policies. We're committed to providing you with well-researched, expert-backed insights for all your informational needs.

0 thoughts on “How To Drain An Electric Water Heater”