Articles
How To Drape A Ceiling With Fabric
Modified: January 18, 2024
Discover the step-by-step process of draping a ceiling with fabric in our comprehensive articles. Easy-to-follow instructions for creating a stunning ambiance.
(Many of the links in this article redirect to a specific reviewed product. Your purchase of these products through affiliate links helps to generate commission for Storables.com, at no extra cost. Learn more)
Introduction
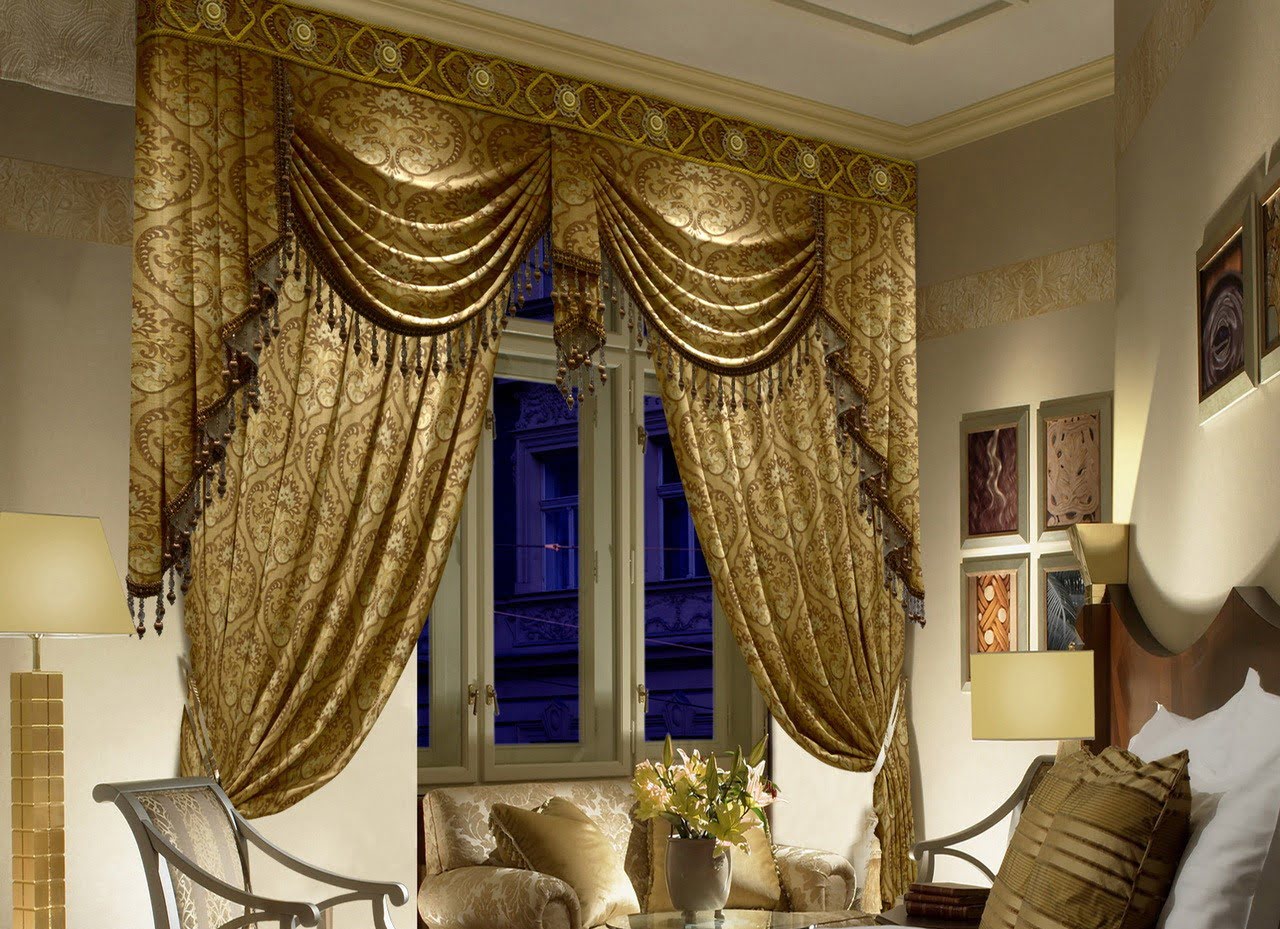
When it comes to transforming a space and adding a touch of elegance and drama, draping a ceiling with fabric can make a stunning impact. Whether you’re planning a wedding, hosting a special event, or simply want to give your home a fresh and unique look, learning how to drape a ceiling with fabric can create a beautiful ambiance that will leave your guests in awe.
Creating a draped ceiling might seem like a daunting task, but with the right materials and steps, you can achieve a professional and polished result. In this article, we will guide you through the process, providing you with valuable tips and tricks to ensure your ceiling draping project is a success.
Before you embark on this project, gather the necessary materials. You will need:
- Fabric of your choice
- Ladder or scaffolding
- Tape measure
- Scissors
- Command hooks or curtain clips
- Thumbtacks or fabric adhesive
- Step stool or stepladder
- Optional: String lights or fairy lights
Key Takeaways:
- Elevate any space with a stunning ambiance by draping a ceiling with fabric. Follow the steps to achieve a professional and polished result, leaving your guests in awe.
- Unleash your creativity and transform your space with a fabric-draped ceiling. Add elegance, drama, and sophistication to any event or home, leaving a lasting impression.
Read more: What Fabric Drapes Well
Materials Needed
Before you begin draping a ceiling with fabric, make sure you have all the necessary materials. Here’s a list of what you’ll need:
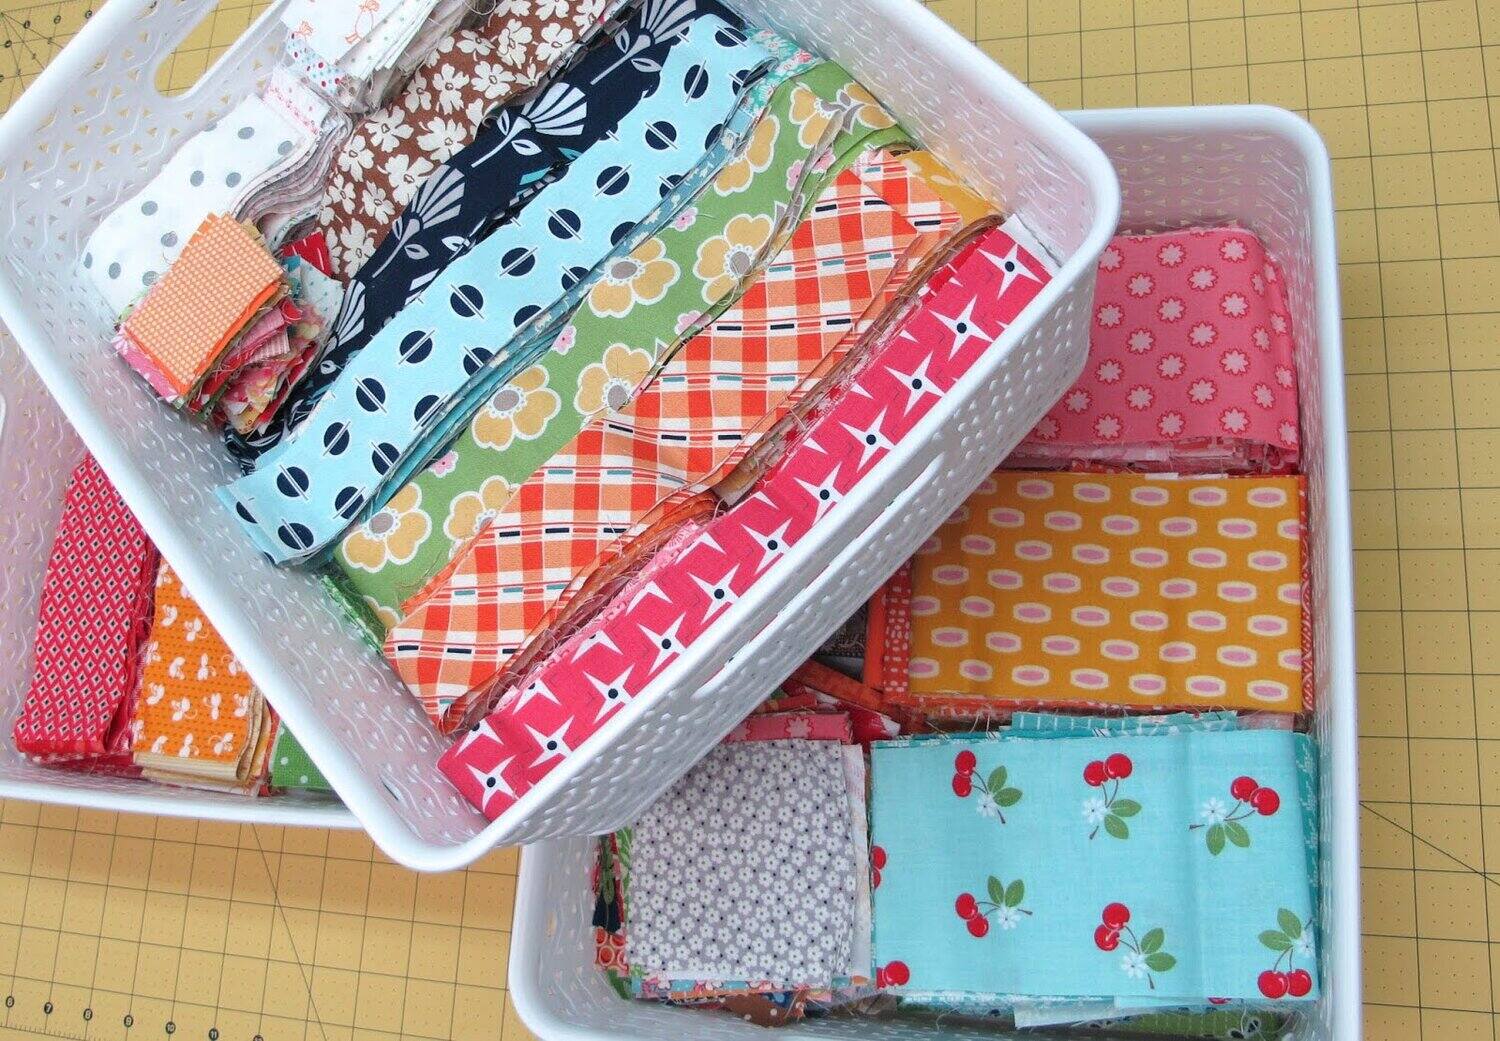
- Fabric: Choose a lightweight fabric that drapes well, such as tulle, chiffon, or organza. Consider the color, texture, and theme of your event or space when selecting the fabric. Measure the ceiling area you want to cover to determine how much fabric you’ll need.
- Ladder or scaffolding: Depending on the height of your ceiling, you’ll need a ladder or scaffolding to safely reach and attach the fabric. Make sure the ladder or scaffolding is stable and secure.
- Tape measure: Accurate measurements are crucial for achieving a flawless drape. Use a tape measure to measure the length and width of the ceiling area you’ll be draping.
- Scissors: You’ll need a good pair of scissors to cut the fabric to your desired length and shape. Make sure they are sharp and able to cut through the fabric cleanly.
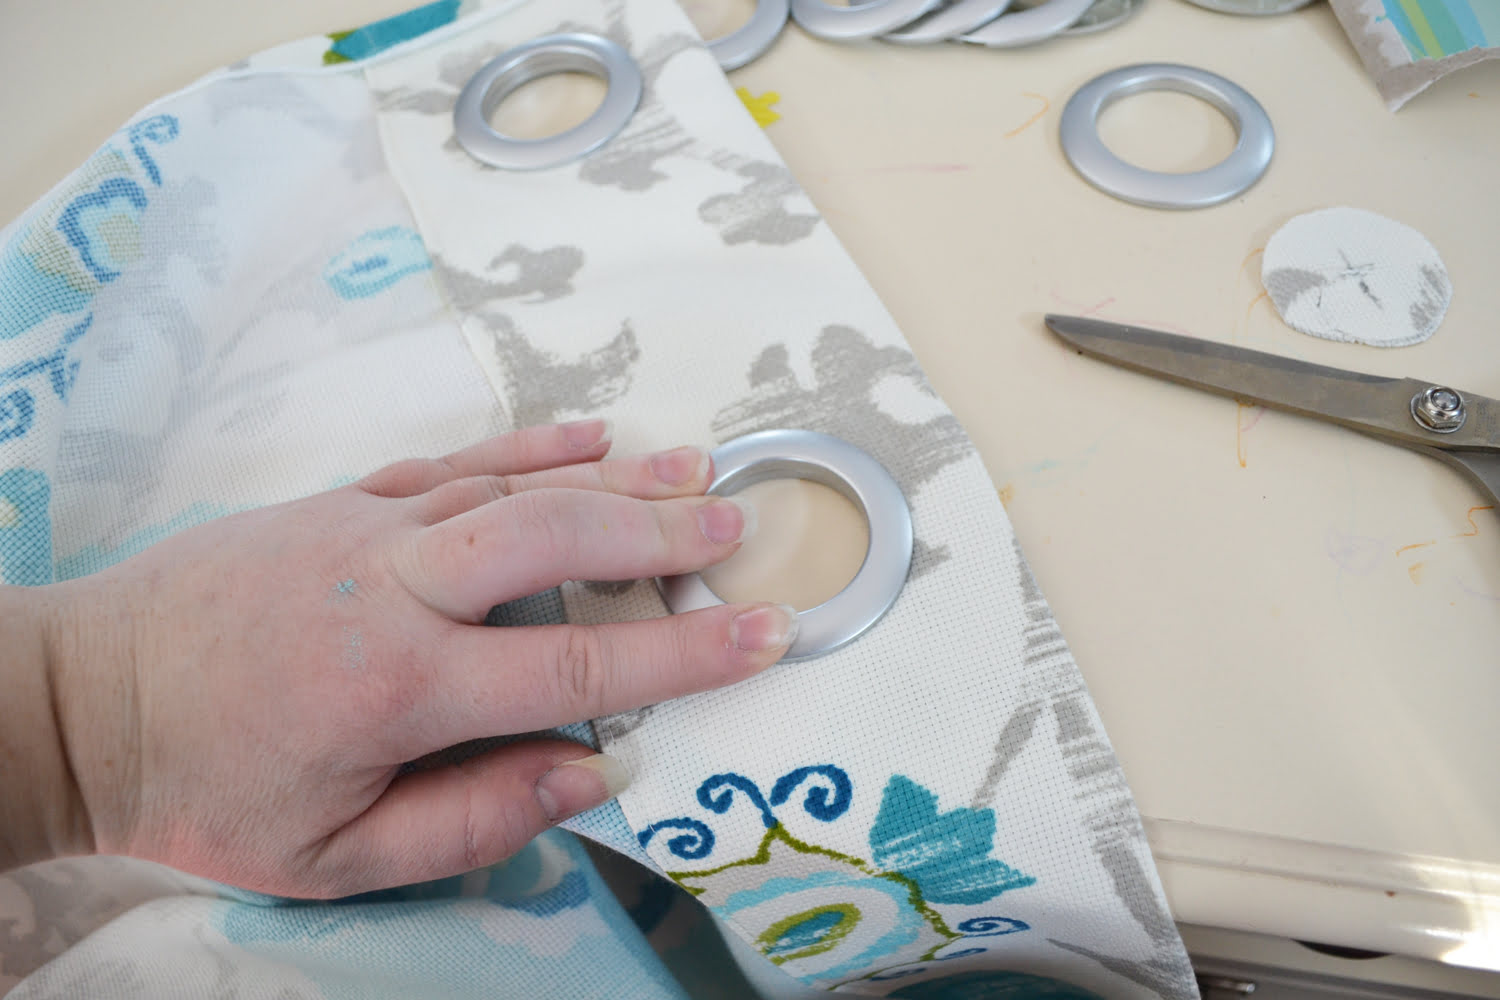
- Command hooks or curtain clips: Depending on the type of ceiling you have, you can use command hooks or curtain clips to attach the fabric. Command hooks are great for ceilings with smooth surfaces, while curtain clips work well for suspended or drop ceilings.
- Thumbtacks or fabric adhesive: If you’re unable to use command hooks or curtain clips, thumbtacks or fabric adhesive can be used to secure the fabric to the ceiling. Make sure to choose a fabric adhesive that won’t damage the fabric or leave any residue on the ceiling.
- Step stool or stepladder: A step stool or stepladder will come in handy when you need to reach higher areas of the ceiling. Ensure the step stool or stepladder is sturdy and provides you with a stable base.
- Optional: String lights or fairy lights: To add a touch of enchantment and create a magical atmosphere, you can incorporate string lights or fairy lights into your ceiling draping. Choose lights that complement the fabric and enhance the overall ambiance.
Having all these materials on hand will make the process of draping your ceiling with fabric much smoother and more efficient. Once you have everything ready, you can move on to the next steps.
Step 1: Preparing the Ceiling
Before you start draping the fabric, it’s essential to prepare the ceiling to ensure a smooth and successful installation. Here are some steps to follow:
- Clean the ceiling: Remove any dust, dirt, or cobwebs from the ceiling surface using a duster or a clean cloth. This will help the fabric adhere better and maintain a clean and polished look.
- Inspect the ceiling: Take the time to inspect the ceiling for any cracks, chips, or imperfections. If there are any, repair them before you begin the draping process. This will ensure a seamless and professional finish.
- Decide on the draping style: Consider the overall look you want to achieve and decide on the draping style. You can go for symmetrical draping, where the fabric is evenly distributed, or opt for a more organic and flowing style. Visualize how you want the fabric to hang and cascade from the ceiling.
- Locate the anchor points: Identify the points on the ceiling where you will attach the fabric. These can be existing fixtures such as hooks, curtain rods, or ceiling beams. If there are no anchor points, you may need to install temporary hooks or other attachment devices specifically designed for fabric draping.
- Measure the ceiling area: Use a tape measure to determine the length and width of the ceiling area you’ll be draping. This will help you calculate how much fabric you’ll need and ensure you have enough to achieve the desired look.
By following these preparatory steps, you’ll set a solid foundation for the draping process and ensure that the fabric installation goes smoothly. Taking the time to prepare the ceiling will result in a more professional and visually appealing end result. Once you’ve completed the preparation, you can move on to the next step: measuring and cutting the fabric.
Step 2: Measuring and Cutting the Fabric
Once you’ve prepared the ceiling, it’s time to measure and cut the fabric. This step is crucial for achieving the desired draping effect and ensuring that the fabric fits perfectly on the ceiling. Follow these steps:
- Measure the length: Begin by measuring the length of the area you’ll be draping with fabric. Use a tape measure and record the measurement.
- Measure the width: Next, measure the width of the ceiling area. This will help you determine the width of the fabric drapes that you’ll be cutting.
- Add extra fabric: To create a more luxurious and fluid draping effect, it’s recommended to add some extra fabric to the length and width measurements. This additional fabric will allow for the fabric drapes to hang beautifully and have a more graceful flow.
- Cut the fabric: Using the measurements you’ve taken, carefully cut the fabric into panels or strips that will be draped across the ceiling. Make sure to cut the fabric in a straight line and trim any frayed edges.
- Test the length: Before attaching the fabric to the ceiling, it’s a good idea to test the length. Drape a strip of fabric from one anchor point to another to ensure it reaches the desired height. Adjust the length if necessary.
- Repeat the process: Repeat the measuring and cutting process for the remaining fabric panels or strips. Make sure the dimensions are consistent to maintain a cohesive and balanced look.
Accurate measuring and cutting of the fabric are essential for achieving a professional and visually pleasing draping effect on the ceiling. Take your time during this step to ensure precise measurements and clean cuts. Once you’ve finished measuring and cutting the fabric, you’re ready to move on to the next step: attaching the fabric to the ceiling.
Step 3: Attaching the Fabric to the Ceiling
With the fabric cut and ready, it’s now time to attach it to the ceiling. Proper attachment is crucial for ensuring that the fabric stays securely in place and creates the desired draping effect. Follow these steps:
- Use command hooks: If you have a smooth ceiling surface, consider using command hooks to attach the fabric. These hooks are easy to install and remove without damaging the ceiling. Place the hooks evenly along the ceiling, making sure they are securely attached.
- Use curtain clips: For suspended or drop ceilings, curtain clips can be a great option. Slide the fabric panels or strips into the clips and then attach the clips to the ceiling grid or tracks. Ensure that the clips are spaced evenly and securely fastened.
- Utilize thumbtacks or fabric adhesive: If you don’t have command hooks or curtain clips available, you can use thumbtacks or fabric adhesive to attach the fabric to the ceiling. Place the thumbtacks at strategic points on the ceiling. Alternatively, you can apply the fabric adhesive directly to the fabric edges and press them onto the ceiling.
- Start at one end: Begin attaching the fabric at one end of the ceiling. Whether you’re using hooks, clips, thumbtacks, or adhesive, start at one anchor point and work your way across the ceiling. Make sure that each fabric panel or strip is securely attached before moving on to the next one.
- Smooth out the fabric: As you attach the fabric, smooth it out gently with your hands to eliminate any wrinkles or creases. Ensure that the fabric hangs straight and evenly across the ceiling. Adjust as necessary to achieve the desired draping effect.
Take your time during this step to ensure that the fabric is attached securely and hangs properly. This will help create a polished and professional appearance. Once you’ve successfully attached the fabric, you’re ready to move on to the next step: draping the fabric.
When draping a ceiling with fabric, make sure to use lightweight, sheer fabric for a soft, elegant look. Use hooks or clips to secure the fabric in place and create gentle folds for a beautiful effect.
Read more: How To Cover A Ceiling With Fabric
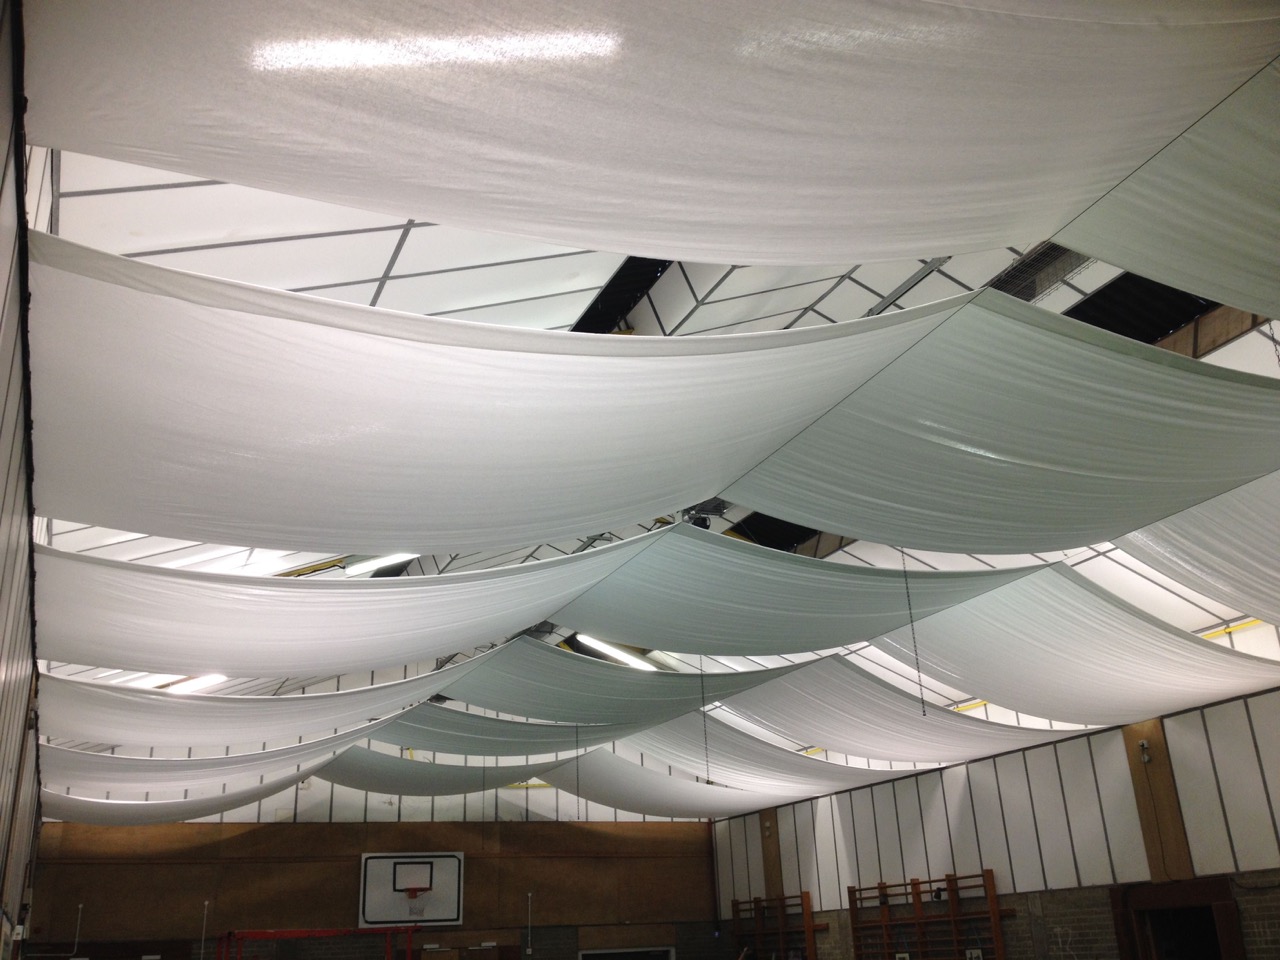
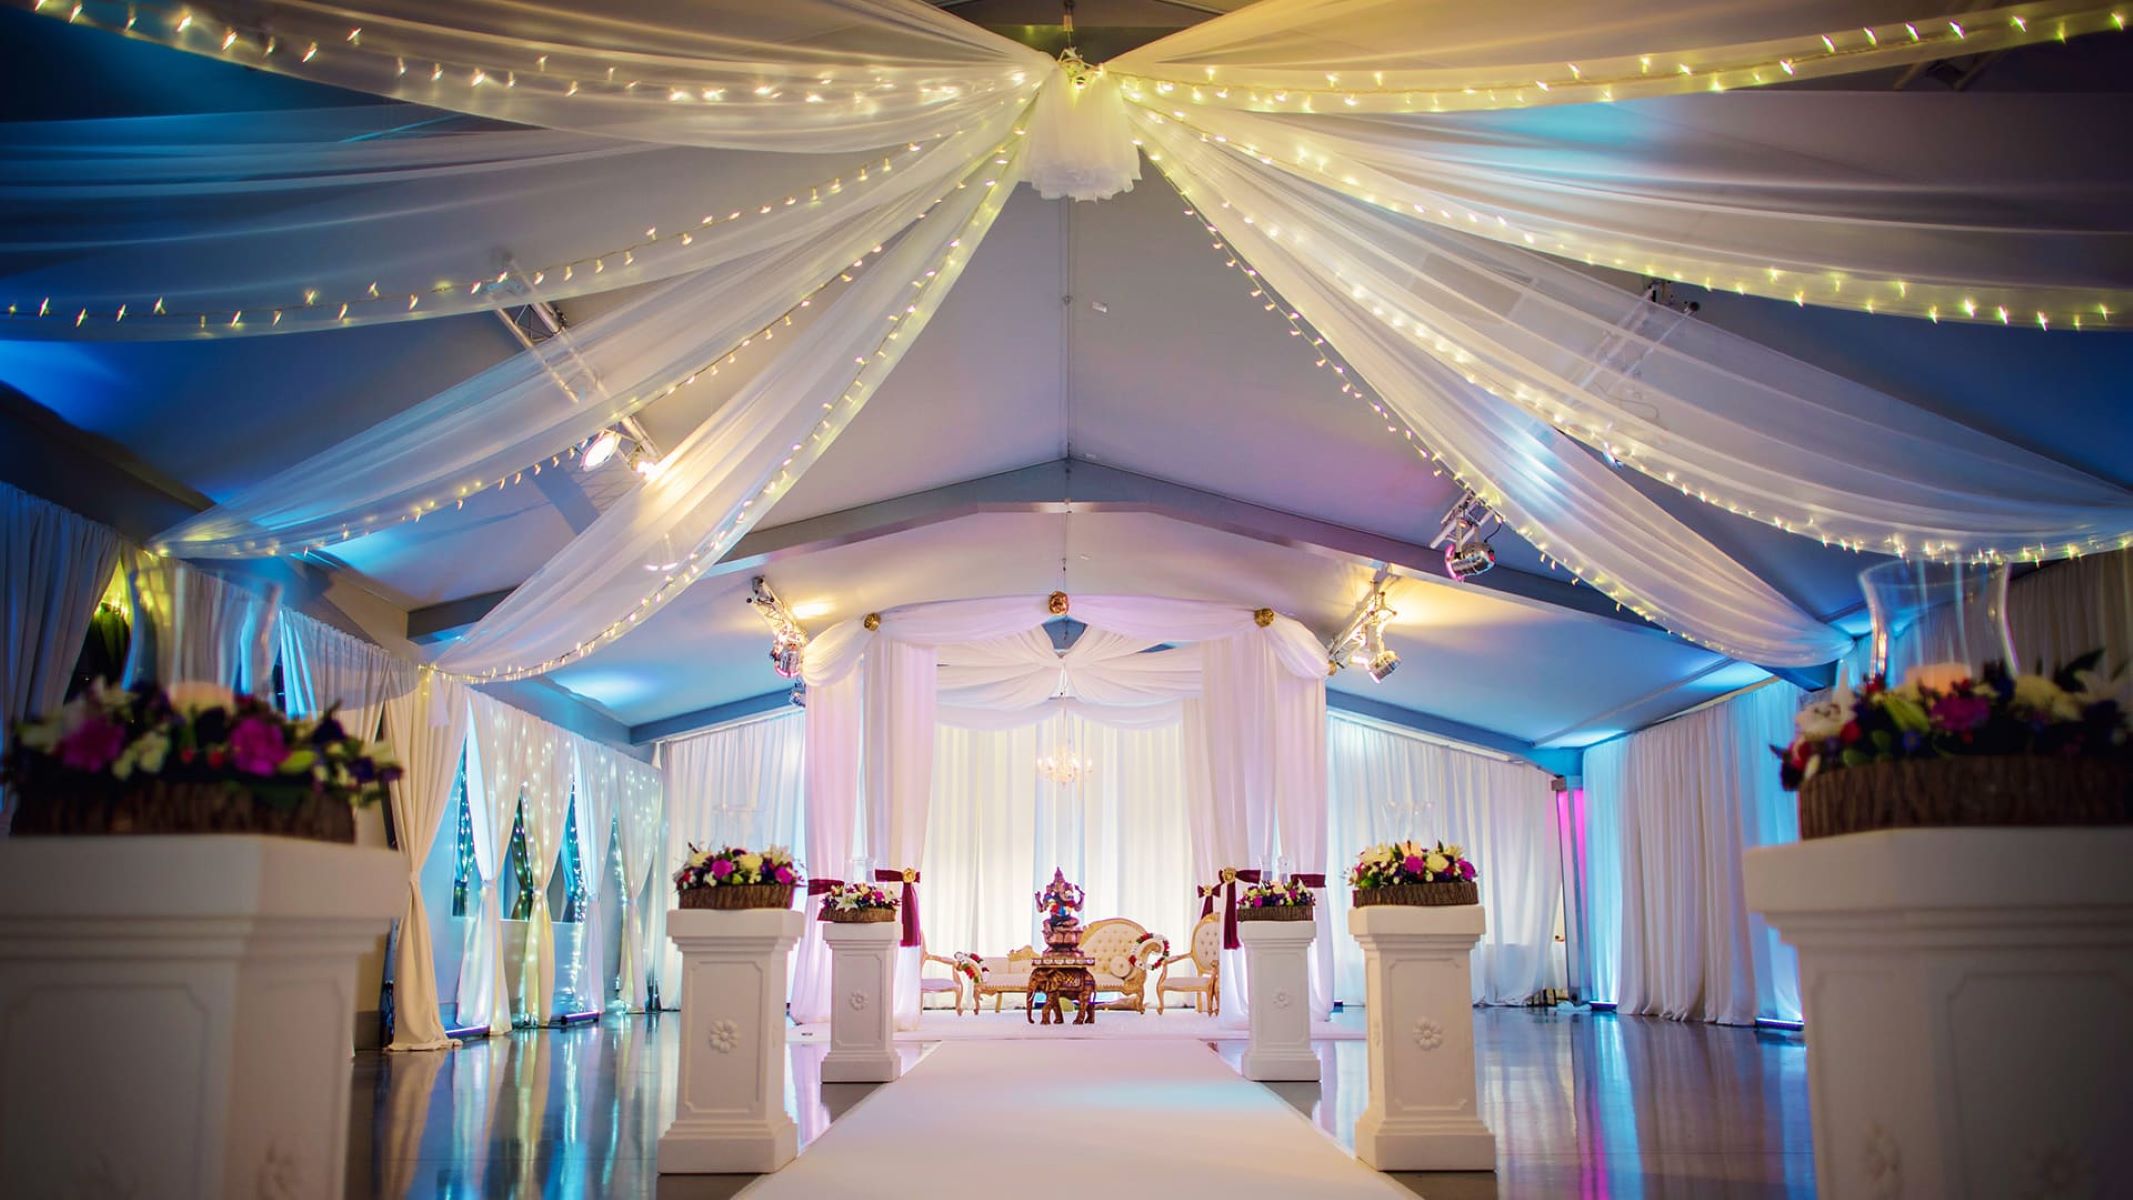
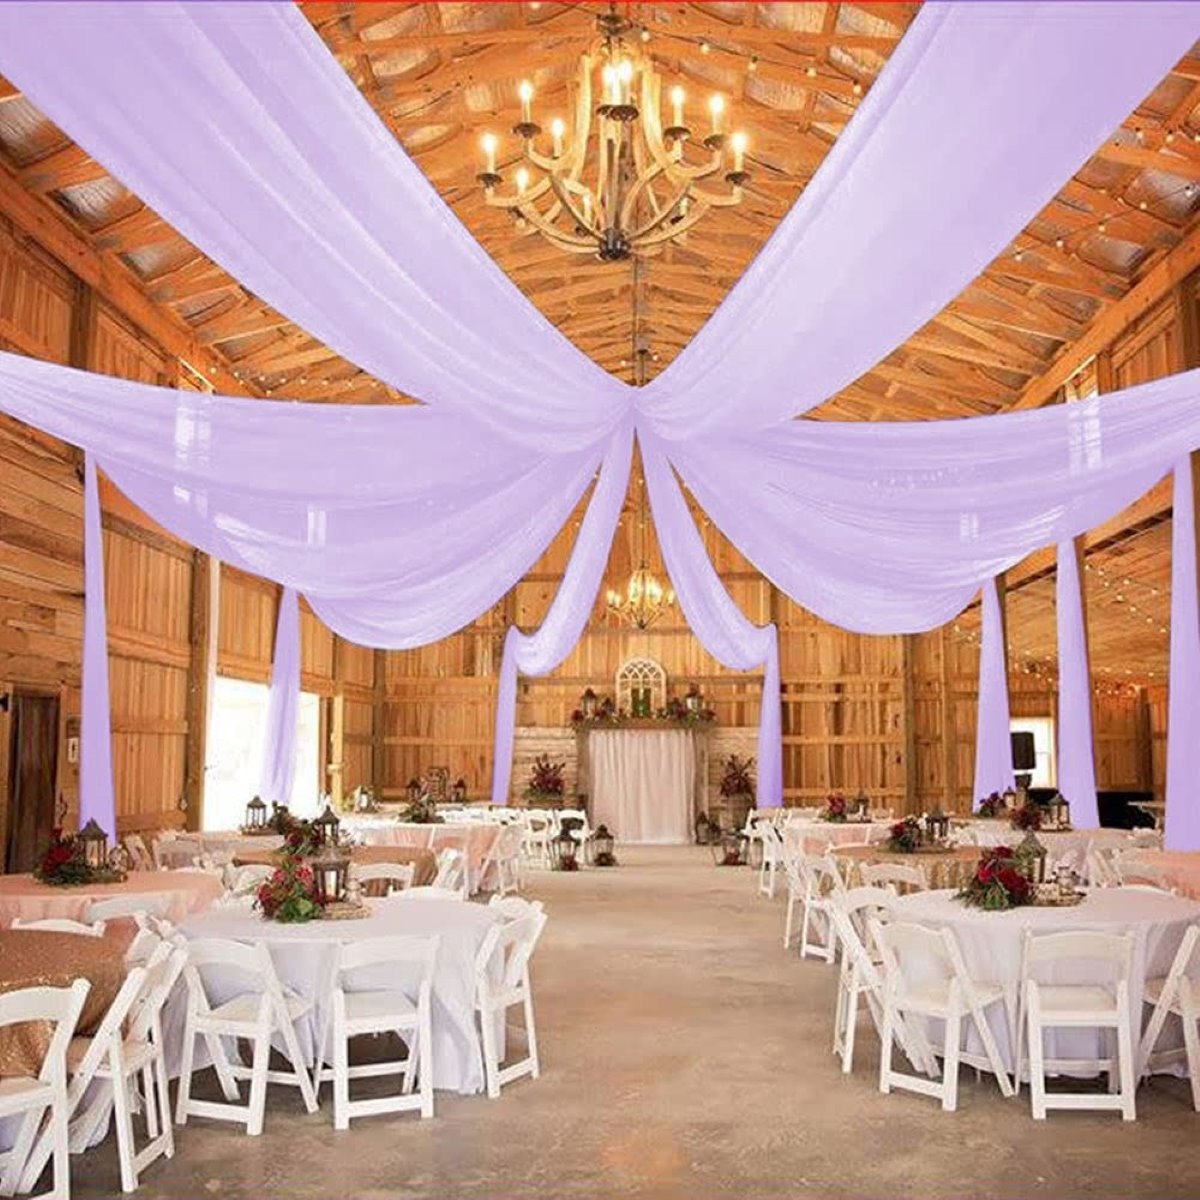
Step 4: Draping the Fabric
Now that the fabric is securely attached to the ceiling, it’s time to drape it creatively to achieve the desired look. This step allows you to add depth and dimension to the draping, creating a visually captivating effect. Follow these steps to drape the fabric:
- Identify the focal points: Determine the focal points in the room and use them as reference points for draping the fabric. For example, if there is a chandelier or centerpiece, start draping the fabric from that point.
- Create vertical folds: Start at the anchor point and create vertical folds in the fabric as you work your way across the ceiling. Vary the lengths of the folds to add interest and texture. Play around with the spacing and size of the folds until you achieve a visually pleasing arrangement.
- Add twists and loops: To create more visual interest and a fluid look, add twists and loops to the fabric as you drape it. This can be done by twisting sections of the fabric or creating loops by folding the fabric back onto itself. Experiment with different techniques to achieve the desired effect.
- Consider different angles: Don’t limit yourself to draping the fabric in straight lines. Experiment with different angles and diagonal patterns to create a dynamic and unique look. This will add movement and intrigue to the overall design.
- Create cascading effects: If desired, allow some sections of the fabric to cascade down the walls or hang lower than others. This will create a romantic and ethereal effect. Use fabric adhesive or discreetly placed hooks to secure the cascading sections in place.
As you drape the fabric, step back periodically to assess the overall appearance and make adjustments as needed. Remember to maintain a balance between symmetrical and organic draping, ensuring that the fabric flows naturally across the ceiling for an enchanting effect.
Once you’re satisfied with the draping, move on to the next step: securing the fabric to ensure it stays in place.
Step 5: Securing the Drapes
After draping the fabric to create a beautiful design, it’s important to secure the drapes to ensure they stay in place and maintain their desired shape. By properly securing the fabric, you can prevent any accidental drooping or shifting that may occur. Follow these steps to secure the drapes:
- Use fabric ties: Fabric ties or ribbons can be used to secure the drapes at various points along the ceiling. Tie them around the fabric where it is folded or create bows to add an elegant touch. Ensure that the ties are tight enough to hold the drapes securely but not so tight that they distort the fabric.
- Utilize fabric adhesive or fabric-friendly tape: For sections of fabric that need extra reinforcement, fabric adhesive or fabric-friendly tape can be used. Apply a small amount to the underside of the fabric and press it firmly against the ceiling or adjacent fabric to hold it in place.
- Secure with discreet pins or clips: If there are any loose or drooping sections of fabric, discreetly placed pins or clips can be used to secure them. Simply clip or pin the fabric to the ceiling or adjacent fabric to maintain its desired position.
- Consider using decorative elements: To further enhance the design and secure the drapes, consider incorporating decorative elements such as flowers, ribbons, or string lights. Use small hooks or clips to attach these elements to the fabric or ceiling, ensuring they blend seamlessly with the overall look.
- Revisit and adjust as needed: Once you’ve secured the drapes, step back and assess the overall appearance. Take the time to revisit different sections of the fabric and make any necessary adjustments to ensure that everything is securely in place and visually appealing.
By properly securing the drapes, you can ensure that they maintain their desired shape and stay in place throughout your event or occasion. Take care to use appropriate and gentle methods that won’t damage the fabric or the ceiling. With the drapes securely fastened, you’re ready for the final step: adjusting and finalizing the look.
Step 6: Adjusting and Finalizing the Look
As you near the completion of your ceiling draping project, it’s time to take a step back, evaluate the overall look, and make any necessary adjustments to achieve the desired outcome. This final step allows you to fine-tune the drapes and add any finishing touches. Follow these steps to adjust and finalize the look:
- Step back and assess: Take a moment to step back and view the draped ceiling from different angles. Assess the overall appearance and make note of any areas that may need adjustment.
- Smooth out wrinkles and creases: If you notice any wrinkles or creases in the fabric, smooth them out gently with your hands. Smooth any visible folds or uneven sections to create a polished and cohesive look.
- Ensure symmetry and balance: Check the draping to ensure that it is symmetrical and balanced. Make any necessary adjustments to create an even distribution of fabric and a harmonious flow.
- Add optional embellishments: If you want to enhance the overall look, consider adding optional embellishments such as fairy lights, flowers, or hanging decorations. Strategically place these elements to complement the fabric drapes and create a captivating ambiance.
- Test lighting options: If you’ve incorporated string lights or fairy lights into the draping, test the lighting options to ensure they create the desired effect. Adjust the placement and intensity of the lights as needed to achieve a warm and enchanting glow.
- Step back and admire the final result: Once you’ve made all the necessary adjustments and finalized the look, take a step back and admire your beautifully draped ceiling. Appreciate the ambiance and elegance it adds to the space, whether it’s a wedding venue, a special event location, or your own home.
By carefully adjusting and finalizing the look, you can ensure that your ceiling draping project is a success. The attention to detail in this final step will make a significant difference in the overall impact and visual appeal of the draped ceiling. Take the time to achieve the desired look and create a truly stunning space.
Now that you’ve completed all the steps, you can enjoy the beauty and elegance of your fabric-draped ceiling. Whether it’s for a wedding, a party, or simply to create an inviting atmosphere in your home, the draping adds a touch of sophistication and allure that will leave a lasting impression on your guests.
Conclusion
Draping a ceiling with fabric is a transformative and visually captivating way to elevate any space. Whether you’re planning a grand event or simply want to add a touch of elegance to your home, the process of draping a ceiling can create a stunning ambiance that leaves a lasting impression. By following the steps outlined in this guide, you can successfully drape your ceiling with fabric and achieve a professional and polished result.
Remember to begin by properly preparing the ceiling, ensuring it is clean and free of imperfections. Take accurate measurements and cut the fabric to fit the area you’ll be draping. Securely attach the fabric to the ceiling using hooks, clips, adhesive, or other suitable methods. Then, unleash your creativity and drape the fabric in a way that creates depth, dimension, and visual interest. Secure the drapes in place to maintain their desired shape and adjust them as needed to achieve symmetry and balance.
In the final step, step back and take a moment to admire the result. Smooth out any wrinkles, add optional embellishments, adjust lighting options, and fine-tune the overall look to perfection. The attention to detail in this final step will make a significant difference in the overall impact and visual appeal of the draped ceiling.
Whether you’re hosting a wedding, a party, or simply want to create a memorable ambiance in your home, draping a ceiling with fabric is a powerful design choice. It adds elegance, drama, and sophistication to any space, leaving your guests in awe. So, embrace your creativity, enjoy the process, and let the fabric-draped ceiling become the centerpiece of your next event or the envy of your home.
Now that you have the knowledge and steps at your disposal, it’s time to embark on your own ceiling draping project. Embrace the opportunity to transform your space and create a setting that will leave a lasting impression on all who enter.
Frequently Asked Questions about How To Drape A Ceiling With Fabric
Was this page helpful?
At Storables.com, we guarantee accurate and reliable information. Our content, validated by Expert Board Contributors, is crafted following stringent Editorial Policies. We're committed to providing you with well-researched, expert-backed insights for all your informational needs.


0 thoughts on “How To Drape A Ceiling With Fabric”