Home>Renovation & DIY>Home Renovation Guides>How To Cut Stainless Steel Backsplash

Home Renovation Guides
How To Cut Stainless Steel Backsplash
Published: February 8, 2024
Learn how to cut stainless steel backsplash with our comprehensive home renovation guide. Get expert tips and tricks for a seamless DIY project.
(Many of the links in this article redirect to a specific reviewed product. Your purchase of these products through affiliate links helps to generate commission for Storables.com, at no extra cost. Learn more)
Introduction
When it comes to renovating your kitchen, adding a stainless steel backsplash can bring a sleek and modern touch to the space. Not only does it offer a durable and easy-to-clean surface, but it also provides a stylish and contemporary aesthetic that can elevate the overall look of your kitchen. However, cutting stainless steel backsplash material requires precision and the right tools to achieve a professional finish.
In this comprehensive guide, we will walk you through the step-by-step process of cutting a stainless steel backsplash with ease and confidence. Whether you are a seasoned DIY enthusiast or a novice looking to tackle your first home renovation project, this guide will equip you with the knowledge and skills needed to successfully complete this task.
By following the detailed instructions and tips provided in this guide, you will learn how to prepare the stainless steel backsplash for cutting, select the appropriate tools and materials, make precise cuts, and ultimately install the backsplash to enhance the visual appeal and functionality of your kitchen.
So, roll up your sleeves, gather your tools, and let's dive into the exciting world of stainless steel backsplash installation. With the right guidance and a can-do attitude, you'll be well on your way to transforming your kitchen into a modern and stylish culinary haven.
Key Takeaways:
- Cutting a stainless steel backsplash requires precise measurements, the right tools, and safety precautions. By following the step-by-step guide, you can achieve clean and accurate cuts for a sleek and modern kitchen upgrade.
- After cutting, carefully finish and install the stainless steel backsplash for a polished and professional look. Whether using adhesive or screws, attention to detail ensures a seamless and stylish addition to your kitchen.
Read more: How To Clean Stainless Steel Silverware
Tools and Materials Needed
Before embarking on the process of cutting and installing a stainless steel backsplash, it is essential to gather the necessary tools and materials to ensure a smooth and efficient workflow. Here's a comprehensive list of items you will need:
Tools:
- Measuring Tape: Accurate measurements are crucial for achieving precise cuts and a seamless fit for your stainless steel backsplash. A reliable measuring tape will be your go-to tool for this task.
- Marker or Pencil: Marking the cutting lines on the stainless steel sheet is essential for guiding the cutting process. A marker or pencil with a fine tip will allow for clear and accurate markings.
- Safety Glasses and Gloves: When working with stainless steel, it's important to prioritize safety. Protective glasses and gloves will shield your eyes and hands from potential hazards during the cutting and handling of the material.
- Clamps: Securing the stainless steel sheet in place is vital to prevent it from shifting during the cutting process. Sturdy clamps will ensure stability and accuracy while cutting.
- Jigsaw or Electric Metal Shears: These tools are essential for cutting through the stainless steel sheet with precision. A jigsaw equipped with a metal-cutting blade or electric metal shears designed for stainless steel will facilitate smooth and accurate cuts.
- File or Sandpaper: After cutting the stainless steel, a file or sandpaper can be used to smooth out any rough edges and refine the cut edges for a professional finish.
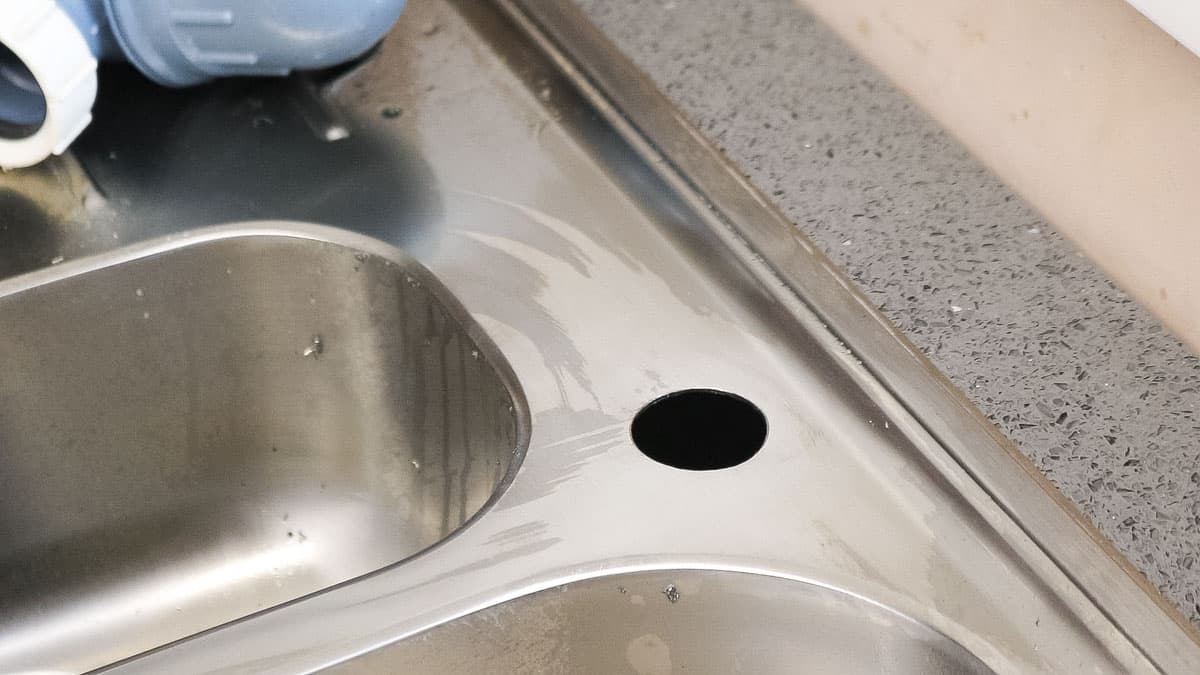
- Drill with Metal Drill Bits: If your installation requires drilling holes in the stainless steel sheet, a drill with appropriate metal drill bits will be necessary to create clean and accurate holes.
Materials:
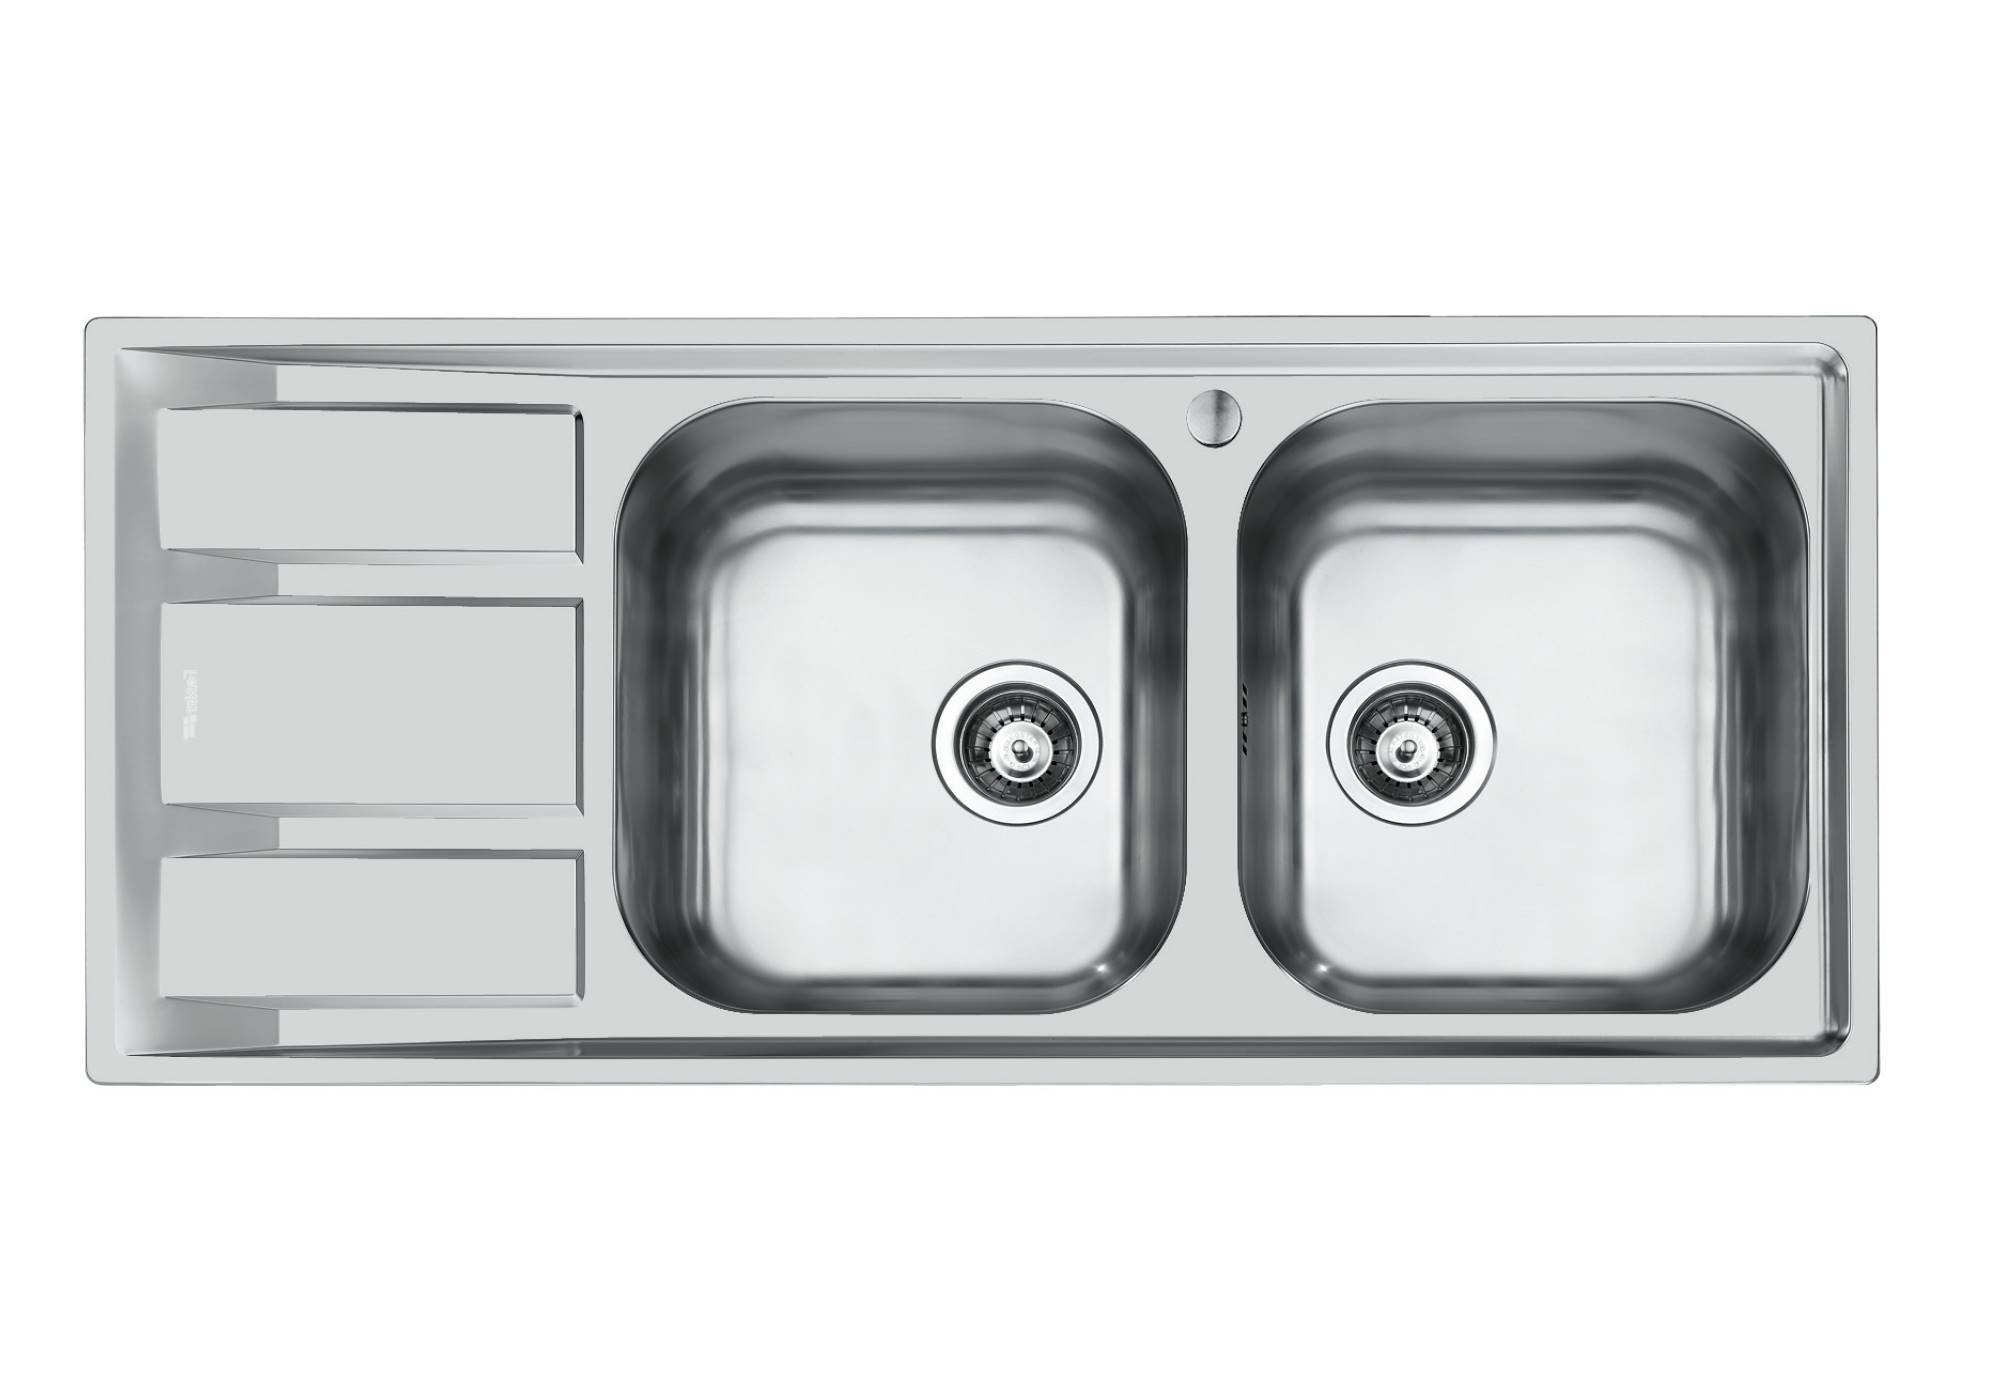
- Stainless Steel Backsplash Sheet: Select a high-quality stainless steel sheet in the desired size and finish to complement your kitchen decor.
- Protective Film (Optional): Some stainless steel sheets come with a protective film to safeguard the surface from scratches and damage during handling and installation.
- Mounting Adhesive or Screws: Depending on your installation method, you will need either a high-strength mounting adhesive suitable for stainless steel or stainless steel screws to secure the backsplash in place.
- Cleaning Supplies: To maintain the pristine appearance of your stainless steel backsplash, have cleaning supplies such as a mild detergent, microfiber cloth, and stainless steel cleaner on hand.
By ensuring that you have all the necessary tools and materials at your disposal, you will be well-prepared to tackle the upcoming steps with confidence and efficiency. With these essentials in place, you are ready to move on to the next phase of preparing the stainless steel backsplash for cutting.
Preparing the Stainless Steel Backsplash
Before diving into the cutting process, it's crucial to properly prepare the stainless steel backsplash sheet to ensure a seamless and successful cutting experience. Here's a detailed breakdown of the essential steps involved in preparing the stainless steel backsplash:
Read more: How To Shine Stainless Steel Cutlery
1. Measure and Marking:
Begin by carefully measuring the dimensions of the area where the stainless steel backsplash will be installed. Use a measuring tape to accurately determine the required length and width of the backsplash sheet. Once the measurements are confirmed, use a marker or pencil to mark the cutting lines directly onto the protective film or the surface of the stainless steel sheet. Precision and attention to detail during this step are vital to achieving a precise fit for the backsplash.
2. Protective Film Removal (If Applicable):
If the stainless steel sheet comes with a protective film to safeguard the surface, carefully peel off the film along the marked cutting lines. This will expose the area that will be cut and ensure that the protective film does not interfere with the cutting process. Take care to avoid scratching or damaging the stainless steel surface while removing the protective film.
3. Securing the Sheet:
Once the cutting lines are marked and the protective film is removed, securely clamp the stainless steel sheet onto a stable work surface. Using clamps to hold the sheet in place will prevent it from shifting during the cutting process, ensuring stability and accuracy. This step is crucial for achieving clean and precise cuts without compromising the integrity of the stainless steel material.
4. Safety Precautions:
Prioritize safety by wearing protective gloves and safety glasses before proceeding with the cutting process. Stainless steel edges can be sharp, and metal shavings may be produced during cutting. By taking these precautions, you can minimize the risk of injury and work confidently with the stainless steel sheet.
By meticulously following these preparatory steps, you will set the stage for a smooth and efficient cutting process. Proper preparation not only ensures the safety of the cutting operation but also contributes to the overall quality and precision of the finished stainless steel backsplash. With the sheet securely in place and the cutting lines clearly marked, you are now ready to move on to the next phase: cutting the stainless steel backsplash with precision and confidence.
Read more: How To Cut Backsplash Tiles
Cutting the Stainless Steel Backsplash
With the stainless steel backsplash sheet securely clamped and the cutting lines clearly marked, it's time to delve into the precise art of cutting the stainless steel material. This phase requires attention to detail and the use of the appropriate cutting tools to achieve clean and accurate cuts. Here's a comprehensive guide to cutting the stainless steel backsplash with confidence and precision:
1. Selecting the Cutting Tool:
The choice of cutting tool plays a pivotal role in determining the quality of the cuts. For straight cuts, a jigsaw equipped with a fine-toothed metal-cutting blade is an excellent option. The jigsaw's adjustable speed settings allow for controlled cutting, while the metal-cutting blade ensures smooth and precise edges. Alternatively, electric metal shears designed for stainless steel can also be used to make straight or curved cuts with ease.
2. Positioning and Alignment:
Before initiating the cutting process, double-check the alignment of the stainless steel sheet and ensure that it is securely clamped in place. Position the cutting tool at the starting point of the marked cutting line, ensuring that it is perpendicular to the surface of the stainless steel. Maintaining steady and even pressure on the cutting tool is essential for achieving uniform and accurate cuts.
3. Initiating the Cutting Process:
With the cutting tool in position and the stainless steel sheet properly secured, initiate the cutting process with a steady and controlled motion. Whether using a jigsaw or electric metal shears, guide the tool along the marked cutting line with precision, allowing the blade or shears to smoothly penetrate the stainless steel material. Maintaining a consistent cutting speed and applying gentle pressure will contribute to clean and accurate cuts.
Read more: How To Paint A Stainless Steel Sink
4. Refining the Edges:
Once the initial cuts are made, inspect the edges of the stainless steel sheet for any roughness or imperfections. Utilize a file or sandpaper to carefully smooth out any rough edges and refine the cut edges for a professional finish. This step is crucial for ensuring that the cut edges are smooth to the touch and free from any sharp protrusions.
5. Ensuring Accuracy and Precision:
Throughout the cutting process, periodically inspect the cut edges to ensure that the cuts are proceeding according to the marked lines. Making minor adjustments as needed will contribute to the overall accuracy and precision of the cuts, resulting in a perfectly tailored stainless steel backsplash that fits seamlessly into your kitchen space.
By following these detailed steps and exercising patience and precision, you can confidently navigate the cutting process, resulting in impeccably cut stainless steel backsplash pieces ready for installation. With the cutting phase successfully completed, the next step involves finishing and installing the stainless steel backsplash to bring your kitchen renovation project to fruition.
Finishing and Installing the Backsplash
With the stainless steel backsplash expertly cut to fit your kitchen space, the final phase involves the crucial steps of finishing the edges and securely installing the backsplash. Attention to detail during this phase will ensure a polished and professional outcome that enhances the overall aesthetic of your kitchen. Let's delve into the essential steps for finishing and installing the stainless steel backsplash with precision and finesse.
1. Edge Finishing:
After the cutting process, carefully examine the edges of the stainless steel backsplash to identify any rough or uneven areas. Utilize a fine-grade file or sandpaper to gently smooth out the edges, ensuring a seamless and refined finish. By meticulously refining the edges, you will create a visually appealing and safe surface that seamlessly integrates into your kitchen environment.
Read more: How To Store Stainless Steel Cookware
2. Cleaning and Polishing:
Before proceeding with the installation, thoroughly clean the surface of the stainless steel backsplash to remove any dust, debris, or fingerprints accumulated during the cutting and finishing process. A mild detergent and a microfiber cloth can be used to gently clean the stainless steel surface, followed by the application of a stainless steel cleaner to achieve a lustrous and polished appearance. This step not only enhances the visual appeal of the backsplash but also ensures that it is free from any blemishes before installation.
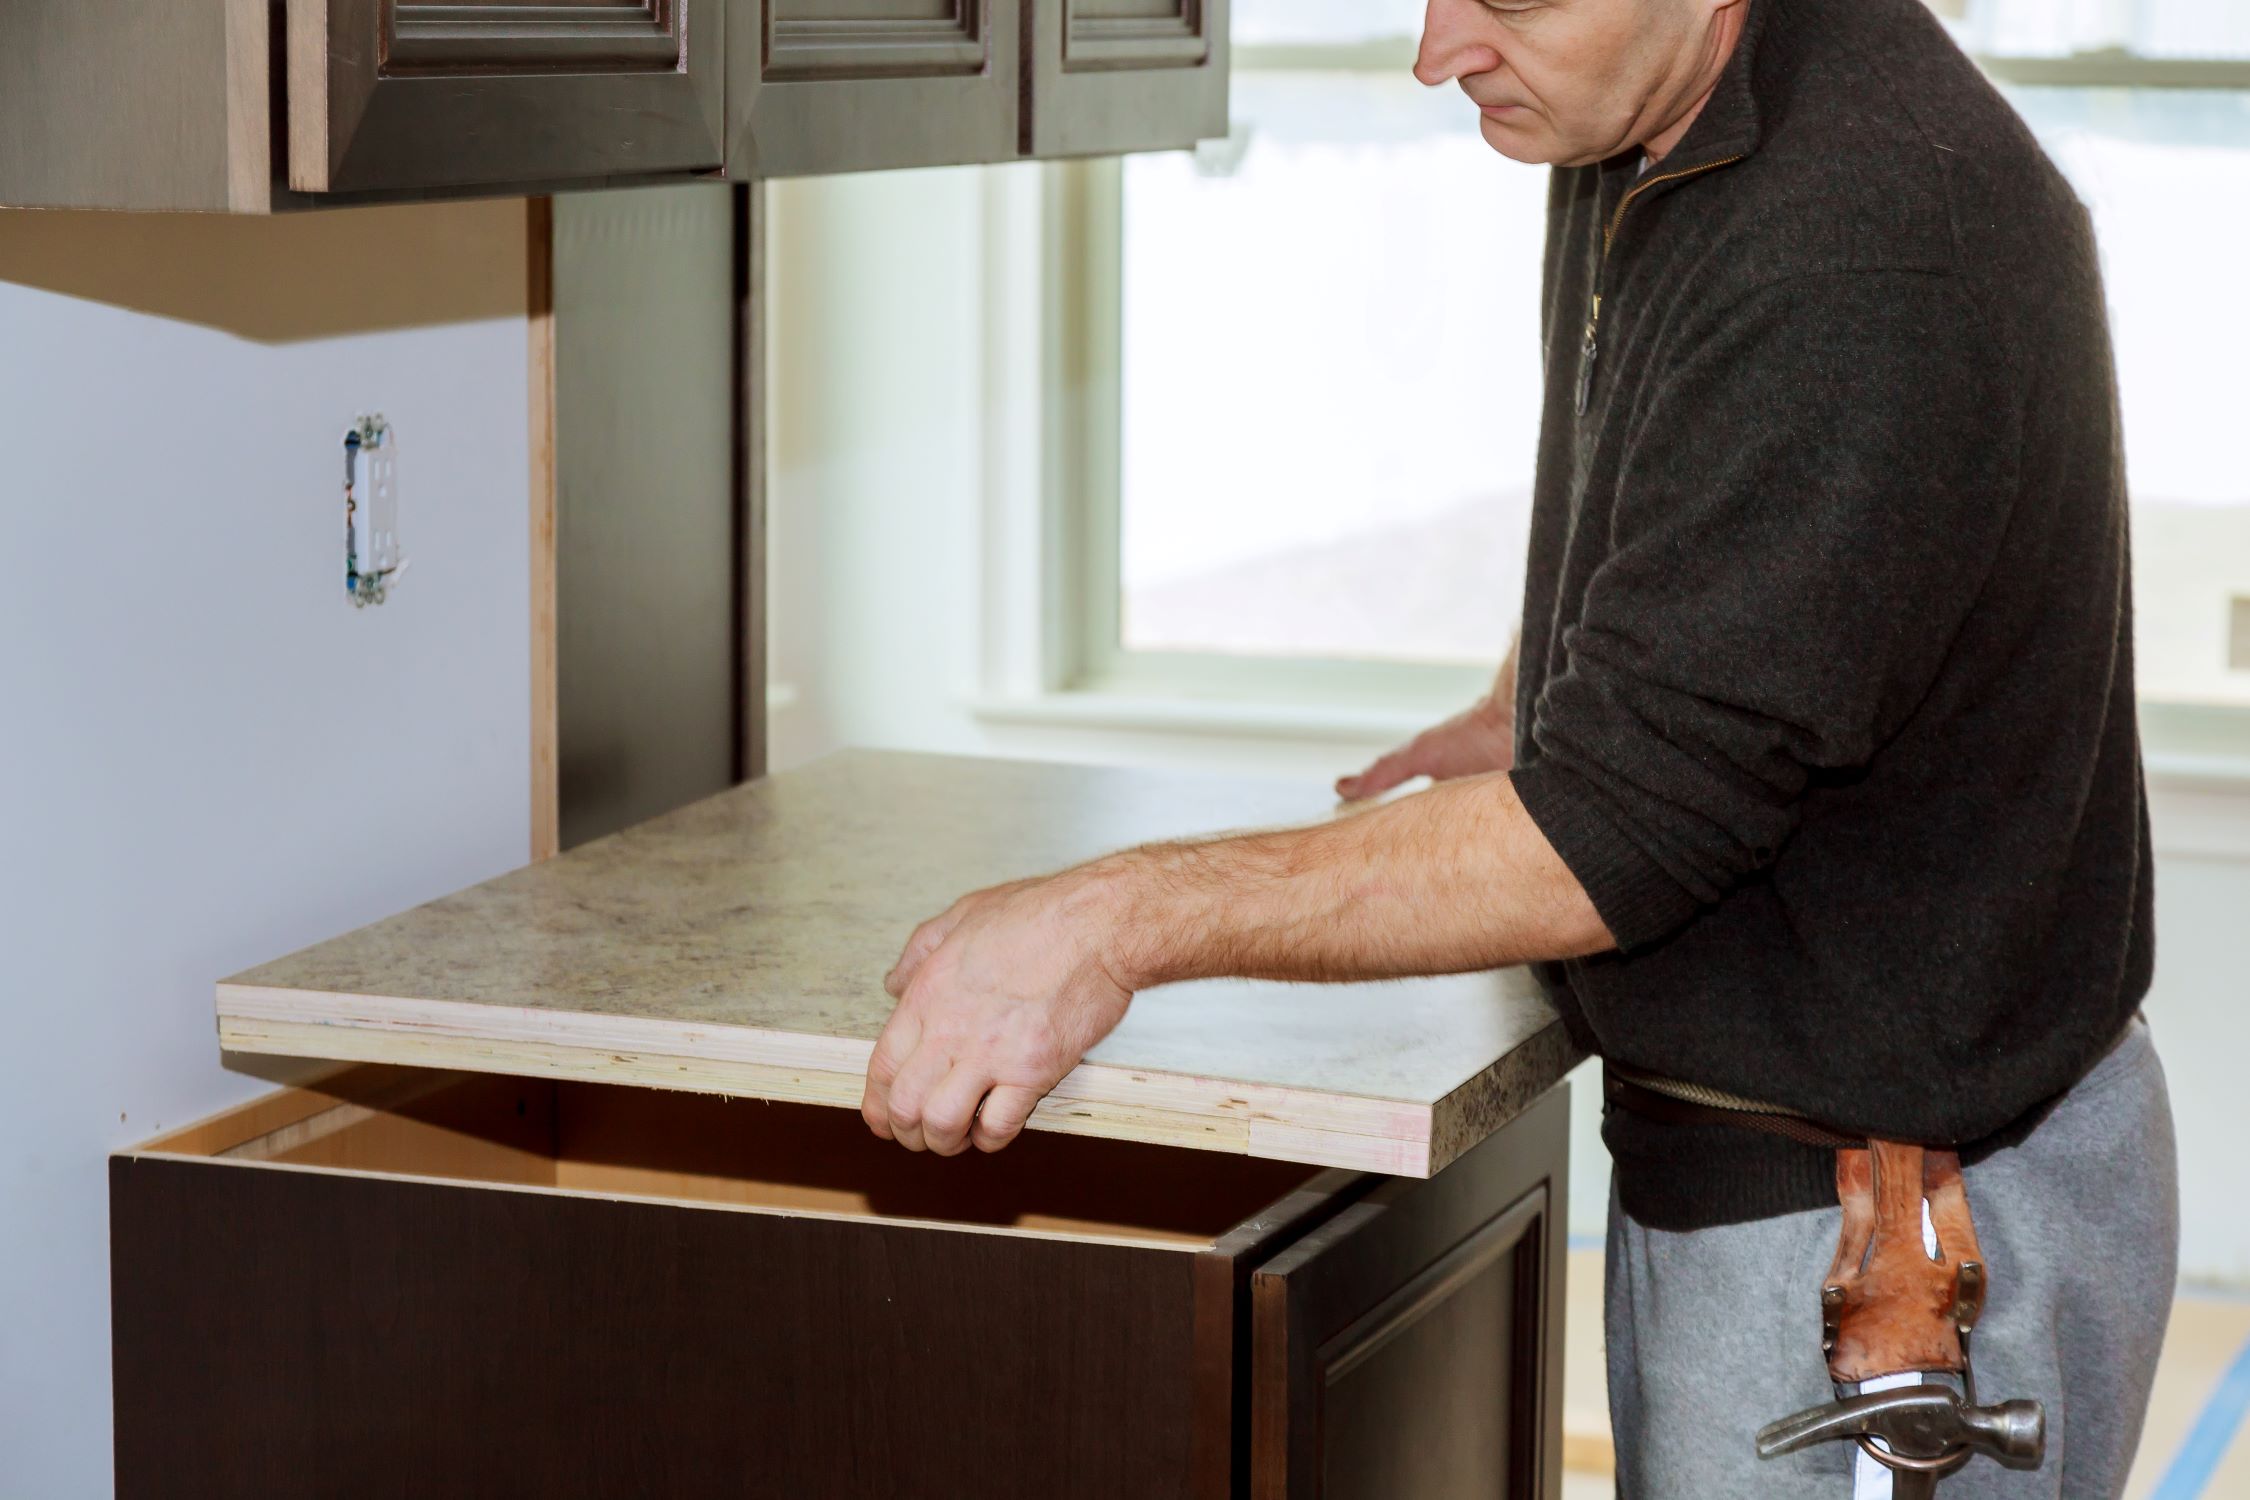
3. Installation Method:
The method of installing the stainless steel backsplash can vary based on your specific kitchen layout and preferences. If using a high-strength mounting adhesive, carefully apply the adhesive to the back of the backsplash, ensuring even coverage. Alternatively, if opting for stainless steel screws, pre-drill holes in the marked locations on the backsplash and secure it in place using the appropriate screws. Whichever method you choose, ensure that the backsplash is aligned and level during installation for a professional and seamless look.
4. Securing the Backsplash:
Once the adhesive is applied or the screws are in place, firmly press the stainless steel backsplash against the wall, ensuring a secure and uniform bond. If using screws, tighten them evenly to secure the backsplash without distorting the stainless steel material. Take care to verify that the backsplash is level and aligned with the surrounding surfaces, creating a visually pleasing and harmonious integration within your kitchen space.
5. Final Inspection:
After the installation is complete, conduct a thorough inspection of the installed stainless steel backsplash. Check for any signs of misalignment, adhesive residue, or imperfections in the surface. Address any minor adjustments or blemishes to ensure a flawless and professional finish that elevates the visual appeal of your kitchen.
By meticulously following these steps for finishing and installing the stainless steel backsplash, you will achieve a stunning and functional addition to your kitchen space. The seamless integration of the polished stainless steel backsplash will not only enhance the aesthetic appeal of your kitchen but also contribute to a durable and easy-to-maintain surface that elevates the overall ambiance of the space. With the installation complete, step back and admire the transformative impact of the sleek and modern stainless steel backsplash, a testament to your meticulous craftsmanship and attention to detail.
Frequently Asked Questions about How To Cut Stainless Steel Backsplash
Was this page helpful?
At Storables.com, we guarantee accurate and reliable information. Our content, validated by Expert Board Contributors, is crafted following stringent Editorial Policies. We're committed to providing you with well-researched, expert-backed insights for all your informational needs.
0 thoughts on “How To Cut Stainless Steel Backsplash”