
Articles
How To Install A Wood Stove On A Screen Porch
Modified: August 17, 2024
Discover step-by-step articles on how to safely install a wood stove on a screen porch, ensuring cozy warmth and ambiance throughout the year.
(Many of the links in this article redirect to a specific reviewed product. Your purchase of these products through affiliate links helps to generate commission for Storables.com, at no extra cost. Learn more)
Introduction
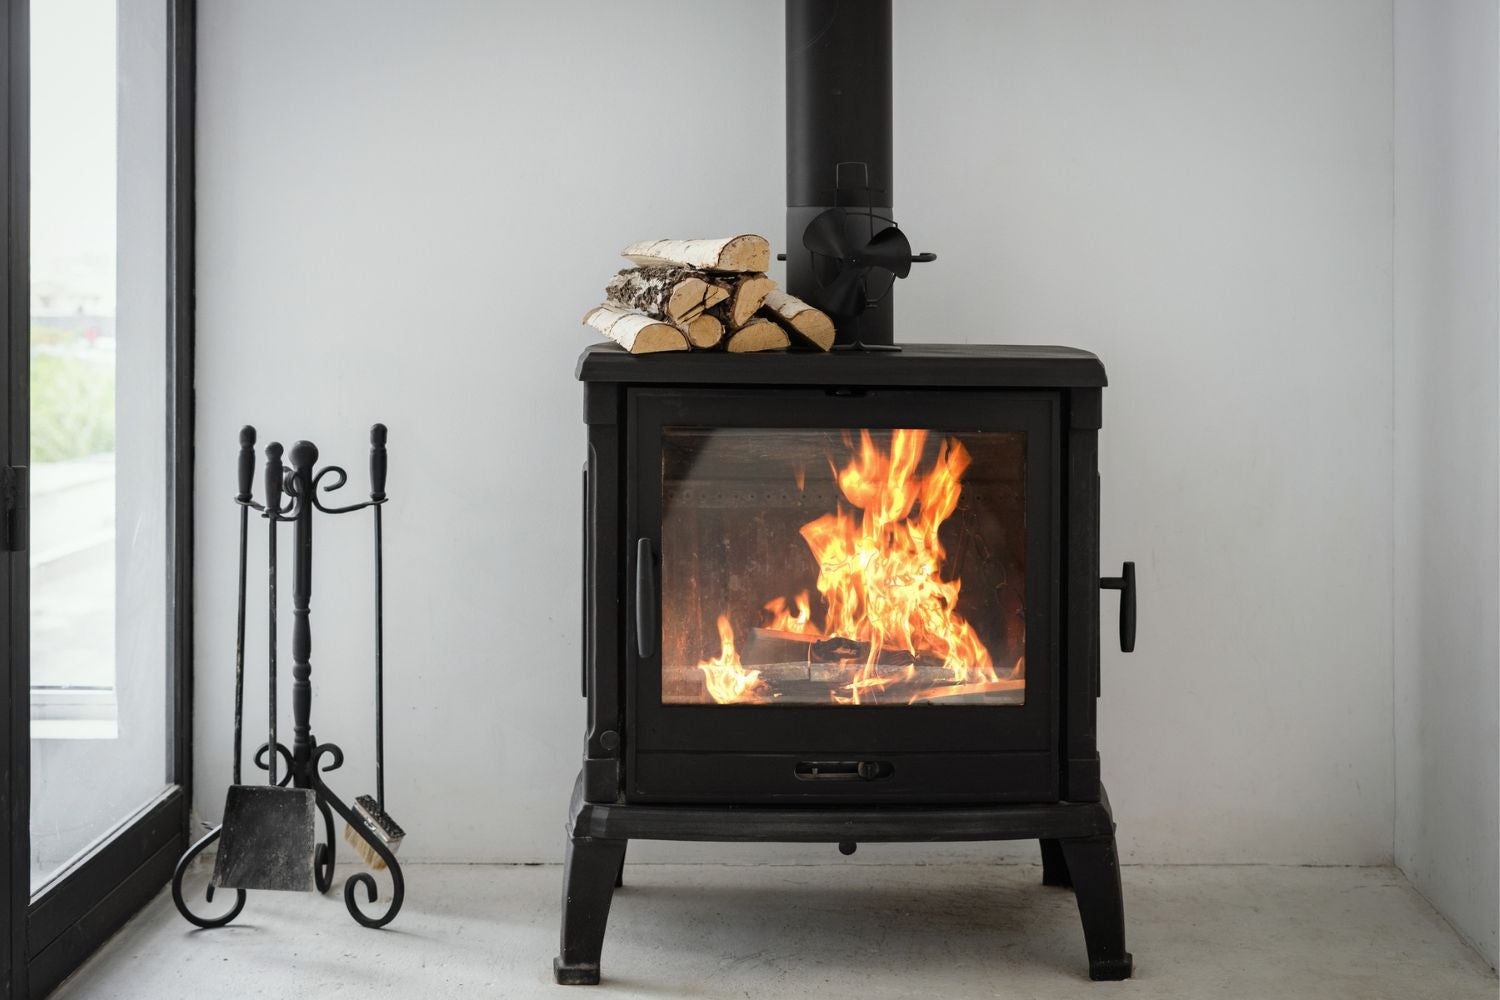
Welcome to our comprehensive guide on how to install a wood stove on a screen porch. Adding a wood stove to your screen porch can create a cozy and inviting space, allowing you to enjoy the warmth and ambiance of a real fire while still being protected from the elements. Whether you’re looking to extend the use of your screen porch into the colder months or simply want to enhance the aesthetics and functionality of your outdoor living space, installing a wood stove is a great option.
However, before jumping into the installation process, it’s important to consider a few key factors. First and foremost, you need to choose the right wood stove for your screen porch. The size and type of stove will depend on the square footage of your porch, the climate in your area, and any local building codes or regulations. Additionally, you will need to ensure that your screen porch is structurally capable of supporting the weight of the stove and chimney.
In this guide, we will walk you through the step-by-step process of installing a wood stove on a screen porch. From choosing the right stove to testing and inspecting the installation, we’ve got you covered. So let’s dive in and turn your screen porch into a cozy retreat!
Key Takeaways:
- Choosing the right wood stove size, type, and efficiency is crucial for a safe and cozy screen porch installation. Prioritize proper ventilation, clearance, and preparation to create a warm and inviting outdoor space.
- Thoroughly test and inspect the wood stove installation to ensure safety and functionality. Regular maintenance and adherence to safety guidelines will allow you to enjoy the warmth and ambiance of your screen porch wood stove with peace of mind.
Read more: How To Screen In A Porch
Step 1: Choose the Right Wood Stove
Choosing the right wood stove is a crucial first step in the installation process. There are several factors to consider when selecting a wood stove for your screen porch:
- Size: The size of the wood stove should be appropriate for the square footage of your screen porch. A stove that is too small may not provide enough heat, while a stove that is too large can lead to overheating and inefficient fuel consumption. Consult with a professional to determine the appropriate size for your space.
- Type: Wood stoves come in two main types: catalytic and non-catalytic. Catalytic stoves use a catalyst to reduce emissions and improve energy efficiency, while non-catalytic stoves rely on secondary combustion to achieve similar results. Consider the pros and cons of each type and choose the one that best suits your needs.
- Efficiency: Look for wood stoves that are certified as high-efficiency. These stoves are designed to burn wood more efficiently, resulting in lower fuel consumption and reduced emissions. They can also help you save money on heating costs in the long run.
- Clearance Requirements: Check the clearance requirements specified by the manufacturer. These requirements dictate the minimum distance that the wood stove should be installed from combustible materials such as walls, floors, and furniture. Ensure that your screen porch meets these requirements to ensure safe installation and operation.
Once you have narrowed down your options based on these factors, it’s a good idea to visit a showroom or consult with a professional to see the wood stove in person and ask any questions you may have. They can provide expert advice and help you make the right choice for your screen porch.
Remember to also consider any local building codes or regulations regarding the installation of wood stoves. Some areas may have specific requirements that you need to adhere to, such as obtaining permits or hiring a licensed professional for the installation.
By taking the time to choose the right wood stove for your screen porch, you can ensure a safe and efficient heating solution that will enhance the comfort and enjoyment of your outdoor living space.
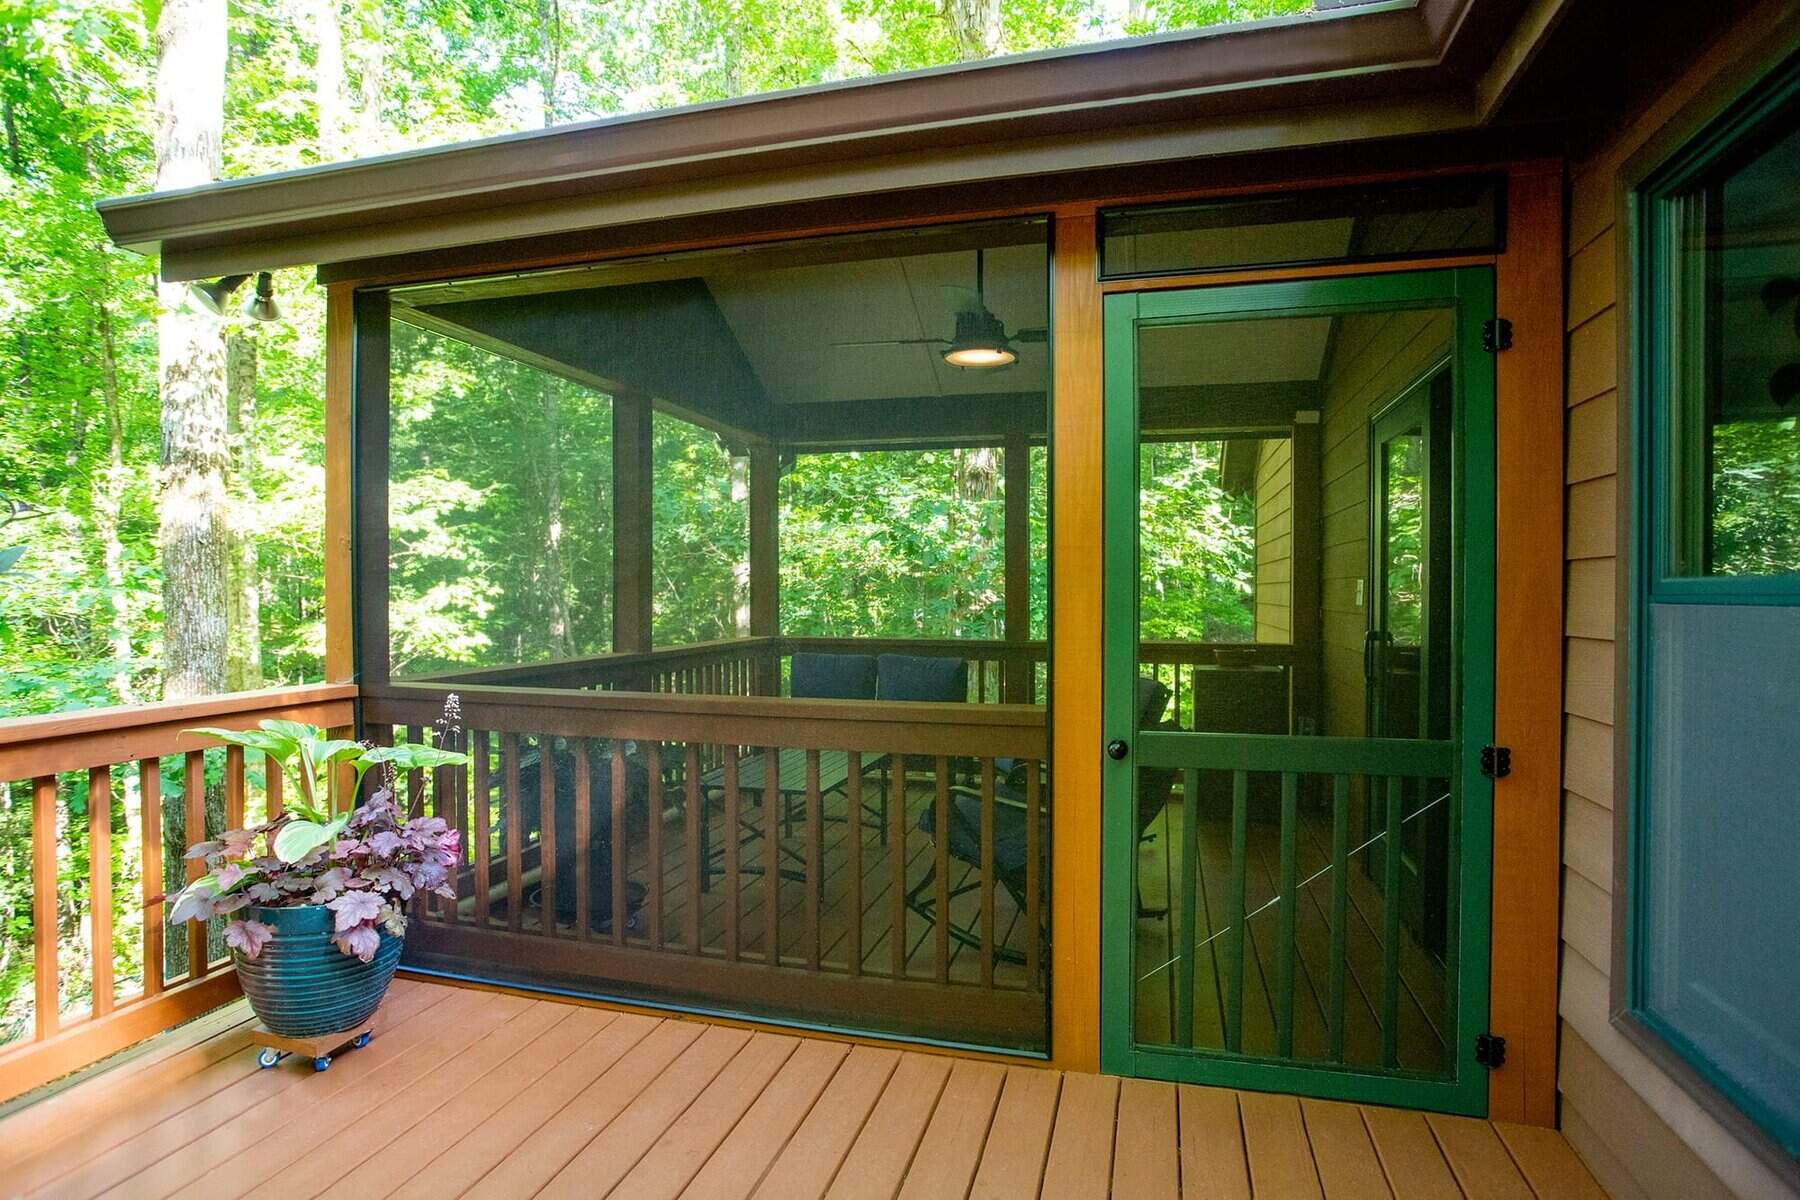
Step 2: Measure and Prepare the Screen Porch
Before installing the wood stove, it’s important to measure and prepare your screen porch to ensure a proper and safe installation. Follow these steps:
- Measure the Space: Measure the dimensions of your screen porch to determine the available space for the wood stove. Take into account the clearance requirements specified by the manufacturer.
- Inspect the Structure: Carefully inspect the structural integrity of your screen porch. Ensure that it is capable of supporting the weight of the wood stove and chimney. If you have any doubts, consult with a professional contractor or engineer to assess the load-bearing capacity of the structure.
- Prepare the Flooring: Consider the type of flooring in your screen porch. If it is made of combustible material, such as wood or carpet, you will need to install a non-combustible floor pad or hearth pad beneath the wood stove. This will protect the floor from heat and potential fire hazards.
- Ensure Adequate Ventilation: Proper ventilation is crucial when installing a wood stove. Make sure that your screen porch has sufficient airflow to allow for the combustible gases produced by the stove to escape. Install vents or openings as necessary to ensure proper ventilation.
- Remove Obstacles: Clear the area where the wood stove will be installed of any furniture, decor, or other obstacles. This will prevent any potential fire hazards and make the installation process easier.
It’s also important to check with your local building codes and regulations regarding the installation of wood stoves on a screen porch. Some areas may have specific requirements or restrictions that you need to follow. Ensure that you obtain any necessary permits and comply with all safety guidelines before proceeding with the installation.
By measuring and preparing your screen porch properly, you can ensure a smooth and successful installation of your wood stove. Taking the time to assess the space and make necessary preparations will help you create a safe and enjoyable environment for using your wood stove.
Step 3: Install the Chimney and Venting System
Installing the chimney and venting system is a critical part of the wood stove installation process. It allows for the safe removal of smoke and combustion byproducts from your screen porch. Follow these steps to install the chimney and venting system:
- Determine the Route: Decide on the best route for the chimney to vent outside. It should be as direct and vertical as possible to ensure efficient airflow. Avoid any obstacles such as overhanging trees or nearby structures.
- Choose the Type of Chimney: There are different types of chimneys available, such as masonry chimneys, insulated stainless steel chimneys, or triple-wall metal chimneys. Consult with a professional to determine the most suitable type for your screen porch and the wood stove you are installing.
- Install the Chimney Pipe: Begin by installing the chimney pipe that connects to the wood stove. Follow the manufacturer’s instructions for proper assembly and ensure a secure fit. Use high-temperature silicone sealant or flashing to create a watertight seal where the chimney pipe exits the roof.
- Safely Extend the Chimney: Extend the chimney pipe vertically through the roof, ensuring that it extends at least 3 feet above the highest point where it passes through the roof. This will help prevent downdrafts and assist with proper ventilation.
- Secure the Chimney: Use appropriate supports and braces to secure the chimney pipe in place. This will prevent any movement or instability, particularly in areas with high wind or seismic activity.
- Install the Vent Cap: Attach a vent cap to the top of the chimney to prevent rain, debris, and animals from entering while still allowing for proper ventilation.
It is strongly recommended to consult with a professional chimney installer or chimney sweep for the installation of the chimney and venting system. They can provide expert guidance and ensure that the installation meets all safety codes and requirements.
Remember to regularly inspect and maintain the chimney and venting system to ensure its proper functioning. Regular cleaning and inspection will help prevent creosote buildup and detect any potential issues early on.
By correctly installing the chimney and venting system, you can safely and effectively remove the combustion byproducts from your wood stove, ensuring a clean and enjoyable environment in your screen porch.
Make sure to check the local building codes and regulations before installing a wood stove on a screen porch. It’s important to ensure proper ventilation and clearance from combustible materials. Always consult with a professional for safe installation.
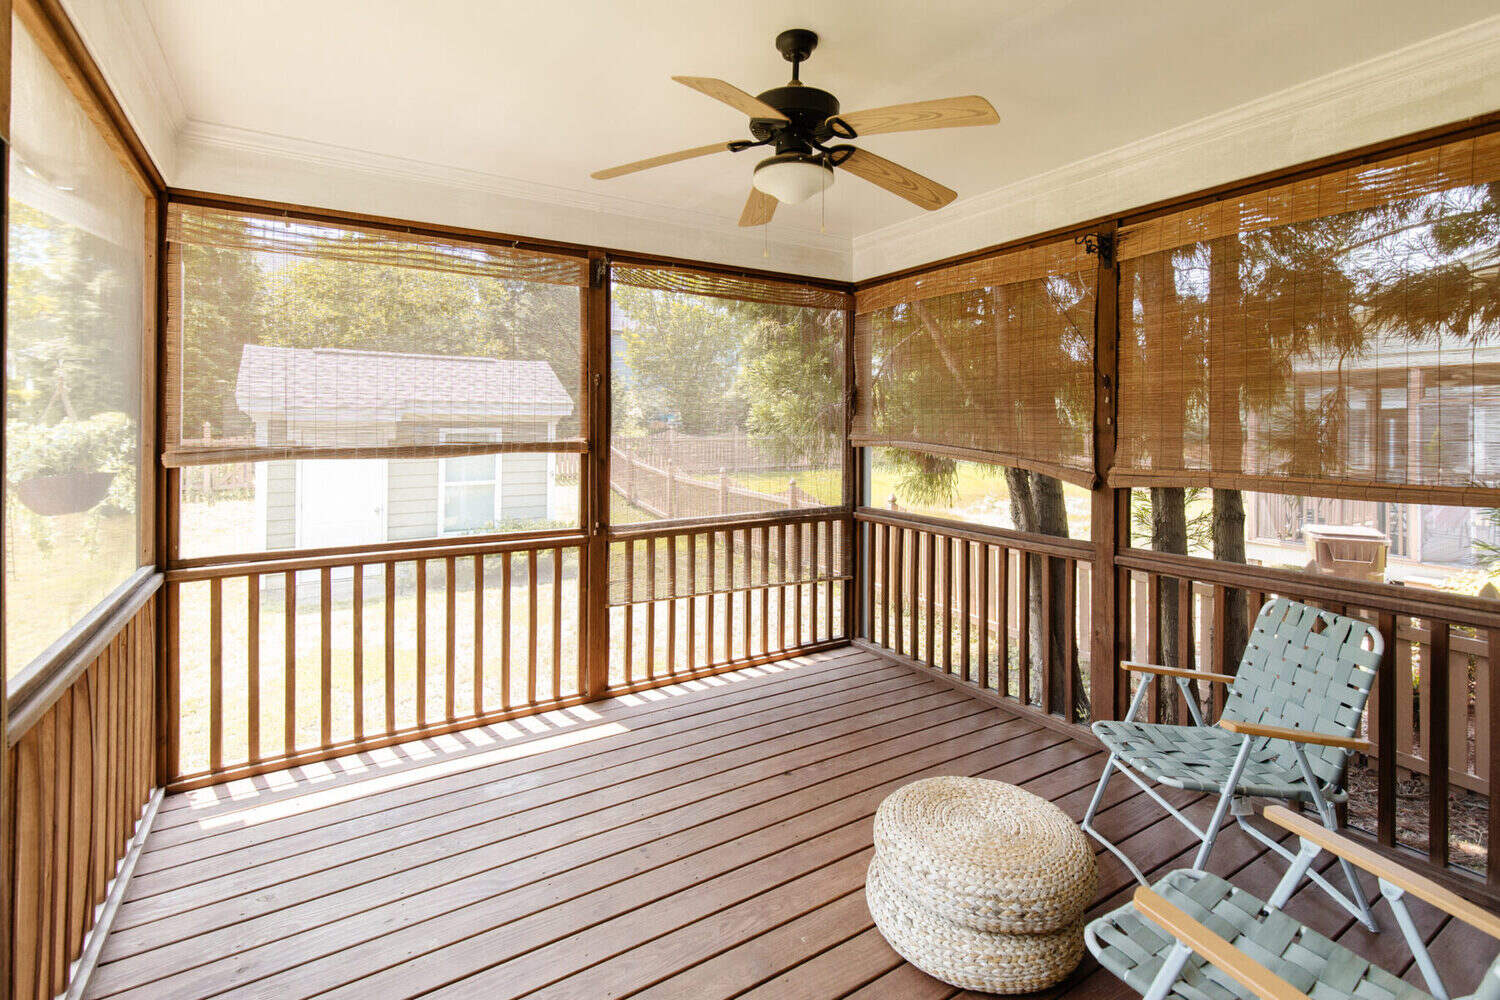
Step 4: Prepare the Surrounding Area for the Wood Stove
Properly preparing the surrounding area for the wood stove is crucial for both safety and functionality. Here are the key steps to follow:
- Clear the Space: Remove any flammable materials, such as furniture, curtains, rugs, or decorations, from the area around the wood stove. Create a clear zone of at least three feet in all directions to prevent any fire hazards.
- Install Heat Shields: Install a heat shield or heat-resistant material on the wall behind the wood stove. This will prevent excessive heat from reaching and damaging the wall. Follow the manufacturer’s instructions for proper installation and clearance requirements.
- Non-Combustible Flooring: Ensure that the flooring beneath and around the wood stove is non-combustible, such as tile, stone, or a hearth pad. This will protect the floor from heat and potential fire hazards.
- Fireproofing the Surrounding Walls: If the walls near the wood stove are made of wood or other combustible materials, consider adding a layer of fire-resistant sheetrock or installing a non-combustible wall shield. This step will provide an additional layer of protection against heat and potential fire dangers.
- Provide Proper Clearance: Maintain proper clearance between the wood stove and nearby walls, furniture, and other combustible materials. Follow the manufacturer’s guidelines for the required clearance distances, which typically vary depending on the specific wood stove model.
- Consider Floor Protection: If your screen porch is situated on a wooden deck or any other combustible flooring, it’s recommended to use a floor protector or heat-resistant barrier beneath the wood stove. This will prevent heat transfer to the underlying structure.
When preparing the surrounding area for the wood stove, it’s essential to prioritize safety and adhere to all clearance and installation requirements. Make sure to consult the manufacturer’s guidelines and local building codes for specific regulations regarding installation and clearances.
By properly preparing the surrounding area for the wood stove, you not only reduce the risk of fire hazards but also create a safe and inviting space to enjoy the warmth and ambiance of your screen porch wood stove.
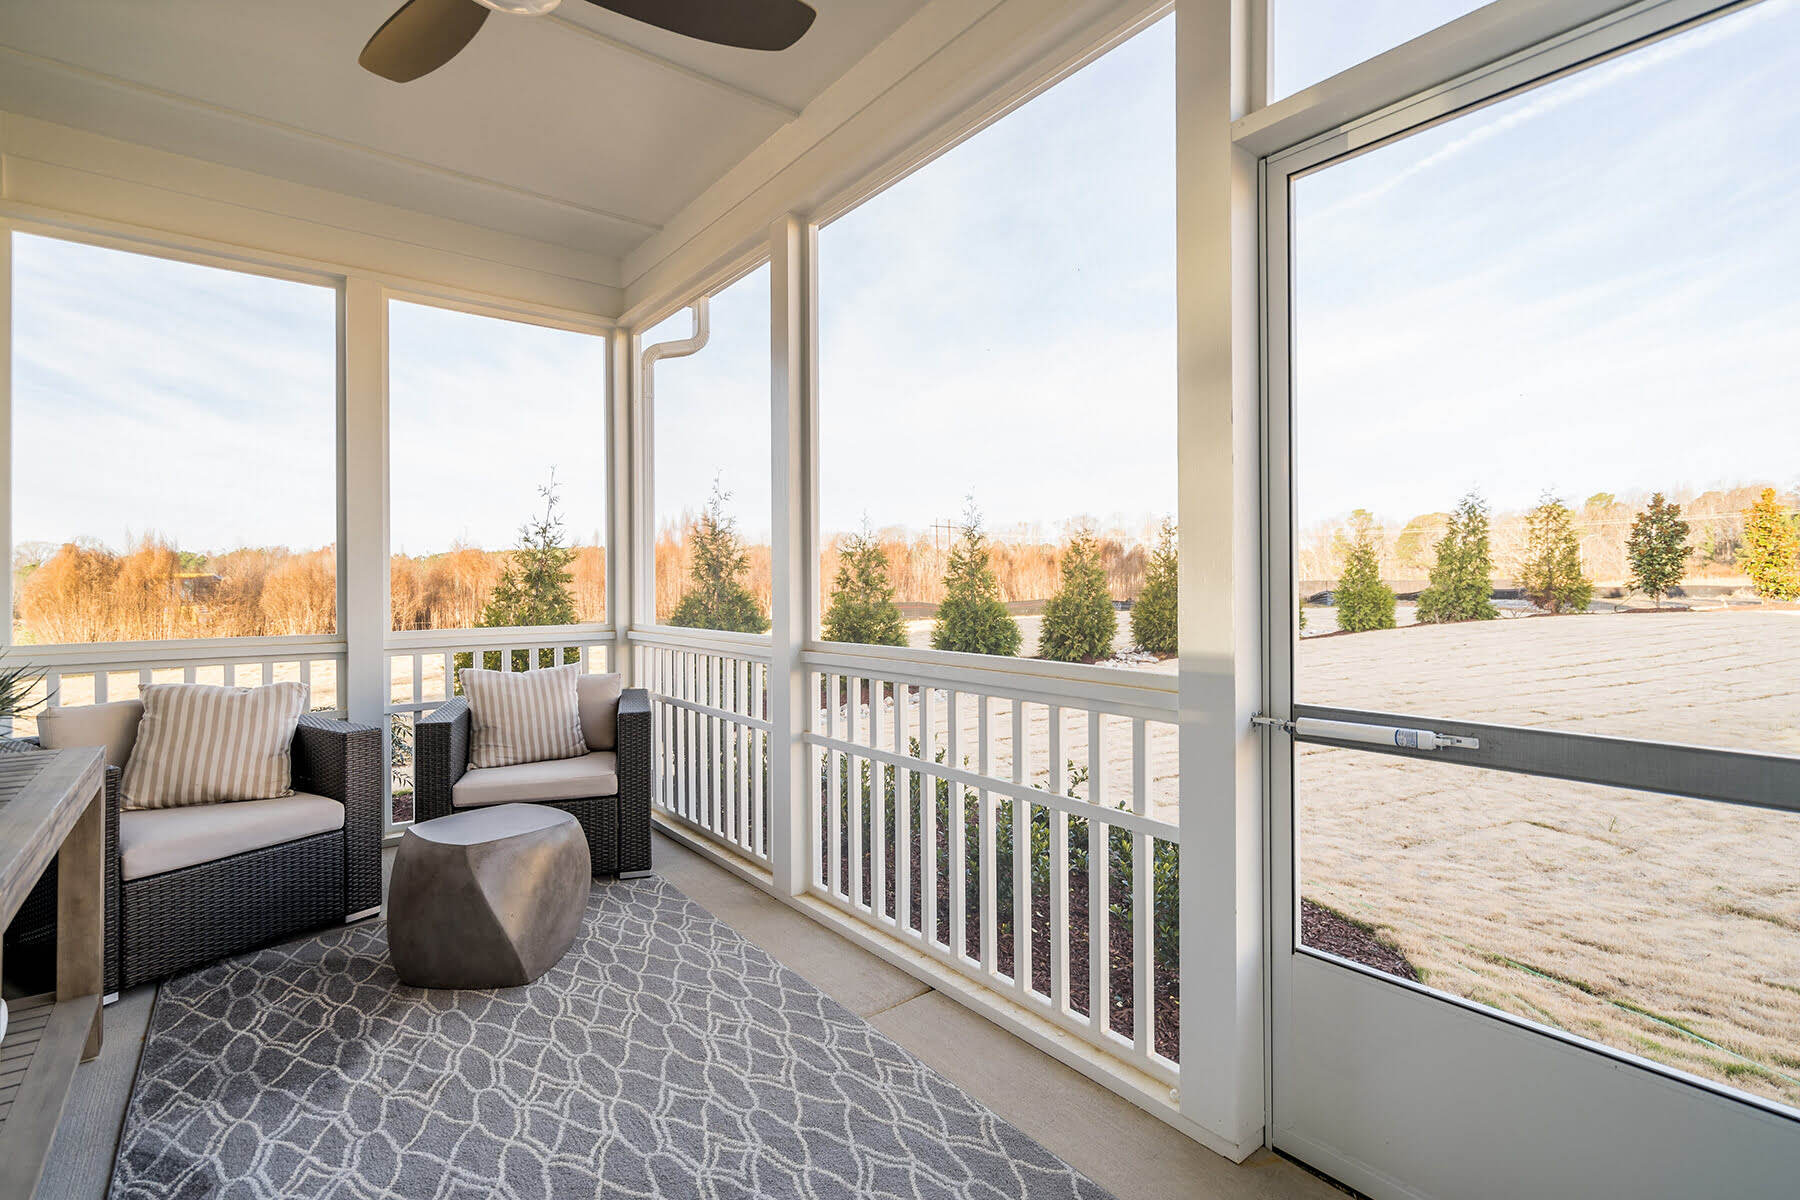
Step 5: Install the Wood Stove on the Screen Porch
Installing the wood stove on your screen porch requires careful attention to detail and following the manufacturer’s instructions. Here’s a step-by-step guide to help you through the installation process:
- Positioning: Decide on the ideal location for the wood stove on your screen porch. Consider factors such as accessibility, ventilation, and clearance requirements.
- Prepare the Hearth Pad or Non-Combustible Surface: If your screen porch does not already have a non-combustible floor or hearth pad, it’s important to install one beneath the wood stove. This will protect the floor from heat and potential fire hazards. Follow the manufacturer’s guidelines for size and material specifications.
- Place the Wood Stove: Carefully place the wood stove onto the hearth pad or non-combustible surface, ensuring that it is level and stable.
- Connect to the Chimney Pipe: Connect the stovepipe or vent collar from the wood stove to the chimney pipe or flue system. Follow the manufacturer’s instructions for proper assembly and use any recommended connectors or adapters.
- Tighten and Secure: Make sure all connections are tight and secure. Use high-temperature silicone sealant or appropriate fittings to ensure airtight connections and prevent any leaks or drafts.
- Check Clearance Requirements: Double-check that the wood stove meets all clearance requirements specified by the manufacturer. Maintain the necessary distances from walls, furniture, and other combustible materials to prevent potential fire hazards.
- Ensure Proper Ventilation: Confirm that the wood stove is properly ventilated. Check that the vents or dampers are open and unobstructed to allow for the flow of air and efficient combustion.
During the installation process, it is recommended to have a second person assist you, especially when positioning and connecting the wood stove. This will ensure safety and make the process smoother.
Always follow the manufacturer’s instructions specific to your wood stove model and consult any local building codes or regulations that may apply to your area. If you have any doubts or concerns, consider consulting a professional for guidance or assistance.
By properly installing the wood stove on your screen porch, you will create a cozy and functional heating solution that adds warmth and charm to your outdoor living space.
Step 6: Test and Inspect the Installation
Once you have completed the installation of your wood stove on the screen porch, it’s crucial to thoroughly test and inspect the setup to ensure its safety and proper functionality. Follow these steps:
- First Fire: Before starting your first fire, double-check that all connections are secure, and the wood stove is properly in place. Make sure the damper or vents are open for proper airflow.
- Check for Smoke and Draft: Light a small fire in the wood stove and observe the smoke movement and draft. Ensure that the smoke is being properly expelled through the chimney and not leaking into the screen porch.
- Monitor Temperature: Examine the temperature around the wood stove and the immediate surroundings. Use a temperature gauge or infrared thermometer to ensure that there are no excessive heat levels, which could pose a risk.
- Verify Clearances: Check that all required clearances from combustible materials, such as walls and furniture, are being maintained. Confirm that nothing has shifted or come into contact with the wood stove during the installation process.
- Inspect the Chimney and Venting System: Examine the chimney and venting system for any signs of damage, such as cracks, leaks, or loose connections. Make sure the chimney cap is intact and functioning properly.
- Test Carbon Monoxide Detectors: Ensure that carbon monoxide detectors are installed and in working order. Test them to make sure they detect any potential gas leaks or carbon monoxide buildup and provide early warning.
- Maintain Regular Inspections: Schedule regular inspections and maintenance of your wood stove and chimney system. This will help identify any issues or concerns before they become major problems. Follow recommended cleaning and maintenance procedures to keep your wood stove functioning properly.
If you encounter any issues or concerns during the testing or inspection process, it is essential to address them promptly. Consult with a professional if needed to resolve any problems or ensure compliance with safety standards.
Remember, safety should always be the top priority when using a wood stove. Regularly inspecting and maintaining the installation will help ensure its proper and safe operation, allowing you to enjoy the warmth and ambiance of your screen porch wood stove with peace of mind.
Conclusion
Congratulations! You have successfully learned how to install a wood stove on your screen porch. By following the steps outlined in this comprehensive guide, you have transformed your outdoor living space into a cozy retreat where you can enjoy the warmth and ambiance of a real fire.
Throughout the installation process, you learned about the importance of choosing the right wood stove for your screen porch and considering factors such as size, type, efficiency, and clearance requirements. You also gained insights into measuring and preparing the screen porch, installing the chimney and venting system, preparing the surrounding area, and ensuring proper clearance and ventilation.
Remember, safety is paramount when installing and using a wood stove. Always adhere to the manufacturer’s instructions, local building codes, and safety guidelines. Regularly inspect and maintain the wood stove, chimney, and surrounding area to ensure their proper functioning and prevent potential risks.
Now that you have your wood stove installed, it’s time to sit back, relax, and enjoy the warmth and comfort it brings to your screen porch. Spend quality time with family and friends, create memorable moments, and embrace the cozy atmosphere provided by your wood stove.
We hope this guide has been informative and helpful in your wood stove installation journey. Remember, if you ever need assistance or have any concerns, it’s always wise to consult with professionals who specialize in wood stove installations and maintenance. Stay safe, and enjoy the wonderful experience of having a wood stove on your screen porch!
Now that you've mastered installing a wood stove on your screen porch, why not delve deeper into understanding the structure itself? Our detailed guide on what a screened porch is provides insight into its design, benefits, and how it can enhance your home's outdoor living space. Perfect for those who appreciate the nuances of home design, this article will surely enrich your knowledge and inspire potential upgrades to your dwelling.
Frequently Asked Questions about How To Install A Wood Stove On A Screen Porch
Was this page helpful?
At Storables.com, we guarantee accurate and reliable information. Our content, validated by Expert Board Contributors, is crafted following stringent Editorial Policies. We're committed to providing you with well-researched, expert-backed insights for all your informational needs.


0 thoughts on “How To Install A Wood Stove On A Screen Porch”