Articles
How To Insulate A Basement Floor
Modified: January 19, 2024
Learn the step-by-step process of insulating your basement floor with our informative articles. Create a comfortable and energy-efficient space.
(Many of the links in this article redirect to a specific reviewed product. Your purchase of these products through affiliate links helps to generate commission for Storables.com, at no extra cost. Learn more)
Introduction
Insulating your basement floor is crucial for improving the overall energy efficiency and comfort of your home. It helps to prevent heat loss, reduce moisture infiltration, and create a more comfortable living space. Whether you’re planning to use your basement as a livable area or simply want to make it more energy-efficient, insulating the floor is a worthwhile investment.
In this article, we will guide you through the steps to effectively insulate your basement floor. From assessing the condition of the floor to selecting the right insulation material, we’ll cover everything you need to know to get the job done right. By following these steps, you can enhance the energy efficiency of your home and create a more comfortable living space.
Before we get started, it’s important to note that every basement is unique, and the specific requirements for insulation may vary based on factors such as the type of foundation, moisture levels, and local building codes. It’s always a good idea to consult a professional if you have any doubts or concerns regarding the insulation process.
Now, let’s dive into the first step of insulating your basement floor.
Key Takeaways:
- Properly insulating your basement floor involves assessing its condition, installing a vapor barrier, applying the right insulation material, and adding a sub-floor. This process creates a comfortable, energy-efficient living space while preventing moisture infiltration and heat loss.
- Consider the finishing touches and additional considerations, such as installing flooring, addressing utility pipes, ensuring proper ventilation, and performing regular maintenance. These steps further enhance the effectiveness and longevity of your basement floor insulation, creating a valuable extension of your living space.
Read more: How To Insulate A Basement
Step 1: Assessing the Basement Floor
The first step in insulating your basement floor is to assess its condition. This involves checking for any existing moisture issues, cracks, or uneven surfaces. These factors will help determine the best approach for insulation and any necessary preparations.
Begin by thoroughly inspecting the basement floor for signs of moisture. Look for any visible water stains, damp patches, or musty odors. If you find any of these indicators, it’s important to address the moisture issue before proceeding with insulation. Consult a professional to diagnose the source of the moisture and take appropriate measures to fix any leaks or drainage problems.
Next, examine the floor for cracks or uneven surfaces. These can be filled and leveled before installing insulation to ensure a smooth and even surface. Small cracks can typically be repaired with a concrete patching compound, while larger cracks may require professional attention. Properly addressing these cracks will help prevent moisture infiltration and improve the effectiveness of the insulation.
Additionally, consider the type of foundation your basement has. If it’s a concrete slab-on-grade, insulation can be installed directly on top. However, if your basement has a crawlspace or is elevated from the ground, you may need to insulate underneath the floor instead.
Lastly, be aware of any local building codes or regulations regarding basement insulation. Some regions have specific requirements for insulating basement floors to ensure energy efficiency and prevent moisture-related issues. Research these regulations and make sure to follow them to ensure compliance.
By carefully assessing the condition of your basement floor, you’ll be able to determine the best approach to insulation and properly prepare for the next steps.
Step 2: Clearing and Preparing the Basement Floor
Once you have assessed the condition of your basement floor, the next step is to clear and prepare the space for insulation. This involves removing any existing flooring, cleaning the surface, and addressing any necessary repairs.
Start by removing any carpet, tiles, or other flooring materials that may be present on the basement floor. Use a pry bar or utility knife to carefully lift and detach the flooring, making sure to dispose of it properly. This step is important to create a clean and even surface for the insulation installation.
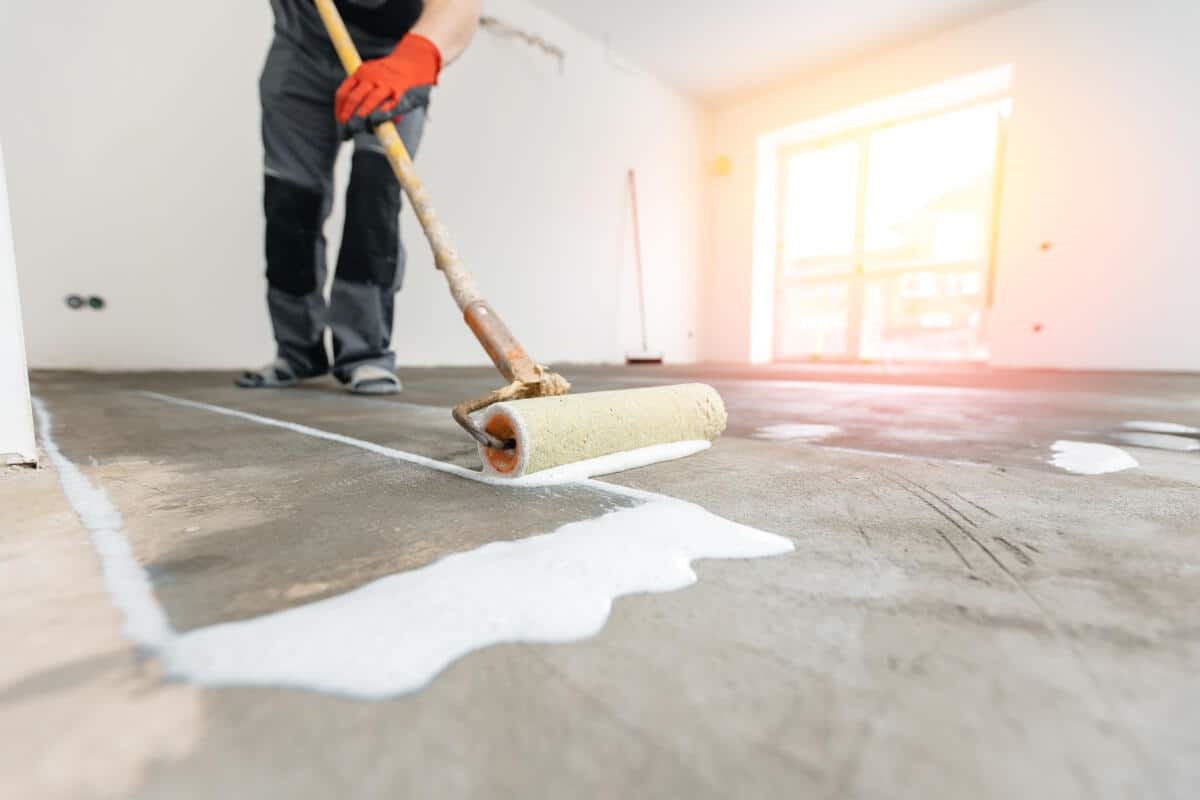
Next, thoroughly clean the basement floor to remove any dust, debris, or adhesive residues. Use a broom and dustpan to sweep away loose dirt, and then mop the floor with a mild cleaning solution and warm water. Be sure to let the floor dry completely before proceeding with insulation.
After cleaning, inspect the floor for any remaining cracks or unevenness. Fill any small cracks with a concrete patching compound and smooth out any uneven surfaces using a self-leveling compound. Follow the manufacturer’s instructions for application and drying times. For larger or more extensive repairs, it may be necessary to consult a professional.
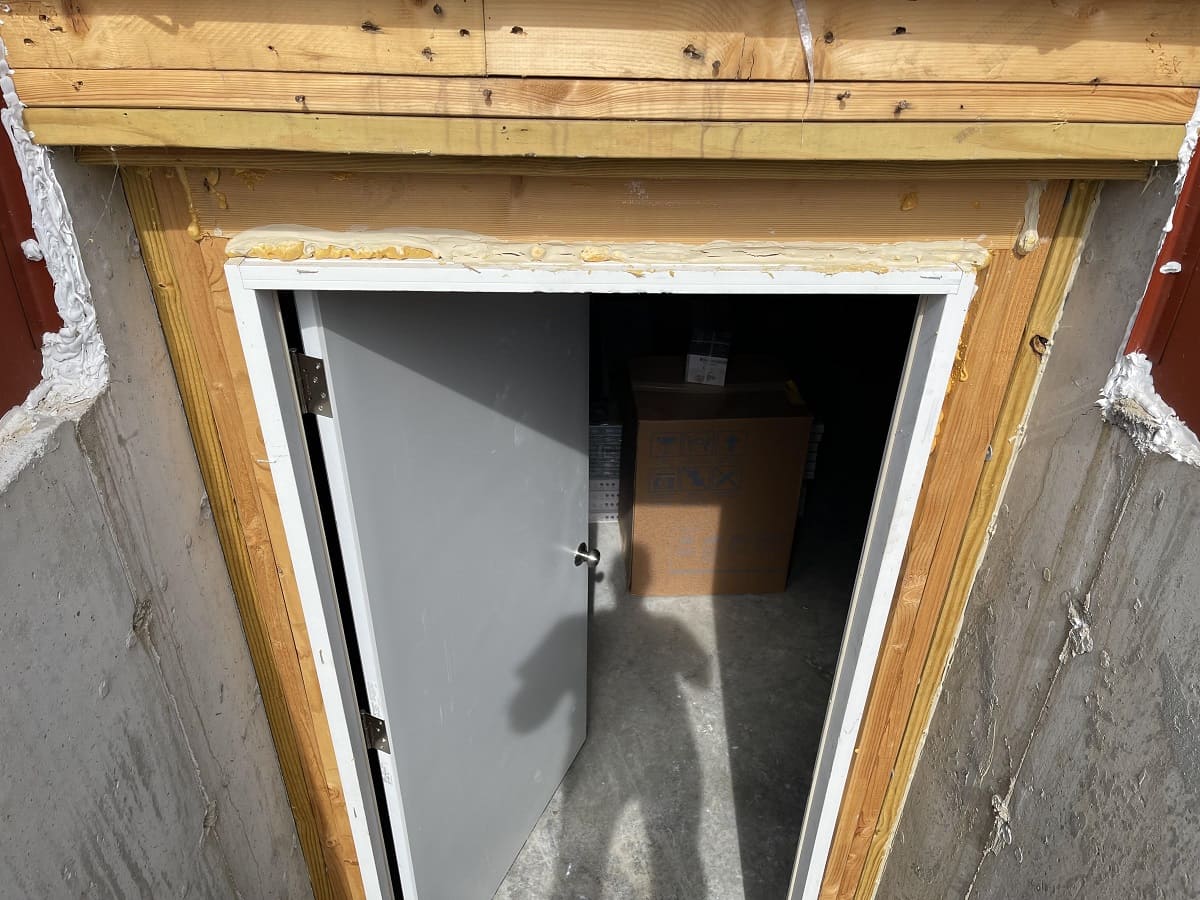
In addition to preparing the floor surface, it’s also important to consider the perimeter of the basement. Insulating the walls where they meet the floor can help to create a more complete thermal barrier. Depending on the type of insulation you choose, this may involve installing rigid foam insulation sheets or using spray foam insulation to seal gaps and cracks.
By clearing and preparing the basement floor, you create a clean and even surface for the next steps of the insulation process. This ensures a smooth installation and maximizes the effectiveness of the insulation in preserving heat and minimizing moisture infiltration.
Step 3: Installing Vapor Barrier
Installing a vapor barrier is an essential step in insulating your basement floor. A vapor barrier helps to prevent moisture from seeping through the floor and into the insulation material, protecting against potential damage and mold growth. It acts as a barrier to moisture coming up from below and creates a more controlled environment in the basement.
Before installing the vapor barrier, it’s important to measure and cut the appropriate size of plastic sheeting. Use a tape measure to determine the dimensions of the basement floor and add a few extra inches to ensure full coverage. This will help to minimize any potential gaps or overlaps.
When selecting the vapor barrier material, look for a heavy-duty, 6-mil or 10-mil polyethylene sheeting. This type of plastic sheeting is specifically designed for moisture control and provides an effective barrier against moisture infiltration.
To install the vapor barrier, start by laying the plastic sheeting over the prepared basement floor. Begin at one corner and work your way across, ensuring that the sheeting covers the entire surface area. Use duct tape or a specialized vapor barrier tape to secure the edges and any seams, creating a tight and continuous seal.
Make sure to overlap the sheets by a few inches to create a continuous barrier and minimize the risk of moisture penetration. Trim any excess plastic around the edges using a utility knife for a neat and tidy finish.
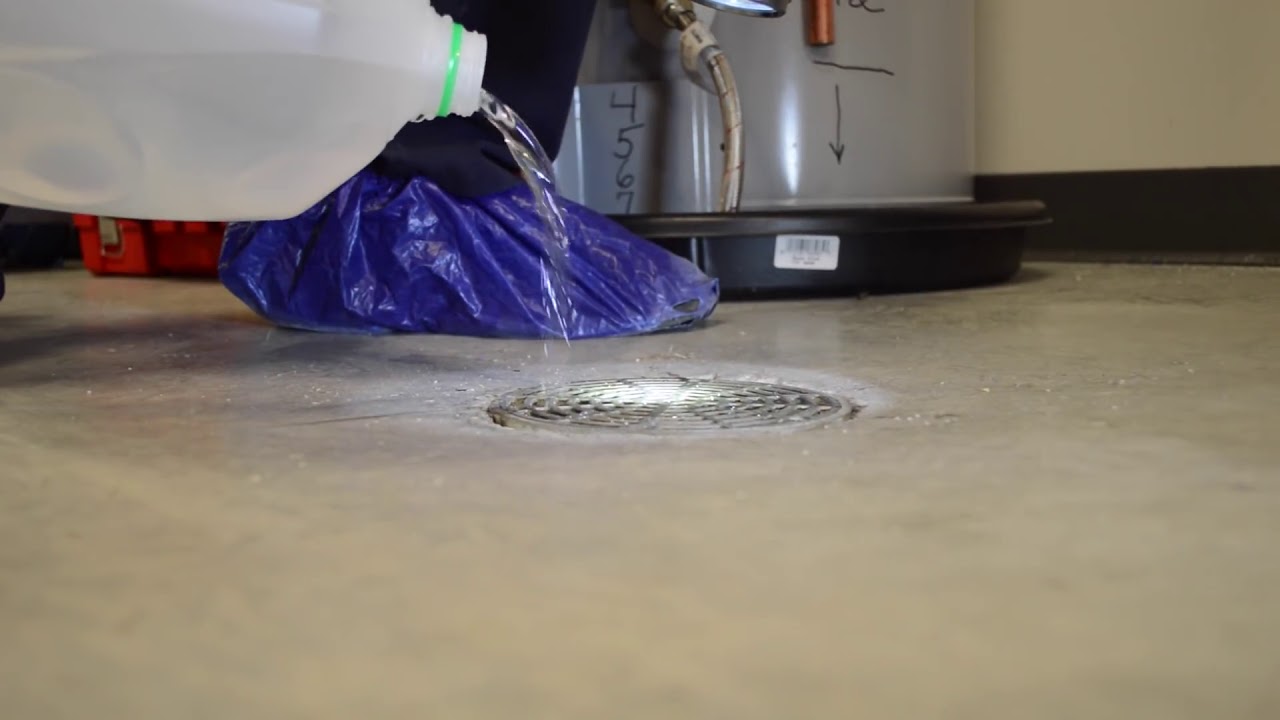
Additionally, if you have any floor drains or sump pump openings in the basement floor, be sure to cut out holes in the vapor barrier to allow for proper drainage. This will prevent any potential pooling of water and ensure that the moisture is directed to the appropriate drainage system.
By installing a vapor barrier, you create an extra layer of protection against moisture infiltration and help to preserve the integrity of the insulation material. This step is crucial for maintaining a dry and comfortable basement environment.
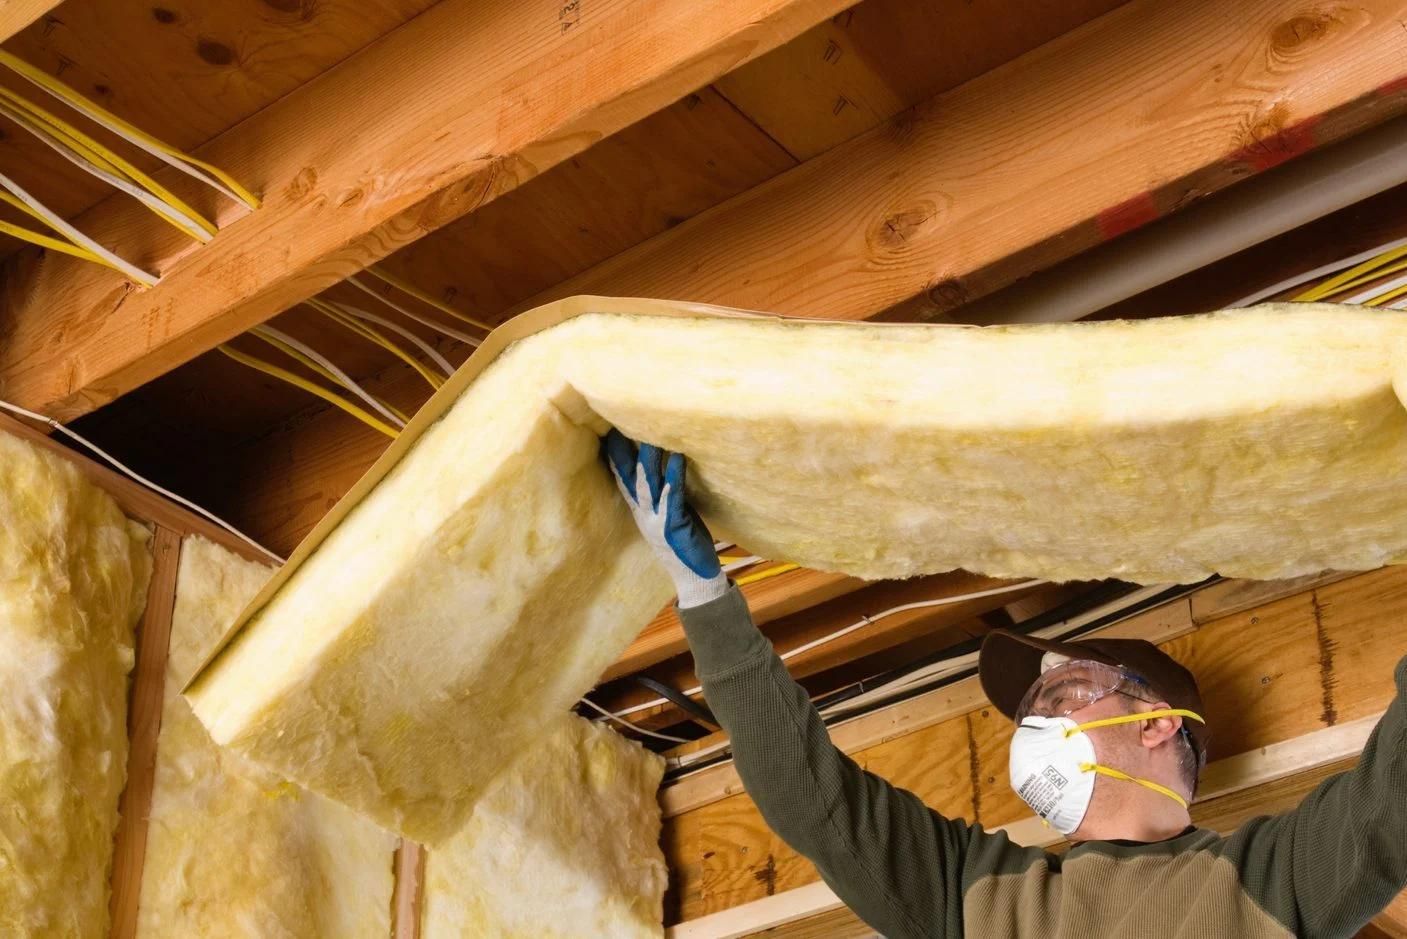
Step 4: Applying Insulation Material
Once you have installed the vapor barrier, it’s time to move on to applying the insulation material to your basement floor. The type of insulation you choose will depend on various factors, including your budget, the desired level of insulation, and the specific needs of your basement.
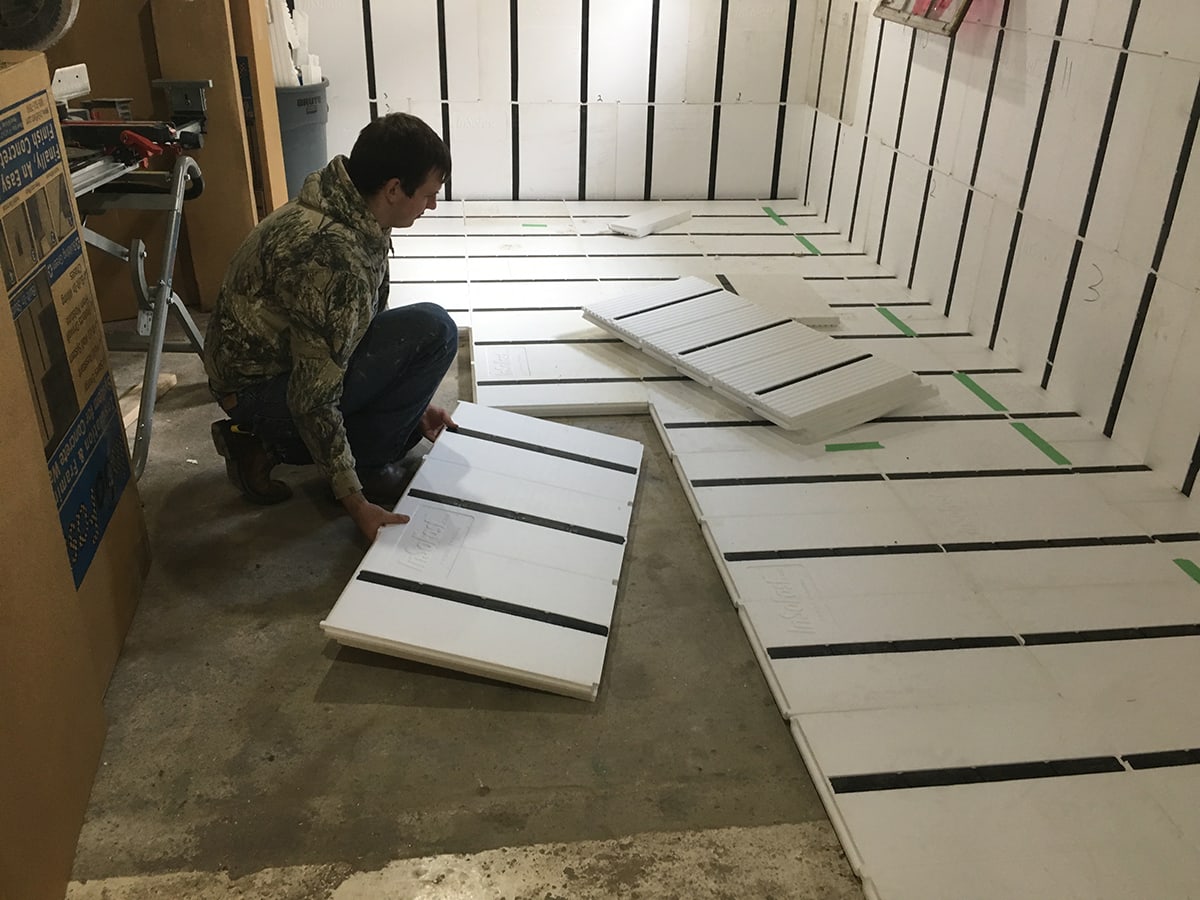
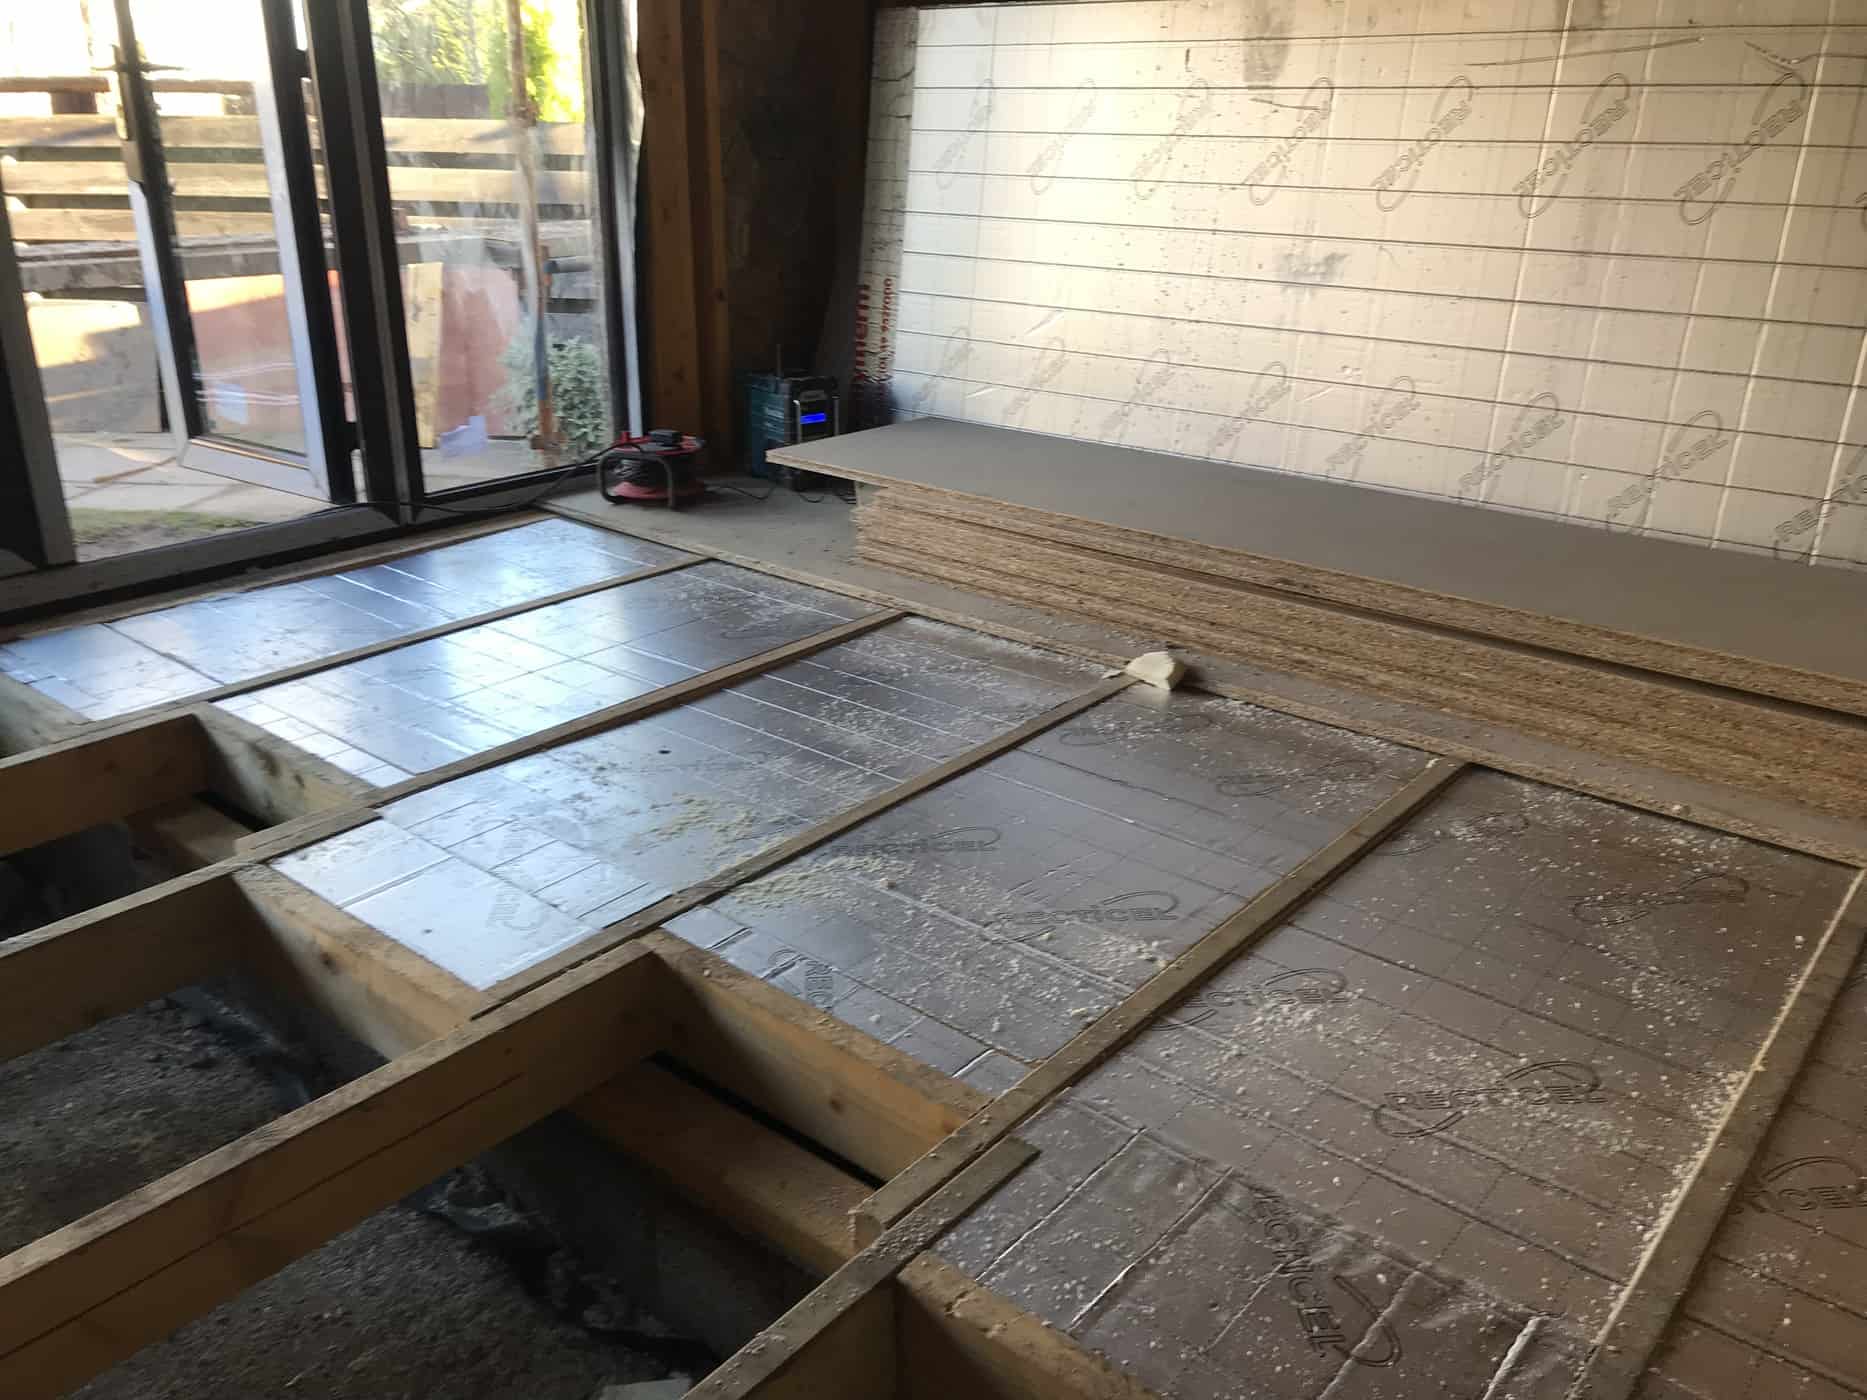
One common type of insulation used for basement floors is rigid foam insulation. Rigid foam boards are lightweight, durable, and provide excellent insulation properties. They come in different thicknesses and can be easily cut to fit the dimensions of your basement floor.
To apply the rigid foam insulation, start by measuring the length and width of the basement floor. Use a utility knife or a foam cutting tool to cut the foam boards to fit the dimensions. Make sure to leave a small gap around the edges to allow for any expansion or contraction of the material.
Before placing the foam boards on the basement floor, apply a thin layer of construction adhesive to the backside of each board. This will help to secure the boards in place and provide extra stability. Press the foam boards firmly onto the floor, ensuring that they are snugly fitted together with minimal gaps between them.
In addition to rigid foam insulation, another option is to use spray foam insulation. Spray foam insulation provides excellent coverage and can easily fill in any gaps or hard-to-reach areas. It expands upon application, creating a seamless and airtight barrier.
If you choose to use spray foam insulation, carefully follow the manufacturer’s instructions for application. Start by shaking the canister or container and then spray the foam evenly across the basement floor. Work in small sections at a time, allowing the foam to expand and cure before moving on to the next section. Be cautious not to overapply the foam as it can cause uneven surfaces or excess buildup.
Remember to adjust your insulation material based on the specific requirements of your basement and the climate you live in. If you live in a colder climate, you may want to consider using a higher R-value insulation material for increased energy efficiency and heat retention.
By applying the appropriate insulation material, you create a thermal barrier that helps to keep the basement floor warm and reduces heat loss. This step is crucial for maximizing the energy efficiency of your home and creating a comfortable living space.
When insulating a basement floor, consider using rigid foam insulation to provide a moisture barrier and thermal protection. Make sure to seal all seams and edges to prevent air leakage.
Read more: How To Install Insulation In Basement
Step 5: Securing Insulation in Place
After applying the insulation material to your basement floor, the next step is to secure it in place to ensure long-term effectiveness. Properly securing the insulation will prevent movement, shifting, and potential damage, while also improving its overall performance.
If you have used rigid foam insulation boards, one method to secure them is by using mechanical fasteners. These are typically long nails or screws specifically designed for securing insulation. Start by placing the fasteners along the perimeter of each foam board, ensuring that they penetrate through the foam and into the basement floor.
When securing the foam boards, make sure to leave a small gap between them to accommodate for any expansion or contraction of the material. This will prevent buckling or warping of the insulation over time. Use a tape measure to ensure even spacing between the foam boards for a neat and uniform appearance.
If you have used spray foam insulation, securing it in place may not be necessary since it adheres to the basement floor. However, it’s still important to inspect the spray foam insulation for any areas of weakness or gaps. If you notice any gaps or uneven sections, you may need to apply additional spray foam insulation to ensure proper coverage and insulation performance.
In addition to mechanical fasteners or additional spray foam insulation, you can also use tape to reinforce the seams or edges of the insulation material. Choose a strong and durable tape that is suitable for insulation purposes and apply it along any edges or seams where the insulation meets.
By securing the insulation in place, you ensure that it remains intact and performs optimally over time. This step is crucial for maintaining the energy efficiency and comfort of your basement.
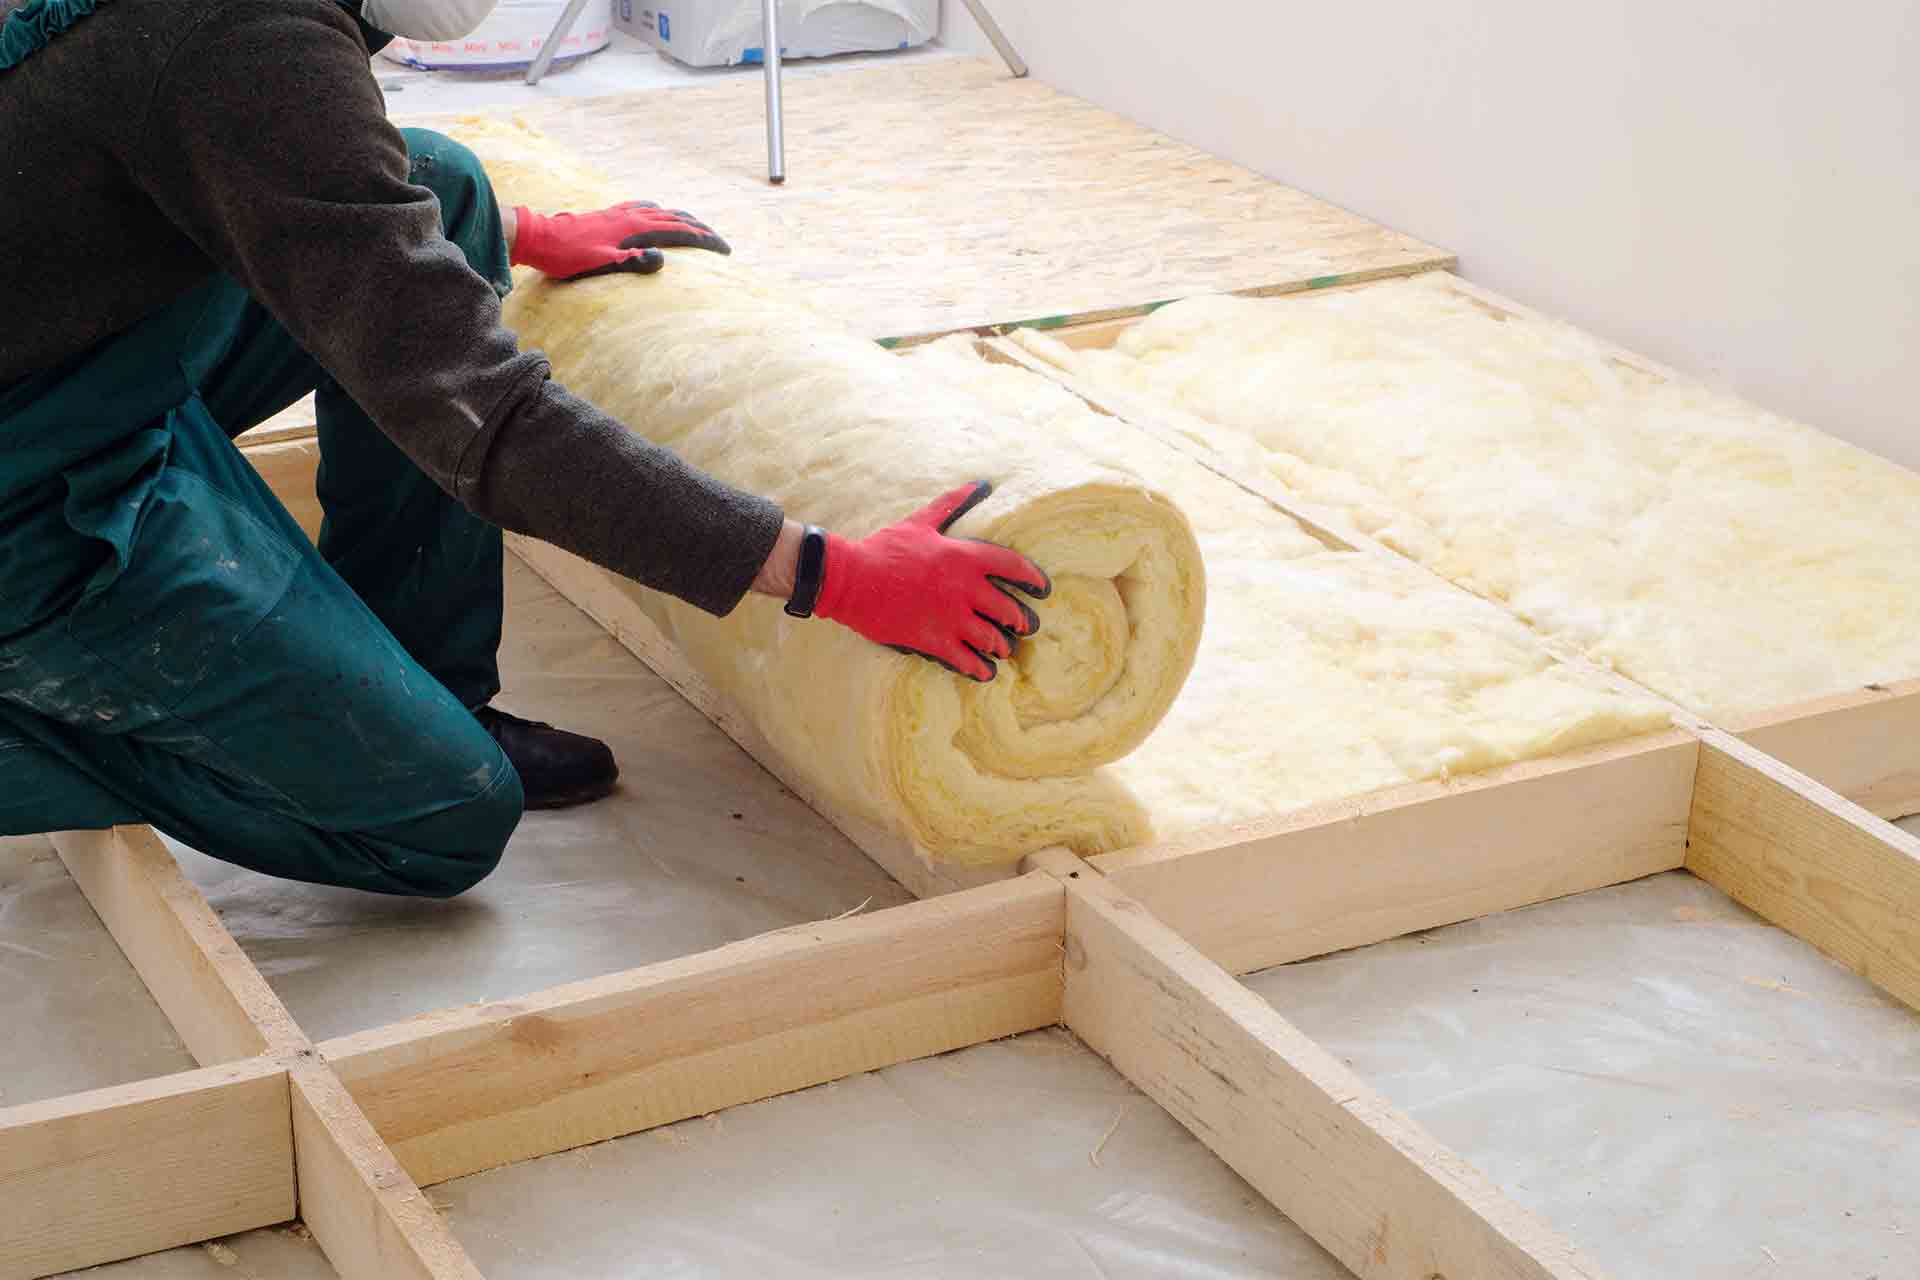
Step 6: Adding a Sub-floor
After securing the insulation in place, the next step is to add a sub-floor to your basement. A sub-floor not only provides a smooth and comfortable surface to walk on, but it also serves as an additional layer of insulation and helps to further protect against moisture and potential damage.
There are several options for sub-flooring materials, including plywood, engineered wood, or interlocking sub-floor panels. When selecting a sub-floor material, consider factors such as moisture resistance, durability, and ease of installation.
If you choose to use plywood as a sub-floor, start by measuring the dimensions of your basement floor and cutting the plywood sheets to fit. Leave a small gap around the perimeter of the basement to allow for any expansion or contraction of the wood. Install the plywood sheets, ensuring they are properly aligned and evenly spaced.
For interlocking sub-floor panels, follow the manufacturer’s instructions for installation. Typically, these panels have a tongue-and-groove design that allows them to fit together seamlessly. Start at one corner of the basement and work your way across, interlocking the panels as you go.
When installing the sub-floor, be sure to leave a small gap or provide ventilation around the perimeter to allow for air circulation and prevent moisture buildup. This is especially important if you have installed a vapor barrier beneath the insulation.
In addition to adding a sub-floor, consider installing a moisture barrier or underlayment between the insulation and the sub-floor material. This will provide an extra layer of protection against potential moisture infiltration from below.
By adding a sub-floor, you not only enhance the comfort and aesthetics of your basement but also create an effective barrier against moisture and improve the insulation performance. This step helps to create a finished look for your basement and ensures a long-lasting result.
Step 7: Finishing Touches and Considerations
Once you have completed the insulation and sub-floor installation, there are a few finishing touches and additional considerations to keep in mind to ensure the success of your basement floor insulation project.
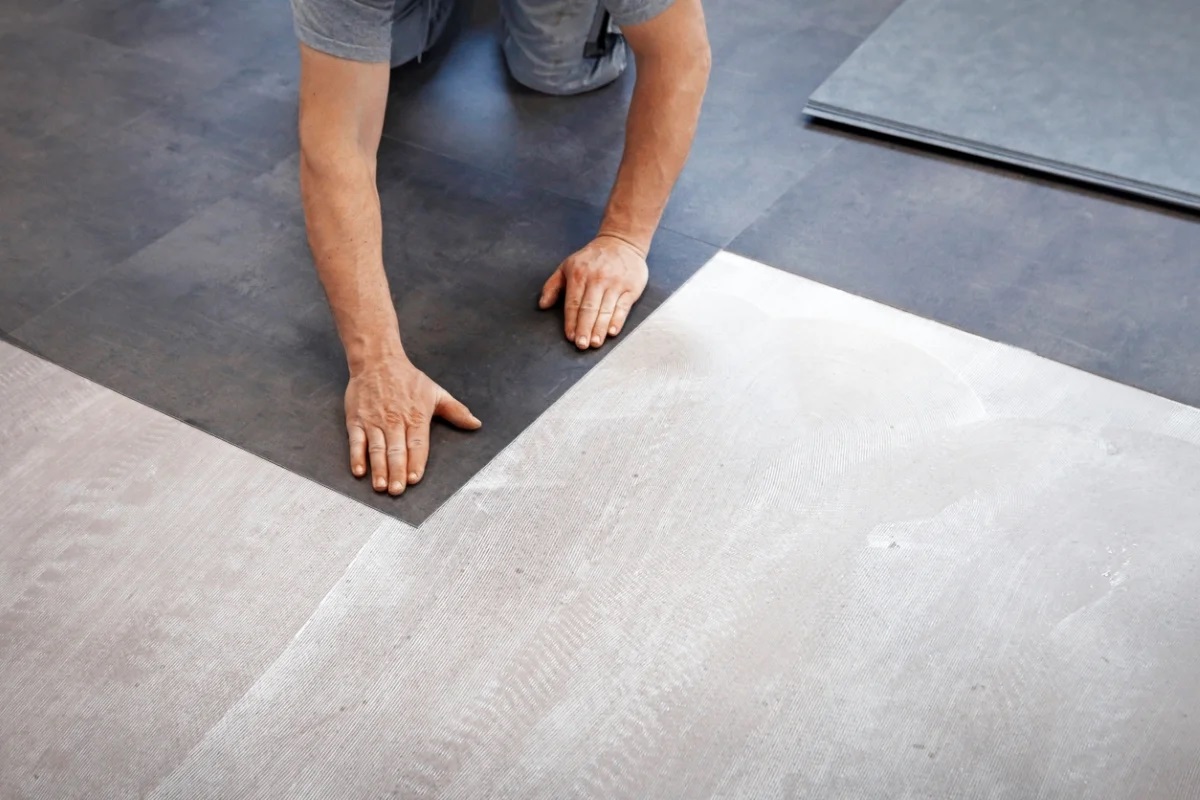
First, consider the overall aesthetic and functionality of the space. If you plan on using your basement as a living area, you may want to install flooring materials such as carpet, laminate, or vinyl on top of the sub-floor. These materials can provide a comfortable and visually appealing surface while also adding an extra layer of insulation.
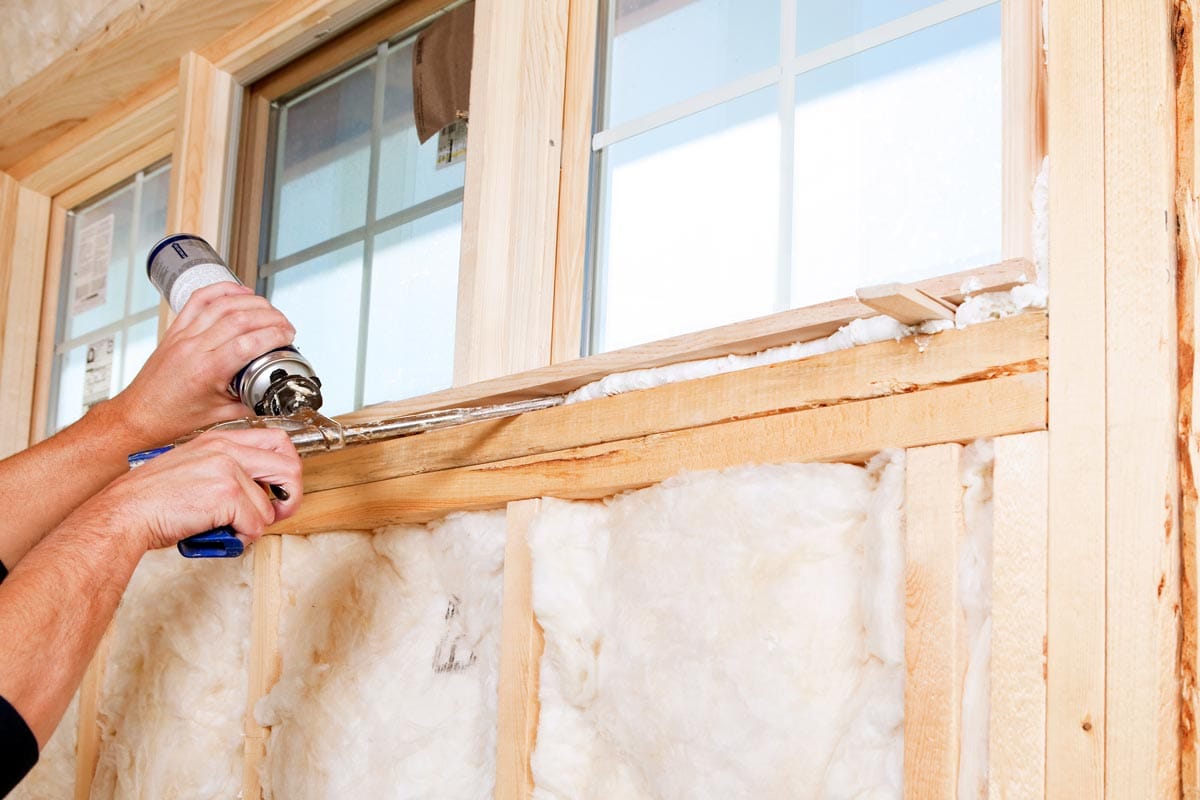
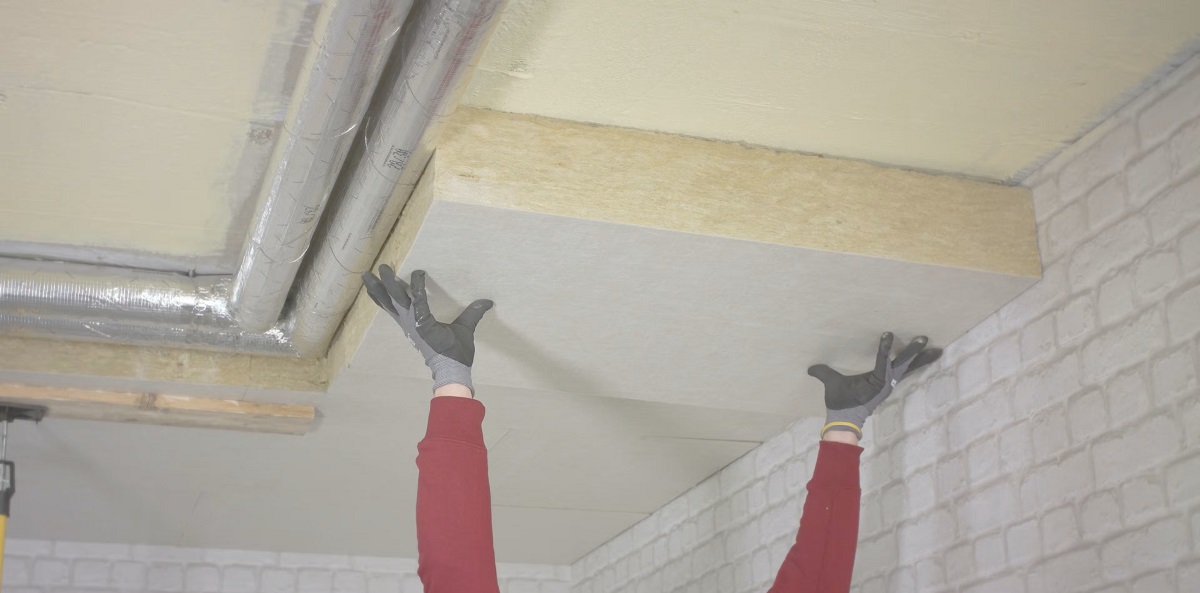
Additionally, consider the need for any additional insulation or sealing around utility pipes, HVAC ducts, or electrical conduits. These areas can be sources of heat loss and potential moisture infiltration. Use insulation sleeves or foam sealants to insulate and seal around these openings, ensuring a more well-insulated and energy-efficient basement.
Another important consideration is maintaining proper ventilation in the basement. Good ventilation helps to control moisture levels, prevent mold growth, and maintain air quality. Install vents or a dehumidifier to ensure proper airflow and moisture control in the basement.
Lastly, periodically inspect and maintain the insulation to ensure its effectiveness. Check for any signs of damage, mold, or water intrusion. Address any issues promptly to prevent further damage and maintain the insulation’s optimal performance.
By paying attention to these finishing touches and considerations, you can further enhance the effectiveness and longevity of your basement floor insulation. This will help create a more comfortable and energy-efficient living space in your home.
Conclusion
Insulating your basement floor is a valuable investment that can greatly improve the energy efficiency and comfort of your home. By following the step-by-step process outlined in this article, you can effectively insulate your basement floor and create a more comfortable living space.
The process begins with assessing the condition of your basement floor, addressing any moisture issues or cracks, and determining the best insulation approach for your specific situation. Clearing and preparing the floor surface is crucial for creating a clean and even foundation for the insulation.
Installing a vapor barrier is an essential step in preventing moisture infiltration and protecting the insulation material. It acts as a barrier to keep the basement floor dry and reduce the risk of damage or mold growth.
Applying the insulation material, whether it’s rigid foam boards or spray foam insulation, helps to create a thermal barrier that reduces heat loss and improves energy efficiency. Properly securing the insulation in place ensures long-term effectiveness and prevents shifting or damage.
Adding a sub-floor provides a comfortable and finished surface while offering additional insulation and protection against moisture. Consider the type of sub-floor material that best suits your needs and ensure proper installation.
Finally, consider the finishing touches and additional considerations such as installing flooring, addressing any openings or utility pipes, ensuring proper ventilation, and performing regular maintenance to keep the insulation in optimal condition.
By taking these steps, you can effectively insulate your basement floor and create a more energy-efficient and comfortable living space. Not only will you save on heating and cooling costs, but you will also enhance the value and livability of your home.
Remember, if you have any doubts or concerns during the insulation process, it’s always best to consult a professional who can provide guidance and expertise specific to your situation. With proper insulation, your basement can become a valuable extension of your living space, providing year-round comfort and energy efficiency.
Frequently Asked Questions about How To Insulate A Basement Floor
Was this page helpful?
At Storables.com, we guarantee accurate and reliable information. Our content, validated by Expert Board Contributors, is crafted following stringent Editorial Policies. We're committed to providing you with well-researched, expert-backed insights for all your informational needs.


0 thoughts on “How To Insulate A Basement Floor”