Articles
How To Finish A Basement Floor
Modified: February 25, 2024
Learn how to finish your basement floor with these helpful articles. Find step-by-step instructions and tips to achieve a professional result.
(Many of the links in this article redirect to a specific reviewed product. Your purchase of these products through affiliate links helps to generate commission for Storables.com, at no extra cost. Learn more)
Introduction
Finishing a basement not only adds valuable living space to your home, but it also increases its overall value. One crucial aspect of basement finishing is the flooring. The basement floor is unique as it often faces challenges such as moisture, cold temperatures, and uneven surfaces. Therefore, it is essential to choose the right materials and employ proper techniques to ensure a durable and functional basement floor.
In this article, we will explore the step-by-step process of finishing a basement floor. We will discuss how to assess the condition of your basement floor, prepare it for finishing, clean and repair any damages, install moisture barriers and insulation, choose the right flooring material, and complete the installation process.
By following these guidelines, you can transform your basement floor into a comfortable and inviting space that suits your needs and style.
Key Takeaways:
- Proper assessment, preparation, and installation of a moisture barrier and insulation are crucial for finishing a durable and functional basement floor that enhances the overall living space.
- Choosing the right flooring material and following correct installation and finishing procedures are essential for creating a beautiful, long-lasting, and comfortable basement floor that adds value to your home.
Read more: How To Finish Concrete Basement Floor
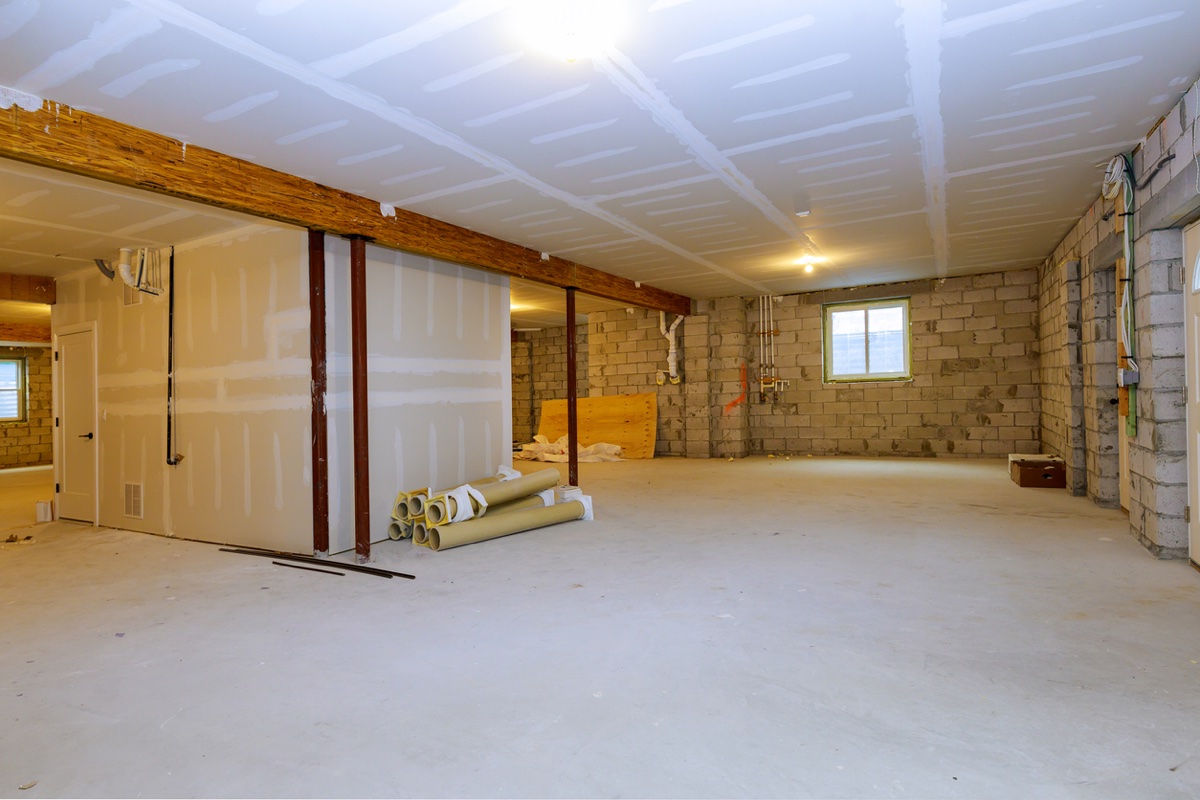
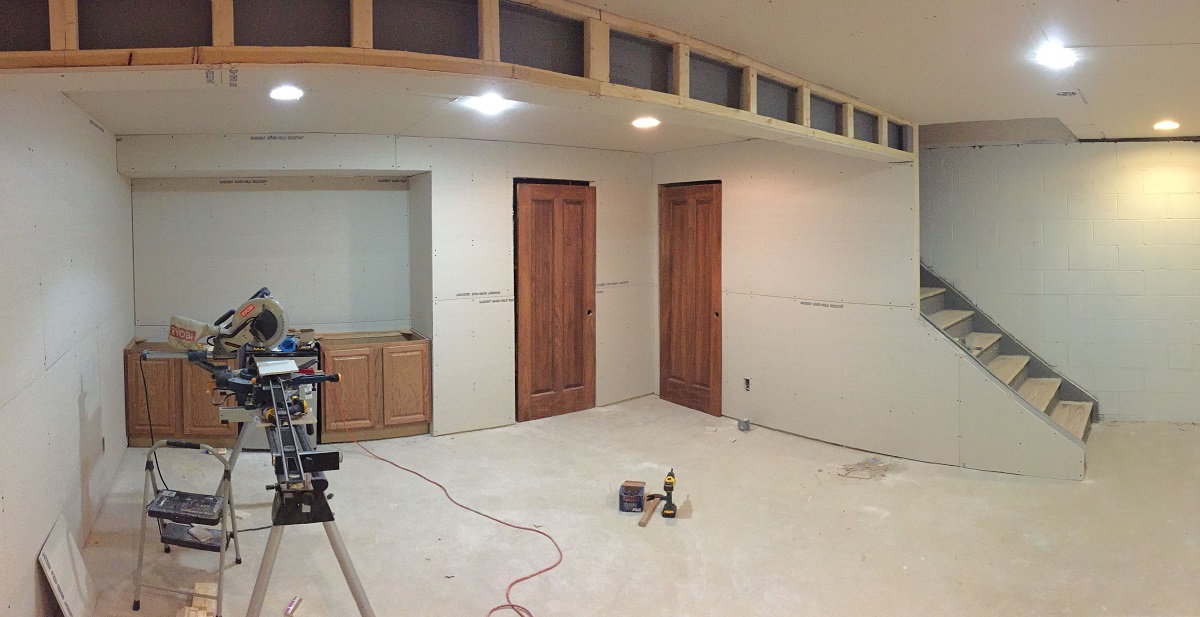
Assessing the Basement Floor
Before starting any project, it’s important to assess the condition of your basement floor. This will help you determine the necessary steps and materials required for a successful finish.
The first thing you need to do is inspect the floor for any signs of moisture or water damage. Look for discoloration, mold, or musty odors, as these indicate underlying moisture issues. If you notice any of these signs, it’s important to address them before proceeding with the finishing process. Consult with a professional if necessary to identify and fix the source of the moisture problem.
Next, check for any cracks, uneven surfaces, or damaged areas on the floor. These imperfections will need to be repaired to ensure a smooth and even finish. Use a leveling compound or patching material to fill in any cracks or low spots. For larger damaged areas, it may be necessary to remove and replace the affected section of the floor.
Another important factor to consider is the height of the basement floor. Measure the height from the floor to the ceiling to ensure that there is enough clearance for the finished flooring material and any additional insulation or underlayment you plan to install. Keep in mind that some flooring materials, such as tile or carpet, may require additional subflooring or underlayment for proper installation.
Lastly, assess the overall condition of the basement. Check for proper drainage, waterproofing, and ventilation. If your basement has a history of flooding or excessive moisture, it’s crucial to address these issues before proceeding. Installing a sump pump or improving the basement’s waterproofing system can help prevent future water damage.
By thoroughly assessing your basement floor, you can identify any underlying issues and take the necessary steps to ensure a successful finishing process. This will also help you determine the appropriate materials and techniques needed to create a beautiful and functional basement space.
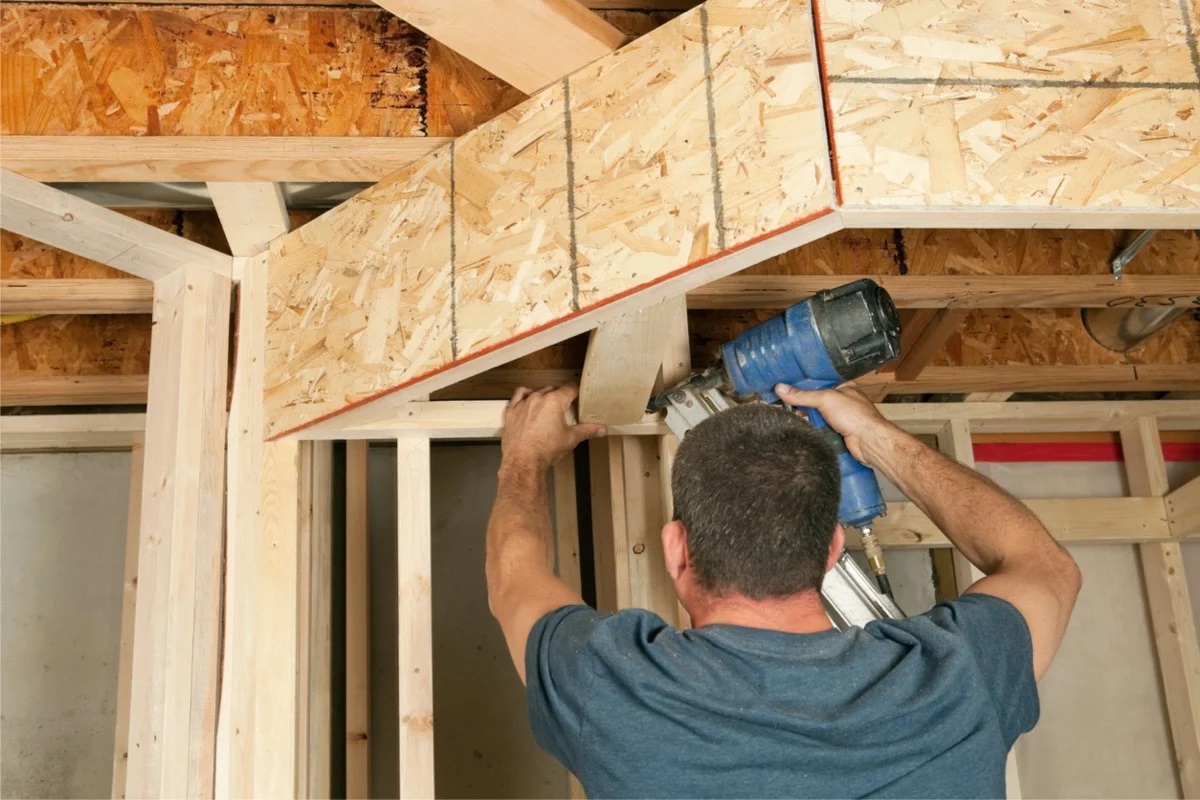
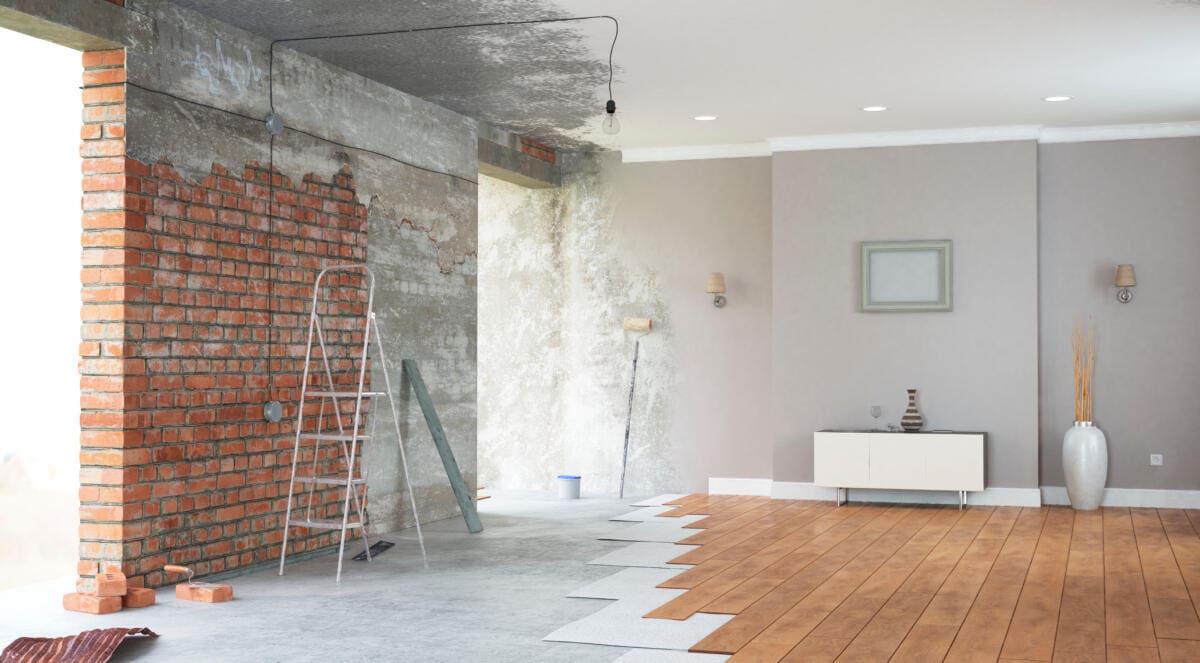
Preparing the Basement Floor
Once you have assessed the condition of your basement floor, the next step is to prepare it for finishing. Proper preparation is essential to ensure that the flooring material adheres well and provides a level and stable surface.
Start by thoroughly cleaning the basement floor. Remove any debris, dust, or dirt using a broom or vacuum cleaner. Pay close attention to corners and edges, as these areas tend to accumulate more dirt. If there are any stubborn stains, use a mild detergent and scrub brush to clean them.
After cleaning, it’s important to test the moisture content of the basement floor. This is especially crucial if you had previously identified moisture issues during the assessment stage. Use a moisture meter to check the moisture levels in different areas of the floor. If the readings are above the recommended range, you may need to consult with a professional to address the moisture problem before proceeding.
Next, it’s time to remove any existing flooring materials or adhesives from the basement floor. This is necessary to create a clean and even surface for the new flooring. Depending on the type of flooring you are removing, you may need to use a pry bar, floor scraper, or adhesive remover to loosen and remove the materials. Take care not to damage the underlying concrete or subflooring during this process.
Once the old flooring is removed, inspect the floor for any remaining adhesive residue. Use a flooring adhesive remover or a grinder with a diamond grinding wheel to remove any traces of adhesive. This step is crucial as it ensures proper bonding between the new flooring material and the basement floor.
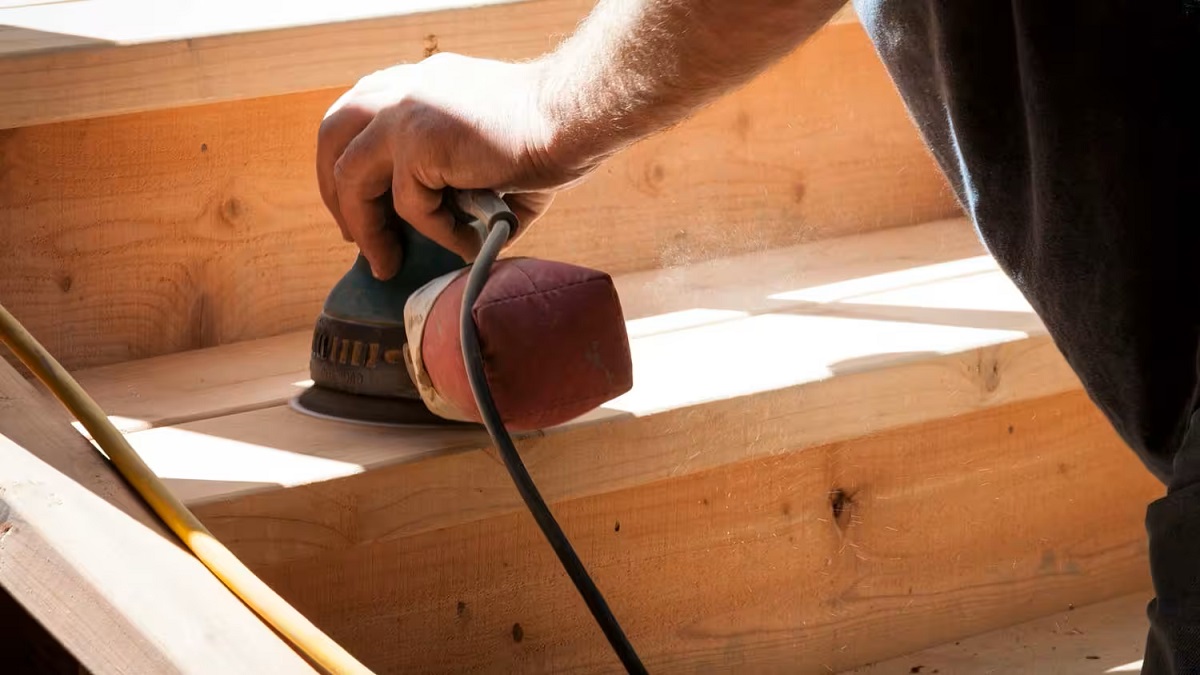
Lastly, it’s time to address any uneven or rough areas on the basement floor. Use a concrete grinder or an abrasive leveling compound to smooth out any high spots or bumps. Pay close attention to transitions between different sections of the floor to ensure a seamless and even finish.
By properly preparing the basement floor, you create a clean and level surface for the installation of the new flooring material. This not only enhances the overall appearance of the finished basement but also ensures the longevity and durability of the flooring.
Cleaning and Repairing the Basement Floor
After preparing the basement floor, the next step in finishing the basement is to clean and repair any damages present. This ensures that the floor is in optimal condition for the installation of the new flooring material.
Start by sweeping or vacuuming the floor to remove any loose dirt, dust, or debris. Pay attention to corners, edges, and hard-to-reach areas, as they tend to accumulate more dirt. This step is important as it prepares the surface for a thorough cleaning.
Next, it’s time to deep clean the basement floor. Use a mild detergent and warm water solution to mop the floor. This will help remove any remaining dirt or stains. You can also use a scrub brush or a floor cleaning machine for more stubborn stains. Rinse the floor thoroughly to remove any residue from the cleaning solution, and allow it to dry completely.
Once the basement floor is clean, inspect it for any damages or imperfections. Look for cracks, chips, or surface irregularities. These issues need to be addressed to ensure a smooth and even finish.
For small cracks, use a concrete crack filler or a patching compound to fill in the gaps. Apply the filler or compound according to the manufacturer’s instructions, and smooth it out with a trowel or putty knife. Allow the filler to dry and cure completely before proceeding.
If you encounter larger cracks or damaged areas, it may be necessary to use a more extensive repair method. This could involve removing the affected section of the floor and replacing it with new concrete or using a professional concrete repair product to restore the integrity of the floor.
Additionally, if there are any areas with uneven surfaces or dips, you can use a self-leveling compound to create a smooth and level floor. Follow the instructions on the packaging and apply the compound accordingly. Use a trowel or a straight edge to spread the compound evenly across the floor. Allow it to dry and cure completely before proceeding.
By thoroughly cleaning and repairing the basement floor, you ensure a clean and sturdy foundation for the new flooring material. This not only enhances the overall look of the finished basement but also extends the lifespan of the flooring.
Moisture Barrier Installation
Moisture is a common issue in basements, making proper moisture barrier installation essential for a durable and long-lasting basement floor. The moisture barrier acts as a protective layer, preventing water vapor from seeping through the concrete floor and causing damage to the flooring material above.
Before installing the moisture barrier, it’s important to ensure that the basement floor is clean and dry. Any remaining moisture or debris can compromise the effectiveness of the barrier. Use a moisture meter to measure the moisture levels in different areas of the floor. If the readings are within the recommended range, you can proceed with the installation.
There are several options for moisture barriers, with the most common being a plastic sheet or a vapor barrier membrane. These materials are designed to be impermeable to water vapor, creating a barrier between the concrete floor and the flooring material.
To install the moisture barrier, start by unrolling the plastic sheet or membrane across the entire basement floor. Allow the material to extend up the walls by a few inches, creating a waterproof seal between the floor and the foundation walls.
Overlap the seams of the moisture barrier by at least 6 inches, and secure them with an adhesive or tape specifically designed for moisture barriers. This ensures that there are no gaps or openings for water vapor to penetrate.
Trim any excess material along the edges of the floor and around obstacles like pipes or columns. Ensure that the moisture barrier is smooth and tightly secured to the floor, without any wrinkles or folds.
In areas where the moisture barrier meets the foundation walls, apply a bead of sealant or caulk to create a watertight seal. This helps to prevent any water or moisture from seeping in at these vulnerable points.
Once the moisture barrier is properly installed, it provides a protective layer that prevents moisture-related issues, such as mold growth, warping, or buckling of the flooring material. It helps to maintain a dry and comfortable environment in the basement, ensuring the longevity and durability of the finished floor.
Before finishing a basement floor, make sure to address any moisture issues by sealing any cracks and applying a waterproofing sealant to prevent future water damage.
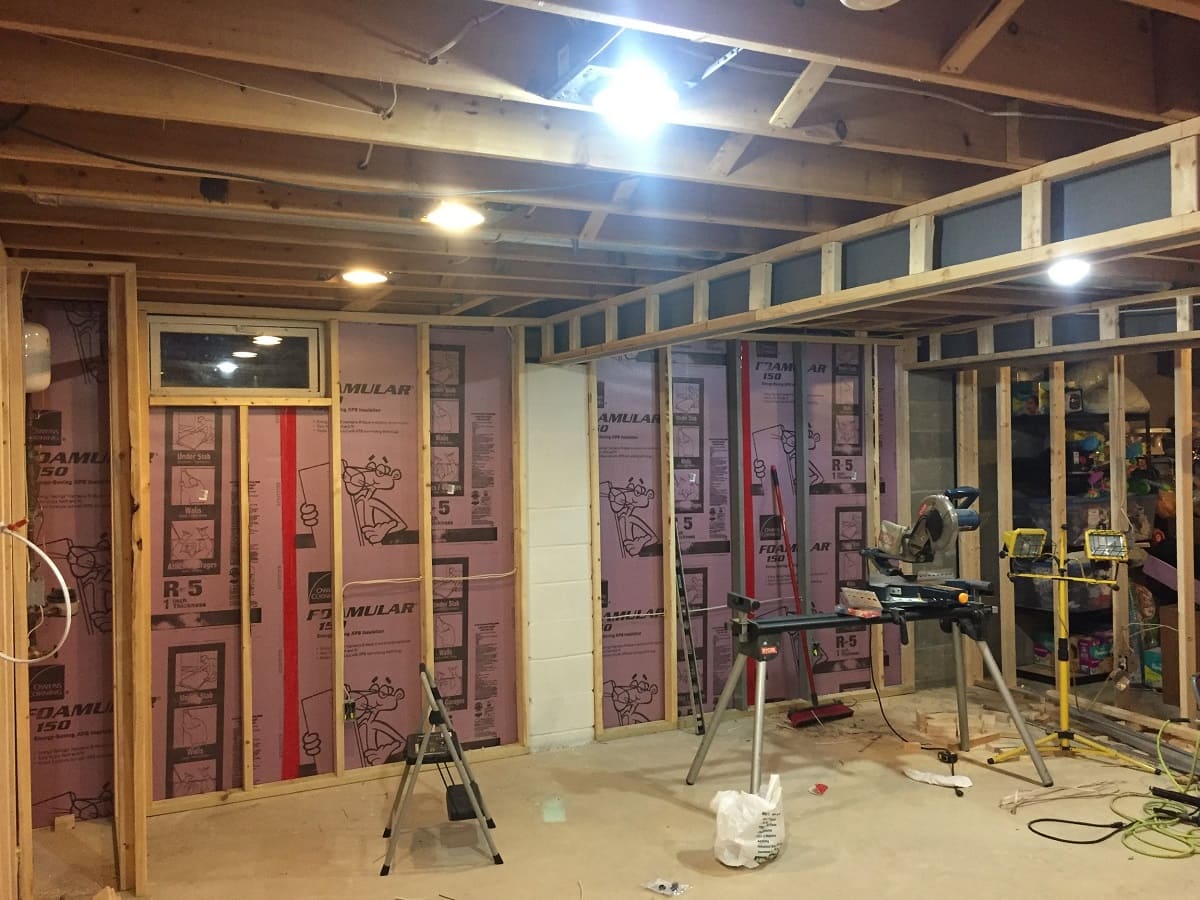
Insulating the Basement Floor
Insulating the basement floor is an important step in finishing a basement, as it helps to regulate temperature, increase energy efficiency, and provide a comfortable living space. The insulation acts as a barrier, preventing heat or cold from transferring through the concrete floor.
Before installing insulation, it’s crucial to ensure that the basement floor is clean and dry. Any moisture or debris can compromise the effectiveness of the insulation. Use a moisture meter to check the moisture levels in different areas of the floor. If the readings are within the recommended range, you can proceed with the installation.
There are several insulation options for basements floors, including rigid foam insulation boards, spray foam insulation, or insulation batts. The choice of insulation material depends on factors such as the level of insulation needed and personal preferences.
If you opt for rigid foam insulation boards, start by measuring and cutting the boards to fit the dimensions of the basement floor. Lay the insulation boards directly on the floor, ensuring a snug fit. Use adhesive or insulation tape to secure the boards together and seal any gaps between them.
If you choose spray foam insulation, it’s important to hire a professional insulation contractor. They will apply the spray foam insulation evenly across the entire basement floor, creating a seamless and effective insulation layer. This method provides excellent thermal resistance and air sealing properties.
For insulation batts, roll out the batts across the basement floor, ensuring a tight fit between the beams or joists. Use a utility knife to cut the batts to size when necessary. Secure the batts in place using wire or duct tape, making sure there are no gaps or loose sections.
It’s important to note that insulation alone may not be sufficient to prevent moisture issues in the basement. It’s recommended to install a moisture barrier, as discussed in the previous section, to provide an extra layer of protection against moisture infiltration.
By properly insulating the basement floor, you create a comfortable and energy-efficient living space. The insulation helps to maintain a consistent temperature, reduce energy consumption, and enhance the overall comfort of the finished basement.
Choosing the Flooring Material
When it comes to choosing the flooring material for your finished basement floor, there are several factors to consider. You’ll want to select a material that is not only visually appealing but also durable, resistant to moisture, and suitable for the specific needs of your basement.
One of the most popular choices for basement flooring is ceramic or porcelain tile. These materials are highly durable, easy to clean, and moisture-resistant. They come in a wide variety of colors, styles, and patterns, allowing you to achieve the desired look for your basement. However, keep in mind that tile floors can be cold and hard, so consider adding underfloor heating or area rugs for added comfort.
Vinyl flooring is another popular option for basements. It is affordable, water-resistant, and available in a variety of styles, including luxury vinyl tiles (LVT) or planks. Vinyl flooring is resilient and can withstand moisture and high traffic. It provides a comfortable feel underfoot and is relatively easy to install, making it a practical choice for basement floors.
For a warmer and more comfortable feel, consider carpeting as your flooring material. Look for specially designed basement carpet that has a built-in moisture barrier to prevent mold and mildew growth. Carpet provides insulation and absorbs sound, creating a cozy and inviting atmosphere. Keep in mind that carpeting may require regular cleaning and maintenance to prevent moisture-related issues.
If you prefer the look of hardwood flooring but are concerned about moisture, engineered wood flooring is a suitable option. Engineered wood consists of multiple layers, with the top layer being real wood veneer. This construction provides stability and reduces the risk of warping or damage due to moisture. It’s important to choose an engineered wood flooring that is specifically designed for basements and has a moisture barrier built-in.
Another flooring option for basements is laminate flooring. Laminate is a versatile and cost-effective choice that mimics the look of wood, tile, or stone. It’s easy to install, durable, and resistant to moisture. However, keep in mind that not all laminate flooring is suitable for basements, so be sure to choose a product that is explicitly designed for below-grade spaces.
When selecting the flooring material, consider factors such as your basement’s use, the level of moisture, your budget, and personal preferences. It’s advisable to consult with flooring professionals or experts to determine which option will best suit your specific requirements and provide long-lasting performance in your basement.
Installing the Basement Flooring
Once you have selected the flooring material for your basement, it’s time to move on to the installation process. Proper installation is crucial to ensure the durability, functionality, and aesthetic appeal of your basement flooring.
Before you begin, make sure that the basement floor is clean, dry, and prepared according to the specific requirements of your chosen flooring material. Follow the manufacturer’s instructions for any necessary pre-installation preparations.
Start by laying down a moisture barrier or underlayment if required by your flooring material. This additional layer helps to provide insulation, protect against moisture, and improve the overall installation process.
For tile, laminate, or engineered wood flooring, begin in one corner of the room and lay the first row of flooring along the longest wall. Leave a small gap between the flooring and the wall to allow for expansion. Use spacers to maintain a consistent gap between the planks or tiles as you work your way across the room.
If you are installing carpet, roll out the carpet pad or underlayment first, ensuring a tight fit against the walls. Next, lay the carpet on top and stretch it tightly across the space. Trim any excess carpet as needed and secure it in place with tack strips or adhesive.
As you proceed with the installation, be mindful of any obstacles, such as pillars or pipes. Use appropriate tools to make necessary cuts or adjustments to fit the flooring material around these obstacles.
Follow the manufacturer’s instructions for attaching or interlocking the flooring pieces. Some flooring materials may require adhesive, nails, or other specialized methods for secure installation. Take care to align the seams properly and ensure a consistent pattern or layout for the best visual result.
Once the basement flooring is fully installed, use a roller or weight to apply even pressure across the entire surface. This helps to ensure proper bond and adhesion, especially for materials like laminate flooring or vinyl tiles.
Finally, trim or reinstall any baseboards or moldings to cover gaps and provide a finished look. Caulk or fill any visible nail holes or imperfections for a seamless and polished appearance.
It’s important to allow the flooring to acclimate to the basement environment for the recommended amount of time before use. This allows the material to adjust to the temperature and humidity levels, minimizing the risk of expansion or contraction.
By following the correct installation procedures and paying attention to details, you can achieve a professionally finished basement floor that enhances the beauty and functionality of your living space.
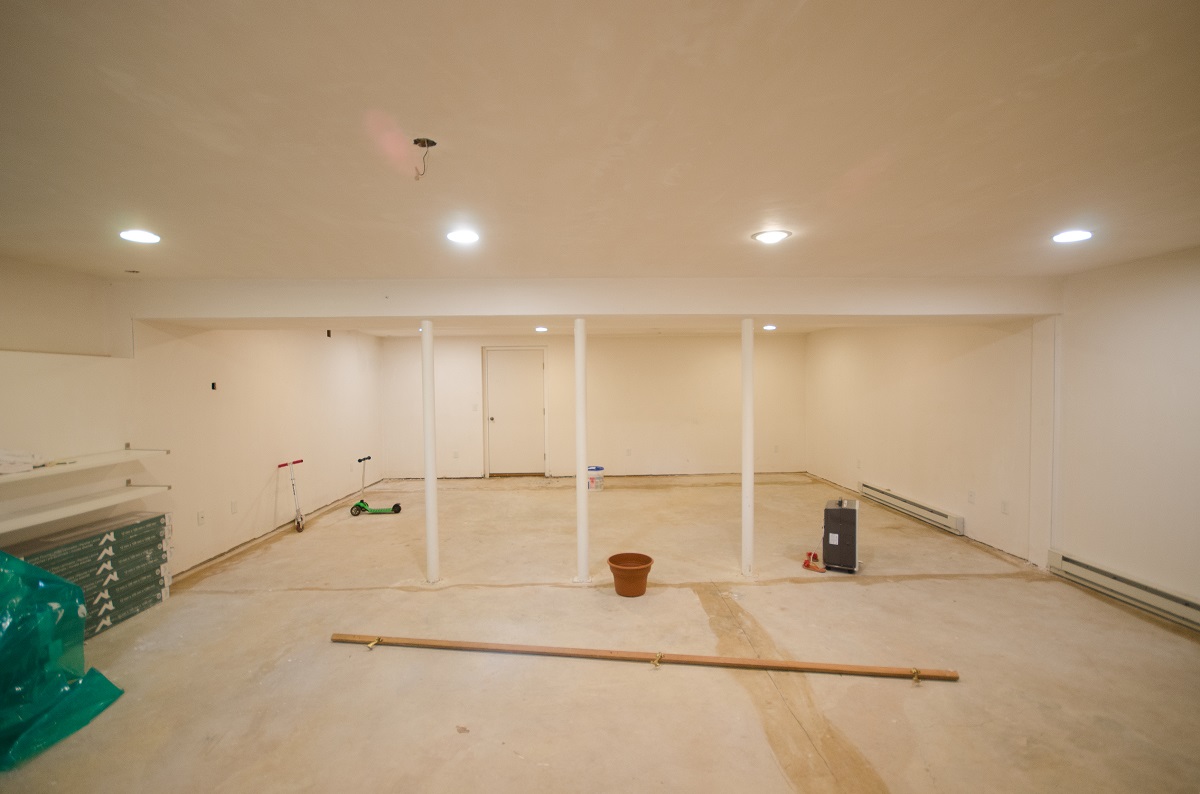
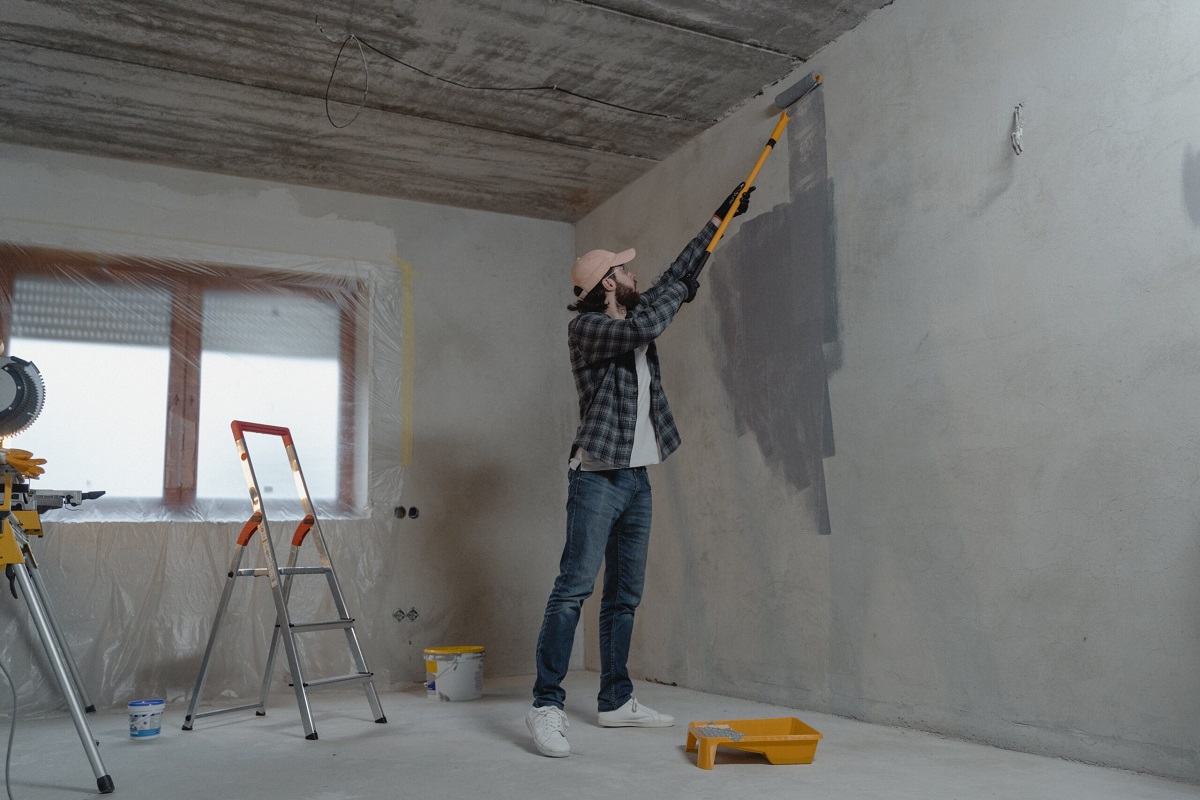
Sealing and Finishing the Basement Floor
Sealing and finishing the basement floor is the final step in the process of creating a beautiful, functional, and long-lasting basement space. This step helps to protect the flooring material, enhance its appearance, and provide additional durability.
Before sealing and finishing the basement floor, ensure that it is completely clean and free of any debris or dust. Sweep or vacuum the floor to remove any loose particles. If necessary, perform a final cleaning with a mild detergent and warm water solution to ensure a pristine surface.
If you have chosen a flooring material that requires sealing, such as natural stone or concrete, now is the time to apply the appropriate sealant. Follow the manufacturer’s instructions on the product, and apply the sealant evenly across the entire surface of the floor. Use a brush, roller, or sprayer to ensure thorough coverage. Allow the sealant to dry and cure according to the manufacturer’s recommended time frame before proceeding.
For other flooring materials that do not require sealing, such as laminate or vinyl, skipping this step and proceeding straight to finishing may be appropriate.
To finish the basement floor, consider adding a protective topcoat or finish that enhances its appearance and provides long-term protection. This step is particularly crucial for flooring materials that are susceptible to scratches or wear over time.
If you have selected a wood or laminate flooring, apply a clear polyurethane or acrylic finish to seal it and provide a protective layer. Use a roller or brush to apply the finish evenly across the floor surface. Follow the manufacturer’s instructions for drying and curing times.
For tile or stone flooring, apply a grout sealer to protect the grout lines from staining and moisture. This ensures that the grout remains clean and intact, preserving the overall look of the floor. Again, follow the manufacturer’s instructions for proper application and drying times.
To maintain the finished appearance of the basement floor, it’s essential to keep it clean and perform regular maintenance. Follow the recommended cleaning and maintenance instructions for your specific flooring material to prevent damage and preserve its longevity.
Additionally, consider using rugs or mats in high-traffic areas or areas prone to spills to protect the floor and minimize wear over time. This will help to extend the life of the finished basement floor and maintain its overall aesthetic appeal.
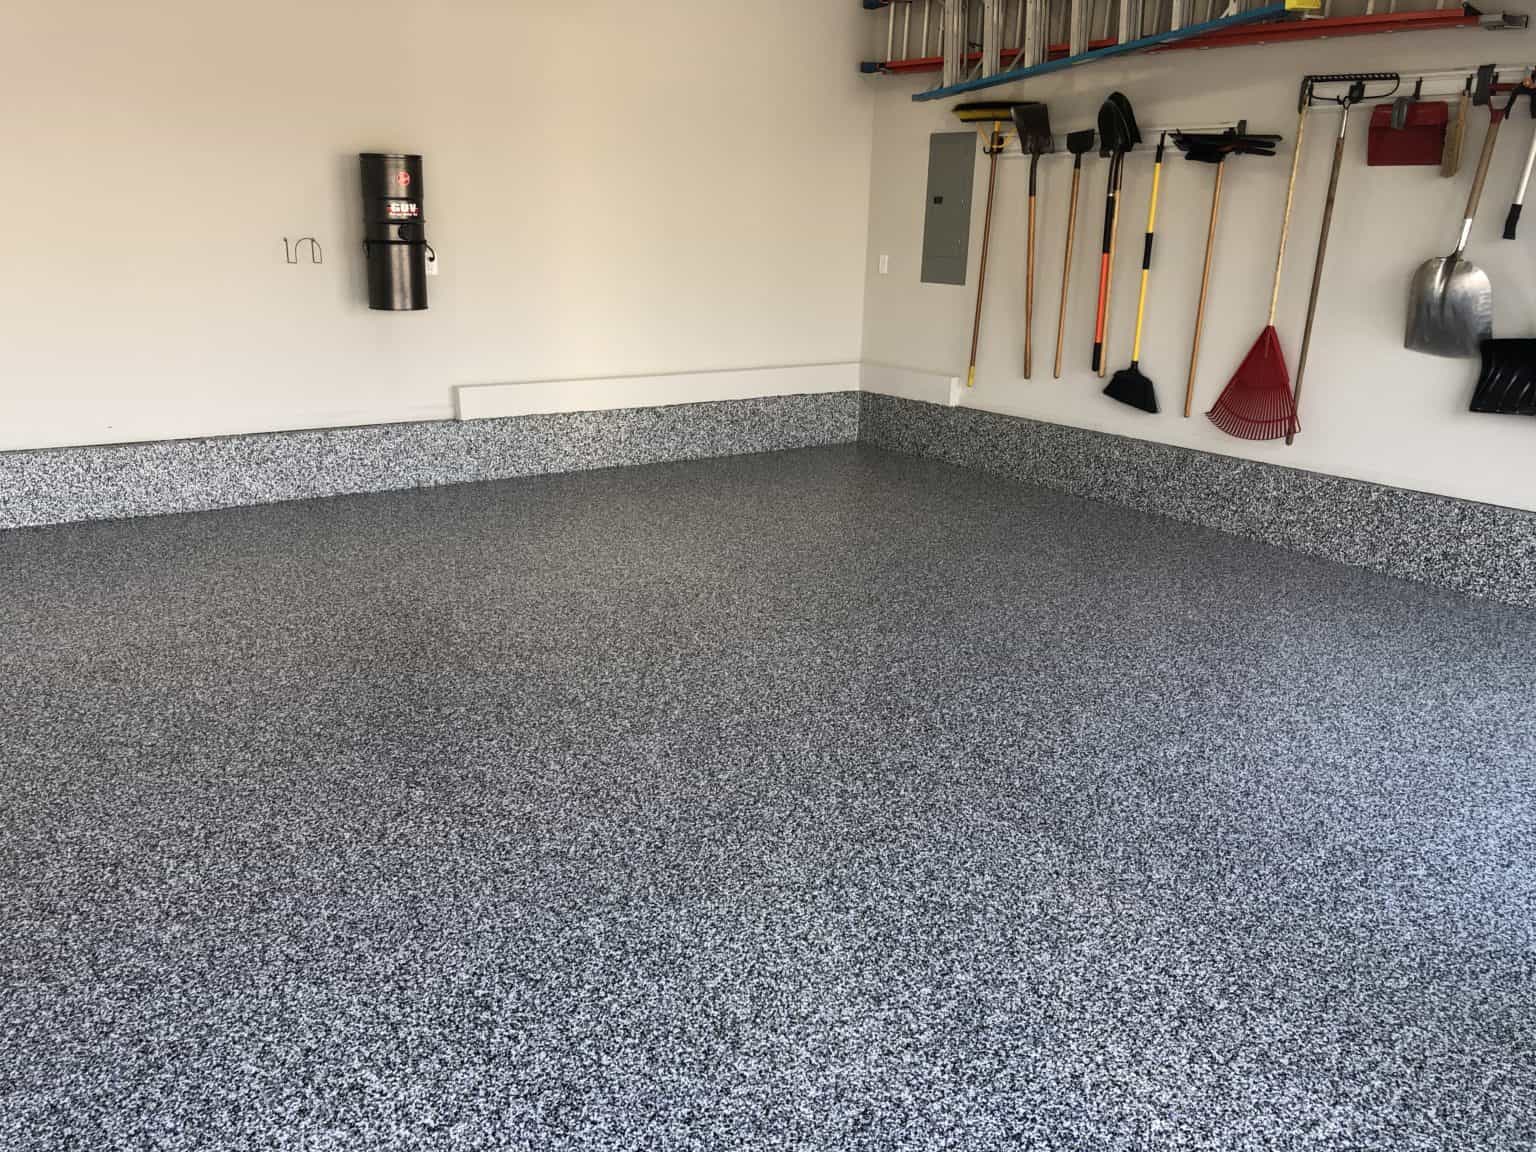
By properly sealing and finishing the basement floor, you create a protective layer that enhances the durability, appearance, and longevity of the flooring material. This final step adds the perfect finishing touch to your newly finished basement space.
Read more: How To Finish The Basement
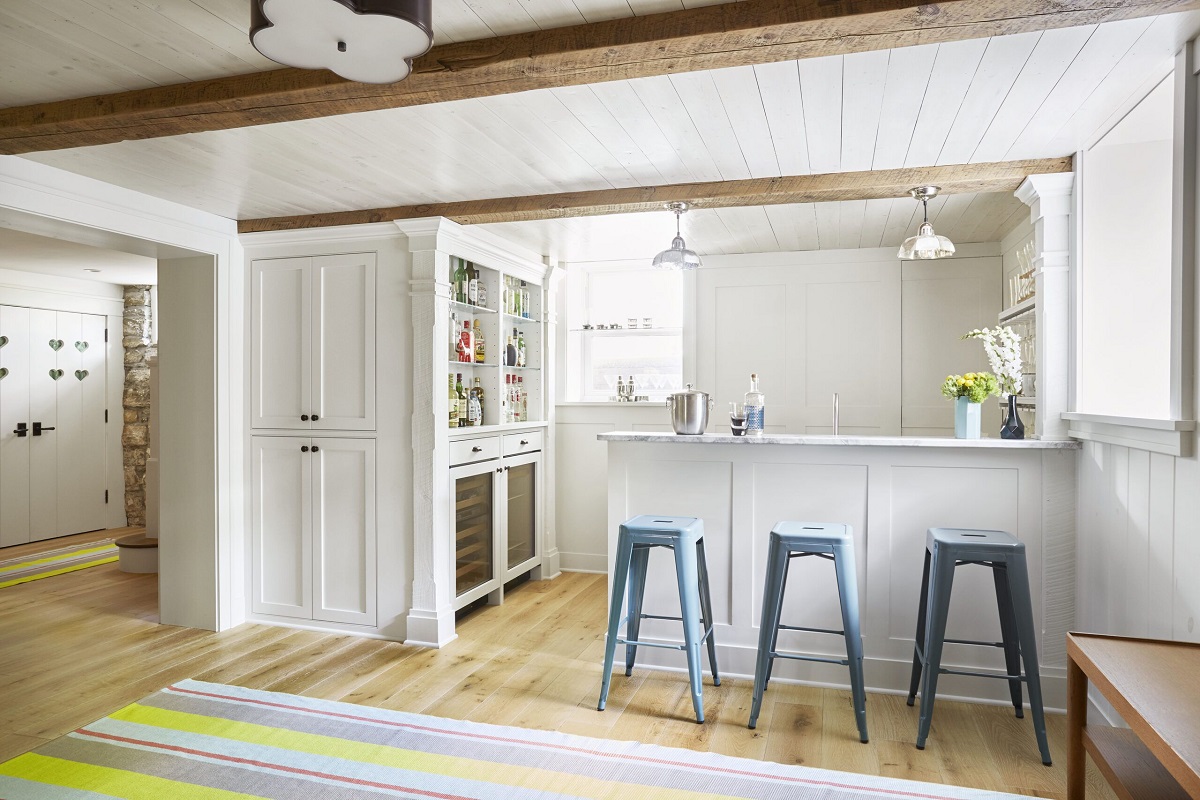
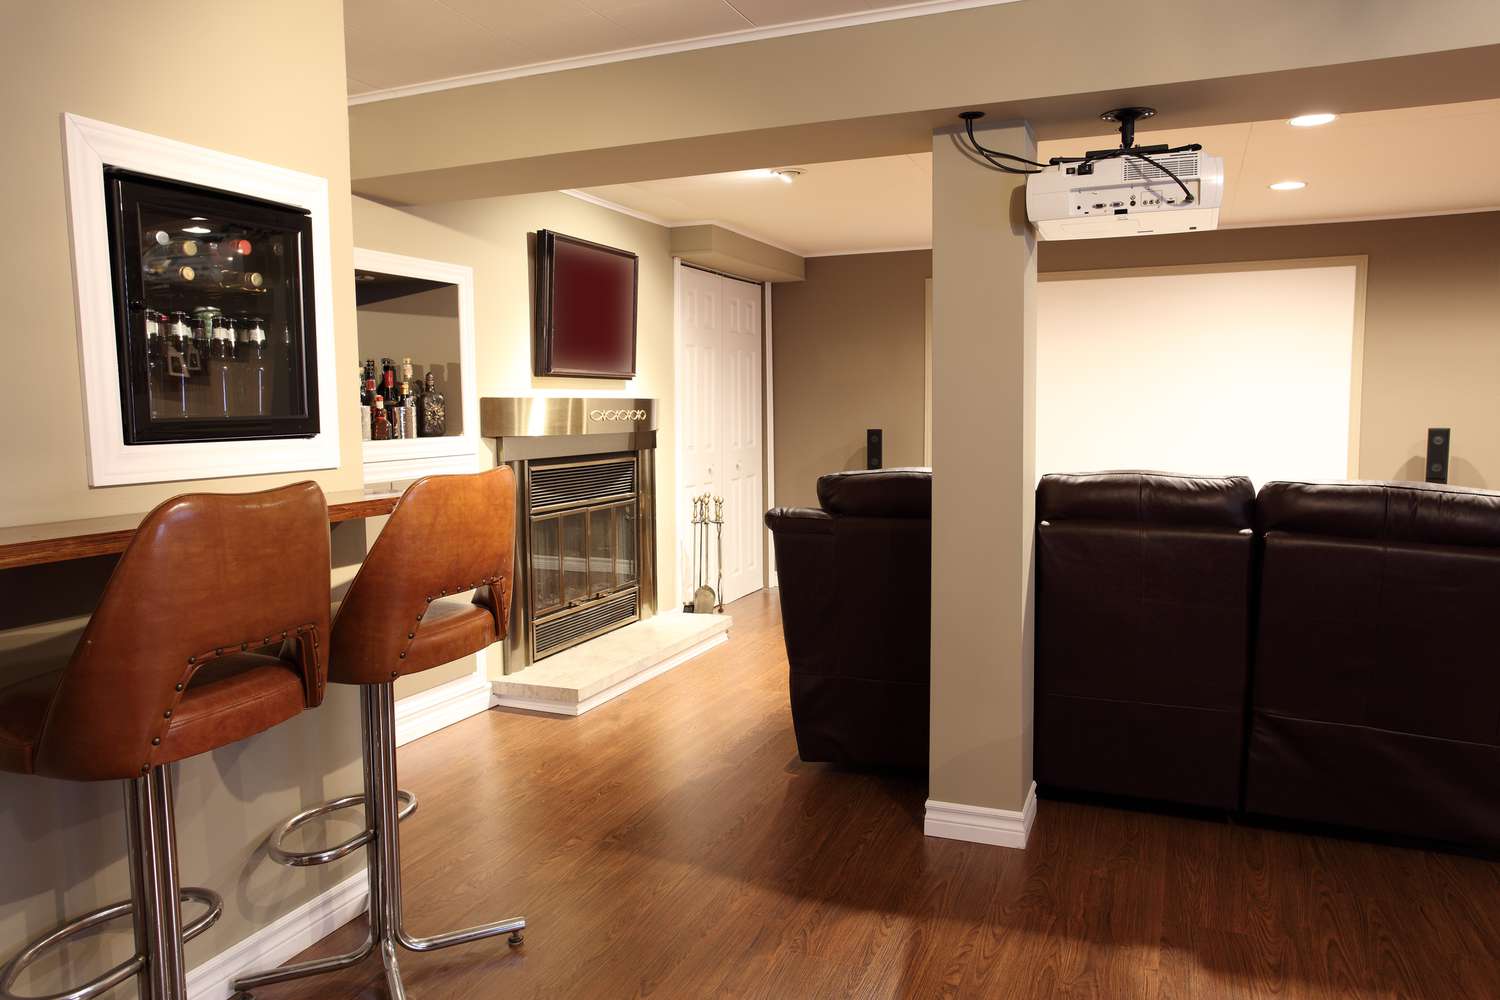
Conclusion
Finishing a basement floor is a rewarding project that adds value, functionality, and beauty to your home. By following the step-by-step process outlined in this article, you can successfully transform your basement into a comfortable, inviting, and functional living space.
Assessing the condition of your basement floor is the first crucial step. Identifying any moisture issues, cracks, or uneven surfaces allows you to address them and create a solid foundation for the new flooring.
Preparing the basement floor involves cleaning, repairing any damages, and ensuring a smooth and level surface. This step sets the stage for a successful and professional installation.
Installing a moisture barrier is vital in preventing water vapor from seeping through the floor and causing damage to the flooring material. This barrier provides an essential layer of protection and helps maintain a dry and comfortable basement environment.
Insulating the basement floor helps regulate the temperature, increase energy efficiency, and provide a more comfortable living environment. Choose the appropriate insulation material based on your specific needs and the level of insulation required.
Choosing the right flooring material is a crucial decision that will determine the aesthetic appeal, durability, and functionality of your basement floor. Consider factors such as moisture resistance, durability, and personal preferences to make an informed choice.
The actual installation process requires careful attention to detail, following manufacturer instructions, and ensuring proper alignment and fit of the flooring material. Use the necessary tools and techniques to achieve a professional and seamless finish.
Sealing and finishing the basement floor is the final touch that protects the flooring material and enhances its appearance. Applying a sealant, topcoat, or finish provides added durability and keeps the floor looking fresh and beautiful for years to come.
With a finished basement floor, you can enjoy the additional living space, whether it’s a cozy family room, a home office, or a recreational area. Keep in mind to maintain your basement floor by following the recommended cleaning and maintenance instructions for your specific flooring material.
By following these guidelines and taking the necessary precautions, you can successfully finish your basement floor and create a space that reflects your style, meets your needs, and adds value to your home.
Frequently Asked Questions about How To Finish A Basement Floor
Was this page helpful?
At Storables.com, we guarantee accurate and reliable information. Our content, validated by Expert Board Contributors, is crafted following stringent Editorial Policies. We're committed to providing you with well-researched, expert-backed insights for all your informational needs.


0 thoughts on “How To Finish A Basement Floor”