
Articles
How To Tile A Basement Floor
Modified: October 21, 2024
Learn how to tile your basement floor with our informative articles. Transform your space with step-by-step guides and expert tips to ensure a successful DIY project.
(Many of the links in this article redirect to a specific reviewed product. Your purchase of these products through affiliate links helps to generate commission for Storables.com, at no extra cost. Learn more)
Introduction
Welcome to the ultimate guide on how to tile a basement floor. If you’re looking to transform your basement into a functional and aesthetically pleasing space, tiling the floor is a great place to start. Tiled floors not only enhance the overall appearance of your basement but also provide durability and easy maintenance.
Tiling a basement floor may sound like a daunting task, but with the right tools, materials, and step-by-step instructions, it can be a rewarding DIY project. In this article, we will walk you through the process, from preparing the basement floor to applying the grout and sealing the tiles.
Before we dive into the steps, let’s discuss why tiling your basement floor is a fantastic investment. Basements are often prone to moisture and humidity, making them susceptible to mold and mildew growth. Tiles are resistant to moisture, making them an ideal flooring option for basements. Additionally, tiles offer a wide range of design options, allowing you to express your personal style and create a space that reflects your taste.
Now, let’s get started on transforming your basement with a beautiful tiled floor!
Key Takeaways:
- Tiling your basement floor not only enhances its appearance but also provides durability and easy maintenance. With the right tools and step-by-step instructions, you can transform your basement into a functional and aesthetically pleasing space.
- Proper preparation, careful tile layout, precise cutting, and meticulous grout application are essential for a successful tile installation. By following these steps and maintaining the sealed tiles, you can enjoy a beautiful, durable, and long-lasting tiled basement floor.
Step 1: Prepare the Basement Floor
Before you start tiling your basement floor, it’s crucial to ensure that the surface is properly prepared. This step is essential as it ensures the longevity and stability of your tile installation. Here are the key steps to prepare the basement floor:
- Clear the space: Begin by removing any furniture, appliances, or obstacles from the basement floor. This will provide you with a clear and spacious area to work with.
- Inspect for moisture: Basements are notorious for moisture issues, so it’s crucial to check for any signs of dampness or water seepage. Look for cracks, discoloration, or musty odors that indicate moisture problems. If you detect any issues, it’s important to address them before proceeding with tiling.
- Repair any damage: Inspect the floor for any cracks, holes, or unevenness. Fill in any cracks using a concrete patching compound and level any uneven areas using a leveling compound. Allow these repairs to dry completely before moving forward.
- Clean the surface: Thoroughly clean the basement floor to remove any dirt, dust, or debris. Sweep the floor to remove loose particles and then use a vacuum cleaner to ensure a clean surface. Additionally, consider using a mild detergent or floor cleaner to remove any stubborn stains.
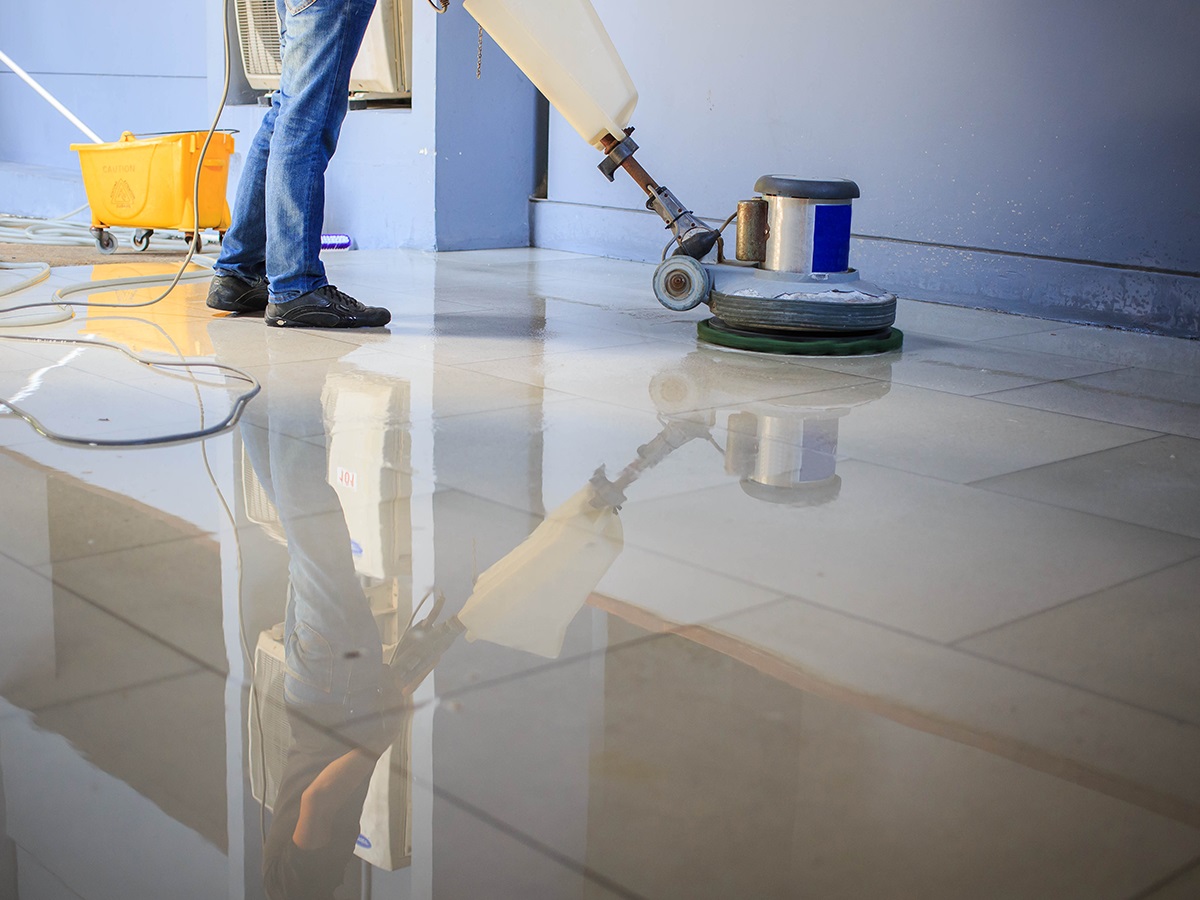
- Smooth the surface: If there are any rough patches or imperfections on the basement floor, you can use a floor grinder to smooth them out. This step is essential as it ensures a flat and even surface for tiling.
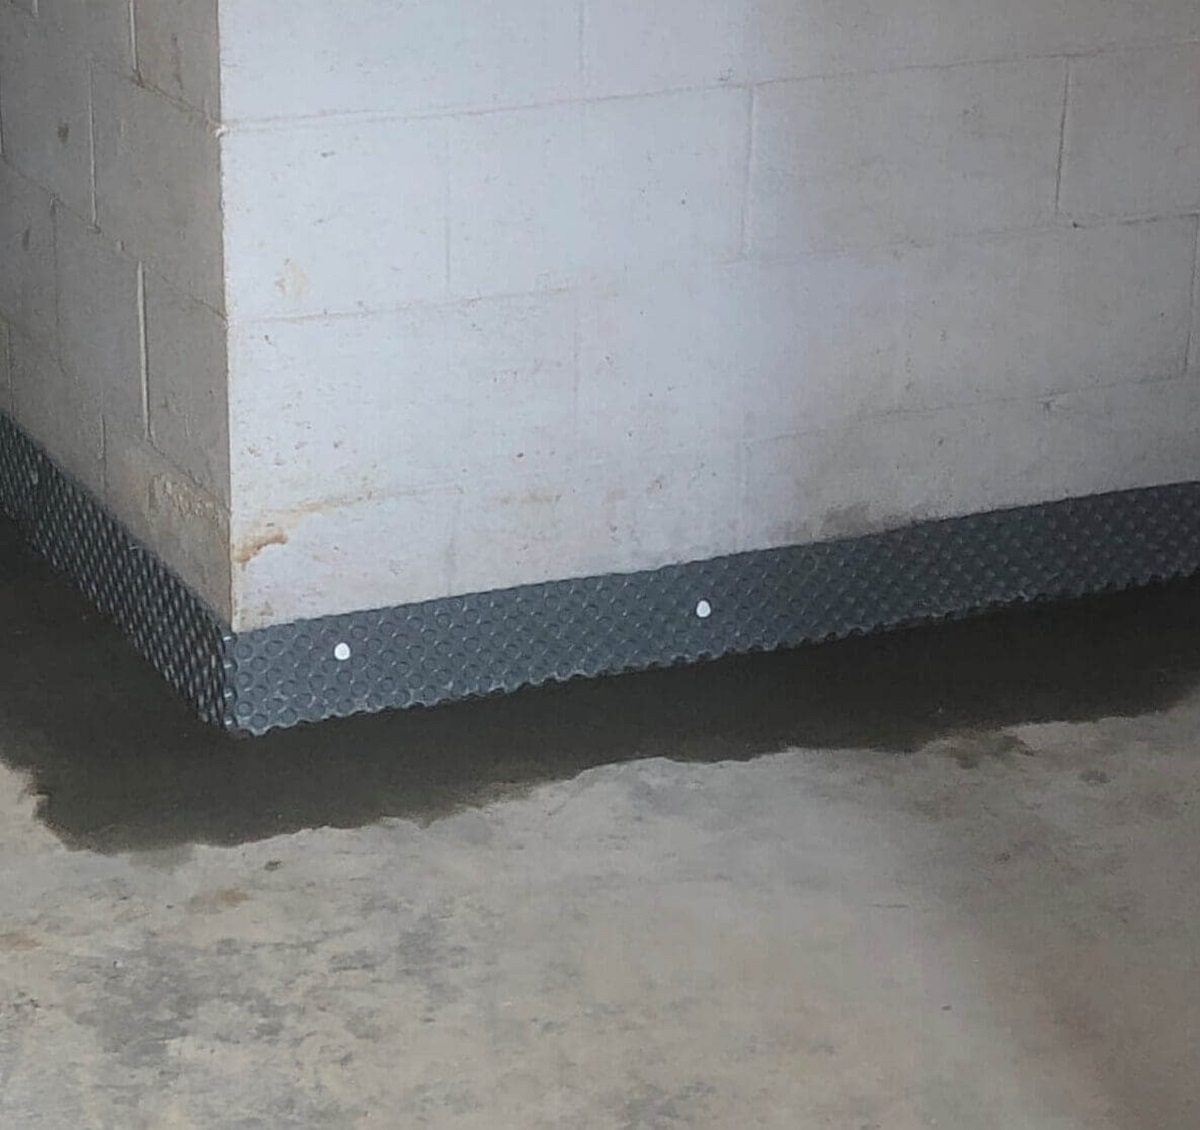
- Consider waterproofing: To further protect your basement from moisture, it’s recommended to apply a waterproofing sealant. This will create a barrier between the tile and the concrete floor, preventing water from seeping through. Follow the manufacturer’s instructions for the application of the sealant.
By following these steps to prepare your basement floor, you’re setting the foundation for a successful tile installation. Once the floor is properly prepared, you can move on to gathering the necessary tools and materials for tiling.
Step 2: Gather the Necessary Tools and Materials
Now that you have prepared the basement floor, it’s time to gather the tools and materials that are essential for tiling. Having the right equipment on hand will make the tiling process smoother and more efficient. Here’s a list of the tools and materials you will need:
Tools:
- Tape measure
- Straight edge or level
- Tile cutter or wet saw
- Notched trowel
- Grout float
- Rubber mallet
- Bucket
- Sponge or grout cleaning tool
- Tile spacers
- Safety goggles
- Knee pads
- Dust mask
Materials:
- Tile adhesive or mortar
- Grout
- Primer
- Tile spacers
- Grout sealer
- Tile of your choice
When selecting the tile for your basement floor, consider factors such as durability, water resistance, and the overall aesthetic you want to achieve. Choose a tile that is specifically designed for floor use and can withstand the conditions of the basement environment.
Additionally, make sure to calculate the amount of tile and other materials you will need based on the square footage of your basement floor. It’s always a good idea to purchase extra tiles to account for any cutting or mistakes that may occur during the installation process.
By gathering these tools and materials before you begin tiling, you’ll have everything you need at your fingertips, allowing for a smoother and more efficient installation process.
Read more: How To Put Tile On Floor
Step 3: Clean the Basement Floor
Before you start tiling your basement floor, it’s important to clean the surface thoroughly. Proper cleaning ensures that there is no dust, dirt, or debris that can interfere with the adhesion of the tiles to the floor. Follow these steps to clean the basement floor:
- Sweep: Begin by sweeping the basement floor to remove any loose dirt, dust, and debris. Use a broom or a vacuum cleaner with a brush attachment to effectively remove all the particles. Pay close attention to corners and edges to ensure a thorough cleaning.
- Mop: After sweeping, mop the floor with a solution of warm water and mild floor cleaner. Follow the instructions on the cleaner’s label to determine the proper dilution ratio. Dip the mop into the solution, wring it out well, and mop the floor, working in sections. This will effectively remove any remaining dirt and stains from the surface.
- Scrub: For stubborn stains or areas with built-up grime, you may need to do some additional scrubbing. Use a scrub brush or a soft-bristle brush to gently scrub the floor in those areas. Avoid using harsh abrasive cleaners or tools that can damage the floor surface.
- Rinse: Once you have finished mopping and scrubbing, it’s important to thoroughly rinse the floor. Fill a bucket with clean water and use a clean mop or sponge to rinse the floor. Repeat this process a couple of times to ensure all the soapy residue is removed.
- Dry: After rinsing, allow the basement floor to air dry completely. Open windows or use fans to improve air circulation and speed up the drying process. Ensure that the floor is completely dry before proceeding with the tiling process.
Cleaning the basement floor is a crucial step as it ensures a clean and debris-free surface for the tile adhesive to adhere to. By following these steps, you’ll create an optimal environment for a successful tile installation.
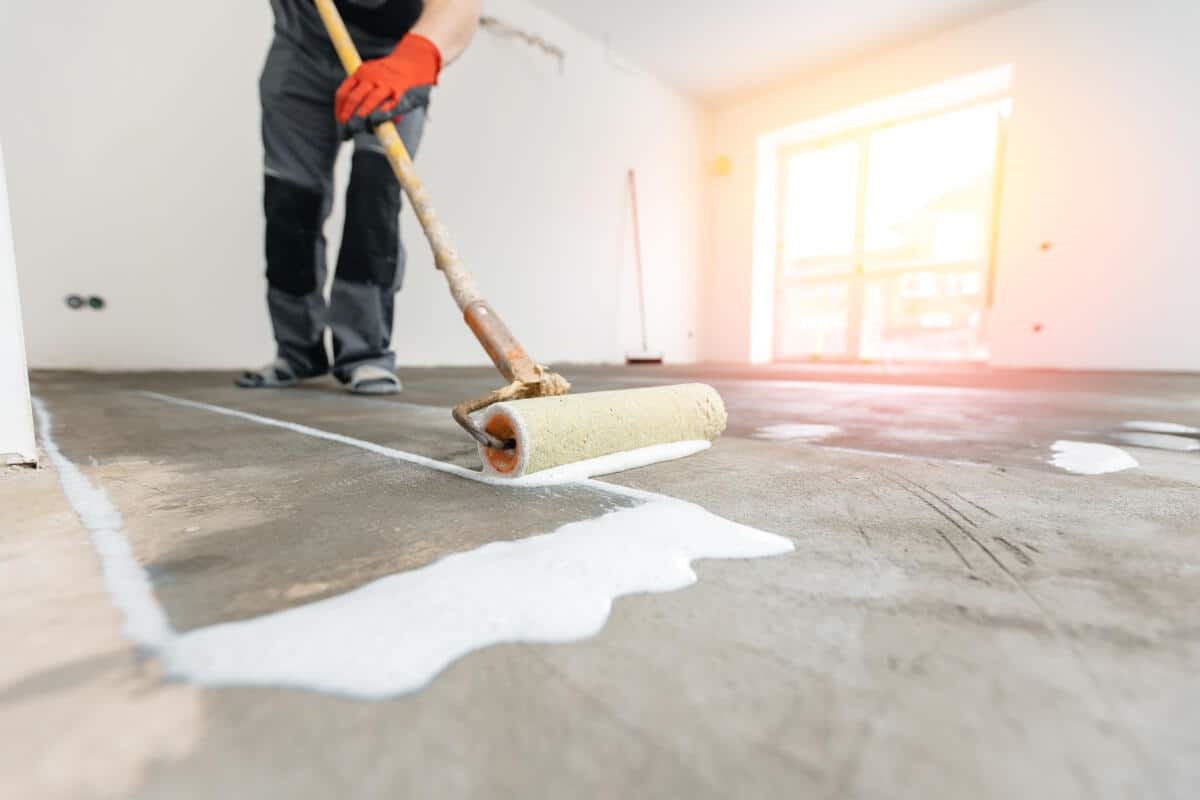
Step 4: Apply the Primer
Once the basement floor is clean and dry, the next step in tiling is to apply a primer. Primer is essential as it helps create a strong bond between the floor surface and the tile adhesive. The primer also acts as a moisture barrier, preventing any moisture from seeping up through the concrete and affecting the tiles. Follow these steps to apply the primer:
- Choose the appropriate primer: Select a primer that is specifically designed for use on concrete surfaces. Read the manufacturer’s instructions to ensure you have the correct type and amount of primer for your basement floor.
- Prepare the primer: Mix the primer according to the manufacturer’s instructions. This may involve diluting the primer with water or other specified additives. Use a clean bucket and follow the recommended mixing ratios to achieve the desired consistency.
- Apply the primer: Pour a small amount of primer onto the basement floor, starting in the far corner of the room. Use a paint roller or a brush to spread the primer evenly across the floor surface. Work in small sections, applying the primer in smooth, even strokes. Be sure to cover the entire floor area, including the corners and edges.
- Allow the primer to dry: The drying time for the primer will vary depending on the product used. Refer to the manufacturer’s instructions to determine the recommended drying time. It is crucial to allow the primer to dry completely before moving on to the next step. This ensures that it forms a strong bond and acts as a reliable moisture barrier.
- Inspect the primer: Once the primer has dried, inspect the floor surface to ensure that it is evenly coated and there are no missed spots or streaks. If necessary, apply a second coat of primer following the same process as before.
Applying the primer is an important step in ensuring a successful tile installation. It creates a strong bond between the concrete floor and the tile adhesive, providing a solid foundation for the tiles. Additionally, the primer acts as a moisture barrier, protecting the tiles from any potential moisture issues.
By following these steps and allowing the primer to fully dry, you’ll be one step closer to achieving a professionally tiled basement floor.
Step 5: Lay Out the Tile Pattern
With the primer applied and dried, it’s time to lay out the tile pattern on your basement floor. Properly planning the layout ensures a visually appealing and well-balanced look for your tiled floor. Follow these steps to lay out the tile pattern:
- Measure and mark: Use a tape measure to measure the dimensions of the basement floor and determine the center point. Mark this center point with a pencil or chalk line.
- Establish guidelines: From the center point, extend guidelines in all four directions to create a grid. These guidelines will serve as reference points for laying the tiles.
- Dry lay the tiles: Without adhesive, place a few tiles along the guidelines according to your desired pattern. This step allows you to visualize how the tiles will look and make any necessary adjustments before permanently installing them.
- Ensure symmetry: Pay attention to the symmetry of the tile placement. Adjust the starting point or make small shifts to maintain symmetry along the edges of the room.
- Account for spacing: Use tile spacers to ensure consistent spacing between the tiles. The size of the spacers determines the width of the grout lines. Refer to the tile manufacturer’s recommendations or your personal preference for the desired spacing.
- Make necessary adjustments: If the tile placement requires any cuts to fit around obstacles or along the edges of the room, measure and mark the tiles accordingly. Use a tile cutter or a wet saw to make precise cuts as needed.
- Double-check layout: Step back and visually assess the dry-laid tiles to ensure they align with your desired pattern and offer a balanced look. Make any final adjustments or changes before proceeding.
Laying out the tile pattern is a critical step in achieving a stunning and well-executed tile installation. Taking the time to plan and adjust the layout will ensure that the end result meets your expectations.
Once you are satisfied with the tile layout, you can move on to the next steps of applying the adhesive and laying the tiles in place.
Step 6: Cut the Tiles
After laying out the tile pattern, you may need to cut some tiles to fit around obstacles or edges of the room. Cutting tiles can seem intimidating, but with the right tools and techniques, it can be done effectively. Follow these steps to cut the tiles:
- Measure and mark: Measure the area where the tile needs to be cut, taking into account any obstacles or edges. Use a pencil or marker to mark the measurements directly on the tile surface.
- Choose the right tool: Depending on the type of tile you are working with, you will need either a tile cutter or a wet saw. A tile cutter is suitable for ceramic or porcelain tiles and provides a clean, straight cut. A wet saw, on the other hand, is necessary for cutting harder materials like stone or glass tiles.
- Wear safety gear: Before cutting the tiles, make sure to wear safety goggles and gloves to protect your eyes and hands from any potential hazards.
- Cut the tiles: Using the appropriate tool, carefully follow the marked lines to cut the tiles. For a tile cutter, score the tile’s surface with the cutter’s wheel, then apply pressure to snap the tile along the scored line. For a wet saw, guide the tile carefully through the blade, allowing the saw to do the cutting for you.
- Sand or smooth edges (if needed): After cutting the tiles, you may need to smooth the edges for a better fit. Use a tile file or sandpaper to gently sand any rough or uneven edges, ensuring a precise fit.
- Test the fit: Place the cut tiles into their respective positions to test the fit. Make any necessary adjustments or additional cuts if required.
Cutting tiles is a skill that improves with practice, so it’s a good idea to practice on spare tiles before tackling the actual tiles for your basement floor. Take your time and work with precision to achieve clean and accurate cuts.
Once you have successfully cut the tiles to fit around obstacles or along the edges, you can now proceed to apply the tile adhesive and lay the tiles in place.
When tiling a basement floor, be sure to properly prepare the surface by cleaning and leveling it before applying the adhesive. This will ensure a smooth and long-lasting finish.
Read more: How Thick Are Floor Tiles
Step 7: Mix and Apply the Tile Adhesive
With the tiles cut and ready, it’s time to mix and apply the tile adhesive. Tile adhesive, also known as mortar or thinset, is a crucial component in securing the tiles to the basement floor. Follow these steps to mix and apply the tile adhesive:
- Gather the materials: You will need the tile adhesive, a notched trowel, a bucket, and clean water. Read the manufacturer’s instructions on the adhesive package for specific mixing ratios and guidelines.
- Mix the adhesive: Pour the recommended amount of clean water into the bucket, then gradually add the tile adhesive powder. Use a mixing tool, such as a drill with a mixing attachment, to blend the adhesive and water thoroughly. Aim for a consistency similar to that of peanut butter.
- Let the adhesive set: Allow the mixed adhesive to rest for a few minutes. This is known as the “slake” time and allows the adhesive to fully activate and achieve its optimal bonding properties.
- Apply the adhesive: Using the notched side of the trowel, scoop up a sufficient amount of adhesive and spread it evenly on a small area of the floor. Hold the trowel at a 45-degree angle and use the notched side to create ridges or grooves in the adhesive. This helps enhance the bond and ensures proper coverage.
- Lay the tiles: Carefully place the tiles on top of the adhesive, pressing them firmly into place. Use a slight twisting motion to seat them securely and help ensure proper adhesion.
- Continue the process: Repeat the adhesive application and tile placement process, working in small sections at a time and following the established tile pattern and guidelines. Place tile spacers between the tiles to maintain consistent spacing and allow room for grout.
- Check for level and alignment: After placing each tile, use a level and a straight edge to ensure that the tiles are level and aligned correctly. Make any necessary adjustments while the adhesive is still wet.
Take your time to ensure that the adhesive is applied evenly and that each tile is firmly pressed into place. It’s important to work efficiently as the adhesive starts to set, typically within 20-30 minutes.
Once all the tiles are laid and the adhesive has dried, you can move on to the next step of grouting the tiles to fill in the gaps between them.
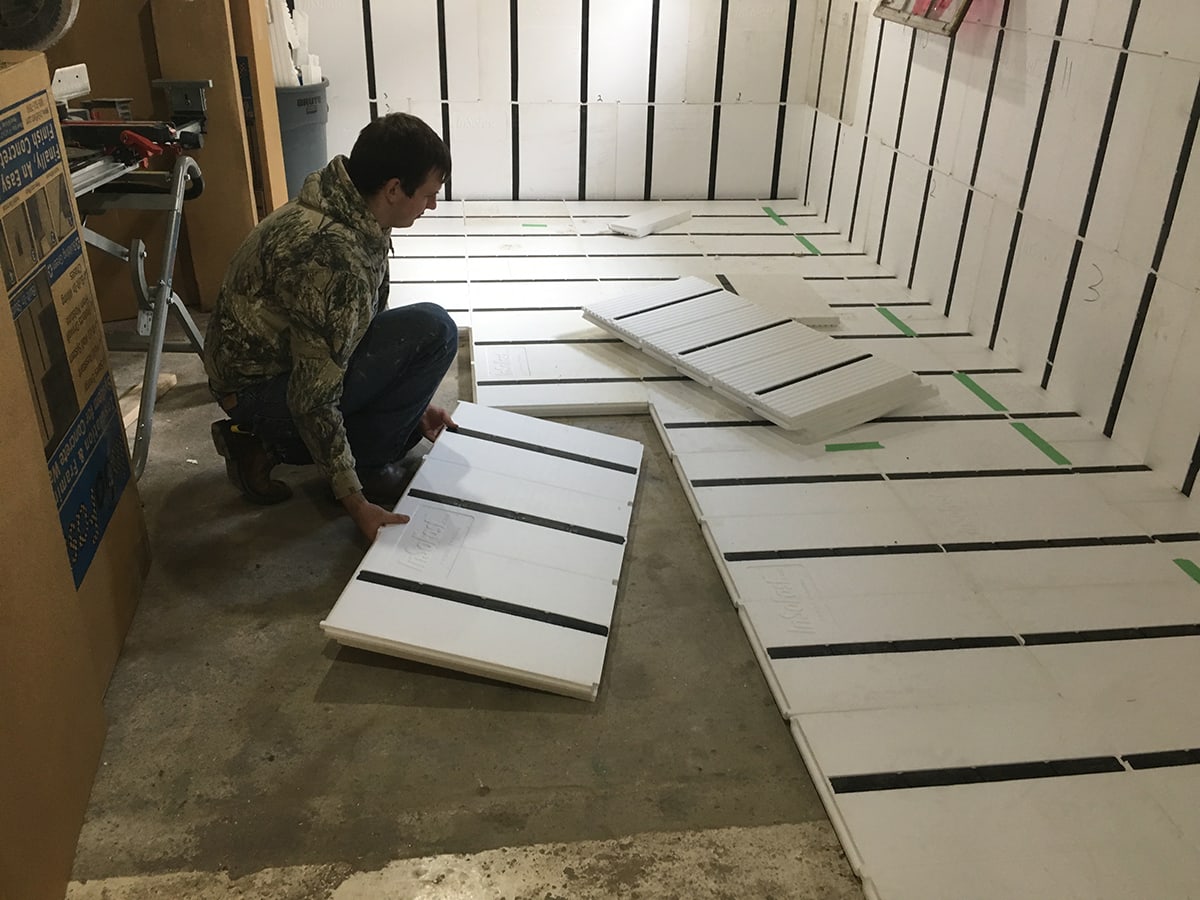
Step 8: Lay the Tiles
With the adhesive applied, it’s time to lay the tiles onto the basement floor. This step involves carefully positioning the tiles according to the layout you established earlier. Follow these steps to lay the tiles:
- Start in a corner: Begin laying the tiles in one corner of the room, working your way towards the opposite wall. This ensures that you have an even and consistent placement throughout the floor.
- Place the first tile: Take a tile and press it firmly onto the adhesive, making sure it aligns with the guidelines you established earlier. Apply a slight twisting motion to help secure the tile in place.
- Continue with the rest of the tiles: Lay the remaining tiles adjacent to each other, following the pre-determined pattern. Use tile spacers to maintain consistent spacing between the tiles and ensure straight grout lines.
- Check for level and alignment: After placing each tile, use a level and a straight edge to ensure that the tiles are level and aligned correctly. Make any necessary adjustments while the adhesive is still wet.
- Work in small sections: It’s best to work in small sections at a time. Apply the adhesive, lay a few tiles, and then move on to the next section. This approach ensures that the adhesive doesn’t dry out before you can lay the tiles.
- Double-check the pattern: Periodically step back and take a look at the overall pattern to ensure it is consistent and visually appealing. Adjust the tile placement as needed to achieve the desired look.
- Clean up excess adhesive: As you lay the tiles, be mindful of any adhesive that may squeeze up between the tiles. Use a damp cloth or sponge to clean off any excess adhesive before it dries.
- Allow the tiles to set: Once all the tiles are laid, allow them to set and the adhesive to fully dry based on the manufacturer’s recommended drying time. This typically takes anywhere from 24 to 48 hours.
It’s important to work carefully and systematically when laying the tiles to ensure a professional and seamless result. Take your time to align the tiles properly and make any necessary adjustments before the adhesive dries.
Once the adhesive has completely dried, you can move on to the next step of applying grout between the tiles to fill in the gaps and create a finished look.
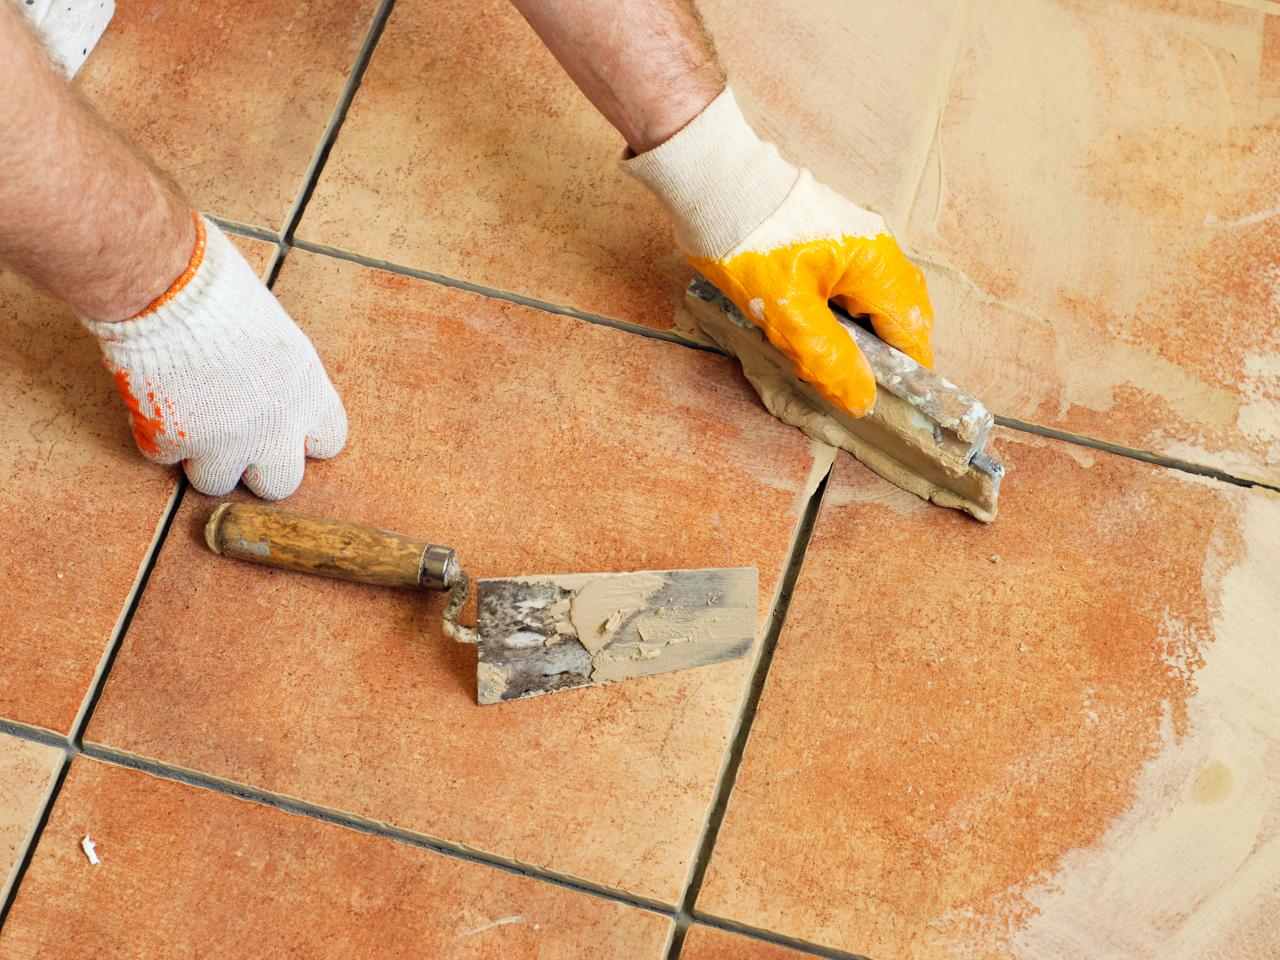
Step 9: Apply the Grout
After the tiles have set and the adhesive has dried, it’s time to apply grout to fill in the gaps between the tiles. Grout not only serves as a visual element, but it also helps to seal and stabilize the tiles. Follow these steps to apply the grout:
- Gather the materials: You will need grout, a grout float, a bucket, clean water, and a sponge for cleanup. Choose a grout color that complements your tile and desired aesthetic.
- Mix the grout: Follow the manufacturer’s instructions to mix the grout with water in a clean bucket. Mix until you achieve a smooth and lump-free consistency. Let the grout mixture sit for a few minutes to allow any additives to activate.
- Prep the tiles: Before applying grout, dampen the tiles with a wet sponge. This helps prevent the tiles from absorbing moisture from the grout, allowing it to cure properly.
- Apply the grout: Scoop a generous amount of grout onto the grout float and hold it at a 45-degree angle. Press the grout into the gaps between the tiles, using a sweeping motion to ensure even coverage. Work in small sections at a time to prevent the grout from drying out.
- Remove the excess grout: After applying the grout, use the edge of the grout float or a grout scraper to remove any excess grout from the surface of the tiles. Hold the float at a 90-degree angle and sweep it diagonally across the tiles to remove the excess grout.
- Clean the tiles: Once the excess grout has been removed, use a damp sponge to wipe the tiles clean. Rinse the sponge frequently and continue cleaning until the tiles are free from any grout haze. Be careful not to remove too much grout from the gaps.
- Allow the grout to cure: Follow the manufacturer’s instructions for the recommended curing time. Typically, it takes 24 to 48 hours for the grout to fully cure. Avoid walking on the newly grouted floor during this time to ensure proper bonding.
- Seal the grout: Once the grout has cured, it’s a good idea to apply a grout sealer to protect it from staining and to make it easier to clean in the future. Follow the instructions on the sealer packaging for application and drying times.
Applying grout requires attention to detail and patience. Take your time to ensure that each gap is properly filled and the surface of the tiles is thoroughly cleaned. This will result in a beautiful and professional-looking finish for your tiled basement floor.
Once the grout is completely dry and sealed, you can move on to the final step of cleaning and sealing the tiles to complete the tiling process.
Step 10: Clean and Seal the Tiles
Once the grout has cured and the tiling process is complete, the final step is to clean and seal the tiles. Cleaning and sealing help protect the tiles and prolong their lifespan while keeping them looking their best. Follow these steps to clean and seal the tiles:
- Clean the tiles: Begin by sweeping or vacuuming the tiled floor to remove any loose dirt or debris. Then, use a mild detergent or tile cleaner diluted in water to mop the floor and remove any stains or residue. Pay special attention to grout lines and difficult-to-reach areas.
- Rinse the tiles: After cleaning, rinse the tiles with clean water to remove any cleaning solution remaining on the surface. This will prevent any residual cleaner from leaving a dull film on the tiles.
- Dry the tiles: Allow the tiles to air dry completely or use a clean, dry mop or towel to absorb any moisture. Ensure that the floor is completely dry before applying the sealer.
- Choose the right sealer: Select a suitable sealer based on the type of tiles you installed. There are different sealers available for various tile materials such as ceramic, porcelain, or natural stone. Read the manufacturer’s instructions for application guidelines and drying times.
- Apply the sealer: Follow the manufacturer’s instructions to apply the sealer evenly to the tiles and grout lines. Use a soft-bristle brush, roller, or sprayer, depending on the sealer type. Ensure complete coverage and follow any specific instructions regarding drying and curing times.
- Remove excess sealer: After applying the sealer, use a clean, lint-free cloth or sponge to remove any excess sealer from the surface of the tiles. Pay attention to any areas where the sealer may have pooled or left streaks.
- Allow the sealer to cure: Give the sealer ample time to cure based on the manufacturer’s guidelines. This usually takes a few hours to a couple of days. Avoid walking on the tiles or exposing them to water or other liquids during this time.
- Maintain the sealed tiles: Regularly clean the sealed tiles using non-abrasive cleaners that are compatible with sealed surfaces. Avoid using harsh chemicals or abrasive materials that could damage the sealer. Periodically check the sealant and reapply as needed to maintain maximum protection.
Cleaning and sealing the tiles after installation helps protect them from stains, moisture damage, and wear and tear. It also makes cleaning and maintenance easier in the long run, preserving the beauty and condition of your tiled basement floor.
By following these steps and properly maintaining the sealed tiles, you can enjoy a beautiful, durable, and long-lasting tiled basement floor that enhances the overall look of your space.
Read more: How Much To Tile A Floor
Conclusion
Congratulations! You’ve reached the end of our comprehensive guide on how to tile a basement floor. By following the step-by-step instructions outlined in this article, you have learned how to transform your basement into a beautiful, functional, and long-lasting space. Tiling the basement floor not only enhances the aesthetic appeal but also provides durability and easy maintenance.
Throughout the process, you’ve learned about the importance of preparing the basement floor, gathering the necessary tools and materials, cleaning the surface, applying the primer, laying out the tile pattern, cutting the tiles, applying the adhesive, laying the tiles, applying the grout, and finally, cleaning and sealing the tiles. Each step contributes to a successful tile installation and ensures the longevity and stability of your basement floor.
Remember, it’s crucial to pay attention to detail, take measurements accurately, and work carefully to achieve professional-looking results. Furthermore, always prioritize safety by using the appropriate safety gear, such as goggles and gloves, when handling tools or materials.
With your newly tiled basement floor, you have created a functional and visually appealing space that can be used for various purposes such as a living area, home office, entertainment room, or even a gym. The durable and moisture-resistant nature of tiles makes them an ideal flooring choice for basements, providing you with a long-lasting and low-maintenance solution.
As you enjoy your newly tiled basement floor, be sure to follow proper maintenance and cleaning routines to keep it in its best condition. Regularly sweep or vacuum the floor to remove dust and debris, and clean the tiles with non-abrasive cleaners suitable for sealed surfaces. Additionally, schedule regular inspections to check for any signs of damage or wear and address them promptly to prevent further issues.
Thank you for joining us on this tiling journey. We hope that this guide has equipped you with the knowledge and confidence to successfully tile your basement floor. Enjoy your transformed space and the beauty it brings to your home!
Frequently Asked Questions about How To Tile A Basement Floor
Was this page helpful?
At Storables.com, we guarantee accurate and reliable information. Our content, validated by Expert Board Contributors, is crafted following stringent Editorial Policies. We're committed to providing you with well-researched, expert-backed insights for all your informational needs.


0 thoughts on “How To Tile A Basement Floor”