
Articles
How To EvACuate Car AC System At Home
Modified: October 20, 2024
Learn how to evacuate your car's AC system at home with our informative articles. Follow our step-by-step guide to ensure a smooth and efficient process.
(Many of the links in this article redirect to a specific reviewed product. Your purchase of these products through affiliate links helps to generate commission for Storables.com, at no extra cost. Learn more)
Introduction
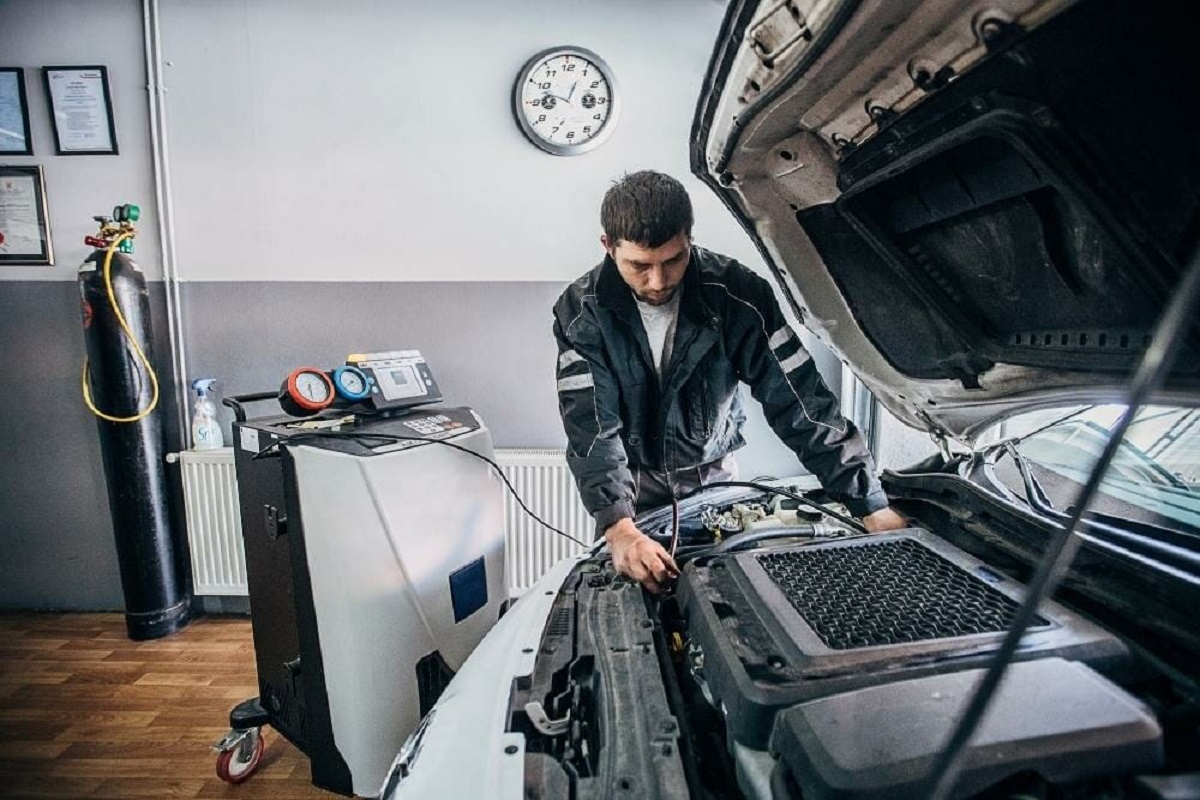
Welcome to this comprehensive guide on how to properly evacuate your car’s AC system at home. The air conditioning system plays a crucial role in keeping us comfortable during those hot summer days. However, over time, the refrigerant in the system can become contaminated or lose its efficiency, resulting in reduced cooling performance. Evacuating the AC system is an essential maintenance procedure that helps remove any residual refrigerant, contaminants, or moisture from the system. By doing this, you can ensure optimal cooling performance and extend the lifespan of your AC components.
While it might seem like a complicated task, evacuating the car’s AC system can be done at home with the right tools and knowledge. In this guide, we will walk you through the step-by-step process, highlighting necessary safety precautions along the way.
Before we jump into the steps, it’s important to note that if you’re unfamiliar or uncomfortable with working on your car’s AC system, it’s always best to seek professional assistance. Additionally, it’s never advisable to vent refrigerant into the atmosphere as it is harmful to the environment. Please ensure you are evacuating the refrigerant safely and responsibly.
Now that we’ve covered the basics, let’s dive into the essential safety precautions you should keep in mind before beginning the evacuation process.
Key Takeaways:
- Safety First!
Prioritize safety by wearing protective gear, working in a well-ventilated area, and following manufacturer guidelines. Properly disposing of refrigerant and adhering to safety precautions ensures a safe and responsible evacuation process. - DIY AC Maintenance Made Easy
With the right tools and knowledge, evacuating and recharging your car’s AC system at home is achievable. Following the step-by-step process and monitoring the evacuation and recharge ensures optimal cooling performance and extends the lifespan of your AC components.
Read more: How To Vacuum A Car AC System
Safety Precautions
Before attempting to evacuate your car’s AC system, it’s crucial to prioritize safety. Here are some important precautions to follow:
- Protective Gear: Wear safety glasses and gloves to shield your eyes and hands from potential refrigerant leaks or contact with contaminants.
- Ventilation: Ensure you’re working in a well-ventilated area, preferably outdoors or in a well-ventilated garage, to avoid inhaling any harmful fumes.
- Cooling System: Ensure your car’s engine is off and has cooled down before beginning the evacuation process to prevent any potential burn injuries.
- Power Down: Disconnect the car battery or remove the AC system’s fuse before starting any work. This will help prevent accidental electrical shocks.
- Pressure Release: If you suspect there is still refrigerant in the system, use a specialized refrigerant recovery machine to remove it, following the appropriate safety protocols.
- Proper Disposal: Dispose of the recovered refrigerant and any other chemicals in accordance with local regulations and guidelines to protect the environment.
- Follow Manufacturer Guidelines: Familiarize yourself with your car’s specific AC system and adhere to the manufacturer’s instructions and recommendations throughout the evacuation process.
By following these safety precautions, you can minimize risks and ensure a safe working environment when evacuating your car’s AC system. Now that you’re aware of the necessary safety measures, let’s move on to the first step: gathering the necessary tools and equipment.
Step 1: Gather the Necessary Tools and Equipment
Before you begin the evacuation process, it’s important to gather all the tools and equipment you’ll need. Here is a list of essential items:
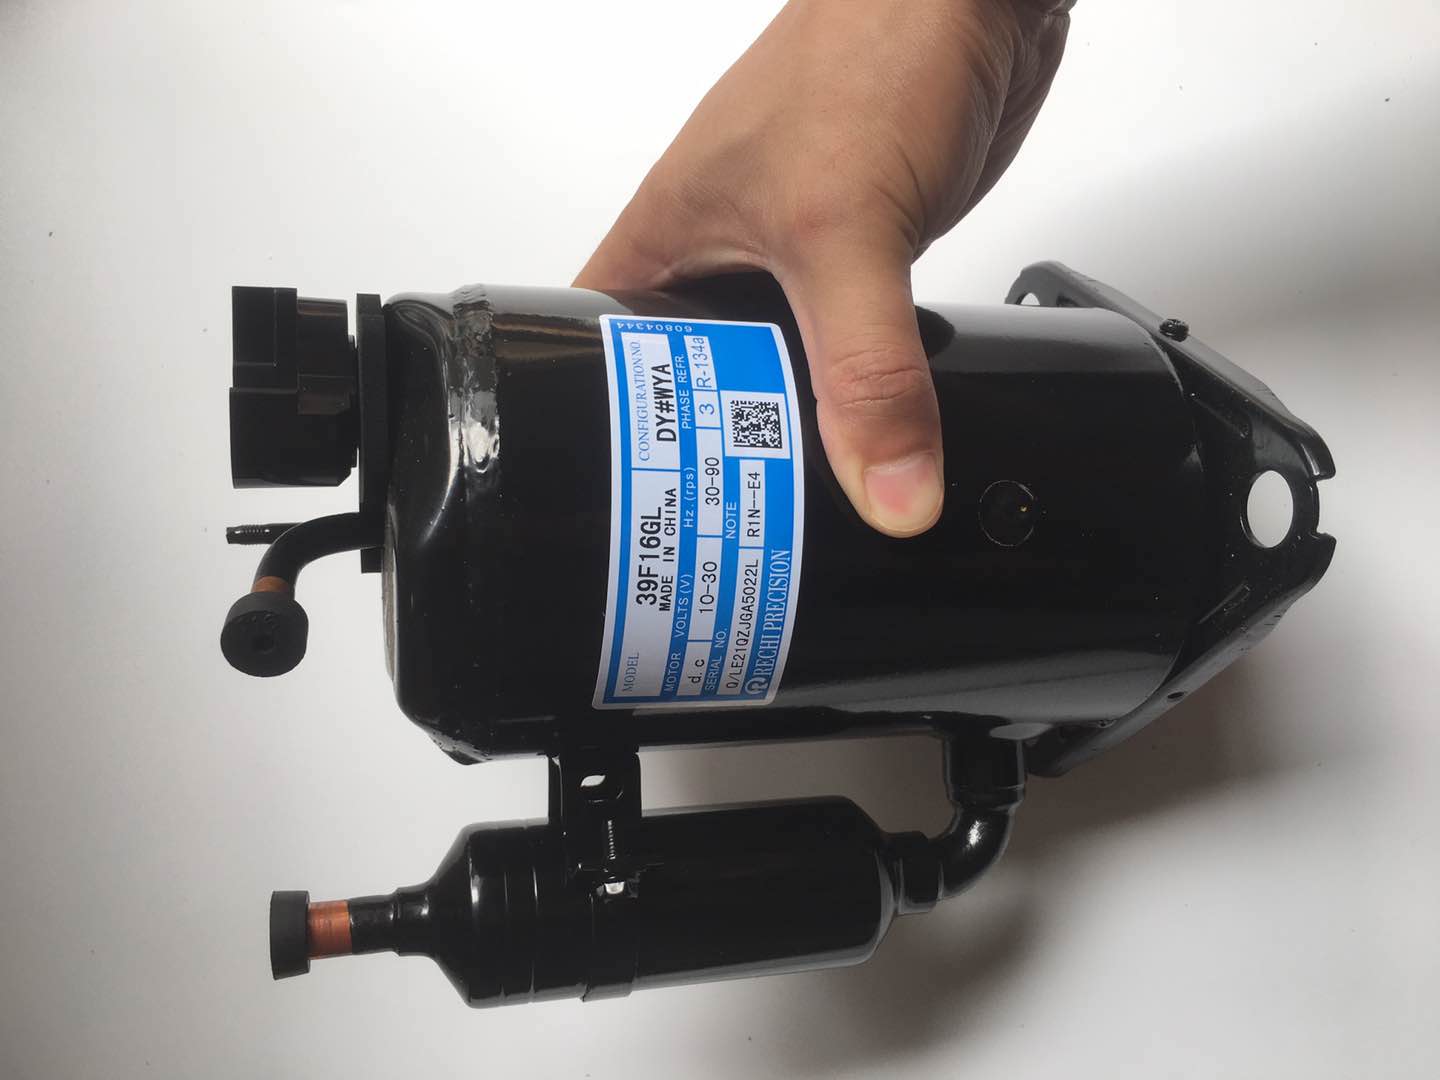
- Vacuum Pump: A vacuum pump is the primary tool used to evacuate the AC system. Ensure you have a vacuum pump with a suitable capacity for automotive AC systems.
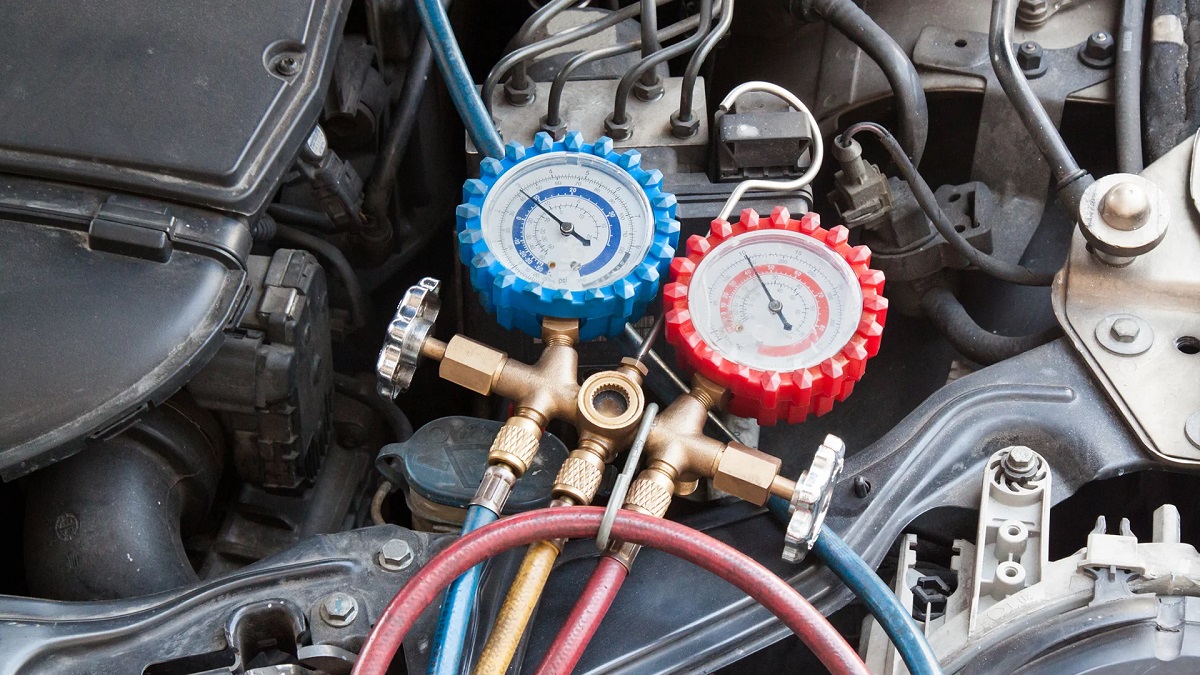
- AC Manifold Gauge Set: An AC manifold gauge set is used to monitor the pressure in the system during the evacuation process. It consists of high and low-pressure gauges, as well as various hoses and connectors.
- Refrigerant Recovery Machine: If there is still refrigerant in the system, you will need a refrigerant recovery machine to safely remove it. This machine should be used according to the manufacturer’s instructions.
- Safety Glasses and Gloves: Wear safety glasses and gloves to protect yourself from any potential leaks or contact with refrigerant and contaminants.
- Vacuum Pump Oil: Check the manufacturer’s instructions for your vacuum pump and ensure you have the appropriate vacuum pump oil if needed.
- Leak Detection Tools: It’s a good idea to have a UV dye and a UV light to help detect any potential leaks in the AC system.
- Wrenches and Pliers: Depending on your car’s specific AC system, you may need wrenches and pliers to disconnect and reconnect various components.
- Puncture Tool: If the refrigerant canisters you are using require piercing, you will need a puncture tool to safely pierce them.
- Clean Rags or Towels: Have some clean rags or towels on hand to wipe away any spills or excess moisture.
Make sure to gather all the necessary tools and equipment before you begin the evacuation process. It’s important to have everything readily available to ensure a smooth and efficient procedure. Once you have all the required items, you can proceed to the next step: locating the low-pressure port.
Step 2: Locate the Low-Pressure Port
Before you can begin the evacuation process, you need to locate the low-pressure port on your car’s AC system. The low-pressure port is where you will connect the AC manifold gauge set and the evacuation kit. Here’s how to find it:
- Refer to Your Car’s Manual: The first step is to consult your car’s owner’s manual. It will provide you with information on the location of the low-pressure port specific to your vehicle’s make and model.
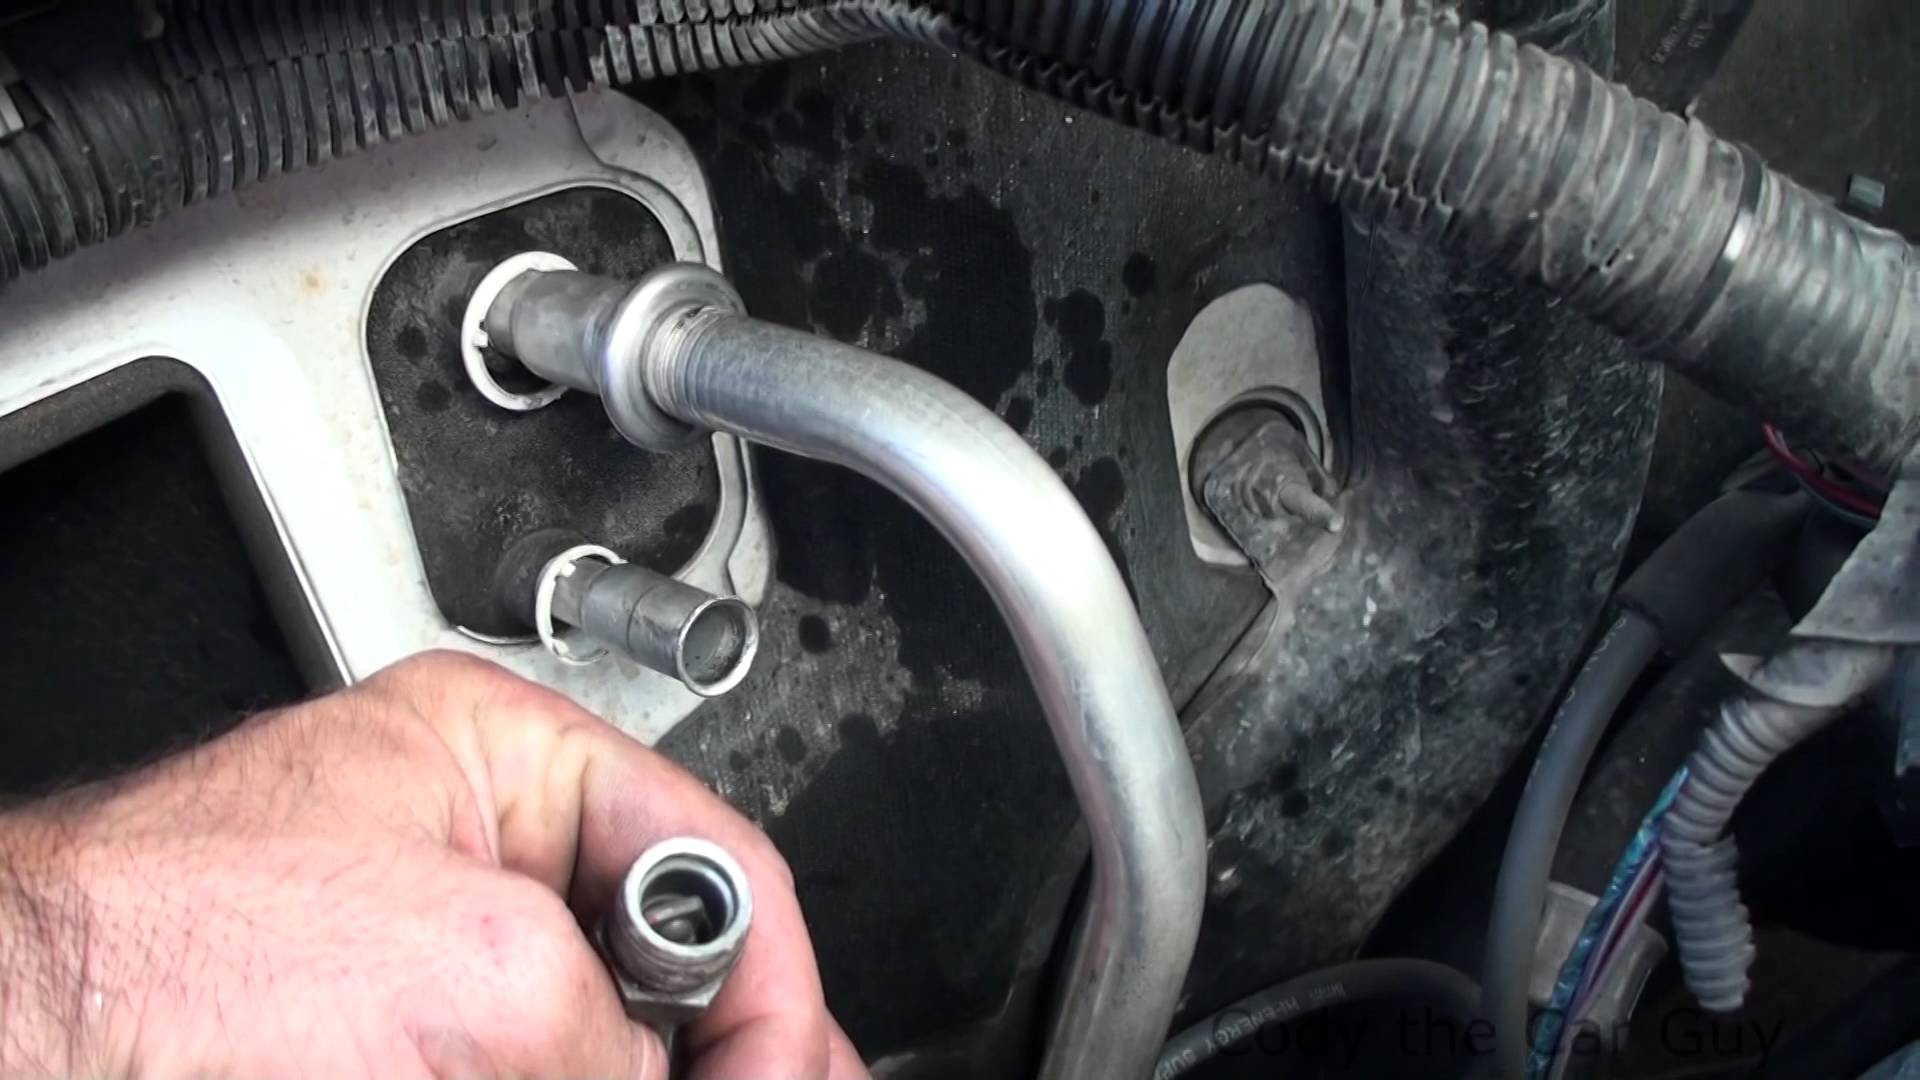
- Look for the Service Ports: The low-pressure port is typically located on the larger diameter line of the AC system, between the compressor and the evaporator. It is commonly marked with a “L” or “Low” label.
- Identify the Blue Cap: The low-pressure port is often covered by a blue cap to protect it from dust and debris. Look for a blue cap and remove it to access the port.
- Visual Inspection: Use a flashlight to inspect the AC lines and components. Look for the cylindrical shape of the port and the presence of any labels indicating it as the low-pressure port.
Once you have located the low-pressure port, take a moment to familiarize yourself with its position and orientation. This will make it easier to connect the AC manifold gauge set and the evacuation kit in the following steps.
Now that you know where to find the low-pressure port, we can move on to step 3: preparing the evacuation kit.
Step 3: Prepare the Evacuation Kit
Before you can start the evacuation process, it’s important to properly prepare the evacuation kit to ensure a seamless and efficient operation. Here’s how to prepare the kit:
- Check the AC Manifold Gauge Set: Inspect the AC manifold gauge set and ensure it is in good working condition. Check that the high and low-pressure gauges are functioning properly, and the hoses and connectors are intact.
- Connect the Hoses: Attach the hoses of the AC manifold gauge set to the corresponding ports on the gauge. Typically, the blue hose connects to the low-pressure port, and the red hose connects to the high-pressure port. The yellow hose is for adding refrigerant later in the process.
- Tighten the Connections: Use adjustable wrenches or pliers to secure the connections between the hoses and the gauge set. Ensure they are tightened properly to prevent any leaks during the evacuation process.
- Connect the Evacuation Kit: Take the other end of the hoses and connect them to the evacuation kit. The evacuation kit consists of a vacuum pump and a container to collect the evacuated refrigerant. Ensure the connections are secure and tight.
- Prepare the Vacuum Pump: If your vacuum pump requires oil, check the manufacturer’s instructions for the proper type and amount of oil. Add the oil to the vacuum pump as per the instructions. Make sure the pump is powered off before adding oil.
- Inspect the Kit: Give the entire evacuation kit a final inspection to ensure all connections are secure and there are no visible signs of damage or leaks.
By properly preparing the evacuation kit, you can ensure a smoother and more efficient evacuation process. Once the kit is ready, you can proceed to the next step: connecting the evacuation kit to the AC system.
Read more: How To Check AC Pressure In Car
Step 4: Connect the Evacuation Kit to the AC System
Now that you have prepared the evacuation kit, it’s time to connect it to your car’s AC system. Follow these steps to properly connect the kit:
- Double-Check Safety Precautions: Before proceeding, ensure you have taken all the necessary safety precautions mentioned earlier. This includes wearing safety glasses and gloves.
- Remove the Blue Cap: Locate the low-pressure port on your car’s AC system, which you identified in Step 2. Remove the blue cap covering the port to expose the connection point.
- Connect the Low-Pressure Hose: Attach the end of the blue hose from the evacuation kit to the low-pressure port on the AC system. Make sure it is securely fastened, using the appropriate wrench if necessary.
- Tighten the Connection: Ensure the connection is tightened properly to prevent any leaks during the evacuation process. Use an adjustable wrench or pliers to tighten it if needed, without over-tightening and damaging the fitting.
- Open the Valves: Once the evacuation kit is connected to the low-pressure port, open both valves on the AC manifold gauge set. This will allow the vacuum pump to start drawing air out of the system.
With the evacuation kit connected and the valves open, you are now ready to move on to the next step: starting the vacuum pump and initiating the evacuation process.
When evacuating your car AC system at home, make sure to use a proper AC vacuum pump to remove all air and moisture from the system before recharging it with refrigerant. This will ensure optimal performance and prevent damage to the components.
Step 5: Open the Valves and Start the Vacuum Pump
With the evacuation kit properly connected to your car’s AC system, it’s time to initiate the evacuation process. Follow these steps to open the valves and start the vacuum pump:
- Double-Check Safety Precautions: Before proceeding, ensure you are wearing safety glasses and gloves to protect yourself from any potential leaks or contact with refrigerant and contaminants.
- Turn on the Vacuum Pump: Switch on the vacuum pump and allow it to start pulling air from the AC system. Refer to the manufacturer’s instructions for the specific operation of your vacuum pump.
- Monitor the Gauge: Keep a close eye on the gauge readings of the AC manifold gauge set. The low-pressure gauge should start dropping as the vacuum pump creates negative pressure in the system.
- Monitor the Vacuum Pump: Observe the operation of the vacuum pump and listen for any irregular noises or vibrations. If you notice any unusual behavior, switch off the vacuum pump and inspect the components for possible issues.
- Continue the Evacuation Process: Allow the vacuum pump to run for approximately 30 minutes to ensure a thorough evacuation. This duration may vary based on the size of the AC system and the presence of any contaminants or moisture.
During the evacuation process, the vacuum pump will remove air, moisture, and any remaining refrigerant from the AC system. As the vacuum pump operates, you may notice bubbles or foam forming in the sight glass of the AC manifold gauge set. This is a normal occurrence as the system is being evacuated.
Once the vacuum pump has been running for the recommended duration, you can move on to the next step: monitoring the gauge and waiting for a complete evacuation.
Step 6: Monitor the Gauge and Wait for Complete Evacuation
As you continue the evacuation process, it’s important to closely monitor the gauge readings on the AC manifold gauge set and wait for a complete evacuation. Here’s what you need to do:
- Keep an Eye on the Gauge: Watch the low-pressure gauge on the AC manifold gauge set as the vacuum pump continues to run. The gauge reading should stabilize and reach a state of deep vacuum, indicating that the system has been adequately evacuated.
- Monitor the Vacuum Pump Operation: Continue to observe the vacuum pump’s operation during the evacuation process. Ensure that it is running smoothly and there are no unusual noises or vibrations.
- Check for Air Leaks: While the evacuation is in progress, inspect the connections between the evacuation kit and the AC system. Look for any signs of air leaks, such as hissing sounds or visible leaks around the fittings. If you detect a leak, stop the evacuation process, tighten the connection, and restart the vacuum pump.
- Wait for Complete Evacuation: The duration of the evacuation process may vary depending on the size of the AC system and the presence of contaminants. It is recommended to wait for at least 45 minutes to ensure a thorough evacuation.
During the waiting period, take the time to check for any potential leaks in other components of the AC system. This includes inspecting the AC compressor, hoses, fittings, and any other visible parts. Additionally, you can use a UV dye and a UV light to detect any potential leaks that are not readily visible.
Once you are confident that the evacuation process is complete and there are no leaks, you can proceed to the next step: closing the valves and disconnecting the evacuation kit.
Step 7: Close the Valves and Disconnect the Evacuation Kit
After the evacuation process is complete and you have ensured a thorough evacuation, it’s time to close the valves and disconnect the evacuation kit. Here’s what you need to do:
- Observe the Gauge Readings: Before closing the valves, take a final look at the gauge readings on the AC manifold gauge set. The low-pressure gauge should indicate that the system is in a deep vacuum and no longer dropping.
- Close the Valves: Carefully close the valves on the AC manifold gauge set. Start by closing the valve connected to the low-pressure port, followed by the valve connected to the high-pressure port. Ensure they are completely closed to prevent any air from entering the system.
- Turn off the Vacuum Pump: Once the valves are closed, switch off the vacuum pump. Allow it to completely stop before proceeding.
- Disconnect the Evacuation Kit: Begin by disconnecting the low-pressure hose from the low-pressure port on the AC system. Ensure the connection is released smoothly and without causing any damage.
- Secure the System: Once the evacuation kit is disconnected, ensure that all fittings and connections are secure. Double-check for any signs of leakage or loose fittings.
At this point, the evacuation process is complete, and you have successfully removed air, moisture, and other contaminants from your car’s AC system. Take a moment to inspect the overall condition of the AC system and ensure everything appears in good order.
With the evacuation kit safely disconnected and the valves closed, you’re now ready to proceed to the final step: recharging the AC system with refrigerant.
Read more: Car Overheats When AC Is On And Idle
Step 8: Recharge the AC System with Refrigerant
After evacuating your car’s AC system, the final step is to recharge it with refrigerant. Here’s how you can do it:
- Verify the Refrigerant Type: Refer to your car’s manual or do research to determine the appropriate type and amount of refrigerant needed for your specific AC system. Different vehicles may require different refrigerant types, such as R-134a or R-1234yf.
- Prepare the Refrigerant Canister: Ensure the refrigerant canister is properly secured and in an upright position. Some canisters may require piercing before use. If needed, use a puncture tool to safely pierce the canister following the manufacturer’s instructions.
- Connect the Refrigerant Canister: Attach the yellow hose from the AC manifold gauge set to the refrigerant canister’s outlet valve. The yellow hose is specifically designed for charging the AC system with refrigerant.
- Start the Recharge Process: Open the valve on the refrigerant canister to allow the flow of refrigerant. Slowly release the refrigerant into the AC system by following the specific instructions provided by the refrigerant manufacturer.
- Monitor the Pressure: While recharging, monitor the pressure on the AC manifold gauge set. The pressure should gradually rise as the system is filled with the proper amount of refrigerant.
- Observe Any Leaks: Watch for any signs of leaks during the recharge process. If you notice any leakages, stop the process immediately and address the issue before proceeding.
- Monitor the AC System Operation: Once the recharge process is complete, start the car’s engine and turn on the AC system. Monitor the cooling performance and the temperature of the air coming from the vents.
- Check for Proper Pressure and Cooling: While the AC system is running, observe the pressure on the AC manifold gauge set to ensure it falls within the recommended range. Additionally, verify that the AC is producing cold air and maintaining a comfortable temperature.
If you encounter any issues during the recharge process or if the cooling performance is not satisfactory, it is recommended to consult a professional mechanic or an automotive AC specialist. They will have the expertise to diagnose and address any potential problems with your car’s AC system.
Congratulations! You have successfully evacuated and recharged your car’s AC system. Regular maintenance, including periodic evacuations and recharges, will help maintain optimal cooling performance and extend the longevity of your AC components.
Remember to follow local regulations and guidelines for the proper disposal of any leftover refrigerant and the recycling of refrigerant canisters.
That concludes our step-by-step guide on how to evacuate and recharge your car’s AC system. We hope you found this information useful and that it allows you to enjoy a comfortable and cool driving experience!
Conclusion
In this comprehensive guide, we have explored the step-by-step process of evacuating and recharging your car’s AC system at home. Performing regular maintenance on your AC system is essential to ensure optimal cooling performance and prolong the lifespan of its components.
We highlighted the importance of following safety precautions throughout the process to protect yourself and the environment. Always remember to wear safety glasses and gloves, work in a well-ventilated area, and follow proper disposal guidelines for refrigerant and other chemicals.
We discussed gathering the necessary tools and equipment, locating the low-pressure port, preparing the evacuation kit, connecting the kit to the AC system, and starting the evacuation process. We also emphasized the need to monitor the gauge readings and run the vacuum pump for the recommended duration to achieve a complete evacuation.
Once the evacuation is complete, we covered the steps to close the valves, disconnect the evacuation kit, and recharge the AC system with the appropriate refrigerant. It’s crucial to carefully follow the manufacturer’s instructions for the type and amount of refrigerant to use in your specific AC system.
Lastly, we encourage you to monitor the pressure, check for leaks, and observe the AC system’s operation to ensure everything is functioning correctly after the recharge process.
Remember, if you ever feel uncomfortable or uncertain performing these tasks, it’s best to seek assistance from a professional mechanic or automotive AC specialist. They have the expertise and experience to ensure the proper maintenance and performance of your car’s AC system.
By following the steps outlined in this guide, you can confidently maintain your car’s AC system, enjoy a comfortable driving experience, and extend the lifespan of your AC components. Stay cool and safe out on the road!
Curious about taking your car maintenance skills to the next level? After mastering how to evacuate your car's AC system, you're likely ready to handle more. Our next article walks you through every detail of using an AC vacuum pump effectively. Whether you're looking to ensure your car's AC operates at peak efficiency or just want to expand your DIY repertoire, learning these techniques will greatly aid your efforts. Don't miss out on this chance to enhance your automotive skills with practical, easy-to-follow guidance.
Frequently Asked Questions about How To EvACuate Car AC System At Home
Was this page helpful?
At Storables.com, we guarantee accurate and reliable information. Our content, validated by Expert Board Contributors, is crafted following stringent Editorial Policies. We're committed to providing you with well-researched, expert-backed insights for all your informational needs.







0 thoughts on “How To EvACuate Car AC System At Home”