
Articles
How To Extend A Concrete Porch
Modified: May 6, 2024
Learn the step-by-step process of extending a concrete porch in this informative articles. Discover expert tips and tricks to ensure a successful project.
(Many of the links in this article redirect to a specific reviewed product. Your purchase of these products through affiliate links helps to generate commission for Storables.com, at no extra cost. Learn more)
Introduction
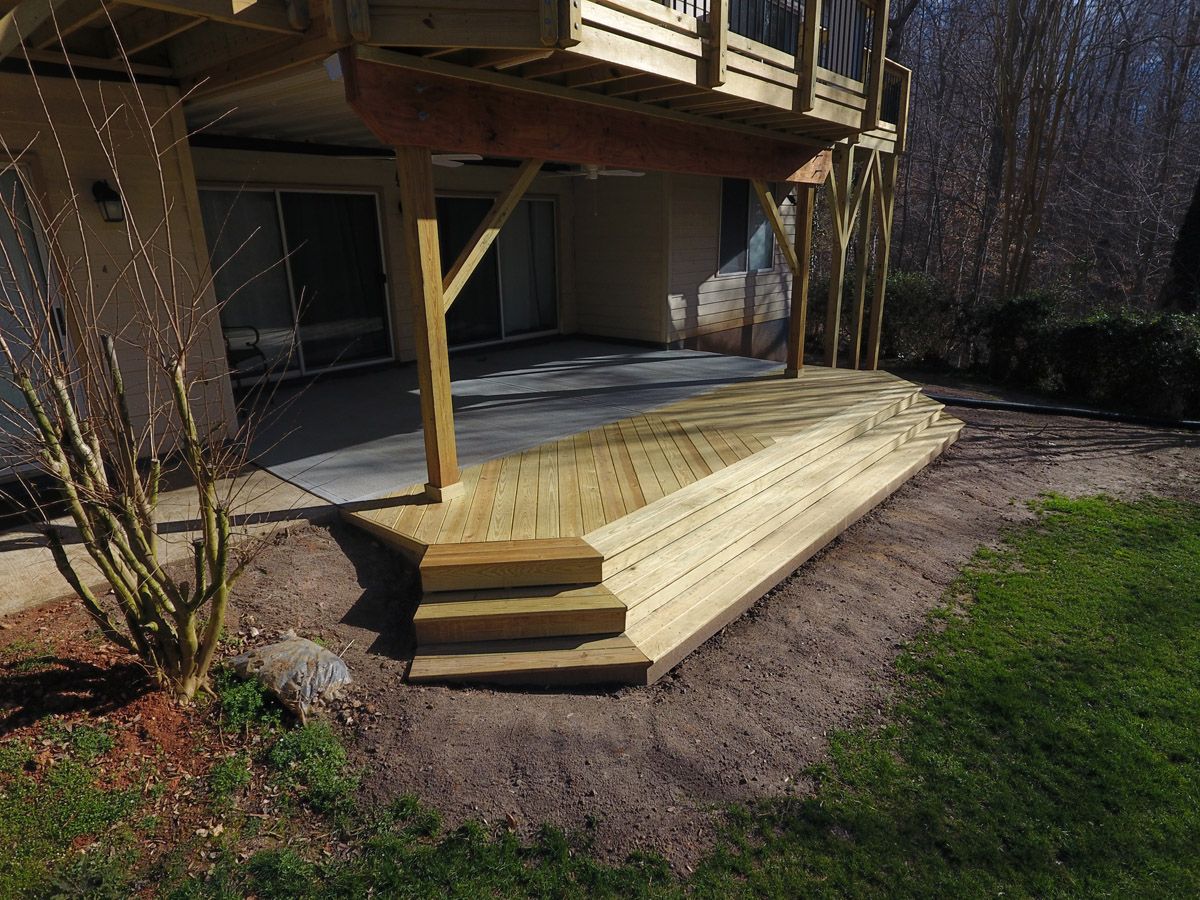
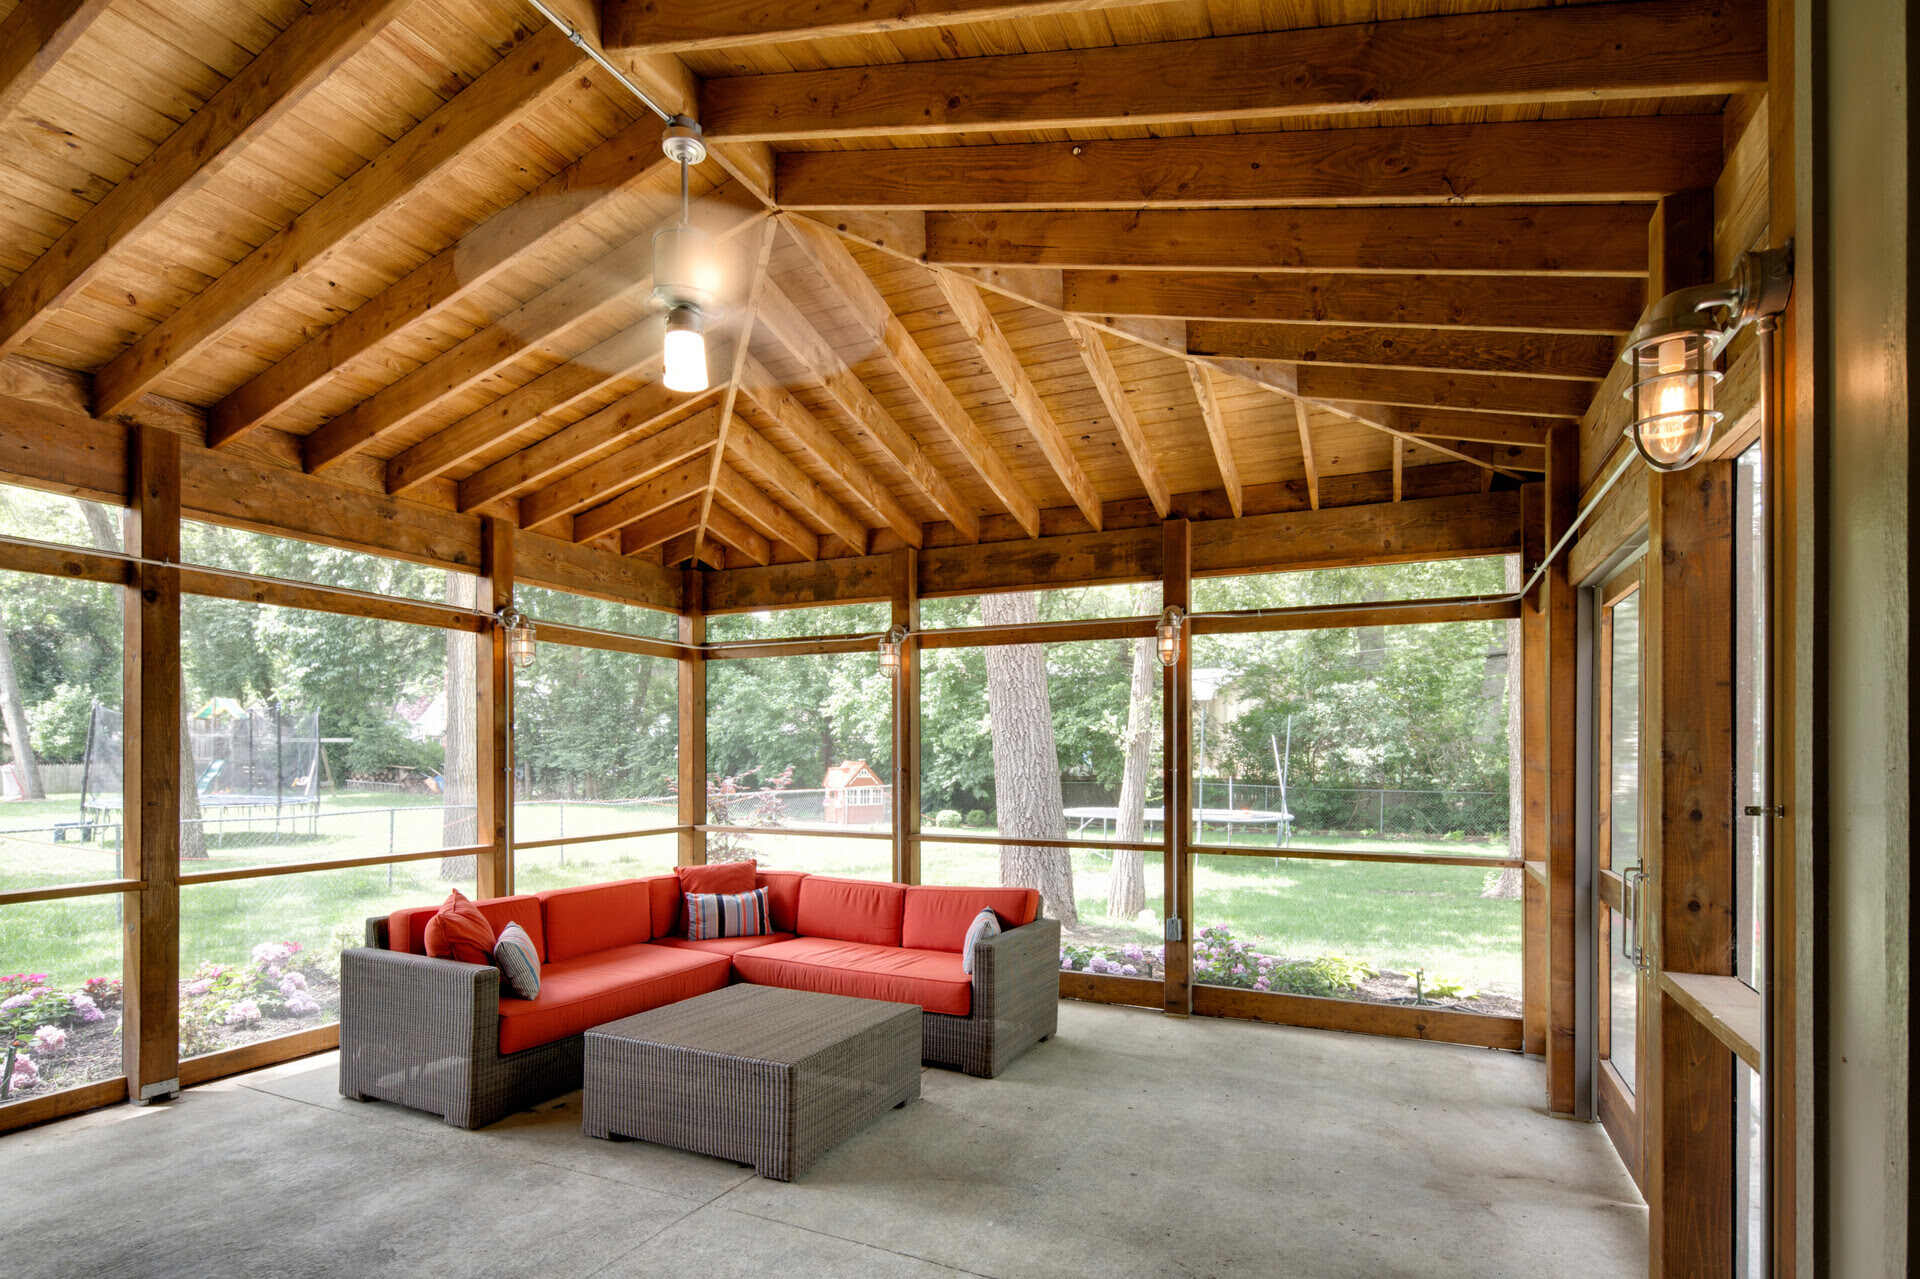
Welcome to our comprehensive guide on how to extend a concrete porch. If you are looking to expand your outdoor living space or create a larger area for hosting gatherings, extending your concrete porch is a great option. A concrete porch extension not only adds to the functionality of your outdoor space but also enhances the overall aesthetic appeal of your home.
Before you begin the process of extending your concrete porch, it is important to assess the current condition and design of your existing porch. This will help you determine the best approach and ensure a successful project.
In this article, we will walk you through the step-by-step process of extending a concrete porch. From assessing the porch and gathering materials to preparing the surface and pouring additional concrete, we’ve got you covered.
So, let’s dive into the details and turn your small porch into a spacious outdoor retreat!
Key Takeaways:
- Transform your small porch into a spacious outdoor retreat by following our comprehensive guide on extending a concrete porch. From assessing the condition to sealing and protecting, create the porch of your dreams with ease.
- Ensure a seamless and visually appealing porch extension by properly assessing, preparing, and finishing the concrete. Follow the step-by-step process and turn your outdoor space into a versatile area for entertaining and relaxation.
Read more: How To Extend Front Porch
Assessing the Porch
The first step in extending a concrete porch is to assess the current condition and design of your existing porch. This will help you determine if any repairs or modifications are needed before proceeding with the extension.
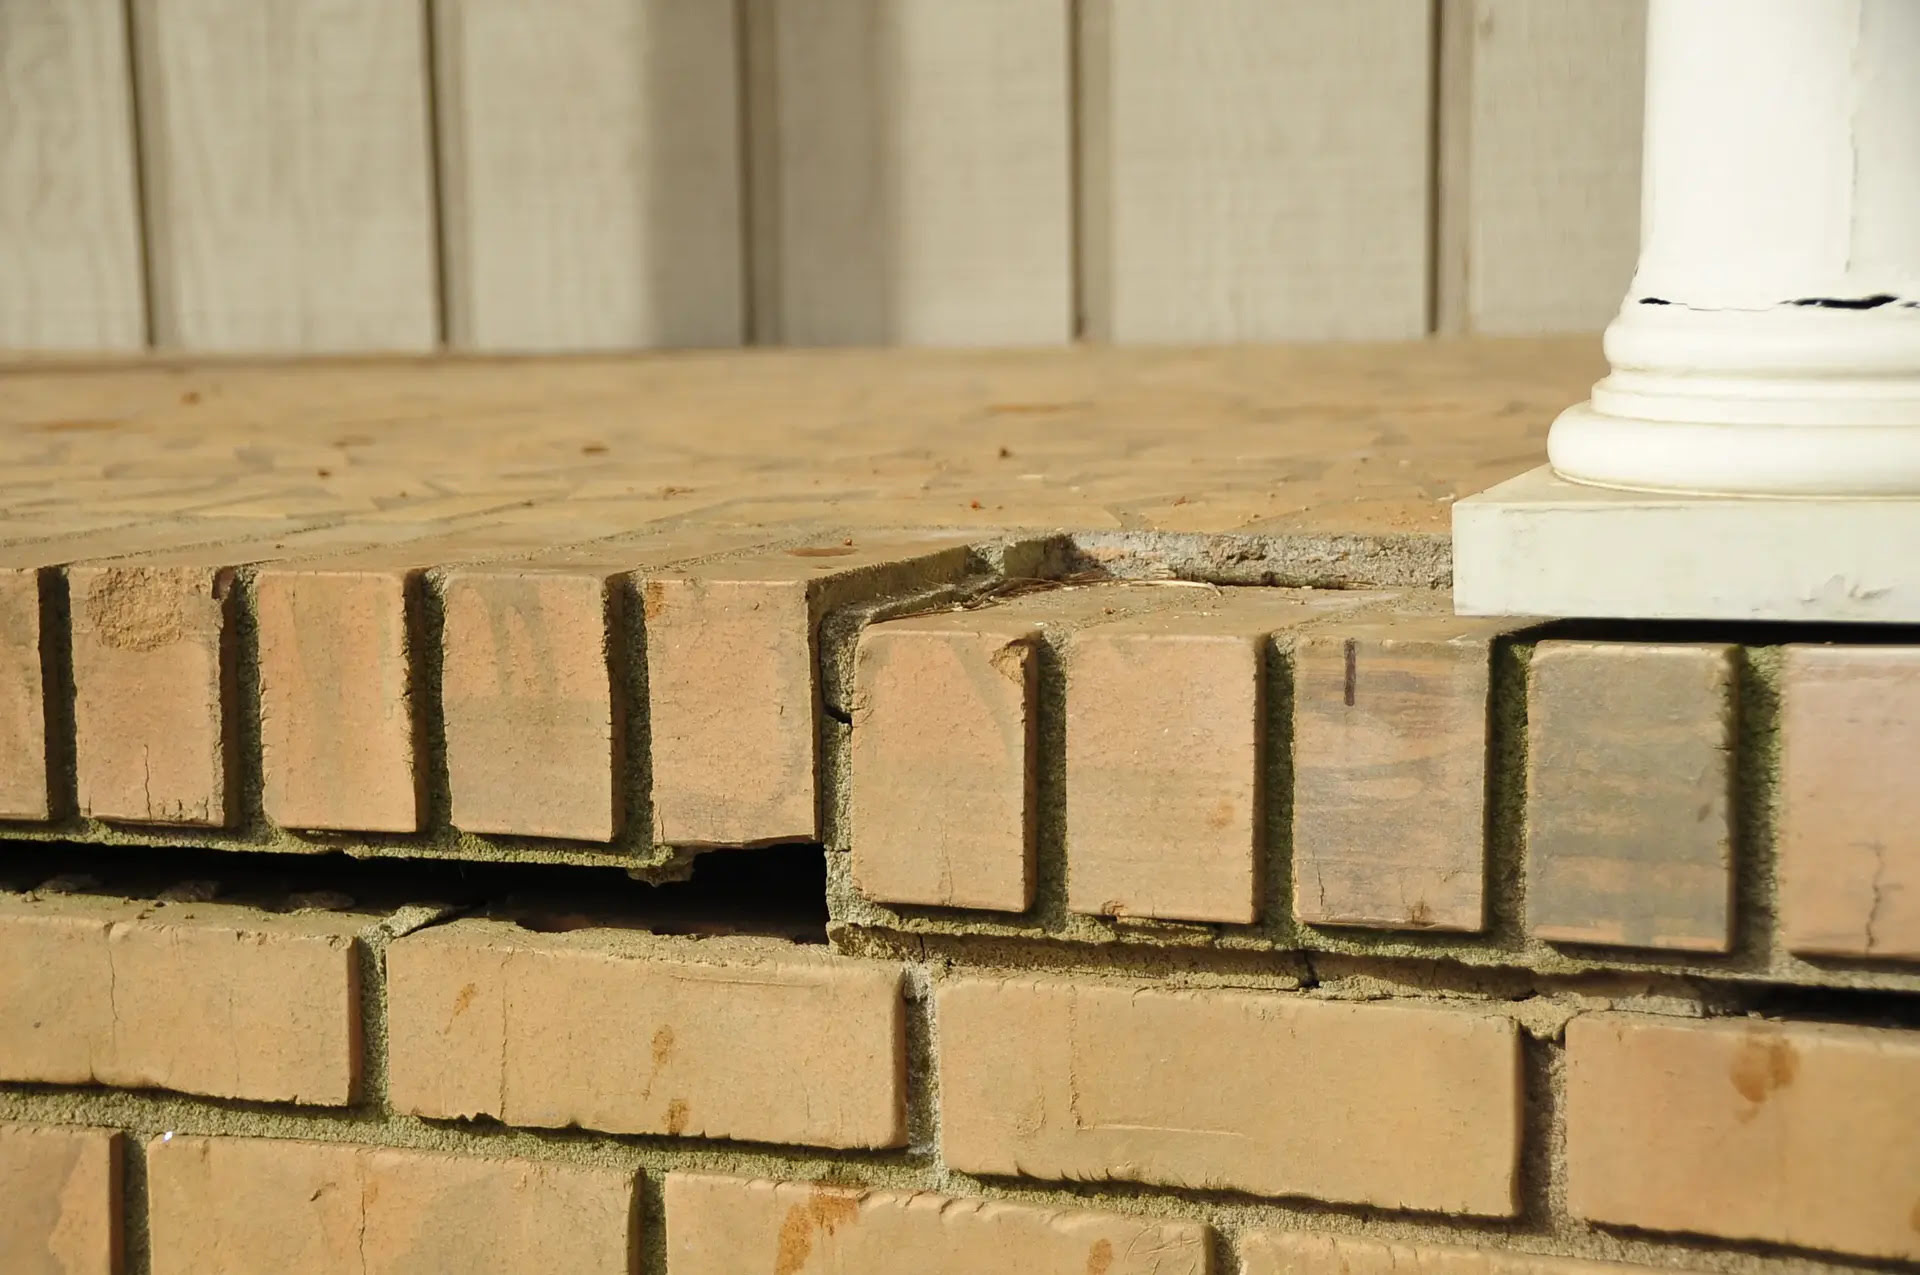
Start by inspecting the porch for any cracks, chips, or uneven surfaces. These issues should be addressed before extending the porch to ensure a smooth and durable finish. Fill in any cracks or holes with a concrete patching compound and use a concrete grinder to level any uneven areas.
Next, consider the size and shape of the extension you are planning. Measure the dimensions of the existing porch and determine the desired expansion. Keep in mind any limitations or regulations set by your local building codes.
Additionally, consider the height and slope of the existing porch. The extension should seamlessly integrate with the current structure without creating any tripping hazards. If needed, you may need to adjust the slope or install a threshold to ensure proper drainage.
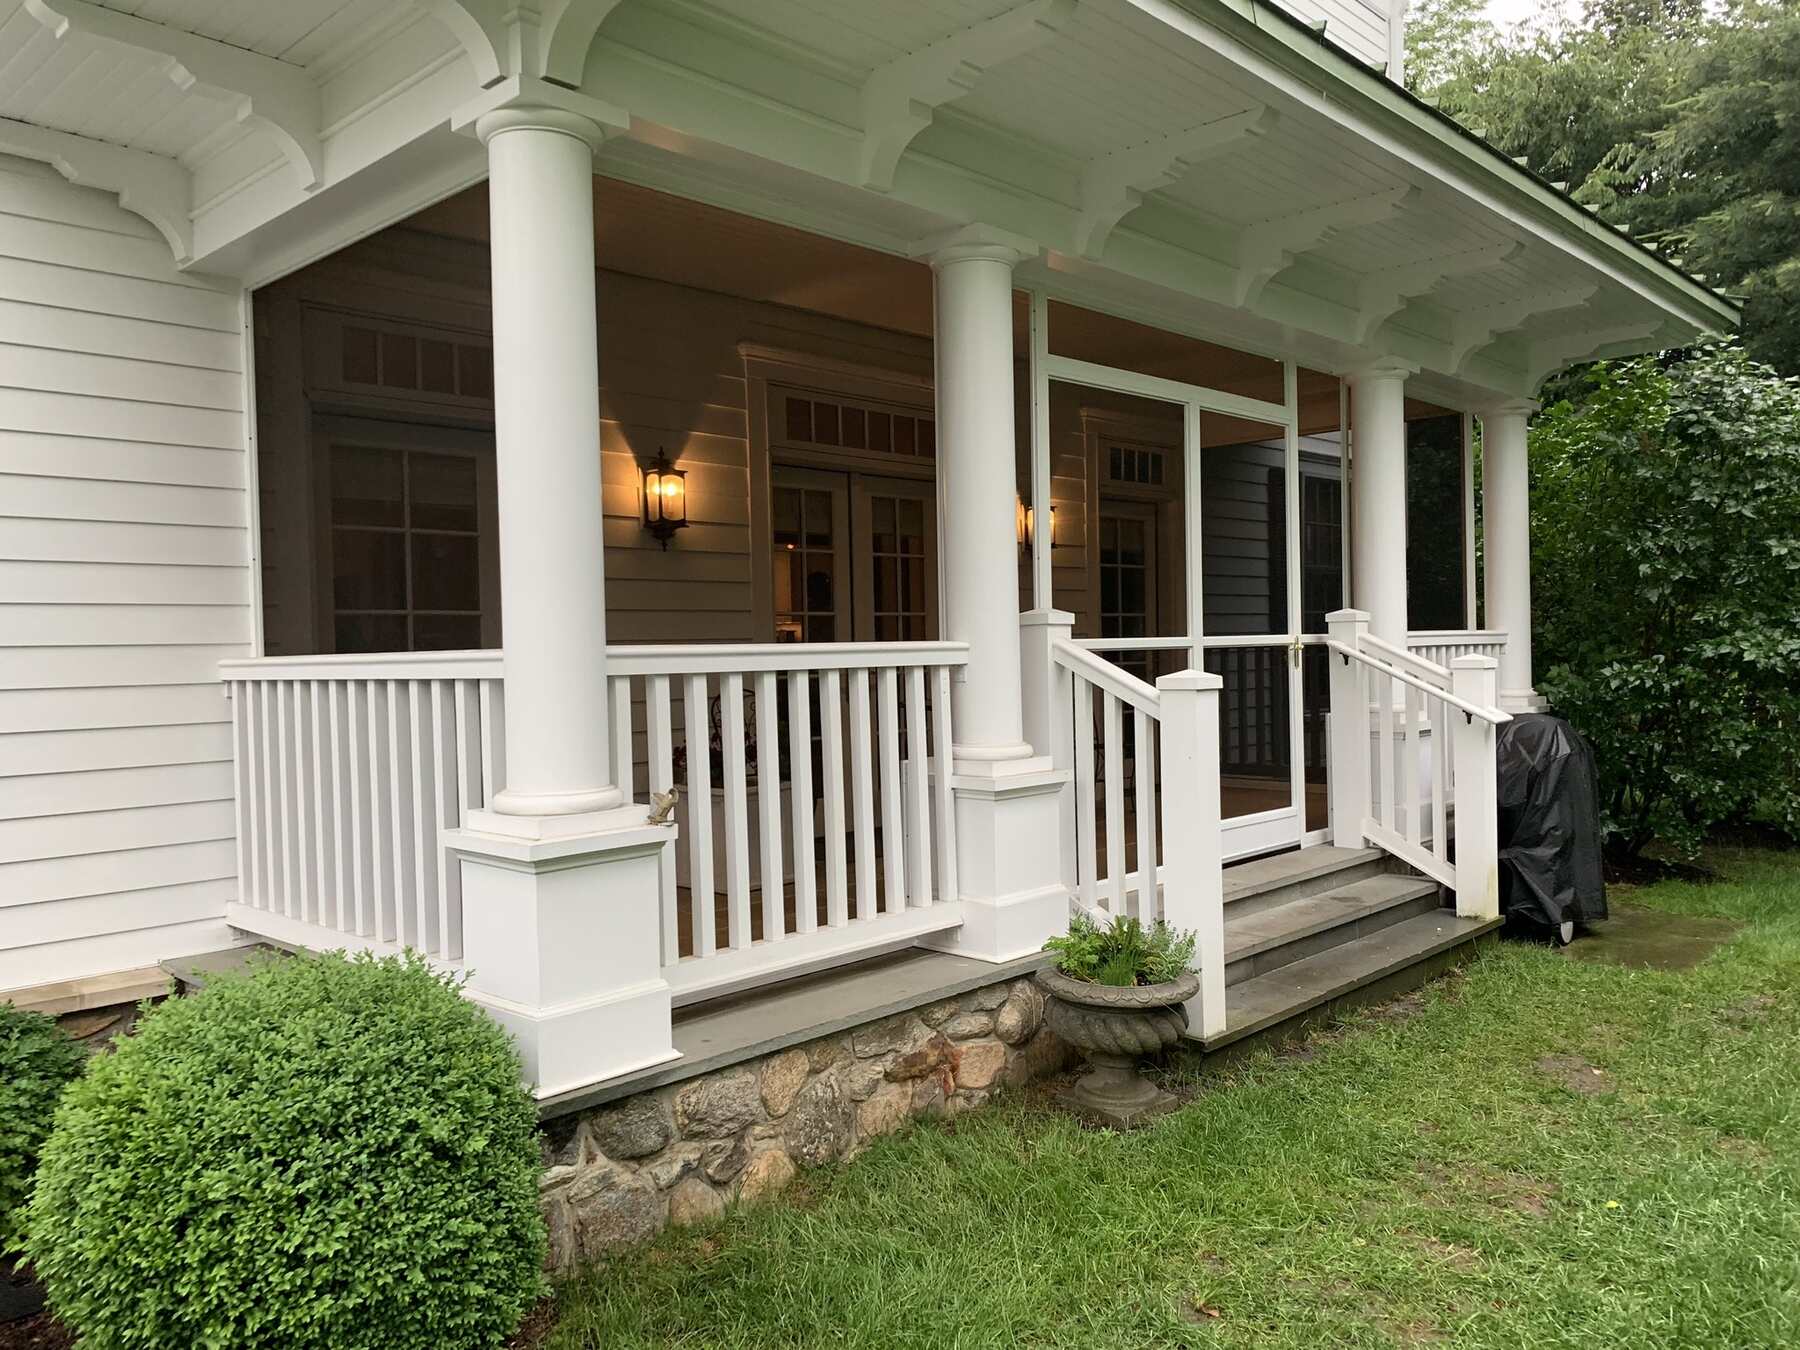
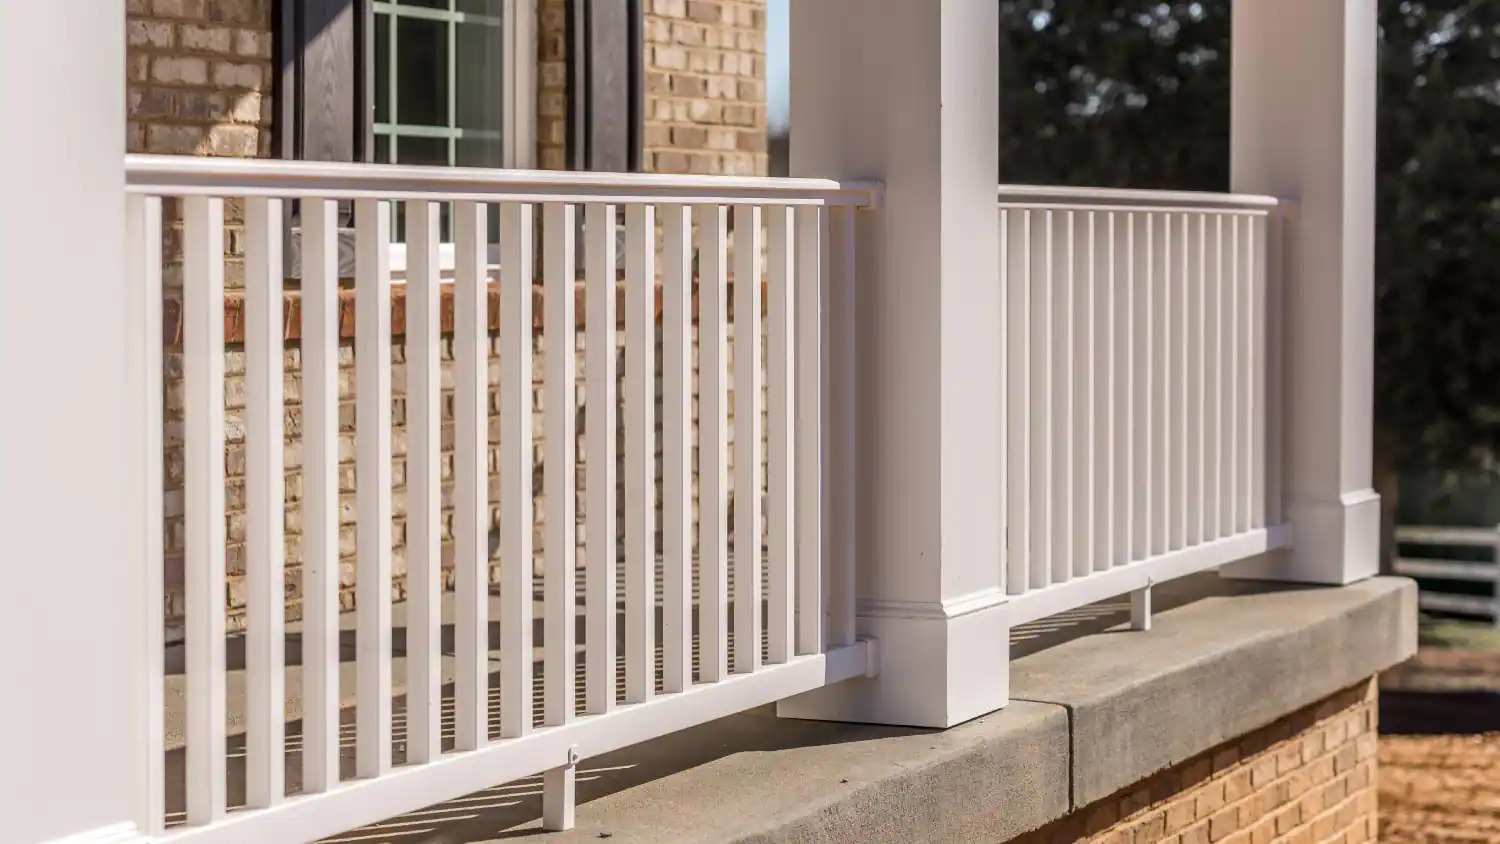
Take note of any existing features on the porch, such as railings, stairs, or columns. You will need to plan the extension around these elements and ensure they are properly integrated into the new design.
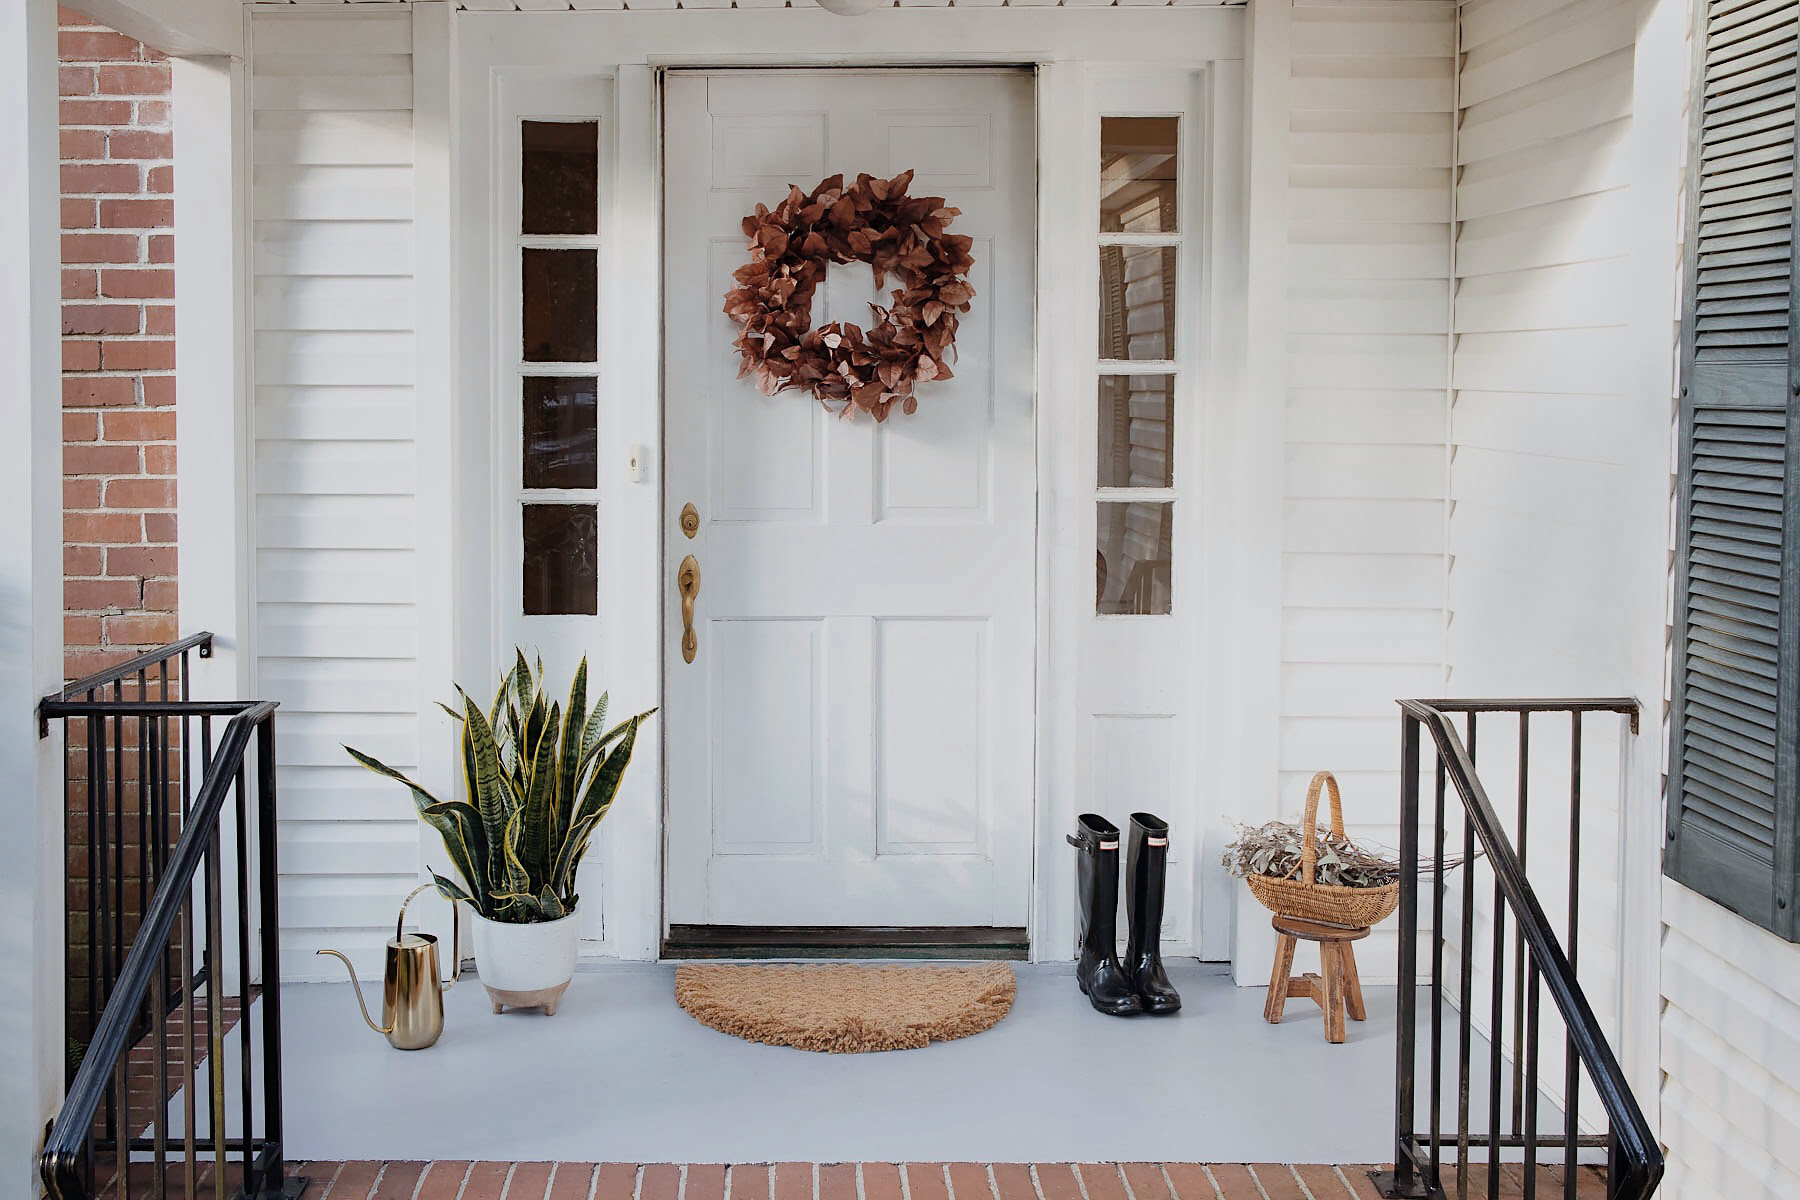
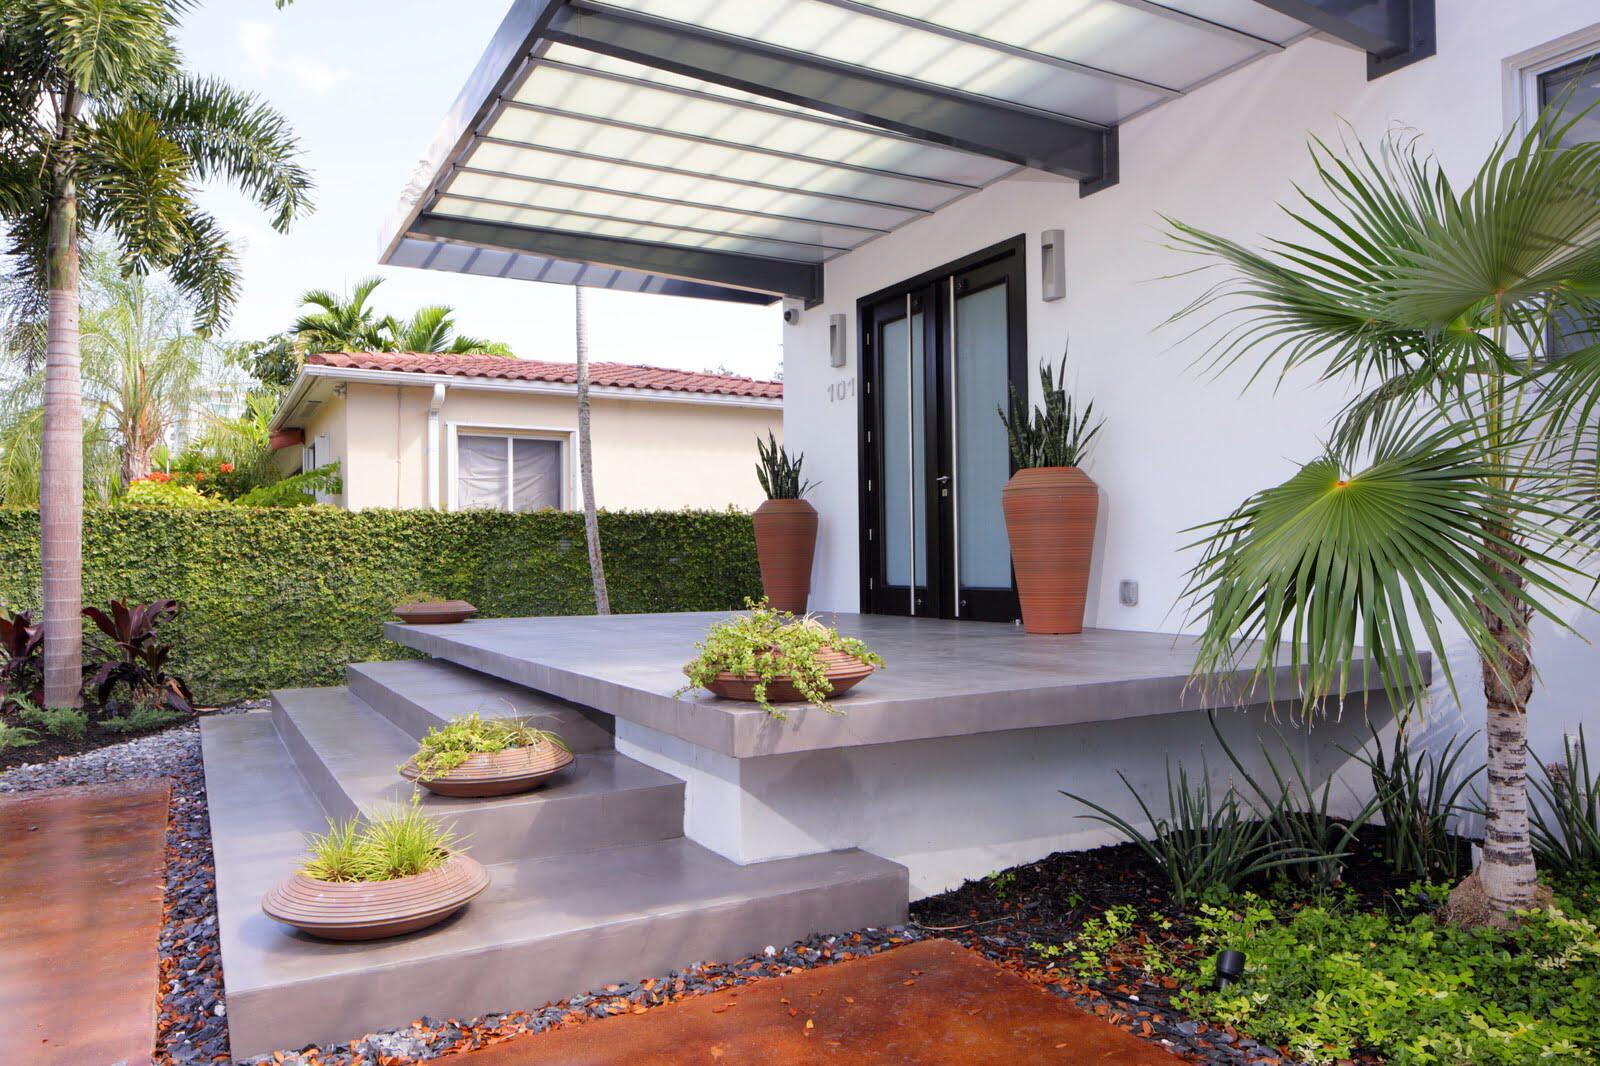
Finally, consider the overall aesthetics of your home and the desired look of the extended porch. Take into account the architectural style and color scheme of your house to create a cohesive and visually appealing design.
By thoroughly assessing your porch, you can plan and execute the extension project effectively, resulting in a seamless and beautiful addition to your outdoor space.
Gathering Materials and Tools
Once you have assessed your concrete porch and determined the scope of the extension project, it’s time to gather the necessary materials and tools. Having everything prepared beforehand will streamline the construction process and ensure a smooth workflow.
Here is a list of materials and tools you will need:
- Concrete mix: Choose a high-quality concrete mix suitable for outdoor use. Consider factors such as strength, durability, and weather resistance.
- Water: You will need water to mix the concrete. Ensure a clean and easily accessible water source.
- Shovel: A sturdy shovel will be used for mixing the concrete and moving it around.
- Wheelbarrow: This will be used to transport the mixed concrete to the porch extension area.
- Tape measure: Essential for accurate measurements of the porch and extension area.
- Level: A level will help ensure that the extended porch is even and properly aligned.
- Concrete forms: Forms are used to shape and contain the poured concrete. They can be made of wood, metal, or plastic.
- Trowel: A trowel is used for smoothing and finishing the surface of the newly poured concrete.
- Concrete float: This tool is used to level and smooth the surface of the concrete.
- Concrete curing compound: A curing compound helps to prevent moisture loss during the curing process, resulting in a stronger and more durable concrete surface.
- Protective gear: Safety should always be a priority. Wear gloves, safety glasses, and a dust mask to protect yourself during the construction process.
Make sure to gather all the materials and tools listed above before you begin extending your concrete porch. This will save you time and ensure that you have everything you need to complete the project efficiently.
Preparing the Porch
With your materials and tools gathered, it’s time to prepare the existing porch for the extension. Proper preparation is crucial to ensure a strong and long-lasting bond between the old and new concrete.
Here are the steps to prepare the porch:
- Clear the area: Remove any furniture, plants, or debris from the porch to create a clean and empty workspace.
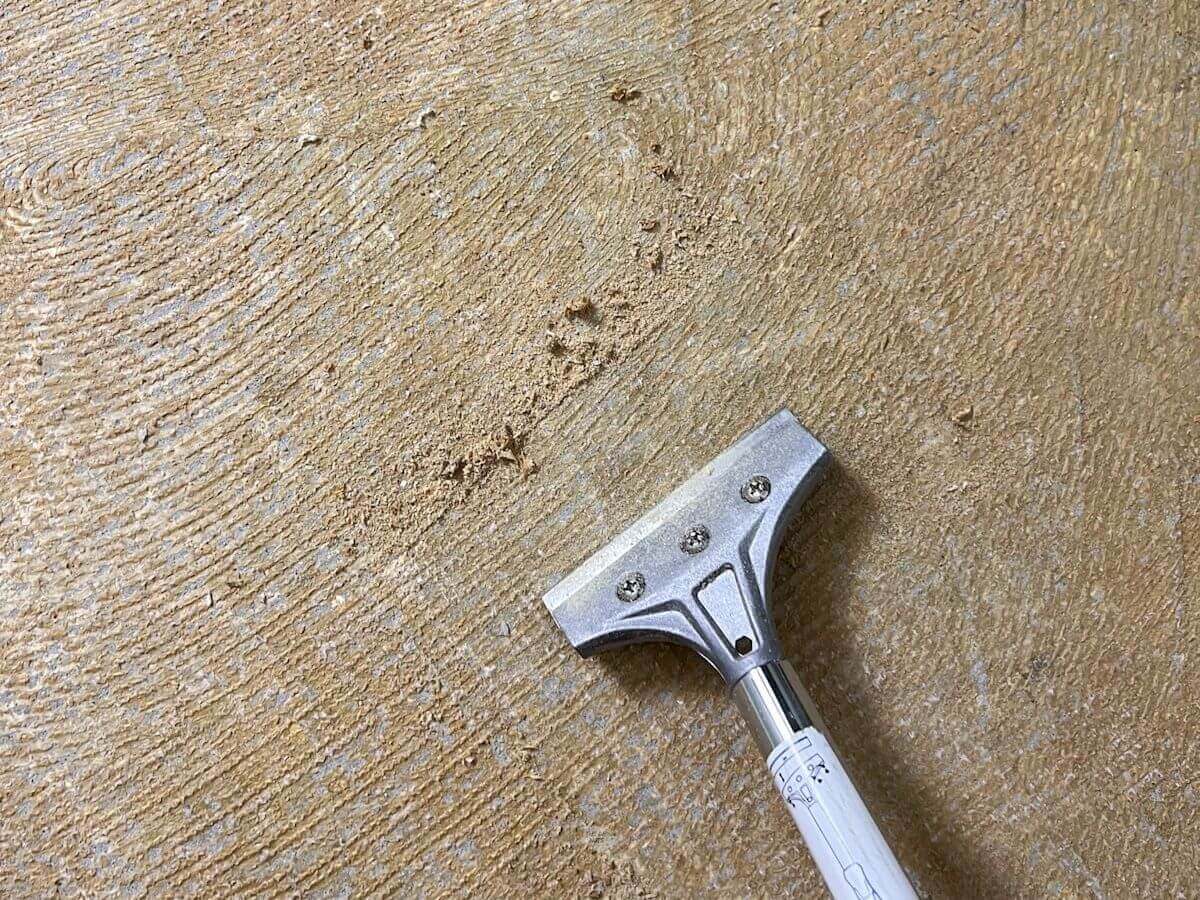
- Clean the surface: Thoroughly clean the existing porch surface using a pressure washer or a stiff-bristle brush and detergent. This will remove dirt, grime, and any loose particles that could interfere with the adhesion of the new concrete.
- Etch the surface: If the existing porch is smooth and doesn’t have a rough texture, you may need to etch the surface to create a better bonding surface. Use a concrete etching solution according to the manufacturer’s instructions. Rinse thoroughly after etching.
- Dampen the surface: Before applying the new concrete, dampen the surface of the existing porch with water. This prevents the existing concrete from absorbing water from the new mix, which can weaken the bond.
- Apply a bonding agent: To enhance adhesion between the old and new concrete, apply a bonding agent on the dampened surface. Follow the manufacturer’s instructions for the specific bonding agent you are using.
- Install concrete forms: Set up concrete forms around the extension area to contain the poured concrete. Ensure that the forms are level and securely placed. Use stakes and screws to hold them in position.
Take your time to properly prepare the porch for the extension. This will create a strong foundation and ensure a seamless transition between the old and new concrete.
Mixing and Pouring Additional Concrete
Once the porch is properly prepared, it’s time to mix and pour the additional concrete for the extension. Mixing the concrete correctly is crucial to achieve a strong and durable finish.
Follow these steps for mixing and pouring the concrete:
- Calculate the amount of concrete needed: Measure the dimensions of the porch extension area to determine the volume of concrete required. Refer to the instructions on the concrete mix bag for the water-to-concrete ratio.
- Prepare the concrete mix: In a clean wheelbarrow or mixing container, pour the required amount of concrete mix. Slowly add water while continuously mixing with a shovel. Follow the specific instructions provided by the manufacturer for the correct water-to-concrete ratio. Mix until you achieve a uniform and workable consistency.
- Transfer the mixed concrete: With the concrete mix ready, transfer it to the porch extension area using a shovel or wheelbarrow. Fill the area evenly, making sure to reach all corners and edges.
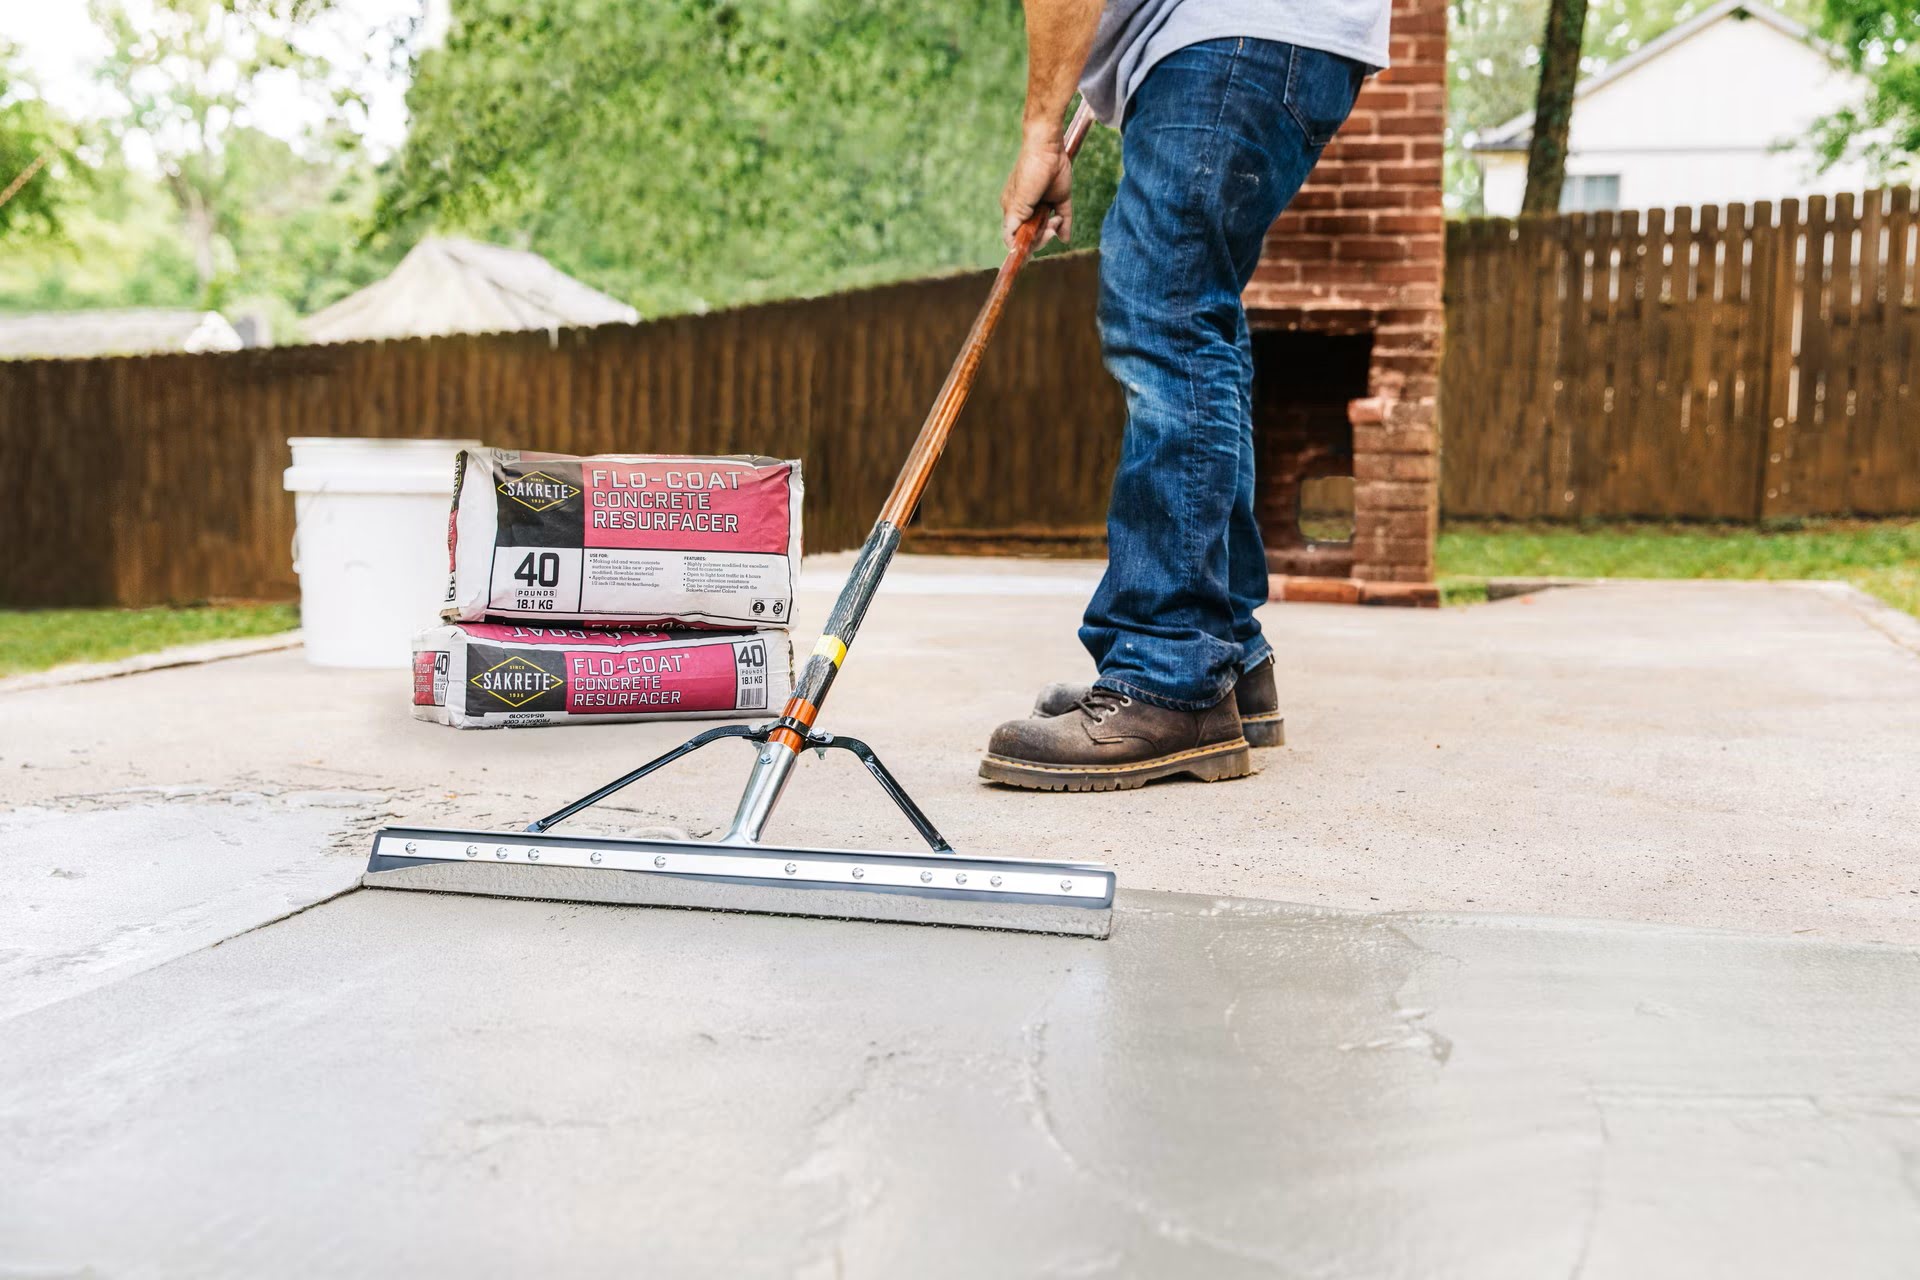
- Distribute and level the concrete: Use a shovel or rake to distribute the concrete evenly across the extension area. Make sure to achieve a smooth and level surface. Use a straight board or a screed to level the concrete and remove excess, moving it in a back-and-forth motion.
- Compact the concrete: To eliminate air pockets and ensure maximum strength, use a concrete vibrator or a handheld tamper to compact the poured concrete. This will help to reduce the risk of future cracking or settling.
Take your time when pouring and leveling the concrete to achieve a professional finish. Pay attention to detail and ensure that the surface is even and level. Remember to work efficiently, as concrete has a limited workable time before it starts to set.
Once you have poured the additional concrete, allow it to dry and set according to the manufacturer’s instructions. This curing process is essential for the concrete to achieve its maximum strength.
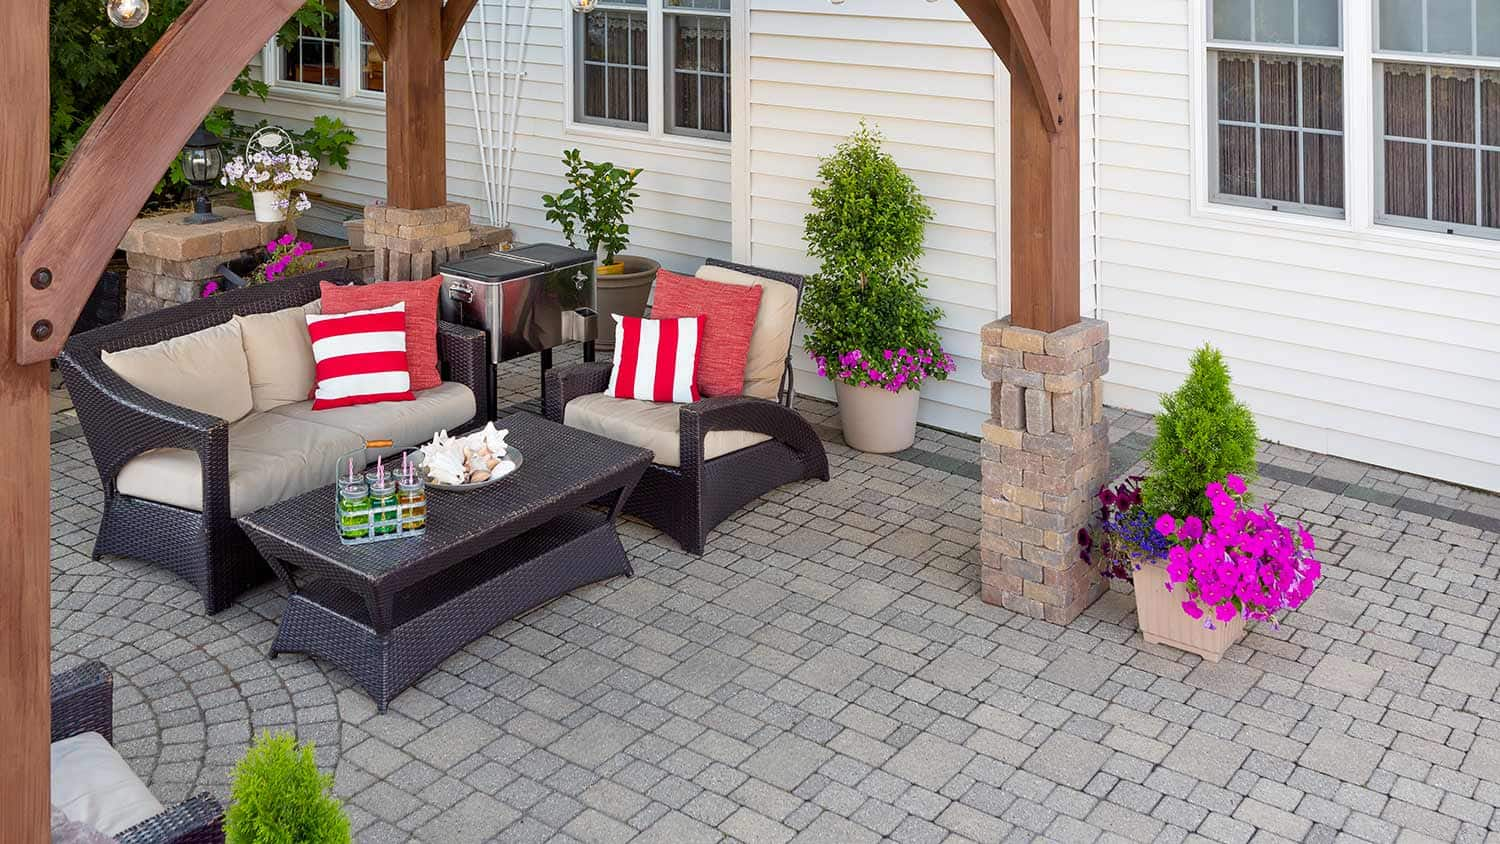
Consider using concrete pavers to extend your porch. They are easy to install, come in a variety of styles, and can be a cost-effective option for extending your concrete porch.
Read more: How To Extend Porch Roof
Leveling and Smoothing the Surface
After pouring the additional concrete for your porch extension, it’s crucial to level and smooth the surface to ensure a seamless and visually appealing finish. Follow these steps to achieve a smooth surface:
- Check the levelness: Use a level to check the surface for any uneven areas or high spots. Adjust the concrete as necessary by adding or removing small amounts of concrete.
- Use a bull float: A bull float is a large, flat tool with a long handle that is used to smooth the surface of freshly poured concrete. Push the bull float across the concrete in long, sweeping motions to even out the surface. This will help in removing any small imperfections and creating a smooth finish.
- Perform edge work: Pay special attention to the edges of the porch extension. Use an edging tool to create a clean and rounded edge. This not only improves the aesthetics but also prevents chipping and cracking.
- Smooth with a hand float: After using the bull float, switch to a hand float to further smoothen the surface. Move the hand float in circular motions to eliminate any remaining imperfections and achieve a smooth finish.
- Address any surface imperfections: If you notice any small holes, voids, or imperfections on the surface, fill them with a concrete patching compound. Smooth the patch with a trowel to ensure it blends seamlessly with the rest of the porch extension.
Take your time during the leveling and smoothing process to achieve a professional-grade finish. Pay attention to detail and make sure the surface is uniform and free from any ridges or uneven spots.
As the concrete dries, it will undergo a curing process. It’s essential to follow the manufacturer’s instructions for curing time and techniques, such as keeping the concrete moist and protecting it from extreme temperatures. This will enhance the strength and durability of the porch extension.
Curing and Finishing the Concrete
After leveling and smoothing the surface of your porch extension, it’s important to properly cure and finish the concrete. Curing is the process of allowing the concrete to dry and harden, ensuring maximum strength and durability.
Here are the steps to effectively cure and finish the concrete:
- Protect the concrete: Immediately after finishing the surface, cover it with a plastic sheet or damp burlap to prevent moisture loss. This helps in retaining the necessary moisture for proper curing.
- Maintain moisture: Regularly mist the concrete surface with water to keep it moist during the curing process. This can be done several times a day, especially in hot and dry weather conditions.
- Allow proper curing time: The curing time for concrete varies depending on factors such as temperature, humidity, and the type of concrete mix used. Follow the manufacturer’s instructions regarding the recommended curing time. Typically, it takes around 7 to 14 days for the concrete to fully cure.
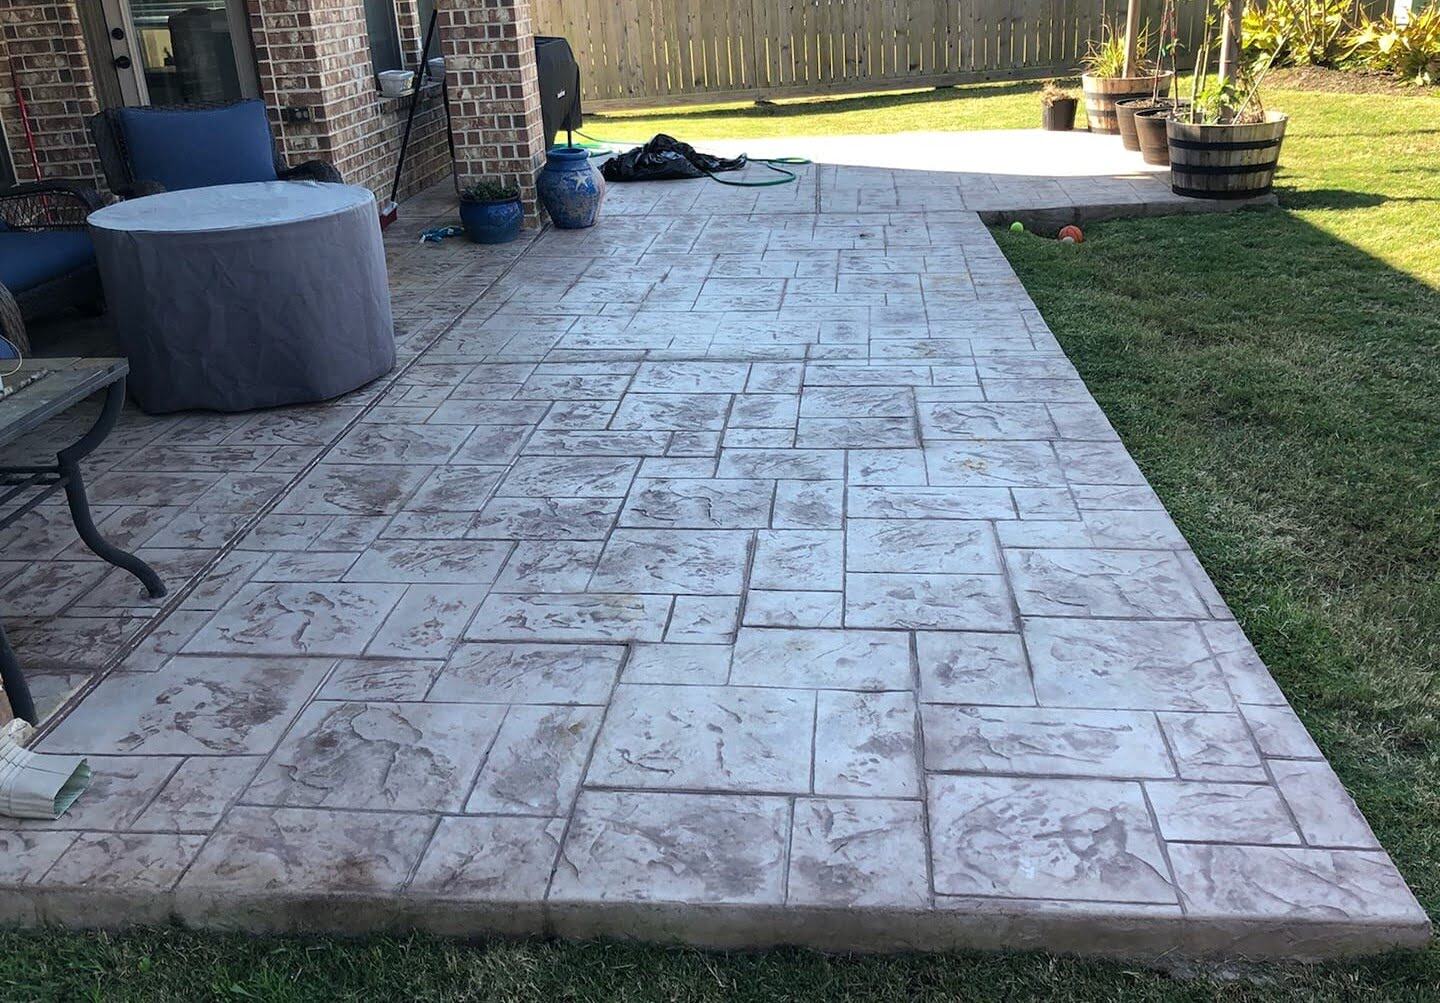
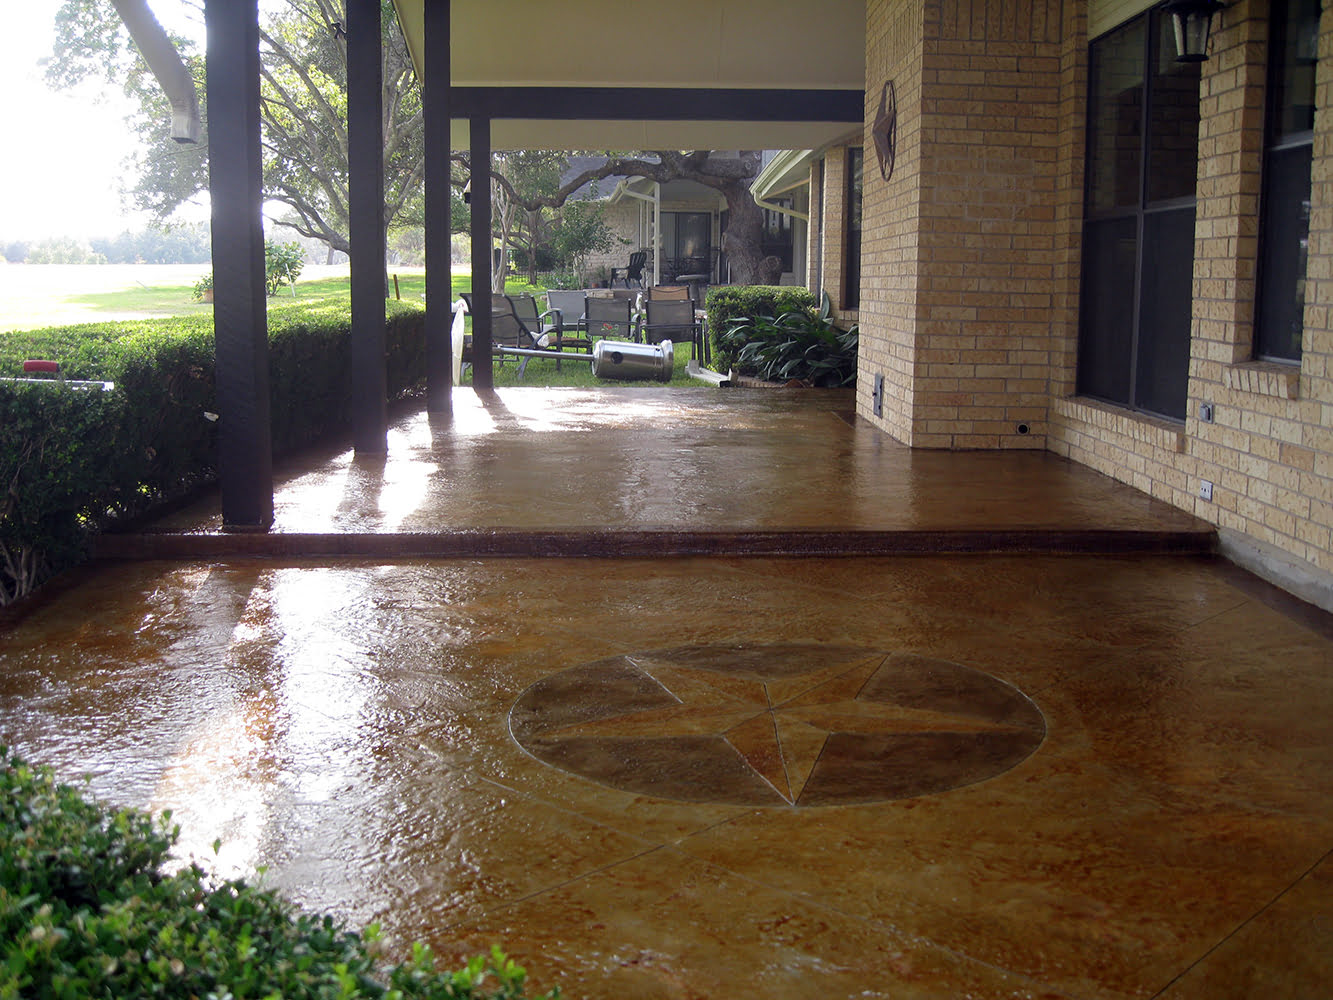
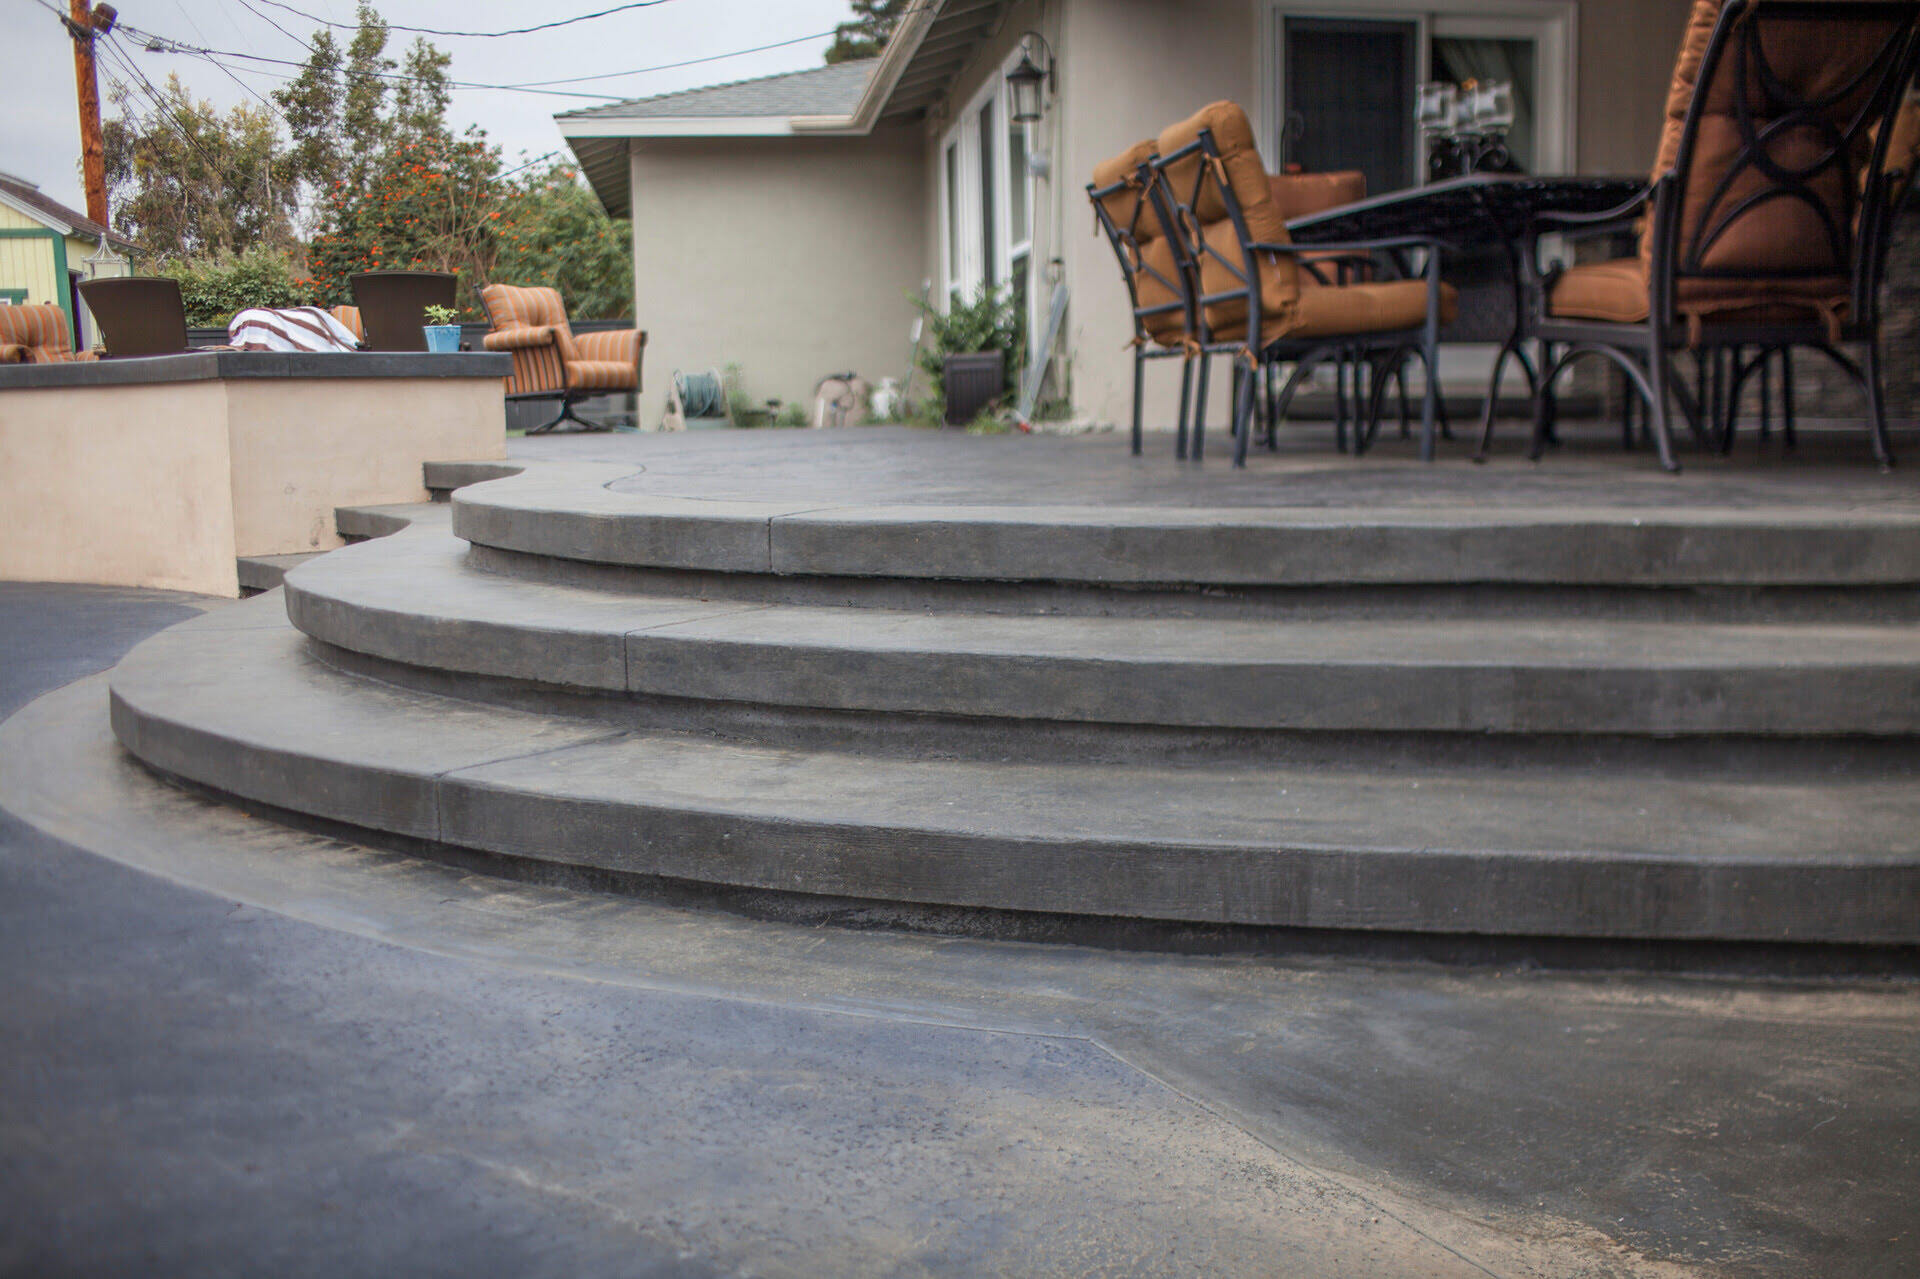
- Consider additional finishing options: If desired, you can enhance the appearance of the porch extension by applying a decorative finish. This can include staining, stamping, or adding texture to the concrete. Consult with a professional or refer to specific product instructions for these additional finishing techniques.
During the curing process, it’s important to avoid heavy foot traffic or placing any heavy objects on the newly extended porch. This could cause damage or disrupt the curing process, resulting in a weaker finished product.
By following proper curing practices, you’ll allow the concrete to achieve its maximum strength and durability, ensuring a long-lasting and beautiful porch extension.
Sealing and Protecting the Extended Porch
Once the concrete porch extension has fully cured, it’s important to seal and protect the surface to enhance its longevity and maintain its appearance. Sealing the concrete creates a protective barrier that prevents staining, water damage, and UV degradation.
Follow these steps to effectively seal and protect your extended porch:
- Clean the surface: Before applying a sealer, thoroughly clean the surface of the porch extension to remove any dirt, debris, or stains. Use a mild detergent and water to scrub the surface, and rinse it thoroughly.
- Choose a sealer: There are various types of sealers available for concrete, including penetrating sealers and acrylic sealers. Consider factors such as the desired finish, level of protection needed, and the manufacturer’s recommendations when selecting a sealer.
- Apply the sealer: Follow the manufacturer’s instructions for the specific sealer you have chosen. Typically, you’ll use a brush, roller, or sprayer to evenly apply the sealer to the porch extension. Apply the sealer in thin and even coats, allowing sufficient drying time between applications.
- Maintain the sealed surface: Once the sealer has dried, it’s important to maintain the sealed surface. Regularly clean the porch extension with a mild detergent and water, and avoid using harsh chemicals or abrasive cleaners. If the sealer begins to wear off over time, consider reapplying a fresh coat to ensure continued protection.
Sealing your concrete porch extension not only protects it from damage but also enhances its appearance. The sealer can give the concrete a glossy or matte finish, depending on your preference.
Remember that regular maintenance and care are key to prolonging the life of your porch extension. Avoid using sharp objects or dragging heavy furniture across the surface, as this can cause scratches or damage the sealer. By following these steps and implementing a proper maintenance routine, your extended porch will remain beautiful and protected for years to come.
Conclusion
Congratulations! You have reached the end of our comprehensive guide on how to extend a concrete porch. By following the step-by-step process outlined in this article, you can successfully transform your small porch into a spacious and functional outdoor area.
Assessing the condition of your existing porch and gathering the necessary materials and tools are crucial initial steps. Preparing the surface properly ensures a strong bond between the old and new concrete. Mixing and pouring the additional concrete require attention to detail, while leveling and smoothing the surface create a seamless finish.
Properly curing and finishing the concrete is essential for achieving maximum strength and durability. Finally, sealing and protecting the porch extension will help maintain its appearance and prevent damage.
Remember, safety should always be a priority during the entire process. Wear appropriate protective gear and follow all safety guidelines when working with concrete and tools.
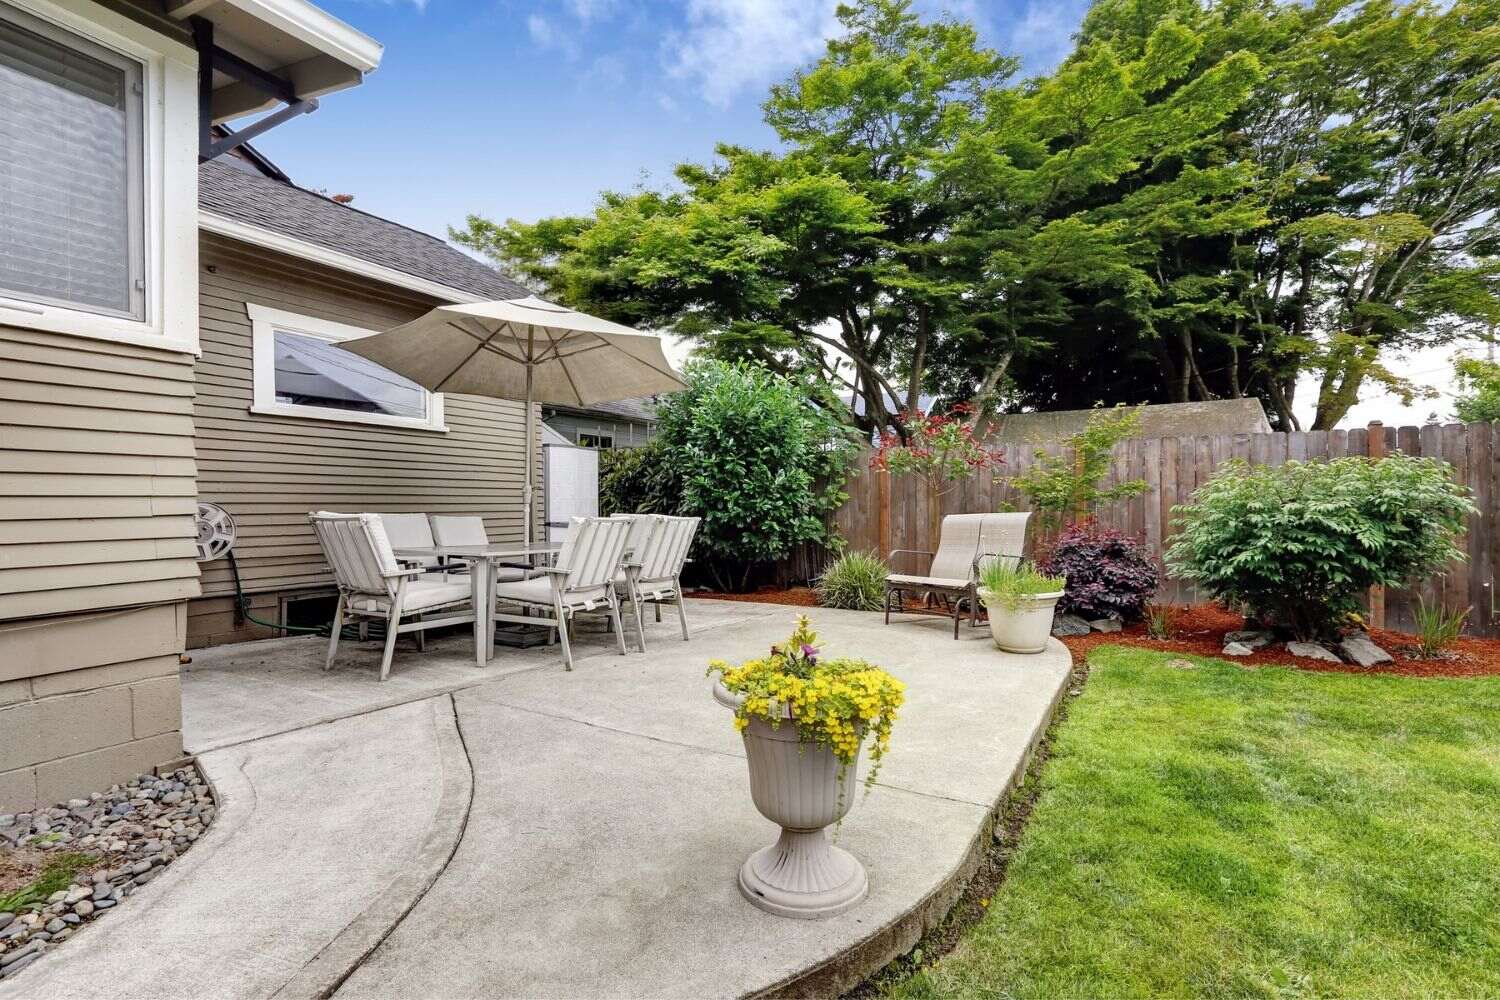
With the completion of your extended concrete porch, you now have a versatile outdoor space for entertaining, relaxing, and enjoying the beauty of your home. Whether you choose to add furniture, plants, or other decorative elements, your newly transformed porch will surely become a favorite spot for you, your family, and your guests.
Thank you for joining us on this journey of extending a concrete porch. We hope this guide has been informative and helpful. Now, go out there and create the porch of your dreams!
Now that you've learned how to extend your concrete porch, why not dive deeper into more hands-on projects? Our next piece demystifies the allure of DIY projects, offering insights and inspiration for harnessing your creativity and skills in new ways. From saving money to tailoring your space with a personal touch, this article has everything you need to get started on an exciting journey of self-accomplishment and innovation in home crafting.
Frequently Asked Questions about How To Extend A Concrete Porch
Was this page helpful?
At Storables.com, we guarantee accurate and reliable information. Our content, validated by Expert Board Contributors, is crafted following stringent Editorial Policies. We're committed to providing you with well-researched, expert-backed insights for all your informational needs.

0 thoughts on “How To Extend A Concrete Porch”