Articles
How To Repair Cracked Concrete Porch
Modified: December 7, 2023
Learn effective methods to repair cracks in your concrete porch with these insightful articles. Prevent further damage and maintain the integrity of your porch.
(Many of the links in this article redirect to a specific reviewed product. Your purchase of these products through affiliate links helps to generate commission for Storables.com, at no extra cost. Learn more)
Introduction
Welcome to this comprehensive guide on how to repair a cracked concrete porch. Cracks in concrete are a common issue that can not only detract from the appearance of your porch but also compromise its structural integrity if left unaddressed. Fortunately, with the right tools, materials, and techniques, you can easily repair cracked concrete and restore the beauty and functionality of your porch.
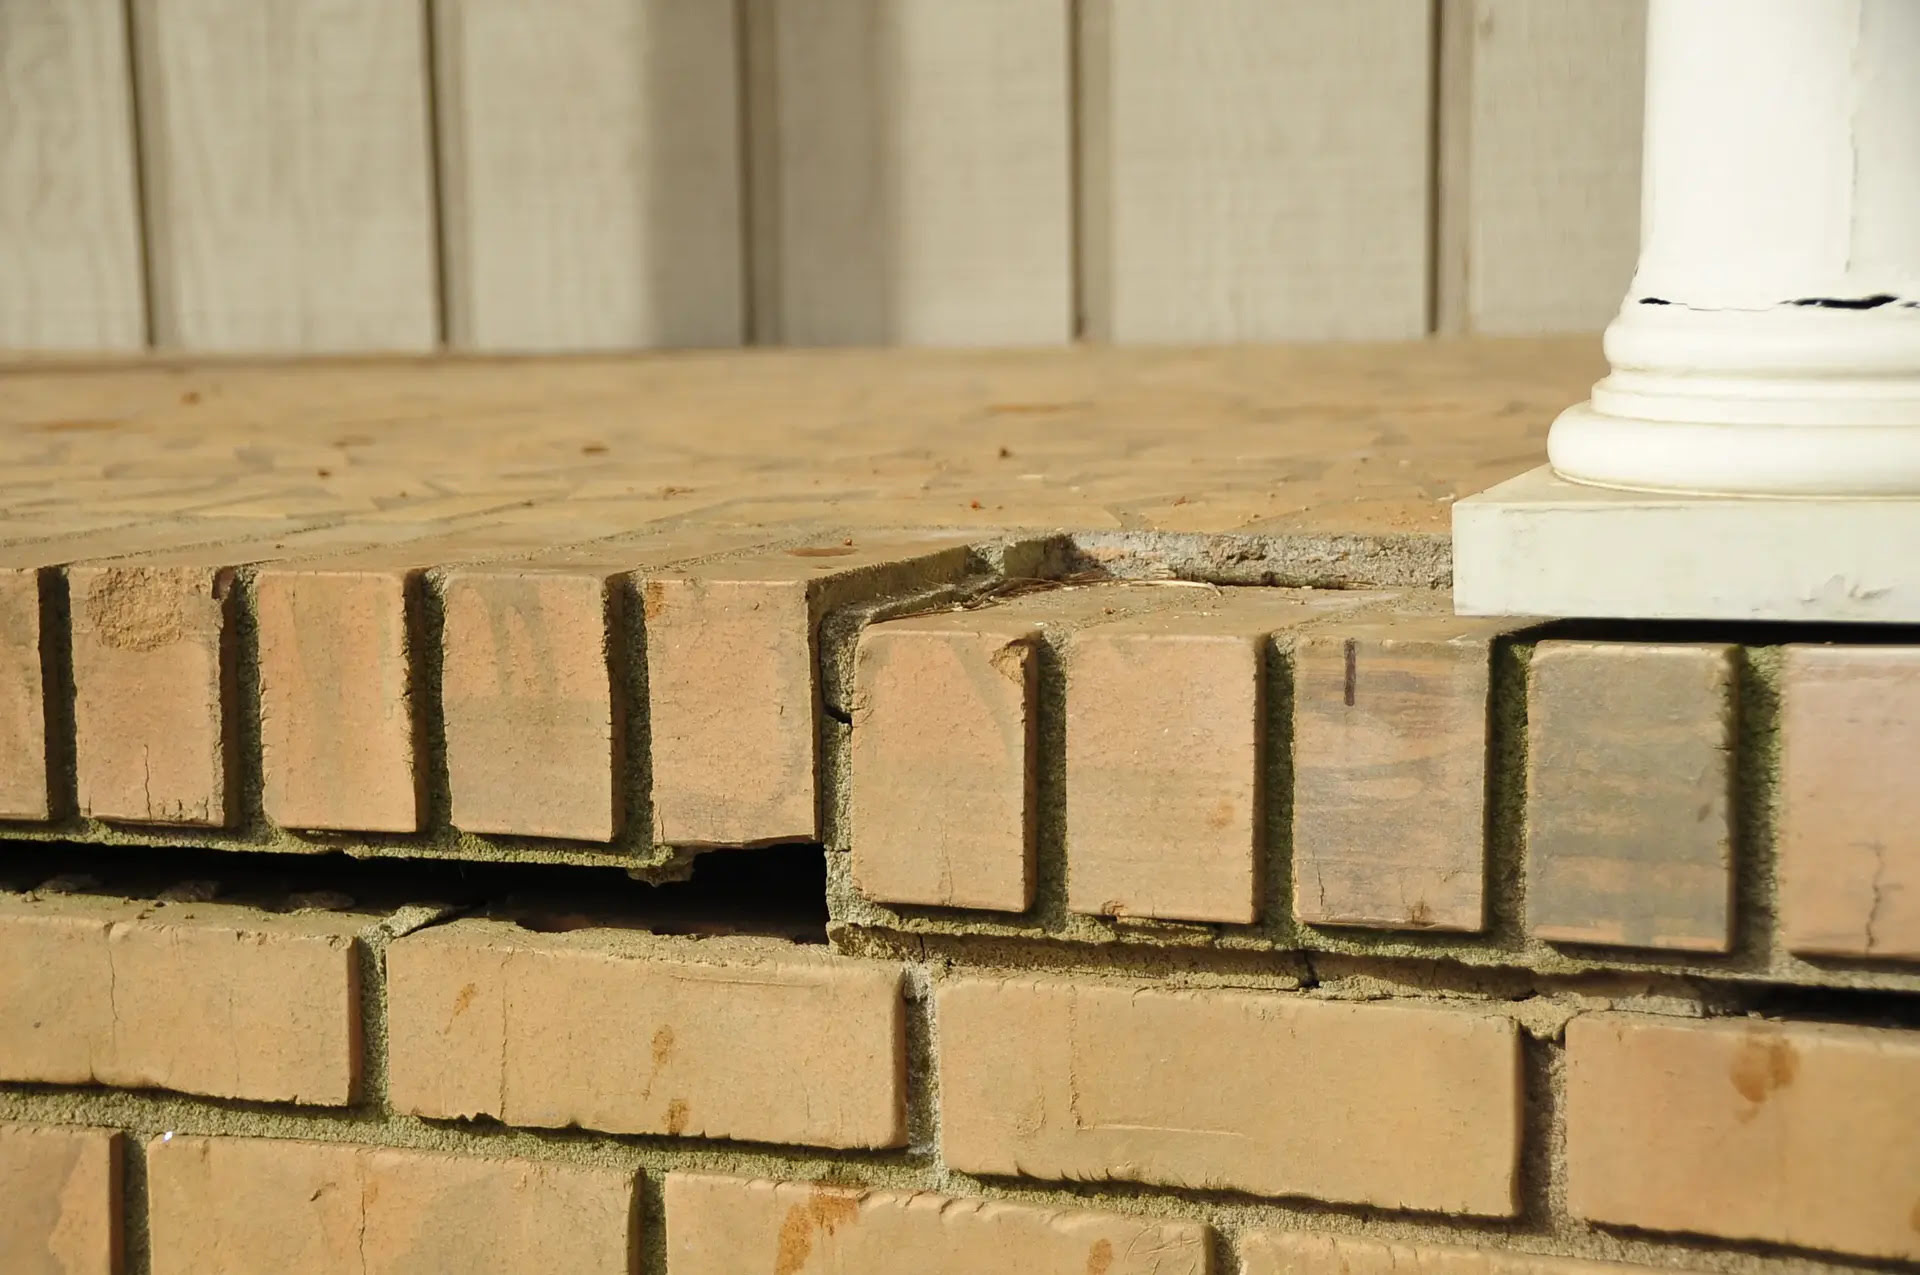
Cracks in a concrete porch can occur due to various factors, including freeze-thaw cycles, settling of the ground beneath the porch, or simply normal wear and tear over time. These cracks can range in size from hairline fractures to larger openings that are not only unsightly but can also create safety hazards.
Repairing cracked concrete is essential to prevent further damage and costly repairs in the future. In this guide, we will walk you through the step-by-step process of assessing the crack, gathering the necessary tools and materials, preparing the surface, applying the concrete crack filler, and finishing the repair. We will also cover the important steps of curing and sealing the repair to ensure long-lasting results.
But before we dive into the repair process, it’s crucial to understand that safety is paramount. Ensure that you have the necessary protective gear, such as gloves and safety glasses, to safeguard yourself during the repair. Additionally, if you are dealing with a large or complex crack, it may be wise to consult a professional for guidance and assistance.
Now, let’s get started with assessing the crack and determining the best approach to repair your cracked concrete porch.
Key Takeaways:
- Repairing a cracked concrete porch is a manageable DIY project with proper assessment, preparation, and application. Follow the steps outlined to restore beauty and ensure long-term durability.
- Prioritize safety, thorough assessment, and proper curing and sealing to protect the repaired concrete porch from moisture, stains, and further damage. Regular maintenance is essential for long-lasting results.
Read more: How To Fix A Crack In Concrete Floor
Assessing the Crack
Before you begin repairing a cracked concrete porch, it’s important to assess the severity and nature of the crack. This will help you determine the appropriate repair method and ensure that the repair is effective and long-lasting.
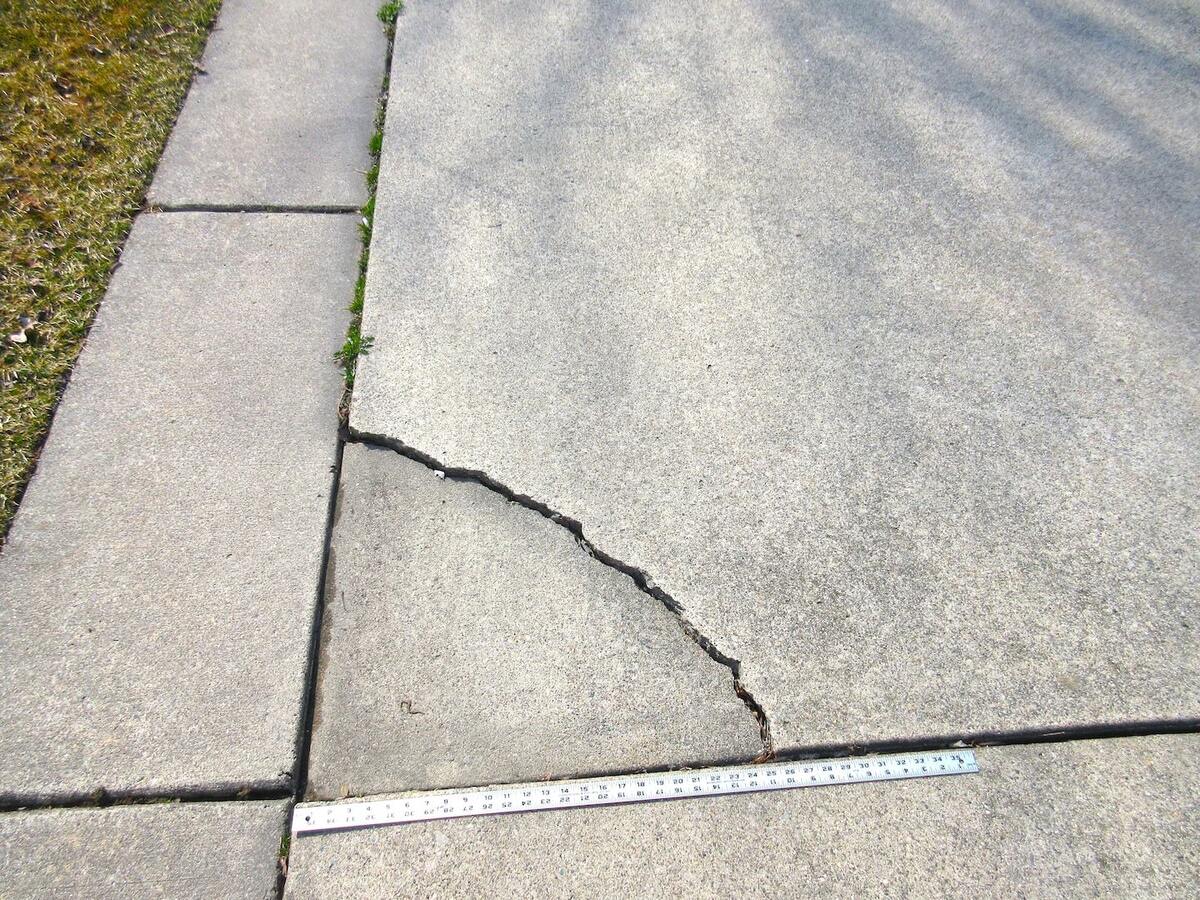
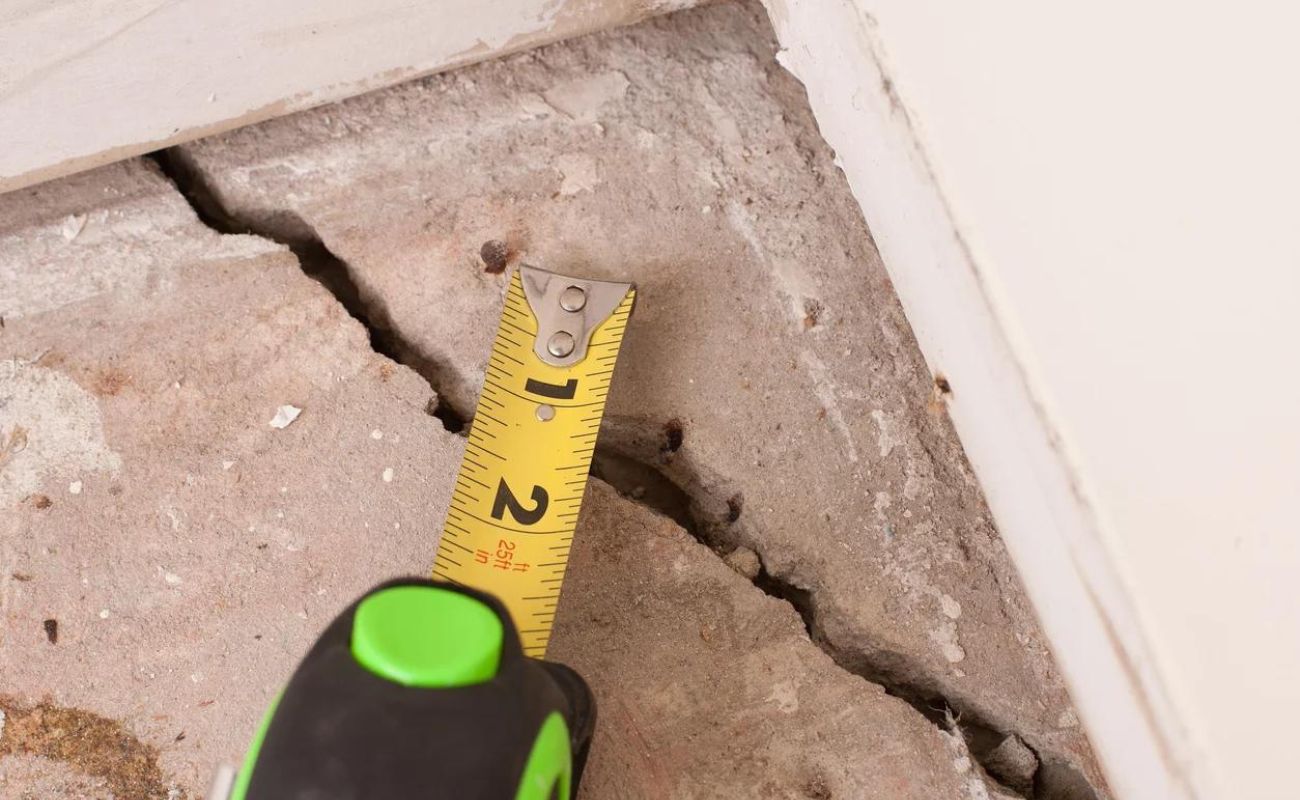
First, examine the crack closely to determine its width and depth. Hairline cracks are usually less than 1/8 inch wide and can be easily repaired, while wider cracks may require more extensive measures. Use a ruler or a tape measure to measure the width of the crack.
Next, determine if the crack is static or dynamic. Static cracks are stable and do not change in size, while dynamic cracks may expand or contract with temperature fluctuations or soil movement. Dynamic cracks may require additional reinforcement to ensure a successful repair.
It’s also important to consider the location of the crack. Cracks near the edges of the porch or those that are heavily trafficked may require more attention and reinforcement to withstand the stresses they will endure.
Additionally, look for any signs of water damage around the crack. Moisture can weaken the concrete and lead to further cracking or deterioration. If you notice signs of water infiltration, such as efflorescence (white powdery residue) or discoloration, it’s crucial to address the water issue before proceeding with the crack repair.
Lastly, take note of any other structural issues or underlying problems that may have contributed to the development of the crack. This could include inadequate support, improper drainage, or soil settlement. Addressing these issues alongside the crack repair will help prevent future cracks and ensure a lasting solution.
By thoroughly assessing the crack in your concrete porch, you will be able to determine the appropriate repair method and take any necessary measures to ensure a successful and lasting repair. Once you have completed this assessment, you can move on to gathering the necessary tools and materials for the repair process.
Gathering the Necessary Tools and Materials
Before you begin repairing a cracked concrete porch, it’s essential to gather all the necessary tools and materials. Having everything on hand will allow you to work efficiently and complete the repair without interruptions. Here is a list of common tools and materials you may need:
- Protective Gear: Safety should always be a top priority. Make sure you have gloves, safety glasses, and a dust mask to protect yourself during the repair process.
- Wire Brush: A wire brush is essential for cleaning and preparing the surface of the cracked concrete. It will help remove loose debris, dirt, and any loose fragments from the crack.
- Chisel or Scraper: If there are any loose or protruding concrete edges around the crack, a chisel or scraper can be used to remove them. This will ensure a smoother repair surface.
- Concrete Crack Filler: Depending on the size and depth of the crack, you may need either a ready-to-use crack filler in a tube or a mixable powder that requires water. Choose a filler specifically designed for concrete repairs.
- Caulking Gun: If you are using a crack filler in a tube, a caulking gun is necessary for easy and controlled application. It allows you to apply even pressure and ensures precise filling of the crack.
- Trowel or Putty Knife: A trowel or putty knife is used to smooth and level the crack filler over the repaired area. It helps achieve a seamless finish.
- Concrete Patching Compound: If the crack is wide or deep, you may need a patching compound to reinforce the repair. This compound is a mixture of cement, sand, and bonding agents that provides extra strength and durability.
- Concrete Sealer: Once the crack repair is complete, applying a concrete sealer is recommended. This will help protect the repaired area from moisture, stains, and further damage.
- Clean Water and Bucket: You will need clean water to mix with the patching compound if necessary, as well as for cleaning tools and surfaces during the repair process.
Make sure to check the specific instructions and recommended tools and materials for the concrete crack filler and patching compound you are using. Some products may have additional requirements or recommendations.
By gathering all the necessary tools and materials ahead of time, you’ll be well-prepared to tackle the repair project and achieve professional-looking results. With everything in place, it’s time to move on to preparing the surface of the cracked concrete porch.
Preparing the Surface
Before you can repair a cracked concrete porch, it is crucial to properly prepare the surface. Preparing the surface ensures that the repair materials adhere securely and the finished repair is smooth and seamless. Here are the steps to prepare the surface:
- Clean the surface: Start by removing any loose debris, dirt, or vegetation from the cracked area. Use a wire brush or a broom to sweep away any loose particles. If necessary, you can also use a power washer to clean the surface more thoroughly. Allow the area to dry completely before proceeding.
- Remove loose or crumbling concrete: If there are any loose or deteriorated pieces of concrete around the crack, use a chisel and hammer to carefully chip away the damaged areas. Make sure to create a clean, well-defined edge along the crack to allow the repair material to bond effectively.
- Etch the surface: Etching the surface will create a rough texture that promotes better adhesion between the old and new concrete. Mix a solution of water and concrete etching compound according to the manufacturer’s instructions. Apply the solution to the entire repaired area using a brush or sprayer. Allow it to sit for the recommended time, usually around 10-15 minutes, then rinse thoroughly with clean water.
- Fill larger voids: If the crack is wide or deep, it may be necessary to fill it partially with a backer rod or foam rope before applying the crack filler. This will help support the repair material and prevent it from sinking into the crack. Press the backer rod or foam rope firmly into the crack, ensuring it is about half an inch below the surface.
- Prep the crack filler: If you are using a ready-to-use crack filler in a tube, cut the tip of the tube at a 45-degree angle, making a small opening. Insert the tube into a caulking gun for easy application. If you are using a mixable powder, follow the instructions on the packaging to prepare the crack filler mixture.
It’s important to note that the specific preparation steps may vary depending on the crack size and repair materials. Always refer to the instructions provided by the manufacturer for the best results.
Once the surface is properly prepared, you are ready to move on to the next step: applying the concrete crack filler. This will effectively seal the crack and restore the integrity of your porch.
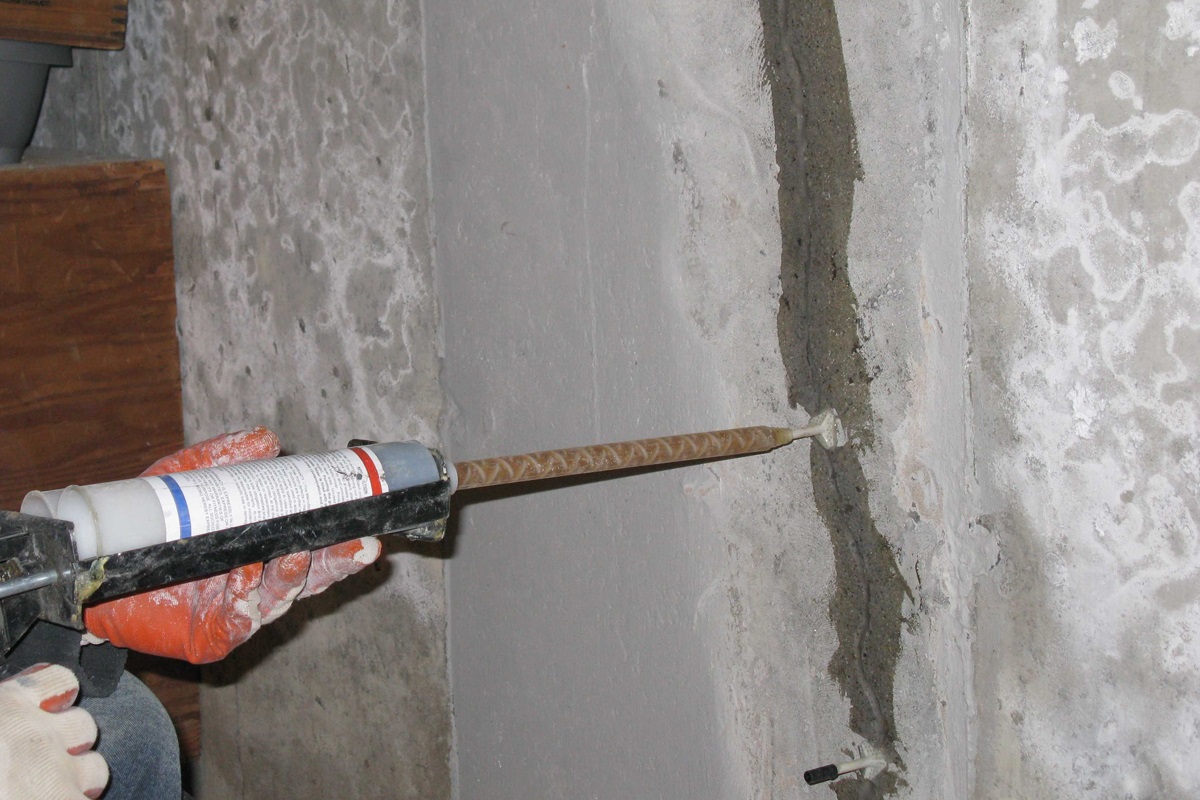
Clean out the crack with a wire brush and then fill it with a concrete patching compound. Smooth the surface with a trowel and allow it to dry completely before walking on it.
Applying the Concrete Crack Filler
Now that you have prepared the surface of the cracked concrete porch, it’s time to apply the concrete crack filler. The crack filler will help fill the void, seal the crack, and prevent further damage. Follow these steps to effectively apply the crack filler:
- Read the instructions: Each crack filler product may have specific application instructions, including the recommended temperature range and drying time. Read the manufacturer’s instructions carefully before proceeding.
- Apply the crack filler: If you are using a crack filler in a tube, position the nozzle of the caulking gun at one end of the crack. Squeeze the trigger of the caulking gun to dispense the filler, moving it along the crack in a slow and steady motion. Fill the crack completely, slightly overfilling it to ensure proper coverage.
- Smooth the filler: Use a putty knife or trowel to smooth the crack filler over the repaired area. Press the filler firmly into the crack to ensure it bonds well with the surrounding concrete. Smooth the surface until it is level with the rest of the porch, blending it in seamlessly.
- Remove excess filler: To achieve a neater finish, remove any excess filler from the surface using the putty knife or trowel. Scrape gently to avoid disturbing the freshly applied filler. Wipe away any residue from the surrounding area with a clean cloth or sponge.
- Allow the filler to dry: Let the crack filler dry according to the manufacturer’s instructions. This may take several hours or even a day, depending on the product and environmental conditions. Avoid walking or placing heavy objects on the repaired area until it is fully cured.
It’s important to note that some cracks may require multiple applications of the crack filler, particularly if they are deeper or wider. Allow each layer to dry before applying additional filler as needed. Read the product instructions for any specific recommendations regarding multiple applications.
By following these steps, you can effectively apply the concrete crack filler and ensure a strong and durable repair. Once the crack filler has dried, it’s time to move on to the next step: smoothing and finishing the repair.
Read more: How To Repair Cracks In Concrete Driveway
Smoothing and Finishing the Repair
After applying the concrete crack filler to your porch, it’s important to smooth and finish the repair to achieve a seamless and professional-looking result. Properly smoothing and finishing the repair will not only enhance the appearance but also ensure long-lasting durability. Follow these steps to smooth and finish the crack repair:
- Inspect the repair: Before proceeding with the smoothing process, carefully examine the filled crack. Ensure that it is level with the surrounding concrete and that there are no gaps or air pockets. If necessary, add more filler to any low areas and smooth it out.
- Use a trowel or putty knife: Use a trowel or putty knife to gently scrape along the repaired area. Smooth out any rough edges or bumps by applying light pressure to level the surface. Work in a back and forth motion, gradually blending the repair with the surrounding concrete.
- Blend the color: If the repaired area doesn’t match the color of the rest of the porch, you can use concrete dye or stain to blend the colors together. Follow the manufacturer’s instructions to mix and apply the dye or stain, ensuring a seamless transition. Allow it to dry before proceeding.
- Texture the repair: To achieve a more natural and cohesive appearance, you can texture the repaired area to match the surrounding concrete. Use a texture roller or a broom to create a textured pattern that resembles the original porch surface. Roll or sweep lightly over the repair, applying even pressure to achieve the desired texture.
- Clean the surrounding area: Once you have completed the smoothing and finishing process, clean the surrounding area to remove any debris, dust, or residue. Use a broom or a vacuum to sweep away any loose particles. This will ensure a clean and polished final result.
Remember to refer to the product instructions for any specific recommendations or additional steps when it comes to smoothing and finishing the repair. Each product may have different requirements or techniques for achieving the best results.
By properly smoothing and finishing the crack repair, you can achieve a seamless blend with the surrounding concrete and restore the aesthetic appeal of your porch. The next step in the repair process is to cure and seal the repair to enhance its strength and longevity.
Curing and Sealing the Repair
After completing the crack repair and smoothing process on your concrete porch, it’s important to allow the repair to properly cure and then apply a sealant to protect it from moisture and further damage. Curing and sealing the repair will enhance its durability and ensure long-lasting results. Follow these steps to effectively cure and seal the repair:
- Curing the repair: Curing is a crucial step that allows the concrete to reach its maximum strength. Follow the manufacturer’s instructions for the specific curing time needed for the crack filler you used. Typically, you’ll need to mist the repair with water, cover it with a plastic sheet, or use a curing compound. Avoid placing heavy objects or applying excessive pressure on the repaired area during the curing process.
- Inspect the repair: Once the repair has cured, inspect it to ensure that it has fully dried and hardened. Check for any signs of cracking or separation. If you notice any issues, consult the manufacturer’s instructions or seek professional assistance for further guidance.
- Apply a concrete sealer: A concrete sealer is essential to protect the repaired area from moisture, stains, and further damage. Select a sealer that is suitable for exterior concrete surfaces. Read and follow the manufacturer’s instructions for proper application, as application methods can vary (brush, roller, sprayer).
- Prepare the surface for sealing: Before applying the sealer, ensure that the repaired area is clean and free of any dirt, dust, or debris. Sweep or wipe away any loose particles. If necessary, use a mild detergent and water to clean the surface, then rinse thoroughly and allow it to dry completely.
- Apply the sealer: Using a brush, roller, or sprayer, apply an even coat of the concrete sealer to the repaired area and the surrounding porch surface. Follow the manufacturer’s instructions for the recommended number of coats and drying time between coats. Ensure that the sealer is applied evenly and that it fully covers the repaired area.
- Allow the sealer to dry: Once the sealer has been applied, allow it to dry completely according to the manufacturer’s instructions. This may take a few hours or longer, depending on the sealer and environmental conditions. Avoid foot traffic or placing furniture on the sealed area until it is fully cured.
Curing and sealing the repair is essential for preserving the integrity and longevity of your concrete porch. It protects the repair from water penetration, UV damage, and stains, ensuring that your porch remains in optimal condition for years to come.
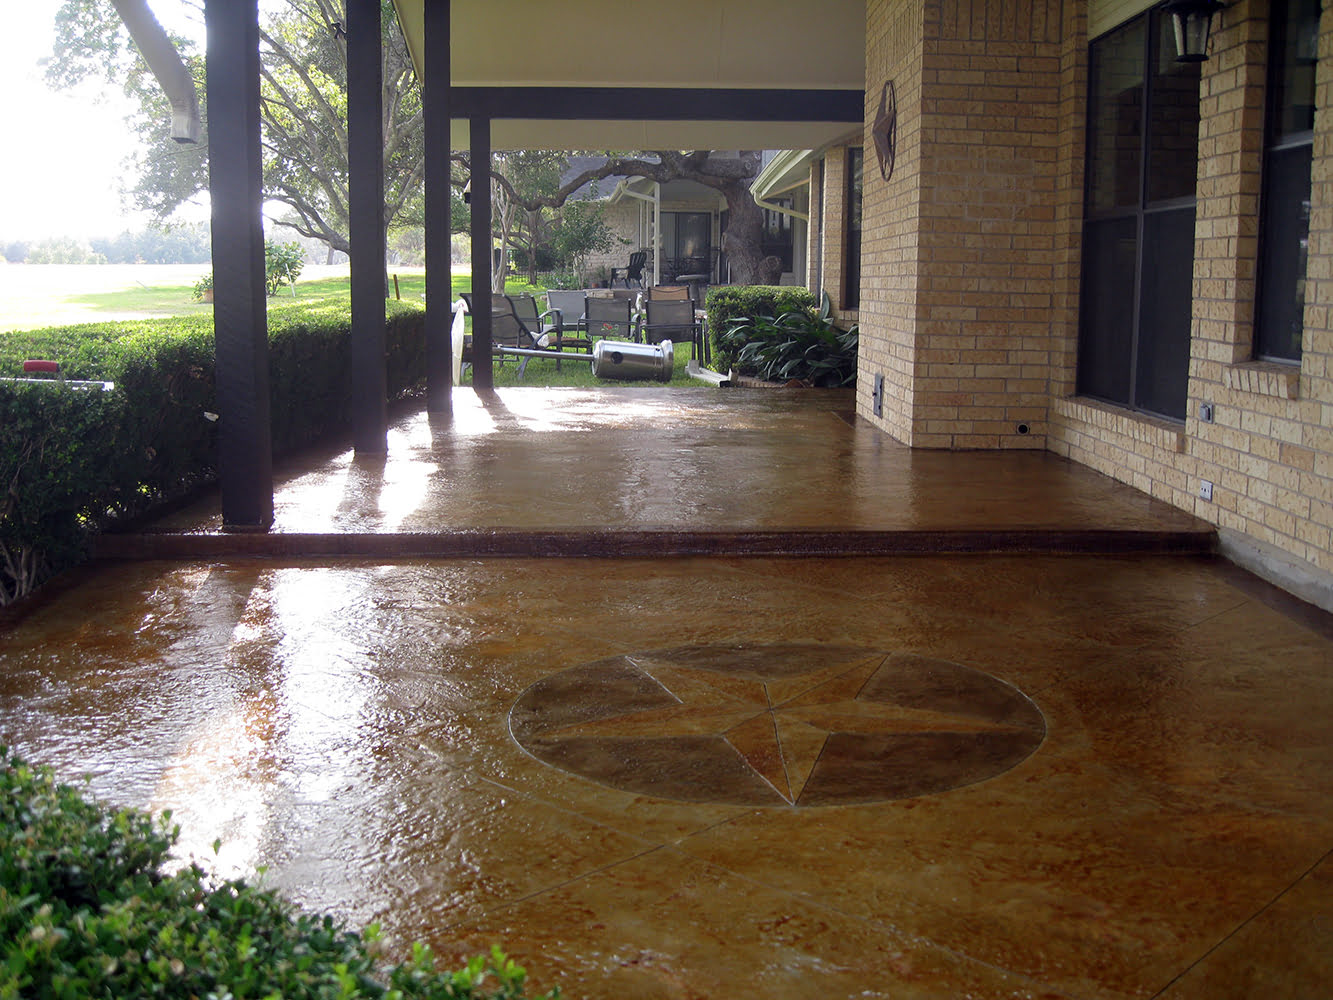
Finally, after completing the curing and sealing process, take the time to appreciate your hard work and the revitalized look of your cracked concrete porch. Regular maintenance and periodic reapplication of the sealer will help extend its lifespan and keep it looking its best.
Final Thoughts
Repairing a cracked concrete porch can seem like a daunting task, but with the right tools, materials, and techniques, it is a manageable DIY project. Assess the crack, gather the necessary tools and materials, prepare the surface, apply the crack filler, smooth and finish the repair, and finally, cure and seal it for long-lasting results. Remember to practice safety precautions, follow manufacturer’s instructions, and consult professionals if needed. By taking the time to repair your cracked concrete porch, you’ll not only improve its appearance but also ensure its structural integrity for years of enjoyment.
Final Thoughts
Repairing a cracked concrete porch may seem like a daunting task, but with the right knowledge and tools, it is a manageable DIY project. By following the steps outlined in this guide, you can successfully restore the beauty and functionality of your porch while ensuring its long-term durability.
Remember, the key to a successful repair is proper assessment, preparation, and application. Take the time to thoroughly assess the crack, gather all the necessary tools and materials, and prepare the surface before applying the concrete crack filler. Smooth and finish the repair to achieve a seamless blend with the surrounding concrete.
Furthermore, curing and sealing the repair is vital to protect it from moisture, stains, and further damage. Allow the repair to cure fully before applying a concrete sealer to enhance its longevity and resistance to the elements.
Throughout the process, always prioritize safety. Wear appropriate protective gear and exercise caution when working with tools and materials. If you encounter a crack that is beyond your expertise or skill level, do not hesitate to seek professional assistance.
Lastly, regular maintenance and periodic inspections are essential to ensure that your repaired concrete porch remains in excellent condition. Monitor the area for any signs of new cracks, water damage, or other issues and address them promptly.
By taking the time to repair and maintain your cracked concrete porch, you can not only enhance its appearance but also safeguard its structural integrity. With the step-by-step guidance in this guide, you have the knowledge and confidence to tackle the repair and enjoy a beautiful, functional porch for years to come.
Frequently Asked Questions about How To Repair Cracked Concrete Porch
Was this page helpful?
At Storables.com, we guarantee accurate and reliable information. Our content, validated by Expert Board Contributors, is crafted following stringent Editorial Policies. We're committed to providing you with well-researched, expert-backed insights for all your informational needs.


0 thoughts on “How To Repair Cracked Concrete Porch”