
Articles
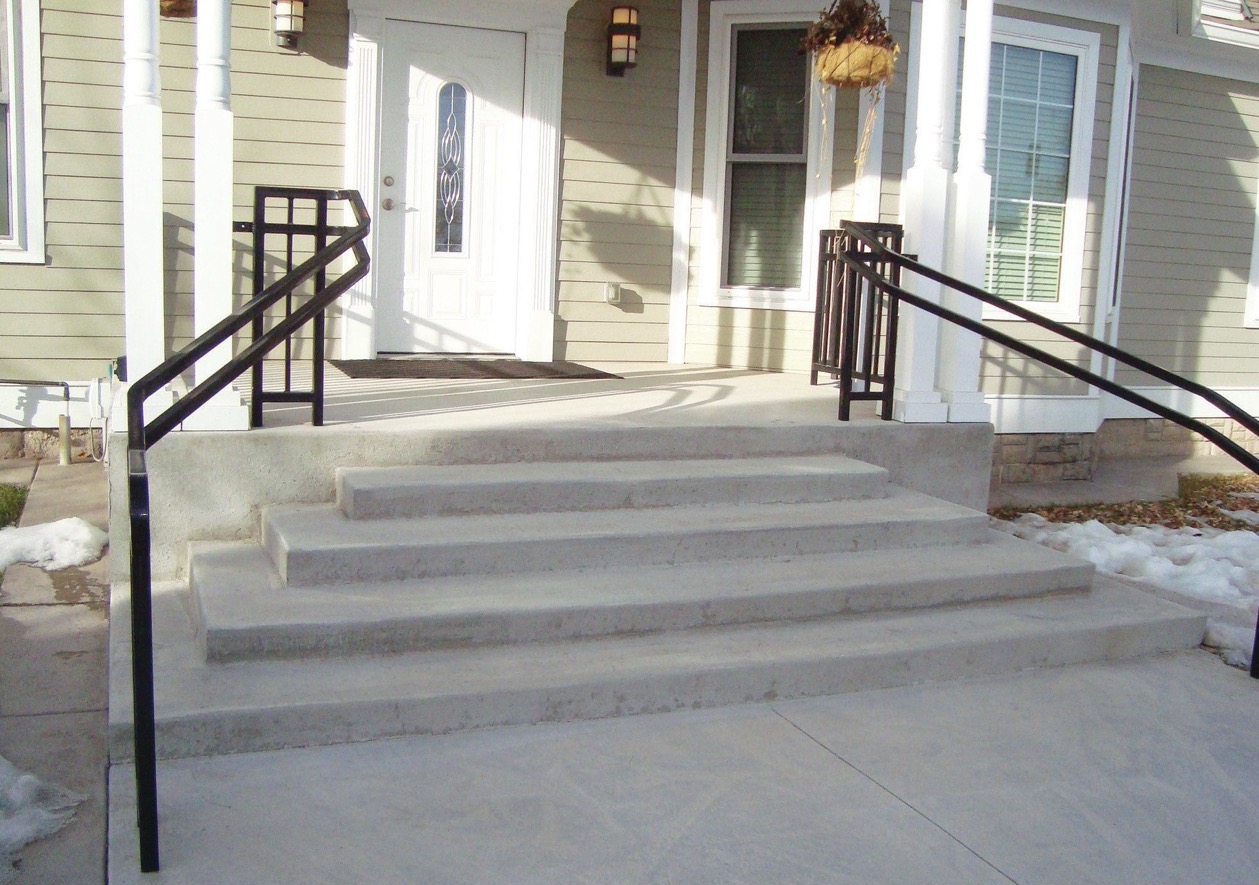
How To Build A Concrete Porch With Steps
Modified: October 21, 2024
Learn how to build a concrete porch with steps in this comprehensive articles guide. Find step-by-step instructions, tips, and tricks for a successful porch construction.
(Many of the links in this article redirect to a specific reviewed product. Your purchase of these products through affiliate links helps to generate commission for Storables.com, at no extra cost. Learn more)
Introduction
Building a concrete porch with steps can be a worthwhile and rewarding project that not only enhances the appearance of your home but also adds functionality and value. Whether you are looking to create a welcoming entrance or extend your outdoor living space, a well-designed concrete porch can provide an attractive and durable solution.
In this article, we will guide you through the step-by-step process of building a concrete porch with steps. From planning and preparation to the final finishing touches, we will cover the key aspects you need to consider to ensure a successful and professional result.
Before we dive into the specific steps, it’s important to understand that building a concrete porch requires careful planning, sufficient knowledge of construction techniques, and adherence to local building codes and regulations. If you don’t have prior experience with concrete work, it may be beneficial to consult with a professional contractor or hire a skilled tradesperson to assist you with the project.
Now, let’s begin our journey to create a beautiful and functional concrete porch that will stand the test of time.
Key Takeaways:
- Building a concrete porch with steps requires meticulous planning, precise site preparation, and expert-level concrete pouring and finishing techniques. Attention to detail and adherence to safety guidelines are crucial for a successful DIY project.
- From creating a solid foundation to adding decorative elements, building a concrete porch demands patience, precision, and creativity. Seeking professional assistance for unfamiliar steps ensures a durable and attractive addition to your home.
Read more: How To Build Stone Porch Steps
Step 1: Planning and Preparation
Before getting your hands dirty, it’s essential to lay a solid foundation through careful planning and preparation. Here’s what you need to do:
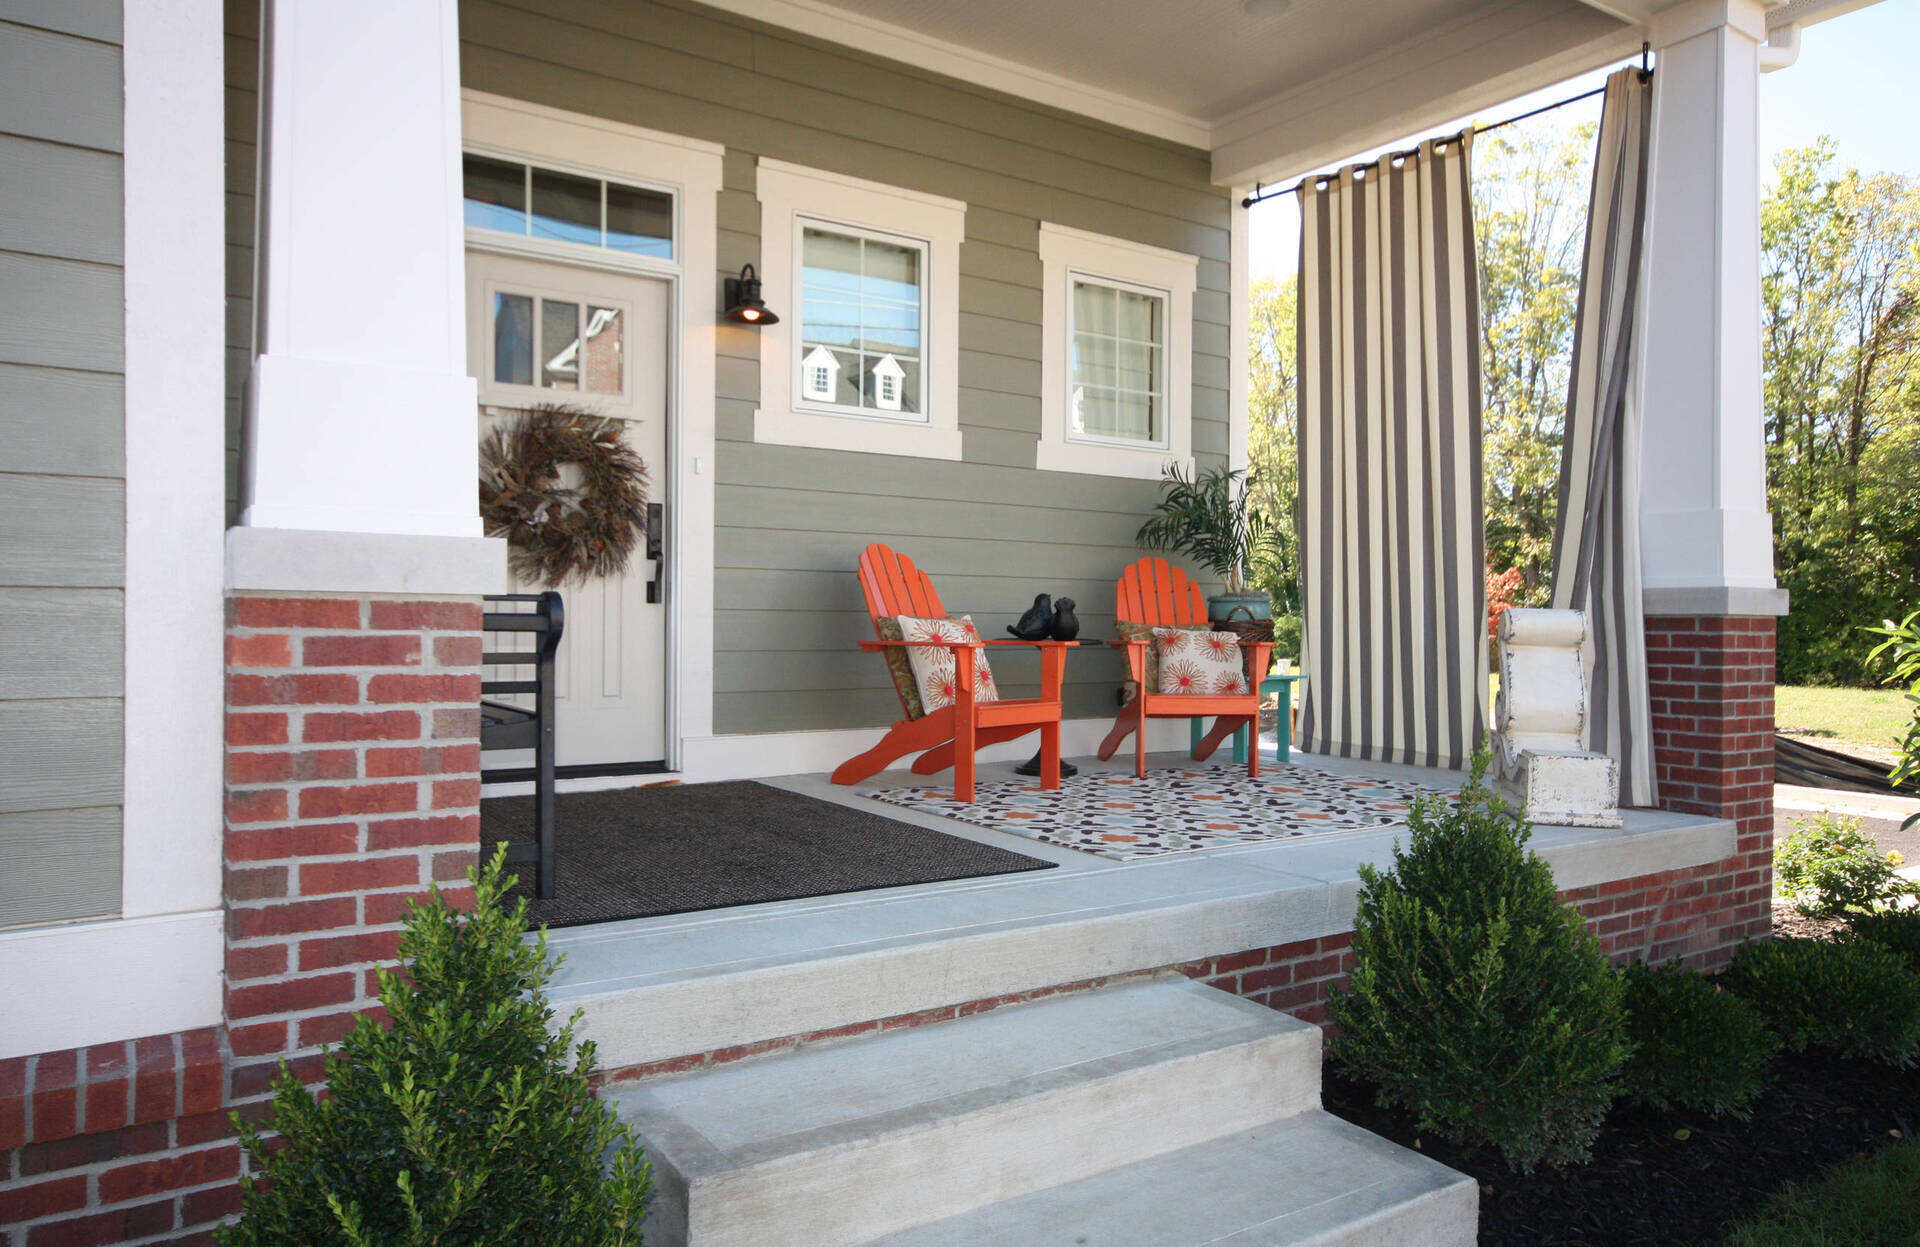
- 1. Determine the Purpose: Assess how you intend to use your concrete porch. Will it serve as an entrance, a relaxing outdoor space, or both? Understanding the purpose will help you determine the size, layout, and design elements.
- 2. Measure and Mark: Measure the area where you plan to build the porch and mark the dimensions using stakes and string. Ensure that the dimensions are accurate, and the porch is level with the existing structure.
- 3. Check Local Building Codes: Research and understand the local building codes and regulations pertaining to porch construction. This includes requirements for minimum size, height, width, spacing, and safety features such as railings and steps.
- 4. Gather Materials and Tools: Make a list of materials and tools required for the project. This may include concrete mix, reinforcing bars, formwork, nails, screws, hand tools, safety equipment, and more. Purchase or rent these items well in advance to avoid any delays.
- 5. Create a Budget: Determine your budget for the project and allocate funds for each stage. Consider not only the materials and tools but also any professional assistance you may need along the way.
- 6. Seek Professional Advice: If you are unsure about any aspect of the project, consult with a professional contractor or engineer. They can provide valuable insights into the design, structural integrity, and best practices for your specific porch construction.
Remember, thorough planning and preparation are crucial for a successful project. Take the time to consider all the necessary factors, and be prepared to adjust your plans accordingly. With a solid foundation in place, you are now ready to move on to the next step: site preparation.
Step 2: Site Preparation
Now that you have completed the planning stage, it’s time to prepare the site where your concrete porch will be built. Site preparation is essential to ensure a stable and level foundation for your structure. Follow these steps for effective site preparation:
- Clear the Area: Remove any existing landscaping or obstacles from the designated area. This includes plants, shrubs, rocks, debris, and any unnecessary structures. Excavate the soil to create a level surface for your porch.
- Level the Ground: Use a shovel or grading rake to level the area where your porch will be located. Ensure there are no high or low spots, and check the levelness of the ground using a builder’s level or a laser level.
- Compact the Soil: After leveling, compact the soil using a plate compactor or a hand tamper. This will provide a stable and firm base for your concrete porch. Pay special attention to areas with loose or soft soil, as they may require additional compaction.
- Add a Base Material: To further strengthen the foundation, add a layer of base material such as crushed stone or gravel. This material will help with drainage and prevent settling of the concrete. Spread and compact the base material evenly across the site.
- Install Edging: Install edging along the perimeter of the porch area. This can be done using wooden forms or metal landscape edging. The edging will help contain the concrete and ensure a clean, defined edge for your porch.
Once you have completed the site preparation, double-check the levelness and stability of the ground. Any adjustments or corrections should be made before proceeding to the next step. With a well-prepared site, you are now ready to move on to the next stage of building your concrete porch: constructing the formwork.
Step 3: Building the Formwork
The formwork is a temporary structure that will shape and hold the concrete in place until it hardens. Creating the formwork is an important step in ensuring the proper shape and dimensions of your concrete porch. Follow these steps to build the formwork:
- Create the Outer Form: Use long and straight boards to create the outer form of the porch. These boards will act as the boundary and will determine the shape and size of the porch. Make sure they are secured firmly in place using stakes and braces. Use a level to ensure the form is plumb and even.
- Add the Inner Forms: Depending on the design of your porch, you may need to include inner forms for steps or other features. These forms can be created using plywood or boards. Ensure they are securely attached to the outer form and placed at the correct height and angle.
- Install Reinforcement Supports: If your porch will include reinforcement bars, install supports to hold them in position. These can be made using short pieces of wood or plastic rebar chairs. Place them at regular intervals and ensure they are level and aligned.
- Seal the Joints: To prevent concrete leakage, seal the joints where the formwork meets. Use caulk or silicone sealant to ensure a tight seal. Pay particular attention to corners, edges, and connections between the different form sections.
- Check Alignment and Levelness: Carefully inspect the formwork for proper alignment and levelness. Make any necessary adjustments before proceeding to the next step. It’s crucial that the formwork accurately represents the final shape and dimensions of your porch.
Building the formwork requires precision and attention to detail. Take your time to ensure that everything is properly aligned and securely in place. The formwork will serve as the mold for your concrete porch, so it’s essential to get this step right. With the formwork complete, you are now ready to move on to the next stage: installing reinforcement.
Step 4: Reinforcement Installation
Reinforcement is an important component of a strong and durable concrete porch. Installing reinforcement bars, also known as rebar, helps reinforce the concrete and prevent cracking or structural issues. Follow these steps to install reinforcement:
- Measure and Cut Rebar: Measure and cut the rebar according to the dimensions of your porch. Use a rebar cutter or a reciprocating saw with a metal-cutting blade to achieve precise and clean cuts. Ensure the rebar is slightly shorter than the width of the formwork to allow for concrete coverage on all sides.
- Place Rebar Supports: Before laying the rebar, place rebar supports on the ground to lift it off the soil. These supports can be made from short pieces of rebar or wire mesh. They will help keep the rebar in position and ensure proper concrete coverage.
- Lay the Rebar: Carefully lay the cut rebar on top of the supports, ensuring it is evenly spaced and aligned. Depending on the size of your porch, you may need multiple layers of rebar for added strength. Use tie wire or rebar clips to secure the intersections and prevent any movement during the concrete pouring process.
- Elevate the Rebar: To ensure proper concrete coverage, use plastic or metal rebar chairs to elevate the rebar slightly off the bottom of the formwork. This will allow the concrete to surround the reinforcement entirely and provide optimal strength.
- Check Alignment and Placement: Double-check the alignment and placement of the rebar to ensure it follows the desired layout and reinforcement plan. Make any necessary adjustments before moving on to the next step.
Proper installation of reinforcement is crucial to the structural integrity of your concrete porch. Take the time to correctly place and secure the rebar according to your porch design. With the reinforcement in place, you are now ready to move on to the next step: mixing and pouring the concrete.
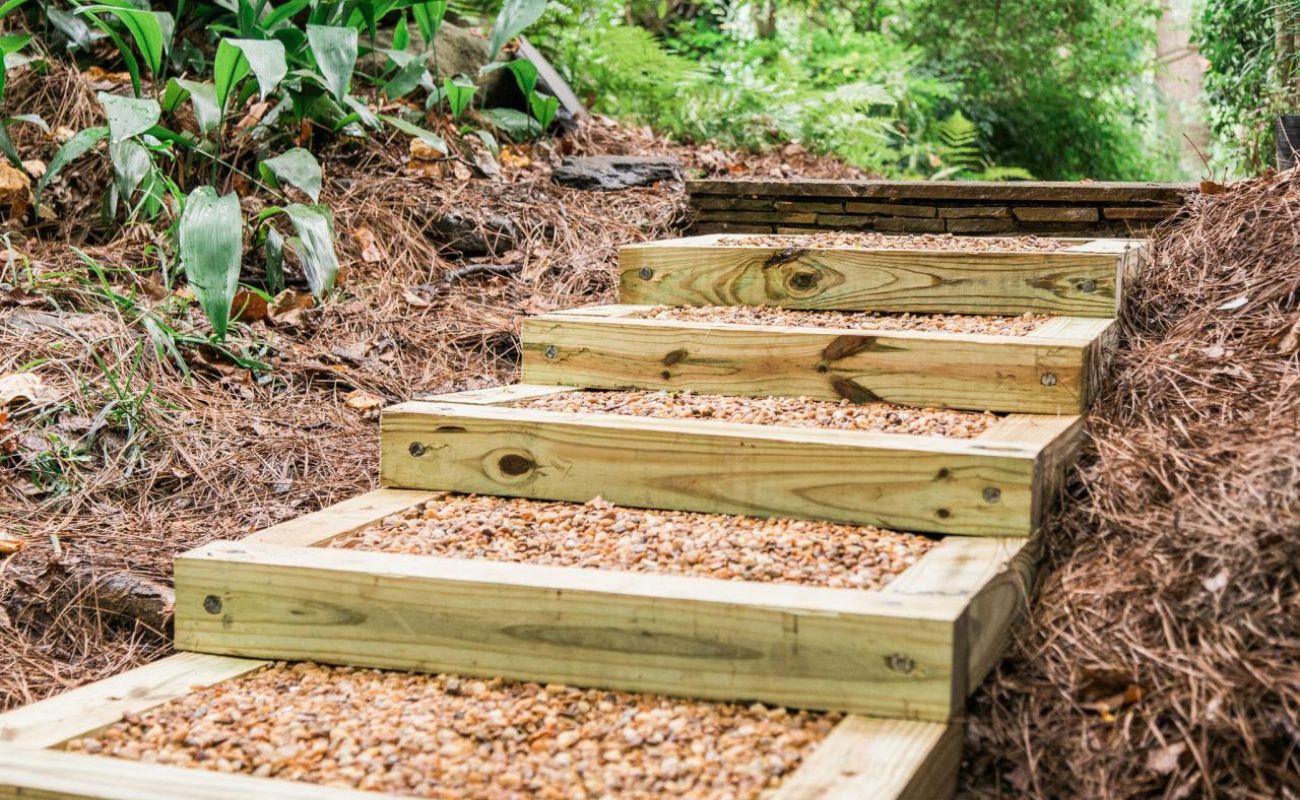
When building a concrete porch with steps, make sure to properly prepare the ground by compacting the soil and adding a layer of gravel for drainage. This will ensure a stable and long-lasting foundation for your porch.
Read more: How To Build A Screened-In Porch On Concrete
Step 5: Mixing and Pouring Concrete
Now that you have completed the necessary preparations, it’s time to mix and pour the concrete for your porch. Follow these steps to ensure a successful concrete pour:
- Prepare the Concrete: Begin by gathering all the necessary materials for mixing the concrete, including the concrete mix, water, and any additives specified by the manufacturer. Follow the instructions on the concrete mix packaging to achieve the desired consistency.
- Mix the Concrete: Use a sturdy wheelbarrow, mixing tub, or a concrete mixer to combine the concrete mix and water. Follow the recommended water-to-concrete ratio and mix thoroughly until you achieve a uniform consistency. It is important to mix the concrete properly to ensure its strength and durability.
- Pour the Concrete: Start pouring the concrete into the formwork, working from one end to the other. Use a shovel or concrete pourer to distribute the concrete evenly and fill the formwork completely. Avoid pouring too quickly to prevent the formation of air pockets and ensure a smooth surface.
- Consolidate the Concrete: Once the formwork is filled, use a vibrating tool or a rod to consolidate the concrete and remove any trapped air bubbles. This step helps improve the strength and density of the finished porch. Continue consolidating the concrete until it is level with the top of the formwork.
- Smooth the Surface: Use a screed or a straight board to level and smooth the surface of the concrete. Drag the screed across the top of the formwork using a back-and-forth motion. This will help create a flat and even surface for your porch. If needed, add additional concrete and repeat the screeding process to achieve the desired thickness.
During the concrete pouring process, it is important to work efficiently to prevent premature drying or setting of the concrete. As you pour and level the concrete, have another person assist with the process if possible. With the concrete poured and leveled, you are now ready to move on to the next step: finishing the surface.
Step 6: Finishing the Surface
Finishing the surface of the concrete porch is crucial to achieving a polished and professional appearance. Follow these steps to finish the surface:
- Eliminate Excess Water: After screeding the concrete, wait until the excess water on the surface evaporates. Once the surface is no longer shiny and wet, proceed with the finishing process.
- Float the Surface: Use a float, either handheld or mechanical, to smooth the surface of the concrete. Move the float in long, sweeping motions to even out any slight imperfections and create a uniform texture. This step will also help compact the surface and bring cement paste to the top.
- Edge the Porch: Next, use an edging tool or a hand tool to create a neatly defined edge along the perimeter of the porch. This will give the porch a finished look and prevent chipping or crumbling of the edges over time.
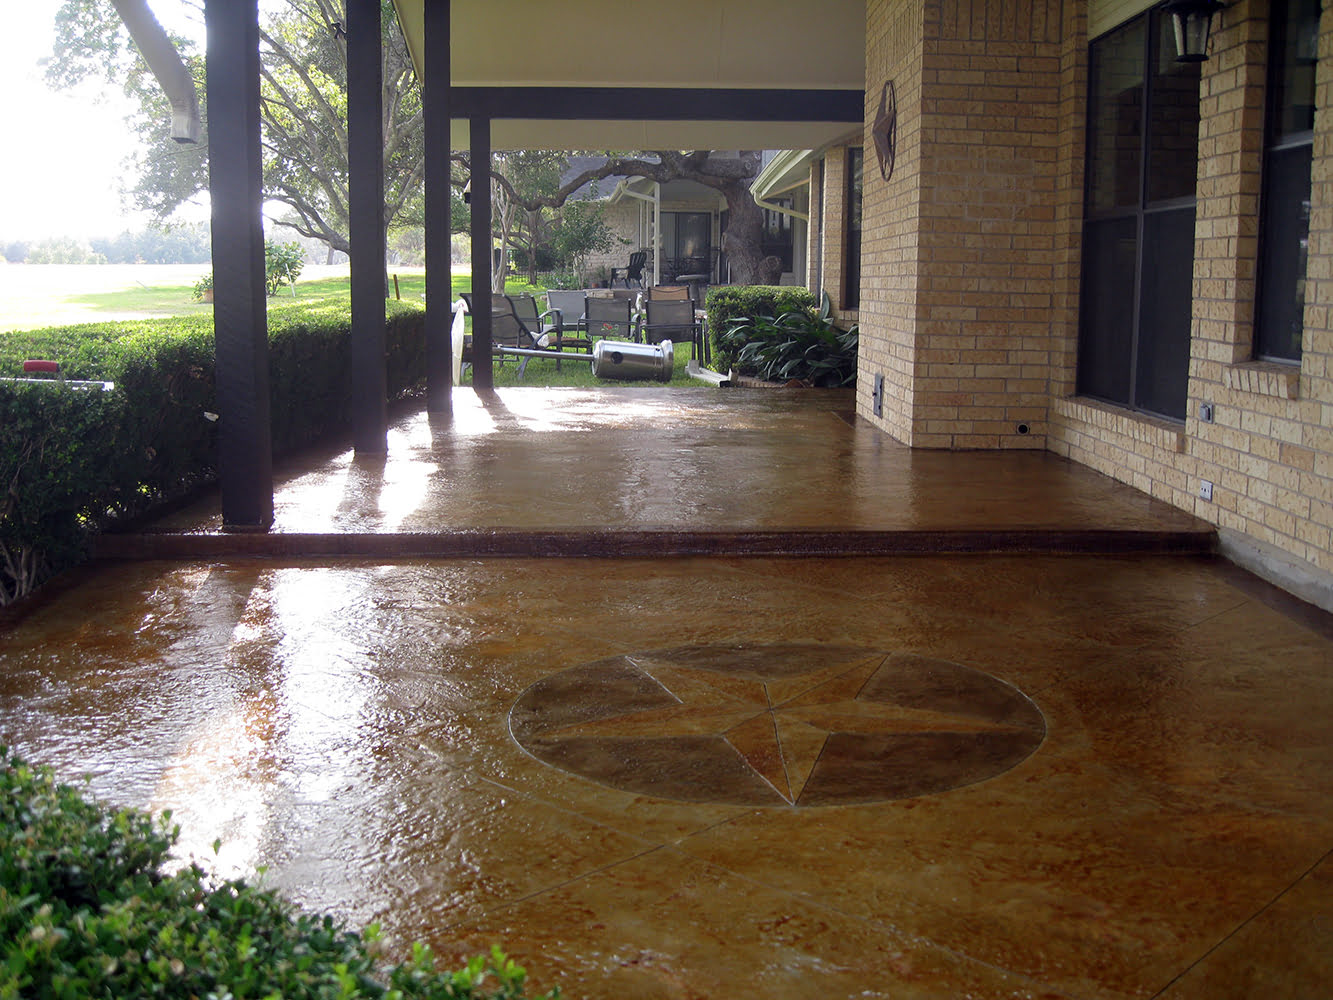
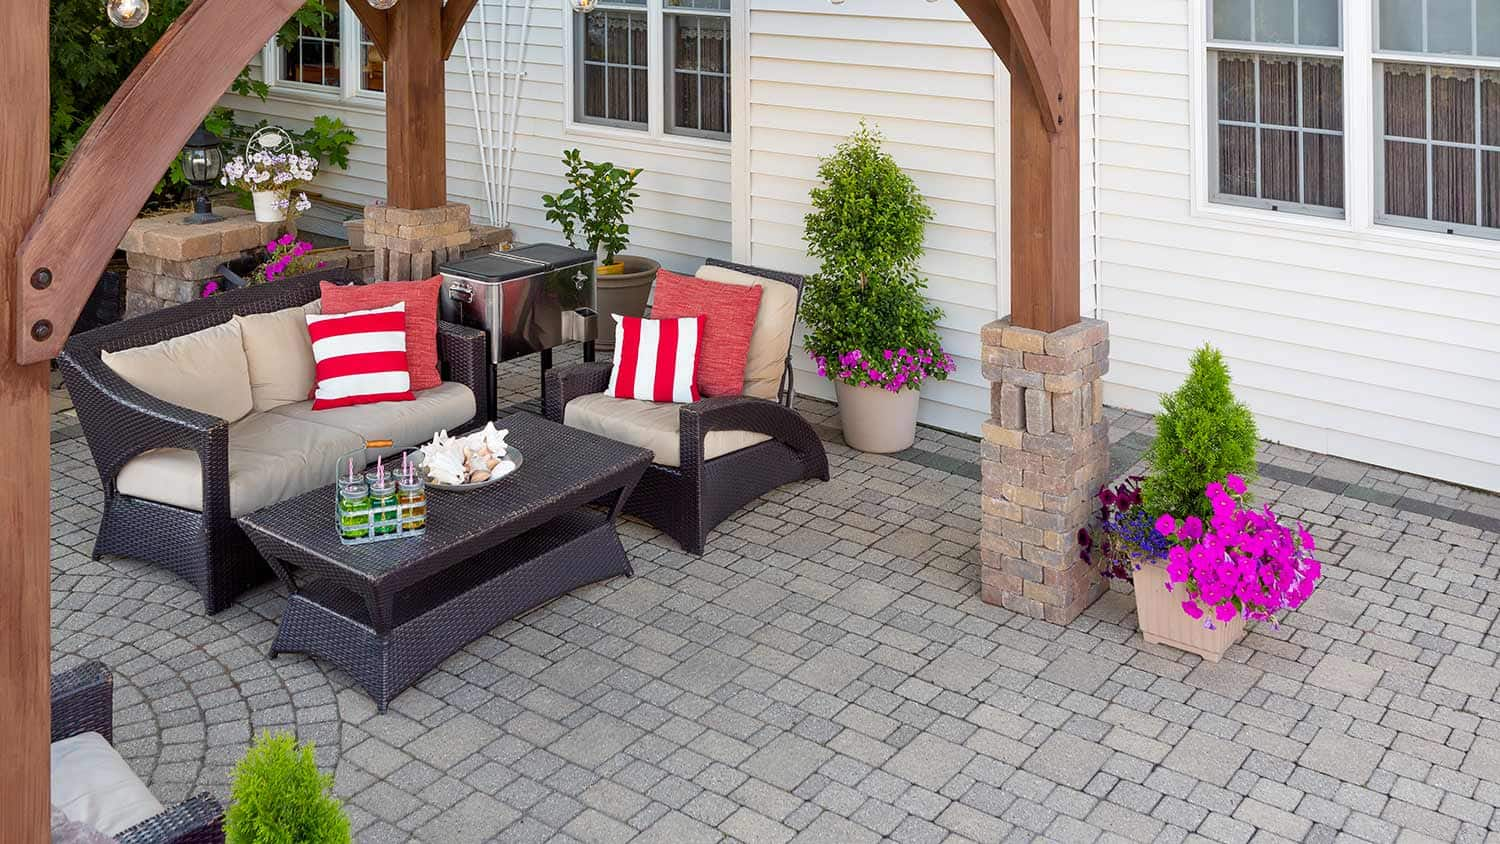
- Add Decorative Elements: If desired, incorporate decorative elements into the surface of the concrete. This can be done by stamping patterns, adding color pigments, or exposing aggregate for a unique and personalized design. Follow the manufacturer’s instructions for the specific products or techniques you choose to use.
- Finish with a Trowel: Once the concrete has sufficiently hardened, use a trowel to achieve the desired surface finish. This can be a smooth finish, a broom finish for added traction, or any other textured finish you prefer. Work in small sections, applying pressure to the trowel and smoothing the surface in a circular motion.
Take your time during the surface finishing process to ensure a beautiful and professional result. Pay attention to detail and work methodically to achieve the desired finish. With the surface finished, you are now ready to move on to the final step: curing and sealing the concrete porch.
Step 7: Curing and Sealing
After completing the concrete surface finishing, it is important to properly cure and seal the porch. Curing and sealing not only enhance the durability and longevity of the concrete but also protect it from damage and enhance its appearance. Follow these steps for effective curing and sealing:
- Cover the Porch: Immediately after finishing the surface, cover the porch with a plastic sheet or damp burlap to prevent moisture loss. This step is crucial as it allows the concrete to retain moisture, promoting proper curing and minimizing the risk of cracks.
- Keep the Porch Moist: During the curing process, it is important to keep the concrete moist to ensure optimal strength and durability. Use a hose or a sprinkler to lightly dampen the surface regularly for at least the first seven days. Avoid excessive water that could cause pooling or erosion.
- Allow Sufficient Curing Time: The curing period can vary depending on the specific concrete mix and environmental conditions. Follow the manufacturer’s instructions for the recommended curing time. Typically, a minimum of 7 to 14 days is required for the concrete to achieve sufficient strength.
- Apply a Concrete Sealer: Once the concrete has cured, apply a concrete sealer to protect the surface from stains, water penetration, and damage. Select a sealer that is compatible with the type of concrete used for your porch and follow the manufacturer’s instructions for application. Use a brush, roller, or sprayer to evenly coat the surface.
- Allow the Sealer to Dry: After applying the sealer, allow sufficient drying time as recommended by the manufacturer. This will ensure that the sealer properly bonds to the concrete surface and provides the desired level of protection.
Curing and sealing the concrete porch is crucial for its long-term performance and appearance. Be patient during the curing process and follow the recommended timelines for optimal results. Once the sealer has dried, your concrete porch is ready to be enjoyed and admired.
Conclusion
Building a concrete porch with steps can be a rewarding DIY project that adds both functionality and aesthetic appeal to your home. By following the step-by-step process outlined in this article, you can create a durable and attractive porch that will be enjoyed for years to come.
Starting with careful planning and preparation, you set the foundation for a successful project. Taking into account the purpose, measuring the area, checking local building codes, and gathering the necessary materials are all crucial steps in the planning phase.
With the site prepared and the formwork constructed, you ensure that your porch will have a stable and level foundation. Installing reinforcement further enhances the strength and longevity of your porch, minimizing the risk of cracking or structural issues.
Mixing and pouring the concrete requires attention to detail and proper technique. By following the recommended instructions and ensuring an even distribution of the concrete, you will achieve a smooth and durable surface.
The finishing touches, such as floating the surface, edging the porch, and adding decorative elements, help create a polished and personalized look. With the surface properly cured and sealed, you provide protection and enhance the overall appearance of your porch.
Remember, building a concrete porch requires patience, precision, and adherence to safety guidelines. If you do not have prior experience or feel unsure about any step of the process, it is recommended to seek professional assistance. They can offer valuable expertise and ensure that your porch is built to the highest standards.
With careful planning, proper execution, and a little bit of creativity, you can transform your outdoor space into a welcoming and functional area with a beautiful concrete porch. Enjoy the fruits of your labor and take pride in the remarkable addition you’ve made to your home.
Frequently Asked Questions about How To Build A Concrete Porch With Steps
Was this page helpful?
At Storables.com, we guarantee accurate and reliable information. Our content, validated by Expert Board Contributors, is crafted following stringent Editorial Policies. We're committed to providing you with well-researched, expert-backed insights for all your informational needs.


0 thoughts on “How To Build A Concrete Porch With Steps”