Articles
How To Level Concrete Porch
Modified: January 5, 2024
Learn step-by-step methods and expert tips for leveling your concrete porch with our comprehensive articles. Get the perfect, even surface you desire.
(Many of the links in this article redirect to a specific reviewed product. Your purchase of these products through affiliate links helps to generate commission for Storables.com, at no extra cost. Learn more)
Introduction
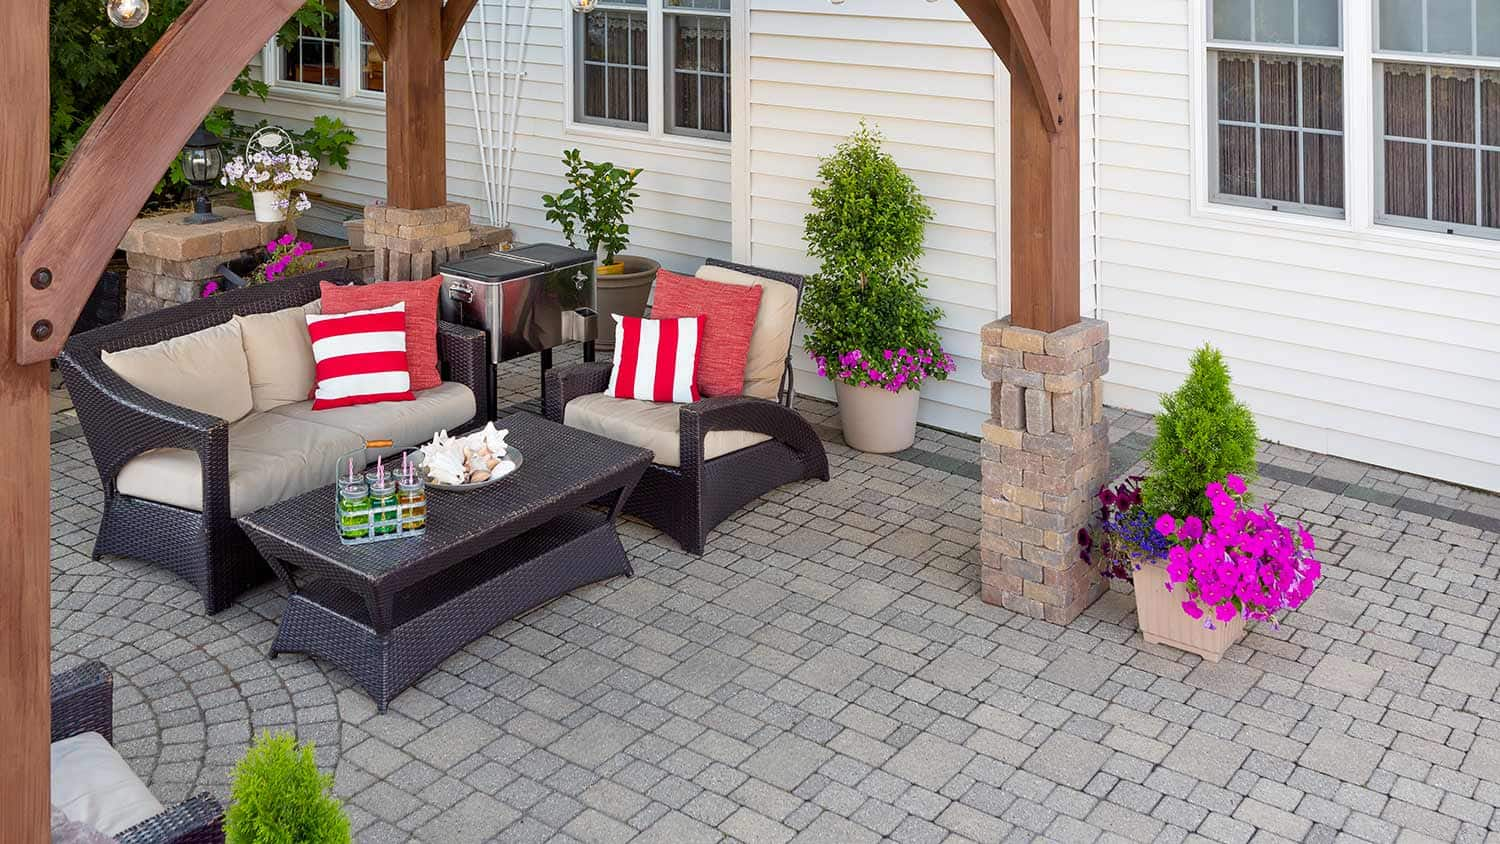
Welcome to our guide on how to level a concrete porch!
Over time, concrete surfaces can become uneven due to factors such as settling, moisture damage, or wear and tear. An uneven porch not only compromises the aesthetics of your home, but it can also pose a tripping hazard. Fortunately, leveling a concrete porch is a relatively straightforward DIY project that can be accomplished with the right tools and materials.
In this article, we will walk you through the step-by-step process of leveling your concrete porch. From assessing the porch to applying a protective finish, you’ll learn all the necessary techniques to achieve a smooth and level surface.
Before we dive into the specifics, it’s important to note that while leveling a small porch can typically be done without professional assistance, larger or more complex projects may require the expertise of a concrete contractor. Always assess the scope of the project and your own DIY skills before deciding to take it on yourself.
Now, let’s get started on leveling your concrete porch!
Key Takeaways:
- Achieving a level concrete porch involves assessing, preparing, pouring, and finishing. Properly inspecting, adjusting, and protecting the surface are crucial for a successful DIY leveling project.
- The process of leveling a concrete porch involves careful assessment, precise preparation, and meticulous application of self-leveling compound. Applying a protective finish ensures durability and enhances the overall appearance.
Read more: How To Stain A Concrete Porch
Step 1: Assess the Porch
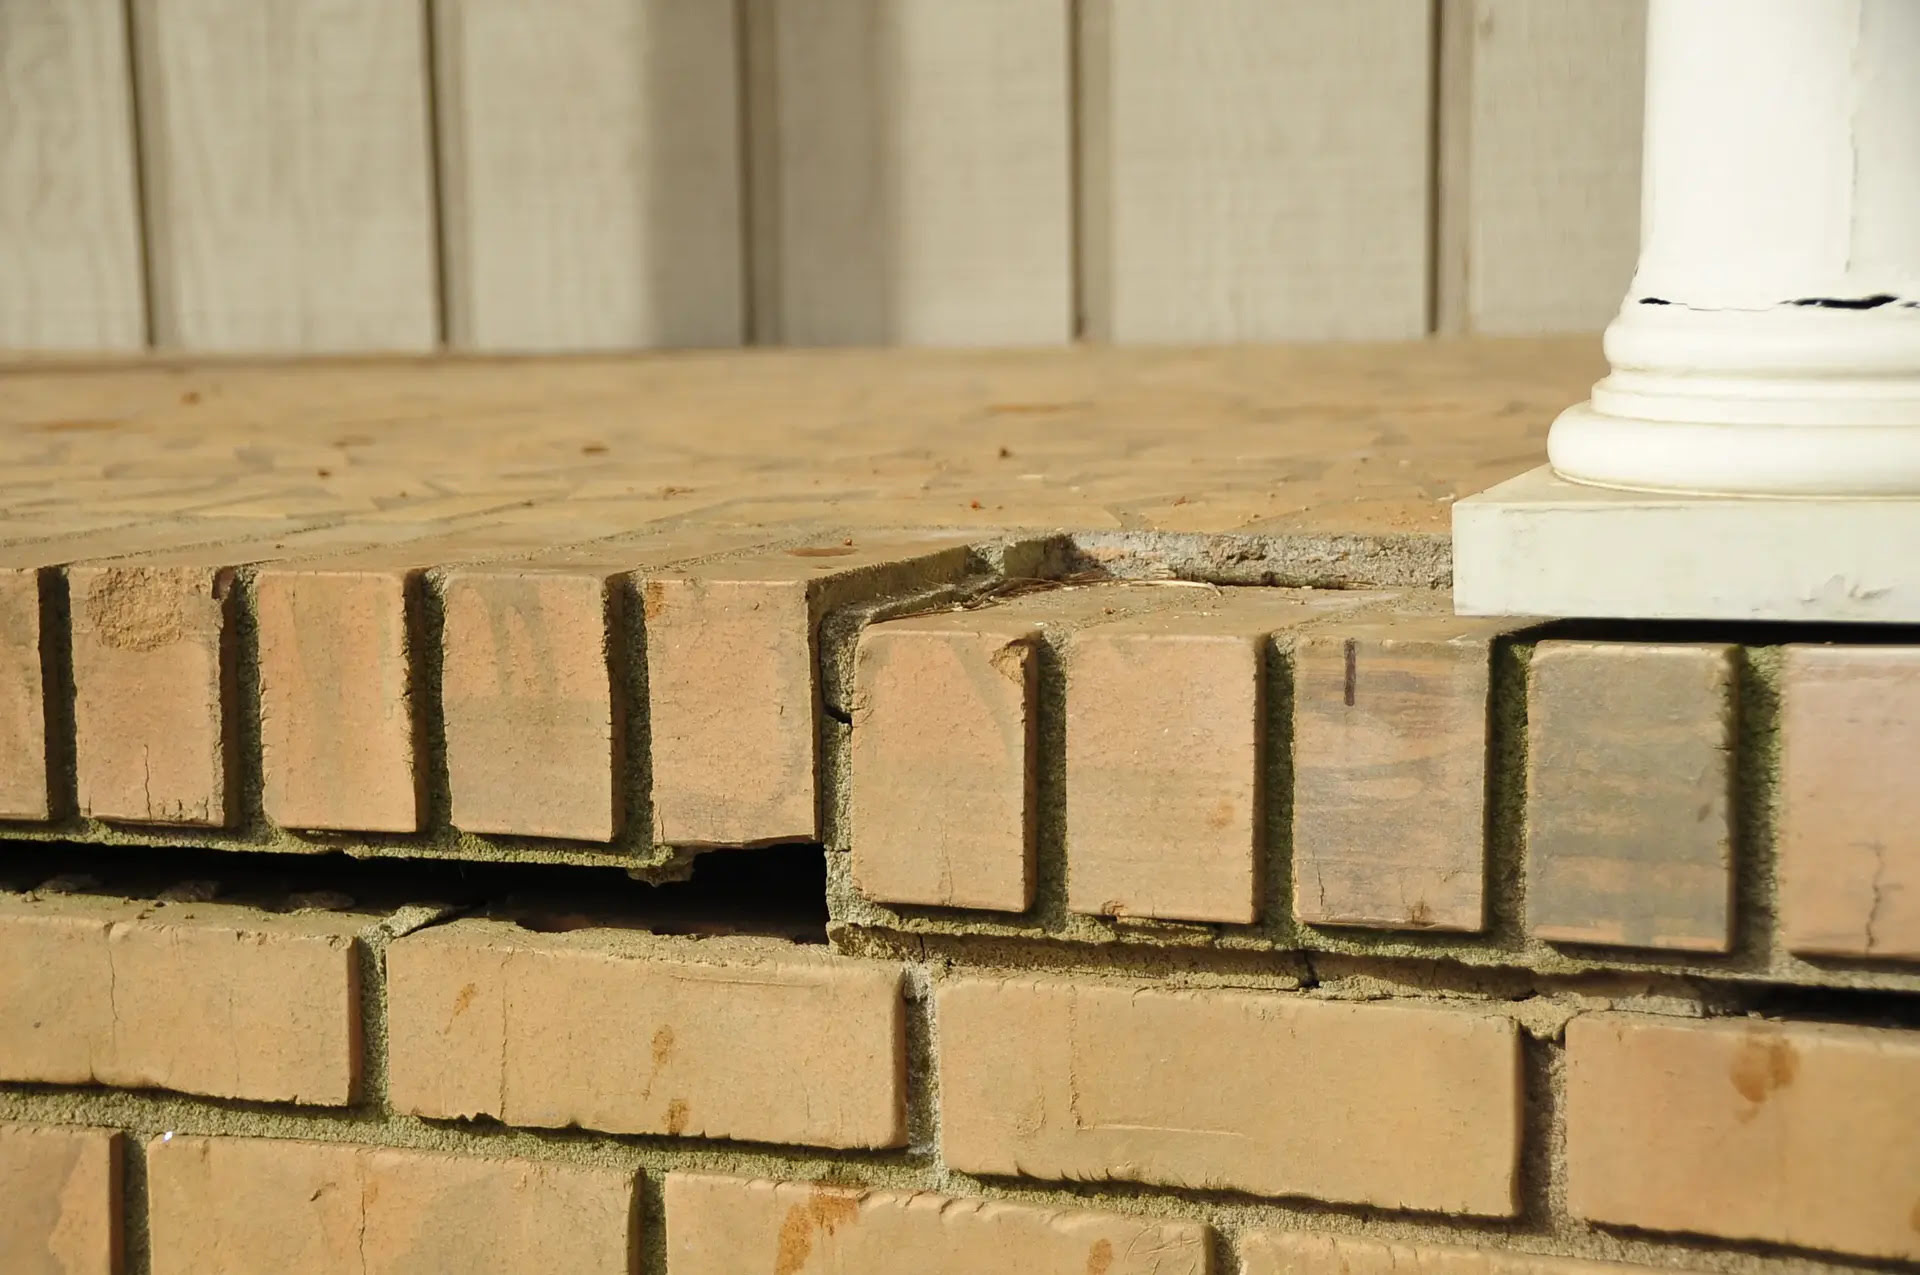
Before you begin leveling your concrete porch, it’s crucial to assess its condition. This step will help you determine the extent of the unevenness and any underlying issues that may be causing it.
Start by carefully inspecting the surface of the porch. Look for cracks, dips, or areas where the concrete may have shifted or settled over time. Pay close attention to any structural damage, as this may require professional repair before attempting to level the porch.
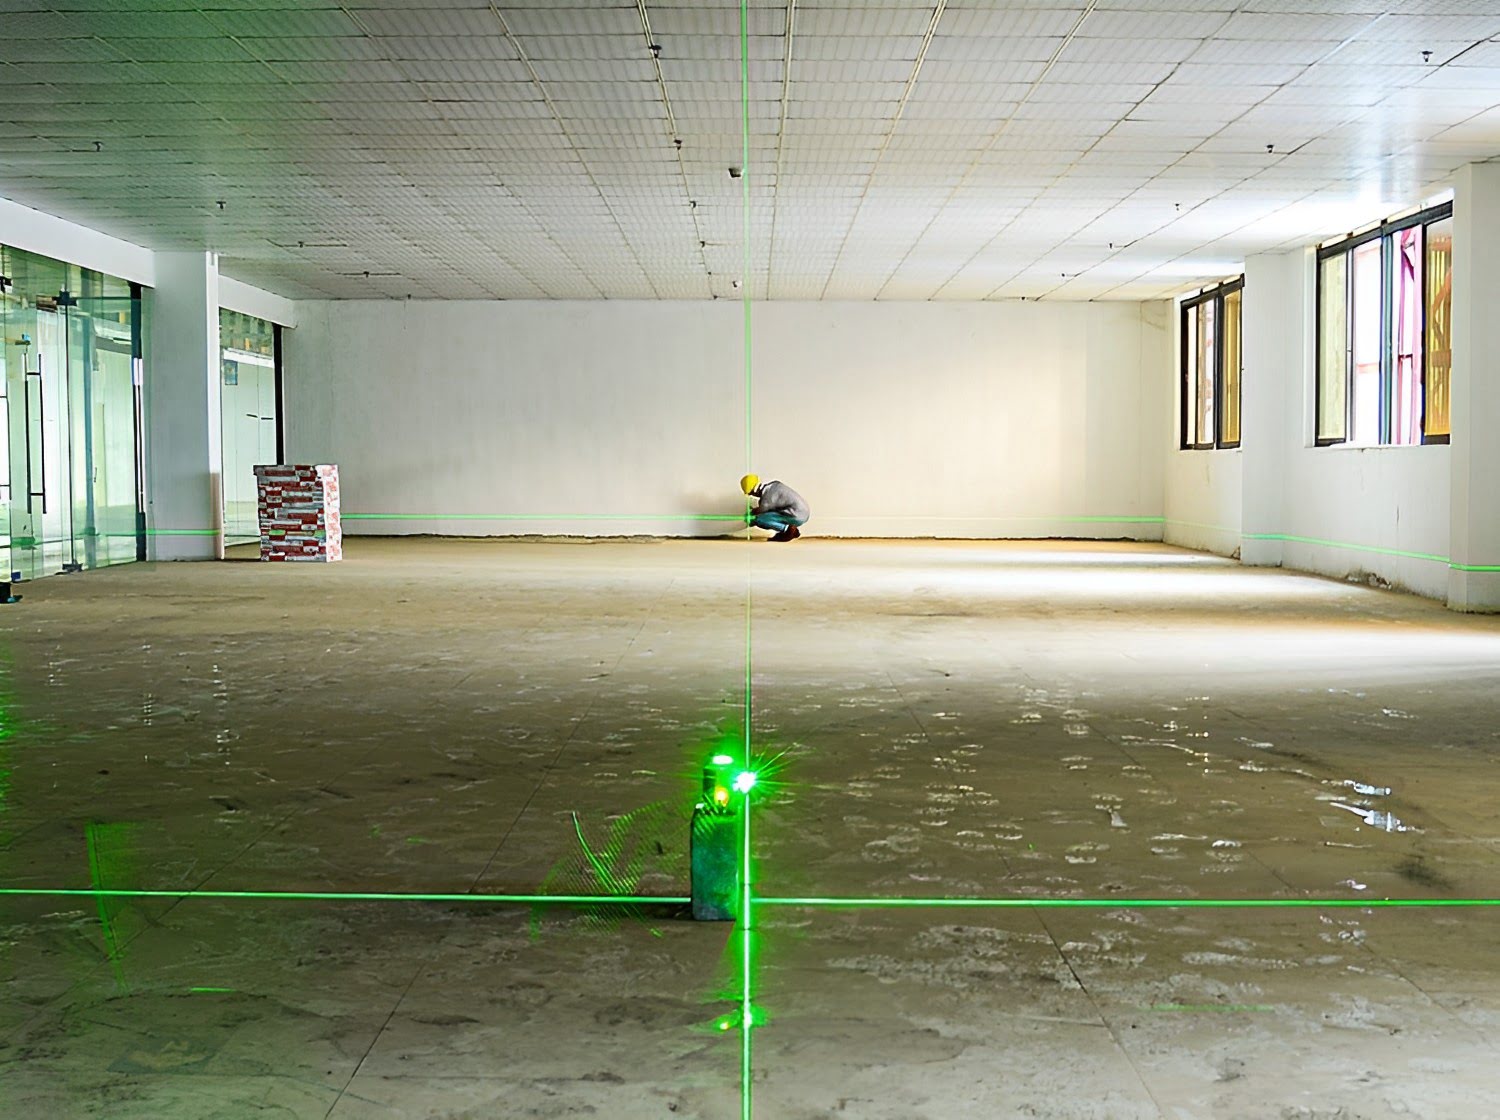
Next, use a long straightedge, such as a level or a 6-foot level, to determine the overall slope of the porch. Place the straightedge on various areas of the porch and observe if it rests evenly or if there are gaps or spaces underneath.
If you notice significant variations in the slope or if the porch has a noticeable sag or dip, it may be necessary to investigate the cause further. Common causes of an unlevel porch include poor initial construction, erosion, or improper drainage that has led to the soil beneath the porch shifting.
If you’re unsure about the severity of the issues or the best course of action, consult with a professional to ensure the safety and long-term stability of your porch.
Once you have assessed the condition of your porch and determined that it is suitable for leveling, you can proceed to the next steps in the process. Remember, it’s better to address any underlying issues before attempting to level the concrete surface.
Step 2: Gather Materials
Now that you have assessed the condition of your porch and are ready to begin leveling, it’s time to gather the necessary materials. Having everything prepared beforehand will help streamline the process and ensure that you have everything you need on hand.
Here’s a list of materials you’ll typically need for leveling a concrete porch:
- Self-leveling compound: This is the main material used to level the concrete surface. It is a cementitious product that is designed to flow and self-level, filling in low areas and creating a smooth, even surface.
- Clean water: You’ll need water to mix with the self-leveling compound according to the manufacturer’s instructions.
- Plastic sheeting or drop cloths: These will protect any adjacent areas or landscaping from the self-leveling compound.
- Trowel: A trowel is used to spread and smooth the self-leveling compound.
- Mixing container: This can be a bucket or a wheelbarrow, depending on the size of your project.
- Drill with a mixing attachment: Use this to mix the self-leveling compound and water to the desired consistency.
- Straightedge or level: You’ll need a straightedge or level to ensure the surface is even as you apply the self-leveling compound.
- Safety gear: Remember to wear protective goggles, gloves, and a dust mask to protect yourself during the process.
It’s a good idea to consult the specific instructions provided by the manufacturer of the self-leveling compound you choose. They may recommend additional tools or materials for the best results.
Once you have gathered all the required materials, you are ready to move on to preparing the porch for leveling.
Step 3: Prepare the Porch
Before you can start pouring the self-leveling compound, it’s essential to properly prepare the surface of the porch. This step will ensure that the compound adheres well and that the leveling process is successful.
Follow these steps to prepare the porch for leveling:
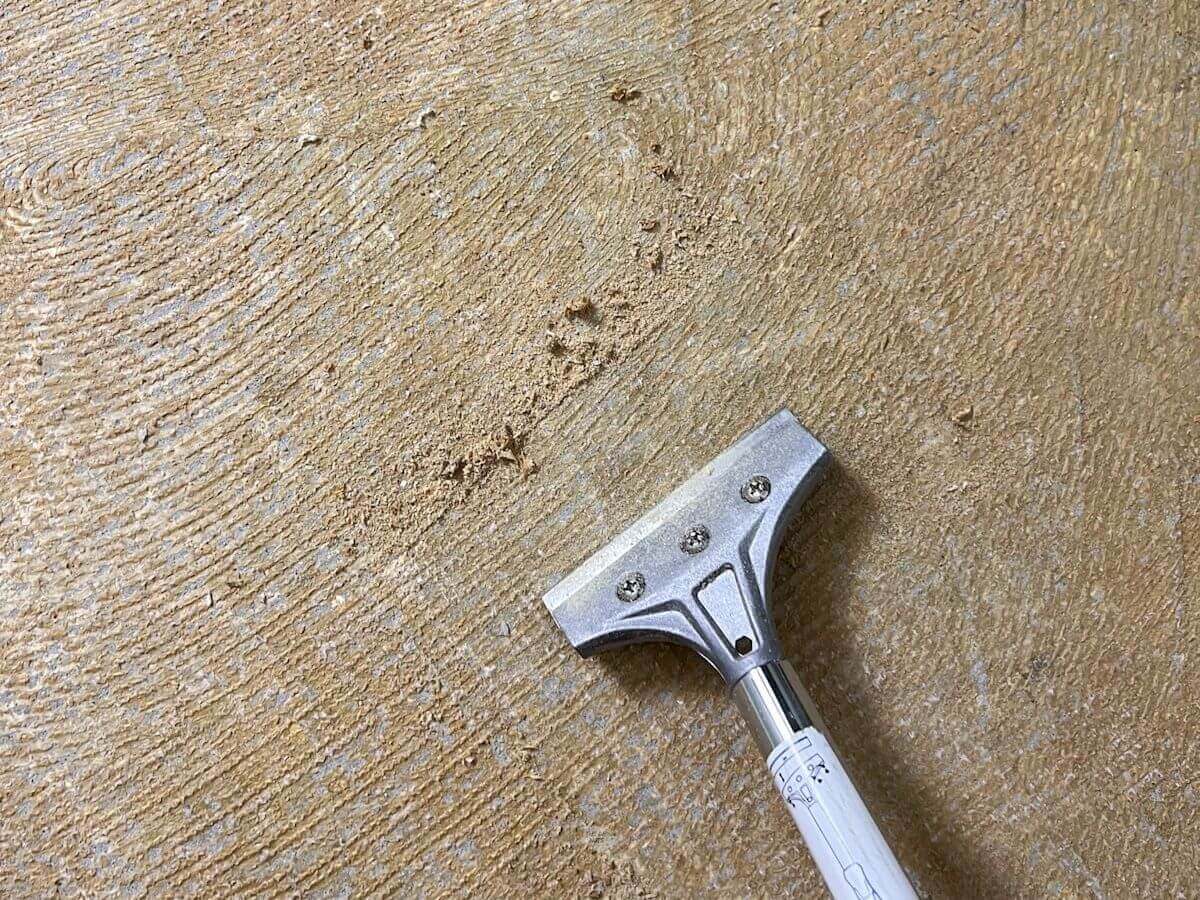
- Remove any loose debris or dirt from the surface of the porch. Use a broom or a leaf blower to sweep away any loose particles.
- Thoroughly clean the porch with a concrete cleaner or degreaser. This step will remove any dirt, grease, or oil that could interfere with the compound’s ability to adhere to the surface.
- Fill in any cracks or small holes in the concrete with a concrete patching compound. Use a trowel to apply the patching compound and smooth it out. Allow it to dry according to the manufacturer’s instructions.
- If there are any areas of the porch that are significantly lower than the rest, you may need to build up the surface with a thin layer of concrete before applying the self-leveling compound. Follow the instructions provided by the manufacturer of the concrete overlay product you choose for this step.
- Seal any expansion joints or large cracks in the porch to prevent the self-leveling compound from flowing into them. Use a silicone-based concrete sealer or caulk for this task.
- Protect any adjacent areas, walls, or landscaping from the self-leveling compound by covering them with plastic sheeting or drop cloths.
By properly preparing the porch, you’ll create an optimal surface for the self-leveling compound to adhere to and ensure a seamless leveling process.
Now that the porch is prepared, it’s time to move on to the next step: mixing and pouring the self-leveling compound.
Step 4: Mix and Pour Self-Leveling Compound
With the porch properly prepared, it’s time to mix and pour the self-leveling compound. This step requires precision and attention to detail to ensure that the compound spreads evenly and fills in any low areas.
Here’s how to mix and pour the self-leveling compound:
- Follow the manufacturer’s instructions to determine the proper ratio of water to self-leveling compound. Typically, you’ll need to combine a specific amount of water with the compound in a mixing container.
- Use a drill with a mixing attachment to thoroughly mix the water and compound until you achieve a smooth, pourable consistency. Be careful not to overmix, as this can introduce air bubbles into the compound.
- Starting from one corner of the porch, begin pouring the self-leveling compound onto the surface.
- Use a trowel to spread the compound evenly over the porch, working in small sections at a time. The compound should flow and self-level as you spread it, filling in any low areas and creating a smooth surface.
- Continue pouring and spreading the compound until the entire porch is covered. Work quickly, as the compound will start to set within a short period of time.
During the pouring and spreading process, use a straightedge or level to periodically check for a level surface. Adjust the thickness of the compound as needed to achieve the desired levelness.
Remember, the specific instructions provided by the manufacturer may vary, so it’s crucial to follow their recommendations for mixing and pouring the self-leveling compound.
Once the compound is poured and spread, you can move on to the next step: spreading and smoothing the compound.
Before leveling a concrete porch, make sure to thoroughly clean the surface and remove any debris. Use a self-leveling compound to fill in any low spots and create a smooth, even surface. Follow the manufacturer’s instructions for the best results.
Read more: How To Clean A Concrete Porch
Step 5: Spread and Smooth the Compound
Now that you have poured the self-leveling compound onto the porch, it’s time to spread and smooth it to create a level surface. This step requires careful attention to detail to ensure an even and seamless finish.
Follow these guidelines to spread and smooth the compound:
- Use a trowel or a long-handled squeegee to spread the compound evenly over the surface. Work in small sections, spreading the compound from one side to the other in a smooth, controlled motion.
- As you spread the compound, ensure that it reaches all the edges and corners of the porch. Pay extra attention to any areas with significant dips or low spots, ensuring that the compound fills them completely.
- Once the compound is spread, use a smoother tool, such as a concrete float or a steel trowel, to smooth out any ridges or imperfections in the surface. Work in a back-and-forth motion, applying gentle pressure to create an even and level finish.
- Continue spreading and smoothing the compound until the entire porch is covered and the surface is uniform. Be mindful of the working time of the self-leveling compound, as it will start to set and become less malleable.
Throughout the process, periodically check the levelness of the surface using a straightedge or level. Make any necessary adjustments by adding more compound to low areas or smoothing out any excess in higher areas.
Remember to work efficiently and maintain a consistent technique to achieve the best results. Take breaks if needed, but try to finish spreading and smoothing the compound within the recommended working time specified by the manufacturer.
Once the compound is spread and smoothed to your satisfaction, it’s time to allow it to dry and harden. This takes us to the next step: allowing the compound to dry.
Step 6: Allow the Compound to Dry
After spreading and smoothing the self-leveling compound on your porch, it’s important to allow it to dry and cure properly. This step is crucial for achieving a strong and durable surface that will withstand daily use.
Follow these guidelines to allow the compound to dry effectively:
- Check the manufacturer’s instructions to determine the recommended drying time for the specific self-leveling compound used. Typically, the compound will need at least 24 to 48 hours to fully dry and cure.
- During the drying period, avoid walking or placing any heavy objects on the porch. These can disrupt the drying process and potentially damage the surface.
- Keep the porch protected from dust, dirt, and moisture during the drying time. Cover it with plastic sheeting or use barricades to prevent any accidental contact or interference.
- Avoid extreme temperatures or direct sunlight exposure during the drying process. These conditions can affect the drying time and compromise the quality of the final result.
While the compound may appear dry to the touch within a few hours, it’s essential to allow the full curing period as recommended by the manufacturer. This ensures that the compound reaches its maximum strength and durability.
Once the compound is fully dried and cured, it’s time to inspect the levelness of the porch. This brings us to the next step: inspecting the levelness.
Step 7: Inspect the Levelness
After the self-leveling compound has dried and cured, it’s important to inspect the levelness of your porch to ensure a successful leveling job. This step will help identify any remaining uneven areas that may require additional attention.
Follow these guidelines to inspect the levelness of your porch:
- Use a straightedge or level to check different areas of the porch for any noticeable unevenness. Place the straightedge on the surface and observe if it sits evenly or if there are gaps or spaces underneath.
- If you find any areas that are still uneven, you may need to apply a second coat of self-leveling compound to those specific spots. Follow the manufacturer’s instructions for mixing, pouring, and spreading the additional compound.
- For smaller imperfections or low spots, you can use a concrete grinder or a hand sander to level them out. Be cautious with these tools, as they can remove too much material if not used carefully. Always follow the manufacturer’s guidelines and wear appropriate safety gear.
Remember, achieving a perfectly level surface may not always be possible, especially for older porches or those with significant structural issues. The goal is to minimize any tripping hazards and create a more aesthetically pleasing surface.
Once you are satisfied with the levelness of your porch, it’s time to apply a protective finish. This final step will help protect the surface and enhance its longevity and appearance.
Step 8: Apply a Protective Finish
Applying a protective finish to your leveled concrete porch is the final step in the process. This step will help protect the surface from stains, damage, and wear and tear, while also enhancing its overall appearance.
Follow these guidelines to apply a protective finish to your porch:
- Clean the surface of the porch thoroughly to remove any dust, debris, or residue. Use a broom, a mop, or a pressure washer, depending on the level of dirtiness.
- Select an appropriate sealer or coating for your porch, based on the specific needs of your project. There are various types of sealers available, including acrylic, epoxy, or polyurethane coatings. Consult with a professional or a reputable supplier to determine the best option for your porch.
- Follow the manufacturer’s instructions for the sealer or coating you choose. This may involve mixing the components, diluting, or direct application.
- Apply the sealer or coating evenly using a brush, a roller, or a sprayer. Work in small sections to ensure thorough coverage and avoid any puddles or drips.
- Allow the first coat to dry according to the manufacturer’s instructions. Some sealers may require multiple coats for optimal protection and finish. If necessary, apply additional coats as recommended, ensuring proper drying time between each coat.
- After the final coat, allow the protective finish to dry completely before walking or placing furniture on the porch. This typically takes 24 to 48 hours, but refer to the specific instructions provided by the manufacturer.
Applying a protective finish to your leveled porch will not only safeguard the surface but also make it easier to clean and maintain in the long run. It helps to prevent stains, water penetration, and UV damage, ensuring the longevity of your porch’s newly leveled surface.
Congratulations! You have successfully leveled your concrete porch and applied a protective finish. Enjoy your revitalized outdoor space!
Read more: How To Extend A Concrete Porch
Conclusion
Leveling a concrete porch is a rewarding DIY project that can greatly improve the appearance and safety of your outdoor space. By following the step-by-step process outlined in this guide, you can achieve a level and smooth surface that enhances the overall aesthetics of your home.
From assessing the porch to applying a protective finish, each step of the leveling process is important in ensuring a successful outcome. Properly assessing the condition of the porch, gathering the necessary materials, and preparing the surface are essential for a smooth leveling process.
Mixing and pouring the self-leveling compound, spreading and smoothing it, and allowing it to dry thoroughly are key steps in achieving a level and even surface. Inspecting the levelness and making any necessary adjustments will help you achieve the desired results.
Finally, applying a protective finish will not only provide added durability but also enhance the overall appearance of your porch. It will help protect the surface from stains, damage, and weathering, ensuring that your newly leveled porch remains in great condition for years to come.
Remember, while leveling a small porch is a feasible DIY project, larger or more complex projects may require professional assistance. Always assess the scope of the project, consult with experts if needed, and prioritize safety throughout the entire process.
We hope this guide has provided you with helpful information and guidance on how to level a concrete porch. Enjoy your newly leveled and transformed outdoor space!
Frequently Asked Questions about How To Level Concrete Porch
Was this page helpful?
At Storables.com, we guarantee accurate and reliable information. Our content, validated by Expert Board Contributors, is crafted following stringent Editorial Policies. We're committed to providing you with well-researched, expert-backed insights for all your informational needs.


0 thoughts on “How To Level Concrete Porch”