Articles
How To Build A Screened-In Porch On Concrete
Modified: October 25, 2024
Discover the step-by-step process of building a screened-in porch on concrete with our informative articles. Create the perfect outdoor space for relaxation and entertainment.
(Many of the links in this article redirect to a specific reviewed product. Your purchase of these products through affiliate links helps to generate commission for Storables.com, at no extra cost. Learn more)
Introduction
Welcome to our comprehensive guide on how to build a screened-in porch on concrete. A screened-in porch is an excellent addition to any home, providing a comfortable outdoor space that allows you to enjoy the beauty of nature while being protected from bugs and inclement weather. Whether you want to relax with a book, entertain guests, or simply enjoy the fresh air, a screened-in porch is a versatile and valuable addition to your property.
In this article, we will take you through the step-by-step process of building a screened-in porch on a concrete surface. We will cover everything from gathering the necessary materials and tools, to preparing the concrete surface, installing the porch frame, attaching screen panels, building the porch roof, and adding the finishing touches.
Before we get started, it is important to note that building a screened-in porch on concrete requires some basic knowledge of tools and construction. If you are not experienced in DIY projects or feel unsure about any step in the process, it is always recommended to consult a professional.
Now, let’s dive into the exciting world of building your own screened-in porch on concrete. Get ready to transform your outdoor space into a haven of relaxation and enjoyment!
Key Takeaways:
- Building a screened-in porch on concrete requires careful preparation, precise measurements, and attention to detail. From gathering materials to adding finishing touches, creating a comfortable and bug-free outdoor space is a rewarding DIY project.
- The process of constructing a screened-in porch on concrete involves essential steps such as preparing the surface, installing the frame, attaching screen panels, building the roof, and adding the final touches. With the right tools, materials, and creativity, you can transform your outdoor area into a relaxing haven.
Read more: How To Build Screens For A Porch
Step 1: Gathering Materials and Tools
Before you can start building your screened-in porch on concrete, you need to gather all the necessary materials and tools. Doing this in advance will ensure a smooth construction process without unnecessary delays. Here’s a list of what you’ll need:
- Pressure-treated lumber: This will be used for the porch frame and roof structure. Make sure to choose lumber that is resistant to decay and insect damage, as it will be exposed to outdoor elements.
- Concrete anchors: These will secure the porch frame to the concrete surface.
- Screen panels: Opt for durable screens that are designed to withstand environmental conditions, such as fiberglass or aluminum screens.
- Screen door: Choose a screen door that matches the style of your porch and offers protection from bugs.
- Roofing materials: Depending on your preference, you can use shingles, metal sheets, or a waterproof membrane for the porch roof.
- Decking materials: If you want to add a floor to your porch, consider using deck boards or other suitable outdoor flooring options.
- Fasteners: Gather screws, nails, and other fasteners needed to secure the porch components together.
- Hand and power tools: Make sure you have a hammer, screwdrivers, a drill, a saw, a level, a tape measure, and other common tools to help you with the construction process.
- Protective gear: Safety goggles, work gloves, and a dust mask are essential to protect yourself during the construction process.
Once you have gathered all the necessary materials and tools, take some time to familiarize yourself with them. Ensure that everything is in good working condition and that you have the right quantities for your porch project. Additionally, it’s a good idea to check with your local building regulations to see if there are any specific requirements or permits needed for building a screened-in porch on concrete.
With your materials and tools ready, you’re one step closer to creating the perfect screened-in porch on your concrete surface. Let’s move on to the next step: preparing the concrete surface.
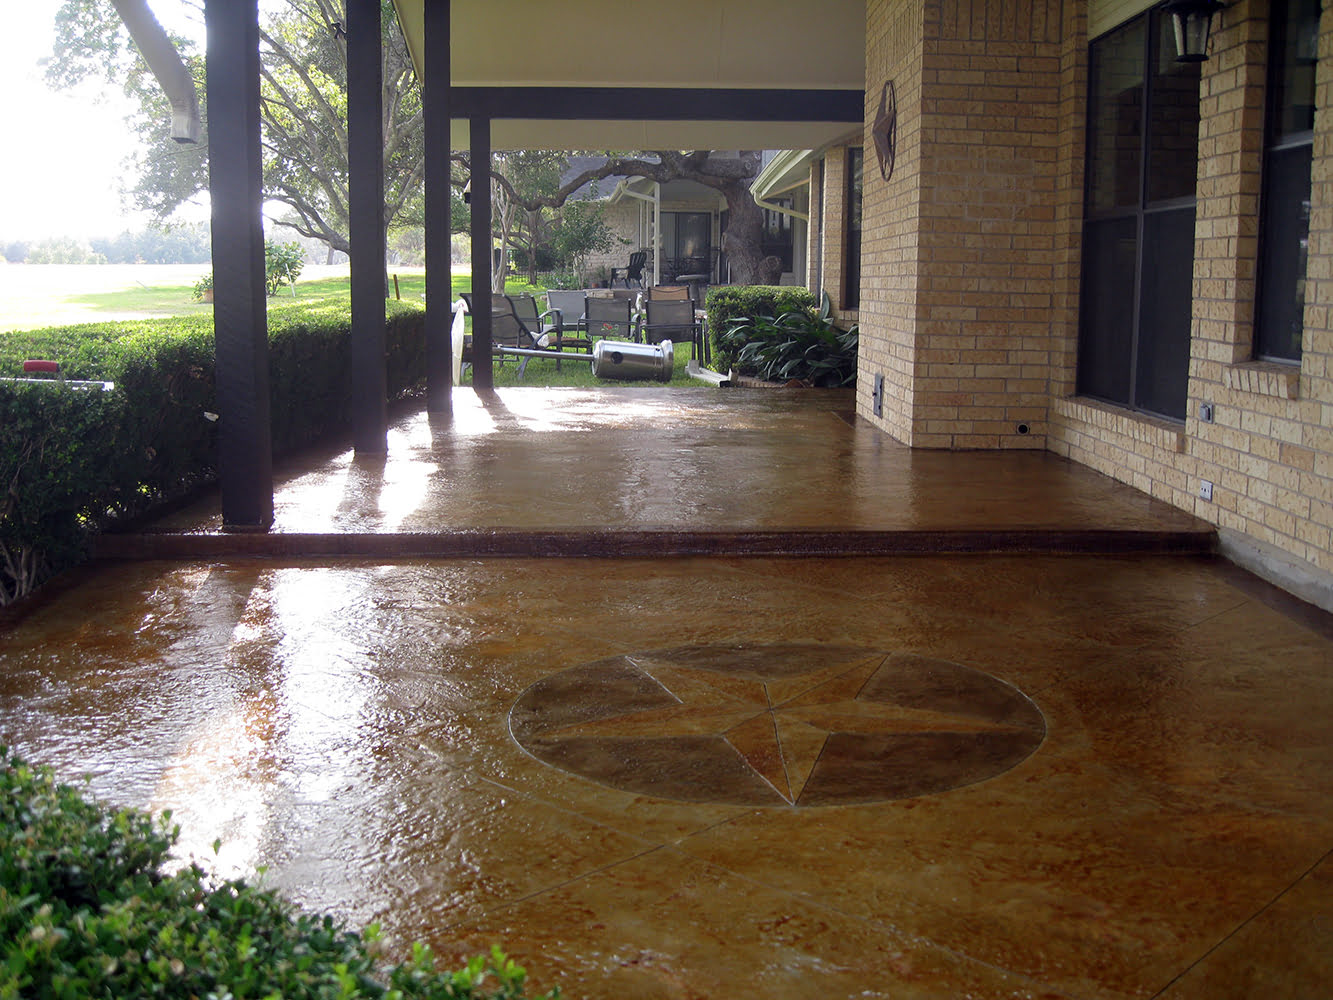
Step 2: Preparing the Concrete Surface
Preparing the concrete surface is an important step in building a screened-in porch. This ensures that the porch frame will be properly secured and provides a stable base for the entire structure. Here’s how to prepare the concrete surface:
- Clean the surface: Start by clearing the concrete surface of any debris, dirt, or plants. Use a broom or a pressure washer to thoroughly clean the area.
- Repair any cracks or damage: Inspect the concrete surface for any cracks or damage. If you find any, use a concrete repair compound to fill in the cracks and smooth out the surface. Allow the compound to cure according to the manufacturer’s instructions.
- Apply a bonding agent: To enhance the adhesion of the concrete anchors, apply a bonding agent to the cleaned and repaired surface. Follow the instructions provided by the manufacturer to properly apply the bonding agent.
- Mark the anchor locations: Decide on the layout of your porch frame and mark the anchor locations on the concrete surface. Ensure that the markings are accurate and aligned with your desired porch dimensions.
- Drill pilot holes: Using a hammer drill and a masonry bit, drill pilot holes into the concrete at the marked anchor locations. The size of the pilot holes will depend on the size of your concrete anchors.
- Insert concrete anchors: Insert the concrete anchors into the pilot holes. Tap them gently with a hammer to ensure they are firmly in place.
Once you have prepared the concrete surface, you’re ready to move on to the next step: measuring and marking for the porch. This step is crucial for ensuring accurate and precise construction of your screened-in porch.
Note: It’s important to follow safety precautions when working with concrete and power tools. Wear protective gear, such as safety goggles and work gloves, and exercise caution to prevent any injuries.
Step 3: Measuring and Marking for the Porch
Measuring and marking for the porch is a crucial step in ensuring that your screened-in porch is well-fitted and aligned with your desired dimensions. Proper measurements and markings will help you accurately install the porch frame and create a structurally sound porch. Here’s how to do it:
- Decide on the porch dimensions: Determine the size and shape of your porch by considering your available space and desired functionality. Measure the length and width of your desired porch area to establish the outer dimensions.
- Mark the outer boundaries: Use a tape measure and stakes to mark the outer boundaries of your porch. Drive the stakes into the ground at the corners of your porch area and attach string or twine to create a visual boundary.
- Plan for the porch frame thickness: Take into account the thickness of your porch frame when marking the boundaries. This will ensure that the porch extends to the desired dimensions and fits seamlessly with the existing structure.
- Determine the porch height: Decide on the height of your porch by considering factors such as the height of the existing doors or windows and any local building regulations. Mark the desired height on the surrounding walls or columns.
- Mark the anchor locations: Using the marked boundaries and desired porch height as a guide, mark the anchor locations on the surrounding walls or columns. Ensure that the anchor locations align with the anchor locations on the concrete surface.
When measuring and marking for the porch, it’s crucial to double-check your measurements to avoid any errors or discrepancies. Use a level to ensure that your markings are straight and aligned. Additionally, consult any building codes or regulations in your area to ensure compliance with porch construction requirements.
With the porch dimensions accurately measured and marked, you’re ready to move on to the next step: installing the porch frame. This is where the structure of your screened-in porch starts to take shape!
Step 4: Installing the Porch Frame
Installing the porch frame is an exciting step in the construction process as it forms the backbone of your screened-in porch. The porch frame provides support, stability, and serves as the foundation for the rest of the structure. Follow these steps to install the porch frame:
- Measure and cut the pressure-treated lumber: Using your measurements from Step 3, measure and cut the pressure-treated lumber to the appropriate lengths for the porch frame. Ensure that the cuts are precise and accurate.
- Attach sides and bottom plates: Begin by attaching the vertical sides of the porch frame to the marked anchor locations on the surrounding walls or columns. Use concrete screws or other suitable fasteners to secure the lumber to the anchors. Next, attach the pressure-treated bottom plate along the base of the porch frame, connecting the sides together.
- Add studs and headers: Install vertical studs between the sides of the porch frame, evenly spacing them according to your design preferences. Secure them in place using screws or nails. Additionally, add headers at the top of the frame to provide additional support.
- Install the cross beams: Place horizontal cross beams across the top of the porch frame, perpendicular to the studs. Make sure they are evenly spaced and level. Secure the beams to the studs using screws or nails.
- Check for level and square: Use a level to ensure that the porch frame is level and plumb. Make any necessary adjustments by adding shims or repositioning the frame components. Additionally, check that the frame is square by measuring the diagonals and ensuring they are equal in length.
During the installation process, it is important to use proper safety measures and follow manufacturer’s instructions for handling and installation of materials. Take the necessary precautions when working with power tools and ensure the stability of the porch frame as you build it.
With the porch frame securely in place, you’re ready to move on to the next step: attaching screen panels. This will bring your screened-in porch one step closer to completion!
Before starting to build a screened-in porch on concrete, make sure to thoroughly clean and inspect the concrete surface for any cracks or damage. Repair any issues before proceeding with the construction to ensure a solid and stable foundation for your porch.
Read more: How To Build A Screened-In Porch On A Deck
Step 5: Attaching Screen Panels
Attaching screen panels is a crucial step in building a screened-in porch as it allows you to create a barrier against insects and other outdoor elements while still enjoying the fresh air. Here’s how to properly attach screen panels to your porch frame:
- Measure and cut the screen panels: Measure the dimensions of each section of the porch frame where the screen panels will be installed. Add a few extra inches to allow for overlap and proper tension. Cut the screen panels to fit each section.
- Secure screen panels to the porch frame: Starting from one corner, align the edge of the screen panel with the outer edge of the porch frame. Use staples or small nails to secure the screen panel to the frame. Continue attaching the screen panel along the perimeter, pulling it taut as you go.
- Trim excess screen material: After securing the screen panel, trim any excess material using a utility knife or scissors. Make clean, straight cuts to create a neat and professional appearance.
- Repeat for remaining sections: Repeat the process of measuring, cutting, securing, and trimming for each section of the porch frame until all screen panels are installed.
- Ensure proper tension: As you attach the screen panels, check for any sagging or loose areas. Adjust the tension by pulling the screen taut and re-securing it to the frame if needed. Proper tension is important to maintain a tight and secure screen surface.
When attaching screen panels, it is important to choose durable screens that are designed to withstand outdoor conditions. Consider using fiberglass or aluminum screens for their strength and longevity. Additionally, ensure that the screen panels are properly stretched without being too tight, as this can cause the screen to tear or warp over time.
With the screen panels securely attached, your porch is starting to take shape as a comfortable and bug-free outdoor space. In the next step, we will guide you through the process of building the porch roof, providing shelter and completing your screened-in porch!
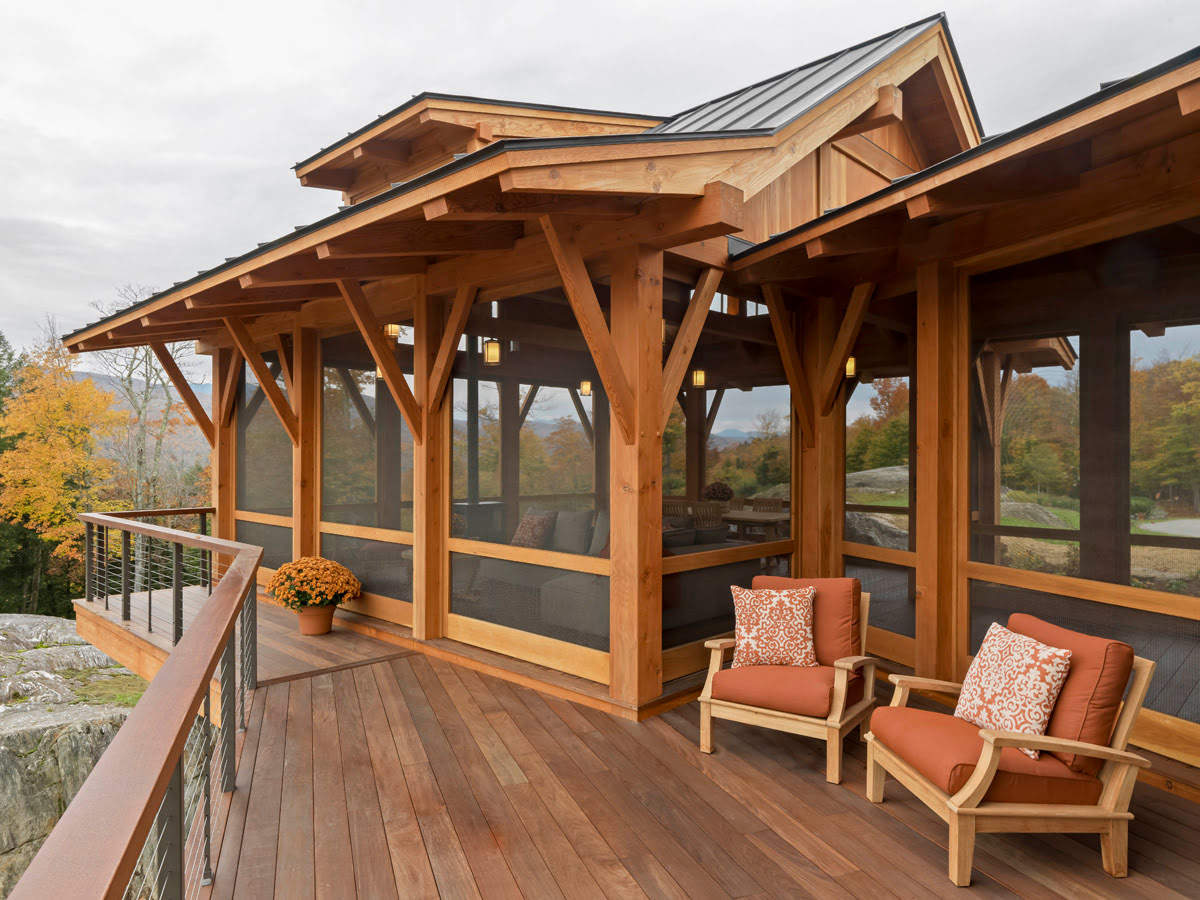
Step 6: Building the Porch Roof
Building the porch roof is a crucial step in completing your screened-in porch. The roof provides protection from the elements, adds structural integrity, and enhances the overall aesthetic appeal of your outdoor space. Here’s how to build the porch roof:
- Measure and cut the roof framing lumber: Determine the size and slope of your porch roof. Measure and cut the roof framing lumber, including the ridge board, rafters, and collar ties, according to your design and the dimensions of your porch.
- Install the ridge board: Position the ridge board at the peak of the porch frame and secure it using nails or screws. Ensure that it is level and properly aligned with the porch frame.
- Add rafters: Attach the roof rafters to the ridge board, evenly spacing them apart according to the design and slope of your porch roof. Secure the rafters to the porch frame using nails or screws.
- Install collar ties: For added stability and support, install collar ties between the rafters at the desired height. Secure them to the rafters using nails or screws. Collar ties help to prevent the rafters from spreading or sagging over time.
- Sheath the roof: Cover the roof framing with plywood or another suitable sheathing material. Secure the sheathing to the roof framing using nails or screws. Ensure that the sheathing is flush and properly aligned.
- Apply roofing materials: Depending on your desired look and the climate in your area, you can choose from various roofing materials such as shingles, metal sheets, or a waterproof membrane. Follow the manufacturer’s instructions for proper installation.
When building the porch roof, it’s important to consider the slope and the potential for water to drain effectively. Ensure that the roof is sufficiently angled to prevent water from pooling and causing damage to your porch structure.
Additionally, it’s essential to adhere to any local building codes or regulations regarding porch roof construction. Some areas may require permits or specific guidelines for roof design and installation.
With the porch roof in place, your screened-in porch is almost complete. In the next step, we will guide you through the process of installing the porch door to provide easy access and add functionality to your outdoor space!
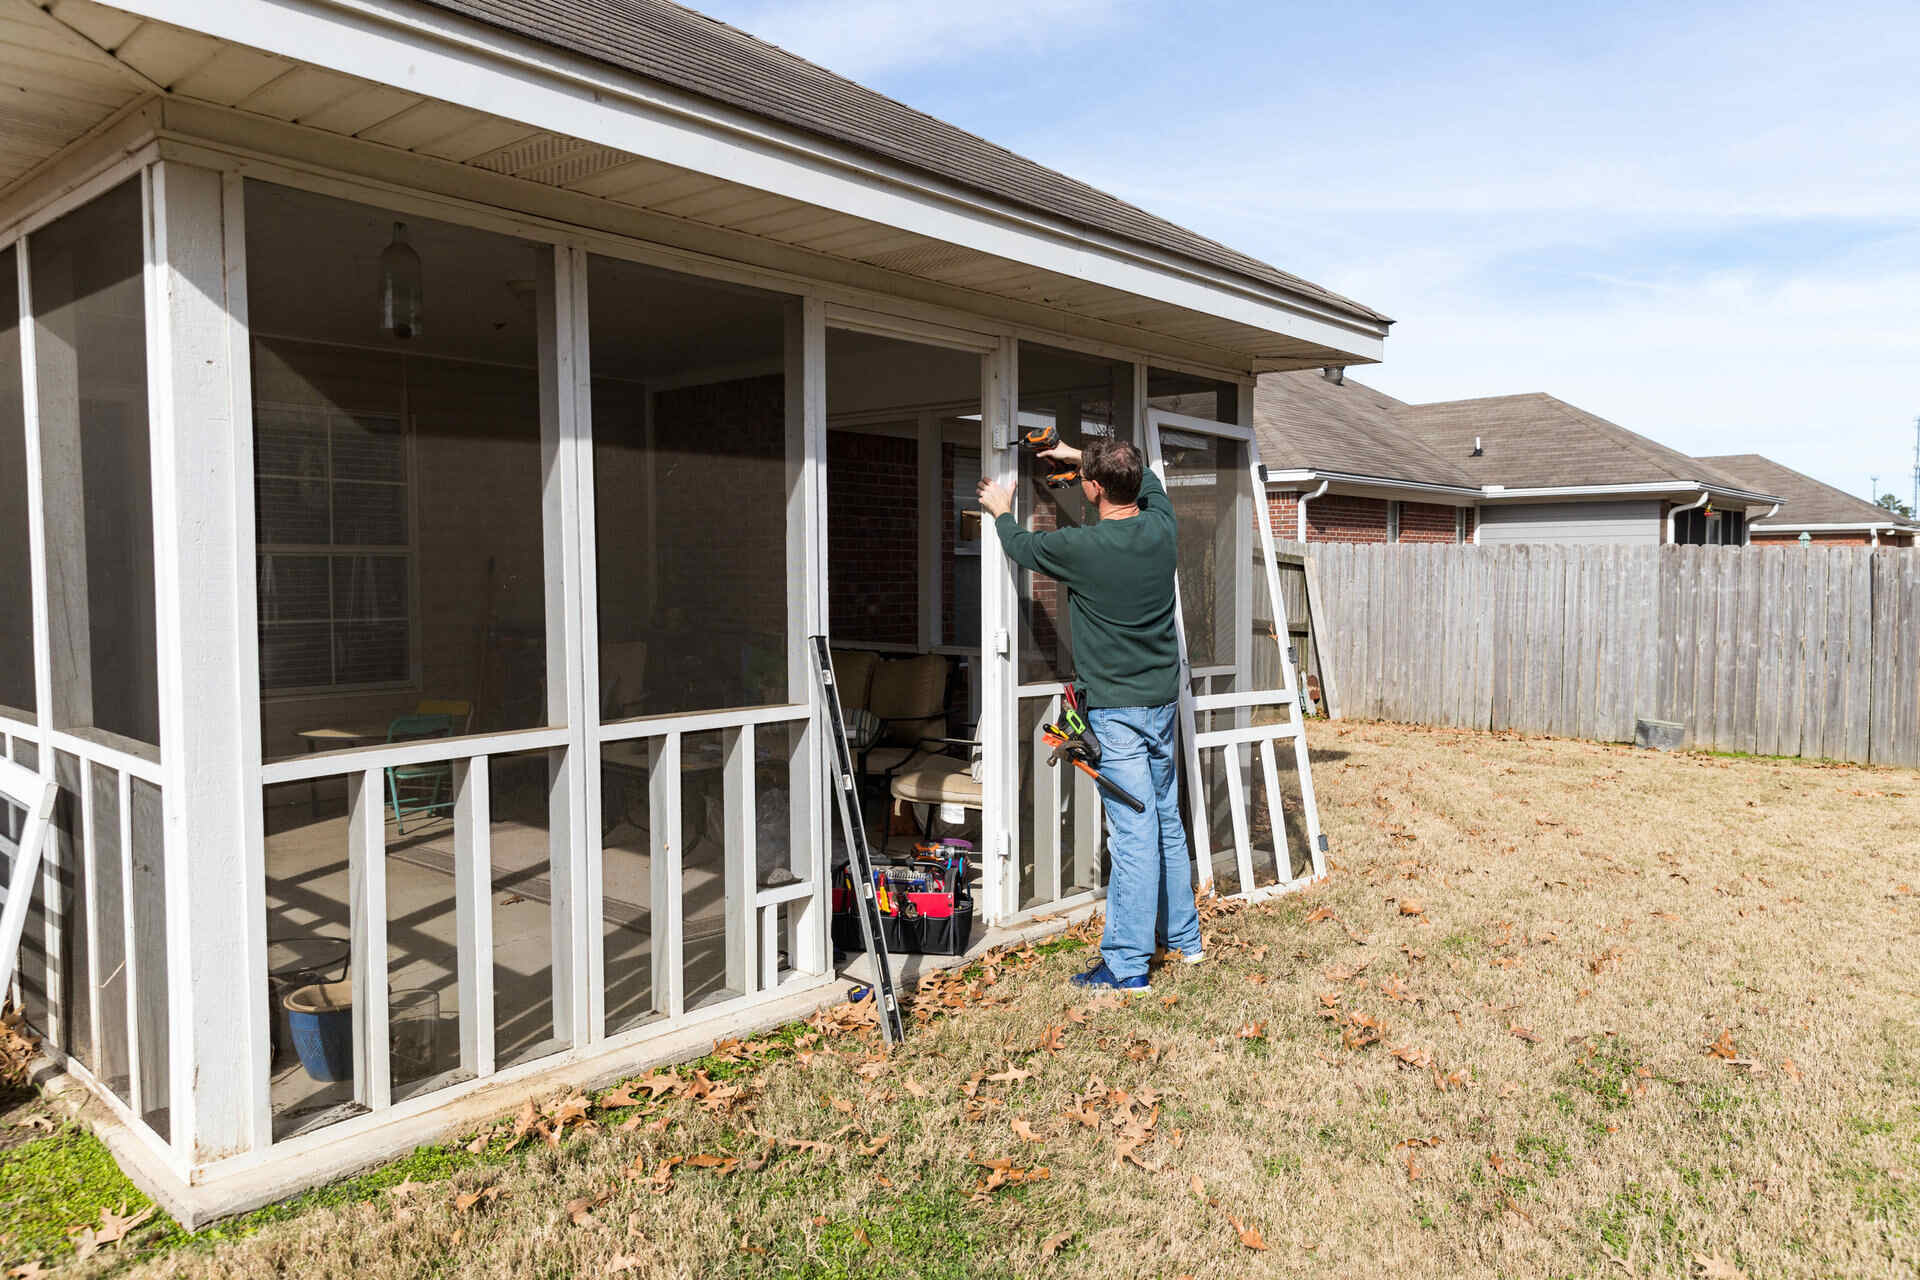
Step 7: Installing the Porch Door
Installing the porch door is an important step in completing your screened-in porch. It not only provides easy access to your outdoor space but also adds functionality and enhances the overall aesthetics of your porch. Here’s how to properly install the porch door:
- Select the right porch door: Choose a porch door that fits your desired style, budget, and functional requirements. Consider factors such as the size, material, and features of the door.
- Measure and prepare the opening: Measure the dimensions of the door opening in your porch frame. Ensure that the opening is properly framed and squared. Make any necessary adjustments to ensure a proper fit for the selected door.
- Install the door frame: Position the door frame within the opening and secure it to the porch frame using screws or nails. Ensure that the frame is level, plumb, and properly aligned.
- Hang the door: Carefully hang the porch door within the frame using the manufacturer’s instructions. Make sure that the door is properly aligned and functions smoothly.
- Adjust and secure the door: Check the door for any misalignment or sticking. Make any necessary adjustments to ensure that the door swings open and closes properly. Secure the door using the provided hardware.
- Install weatherstripping and hardware: Install weatherstripping around the door frame to provide a tight seal and prevent drafts. Attach any additional hardware, such as a handle, deadbolt, or latch, according to the manufacturer’s instructions.
When installing the porch door, it’s important to consider factors such as security, weather resistance, and energy efficiency. Choose a door that provides adequate insulation and protection from the elements.
Additionally, ensure that the porch door complies with any building codes or regulations in your area. Some jurisdictions may have specific requirements for porch doors, including fire rating, accessibility, or hurricane resistance.
With the porch door properly installed, your screened-in porch is nearly complete. In the final step, we will guide you through adding the finishing touches to perfect your outdoor oasis!
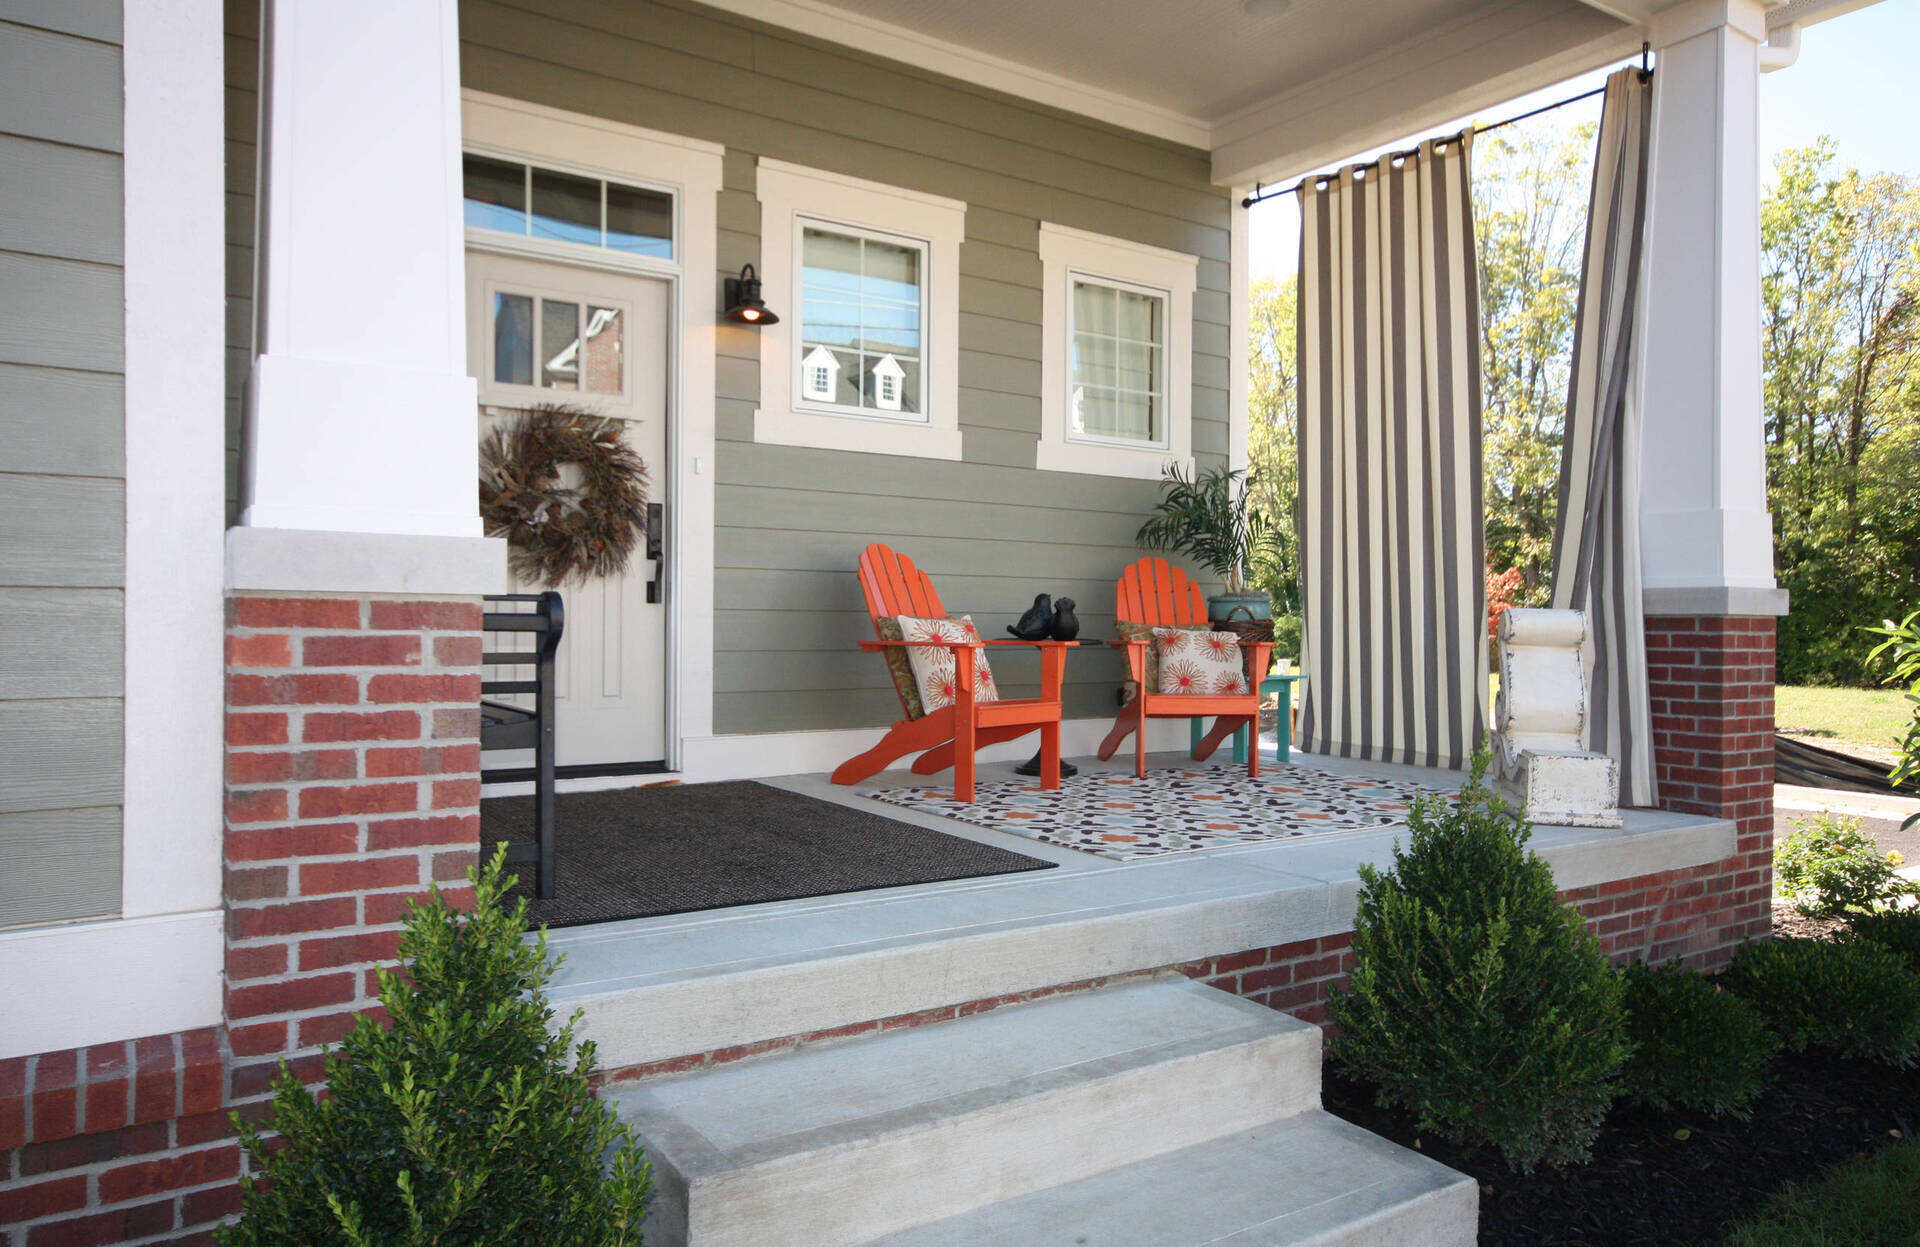
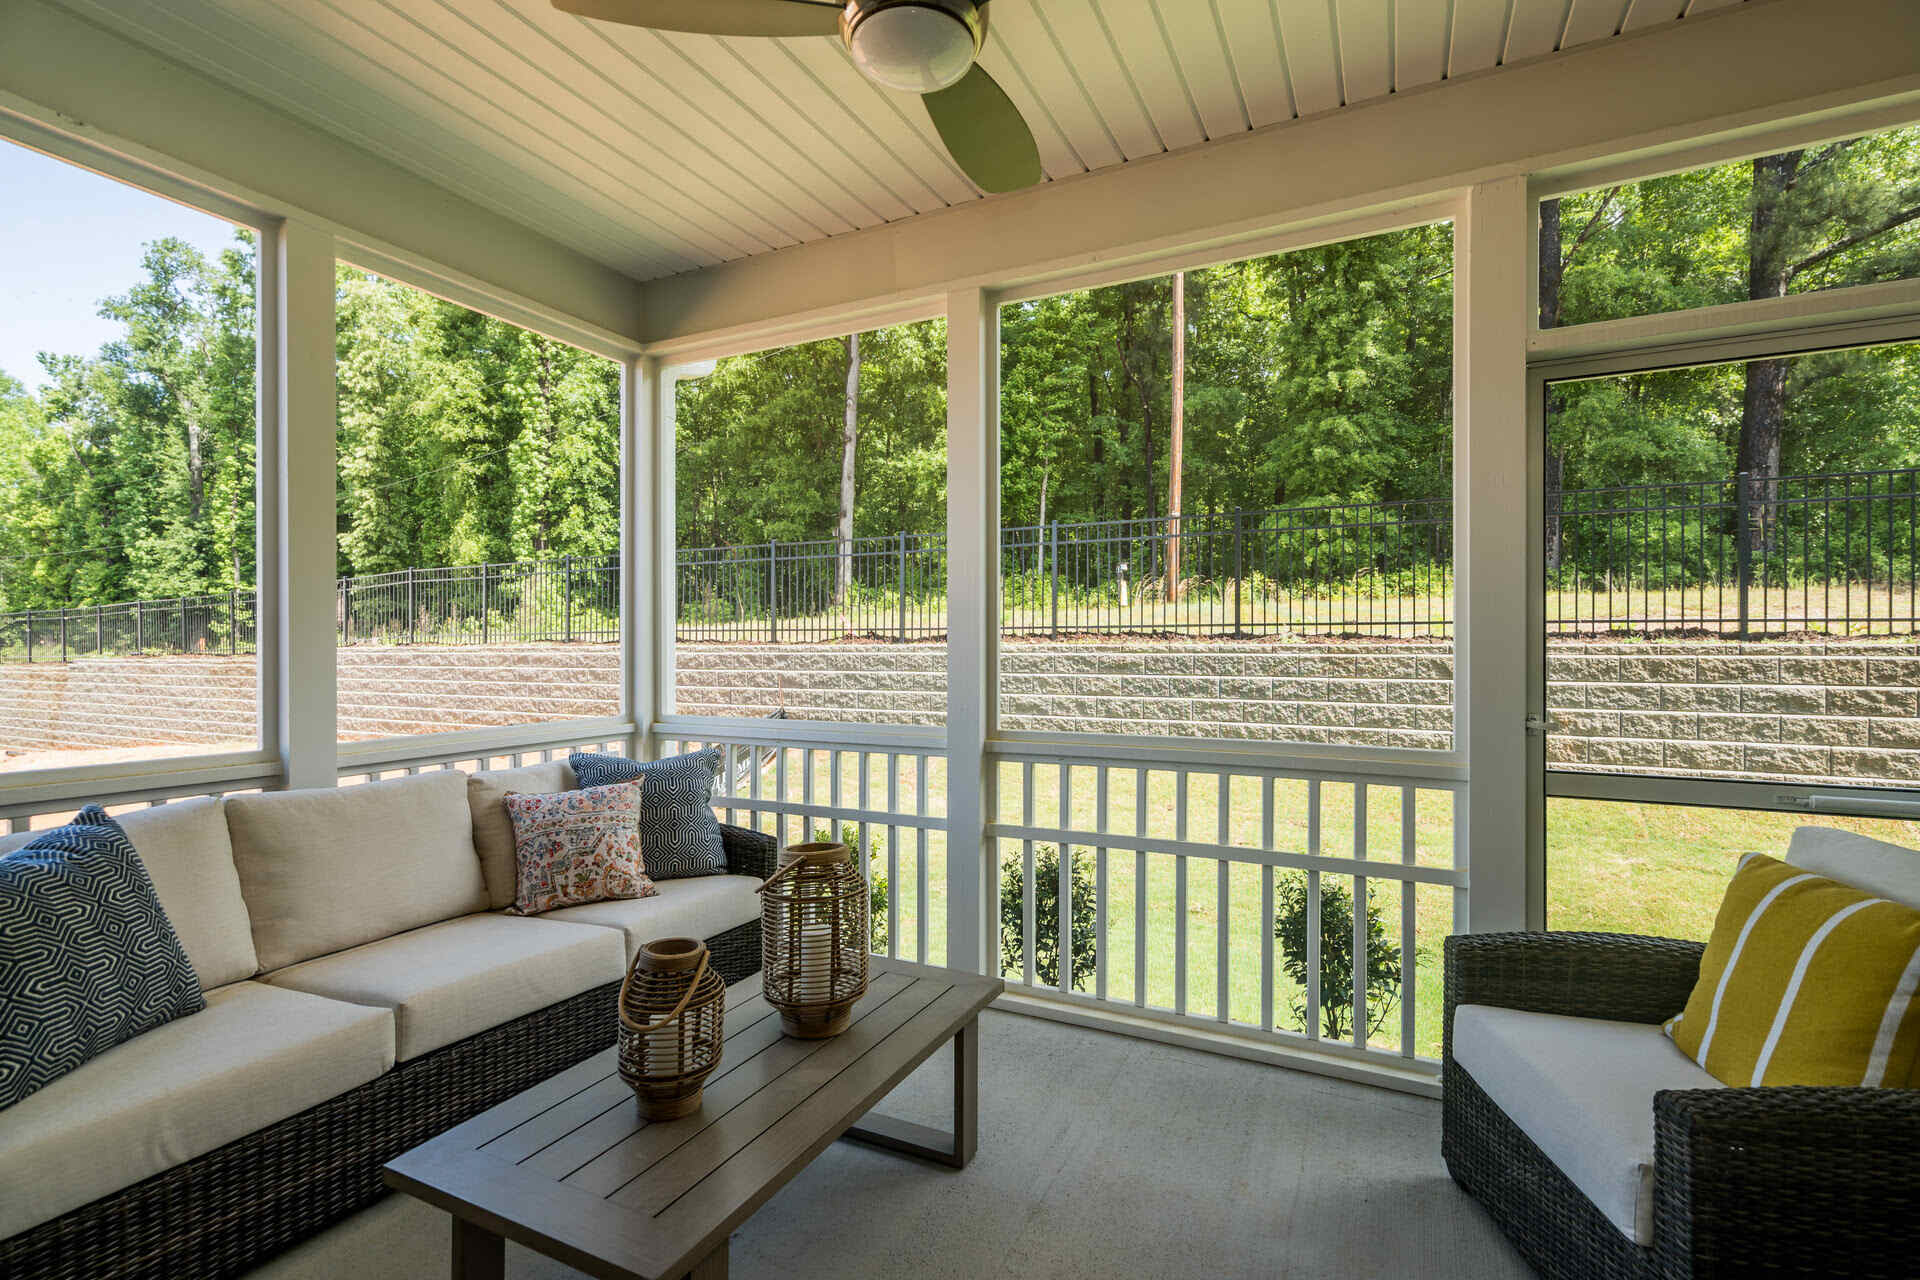
Step 8: Adding Finishing Touches
Adding the finishing touches to your screened-in porch is the final step in completing your outdoor oasis. This step allows you to personalize your porch and make it a comfortable and inviting space to enjoy. Here are some ideas for adding those finishing touches:
- Paint or stain the porch frame: Consider painting or staining the porch frame to match your home’s exterior or complement the overall design of your outdoor space. Choose a finish that is durable and weather-resistant.
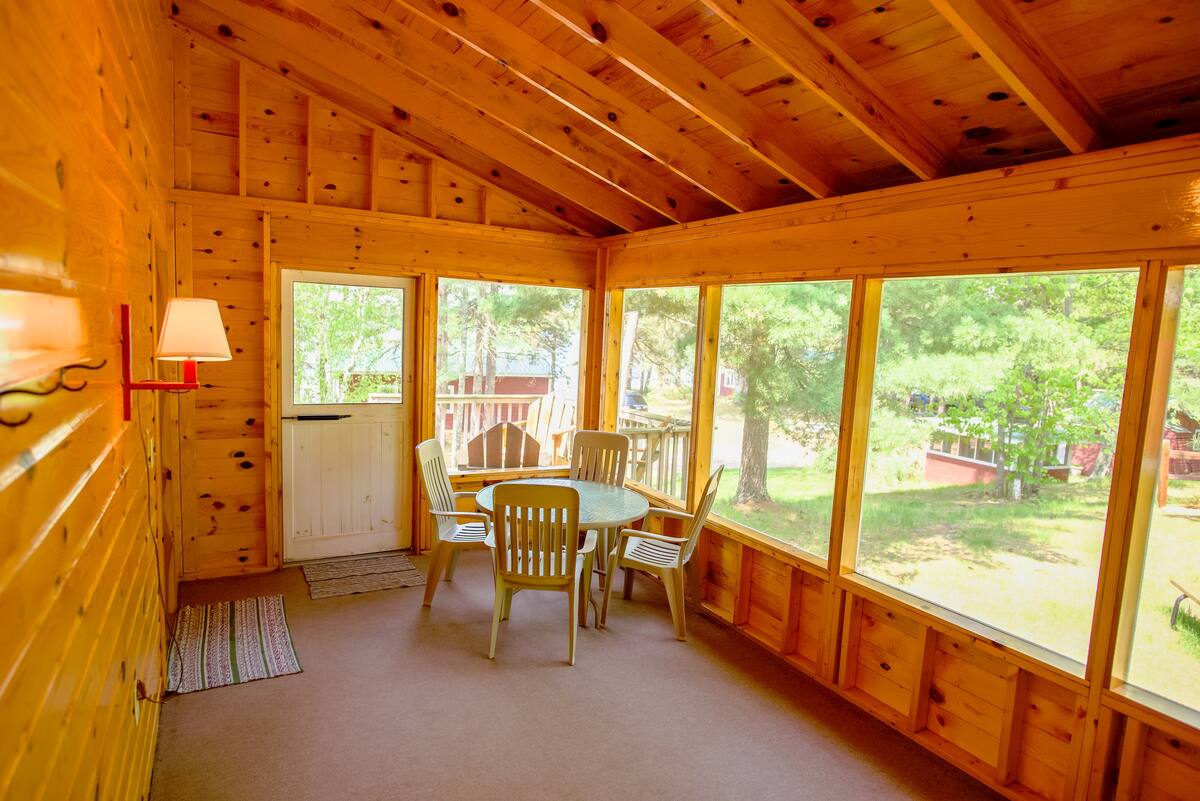
- Add flooring: If desired, you can install flooring on your screened-in porch to create a more polished look and comfortable feel underfoot. Options such as deck boards, tiles, or outdoor rugs can be considered based on your style and budget.
- Install lighting: Illuminate your porch with the right lighting fixtures to create ambiance and extend usability into the evening. Choose fixtures that are suitable for outdoor use and provide adequate lighting for different activities.
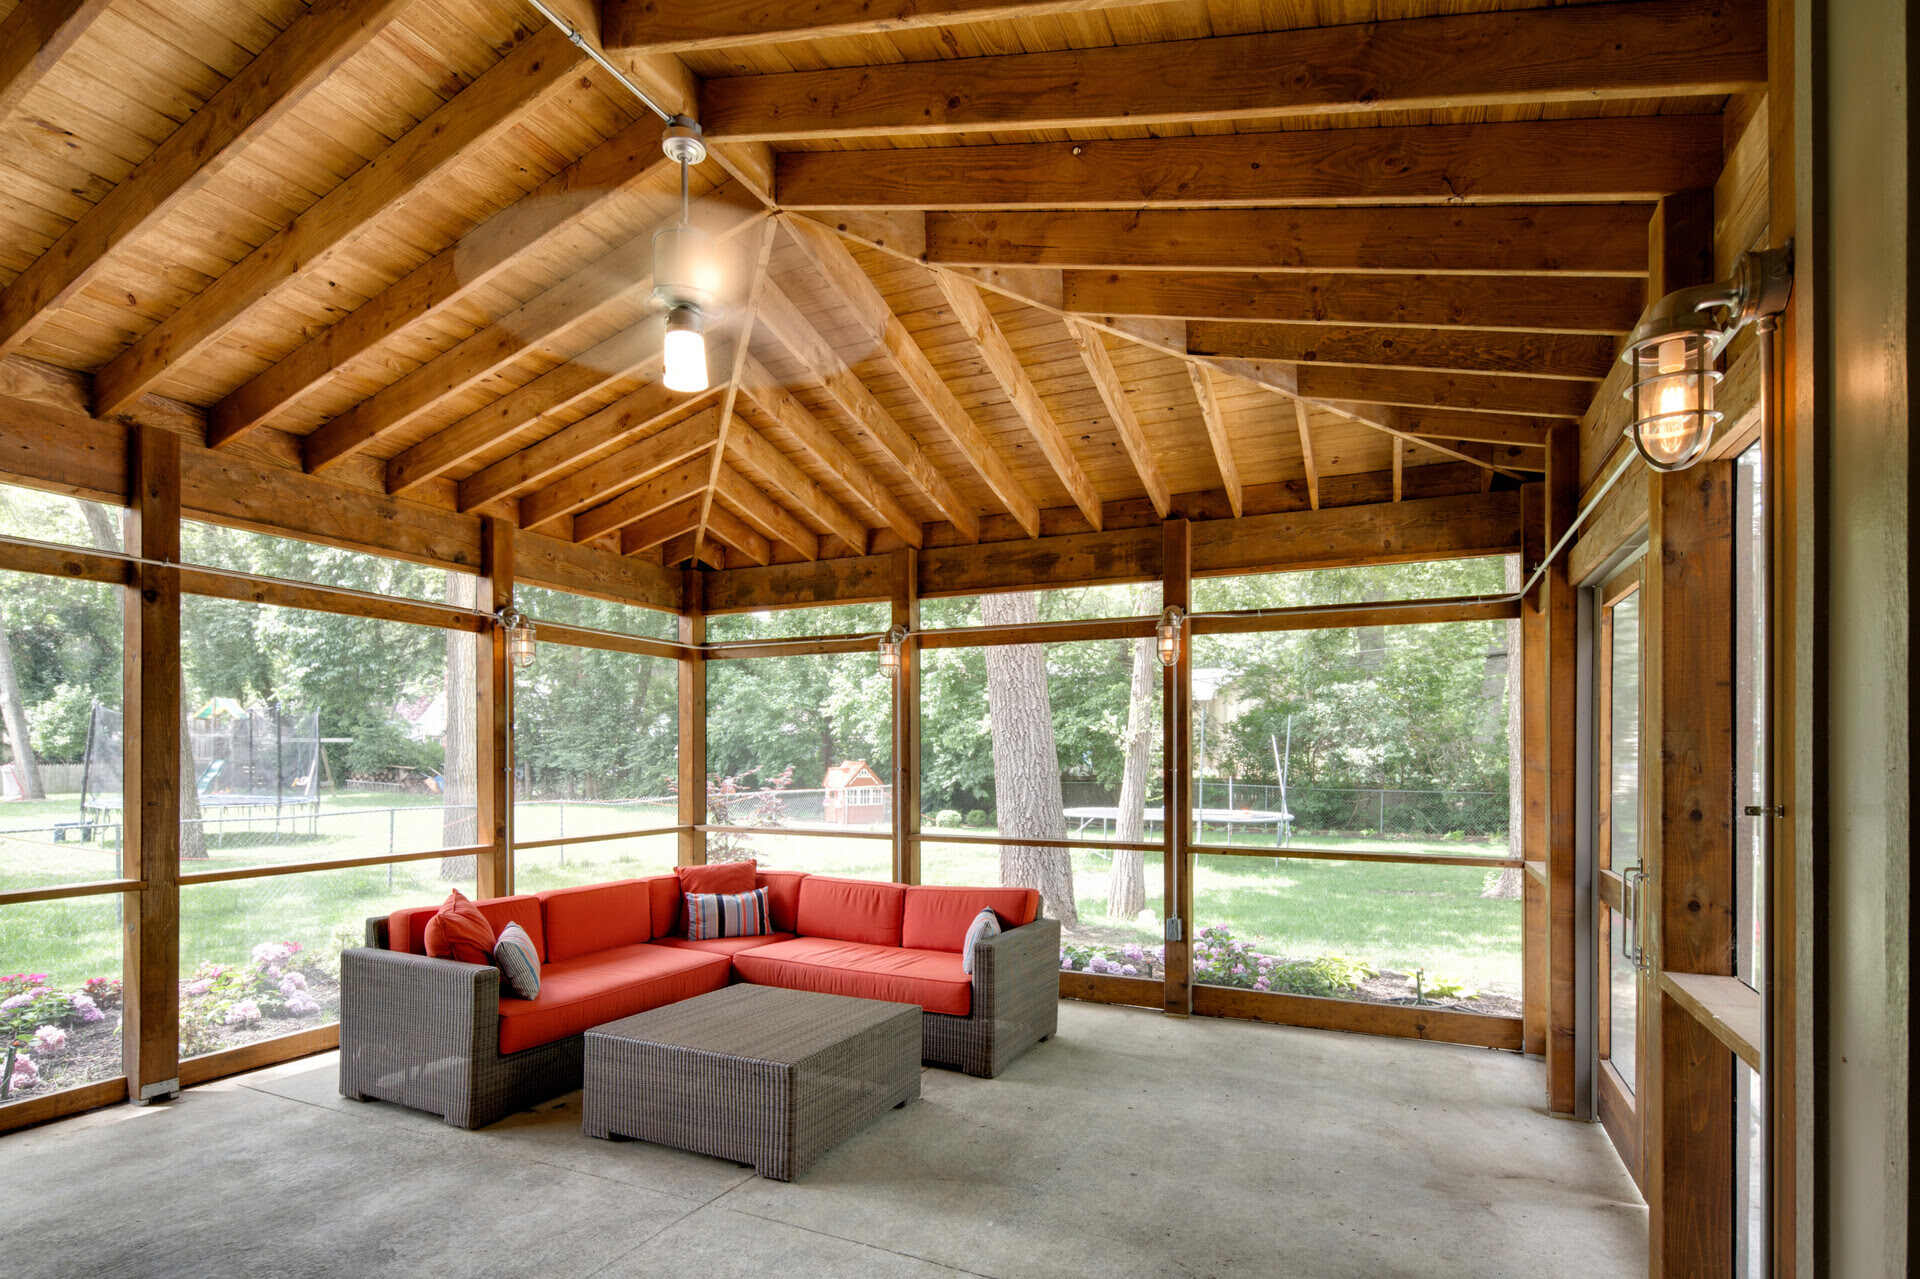
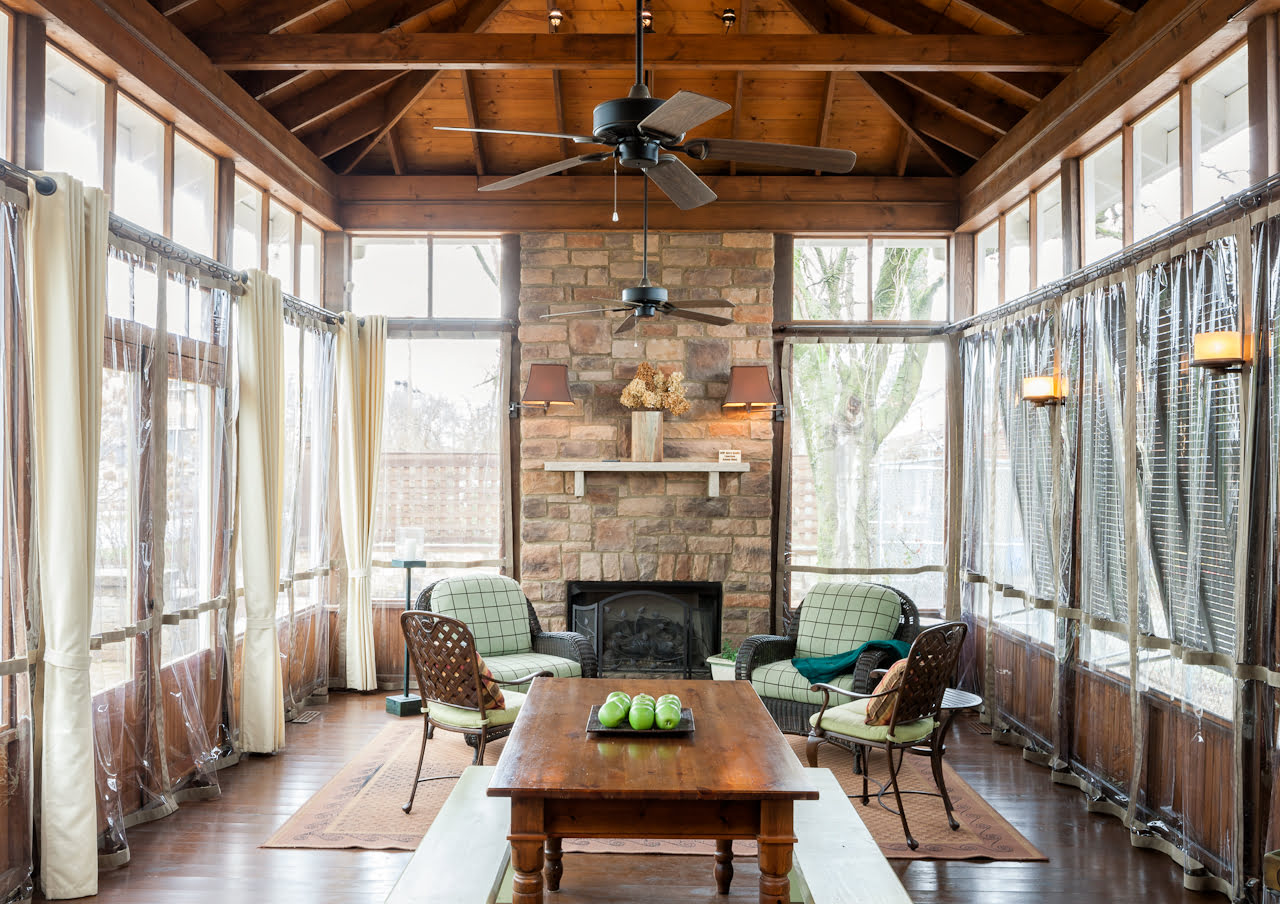
- Consider ceiling fans: Install ceiling fans to enhance air circulation and keep your porch cool during hot summer days. Ceiling fans not only provide comfort but also add a decorative element to your space.
- Add furnishings: Choose comfortable and weather-resistant furniture to furnish your screened-in porch. Consider a combination of seating options such as chairs, benches, and tables to create a cozy and functional outdoor living area.
- Accessorize with plants and decor: Add potted plants, hanging baskets, and other decorative elements to bring life and character to your porch. Consider incorporating outdoor curtains, pillows, and accessories that reflect your personal style.
- Install a ceiling or awning: If you desire additional overhead protection or shade, consider installing a ceiling or awning on your porch. This can provide relief from direct sunlight or protection from light rain.
- Personalize the space: Add personal touches such as artwork, sculptures, or family photos to make your porch feel like an extension of your indoor living space. Make it a reflection of your unique style and taste.
Remember, the finishing touches are what truly make your screened-in porch a special and inviting place. Take the time to consider your preferences, functionality needs, and the overall design aesthetic to create a space that you’ll truly enjoy.
With the finishing touches in place, sit back, relax, and enjoy the fruits of your labor. Your new screened-in porch on concrete is ready to provide you with countless hours of relaxation, entertainment, and enjoyment of the great outdoors!
Congratulations on completing the construction of your very own screened-in porch on concrete!
Read more: How To Build A Concrete Porch With Steps
Conclusion
Congratulations! You have completed the construction of your very own screened-in porch on concrete. This guide has taken you through each step of the process, from gathering materials and tools to adding the finishing touches. By following these steps, you have created a comfortable and inviting outdoor space to enjoy the beauty of nature while being shielded from bugs and inclement weather.
Building a screened-in porch on concrete may require some basic knowledge of tools and construction, but with careful planning and execution, you have transformed your outdoor space into a haven of relaxation and enjoyment. Whether you choose to read a book, entertain guests, or simply savor the fresh air, your screened-in porch offers a versatile and valuable addition to your property.
Remember to always prioritize safety throughout the construction process and consult a professional if needed. Adhere to local building codes and regulations to ensure that your porch meets all necessary requirements.
Now that your screened-in porch is complete, take some time to personalize it with your own unique touches. Consider adding furniture, lighting, plants, and decorations that reflect your personal style and create a welcoming atmosphere.
As the seasons change, your screened-in porch will serve as a gathering place for family and friends, providing countless hours of enjoyment. Whether you use it to relax, entertain, or simply unwind, your screened-in porch is a valuable addition to your home that will enhance your quality of life.
We hope this guide has been helpful in your journey to build a screened-in porch on concrete. Enjoy your new outdoor oasis!
Now that you've mastered building a screened-in porch, why not delve deeper into what makes these spaces special? Our article on screened-in porches provides insightful details on their benefits and versatility. And if you're looking to spruce up your outdoor area further, our guide on enhancing outdoor living with colorful decor and simple add-ons offers creative ideas to transform any deck into a vibrant and welcoming space. Both reads offer practical tips and inspiring suggestions to elevate your home’s exterior effortlessly.
Frequently Asked Questions about How To Build A Screened-In Porch On Concrete
Was this page helpful?
At Storables.com, we guarantee accurate and reliable information. Our content, validated by Expert Board Contributors, is crafted following stringent Editorial Policies. We're committed to providing you with well-researched, expert-backed insights for all your informational needs.


0 thoughts on “How To Build A Screened-In Porch On Concrete”