Articles
How To Fix A Cabinet Drawer
Modified: February 27, 2024
Learn how to fix a cabinet drawer with our step-by-step guide. Get the best solutions for office storage and keep your workspace organized.
(Many of the links in this article redirect to a specific reviewed product. Your purchase of these products through affiliate links helps to generate commission for Storables.com, at no extra cost. Learn more)
Introduction
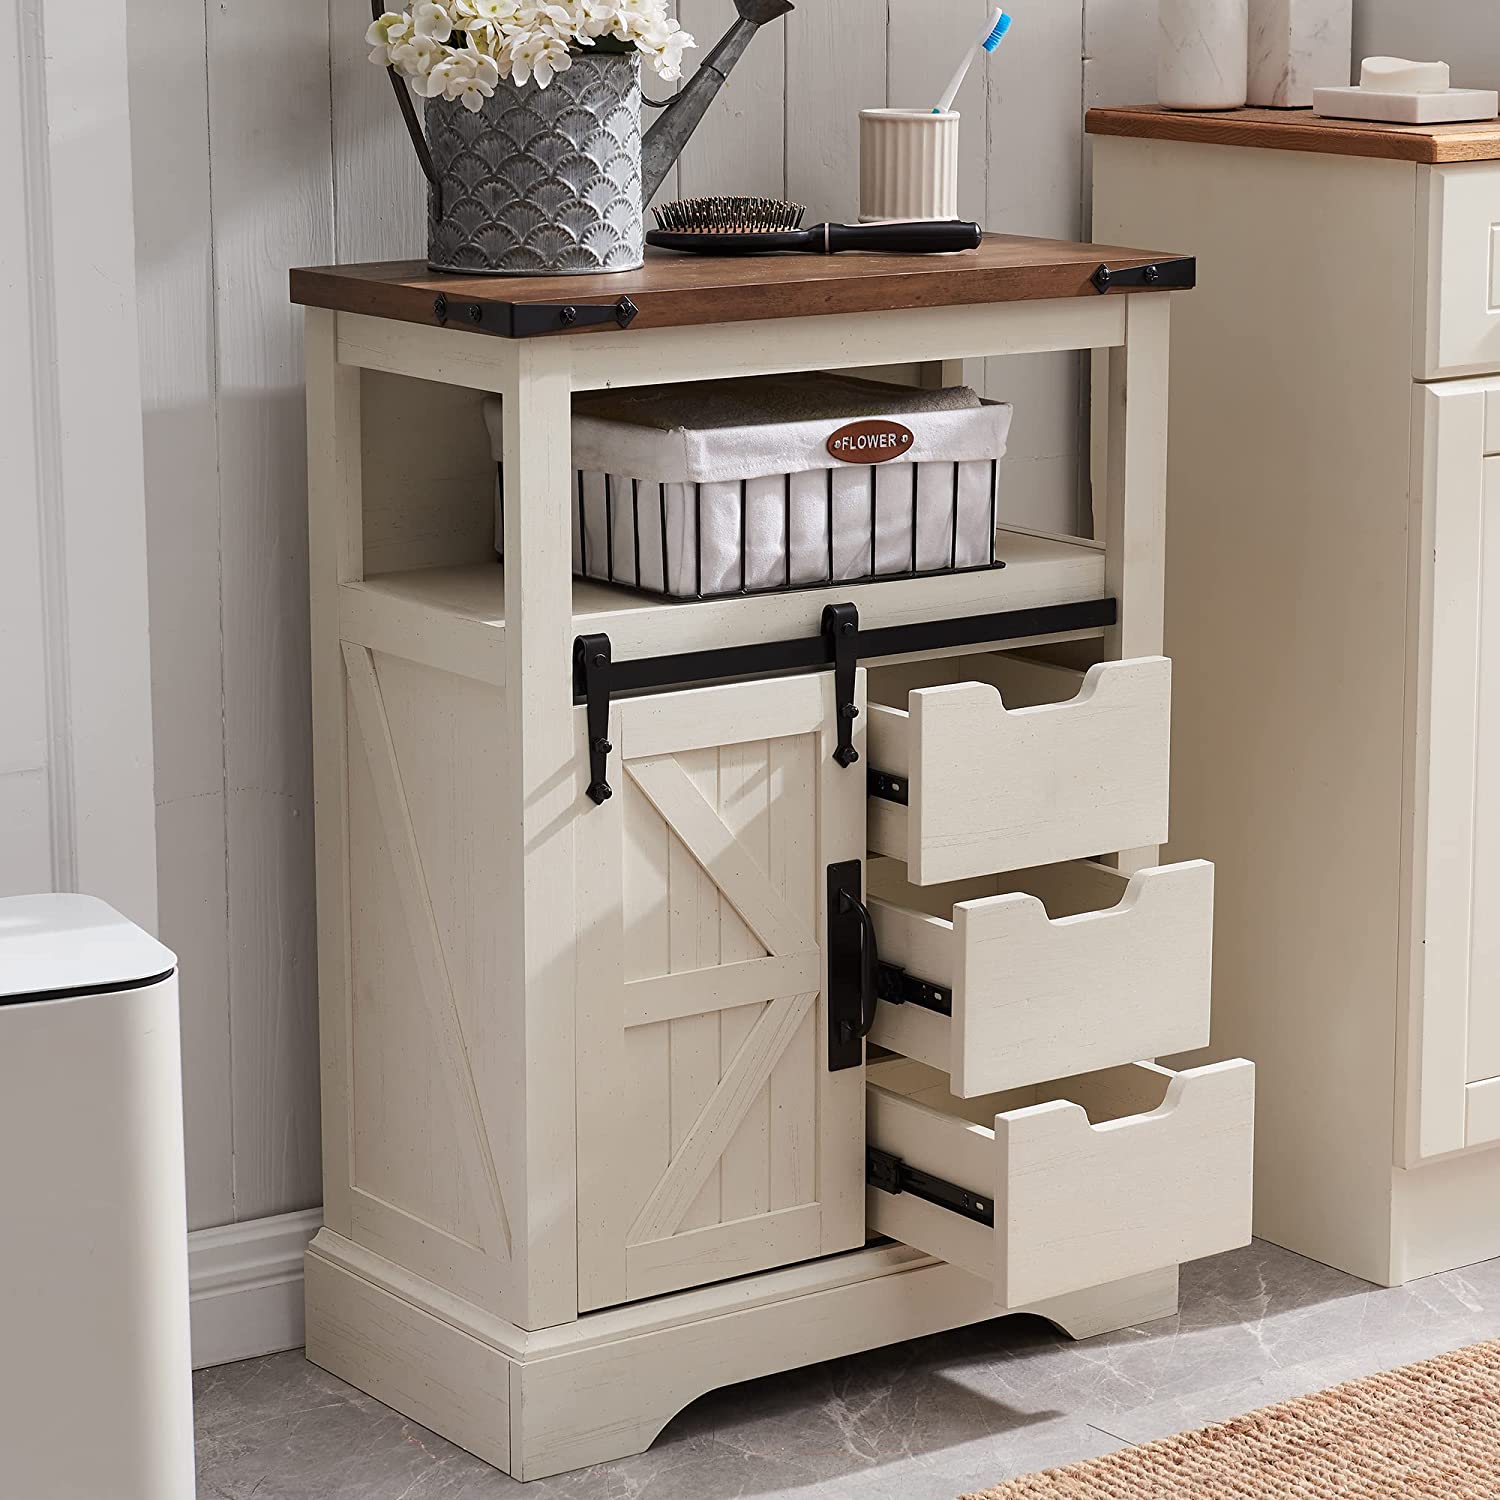
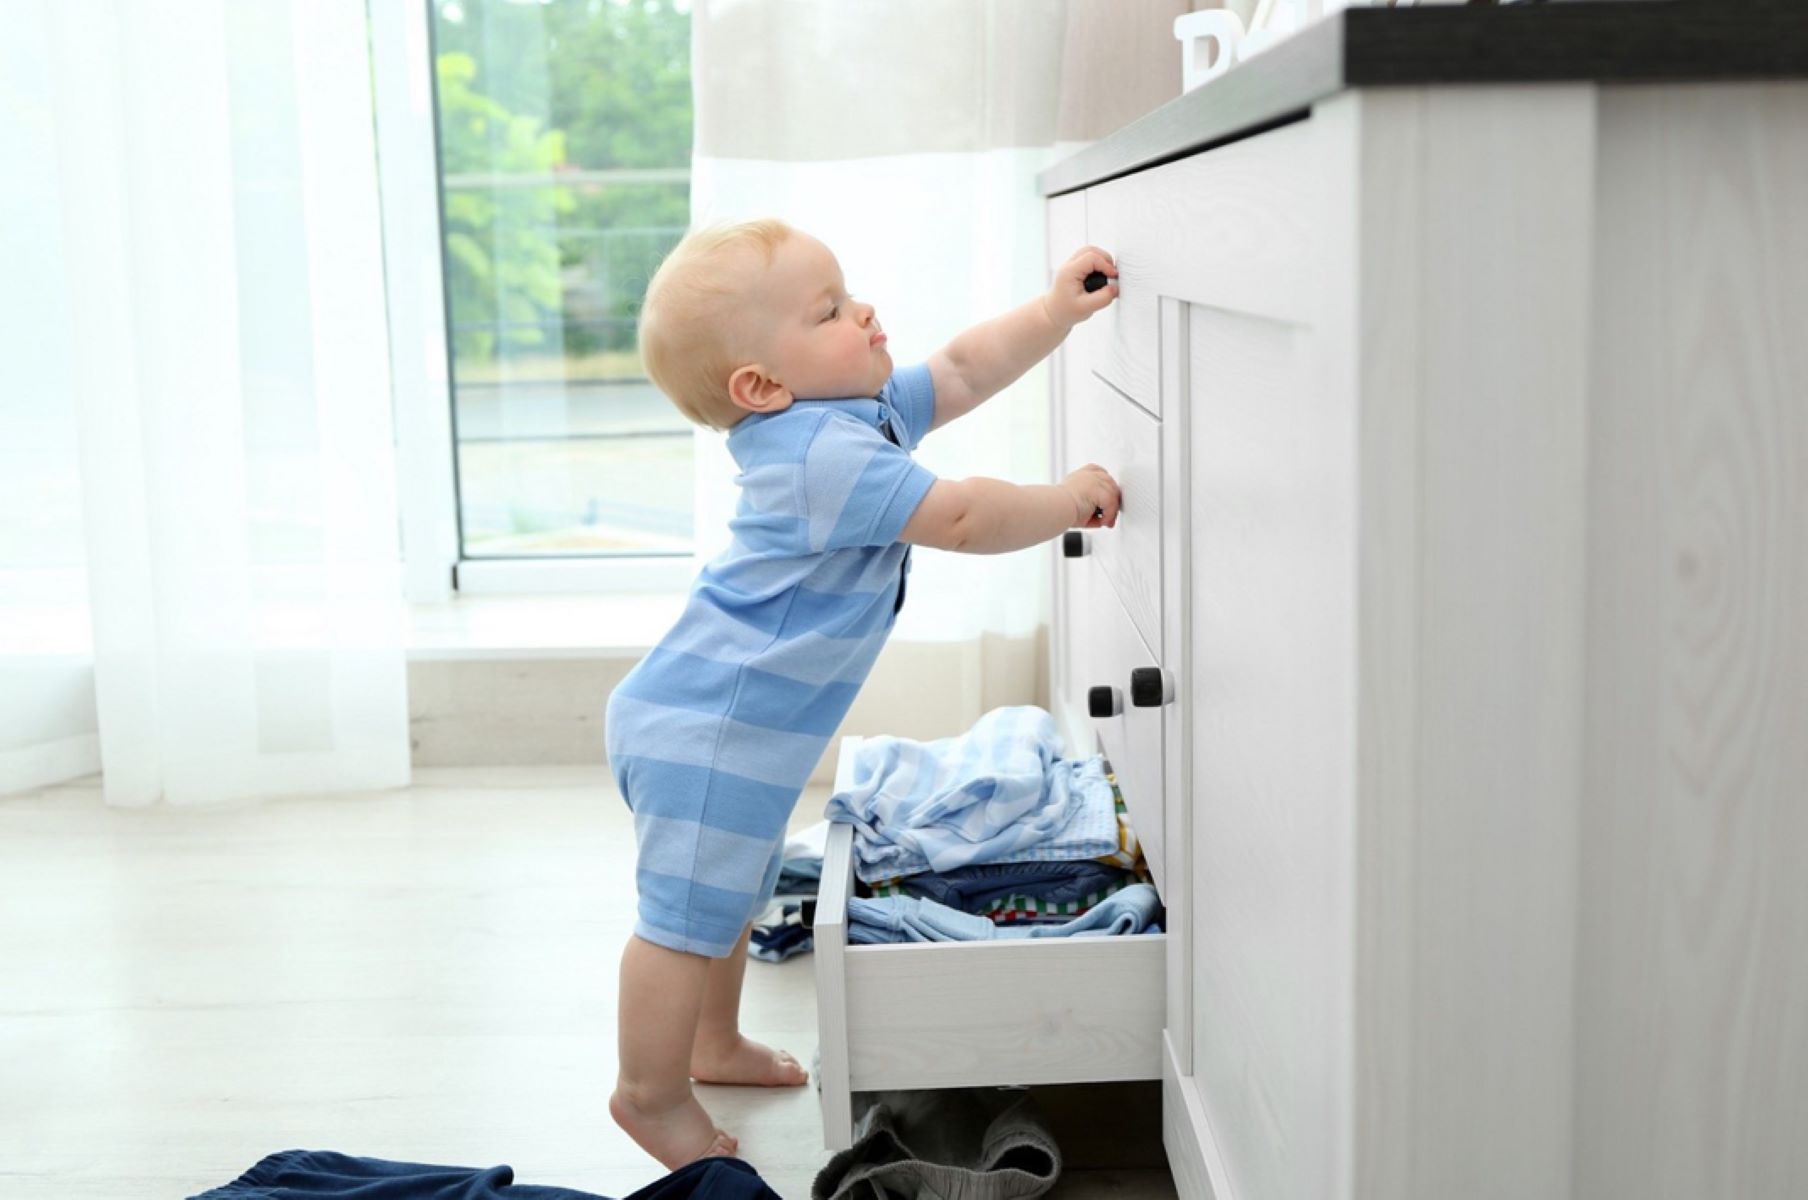
Welcome to our guide on how to fix a cabinet drawer! Cabinet drawers are an essential component of any well-functioning kitchen or furniture piece. However, over time, they may encounter issues such as sticking, misalignment, or broken hardware. But fret not! With a few simple steps, you can easily diagnose and fix these problems, restoring your cabinet drawer to its former glory.
In this article, we will walk you through the process of assessing the problem, removing the drawer, identifying the issue, repairing or replacing hardware if necessary, reinstalling the drawer, and testing to ensure everything is in proper working order. So, let’s dive in and get those cabinet drawers back on track!
Key Takeaways:
- Easily diagnose and fix common cabinet drawer issues such as sticking, misalignment, or broken hardware with simple steps outlined in this guide. Restore functionality and save time and effort in the long run.
- Properly assess, repair, and reinstall cabinet drawers to ensure smooth functionality and optimal performance. Turn a daunting task into a manageable and rewarding DIY project, enhancing the functionality and aesthetics of your cabinets or furniture.
Read more: How To Add Drawers To A Cabinet
Step 1: Assessing the Problem
Before jumping into fixing the cabinet drawer, it’s essential to assess the problem accurately. This step will help you understand the underlying issue and determine the most effective solution. Here are a few common problems you may encounter:
- Sticking Drawers: If your drawer is difficult to open or close smoothly, it is likely sticking. This issue can be caused by debris, improper alignment, or swollen wood due to moisture.
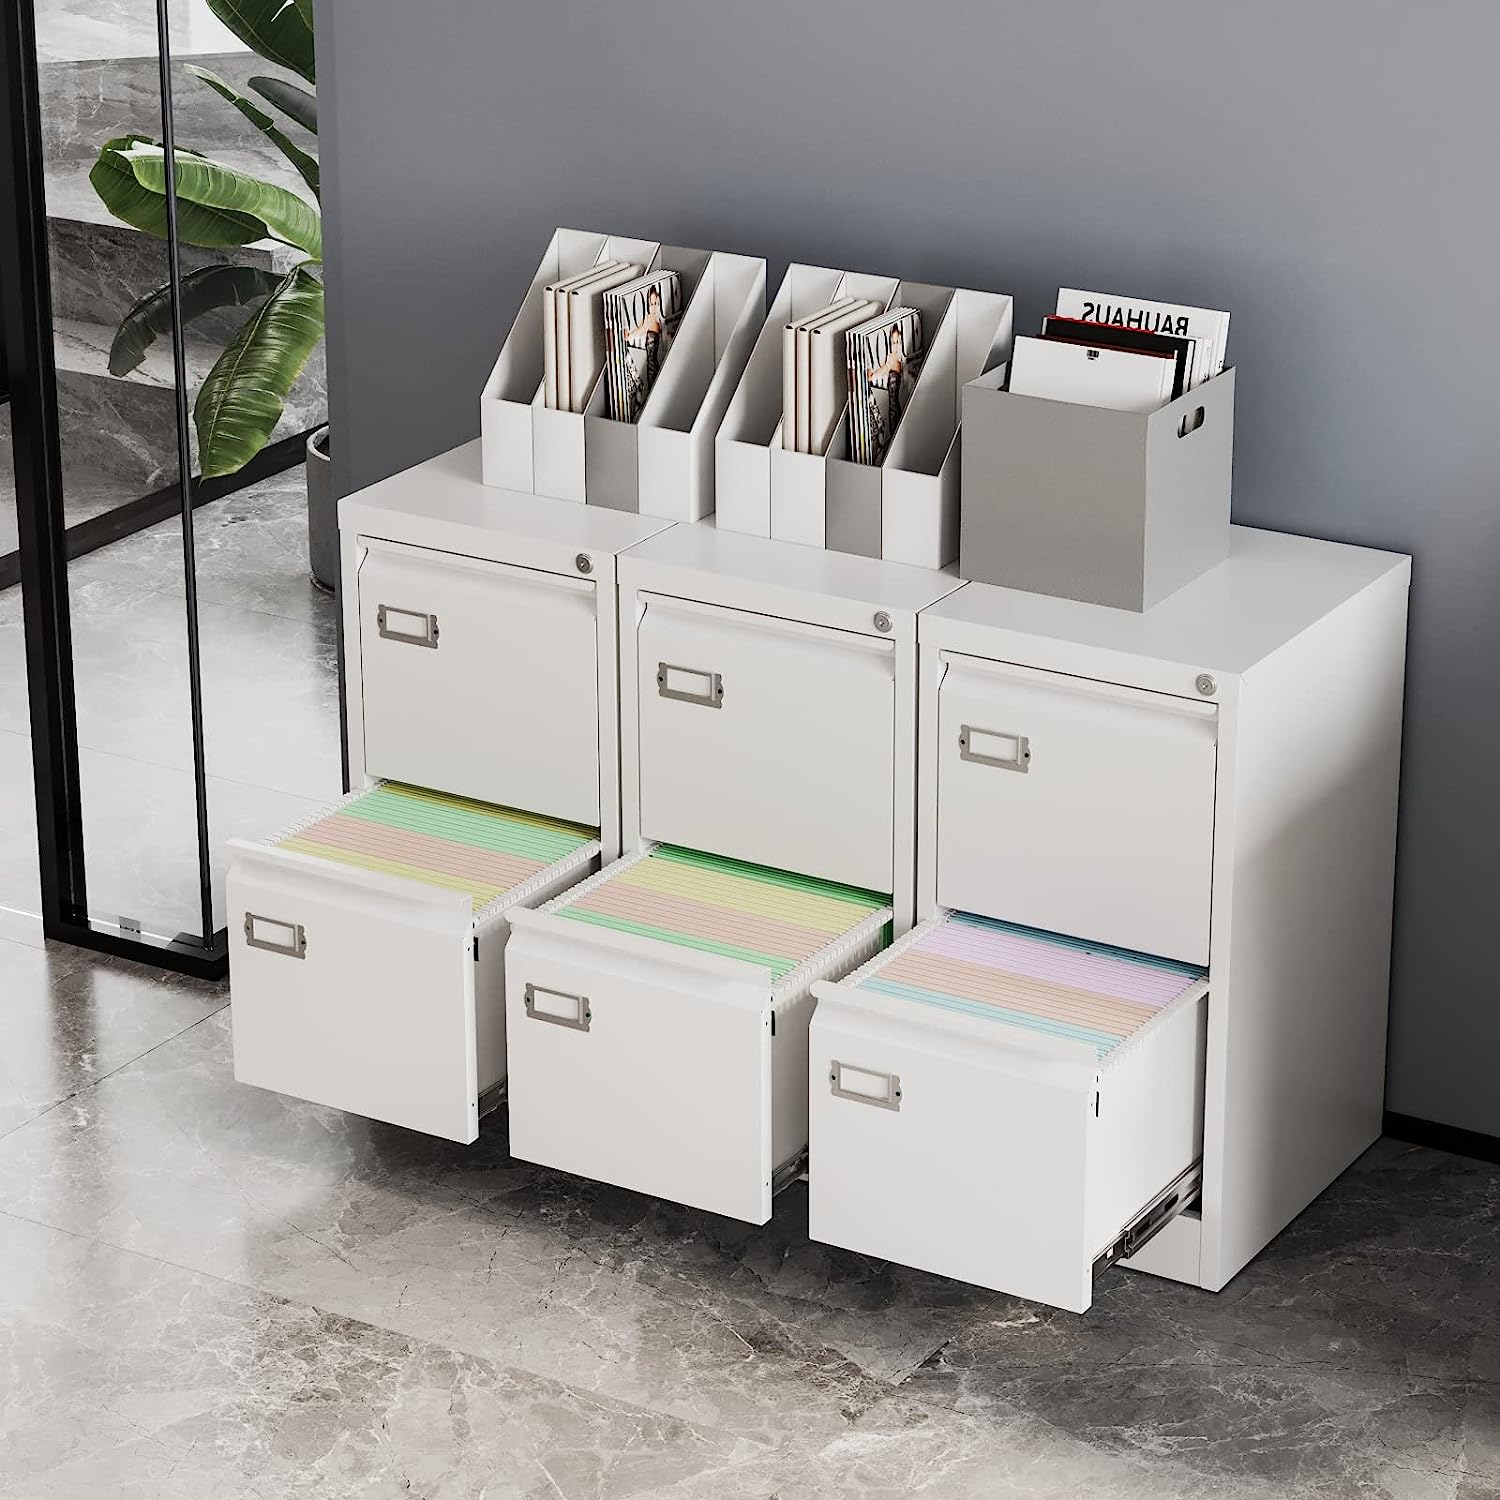
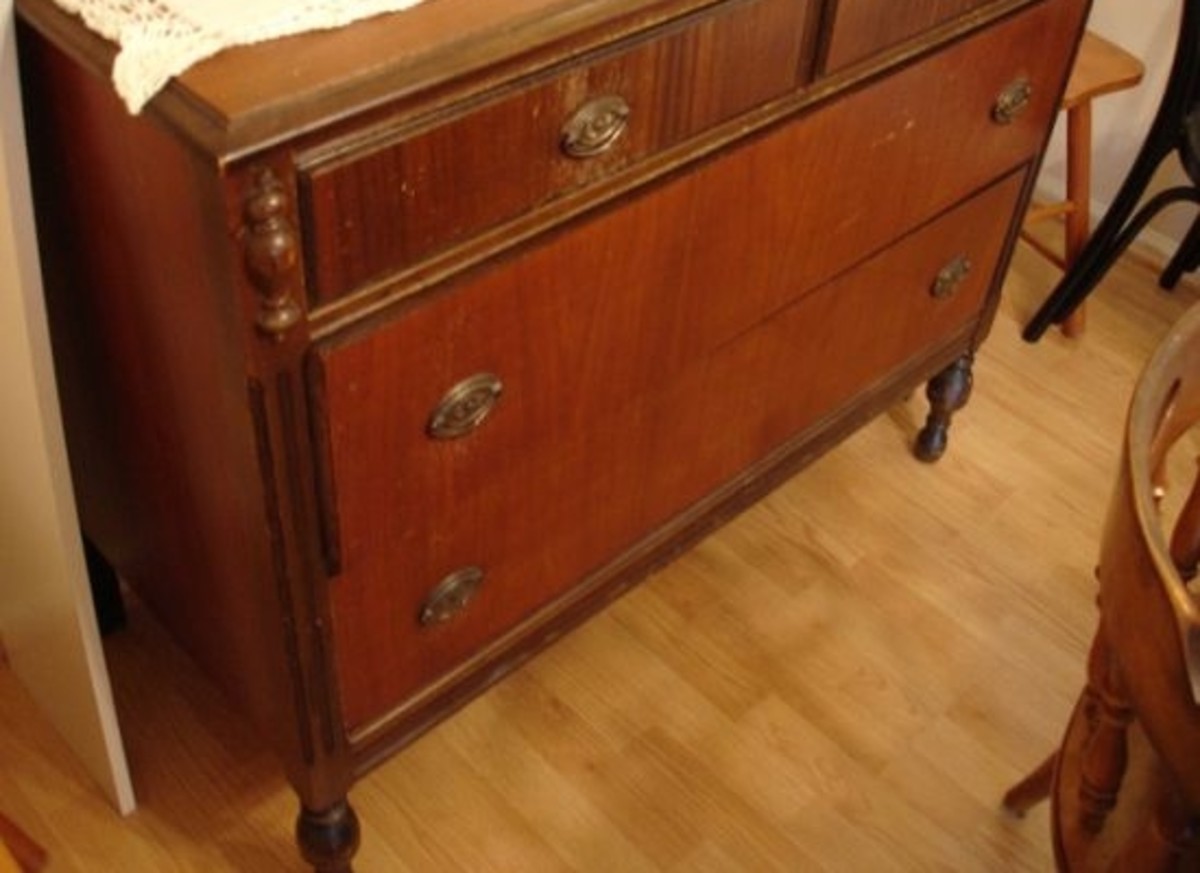
- Misalignment: Misaligned drawers are evident when they don’t fit flush or have gaps on one side. This can happen if the drawer slides or tracks are worn out or damaged.
- Broken Hardware: Hardware components, such as drawer slides, brackets, or handles, can break over time. If you notice any broken or loose parts, they may need replacement.
By carefully observing and evaluating the symptoms, you can determine the root cause of the problem. Inspect the drawer’s movement, look for visible damage, and listen for any unusual noises.
Assessing the problem also involves checking other elements of the cabinet, such as neighboring drawers or the overall stability. This helps ensure that the issue is isolated to a specific drawer and not a broader structural problem.
Once you have a clear understanding of the problem, you can proceed to the next step: removing the drawer.
Step 2: Removing the Drawer
Now that you have assessed the problem, it’s time to remove the cabinet drawer. This step is crucial as it allows you better access to the hardware and makes the repair process more manageable.
Here’s a step-by-step guide to removing the drawer:
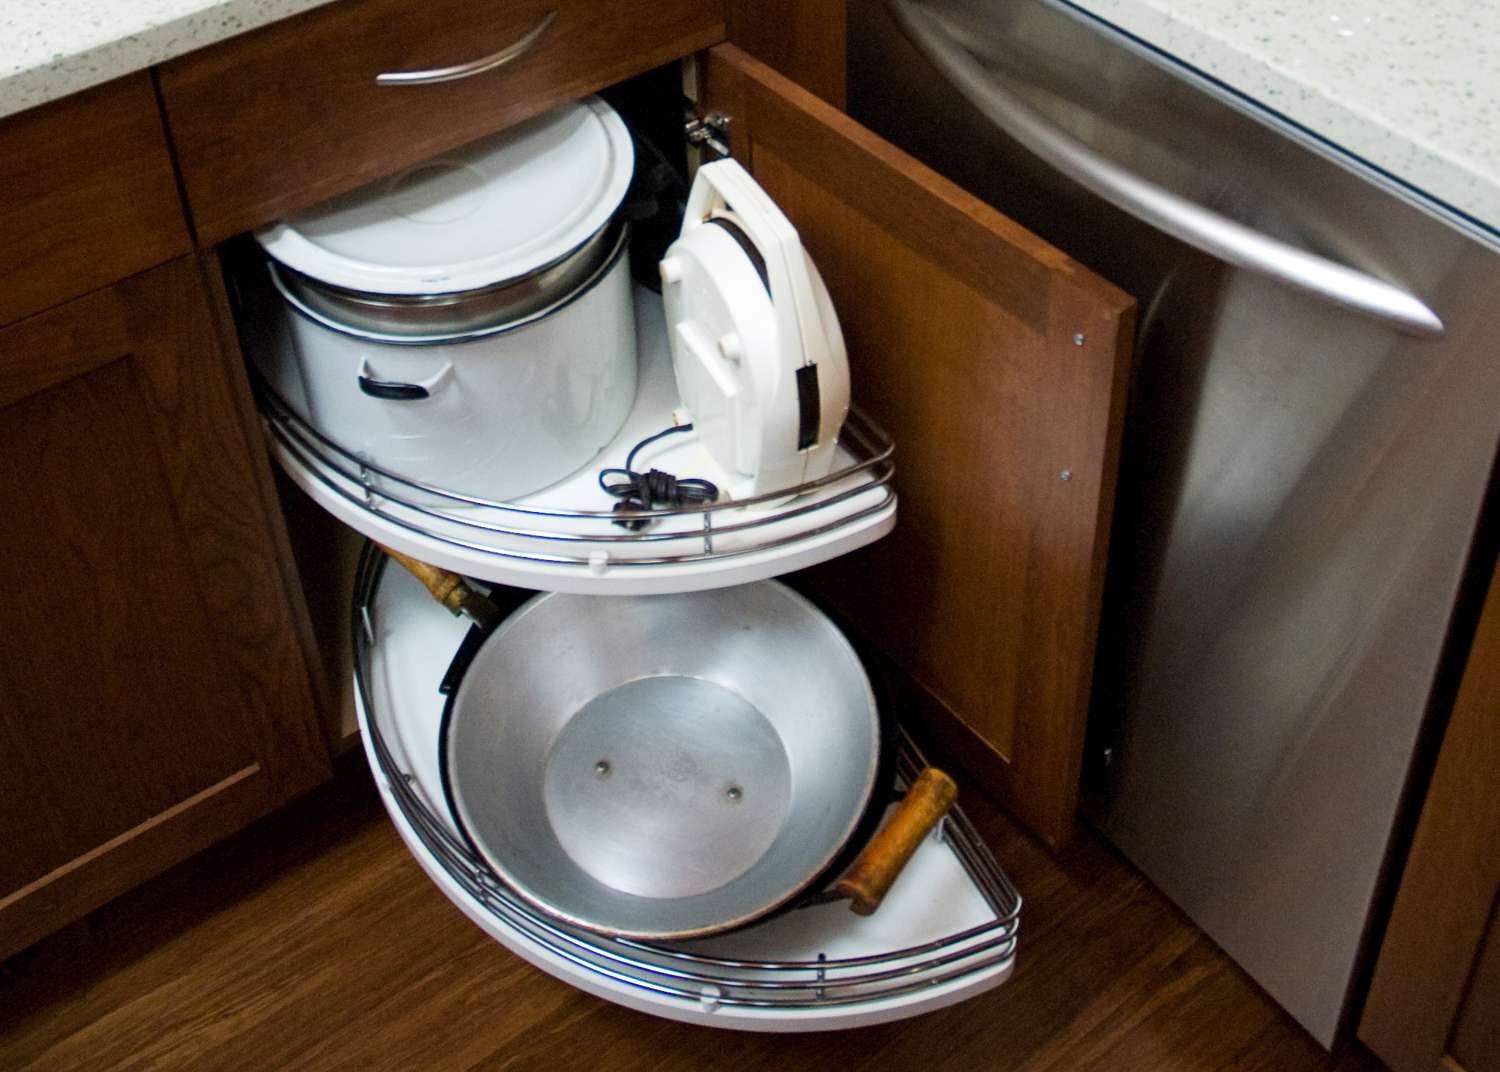
- Empty the drawer: Start by removing any items or utensils from the drawer. This will make it lighter and easier to handle.
- Open the drawer fully: Pull the drawer out as far as it can go. Some drawers may have a release lever or button on the slide mechanism that needs to be pressed in order to fully extend the drawer.
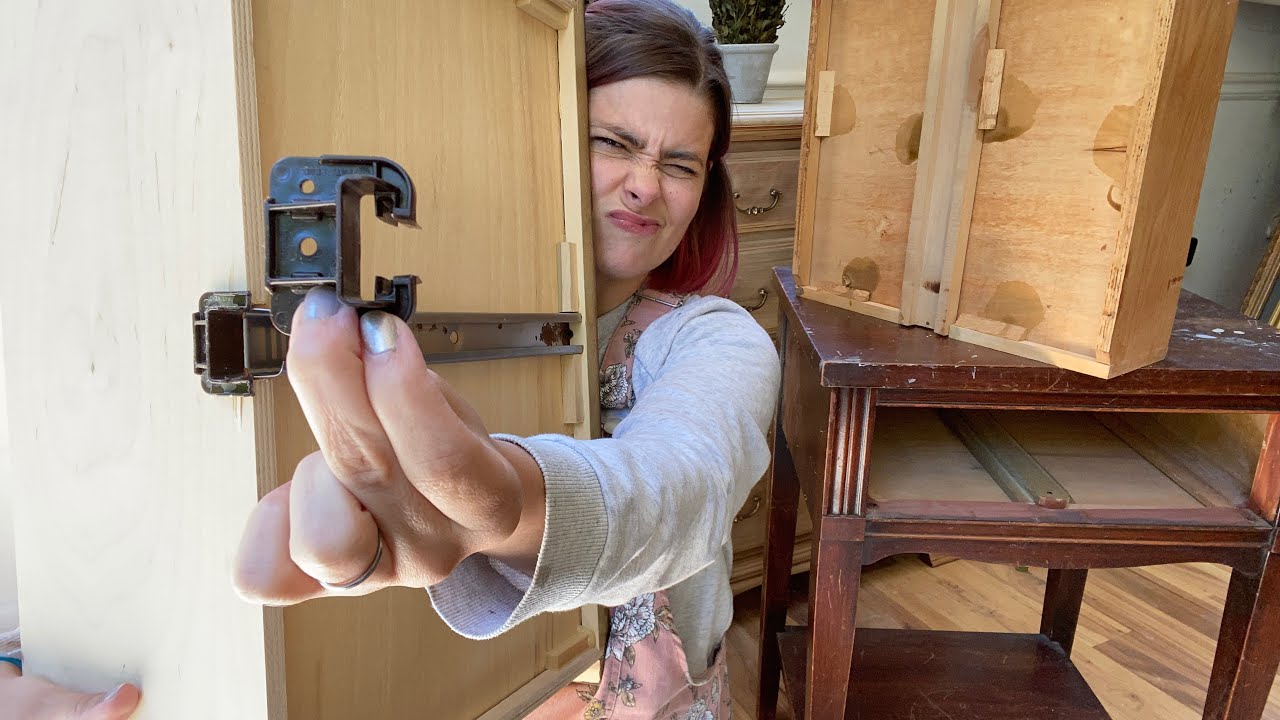
- Locate the release levers or tabs: Examine the sides of the drawer slides, typically located near the front end. Look for levers or tabs that need to be depressed or lifted to release the drawer.
- Press or lift the release levers or tabs: Depending on the type of slides, you may need to use a screwdriver, your fingers, or a release mechanism specific to your drawer. Gently press or lift the levers or tabs on both sides simultaneously.
- Slowly remove the drawer: Once the levers or tabs are released, carefully and steadily pull the drawer towards you. Lift it slightly as you bring it out to disengage the slides from the cabinet.
It’s essential to be gentle and cautious while removing the drawer to avoid any damage to the drawer or the surrounding cabinetry. Pay attention to any hidden screws or fasteners that may be securing the drawer to the cabinet and remove them if necessary.
With the drawer now safely removed, you can proceed to the next step: identifying the issue.
Step 3: Identifying the Issue
Now that you have successfully removed the cabinet drawer, it’s time to identify the specific issue causing the problem. This step will help you determine whether the problem lies with the drawer itself or the hardware.
Here are some key areas to focus on when identifying the issue:
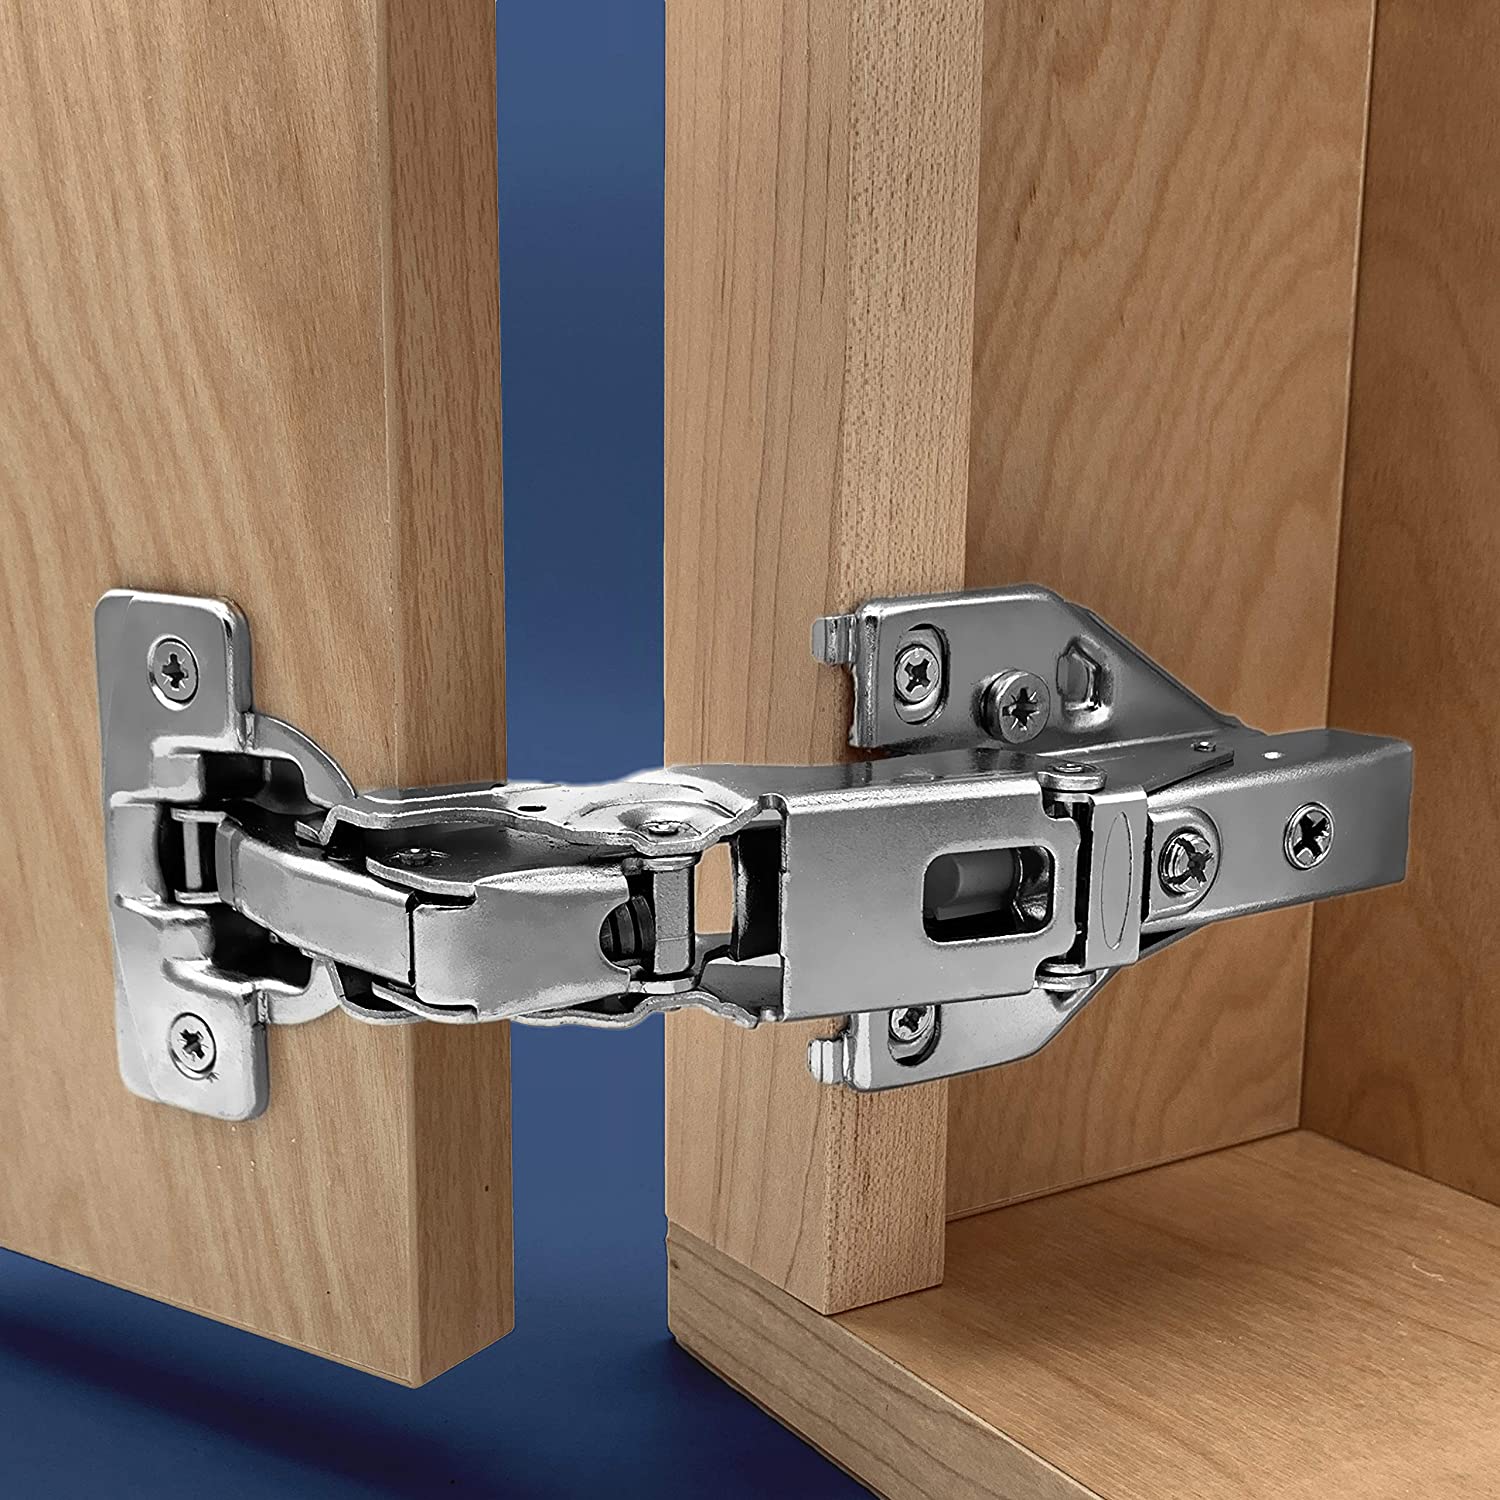
- Drawer Slides: Examine the drawer slides for any signs of wear, damage, or misalignment. Look for bent tracks, broken or loose screws, or any debris that may be blocking the smooth movement of the drawer.
- Drawer Alignment: Check the alignment of the drawer with the cabinet opening. Ensure that the front of the drawer is flush with the cabinet and that there are no visible gaps on either side.
- Drawer Bottom Panel: Inspect the drawer’s bottom panel for any cracks, splits, or warping. A damaged bottom panel can cause the drawer to sag or become misaligned.
- Hardware Components: Take a closer look at the hardware components, such as handles, knobs, or brackets. Check for any signs of damage, breakage, or loose fittings.
- Drawer Structure: Assess the overall structure of the drawer for any weak joints, loose screws, or signs of deterioration. Reinforcing the drawer’s structure may be necessary to resolve certain issues.
By thoroughly inspecting these areas, you can pinpoint the exact cause of the problem. This will help determine the appropriate solution, whether it involves repairing the existing components or replacing them entirely.
Once you have identified the issue, you can move on to the next step: repairing or replacing the necessary hardware.
Check the drawer slides for any damage or obstructions. Clean and lubricate the slides to ensure smooth movement. If the slides are damaged, replace them with new ones.
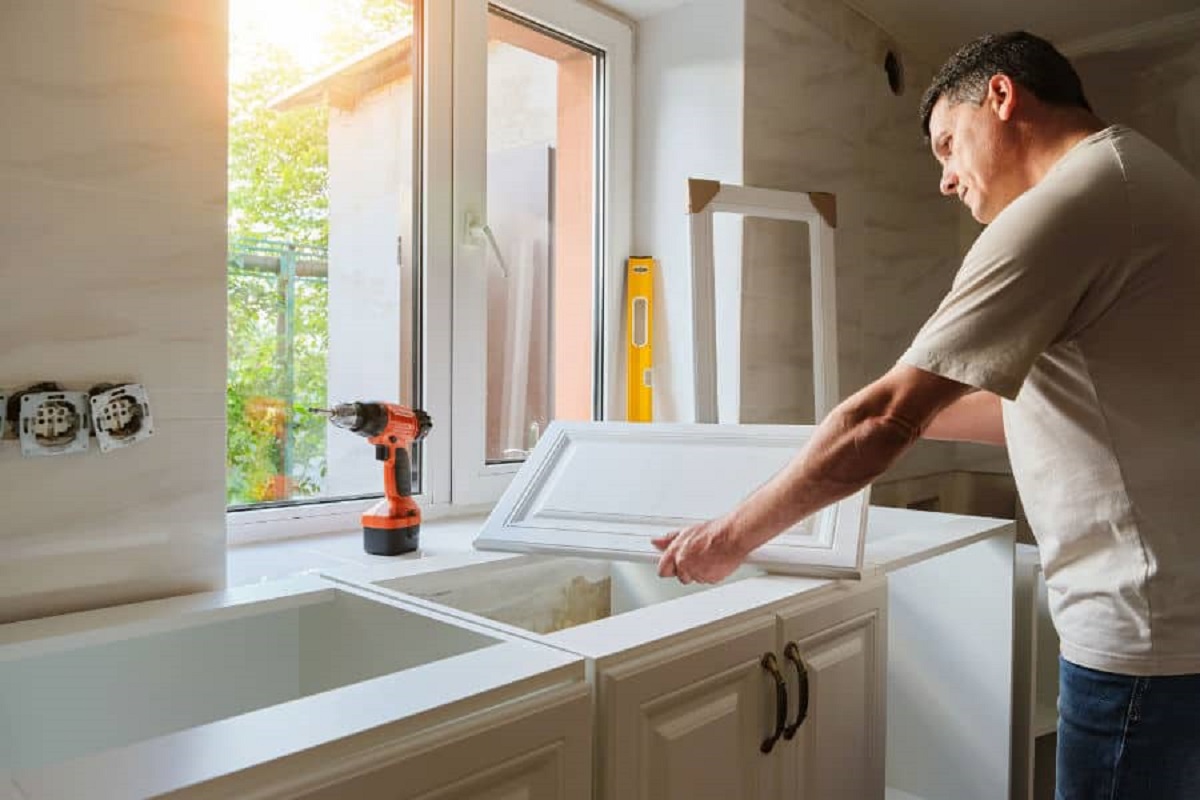
Step 4: Repairing or Replacing Hardware
Now that you have identified the specific issue with your cabinet drawer, it’s time to address and resolve it by repairing or replacing the necessary hardware. This step will ensure smooth and proper functioning of the drawer.
Here are some common hardware-related problems and the corresponding solutions:
- Sticking Drawers: If your drawer is sticking, try cleaning the drawer slides with a mild cleaner to remove any debris or buildup. You can also apply a thin layer of paraffin wax or a dry lubricant to the slides for smoother movement. If the slides are damaged or worn out, consider replacing them.
- Misalignment: To address misalignment, check the drawer slides for any bent or damaged parts. If necessary, replace the slides or the brackets to ensure proper alignment. You may also need to adjust the positioning of the slides within the cabinet to achieve a perfect fit.
- Broken or Loose Hardware: If you have identified broken or loose hardware components, such as drawer pulls, handles, or brackets, remove them and replace them with new ones. Be sure to choose hardware that is compatible with your cabinet’s design and dimensions.
- Drawer Structure: For issues related to the drawer’s structure, such as weak joints or loose screws, reinforce and tighten them. You may need to add additional screws or apply wood glue to strengthen the joints.
It’s crucial to follow the manufacturer’s instructions when repairing or replacing hardware. Take your time to ensure everything is securely fastened and aligned properly. If you’re unsure about any step, consult a professional or seek guidance from a hardware specialist.
Once you have repaired or replaced the necessary hardware, you’re ready to proceed to the next step: reinstalling the drawer.
Read more: How To Install A Drawer In A Cabinet
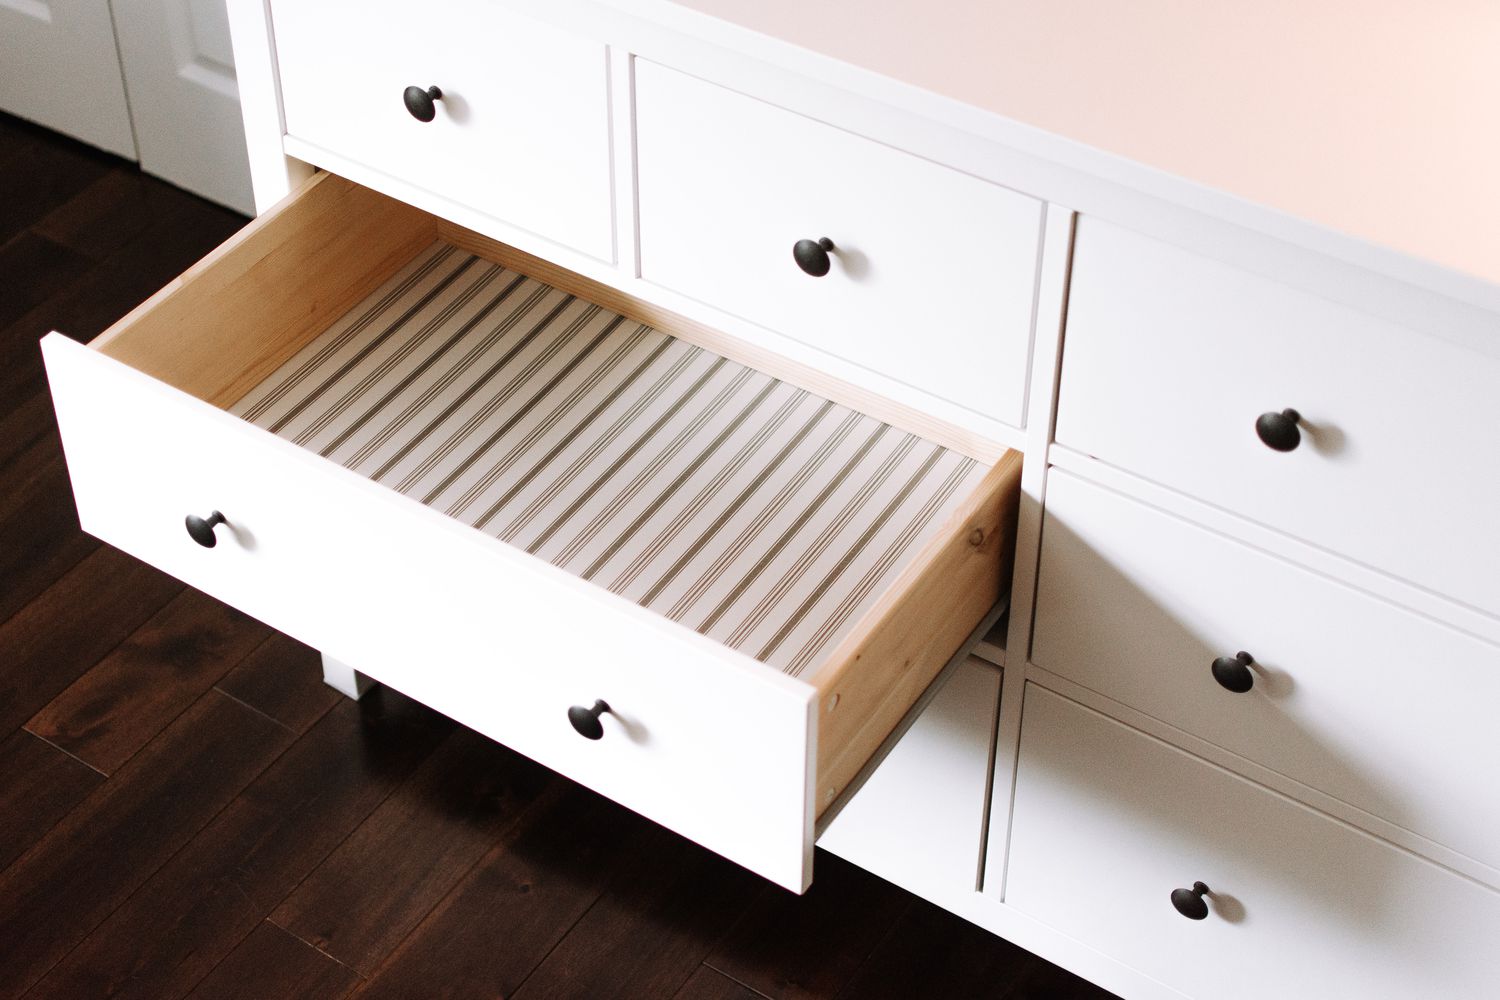
Step 5: Reinstalling the Drawer
Now that you have repaired or replaced the necessary hardware, it’s time to reinstall the cabinet drawer. Proper installation ensures that the drawer functions smoothly and aligns correctly with the cabinet opening. Follow these steps to reinstall the drawer:
- Inspect the cabinet opening: Before inserting the drawer, check the cabinet opening for any debris or obstructions. Remove any obstacles that may hinder the installation or affect the smooth movement of the drawer.
- Align the drawer: Position the drawer in front of the cabinet opening, ensuring that it is level and aligned with the surrounding cabinetry. The front of the drawer should be flush with the cabinet, and there should be an equal gap on both sides.
- Engage the slides: Gently push the drawer into the cabinet, engaging the slides on both sides. Make sure the slides are properly aligned with the corresponding tracks in the cabinet.
- Test the movement: Slowly slide the drawer in and out to test its movement. It should glide smoothly without sticking or wobbling. If the drawer doesn’t slide properly, double-check the alignment or check for any obstruction inside the cabinet.
- Secure the drawer: If your drawer requires additional securing, such as screws or brackets, follow the manufacturer’s instructions to properly fasten them. This will ensure that the drawer remains securely in place.
Take your time during the reinstallation process to ensure that the drawer fits properly and moves smoothly. It’s important not to force the drawer into place, as this can cause damage to the hardware or the cabinet itself.
With the drawer successfully reinstalled, you’re almost done! The final step is to test the drawer to ensure it’s in proper working order.
Step 6: Testing the Drawer
After reinstalling the cabinet drawer, it’s crucial to test its functionality to ensure that all the repairs and adjustments have been successful. Testing the drawer will allow you to confirm that it operates smoothly and aligns correctly with the cabinet opening.
Here’s a step-by-step guide to testing the drawer:
- Open and close the drawer: Gently pull the drawer out and push it back in a few times to assess its movement. It should slide smoothly without any sticking or resistance.
- Check for alignment: Examine the drawer’s alignment with the cabinet opening. Ensure that the front of the drawer is flush with the surrounding cabinetry and that there are no visible gaps on either side.
- Load the drawer: Place some weight inside the drawer to simulate its typical use. This will help you determine if the repairs and adjustments can handle the desired load without compromising the drawer’s functionality.
- Test with different loads: Try loading the drawer with various items of different weights and sizes to ensure that it can support and operate smoothly with different loads.
- Observe for any issues: Pay close attention to any signs of sticking, misalignment, or unusual noises during the testing phase. If you notice any problems, revisit the previous steps to identify and address the issue.
By thoroughly testing the drawer, you can ensure that it operates as intended and meets your expectations in terms of functionality and appearance.
If you encounter any persistent issues or difficulties during the testing phase, don’t hesitate to consult a professional or seek help from a knowledgeable hardware specialist. They can provide further guidance based on your specific situation.
With the drawer working smoothly and functioning properly, you have successfully completed the process of fixing your cabinet drawer!
Conclusion
Fixing a cabinet drawer may seem like a daunting task, but with the right approach and guidance, it can be a manageable and rewarding DIY project. By following the steps outlined in this guide, you can assess the problem, remove the drawer, identify the issue, repair or replace the necessary hardware, reinstall the drawer, and test its functionality.
Remember, proper assessment and identification of the problem are essential to determine the most effective solution. Whether it’s addressing sticking drawers, misalignment, or broken hardware, taking the time to thoroughly inspect and diagnose the issue will save you time and effort in the long run.
Repairing or replacing hardware components may be required, and it’s important to approach this step with care and precision. Follow the manufacturer’s instructions, use the appropriate tools, and ensure that everything is installed properly to ensure optimal performance.
Reinstalling the drawer and testing its functionality are the final steps in the process. Take your time and pay attention to details to ensure that the drawer operates smoothly, aligns correctly, and can handle different loads without any issues.
By following these steps, you can turn a problematic cabinet drawer into a well-functioning and reliable storage solution. If you encounter any difficulties or if the problem persists, don’t hesitate to seek professional assistance to ensure that your cabinet drawer is fixed properly.
Now that you have the knowledge and skills to fix a cabinet drawer, go ahead and tackle this project with confidence. Enjoy the satisfaction of a smoothly operating drawer that enhances the functionality and aesthetics of your cabinets or furniture!
Frequently Asked Questions about How To Fix A Cabinet Drawer
Was this page helpful?
At Storables.com, we guarantee accurate and reliable information. Our content, validated by Expert Board Contributors, is crafted following stringent Editorial Policies. We're committed to providing you with well-researched, expert-backed insights for all your informational needs.


0 thoughts on “How To Fix A Cabinet Drawer”