
Furniture
How To Fix A Dresser Drawer Slides
Modified: April 22, 2024
Learn how to fix dresser drawer slides and restore functionality to your furniture. Step-by-step guide for repairing furniture with broken drawer slides.
(Many of the links in this article redirect to a specific reviewed product. Your purchase of these products through affiliate links helps to generate commission for Storables.com, at no extra cost. Learn more)
Introduction
Welcome to this comprehensive guide on how to fix dresser drawer slides. If you are experiencing issues with your dresser drawers sticking, wobbling, or not sliding smoothly, don’t worry – you’re in the right place. Drawer slides play an essential role in the functionality of a dresser, allowing for easy access and efficient storage. Over time, these slides can wear out or become damaged, resulting in frustrating drawer operation.
In this article, we will walk you through the step-by-step process of identifying and fixing common issues with dresser drawer slides. You don’t need to be an expert in furniture repair to tackle this task. With just a few tools, materials, and a little bit of time, you can restore the smooth functionality of your dresser drawers.
Before we dive into the practical steps, let’s take a closer look at the drawer slides themselves and understand their role in the overall structure of a dresser.
Key Takeaways:
- Understanding the importance of dresser drawer slides and following a step-by-step process to assess, clean, and lubricate them can restore smooth functionality, making organizing and accessing belongings more convenient and enjoyable.
- Troubleshooting tips for common issues such as sticky or wobbly drawers provide valuable insights, emphasizing the significance of patience, attention to detail, and careful adjustments in achieving optimal dresser drawer slide performance.
Understanding Dresser Drawer Slides
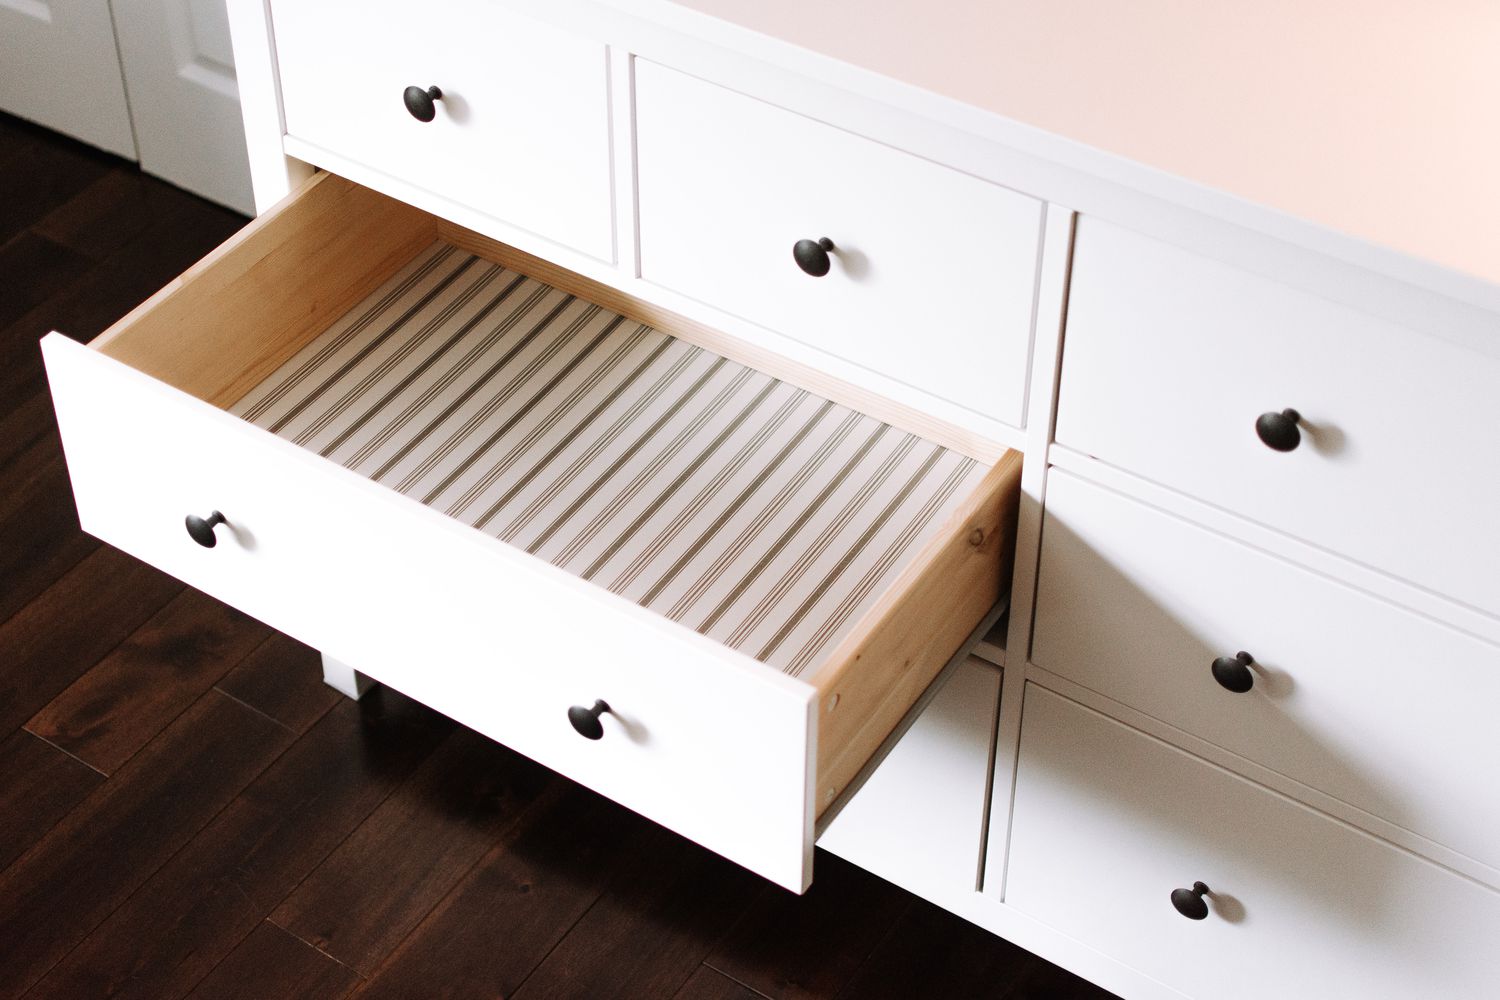
Dresser drawer slides are the mechanism that allows the drawers to open and close smoothly. They are typically made of metal and consist of two primary components: the slide and the runner. The slide is mounted to the sides or bottom of the drawer, while the runner is attached to the dresser frame.
There are several types of drawer slides available, including side-mount, under-mount, and center-mount slides. Side-mount slides are the most common type found in dressers, with each drawer having a pair of slides on either side. Under-mount slides are hidden beneath the drawer and provide a sleeker appearance. Center-mount slides are less common and usually found in older or antique dressers.
Drawer slides can be prone to wear and tear over time, resulting in a range of issues such as sticky drawers, misalignment, or complete failure to slide. These problems can occur due to various factors, including dirt, debris, or damaged components.
Understanding how drawer slides work is crucial as it helps in diagnosing and resolving problems. By familiarizing yourself with the different types of slides and their functioning, you’ll be better equipped to identify the specific issue you’re facing with your dresser drawers.
Now that we have a basic understanding of dresser drawer slides, let’s move on to the tools and materials you’ll need for the repair process.
Tools and Materials Needed
Before you begin fixing your dresser drawer slides, it’s important to gather the necessary tools and materials. Here’s a list of what you’ll need:
- Screwdriver or power drill: A screwdriver or power drill will help you remove and reattach the screws holding the drawer slides in place.
- Wood glue: If you notice any loose joints or parts within the dresser, wood glue can help strengthen and secure them.
- Measuring tape: This will come in handy when determining the dimensions and alignment of the drawer slides.
- Pencil: Use a pencil to mark the positions of the drawer slides and make any necessary adjustments.
- Cleaning supplies: You’ll need a soft cloth, mild detergent, and water to clean the slides and remove any dirt, dust, or debris.
- Lubricant: A silicone-based lubricant or paraffin wax can be used to ensure smooth sliding action once the slides are cleaned and reinstalled.
- Safety goggles and gloves: It’s important to protect your eyes and hands during the repair process, especially if you’ll be using power tools.
Having these tools and materials ready before you begin will make the process more efficient and ensure you have everything you need to complete the repair.
Now that you have the necessary tools and materials, let’s move on to the next step: assessing the problem with your dresser drawer slides.
Assessing the Problem
Before diving into the repair process, it’s important to assess the problem with your dresser drawer slides. This will help you identify the specific issue and determine the best course of action for fixing it.
Start by opening and closing the drawer multiple times to observe how it behaves. Pay attention to any sticking, wobbling, or misalignment. Is the drawer difficult to open or close smoothly? Does it get stuck at certain points along the slide?
Next, carefully examine the slides themselves. Look for any obvious signs of damage, such as dents, bent metal, or loose screws. Inspect the runner on the dresser frame as well for any issues.
If the drawers are sticking or not sliding properly, it is often due to a buildup of dirt, debris, or old lubricant. In some cases, the slides may be misaligned or damaged, requiring replacement.
By assessing the problem, you will have a better understanding of the root cause and whether a simple cleaning and lubrication process will suffice or if further repairs are necessary.
Once you’ve identified the issue, it’s time to move on to the next step: removing the drawer from the dresser.
Removing the Drawer
Now that you have assessed the problem with your dresser drawer slides, it’s time to remove the drawer from the dresser. This will allow you to work on the slides more easily and effectively.
Follow these steps to remove the drawer:
- Empty the contents: Before removing the drawer, take out all the items inside and set them aside in a safe place.
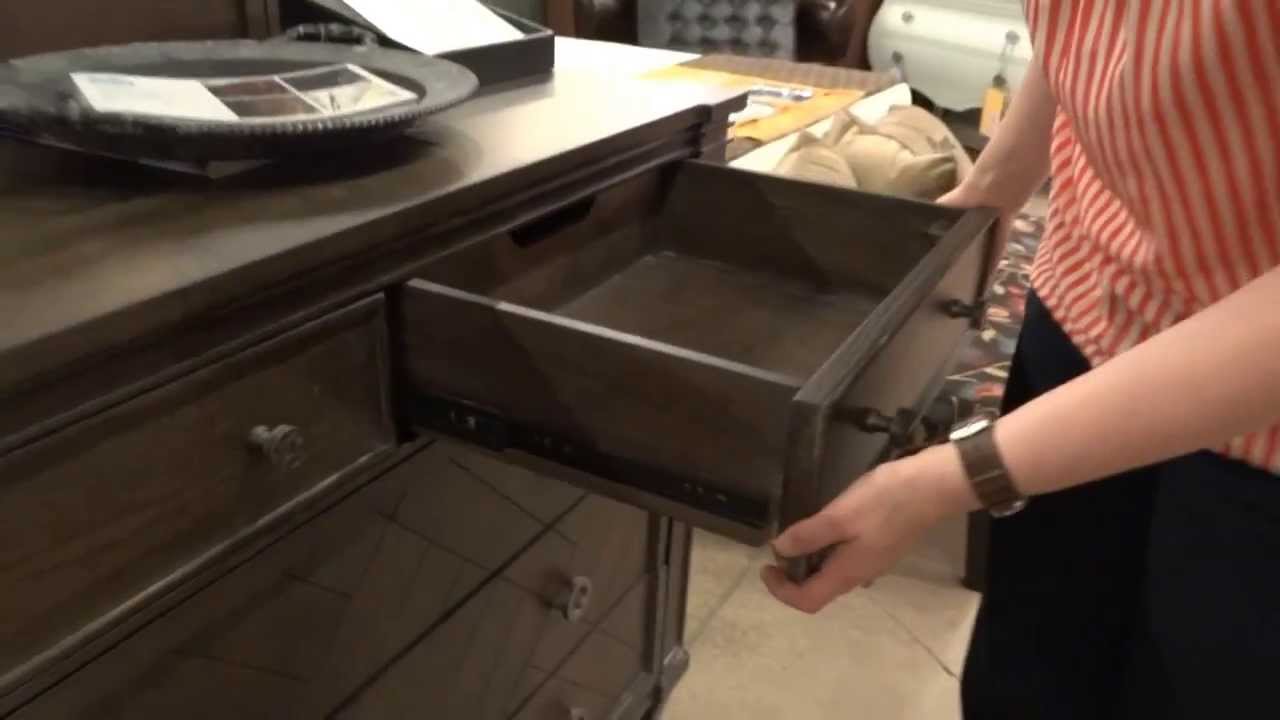
- Open the drawer fully: Pull the drawer out as far as it will go. If there are any obstructions, gently remove them to ensure smooth movement.
- Locate the release mechanism: Look for a release lever or button on the sides or bottom of the drawer slides. This mechanism may vary depending on the type of drawer slide.
- Release the drawer: Activate the release mechanism by pushing or pulling the lever/button. This will disengage the drawer from the slides.
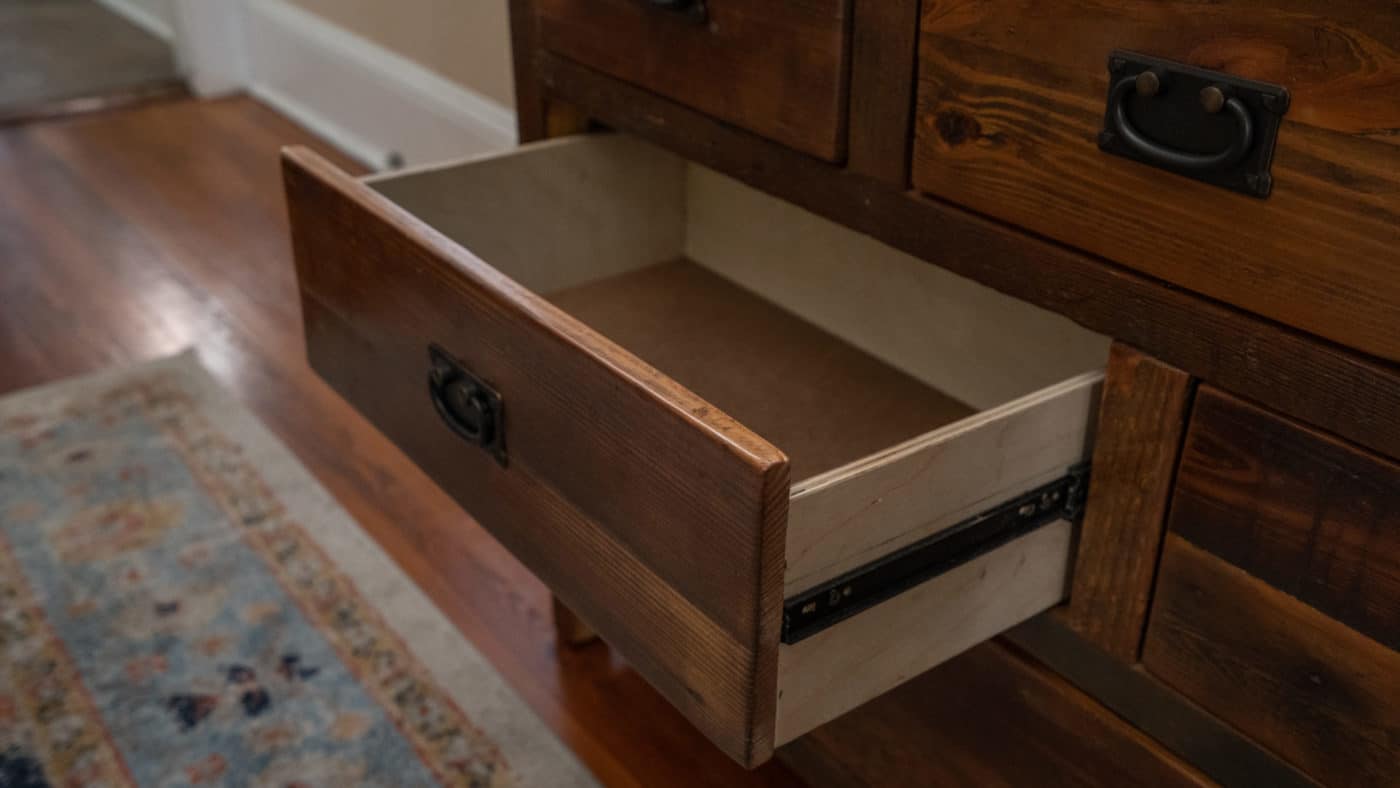
- Gently lift the drawer: Once the drawer is released, carefully lift it up and out of the dresser frame. Be cautious of any protruding handles or knobs.
With the drawer removed, lay it on a flat surface where you can easily access the slides. This will allow you to inspect, clean, and repair the slides with greater ease.
Now that the drawer is out and ready for repairs, let’s move on to the next step: inspecting and cleaning the slides.
Read more: How To Add Drawer Slides To An Old Dresser
Inspecting and Cleaning the Slides
With the drawer removed from the dresser, it’s time to inspect and clean the drawer slides. This step is crucial in resolving issues such as sticking or misaligned drawers.
Follow these steps to inspect and clean the slides:
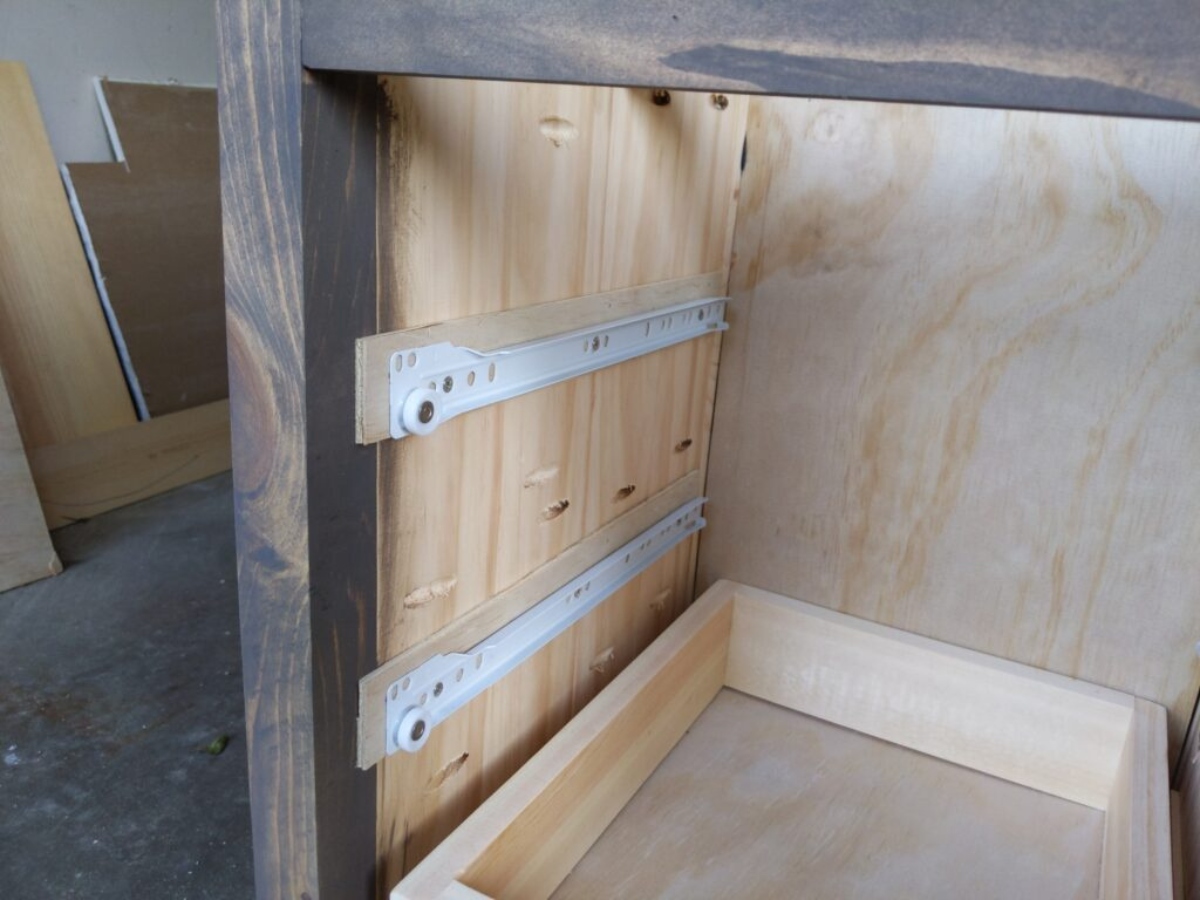
- Examine the slides: Carefully inspect the slides on both the drawer and the dresser frame. Look for any signs of damage, such as bent metal, loose screws, or worn-out components. Take note of any areas that require repairs or replacement.
- Remove dirt and debris: Use a soft cloth or brush to gently remove any dirt, dust, or debris from the slides. Pay special attention to the corners and crevices where buildup is likely to occur.
- Clean with mild detergent: If the slides are heavily soiled, dampen a cloth with a mild detergent mixed with water and gently wipe down the slides. Avoid using harsh chemicals that may damage the metal.
- Rinse and dry: After cleaning the slides, rinse the cloth with clean water and wipe away any remaining detergent residue. Allow the slides to dry completely before proceeding.
Inspecting and cleaning the slides helps eliminate any obstructions that may hinder smooth sliding action. It also allows you to identify any areas that need repair or replacement.
Once the slides are clean and dry, it’s time to move on to the next step: lubricating the slides.
Apply a lubricant to the dresser drawer slides to reduce friction and improve movement. Be sure to clean the slides first and use a lubricant suitable for wood or metal.
Lubricating the Slides
After inspecting and cleaning the dresser drawer slides, the next step is to lubricate them. Lubrication is crucial for ensuring smooth and effortless sliding action. The right lubricant will reduce friction and prevent future issues with sticking or misaligned drawers.
Follow these steps to lubricate the slides:
- Choose the right lubricant: Select a lubricant suitable for metal-to-metal contact. Silicone-based lubricants or paraffin wax are popular choices. Avoid using oil-based lubricants, as they tend to attract dust and dirt, causing more problems in the long run.
- Apply lubricant to the slides: Depending on the type of lubricant you’re using, apply a small amount onto the slides. Use a cloth or your fingers to spread the lubricant evenly along the length of the slides.
- Ensure thorough coverage: Make sure you apply the lubricant to all areas of the slides, paying particular attention to the corners and crevices. This will help prevent any sticking points and ensure uniform sliding action.
- Excess lubricant removal: Once you’ve applied the lubricant, use a clean cloth to wipe away any excess. Leaving too much lubricant on the slides may attract dust and debris, hampering their functionality.
After lubricating the slides, open and close the drawer several times to distribute the lubricant evenly and allow it to penetrate the metal surfaces. This will ensure optimal performance and smoother drawer operation.
Now that the slides are properly lubricated, let’s move on to the next step: reassembling the drawer.
Reassembling the Drawer
With the dresser drawer slides cleaned and lubricated, it’s time to reassemble the drawer. Proper reassembly is crucial to ensure that the slides are aligned correctly and the drawer operates smoothly.
Follow these steps to reassemble the drawer:
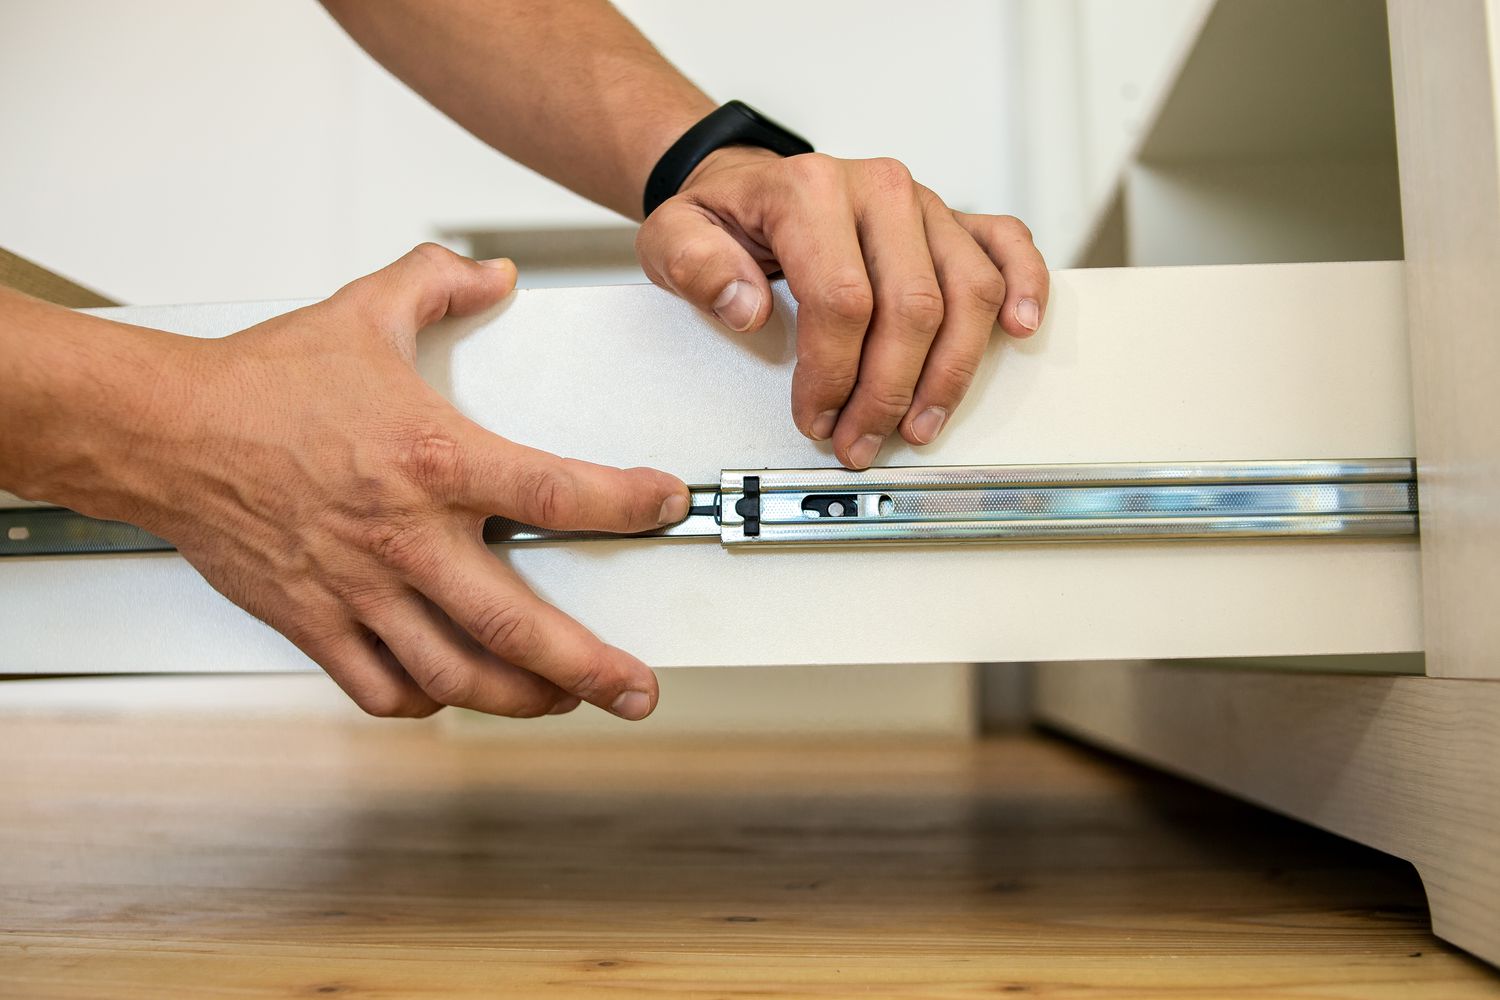
- Align the slides: Carefully align the drawer slides on the dresser frame with the corresponding slides on the drawer. Make sure the slides are positioned correctly to ensure smooth movement.
- Insert the drawer: Once the slides are aligned, gently slide the drawer into the dresser frame. Be mindful of any protruding handles or knobs, and ensure it sits securely against the frame.
- Check alignment: Push and pull the drawer several times to check if it glides smoothly. If the drawer still feels sticky or wobbly, remove it and recheck the alignment of the slides.
- Secure the screws: Using a screwdriver or power drill, reattach the screws that secure the slides to the drawer and dresser frame. Ensure they are tightened firmly but not excessively, as overtightening can cause damage.
- Test the drawer: Once the screws are securely fastened, test the drawer again by opening and closing it multiple times. It should glide smoothly along the slides without any sticking or misalignment.
Proper reassembly is key to restoring the functionality of the dresser drawer. Make any necessary adjustments to the alignment and screws until the drawer operates smoothly and effortlessly.
Now that the drawer is reassembled, it’s time to move on to the next step: testing the slides.
Testing the Slides
After reassembling the drawer, it’s important to test the slides to ensure they are functioning properly. Testing the slides will help identify any remaining issues and allow you to make further adjustments if necessary.
Follow these steps to test the slides:
- Open and close the drawer: Gently open and close the drawer multiple times to check for smooth sliding action. The drawer should glide effortlessly along the slides without any sticking, wobbling, or misalignment.
- Check for even movement: Pay attention to whether the drawer moves evenly on both sides. If one side is lagging or dragging, there may be an alignment issue that needs to be addressed.
- Observe the drawer in fully-open and fully-closed positions: Ensure that the drawer fully extends without any resistance. When closed, it should fit snugly and align properly with the rest of the dresser.
- Make further adjustments if necessary: If you notice any issues during testing, such as sticking or misalignment, carefully remove the drawer and make adjustments to the slides. This may involve repositioning, tightening screws, or realigning the slides.
By thoroughly testing the slides, you can ensure that your dresser drawers operate smoothly and efficiently. Making any necessary adjustments now will save you from potential frustrations and problems in the future.
If you encounter persistent issues or find that the slides are beyond repair, it may be necessary to replace them. Consult a professional or refer to the dresser’s manufacturer guidelines for further assistance.
Now that you’ve tested the slides, let’s move on to the next step: troubleshooting tips to address common problems.
Read more: How To Fix An Old Dresser Drawers
Troubleshooting Tips
While most issues with dresser drawer slides can be resolved through cleaning, lubrication, and proper alignment, there may be instances where additional troubleshooting is required. Here are some common problems and tips to address them:
- Sticky drawers: If the drawers still stick even after cleaning and lubrication, check for any obstructions like loose screws, debris, or warped wood. Tighten loose screws and remove any obstructions to ensure smooth sliding.
- Wobbly drawers: Wobbling drawers may indicate an alignment issue. Ensure that the slides are securely attached to both the drawer and the dresser frame. Adjust the alignment and tighten screws as necessary.
- Misaligned slides: If the slides are misaligned, open the drawer completely and gently push or pull the sides to realign them. Check for any damaged or bent parts that may need replacement.
- Damaged slides: In cases where the slides are severely damaged, replacing them may be the best solution. Contact the manufacturer or a professional to obtain appropriate replacement slides and seek guidance on installation.
- Drawer not closing properly: If the drawer doesn’t close properly or align with the dresser, check if any components are obstructing the closing mechanism. Remove any obstructions and adjust the slides if necessary.
- Drawer slides not engaging: If the drawer slides are not engaging properly, check for loose or missing screws. Tighten or replace them as needed to ensure a secure connection between the drawer and the slides.
- Excessive noise: If you hear squeaking or grinding noises when opening or closing the drawer, it may indicate that the slides need more lubrication. Apply a small amount of lubricant as recommended and test the drawer again.
Remember, patience and attention to detail are key when troubleshooting dresser drawer slides. Take your time, follow the steps carefully, and make necessary adjustments to resolve any issues you encounter.
Before we conclude, let’s summarize what we’ve covered so far.
Conclusion
Fixing dresser drawer slides may seem like a daunting task, but with the right knowledge and some basic tools, it can be a straightforward process. By following the steps outlined in this guide, you can regain smooth and effortless operation of your dresser drawers.
We started by understanding the importance of dresser drawer slides and how they contribute to the functionality of a dresser. We then discussed the tools and materials needed for the repair process, ensuring you have everything required at your disposal.
Next, we covered the essential steps of assessing the problem, removing the drawer, inspecting and cleaning the slides, lubricating the slides, and reassembling the drawer. Each of these steps plays a crucial role in restoring the smooth sliding action of the drawers.
We also explored troubleshooting tips to address common issues such as sticky drawers, misaligned slides, and wobbly drawers. It’s important to remember that patience, attention to detail, and careful adjustments are essential during the troubleshooting process.
By taking the time to fix dresser drawer slides, you can not only improve the functionality of your furniture but also extend its lifespan. Properly maintained and smoothly operating drawers make organizing and accessing your belongings much more convenient and enjoyable.
If you encounter persistent issues or find that the slides are beyond repair, it is recommended to seek professional assistance or consult the manufacturer guidelines for further guidance. They can provide expert advice or suggest suitable replacements if necessary.
With the knowledge and skills gained from this guide, you have the tools to handle dresser drawer slide repairs. So, roll up your sleeves, gather your tools, and embark on the journey of restoring your dresser drawers to their smooth-sliding glory!
Frequently Asked Questions about How To Fix A Dresser Drawer Slides
Was this page helpful?
At Storables.com, we guarantee accurate and reliable information. Our content, validated by Expert Board Contributors, is crafted following stringent Editorial Policies. We're committed to providing you with well-researched, expert-backed insights for all your informational needs.


0 thoughts on “How To Fix A Dresser Drawer Slides”