Home>Furniture>How To Fix Dresser Drawers That Won’t Stay Closed
Furniture
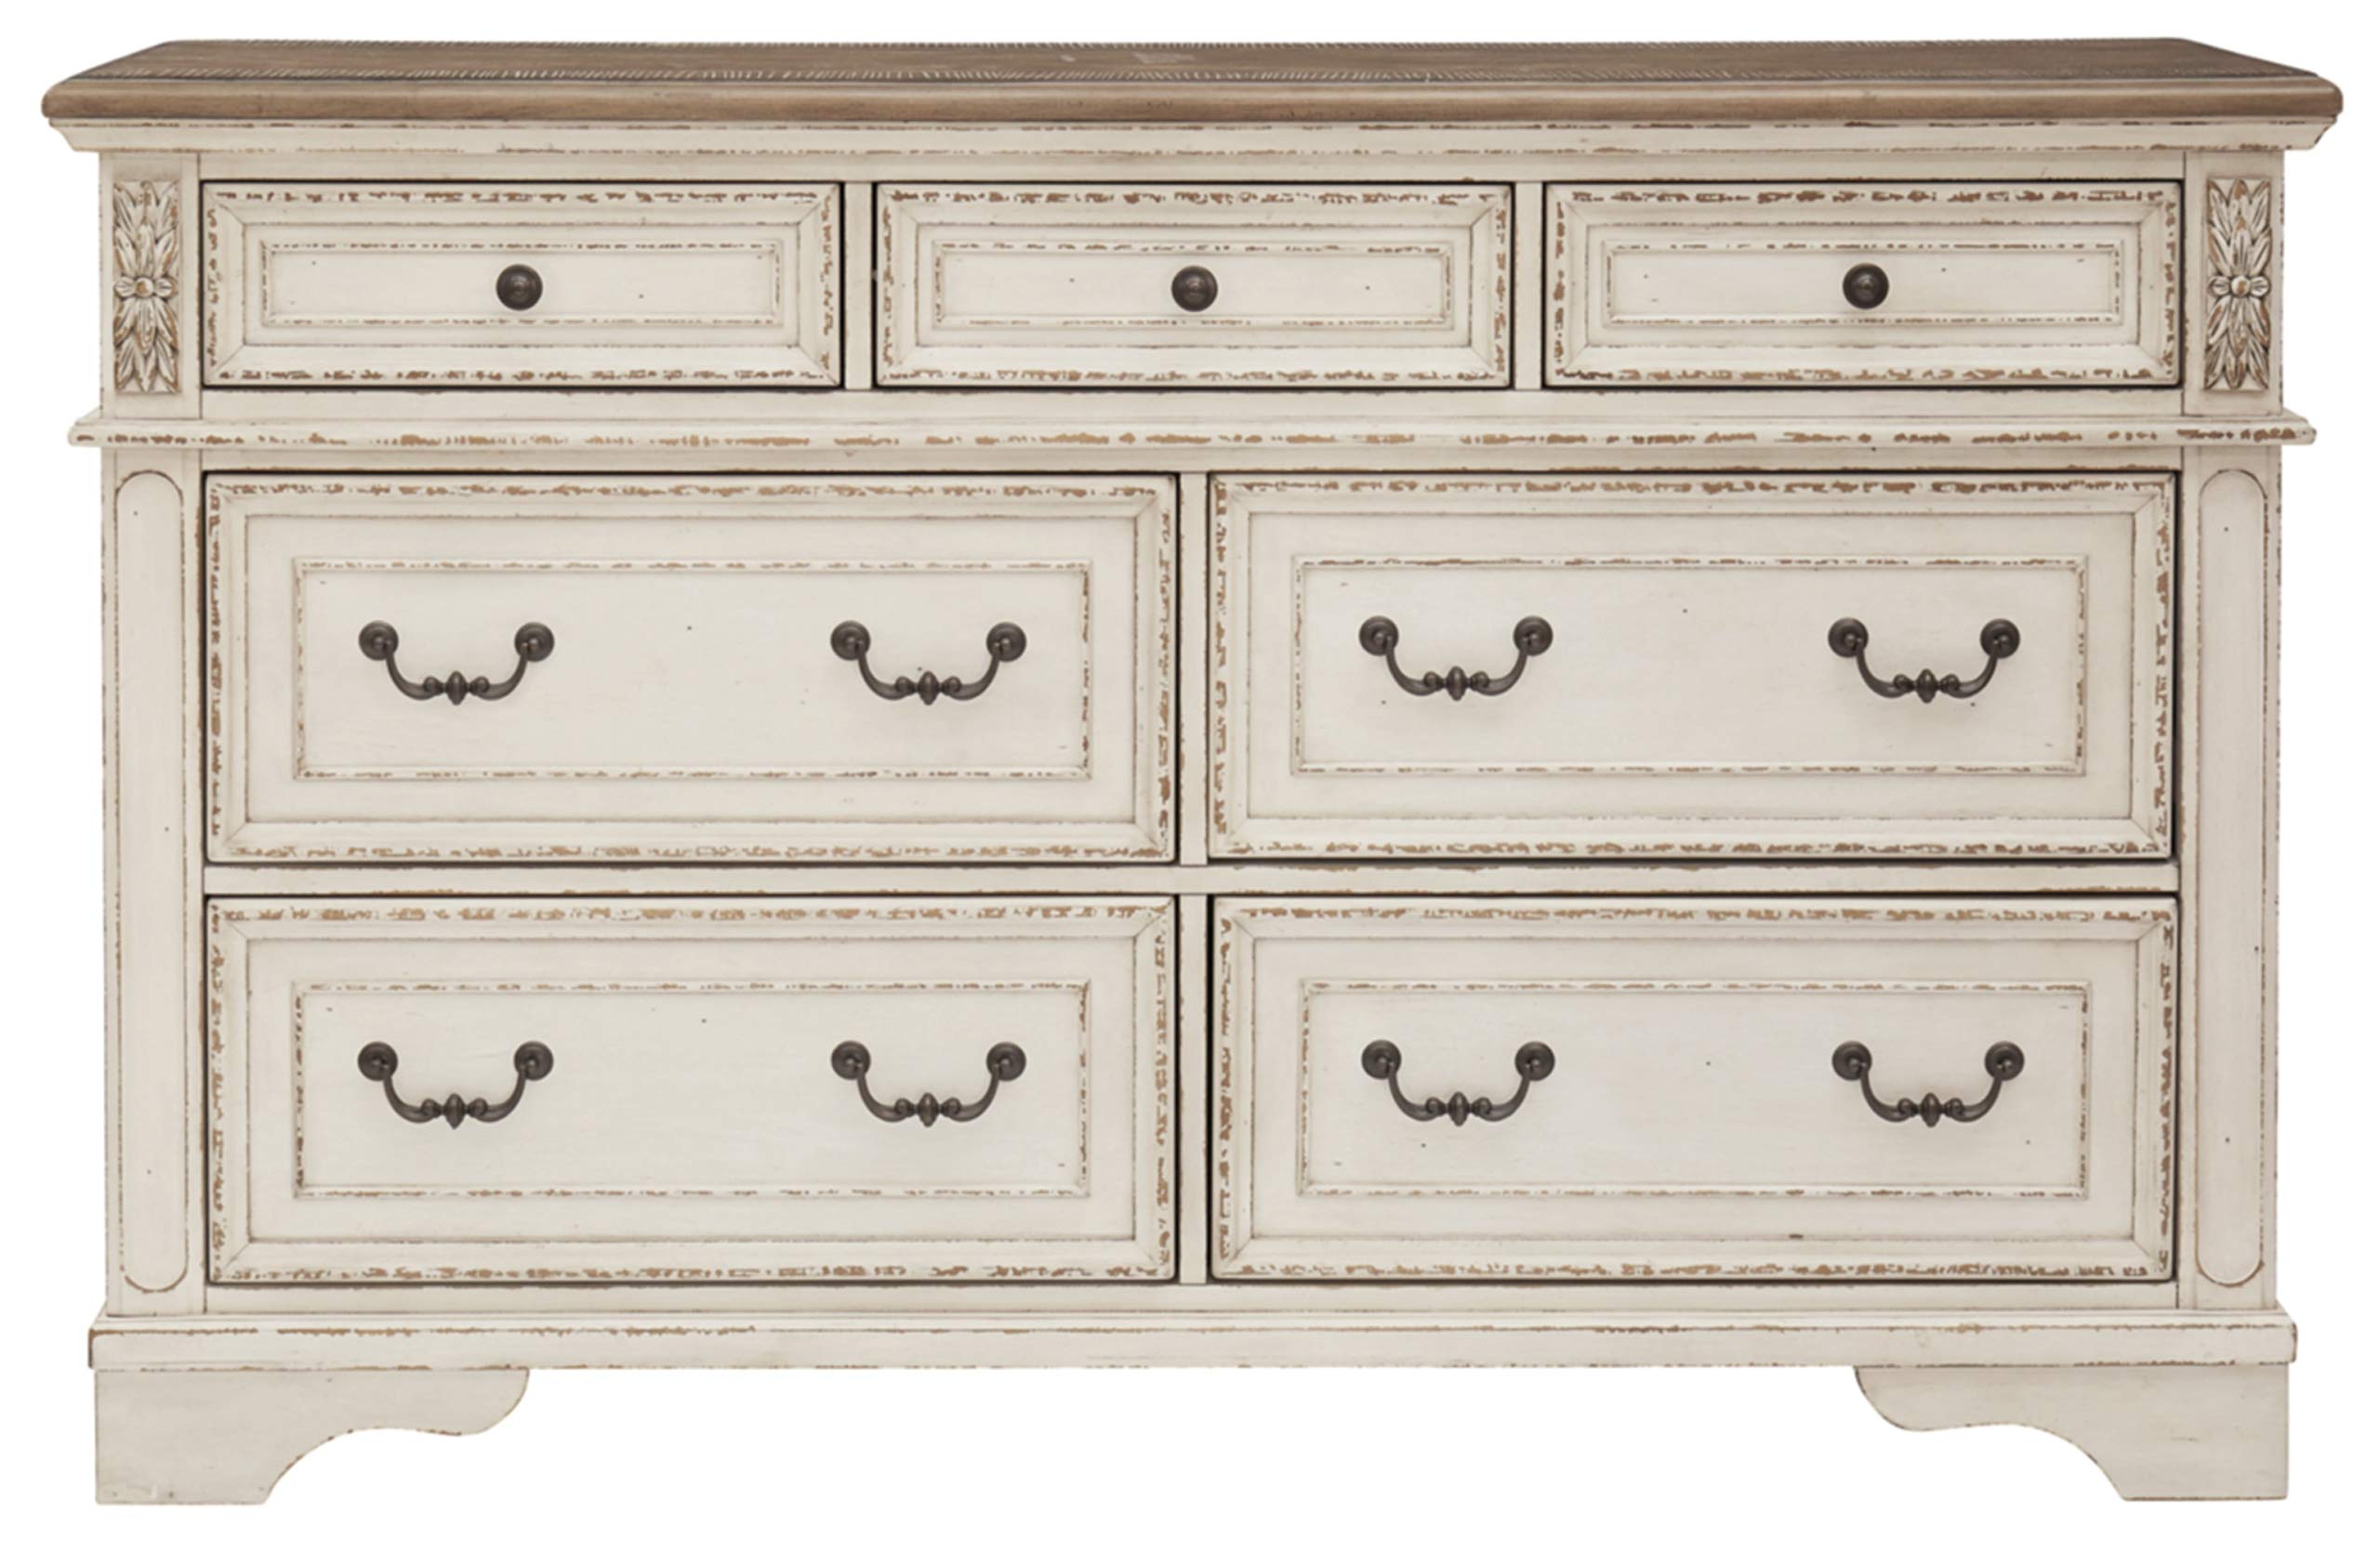
How To Fix Dresser Drawers That Won’t Stay Closed
Modified: January 3, 2024
Learn how to fix furniture dresser drawers that won't stay closed, with these easy and effective tips. Say goodbye to frustrating drawer issues and enjoy a perfectly functioning dresser.
(Many of the links in this article redirect to a specific reviewed product. Your purchase of these products through affiliate links helps to generate commission for Storables.com, at no extra cost. Learn more)
Introduction
Welcome to our comprehensive guide on how to fix dresser drawers that won’t stay closed. Dealing with dresser drawers that constantly open or refuse to stay shut can be a frustrating experience. Not only does it disrupt the neat and organized appearance of your furniture, but it can also lead to potential safety hazards, such as tripping over an open drawer or items falling out.
Fortunately, with a few simple steps and a bit of troubleshooting, you can easily resolve this issue and restore the functionality of your dresser drawers. In this guide, we will take you through each step, providing you with practical tips and techniques to help you fix your troublesome drawers.
Before diving into the specific solutions, it’s essential to understand that there can be various underlying reasons why your dresser drawers won’t stay closed. It could be due to misaligned drawer guides, loose screws or nails, worn-out hardware, or even a lack of proper lubrication. By identifying the root cause of the problem, you’ll be able to implement the most effective solution and ensure long-lasting results.
So, whether you’re a DIY enthusiast or simply looking to save some money on professional repairs, let’s get started on fixing your dresser drawers and bringing back the functionality and beauty of your furniture.
Key Takeaways:
- Thoroughly assess dresser drawer issues by examining guides, adjusting alignment, and tightening hardware. Regular maintenance and lubrication are crucial for long-term functionality and preventing future problems.
- Realignment of drawer fronts can be the final step in resolving dresser drawer issues, ensuring smooth operation and secure closure. Seek professional assistance if needed for a well-functioning dresser.
Read more: How To Fix An Old Dresser Drawers
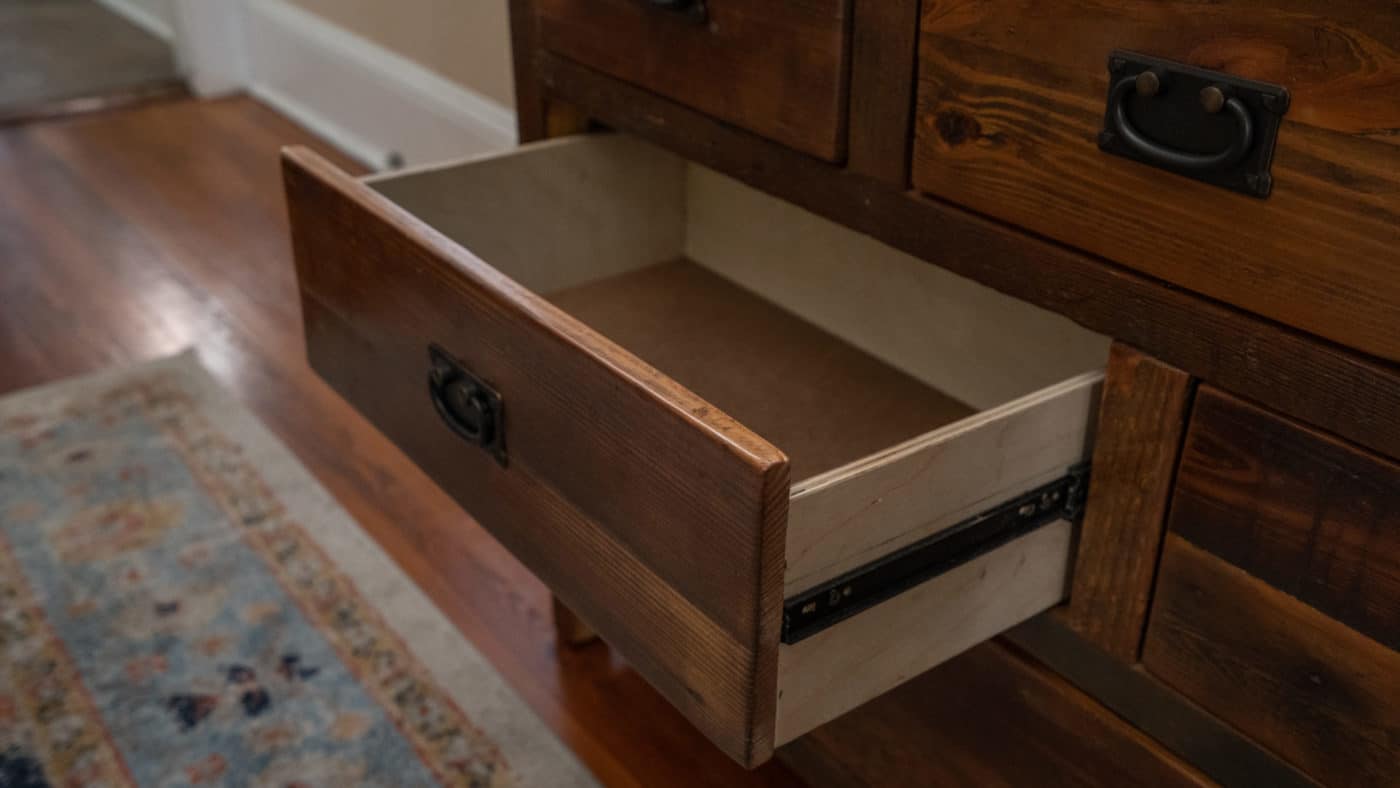
Step 1: Assessing the Problem
The first step in fixing dresser drawers that won’t stay closed is to assess the problem thoroughly. By closely examining the drawers and their surrounding components, you can gain insight into the root cause of the issue and determine the appropriate course of action.
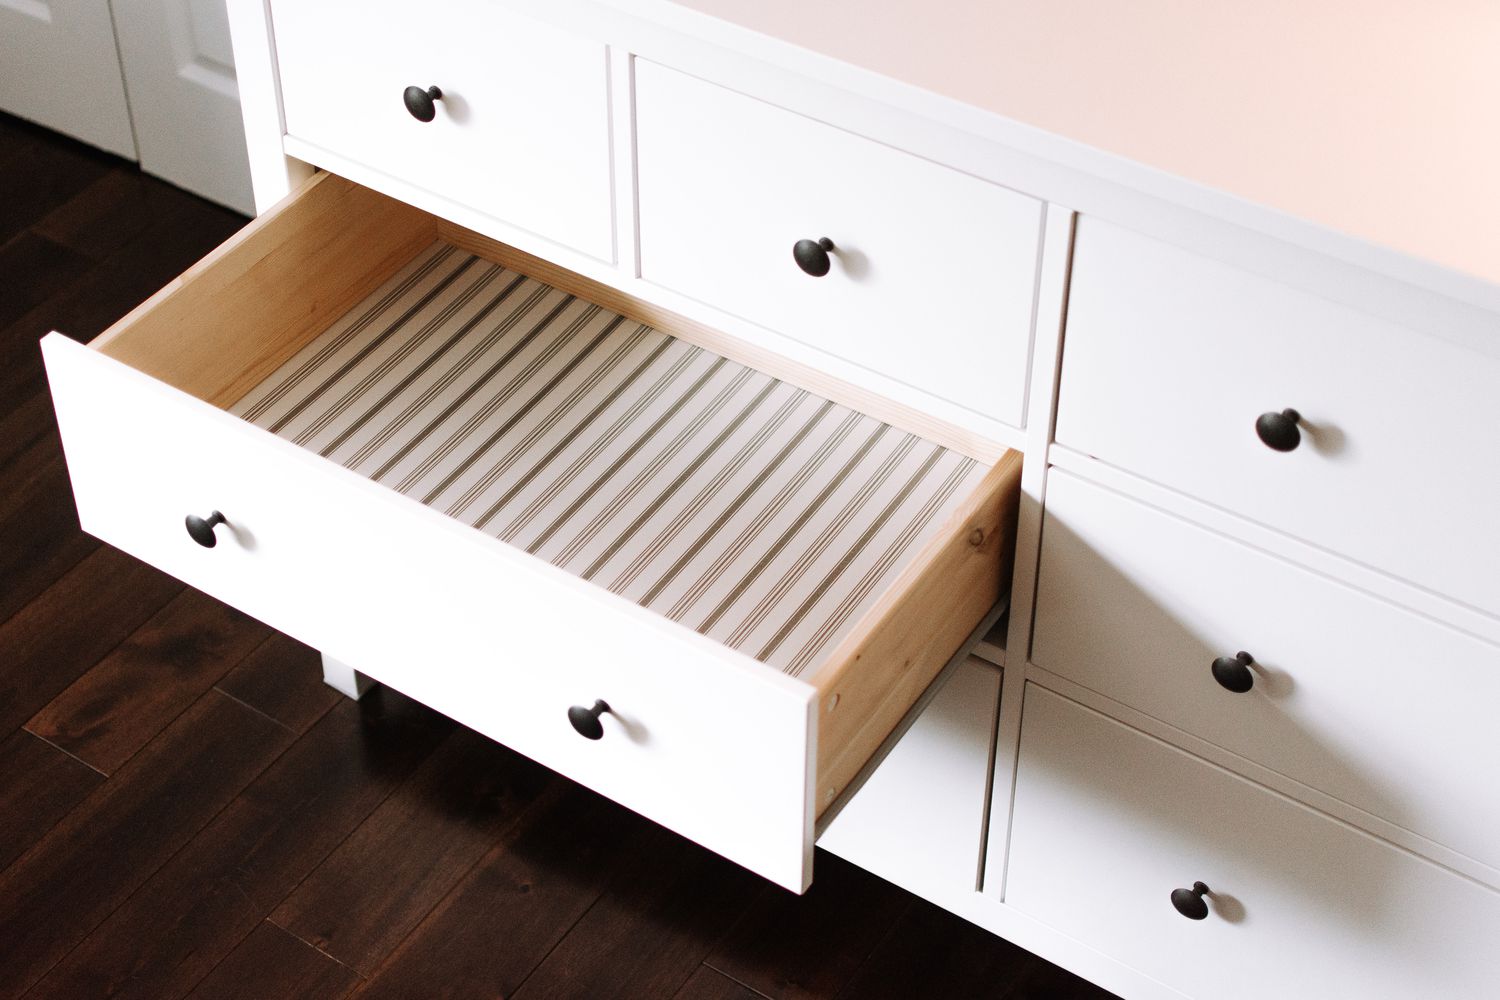
Start by opening and closing the problem drawer several times to observe its behavior. Take note of any sticking points, unusual resistance, or uneven movement. Pay attention to whether the drawer slides smoothly or if it wobbles or shakes while in use.
Next, inspect the drawer guides and slides. These components are responsible for the smooth opening and closing of the drawer. Look for any signs of misalignment, damage, or excessive wear. Check if the guides are properly secured to the dresser frame and if they are parallel to one another.
Additionally, check the drawer front for any signs of warping or damage that may affect its ability to close properly. Sometimes, misalignment or damage to the front of the drawer can prevent it from engaging with the drawer guides correctly.
During the assessment process, it’s also crucial to consider the age and condition of your dresser. Older dressers may have endured more wear and tear, leading to greater chances of mechanical problems. Similarly, cheaply made or poorly constructed dressers may have inherent design flaws that contribute to drawer malfunctions.
By thoroughly assessing the problem, you’ll have a better understanding of the specific issues that need to be addressed. This knowledge will enable you to proceed to the next steps with confidence and make the necessary adjustments or repairs to ensure your dresser drawers stay closed securely.
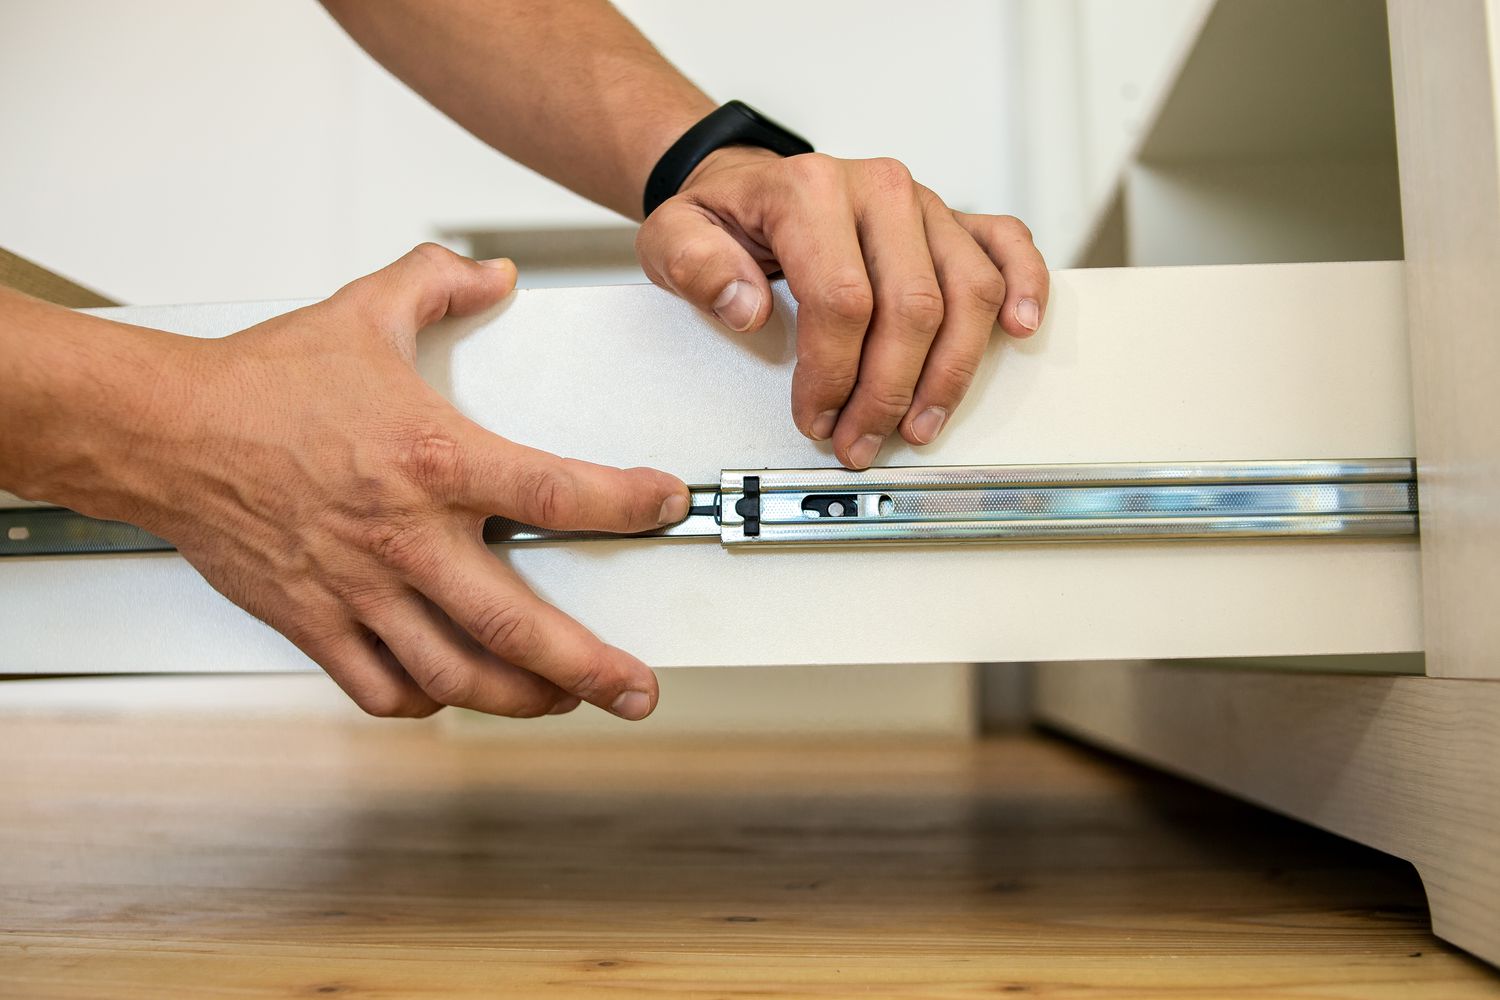
Step 2: Reviewing the Drawer Guides
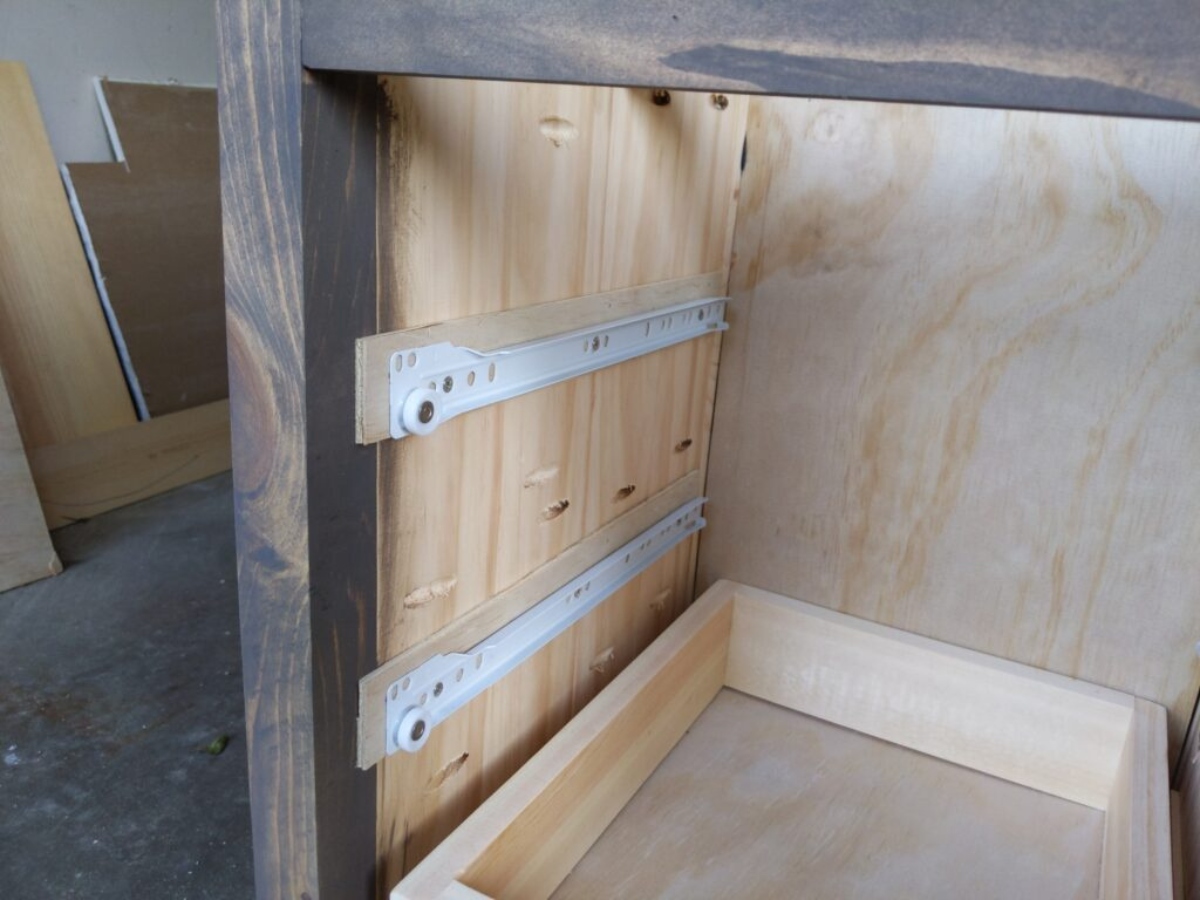
Once you have assessed the problem with your dresser drawers and completed the initial examination, it’s time to focus on reviewing the drawer guides. The drawer guides play a crucial role in ensuring smooth and stable movement of the drawers.
Start by examining the condition of the guides themselves. Look for any signs of wear, damage, or bending. If you notice any issues, such as broken or bent guides, they may need to be replaced to restore proper functionality.
Additionally, check if the guides are properly aligned with each other. A misalignment can prevent the drawers from closing correctly. The guides should be parallel to each other and positioned at an equal distance from the top and bottom of the drawer opening.
Next, inspect the area where the guides attach to the dresser frame. Ensure that they are securely fastened and that there are no loose screws or nails. Loose connections can contribute to drawer instability and prevent the drawer from staying closed.
If the guides are properly aligned and securely attached, you can move on to examining the spacing between the guides and the drawer. There should be enough clearance for smooth movement without excessive side-to-side play. If the spacing is too tight, it can cause friction and make it difficult for the drawer to close properly. On the other hand, if the spacing is too wide, the drawer may wobble and not stay closed securely.
By reviewing the drawer guides, you can identify any issues that may be causing your dresser drawers to not stay closed. Whether the guides need to be replaced, realigned, or adjusted for spacing, addressing these problems will significantly improve the functionality and stability of your drawers.
Step 3: Adjusting the Drawer Guides
After reviewing the drawer guides and identifying any issues, the next step in fixing dresser drawers that won’t stay closed is to adjust the guides. By making the necessary adjustments, you can ensure proper alignment and smooth movement of the drawers.
Start by loosening the screws or nails that secure the guides to the dresser frame. This will allow you to move the guides slightly without having to remove them completely.
With the screws or nails loosened, gently push or pull the drawer guides to adjust their position. If the drawer is sticking or not closing properly on one side, you may need to shift the guide on that side closer to the center of the drawer. Conversely, if the drawer is wobbling or not aligning correctly, adjust the guide to move it further away from the center.
As you make the adjustments, pay attention to the movement of the drawer. Test it by opening and closing it multiple times to ensure smooth and even gliding. Make minor adjustments as needed until the drawer slides effortlessly in and out without any resistance or misalignment.
Once you are satisfied with the positioning of the guides, tighten the screws or nails to secure them firmly in place. Be careful not to overtighten, as this can lead to stripping or damaging the holes.
During the adjustment process, it’s important to be patient and make small, incremental changes. Test the drawer after each adjustment to evaluate its movement and alignment. It may take a few tries to find the perfect balance and ensure that your drawer stays closed securely.
By adjusting the drawer guides, you can address misalignment issues and improve the functionality of your dresser drawers. This step is crucial in achieving smooth and stable movement, allowing the drawers to stay closed without any difficulty.
Step 4: Check for Loose Screws or Nails
When dresser drawers won’t stay closed, one common culprit is loose screws or nails. Over time, the constant use of the drawers can cause the screws or nails that hold the various components together to become loose, resulting in instability and difficulty in keeping the drawers closed.
To address this issue, start by inspecting the screws or nails that secure the drawer guides to the dresser frame. Check if any of them are loose or have worked their way out of the wood. If you find loose screws or nails, use a screwdriver or a hammer to tighten them back in place. Ensure they are snugly secured but be cautious not to over tighten, as this can strip the holes or cause damage.
In addition to the drawer guides, check for loose screws or nails in other parts of the dresser as well. Carefully examine the corners and edges of the dresser where the drawers connect to the frame. Tighten any loose screws or nails that you come across, as they may be contributing to the drawer instability.
While inspecting the screws or nails, also take note of their condition. If you notice any rust or damage, replace them with new ones of the same size and type. This will ensure the stability and durability of your dresser drawers in the long run.
It’s important to thoroughly check for loose screws or nails in all the applicable areas of your dresser. By tightening or replacing them as needed, you can significantly improve the stability and functionality of your drawers, allowing them to stay closed securely.
Remember to regularly inspect and tighten the screws or nails in your dresser drawers as part of your routine maintenance. This will help prevent future issues and keep your drawers in optimal condition.
Check the alignment of the drawers and the tracks. If they are misaligned, adjust them to ensure they are level and straight. You can also try tightening or replacing the drawer slides to improve their functionality.
Read more: How To Fix A Dresser Drawer Slides
Step 5: Tightening or Replacing Hardware
When you’re dealing with dresser drawers that won’t stay closed, it’s important to consider the condition of the hardware. Over time, the hardware such as knobs, handles, and pulls can become loose or worn out, compromising the functionality of the drawers.
Start by examining the hardware on your dresser drawers. Check if any knobs, handles, or pulls are loose and need to be tightened. Use a screwdriver or the appropriate tool to secure them firmly in place. If the hardware is damaged or stripped, consider replacing it with new ones that fit the existing holes and match the style of your dresser.
In addition to the visible hardware, it’s also essential to check the hinges and drawer stops. Make sure the hinges are securely fastened and not damaged or rusted. Adjust the position of the hinges if necessary to ensure proper alignment and closure of the drawers. If the drawer stops are worn out or ineffective, you may need to replace them to provide better support and prevent the drawers from sliding open unintentionally.
As you tighten or replace the hardware, verify that the drawers open and close smoothly without any resistance or sticking points. The hardware should be secure enough to withstand regular use and keep the drawers closed when desired.
If you’re unsure about what type of hardware to use or need assistance with installation, consult a hardware specialist or refer to the manufacturer’s guidelines. They can provide valuable insights and help you choose the right hardware for your dresser drawers.
By tightening or replacing the hardware, you can enhance the functionality and appearance of your dresser drawers. Secure hardware ensures that the drawers stay closed securely and adds a touch of beauty to your furniture.
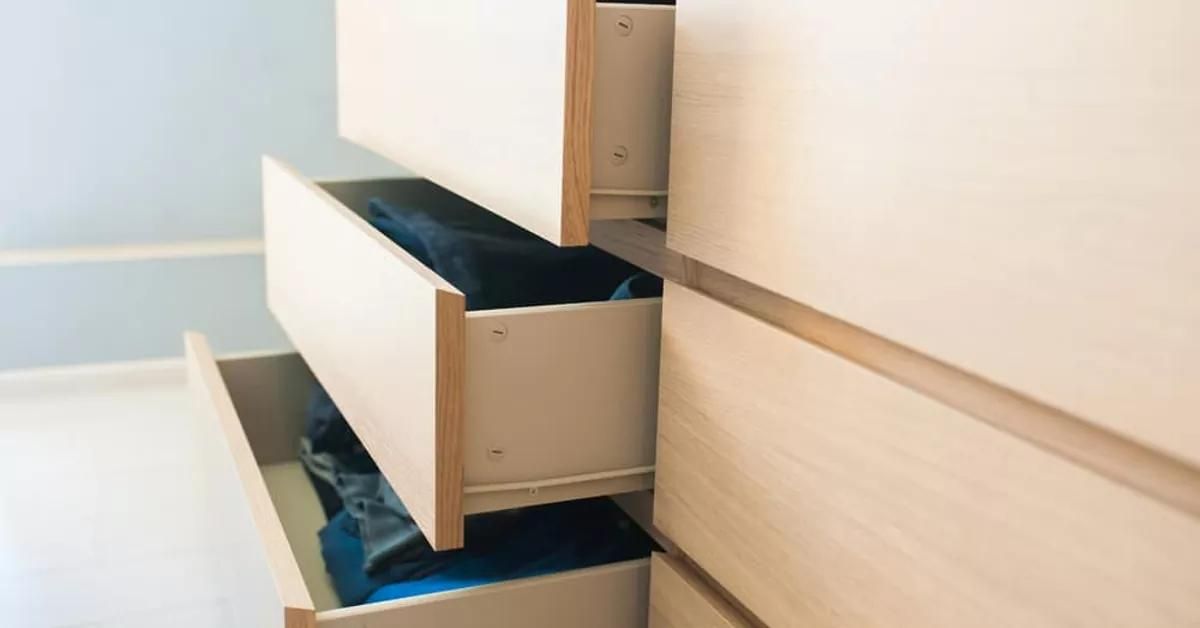
Step 6: Lubricating the Drawer Slides
Lubricating the drawer slides is an essential step in resolving dresser drawer issues. Over time, friction and wear can cause the drawers to stick, making them difficult to open and close. By applying lubricant to the drawer slides, you can ensure smooth and effortless movement.
Start by removing the drawers from the dresser. Carefully lift each drawer and pull it completely out, taking care not to damage the surrounding furniture or injure yourself.
Inspect the drawer slides for any debris, dust, or buildup that may be causing the sticking. Use a clean cloth or a soft brush to remove any dirt or particles from the slides. It’s important to clean the slides thoroughly to allow the lubricant to work effectively.
Next, choose an appropriate lubricant for the drawer slides. Some common options include silicone spray or paste wax. Check the manufacturer’s instructions or consult with a hardware specialist for the recommended lubricant for your specific drawer slides.
Apply a thin, even coat of the lubricant to the drawer slides. Pay close attention to the areas where the drawer glides along the slides. Be careful not to apply too much lubricant, as it can attract dirt and lead to more issues in the future.
After applying the lubricant, slide the drawers in and out a few times to distribute the lubricant evenly along the slides. This will help ensure that the lubricant reaches all the necessary areas and facilitates smooth movement.
Finally, reinsert the drawers back into the dresser. Test each drawer by opening and closing it multiple times to ensure that it moves effortlessly and stays closed securely.
Regularly lubricating the drawer slides is essential for maintaining the functionality and longevity of your dresser drawers. By reducing friction and preventing sticking, lubrication enhances the smooth operation of the drawers and keeps them closed when desired.
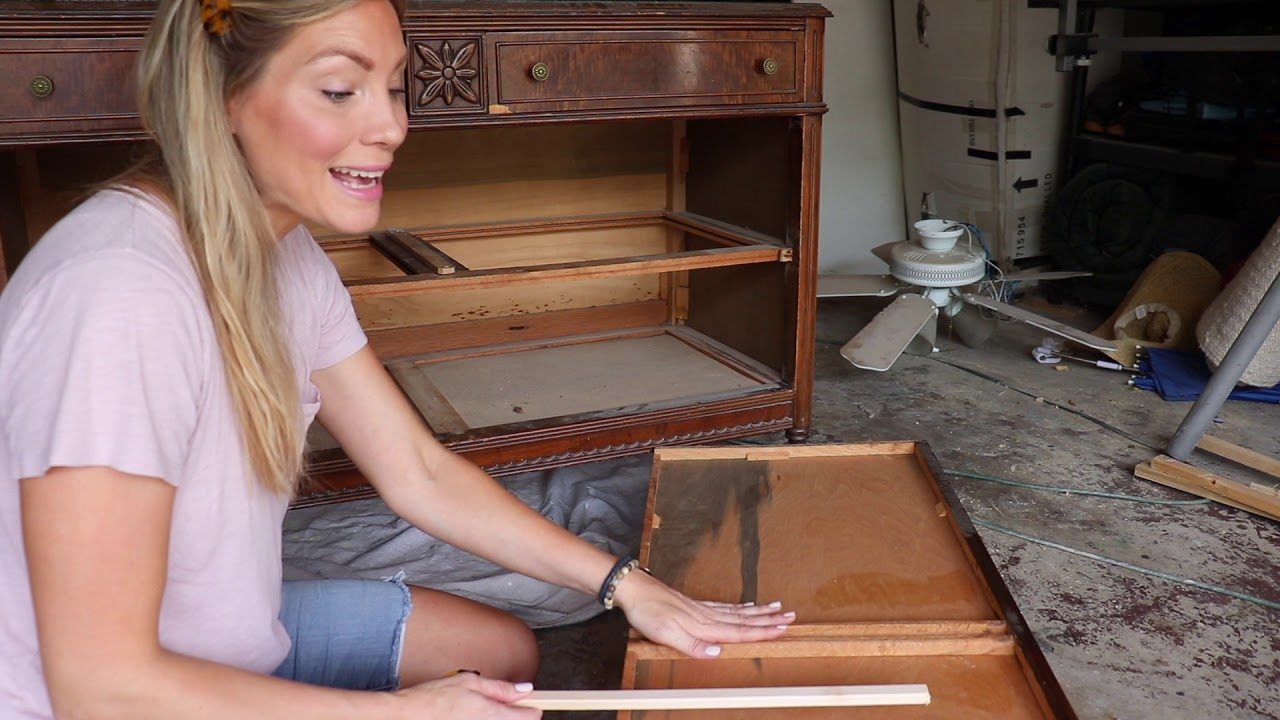
Step 7: Realigning the Drawer Front
If you’ve tried the previous steps and are still experiencing issues with your dresser drawers staying closed, it may be necessary to realign the drawer front. Misalignment of the drawer front can prevent it from properly engaging with the drawer guides, causing it to stick or not close securely.
Start by removing the drawers from the dresser. Carefully lift each drawer and pull it completely out, ensuring that you don’t damage the surrounding furniture or injure yourself during the process.
Inspect the drawer front for any noticeable misalignment. Look for any gaps between the drawer front and the dresser frame or any unevenness in the alignment. It may be evident by examining the gaps on all sides of the drawer front.
To realign the drawer front, you’ll need to adjust the position of the drawer glides. Begin by loosening the screws or nails that secure the glides to the drawer front. This will provide some flexibility to make the necessary adjustments.
Once the screws or nails are loosened, gently push or pull the drawer front to realign it with the dresser frame. Take your time and make small, incremental adjustments, testing the movement of the drawer after each adjustment. The goal is to achieve an even and snug fit between the drawer front and the dresser.
Pay attention to the gaps on all sides of the drawer front. Make sure they are consistent and symmetrical. Adjust the position of the drawer glides accordingly until the drawer front aligns properly with the dresser frame.
Once you are satisfied with the realignment, tighten the screws or nails to secure the drawer glides firmly in place. Be careful not to overtighten, as it can cause damage to the wood or strip the holes.
After realigning the drawer front, reinsert the drawers back into the dresser. Test each drawer by opening and closing it multiple times to ensure that the drawer front engages smoothly with the guides and stays closed securely.
Realignment of the drawer front may be the final step in resolving the issue of dresser drawers that won’t stay closed. By ensuring proper alignment, you can ensure smooth operation and a secure closure of the drawers.
Conclusion
Dealing with dresser drawers that won’t stay closed can be a frustrating experience, but with the right approach, it is a problem that can be easily resolved. Our comprehensive guide has walked you through the steps necessary to fix this issue and restore the functionality of your dresser drawers.
By assessing the problem, reviewing the drawer guides, adjusting them, checking for loose screws or nails, tightening or replacing hardware, lubricating the drawer slides, and realigning the drawer front, you have a well-rounded understanding of the potential causes and solutions for your dresser drawer issues.
Remember, it is important to take the time to thoroughly assess the problem, identify the root cause, and implement the appropriate solutions. Small adjustments and repairs can go a long way in ensuring the smooth operation and longevity of your dresser drawers.
Regular maintenance is key to preventing future problems with your dresser drawers. Consider incorporating routine checks and lubrication of the drawer slides to keep them functioning properly and to avoid issues down the road.
By following the steps outlined in this guide, you can regain control over your dresser drawers and bring back the neat, organized look to your furniture. Say goodbye to drawers that won’t stay closed and embrace the convenience and functionality of a smoothly operating dresser.
We hope this guide has been helpful to you in fixing your dresser drawers. Remember, if the issue persists or if you’re unsure about any step, it’s always a good idea to consult a professional or seek assistance from a knowledgeable expert in furniture repair.
Enjoy the satisfaction of a well-functioning dresser with drawers that stay closed securely, bringing beauty and practicality to your living space.
Frequently Asked Questions about How To Fix Dresser Drawers That Won't Stay Closed
Was this page helpful?
At Storables.com, we guarantee accurate and reliable information. Our content, validated by Expert Board Contributors, is crafted following stringent Editorial Policies. We're committed to providing you with well-researched, expert-backed insights for all your informational needs.


0 thoughts on “How To Fix Dresser Drawers That Won’t Stay Closed”