Articles
How To Build Cabinet Base
Modified: September 1, 2024
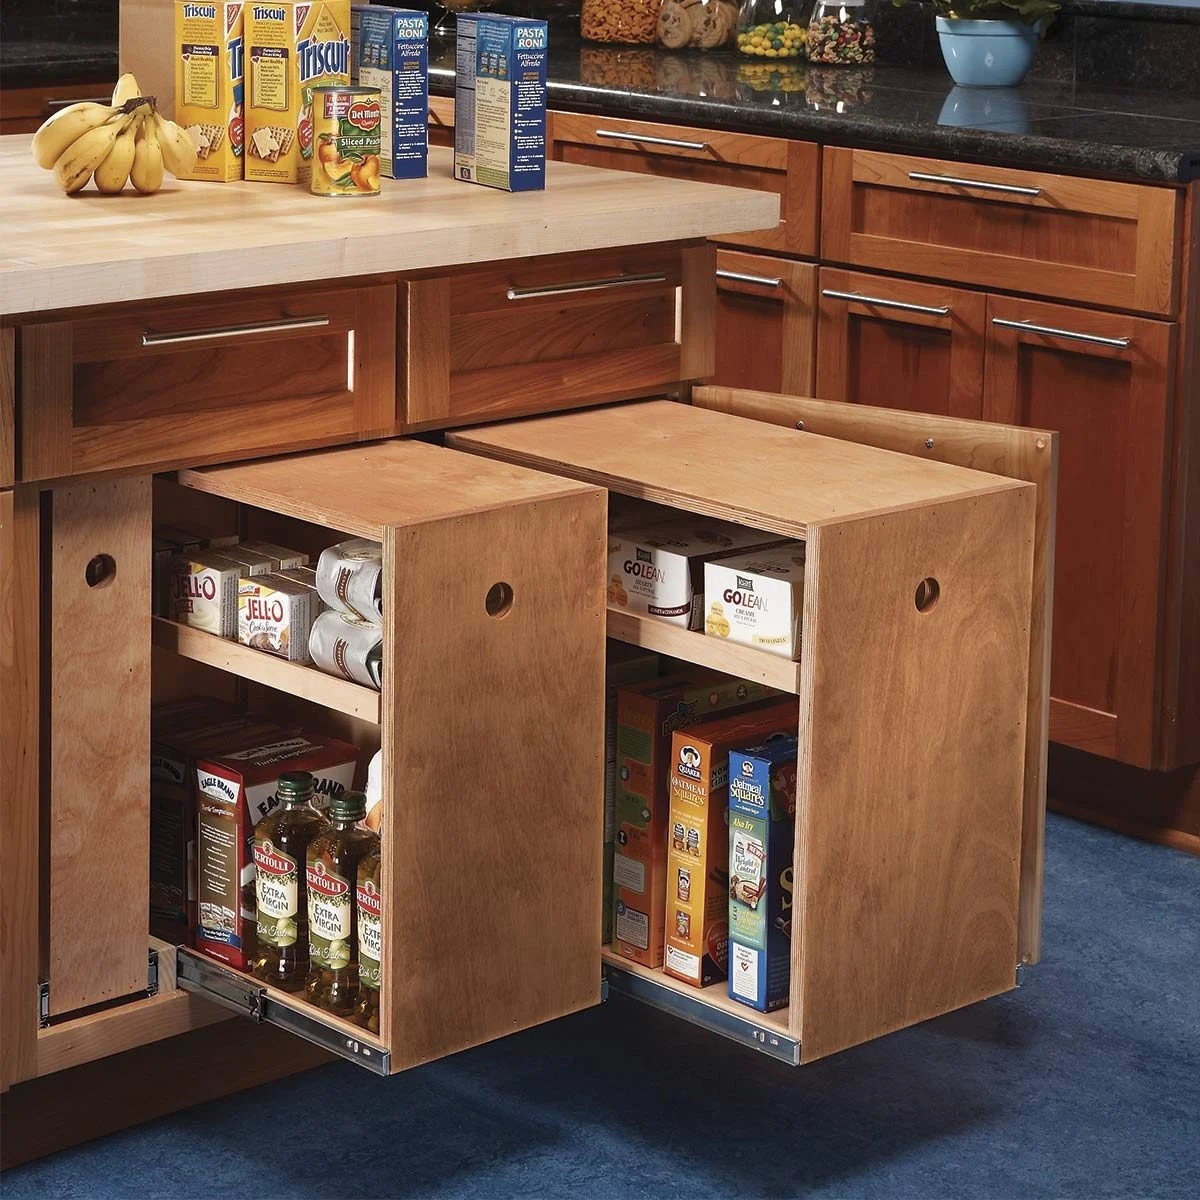
Discover effective storage ideas for building a cabinet base. Maximize space and organization with these practical solutions.
(Many of the links in this article redirect to a specific reviewed product. Your purchase of these products through affiliate links helps to generate commission for Storables.com, at no extra cost. Learn more)
Introduction
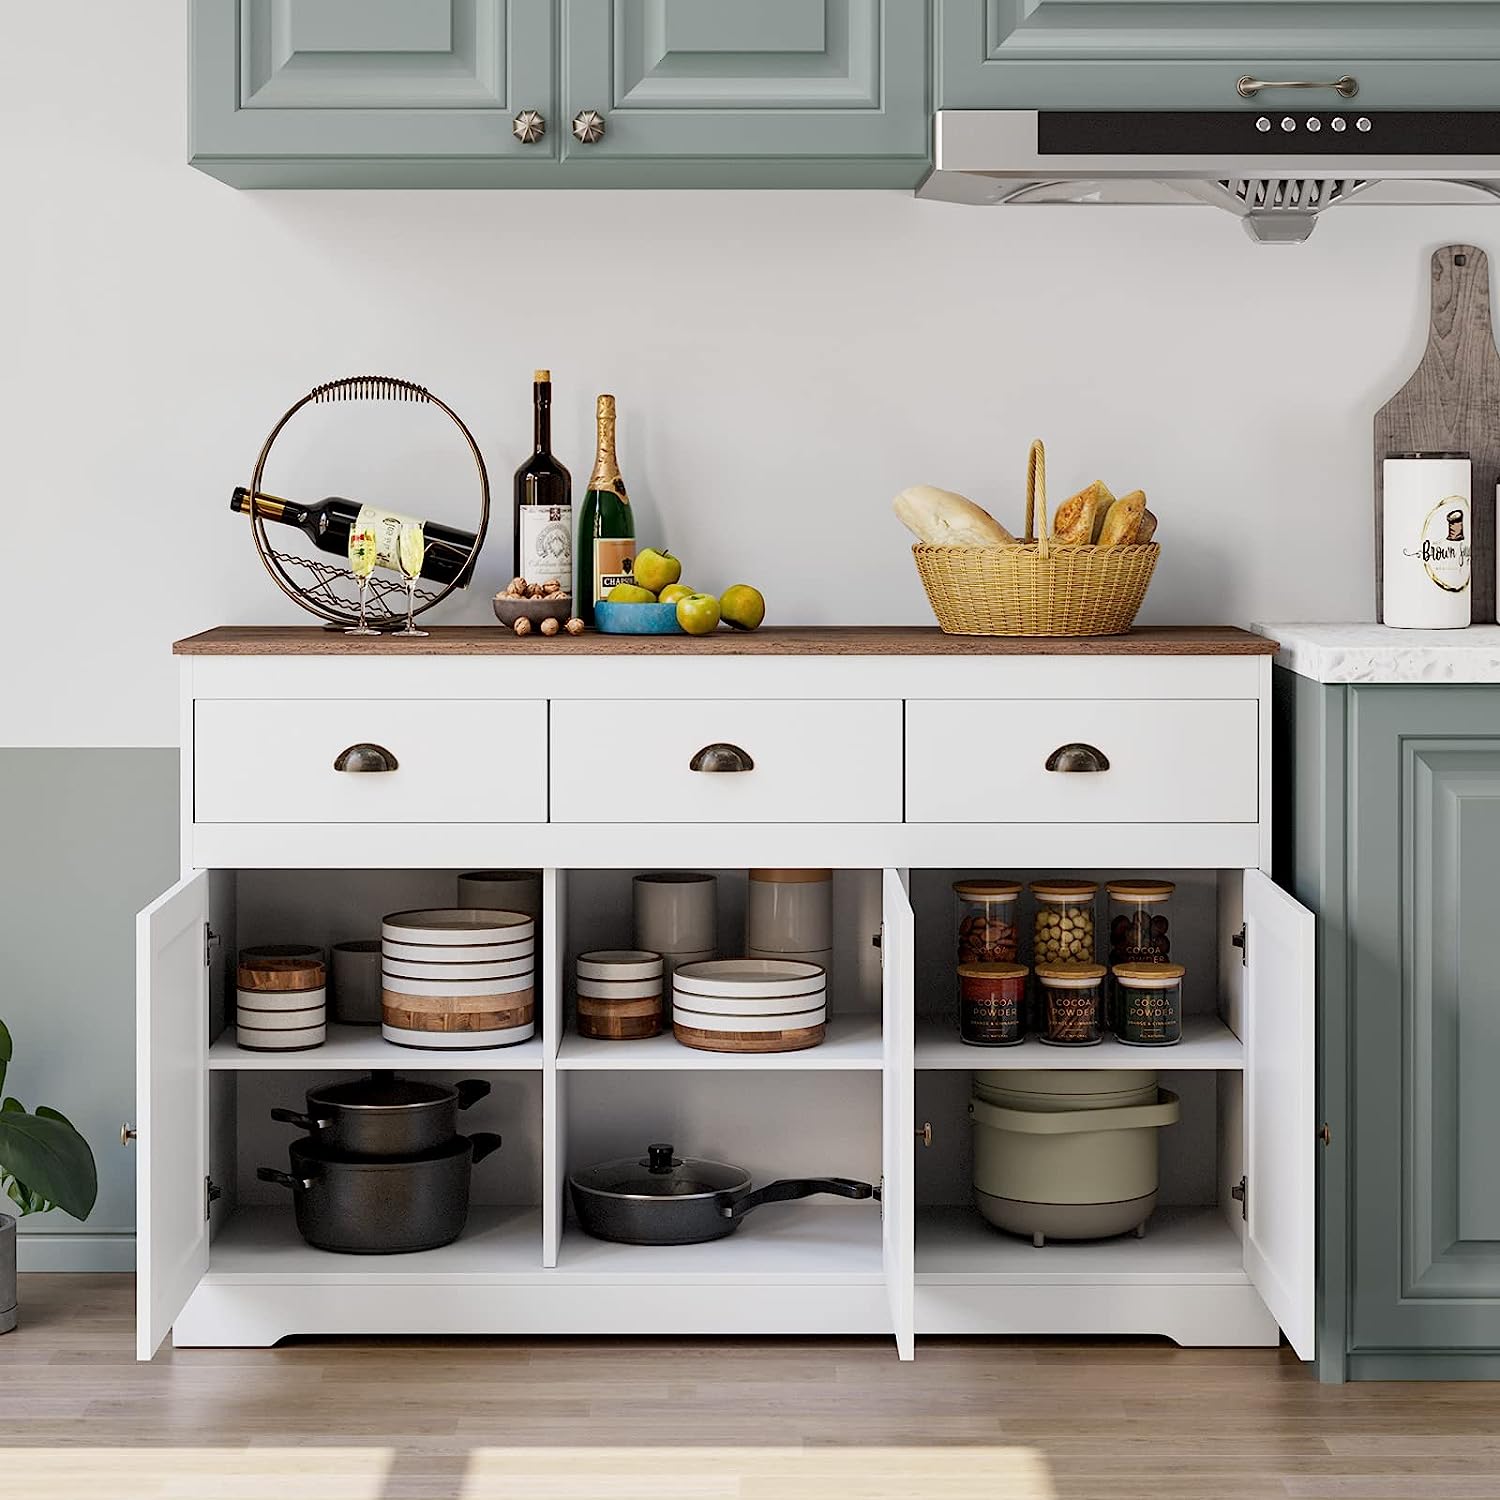
Welcome to our comprehensive guide on how to build a cabinet base. Whether you’re a seasoned DIY enthusiast or a beginner, building your own cabinet base can be a rewarding and cost-effective project. Not only will it allow you to customize the size and design of the cabinet to suit your needs, but it will also give you a sense of accomplishment and satisfaction.
Building a cabinet base involves a series of steps, from gathering materials and tools to installing cabinet doors and drawers. In this guide, we will take you through each step in detail, providing clear instructions and helpful tips along the way.
Before you begin, it’s important to have a clear plan and vision of what you want to achieve. Consider the purpose of the cabinet, the space available, and the style that best suits your aesthetic preferences. Having a well-thought-out plan will make the entire process smoother and more enjoyable.
Throughout this guide, we will assume that you have some basic knowledge of woodworking tools and techniques. However, even if you’re a beginner, don’t be discouraged. Building a cabinet base is a great project to learn and practice your skills.
So let’s roll up our sleeves and get started on creating a sturdy and stylish cabinet base that will add functionality and beauty to any room in your home.
Key Takeaways:
- Building a cabinet base is a rewarding DIY project that allows for customization and creativity. Prioritize accuracy, safety, and attention to detail to achieve a high-quality, functional, and stylish addition to your home.
- From gathering materials and tools to finishing and painting, each step in building a cabinet base requires patience and precision. Embrace your creativity and enjoy the satisfaction of seeing your hard work come to life.
Read more: How To Install Base Cabinet
Step 1: Gather Materials and Tools
Before you can jump into building your cabinet base, you’ll need to gather all the necessary materials and tools. Here’s a detailed list of what you’ll need:
Materials:
- Wood panels: Choose a type of wood that suits your budget and design preference. Common options include plywood, MDF, or solid wood.
- Screws or nails: Opt for screws or nails that are appropriate for the type of wood you’re using. Make sure they are long enough to securely fasten the panels together.
- Wood glue: This will help reinforce the joints and provide extra stability.
- Cabinet hardware: Depending on your design, you’ll need hinges, drawer slides, knobs, or pulls to complete the cabinet.
- Sandpaper: Get a variety of grits to smooth the rough edges and surfaces.
- Primer and paint or stain: Choose a finish that coordinates with your overall interior design style.
Tools:
- Tape measure: Essential for accurately measuring the dimensions of your cabinet base.
- Saw: Depending on your preference and budget, you can use a circular saw, miter saw, or table saw to cut the wood panels.
- Drill: Required for making pilot holes and driving screws.
- Screwdriver or screw gun: Necessary for tightening screws.
- Clamps: These will hold the wood panels in place while you’re assembling them.
- Sanding block or electric sander: Helps you achieve smooth and even surfaces.
- Paintbrushes or rollers: Use these to apply primer, paint, or stain to the cabinet base.
Having all the materials and tools ready before you start will save time and ensure a smooth workflow. It’s also a good idea to wear appropriate safety gear, such as safety goggles and gloves, to protect yourself during the construction process.
Once you have everything you need, you’re ready to move on to the next step: measuring and marking the cabinet base.
Step 2: Measure and Mark the Cabinet Base
Accurate measurements are crucial for a successful cabinet base construction. In this step, we’ll guide you through the process of measuring and marking the dimensions of your cabinet base.
Here’s what you need to do:
- Identify the location: Decide where you want to install the cabinet base. Measure the available space and ensure it meets your requirements.
- Measure the height: Determine the desired height of your cabinet base. Consider factors like the height of other furniture in the room and your personal preference. Use a tape measure to measure the height from the floor to the top of the cabinet base.
- Measure the width and depth: Measure the width and depth of the cabinet base, keeping in mind the dimensions of the room and any specific storage needs or design preferences you may have. Make sure to account for the thickness of the wood panels when measuring.
- Make accurate marks: Use a pencil or a marking tool to mark the measurements on the wood panels. Double-check your markings to ensure they are clear and accurate.
- Label the panels: To avoid confusion during the assembly process, label each panel with its corresponding measurement or location. For example, you can mark “Top,” “Bottom,” “Sides,” and “Back” on the respective panels.
Remember, it’s always better to measure twice and cut once. Taking your time to ensure precise measurements will save you from costly mistakes and rework later on.
Once you have measured and marked the dimensions of your cabinet base, you’re ready to move on to the next step: cutting the wood panels.
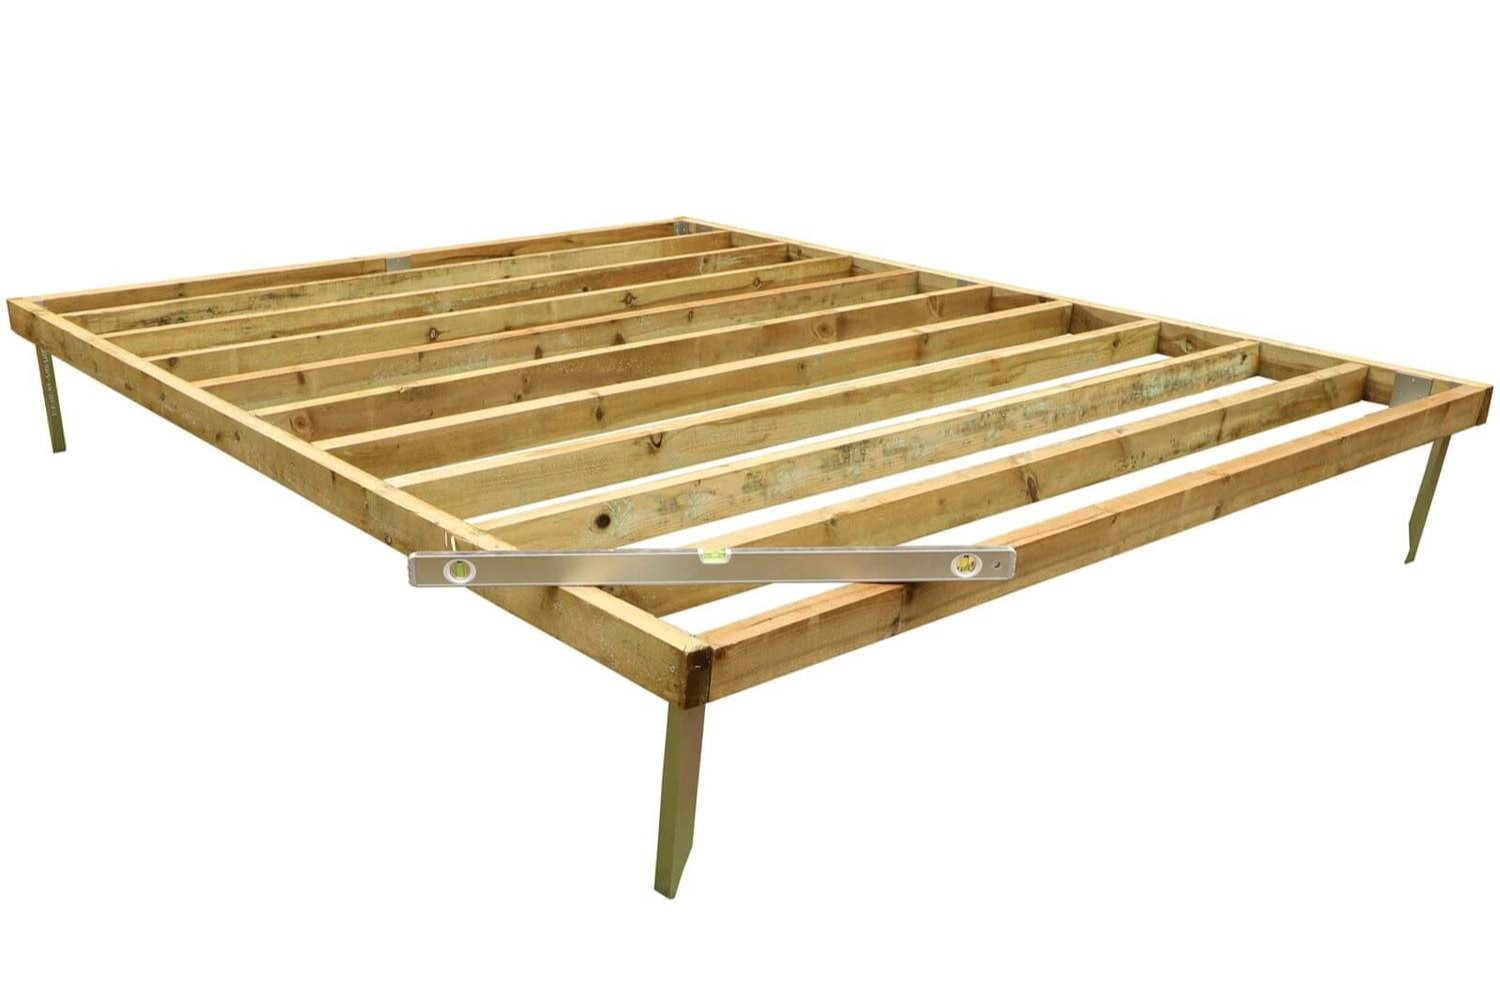
Read more: How To Build A Base For A Shed
Step 3: Cut the Wood Panels for the Base
Now that you have measured and marked the dimensions of your cabinet base, it’s time to cut the wood panels to the correct size. This step requires careful precision to ensure accurate and clean cuts. Follow these steps:
- Gather your safety gear: Before you begin cutting, put on safety goggles and gloves to protect yourself from any potential injuries.
- Set up your cutting area: Find a well-lit and spacious area to set up your saw. Make sure there is enough room to maneuver the wood panels safely.
- Prepare your saw: Ensure that the blade of your saw is suitable for cutting the type of wood you are using. Adjust the blade height and angle as needed.
- Place the wood panel securely: Use clamps or other means to firmly hold the wood panel in place during cutting. This will prevent it from shifting and resulting in inaccurate cuts.
- Cut along the marked lines: Align the blade with the marked lines and slowly guide the saw through the wood panel. Take your time and maintain a steady hand for clean and precise cuts.
- Repeat the process for each panel: Cut all the wood panels according to their marked measurements. Double-check the accuracy of each cut before moving on to the next panel.
- Sand the cut edges: Use sandpaper or an electric sander to smooth out any rough edges resulting from the cutting process. This will provide a clean and professional finish to your cabinet base.
Remember to always prioritize safety and take your time during the cutting process. Rushing can lead to mistakes and uneven cuts. Measure twice and cut once to minimize errors and ensure the wood panels fit together seamlessly.
With the wood panels cut to size, you’re ready to move on to the next step: assembling the cabinet base.
Step 4: Assemble the Cabinet Base
With the wood panels cut to the correct size, it’s time to assemble the cabinet base. This step involves joining the panels together to create the structure of the cabinet. Follow these steps to ensure a successful assembly:
- Layout the panels: Lay out the wood panels in the order they need to be assembled. This will help you visualize the final product and ensure all the pieces are accounted for.
- Apply wood glue: Apply a thin, even layer of wood glue to the edges of the panels that will be joined together. This will help create a strong bond between the pieces.
- Align the panels: Carefully align the edges of the panels and press them together firmly. Make sure the corners are square and the panels are flush with each other.
- Secure with screws or nails: Depending on your preference, use screws or nails to secure the panels together. Drive the screws or nails through the pre-drilled holes or directly into the panels, ensuring a strong connection.
- Check for squareness: Use a carpenter’s square to check that the corners are perfectly square. Adjust if necessary before the glue dries.
- Wipe off excess glue: Use a damp cloth to wipe off any excess glue that may have squeezed out during the assembly process. This will ensure a clean and seamless finish.
- Reinforce with corner brackets (optional): If desired, you can reinforce the corners of the cabinet base with corner brackets. These metal brackets provide additional stability to the structure.
It’s important to work efficiently once the glue is applied, as it typically sets quickly. Take your time to ensure the panels are properly aligned and securely fastened together.
Once you have assembled the cabinet base, it’s time to move on to the next step: attaching the cabinet base to the wall.
Step 5: Attach the Cabinet Base to the Wall
Now that you have successfully assembled the cabinet base, it’s time to attach it to the wall. This step ensures stability and prevents the cabinet from tipping or shifting. Follow these steps to securely mount your cabinet base:
- Locate the wall studs: Use a stud finder to locate the wall studs where you will be mounting the cabinet base. Studs provide the necessary support and strength to hold the weight of the cabinet.
- Mark the stud locations: Once you have located the studs, mark their positions on the wall. This will guide you during the installation process.
- Position the cabinet base: Carefully lift the cabinet base and position it against the wall, aligning it with the marked stud locations.
- Secure the cabinet base to the wall: Using screws or nails, attach the cabinet base to the wall by driving them through the back panel and into the wall studs. Make sure to use appropriate fasteners for a secure connection.
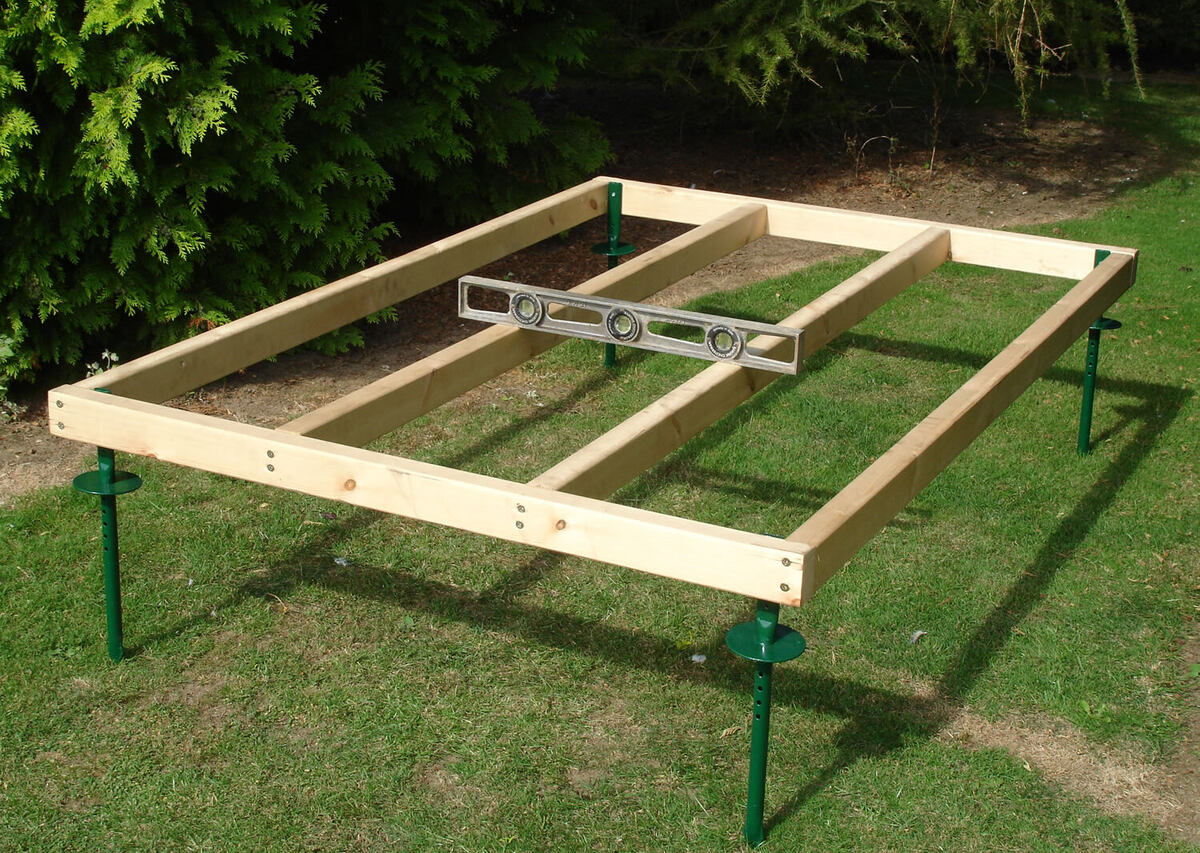
- Check for levelness: Use a level to ensure that the cabinet base is perfectly level. Adjust as needed by adding shims or adjusting the screws until it is level in all directions.
- Double-check the stability: Once the cabinet base is securely attached, give it a gentle shake to test its stability. It should be firmly fixed to the wall and not wobble or move.
Attaching the cabinet base to the wall ensures that it remains stable and secure, even when loaded with items. Take your time to properly align the base with the wall studs and use the appropriate fasteners for a strong connection.
With the cabinet base securely attached to the wall, it’s time to move on to the next step: installing the cabinet doors and drawers.
When building a cabinet base, make sure to use sturdy and durable materials such as plywood or solid wood. It’s important to accurately measure and cut the pieces to ensure a precise and stable base for the cabinet.
Step 6: Install Cabinet Doors and Drawers
With the cabinet base securely attached to the wall, it’s time to add the finishing touches by installing the cabinet doors and drawers. This step will give your cabinet both functionality and aesthetics. Follow these steps:
- Measure and mark for hinges: Determine the placement of the cabinet doors and mark the locations for the hinges. Use a tape measure and a pencil to ensure accurate positioning.
- Pre-drill hinge holes: Use a drill to pre-drill holes for the hinges on the cabinet base and the corresponding positions on the doors. This will make it easier to attach the hinges securely.
- Attach hinges to doors: Secure the hinges to the doors using screws. Ensure that they are properly aligned and level with the edges of the doors.
- Attach hinges to the cabinet base: With the doors held in place, line up the hinges with the pre-drilled holes on the cabinet base. Secure the hinges by driving the screws into the pre-drilled holes.
- Install drawer slides: If your cabinet includes drawers, install the drawer slides according to the manufacturer’s instructions. Make sure they are level and properly aligned for smooth operation.
- Attach drawer fronts: Attach the front panels of the drawers to the drawer slides. Use screws or other appropriate fasteners to secure them in place.
- Adjust doors and drawers: Check that the doors and drawers are aligned and level. Adjust the hinges and slides if necessary to ensure a proper fit and smooth functionality.
Installing the cabinet doors and drawers not only adds functionality but also gives your cabinet a polished and finished look. Take your time to align and level everything correctly for a professional result.
With the cabinet doors and drawers installed, you’re almost finished. The next and final step is to finish and paint the cabinet base.
Read more: How To Build A Base For A Hot Tub
Step 7: Finish and Paint the Cabinet Base
The final step in building your cabinet base is to apply the finishing touches by finishing and painting it. This will not only enhance its appearance but also provide protection and durability. Follow these steps:
- Sand the cabinet base: Use sandpaper or an electric sander to smooth any rough surfaces or edges of the cabinet base. This will create a clean and even surface for the finishing process.
- Apply wood filler (if needed): If there are any visible gaps or imperfections on the cabinet base, fill them in with wood filler. Allow the filler to dry and then sand it down until it’s smooth and level with the rest of the surface.
- Apply primer: Start by applying a coat of primer to the entire cabinet base. Primer helps the paint adhere better and provides a uniform surface for the final paint color.
- Let the primer dry: Allow the primer to dry completely according to the manufacturer’s instructions. This usually takes a couple of hours, but it may vary depending on the specific product used.
- Apply paint or stain: Once the primer is dry, apply your chosen paint or stain to the cabinet base. Use a brush or roller to evenly cover the surface, working in long, smooth strokes. Apply multiple coats if needed, allowing each coat to dry before applying the next.
- Let the paint or stain dry: Allow the paint or stain to dry completely before handling or installing any hardware. This can take anywhere from a few hours to a full day, depending on the product and environmental conditions.
When choosing the paint or stain color, consider the overall style and aesthetic of your space. You can opt for a classic white or any other color that complements your decor. Alternatively, choose a stain to enhance the natural beauty of the wood grain.
Finishing and painting the cabinet base brings the project to a close, leaving you with a beautifully crafted and customized piece of furniture. Take pride in your accomplishment and enjoy the functional and stylish addition to your home.
Congratulations on successfully building your own cabinet base!
Conclusion
Building a cabinet base can be a rewarding and satisfying project that allows you to create a custom piece of furniture that fits your needs and style. By following the steps outlined in this guide and using the right materials and tools, you can successfully construct a sturdy and functional cabinet base.
Throughout the building process, it’s important to prioritize accuracy, safety, and attention to detail. Take the time to measure carefully, make precise cuts, and ensure proper alignment during assembly. By doing so, you’ll achieve a high-quality result that will stand the test of time.
Remember to use the appropriate safety gear, such as safety goggles and gloves, when working with tools and materials. Safety should always be a top priority to avoid any accidents or injuries.
Once your cabinet base is assembled and securely attached to the wall, the installation of doors, drawers, and finishing touches will add the final touches to your creation. Don’t rush this step and take the time to align and adjust everything for a professional and polished look.
Lastly, embrace your creativity by choosing the right finish for your cabinet base. The right paint or stain can elevate the aesthetics and overall appeal of the piece, allowing it to seamlessly integrate into your home decor.
Now that you’ve completed this guide, you have the knowledge and skills to build a cabinet base that meets your specific requirements. Enjoy the satisfaction of seeing your hard work come to life, and marvel at the functional and stylish addition to your home.
Happy building!
Frequently Asked Questions about How To Build Cabinet Base
Was this page helpful?
At Storables.com, we guarantee accurate and reliable information. Our content, validated by Expert Board Contributors, is crafted following stringent Editorial Policies. We're committed to providing you with well-researched, expert-backed insights for all your informational needs.

0 thoughts on “How To Build Cabinet Base”