Articles
How To Fix A Buckling Carpet
Modified: October 20, 2024
Learn how to fix a buckling carpet with these helpful articles. Get step-by-step instructions and expert tips to restore your carpets to their original condition.
(Many of the links in this article redirect to a specific reviewed product. Your purchase of these products through affiliate links helps to generate commission for Storables.com, at no extra cost. Learn more)
Introduction
A buckling carpet can be a frustrating problem to deal with. Not only does it ruin the aesthetic appeal of your flooring, but it can also be a tripping hazard. Luckily, fixing a buckling carpet is a task that you can tackle on your own with a few simple steps and the right tools. In this article, we will guide you through the process of fixing a buckling carpet, ensuring that your floor is once again smooth and free from unsightly ripples.
Before we delve into the solution, it’s important to understand what causes a carpet to buckle in the first place. Most commonly, buckling occurs due to problems with carpet installation or environmental factors. Improper stretching during installation can leave the carpet too loose, causing it to buckle over time. Additionally, high humidity levels or sudden changes in temperature can cause the carpet to expand and contract, leading to buckling.
The good news is that you can easily fix a buckled carpet by following a few simple steps. Before getting started, gather the necessary tools and materials. You will need a knee kicker or power stretcher, a carpet knife or utility knife, a straightedge, and a pry bar. Additionally, it’s a good idea to have a staple gun and staples on hand in case you need to secure any loose carpet edges.
Now that you have everything you need, let’s jump into the step-by-step process of fixing a buckling carpet. Remember, be patient and take your time to ensure the best results.
Key Takeaways:
- Say goodbye to buckling carpets with these DIY steps. Identify the cause, gather tools, stretch, trim, and reinstall furniture for a smooth, safe, and visually appealing floor. Enjoy the process and the results!
- Don’t let a buckling carpet ruin your space. Understand the causes, gather tools, stretch, trim, and reinstall furniture to restore your carpet’s beauty and functionality. Patience and attention to detail are key!
Read more: How To Fix Buckled Wood Floor
Causes of a Buckling Carpet
A buckling carpet can occur for various reasons, and identifying the cause is crucial in determining the appropriate solution. Here are some common causes of a buckling carpet:
- Poor Installation: Improper installation is one of the leading causes of a buckling carpet. If the carpet was not stretched and secured properly during installation, it can loosen and develop wrinkles or ripples over time.
- Humidity and Moisture: Moisture can wreak havoc on carpets, causing them to expand and contract. High humidity levels or water damage can lead to the buckling of carpets, especially in areas with poor ventilation or frequent exposure to moisture.
- Subfloor Issues: A subfloor that is uneven or has structural damage can cause a carpet to buckle. When there are inconsistencies in the subfloor’s surface, the carpet is unable to lay flat and may develop creases or ripples.
- Heavy Furniture: Placing heavy furniture on a carpet without proper support can create pressure points that cause the carpet to buckle. Over time, this can result in visible wrinkles or bulges in the affected areas.
- Age and Wear: Over time, carpets naturally undergo wear and tear. As they age, the backing material can deteriorate, leading to loosening and buckling. Additionally, foot traffic and constant shifting of furniture can contribute to the development of wrinkles in the carpet.
Understanding the underlying cause of your buckling carpet is essential in effectively addressing the issue. Now that you have a clear understanding of the common causes, let’s move on to the next step – gathering the tools and materials needed for the repair process.
Tools and Materials Needed
Before you can begin fixing your buckling carpet, it’s important to gather the necessary tools and materials. Having these items ready will ensure a smooth and efficient repair process. Here are the tools and materials you will need:
- Knee Kicker or Power Stretcher: This tool is essential for stretching the carpet and removing any wrinkles or ripples. A knee kicker is a handheld tool that allows you to apply pressure to the carpet with your knee, while a power stretcher uses leverage to stretch the carpet evenly.
- Carpet Knife or Utility Knife: You will need a sharp knife to cut and trim the excess carpet. A carpet knife or utility knife with a retractable blade is ideal for this task.
- Straightedge: A straightedge, such as a long ruler or a straight piece of wood, will help you create clean and accurate cuts in the carpet.
- Pry Bar: A pry bar will come in handy for removing any baseboards or moldings that may be obstructing the carpet. This will allow you to stretch and reposition the carpet more effectively.
- Staple Gun and Staples: It’s a good idea to have a staple gun and staples on hand in case you need to secure any loose carpet edges or reattach the carpet to the subfloor.
By having these tools ready before you start the repair process, you can ensure a smoother and more efficient experience. Now that you have everything you need, let’s move on to the step-by-step process of fixing your buckling carpet.
Step 1: Remove Furniture and Objects from the Carpet
Before you can begin fixing your buckling carpet, you need to clear the area by removing any furniture and objects from the carpeted space. This will provide you with an unobstructed work area to assess and address the issues with the carpet. Follow these steps:
- Start by clearing the room as much as possible. Remove any large furniture pieces such as couches, tables, and chairs.
- If the furniture is too heavy or not easily movable, place furniture sliders or pads underneath the legs to make it easier to shift them.
- Remove smaller objects such as lamps, decorations, and other items from the carpeted area. This will ensure that you have a clear space to work in.
- Take extra care when moving fragile items to prevent any damage or breakage.
By removing furniture and objects from the carpet, you create a blank canvas to inspect and address the issues causing the carpet to buckle. It also prevents any potential damage to your belongings during the repair process. Once the area is clear, you can move on to the next step of the carpet repair process.
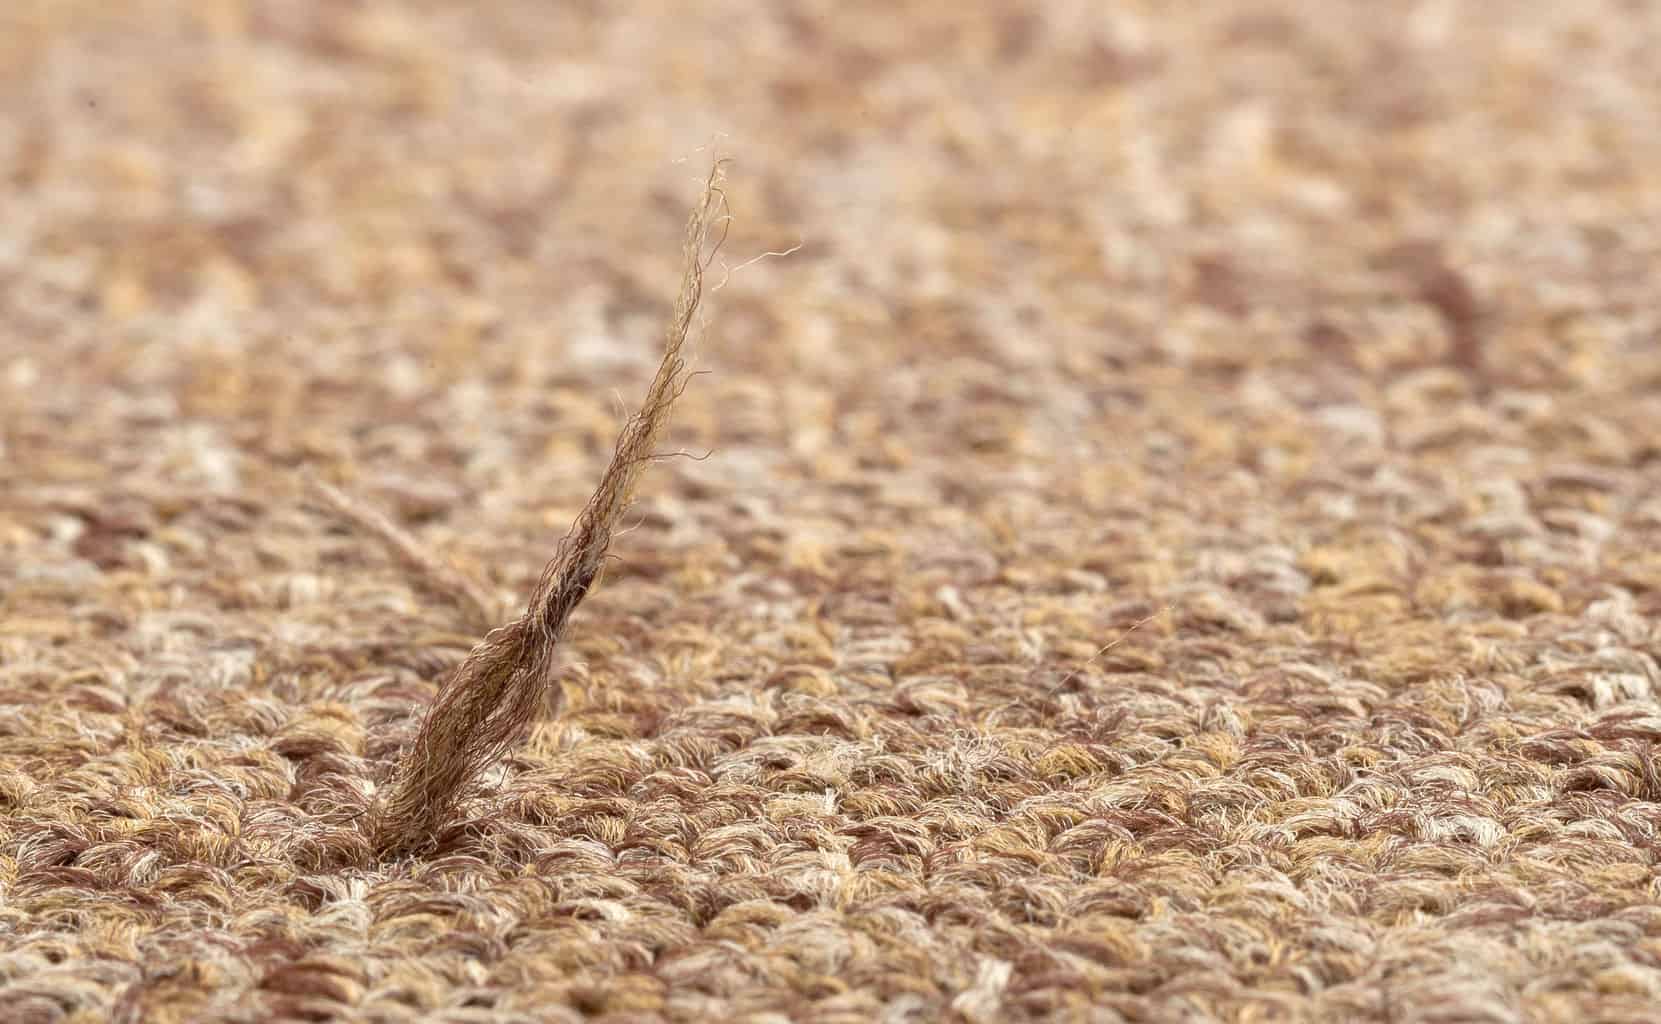
Step 2: Inspect the Carpet
After clearing the area of furniture and objects, it’s time to inspect the carpet to determine the extent of the buckling and identify any underlying issues. Follow these steps to properly inspect your carpet:
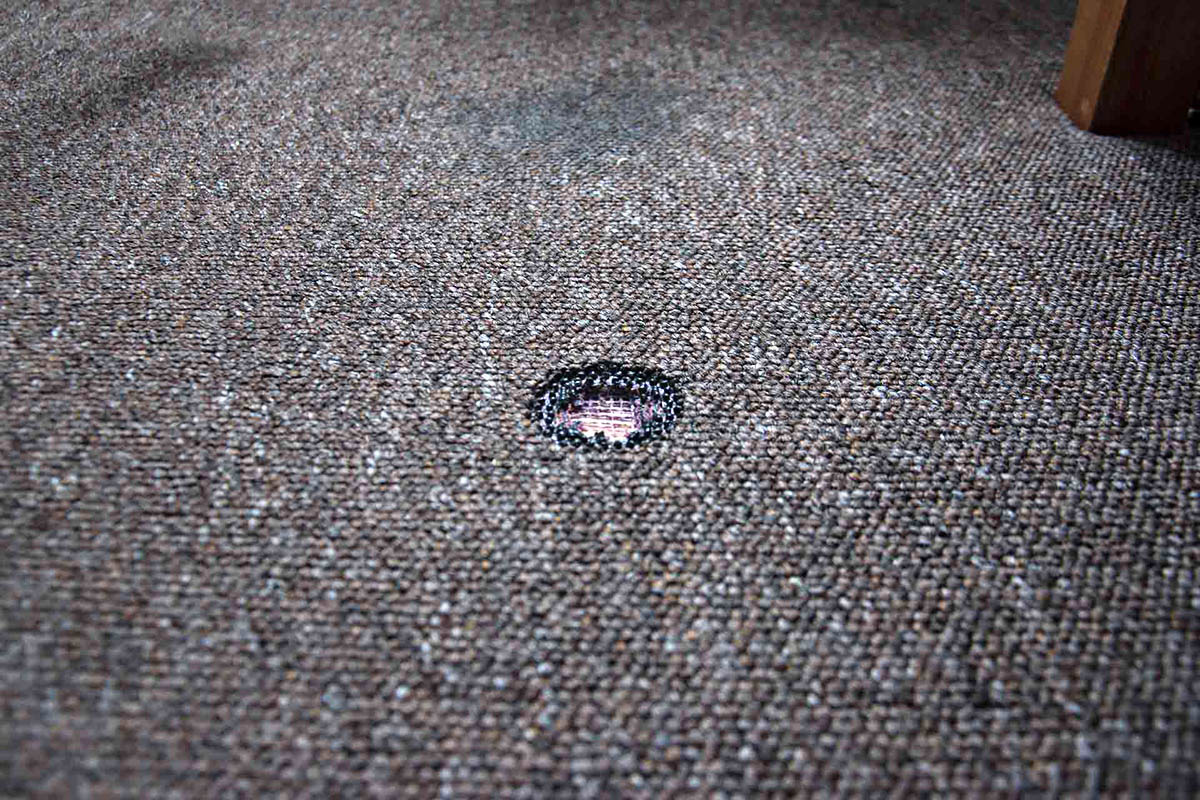
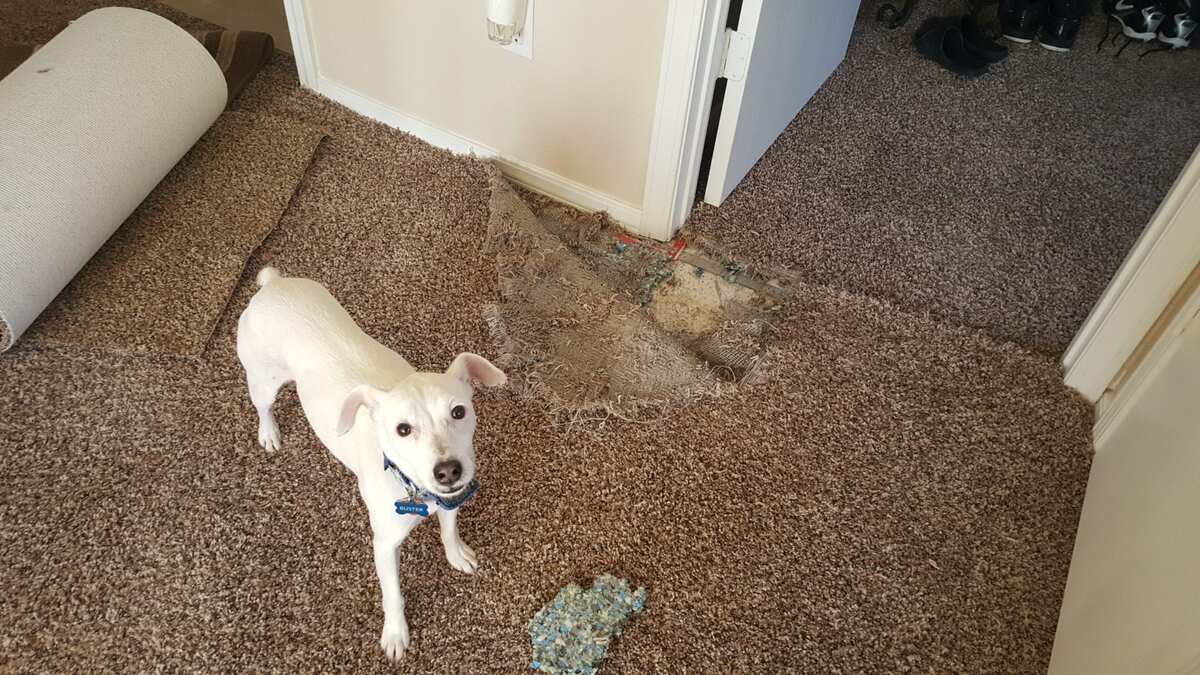
- Take a close look at the affected areas of the carpet. Look for any noticeable ripples, wrinkles, or bulges.
- Walk over the carpet and pay attention to any areas that feel uneven or bumpy underfoot.
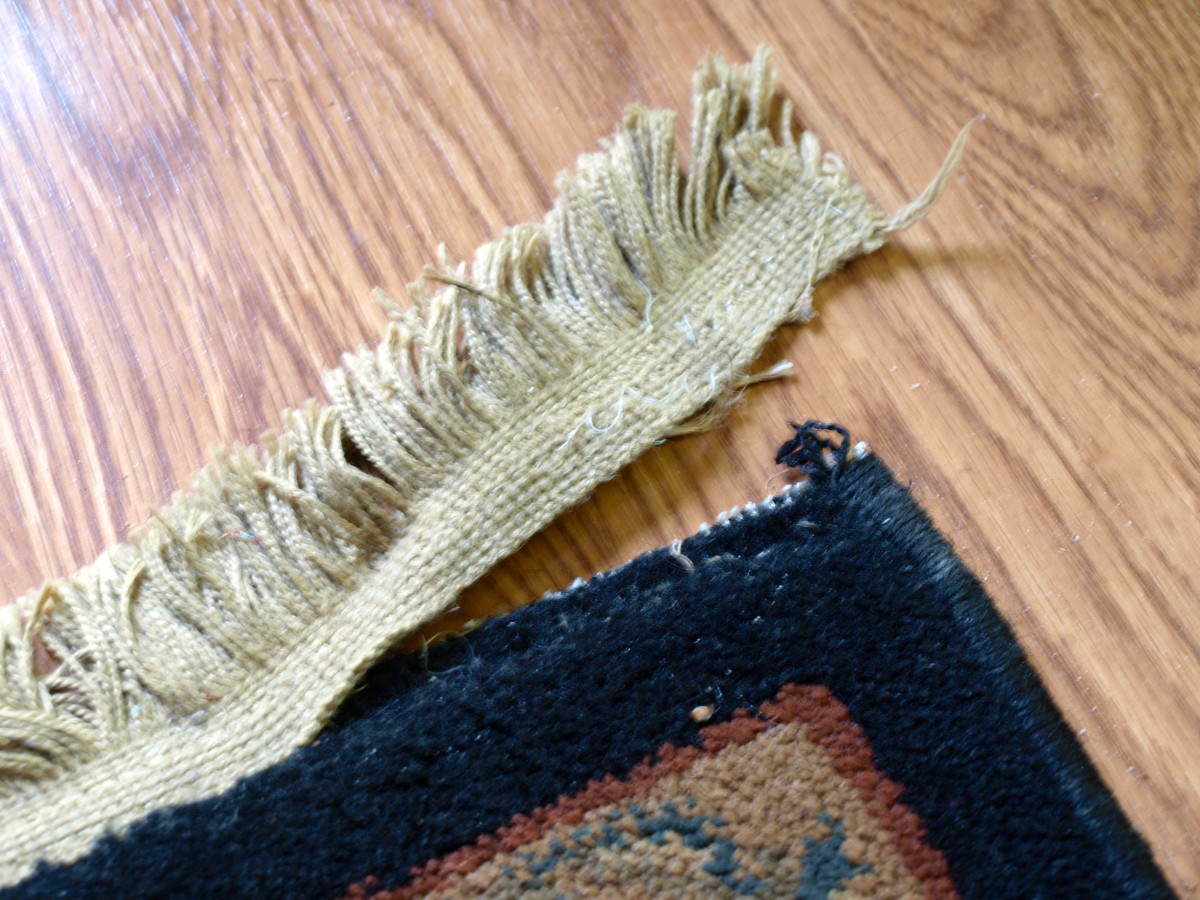
- Check the carpet edges to see if they have come loose or detached from the baseboards or tack strips.
- Look for signs of wear, discoloration, or damage that may be contributing to the buckling.
- If possible, inspect the subfloor or underlayment beneath the carpet to check for any structural issues or moisture damage.
By closely inspecting the carpet, you can gather important information to determine the cause of the buckling. This will help you choose the most appropriate solution for repairing the carpet. If the issue seems to be minor and limited to a specific area, you may be able to fix it yourself. However, if the buckling is widespread or if there are underlying structural issues, it may be best to consult a professional.
Once you have thoroughly inspected the carpet and noted any issues, you are ready to move on to the next step of the repair process.
To fix a buckling carpet, use a knee kicker to stretch the carpet towards the walls and secure it with a carpet stretcher. Trim any excess carpet and reattach the edges with a carpet tucker.
Read more: How To Fix Buckling Laminate Floor
Step 3: Stretch the Carpet
Now that you have inspected the carpet and identified the areas that need attention, it’s time to stretch the carpet to remove the buckling. This step requires the use of a knee kicker or power stretcher. Follow these steps to properly stretch the carpet:
- Starting in one corner of the room, position the knee kicker or power stretcher approximately six inches away from the wall. Make sure the teeth of the knee kicker or the head of the power stretcher are facing towards the wall.
- Apply firm pressure to the carpet using your knee or the power stretcher, pushing the carpet towards the wall.
- Move along the wall, using the knee kicker or the power stretcher to stretch the carpet as you go. Make sure to keep applying equal pressure across the entire width of the carpet to ensure a uniform stretch.
- Repeat this process on each wall until the carpet is adequately stretched and the buckling is minimized or eliminated.
- Once you have stretched the carpet along all the walls, use a straightedge to check for any remaining ripples or wrinkles. If necessary, go back and re-stretch any problem areas to ensure a smooth and even surface.
It’s important to be patient and take your time while stretching the carpet. Rushing through this step may result in an uneven or over-stretched carpet. If you are unsure about the proper technique or if the carpet buckling is extensive, it may be beneficial to seek the assistance of a professional carpet installer.
Now that you have successfully stretched the carpet, you can move on to the next step, which involves trimming the excess carpet.
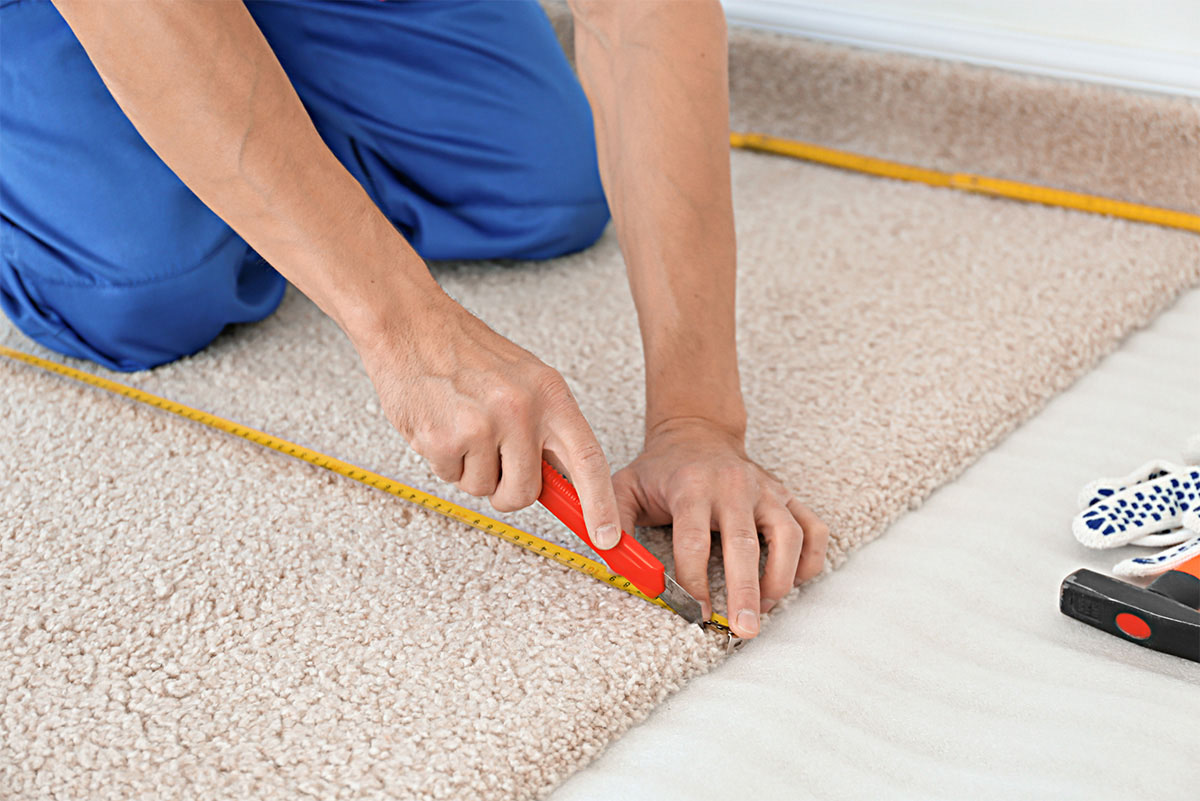
Step 4: Trim Excess Carpet
After stretching the carpet to remove the buckling, the next step is to trim the excess carpet for a clean and seamless finish. Follow these steps to properly trim the carpet:
- Start by using a straightedge, such as a ruler or a piece of wood, to create a straight cutting line along the edge of the carpet where it meets the wall.
- Using a sharp carpet knife or utility knife, carefully cut along the marked cutting line. Make sure to apply even pressure and use a smooth, continuous motion to create a clean cut.
- Continue trimming the excess carpet along all the edges of the room. Take care to ensure that the cuts are straight and aligned with the walls.
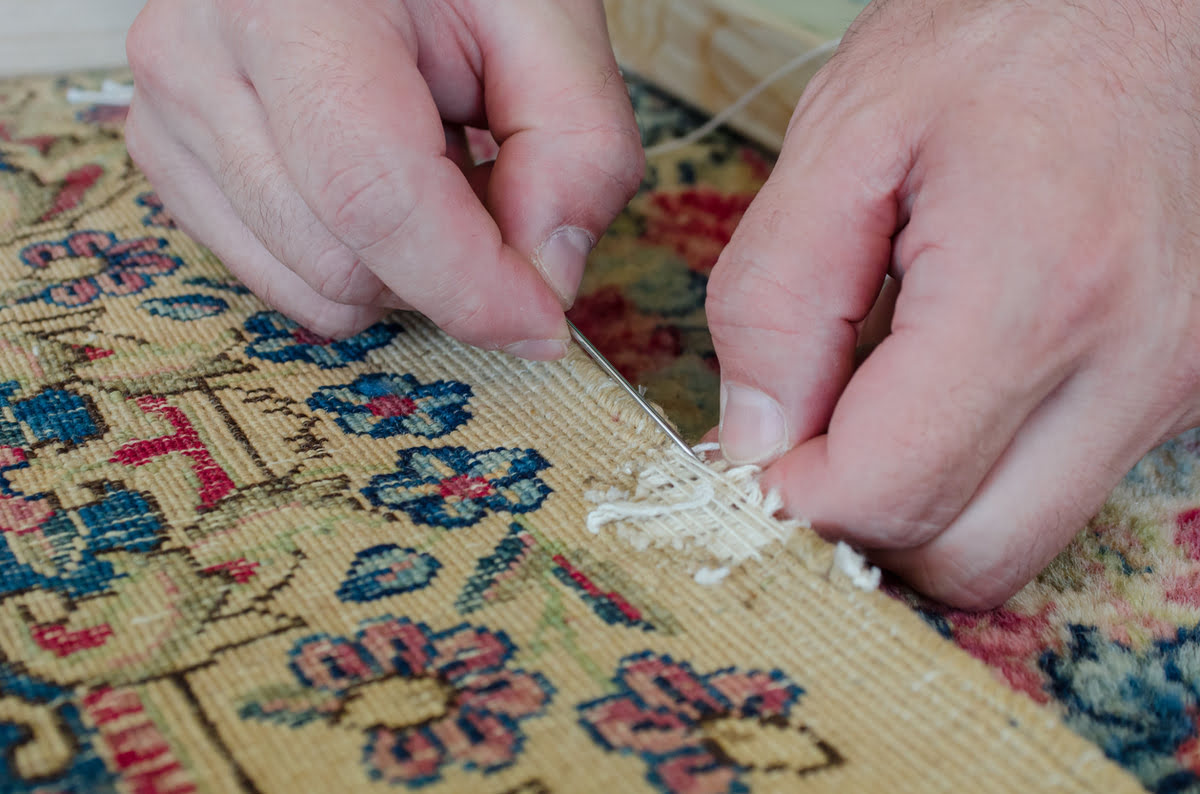
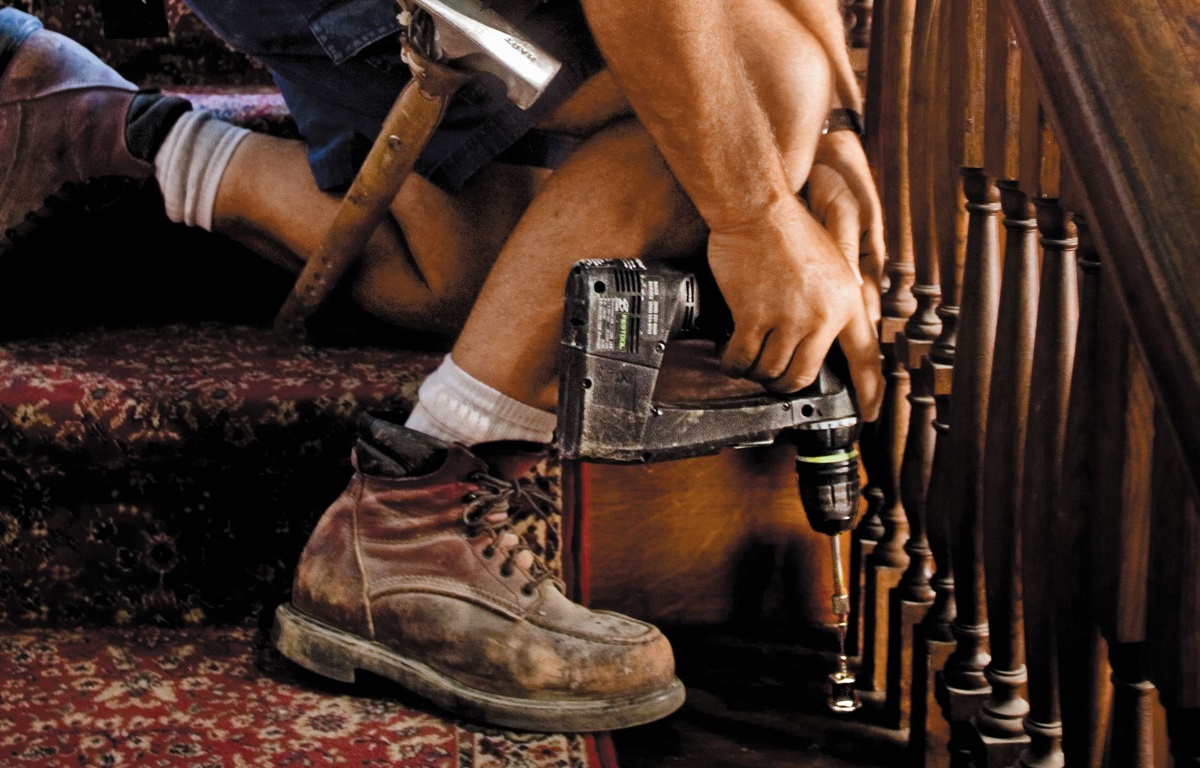
- If there are any areas where the carpet has come loose or detached from the baseboards or tack strips, use a pry bar to gently lift the carpet and secure it in place with a staple gun and staples.
As you trim the excess carpet, be mindful of any pattern or design on the carpet. Take care to align the cuts so that they are not noticeable or disrupt the pattern. It’s always better to cut the carpet slightly longer than needed and gradually trim it, as it’s easier to make adjustments if necessary.
By trimming the excess carpet, you not only create a neater appearance but also ensure that the carpet is securely fastened and free from any loose edges. With the trimming complete, you are now ready for the final step – reinstalling furniture and objects.
Step 5: Reinstall Furniture and Objects
With the buckling carpet successfully repaired and the excess carpet trimmed, it’s time to move on to the final step – reinstalling the furniture and objects that were previously removed. Follow these steps to ensure a smooth and hassle-free reinstallation:
- Start by carefully moving the furniture back into the room. Use furniture sliders or pads to prevent any damage to the carpet while moving heavy pieces.
- Take care to place the furniture in its original position or rearrange it as desired, ensuring that it does not place excessive pressure on the carpet in one area.
- If necessary, use furniture coasters or protective pads under the legs of the furniture to distribute weight evenly and prevent indentations on the carpet.
- Reinstall any smaller objects or decorations that were removed from the carpeted area. Ensure that they are placed securely and do not create any stress points on the carpet.
When reinstalling furniture and objects, it’s essential to be cautious and avoid dragging or sliding them across the carpet, as this can cause damage or create new wrinkles. Take your time to position each item carefully to ensure that the carpet remains smooth and free from buckling.
Once all the furniture and objects are back in place, take a moment to inspect the carpet and surrounding areas for any potential issues. Look for any signs of additional buckling or areas that may require further adjustment.
Congratulations! You have successfully fixed your buckling carpet and restored its appearance and functionality. Remember to regularly maintain and care for your carpet to prevent future issues and prolong its lifespan.
By following these steps, you can tackle the problem of a buckling carpet with ease. If you encounter more severe issues or are unsure about any step in the process, it’s always recommended to seek professional assistance. Enjoy your newly restored and smooth carpet!
Conclusion
Dealing with a buckling carpet can be frustrating, but with the right approach, it can be easily fixed. By following the step-by-step process outlined in this article, you can successfully eliminate the buckling and restore the smooth and attractive appearance of your carpet.
First, it’s important to identify the causes of the buckling, such as poor installation, humidity, subfloor issues, heavy furniture, or normal wear and tear. Understanding the underlying cause will help you determine the most appropriate solution.
Gathering the necessary tools and materials, including a knee kicker or power stretcher, carpet knife, straightedge, and pry bar, is crucial for a successful repair process.
Step 1 involves removing all furniture and objects from the carpeted area to provide a clear workspace. Step 2 entails inspecting the carpet for signs of buckling, wear, or other underlying issues.
Step 3 focuses on stretching the carpet using a knee kicker or power stretcher to remove any wrinkles or ripples. Step 4 involves trimming the excess carpet for a clean and seamless finish, ensuring that the cuts are straight and aligned with the walls.
Finally, in Step 5, you reinstall the furniture and objects, taking care to distribute weight evenly and avoid creating pressure points on the carpet.
Remember, patience and attention to detail are key throughout the process to achieve the best results. If you encounter significant issues or lack confidence in your abilities, it’s always advisable to seek professional help.
By following these steps, you can effectively fix a buckling carpet, create a safe and aesthetically pleasing environment, and prolong the lifespan of your flooring investment.
Now that you have the knowledge and tools, it’s time to restore your carpet to its former glory. Good luck!
Frequently Asked Questions about How To Fix A Buckling Carpet
Was this page helpful?
At Storables.com, we guarantee accurate and reliable information. Our content, validated by Expert Board Contributors, is crafted following stringent Editorial Policies. We're committed to providing you with well-researched, expert-backed insights for all your informational needs.